
DIY Dr. Seuss Quote Map Sign
I love Dr. Seuss books.
I think my favourite is probably the one about the pale green pants with nobody inside them.
I can’t remember the real name of the story because I always just call it “the pale green pants” but it is such a great little story about how we often fear the things that we don’t know or understand. When I was a child I begged for that story every night and I remember the emotional rollercoaster that I would go through when listening to it and how excited and happy I would get when the little creature telling the story would realize that those pale green pants were just as scared of him as he was of them.
Don’t books create such strong emotional memories for us? I think that’s why I still love reading Dr. Seuss stories to my boys before bed.
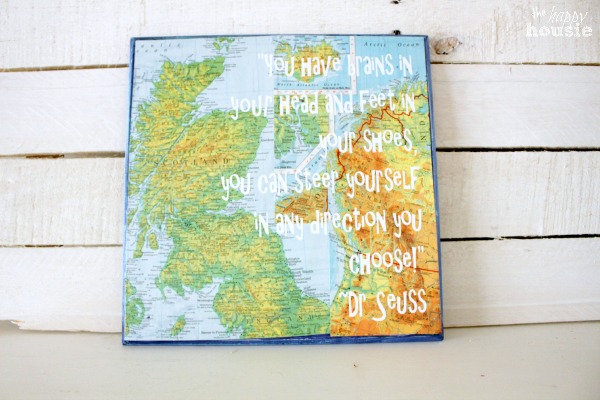
And one of my favourite quotes from the good ol’ Dr. is this one from “The Places You’ll Go”. In fact, I love it so much that I turned it into this cute little DIY Dr. Seuss Quote Map Sign for our boys’ bedroom.
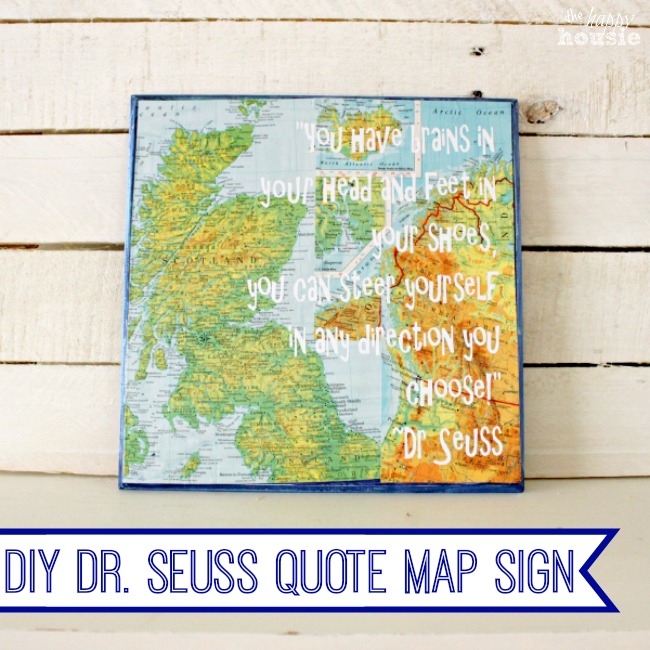
Like I said, I made this little sign for our boy’s shared bedroom space (yes, the never ending room revamp). I have long loved this quote and with all the map themed stuff that I added to their room I thought the quote fit in perfectly.
And. I got to use my brand new Silhouette for it. Woot woot!!
I’ve been ogling and crushing on and dreaming of getting a Silhouette for months now…and was super excited when they opened their shipping up to Canada. Yay!! I’m so excited to collaborate with Silhouette on this project.
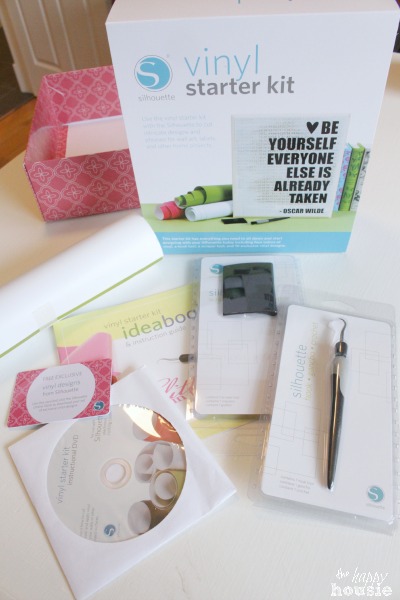
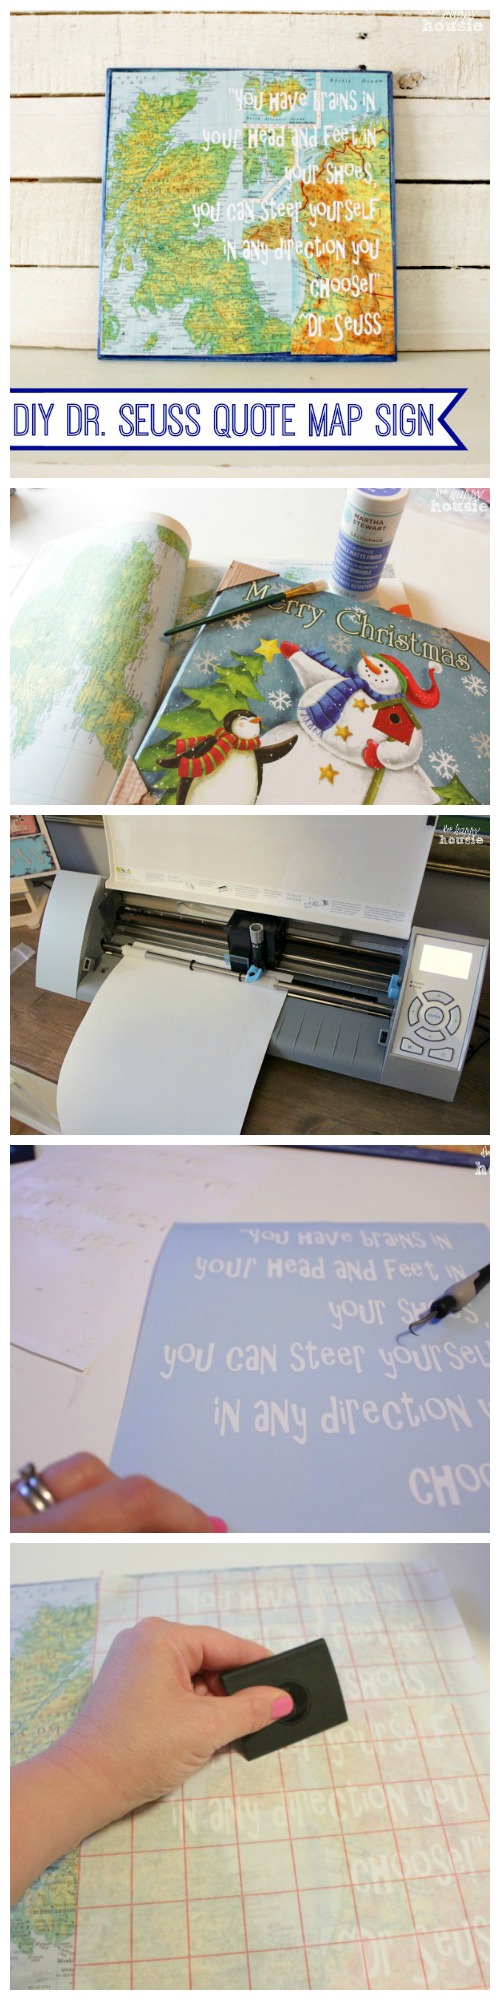
I started out with my new Silhouette Cameo and the Vinyl Starter Kit….
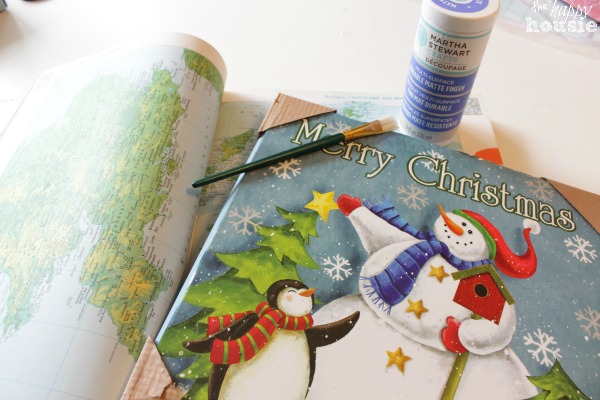
As well as a cheapy decoupaged sign that I picked up at the dollar store last Christmas with the intention of turning it into something else… and an Atlas that I bought at a local thrift store. My Martha decoupage medium, a craft paint brush, and some dark blue craft paint were the other tools that I needed to make this…
I began by prepping my ‘board’ by painting the edged in a darker blue craft paint and then decoupaging on the maps I had cut out. If you look closely they aren’t perfectly square. I recommend that you may want to use a paper cutting tool to get square and straight edges. Apparently I thought that I had magic-powered-cutting-hands and didn’t need such tools because of course I can cut a perfectly straight line just by winging it. Of course. Or not.
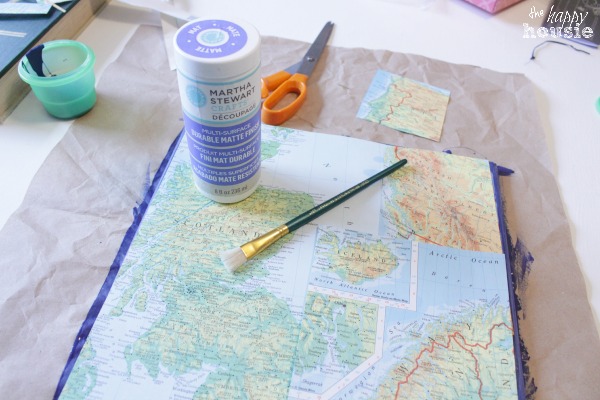
I think you probably know how to decoupage already but it is a little tricky…as it dried I took some time to try to smooth out the bubbles and make it as flat as possible.

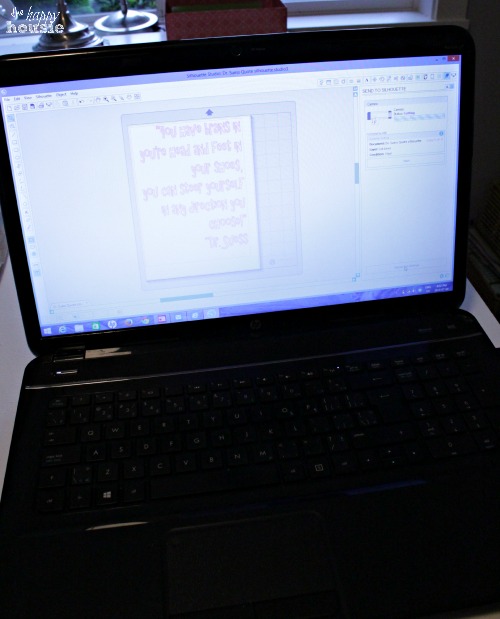
After reading the instructions for my Cameo and watching some super helpful videos I thought I had it all figured out. I created the graphics/lettering on my computer following the instructions…
Then I loaded in the vinyl according to the instructions…
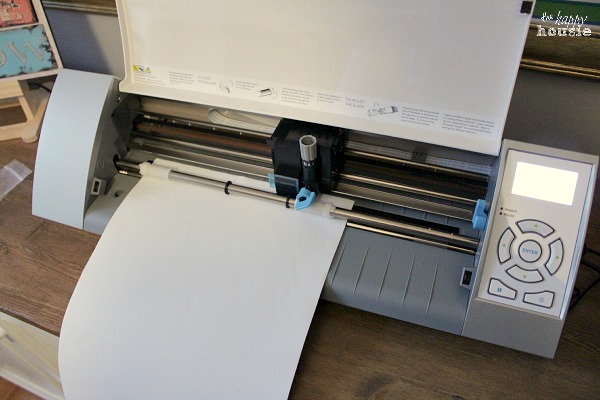
And pressed start. It didn’t cut. I tried again. And again. And again.
I madly googled YouTube videos about why my Silhouette wasn’t cutting….on and on and on. For, like, an hour.
And then I looked closely at one of those videos and realized that I had incorrectly installed the little cutting tool- it was upside down. Ya. I’m really smart like that.
I fixed that little problem and jumped up and down with glee as my glorious new Silhouette Cameo started cutting out the letters. So quickly and perfectly. They were so pretty. I may have shed a few tears. Of joy of course.
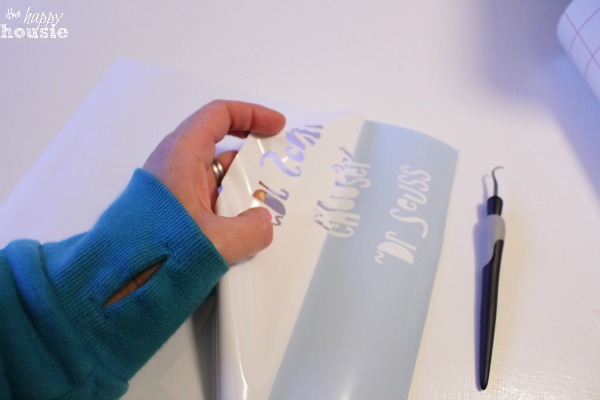
Now that the letters were cut I carefully followed the included directions for how to apply my letters to my piece. I peeled off the excess white vinyl leaving only the lettering behind. I took out the extra little bits (you know, the middle of the “O’s” etc.) using the handy dandy eye-remover tool that Silhouette included with my kit.
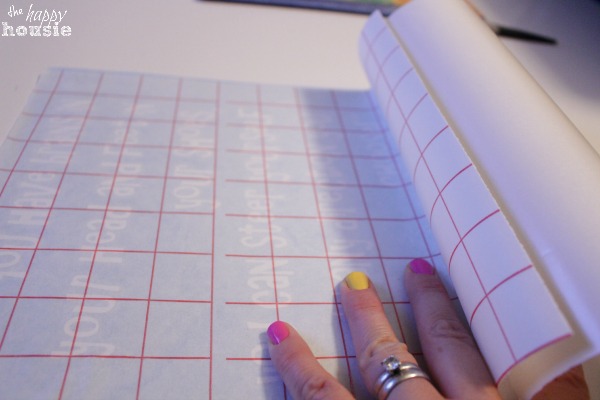
Next I applied the special transfer paper according to the directions…smoothing it down carefully as I went. Yes, I have pretty nails in this picture. It doesn’t happen very often.
Then, again following the directions, I removed the back of the vinyl and magically all my letters stayed stuck to the transfer paper!! It is so wonderful when things actually work according to plan! I then placed the lettering down onto the decoupaged map board (which had, of course, fully dried by this point) and used my handy-dandy smoothy-down tool to press the vinyl letters on.

After years of having to use my pencil transfer technique to outline letters before painstakingly hand painting them onto my signs, this was truly a moment of joy for me….
I am so thrilled with it…
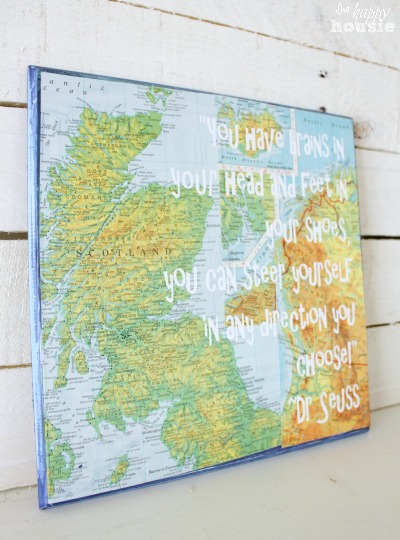
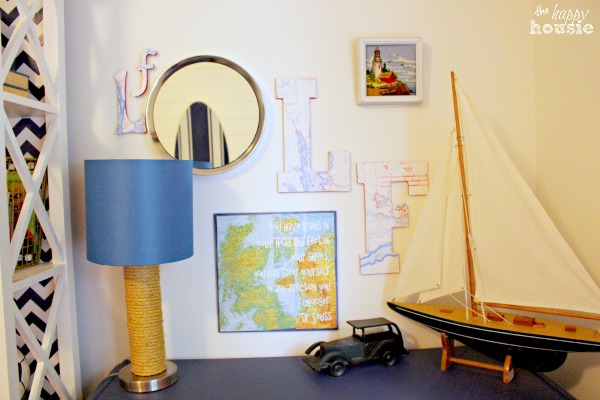
The lettering stands out much better in “real life” then in the photos and it looks adorable in our boy’s bedroom.
Like it?
Pin it to remember it!
Five cheers for my new Cameo Silhouette! (three didn’t seem like enough)… I love you! And I can’t wait to use you again!!
Have you tried making any signs at home? Have you tried the pencil transfer technique as well?? Or do you already use a Silhouette? Advice and tips for me??
And here are some of the other projects that I have completed for our boys’ bedroom…since it is taking me so long to complete it and you have probably forgotten what it looks like so far…
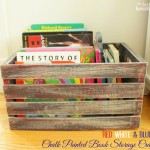
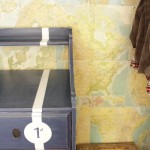
Red, White, and Blue Chalky Painted Crate
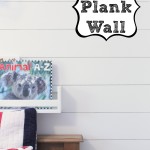
DIY Map Wallpaper
Thanks for reading. And remember my housie friends, HOME isn’t built in a day. Enjoy the journey!

Disclosure: Silhouette provided me with the Cameo and starter materials but all thoughts and opinions are 100% my own.


I may link up at some of these fabulous places below, for more info check out housie parties:
Monday Funday , Give Me the Goods Monday , Inspiration Monday, Nifty Thrifty Tuesday, Tip Junkie, Project Inspire{d} , Inspire Me Tuesday, The Scoop, Hit Me With Your Best Shot, Wow Me Wednesday, Whimsy Wednesday , From Dream to Reality, The Inspiration Exchange, Wow Us Wednesday, Live Laugh Rowe Live Laugh Linky, Thursdays Are Your Days, Inspire Me Please, Catch as Catch Can, Fabulously Creative Friday, Party Junk, Pinworthy Projects , Link Party Palooza,, Weekend Bloggy Reading, Strut Your Stuff Saturday, Spotlight Saturday, Get Schooled Saturday, Overflowing With Creativity , , Suburbs Mama , That DIY Party


I have a soft spot for Dr. Seuss and I love maps! Adore this project!
i really flipped over this where do you live i want it haha i don’t have a machine but i am gonna make this thanks for sharing xx
Such a cute project for your boys’ room! I’m a geography lover so anything with maps catches my eye! I think I really need a silhouette… I’ll have to put it on my Christmas list 😉 Thanks for sharing, Krista!
I love this, Krista! My son loves Mr. Brown Can Moo right now. Those machines are so neat…I actually have a Cricut that I don’t ever use. I use to use it for making cards. Maybe I need to bust that baby out and try something fun like this. You are full of creativity, my friend! 🙂
I have *got* to get one of those machine! I am really digging maps lately and love this project. Pinning!
~ Ashley