
DIY Farmhouse Style Moss Topiary Tree
I will show you how to create this beautiful moss topiary with my easy step by step tutorial.
I’ve always had an affinity for topiaries.
In fact, when we got married, topiaries were the centrepieces at our wedding! We painted up inexpensive clay pots in shades of lavender and periwinkle blue; and my husband (then fiance) and I even hiked through the woods to cut the branches that we used to attach the floral foam ball to. Then my Mom and a committee of family and friends filled them with flowers and greenery the night before the wedding.
And this was long before the days of Pinterest!
Needless to say, being such a big fan of topiaries I’ve been loving all the little boxwood and moss topiary trees that I’ve seen popping up in home decor recently. I would definitely say that their popularity has grown along with the popularity of farmhouse style; and although topiaries can fit with many decor styles, they seem to be a hallmark of Farmhouse decor.
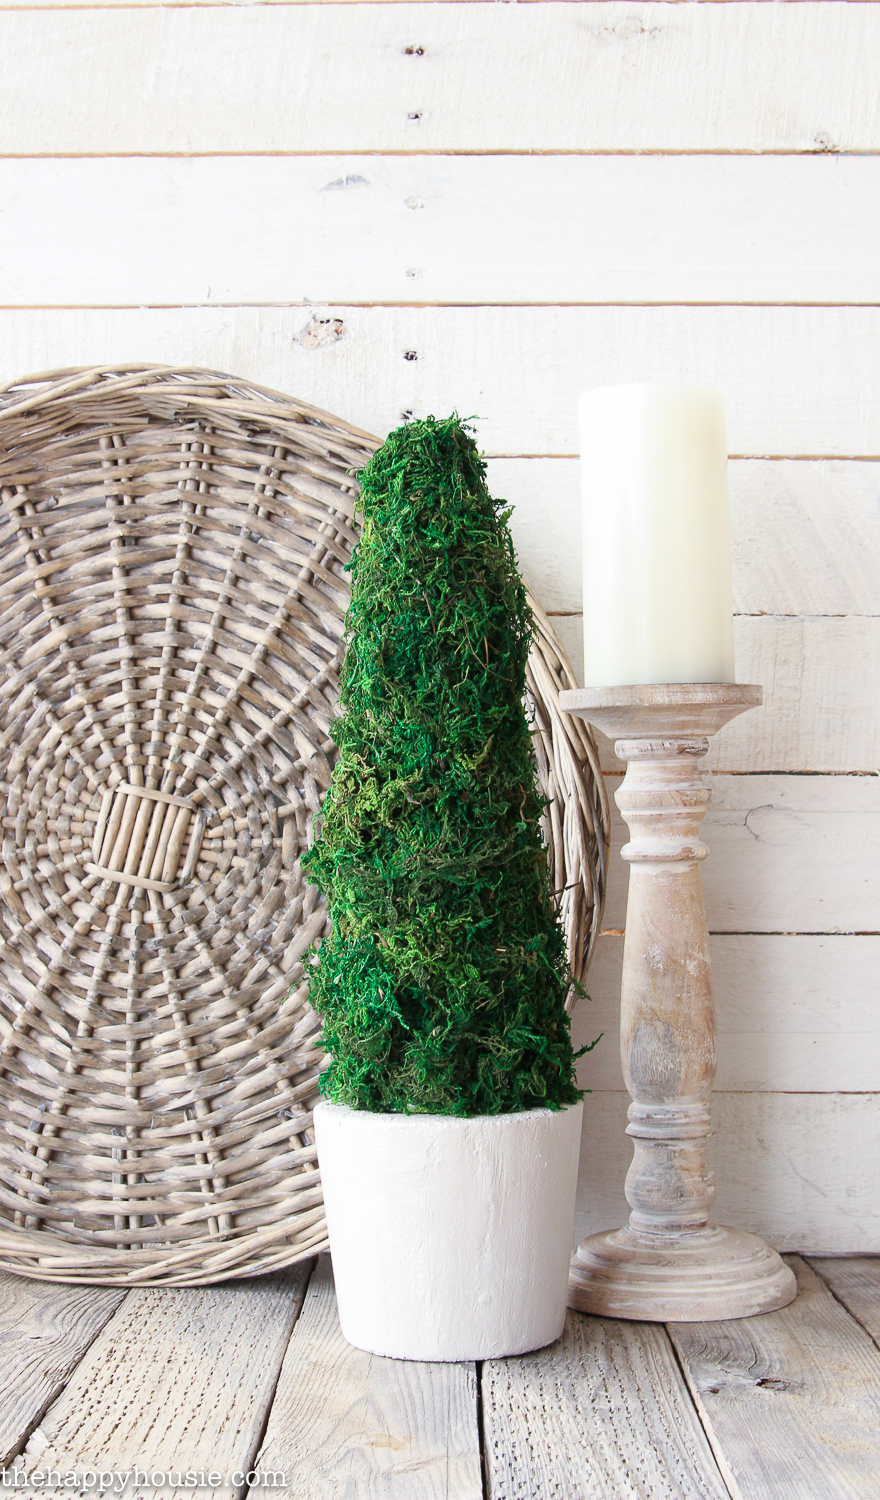
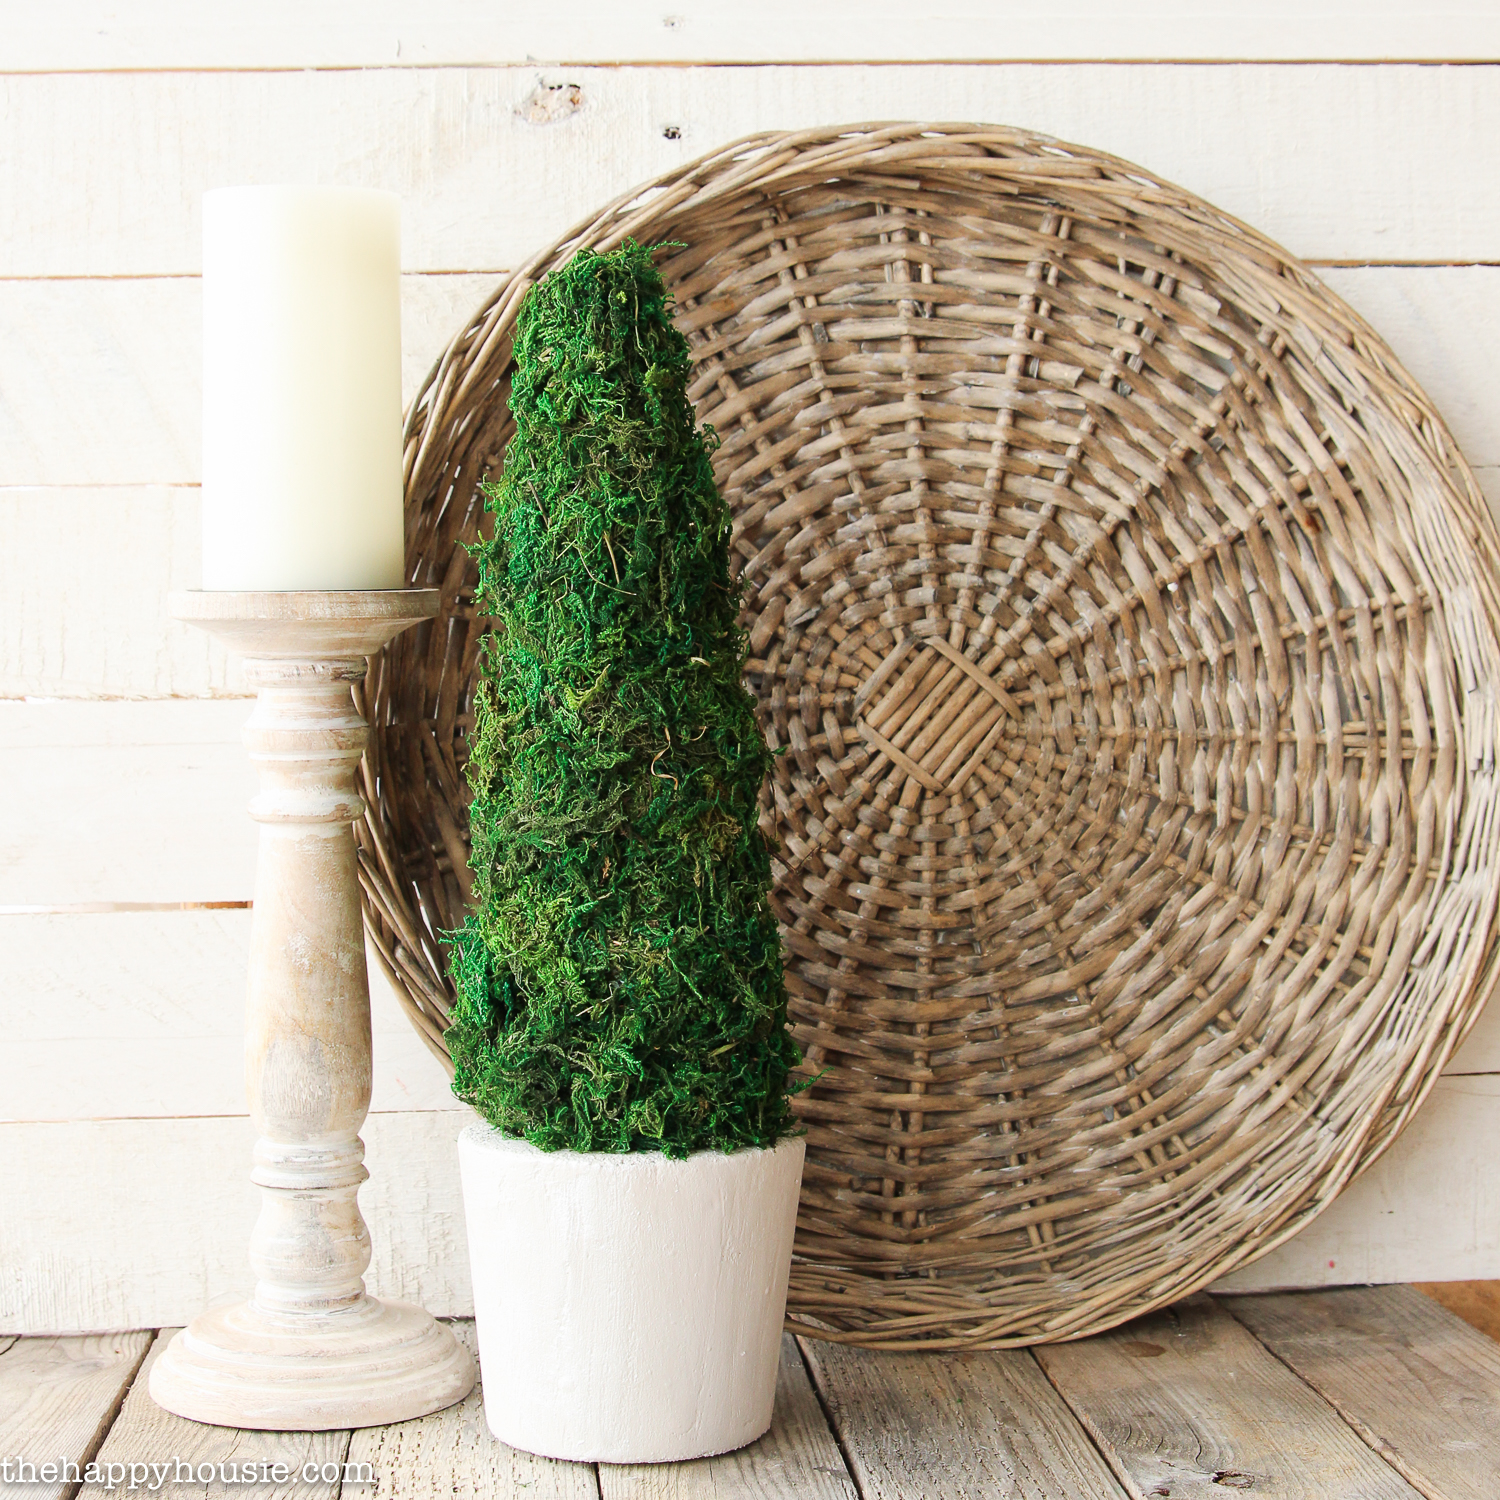
Today I’m showing you how to make this simple and pretty DIY Farmhouse Style Moss Topiary Tree from only ONE large Make it Fun® foam cone, some sheet moss and a few other basic craft supplies that you likely already have on hand.

![]()
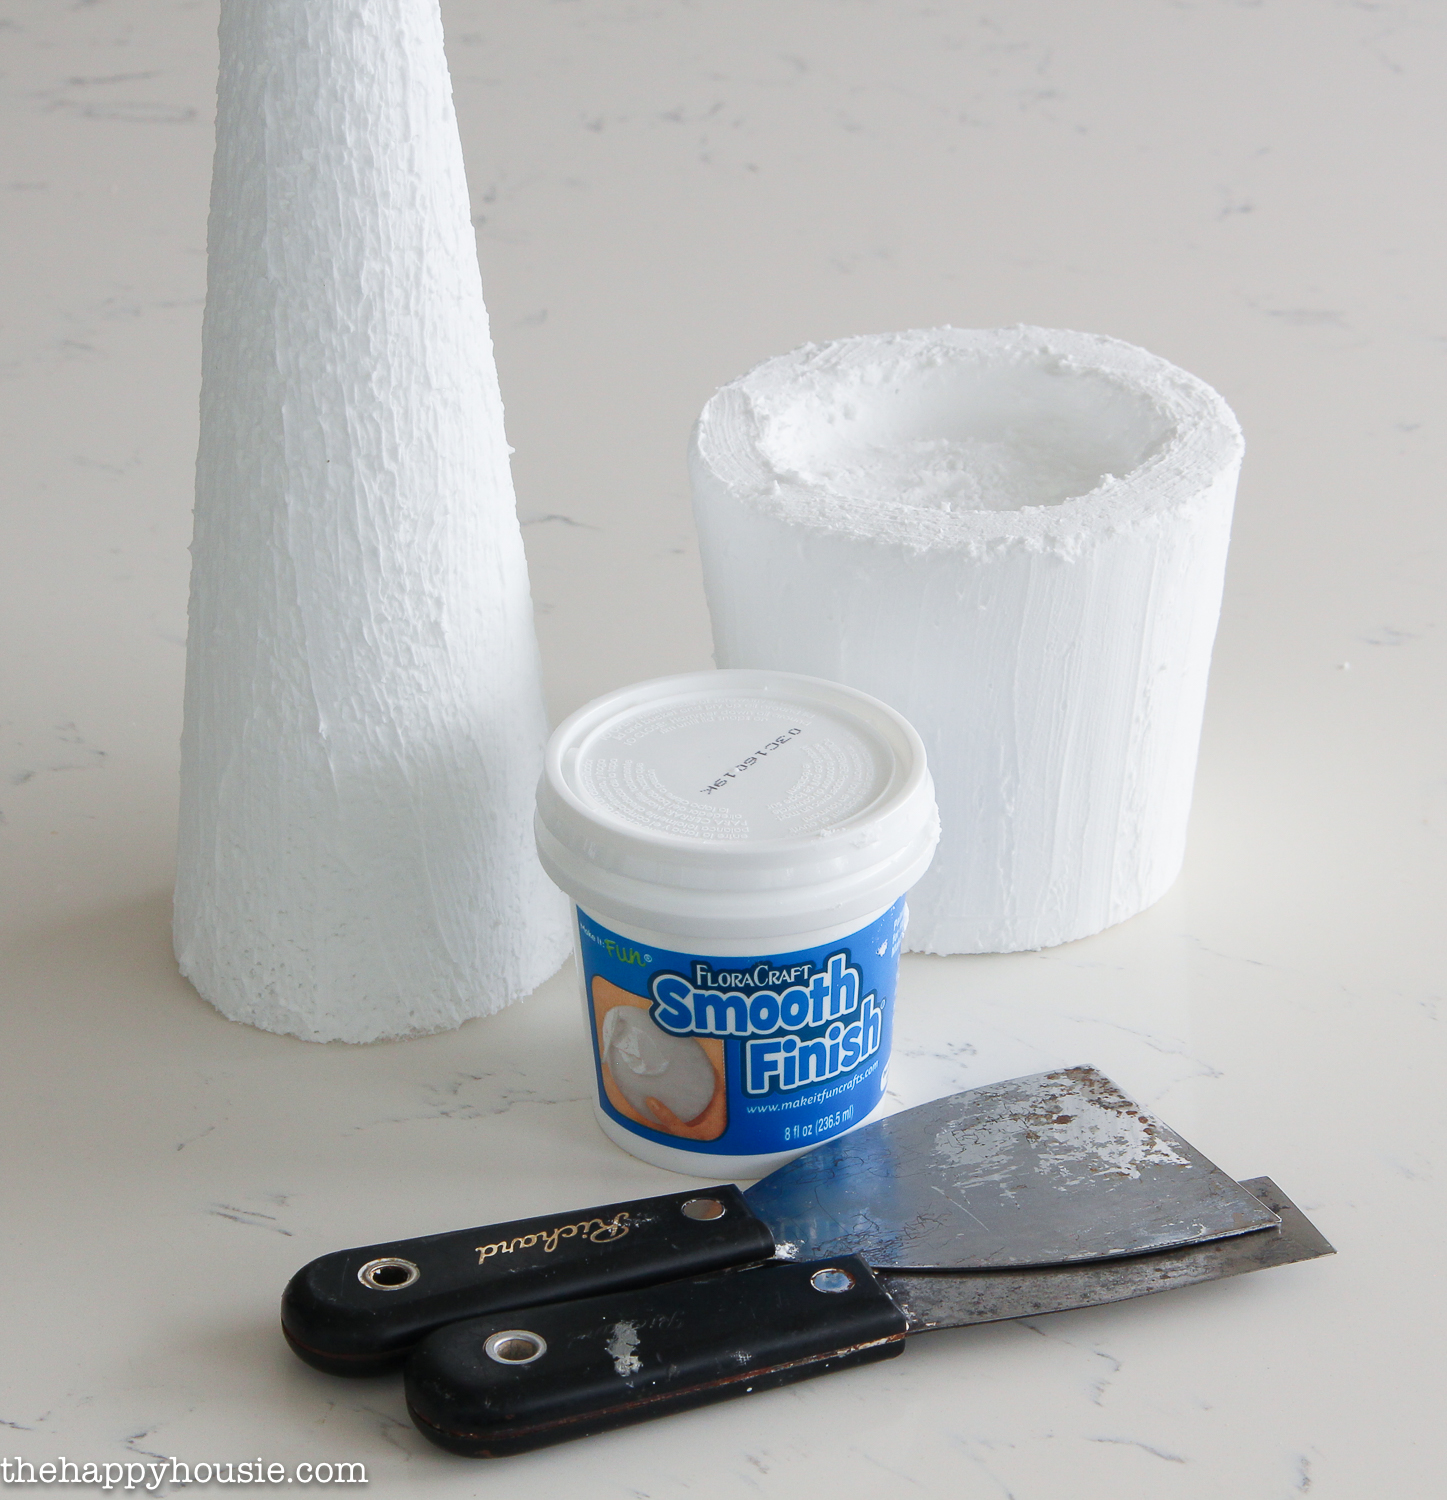
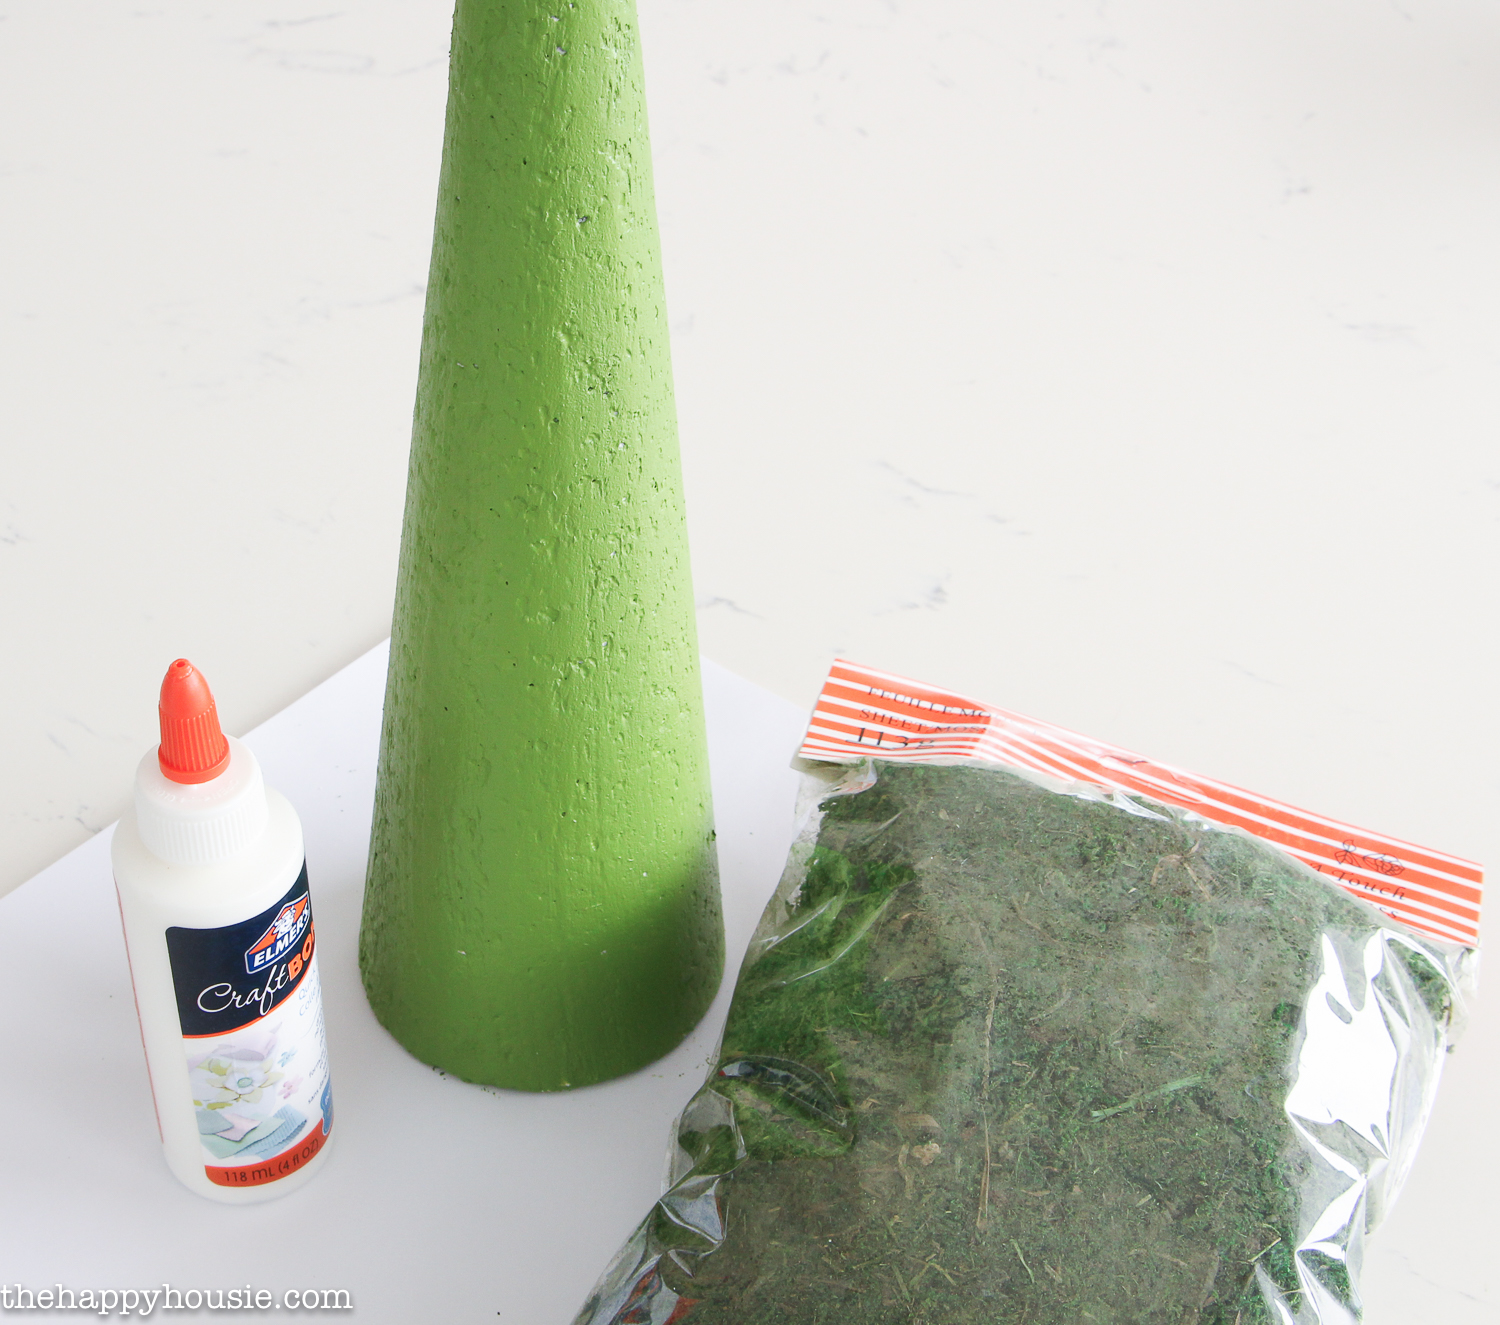
To make this I used:
1 Make it Fun Foam® Cone (17″ height) – I’ve since seen it’s also available in green which would save a step
Smooth Finish
Putty Knife
Serated Kitchen Knife
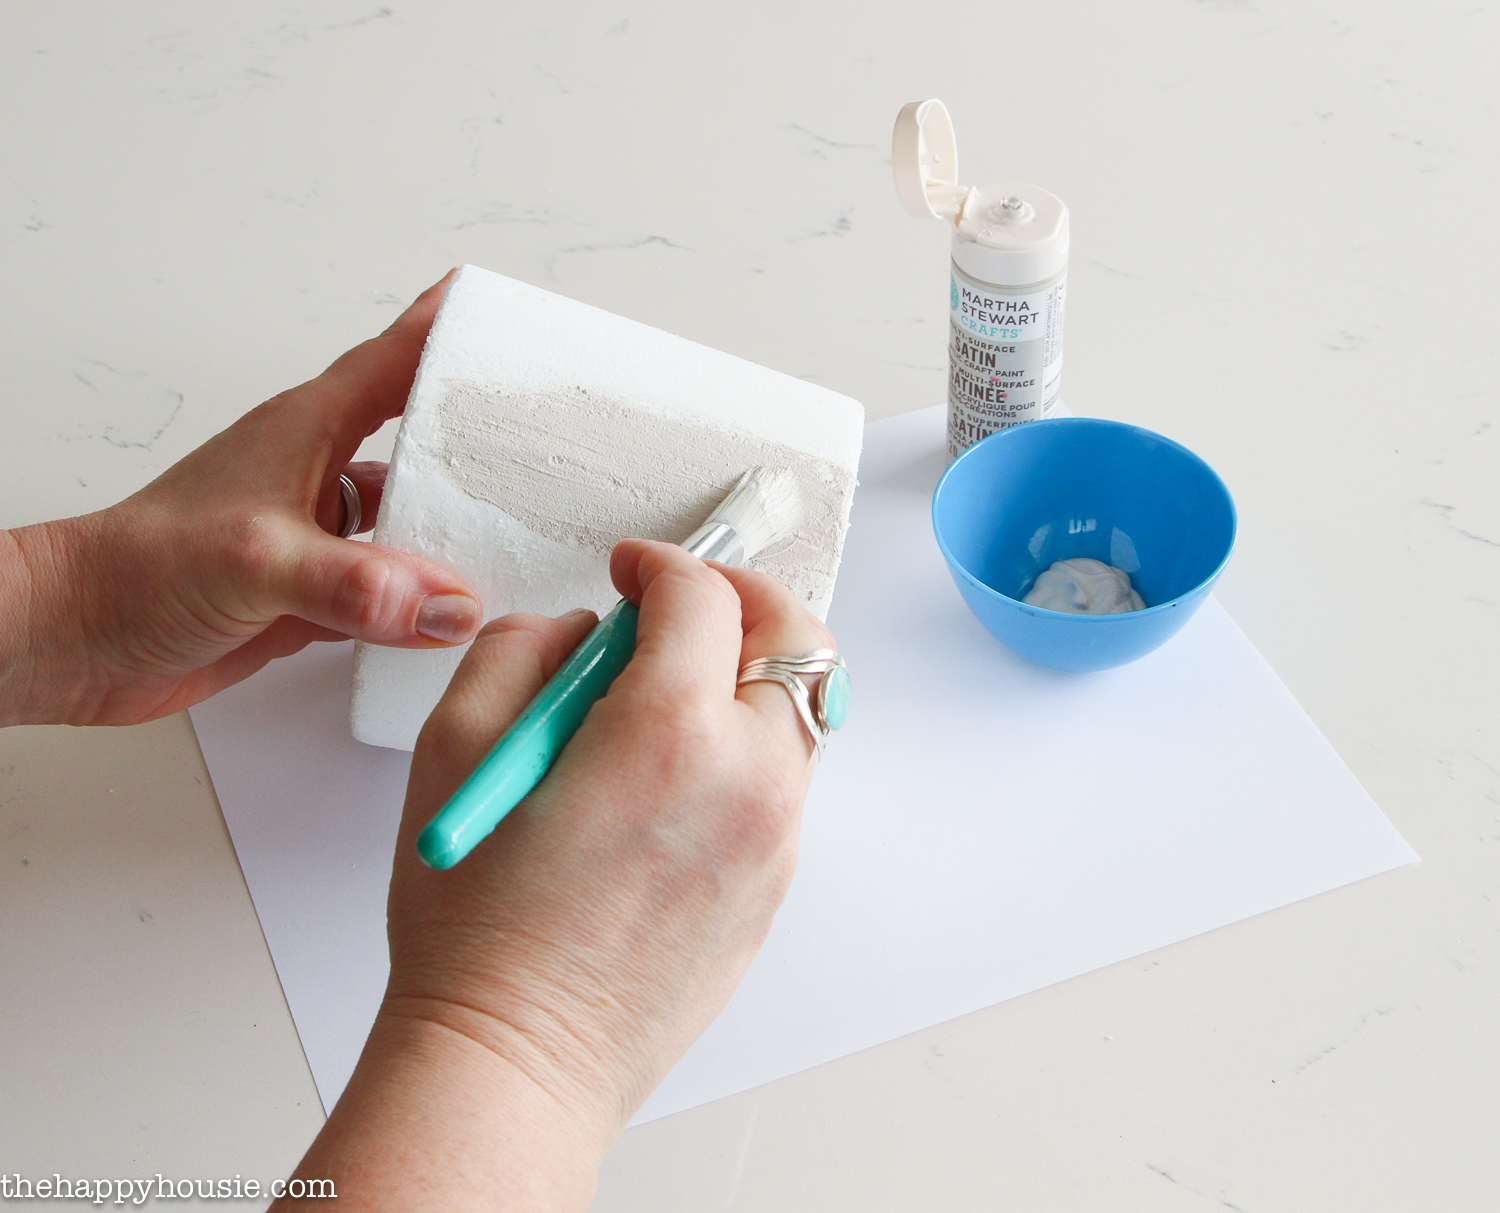
Martha Stewart Craft Paint in Green Olive, Lake Fog, and Mother of Pearl
Sheet Moss
Elmers Craft Bond Quick Dry Glue
Craft Paint Brushes
1 bamboo barbecue skewer
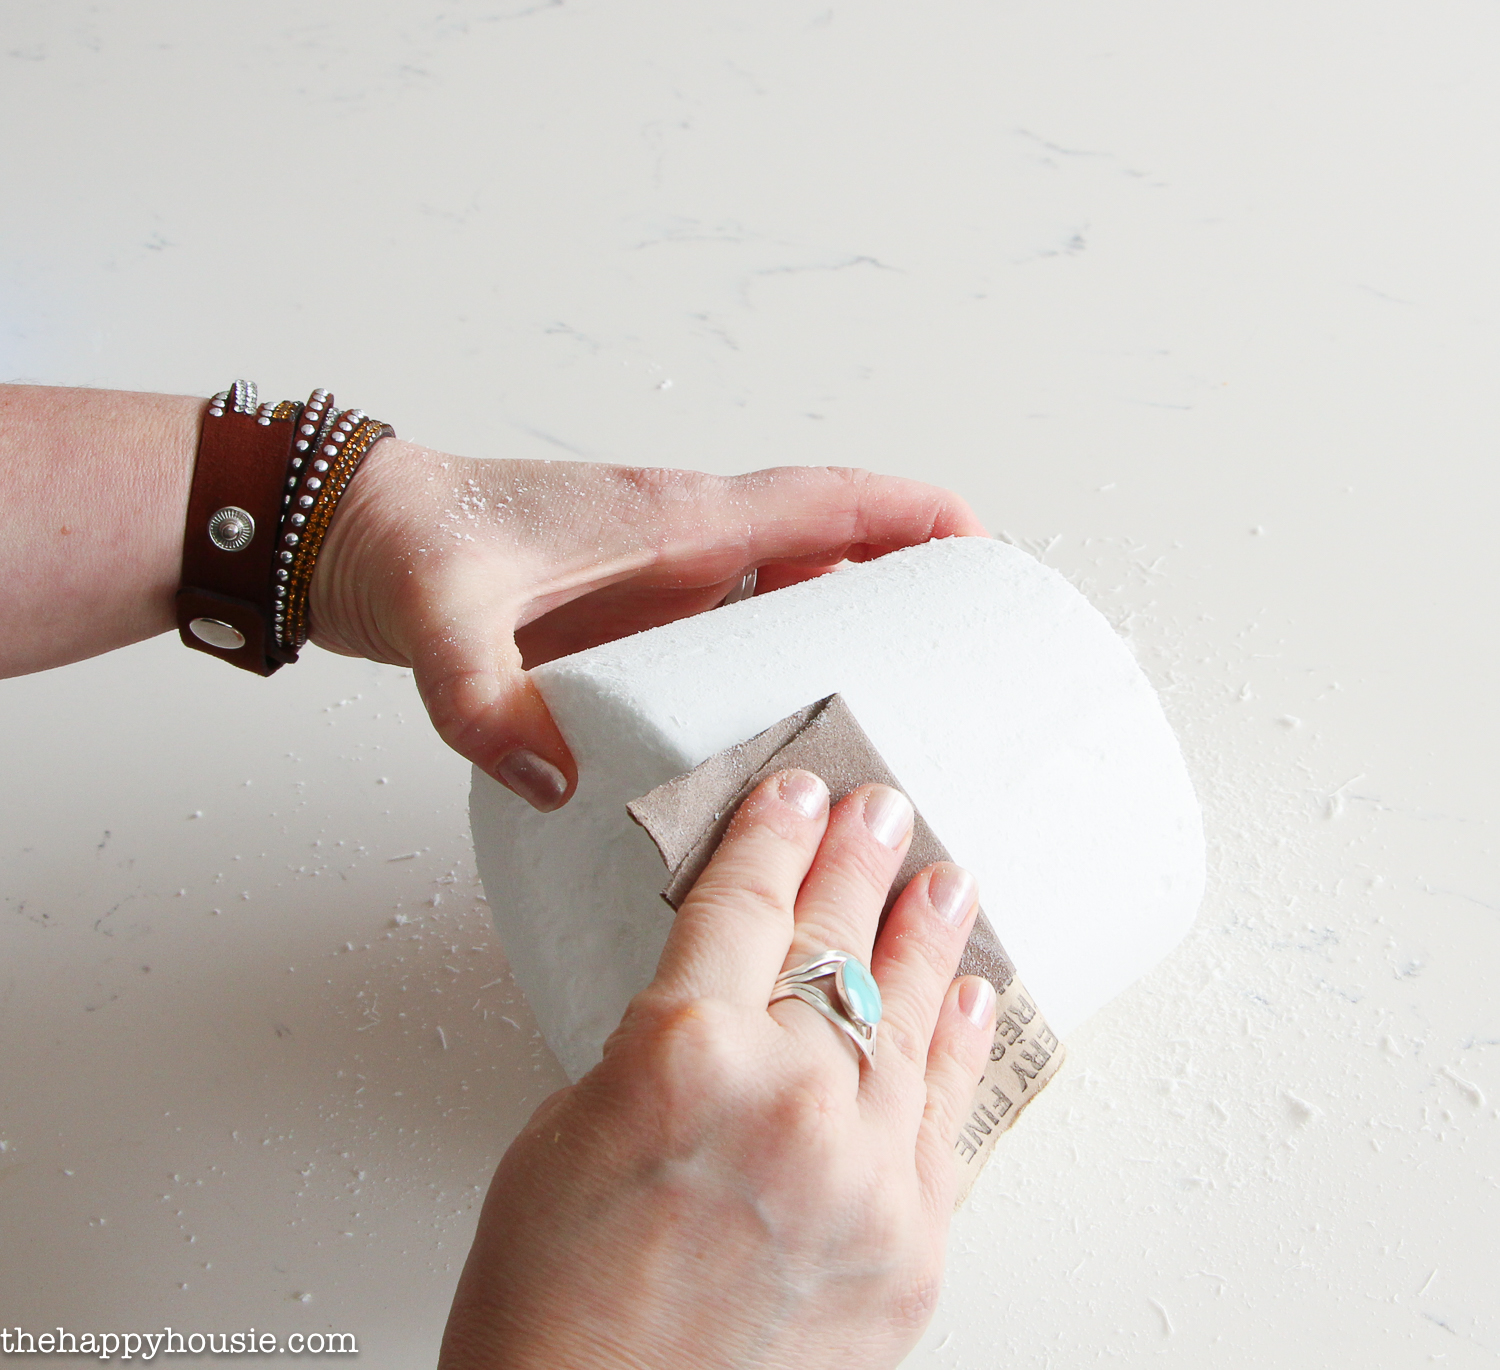
220 Grit Sandpaper
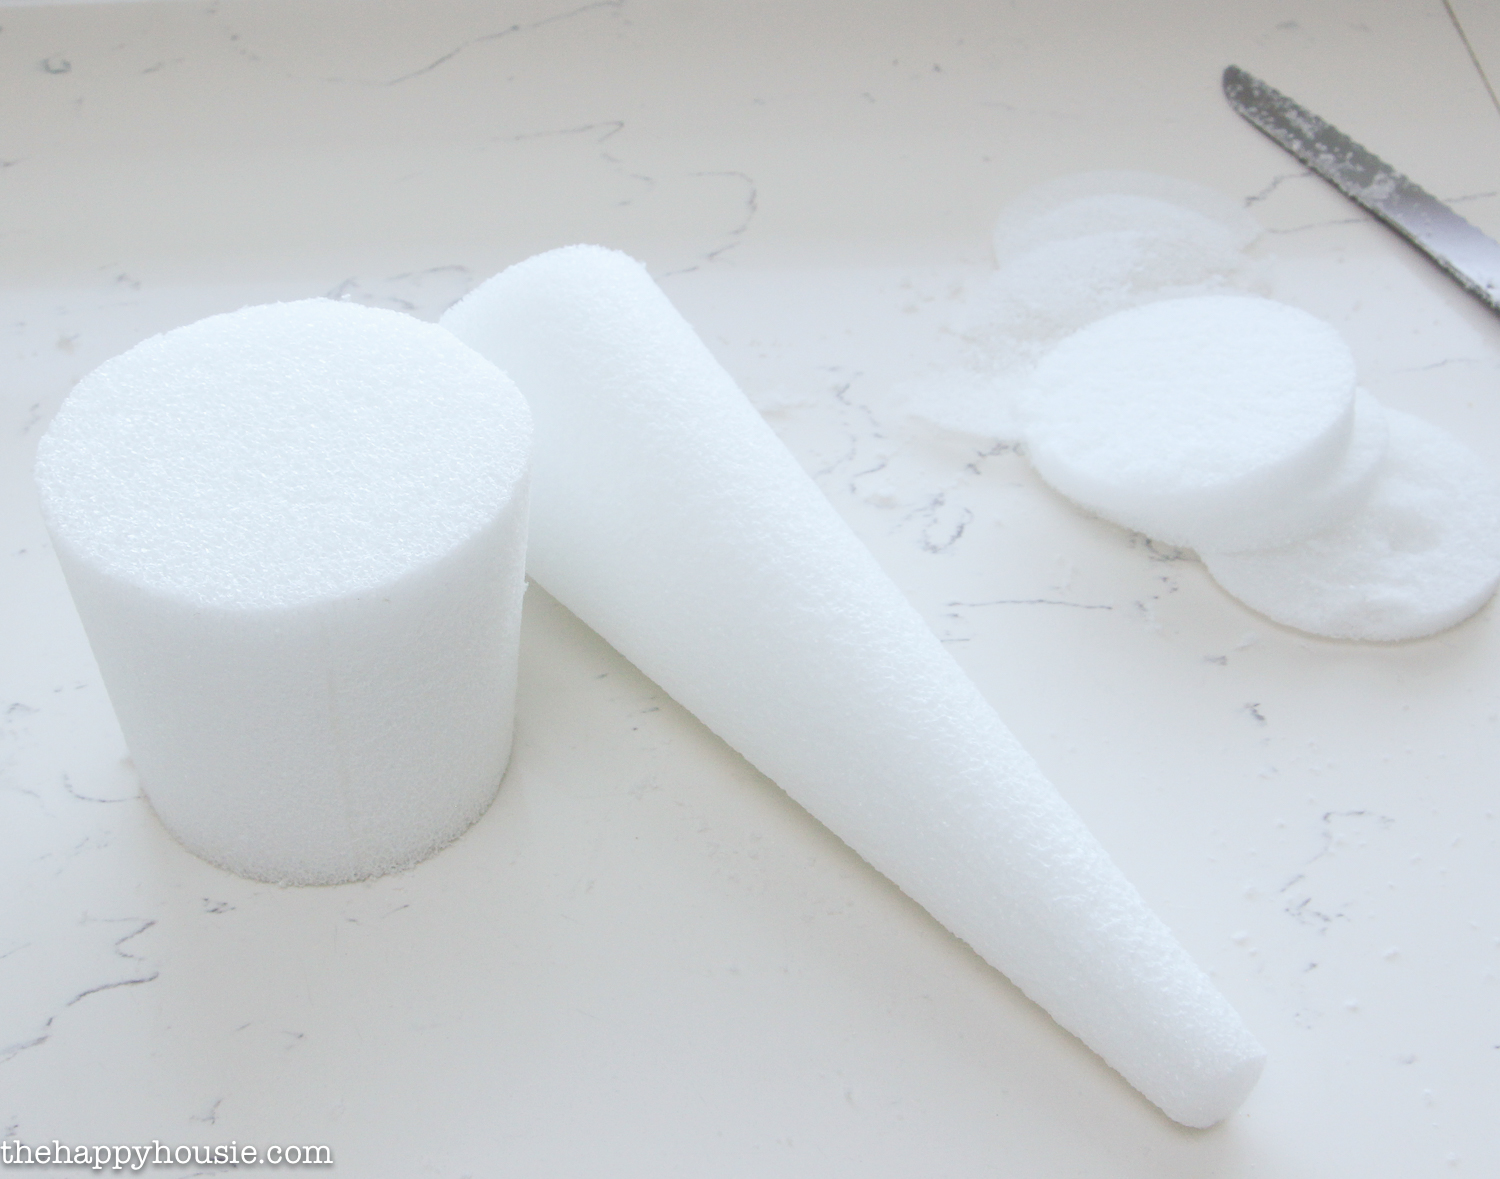
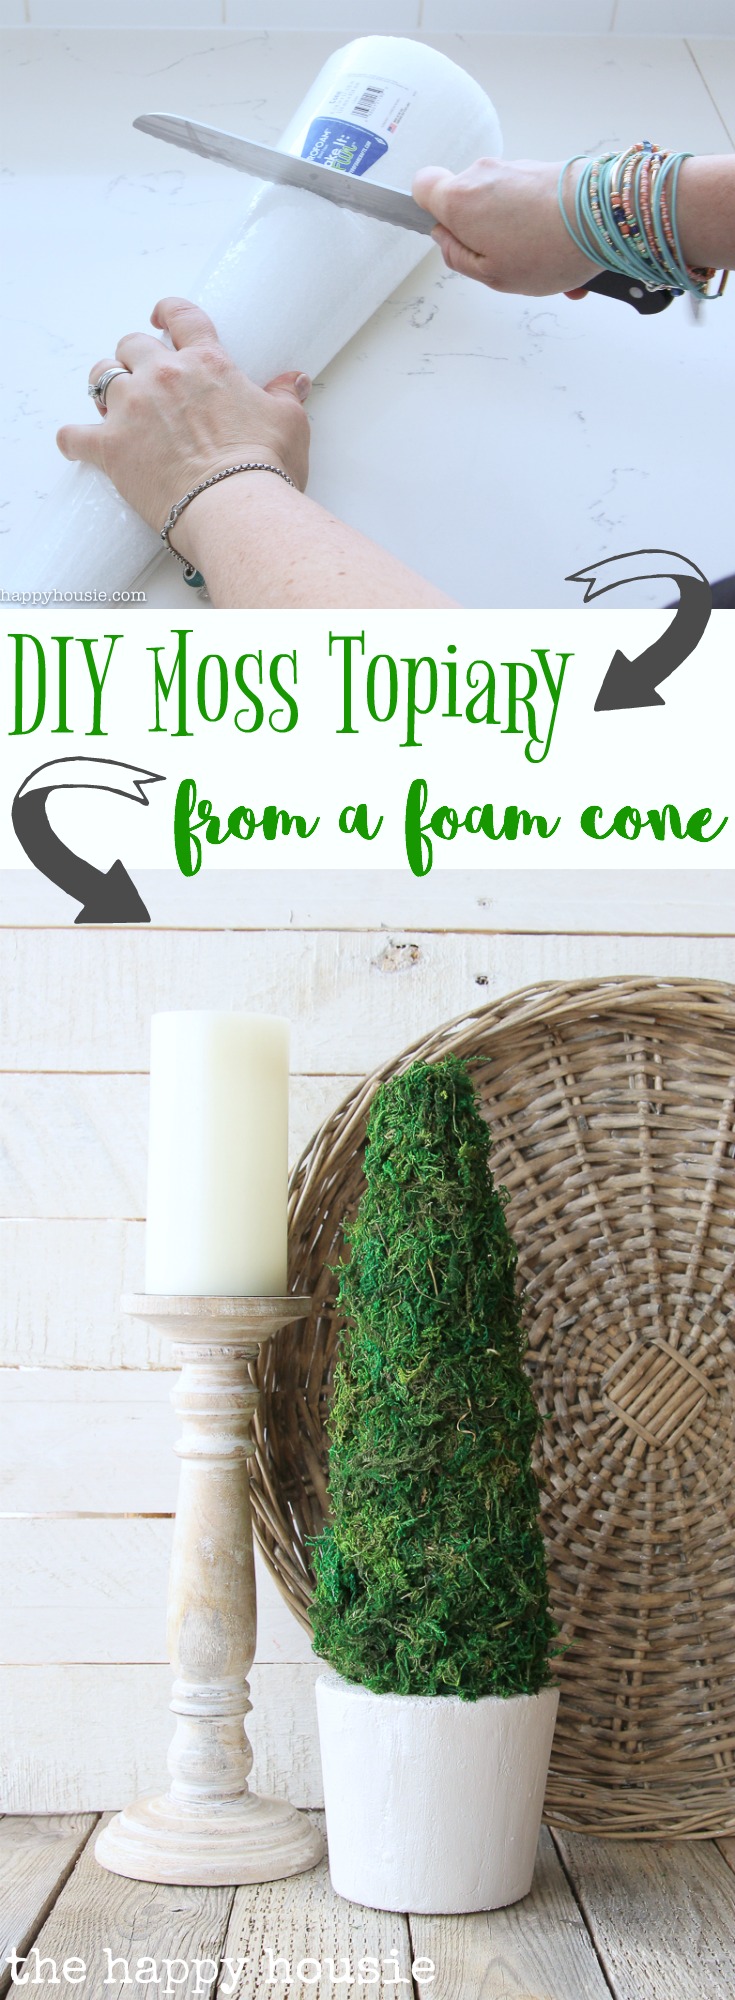
First I cut my large Make it Fun Foam® cone into two parts – the bottom for the pot, and the top for the moss topiary form. I made the base “pot” about 4 1/4″ tall.
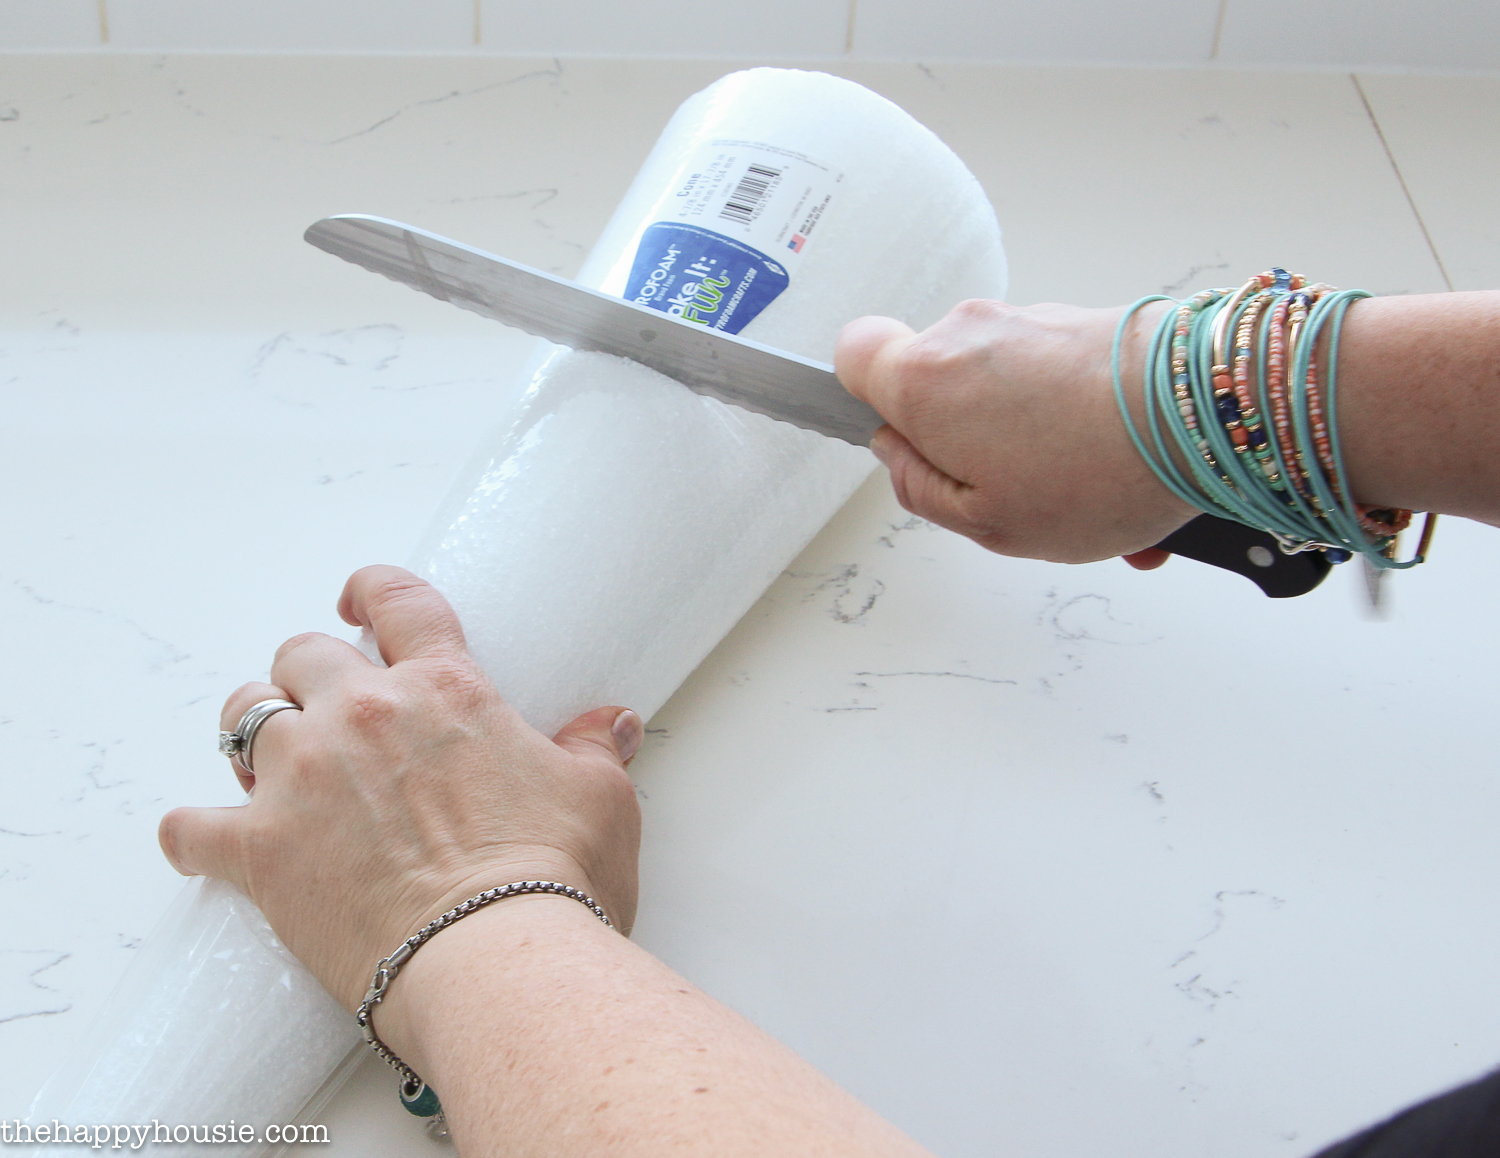
I wanted to be sure that I got a level end on each piece, so I had to do a few precision slices with my knife to straighten them out.
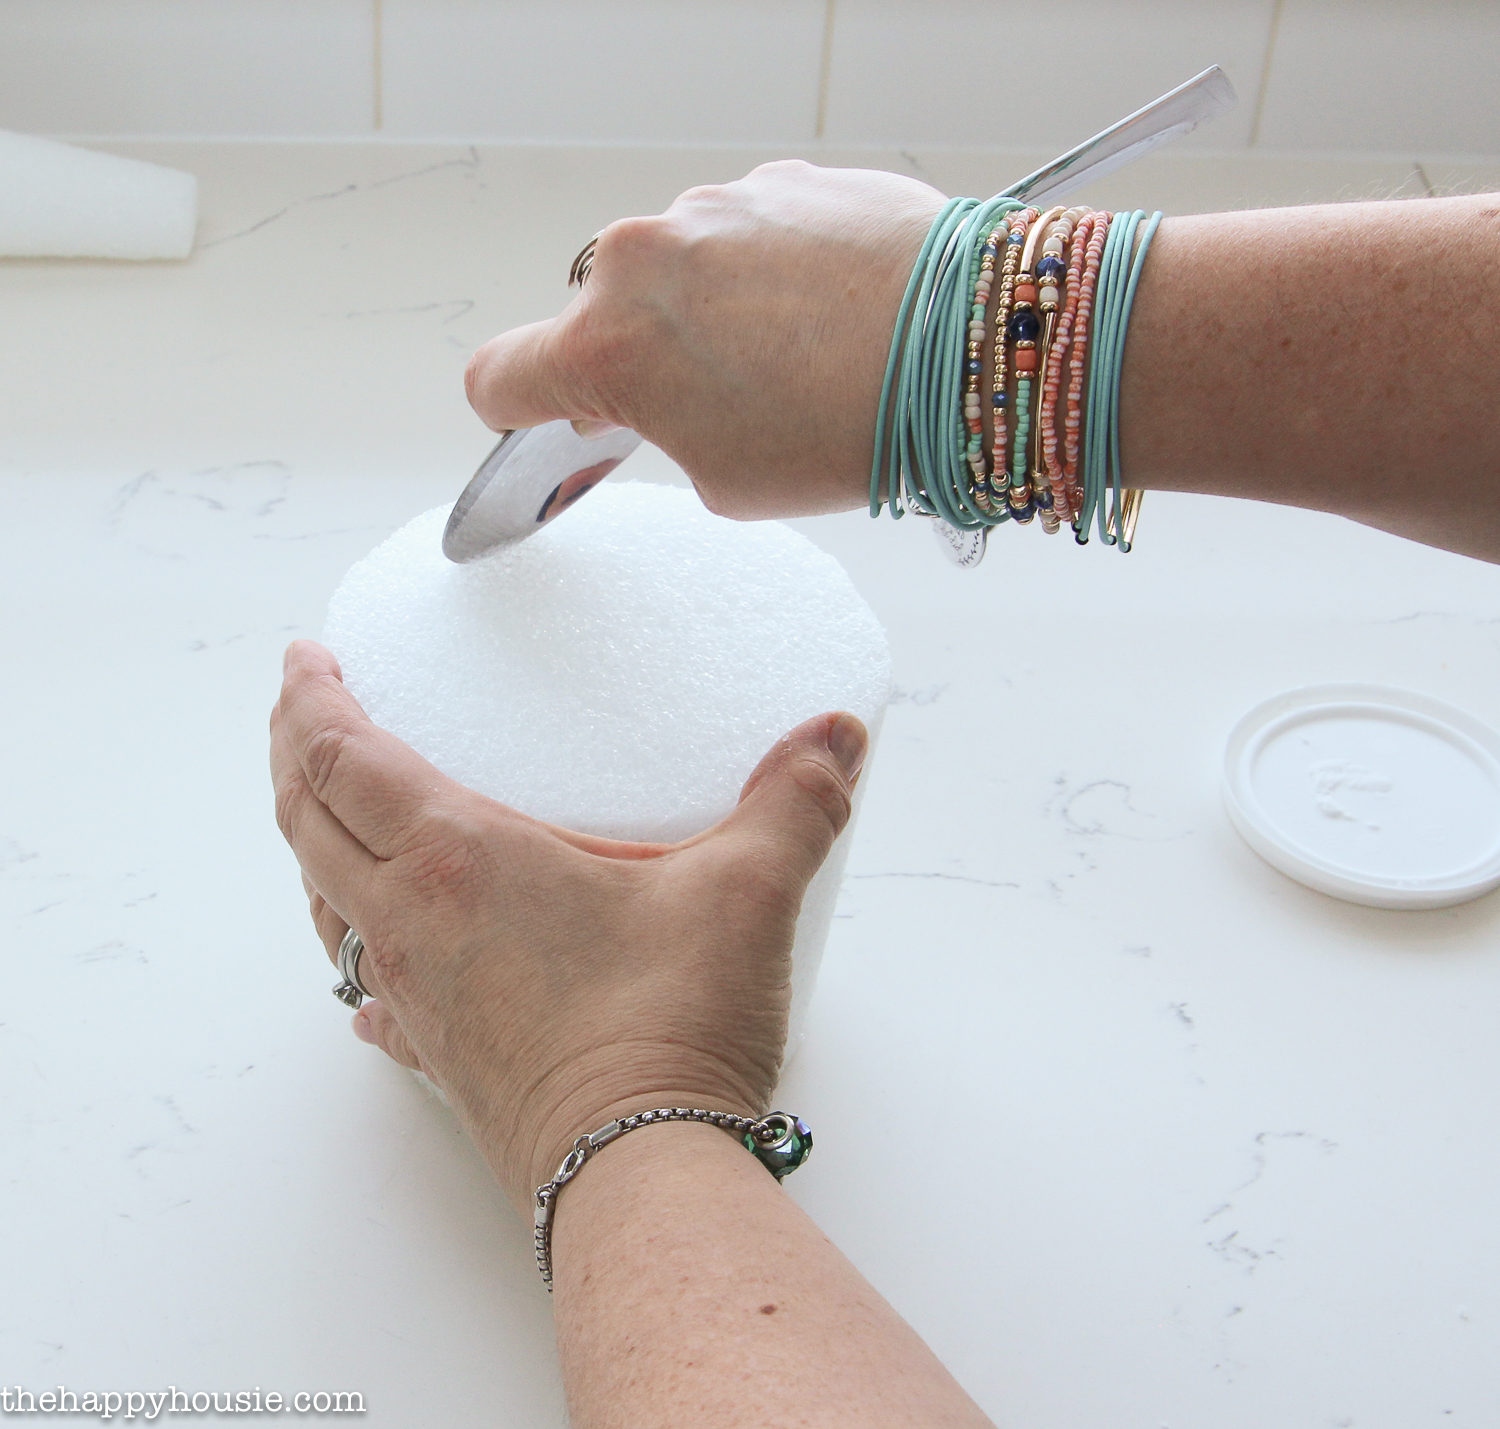
Then I carved out some of the top of my base piece to create an edge like you would see on a real clay pot.
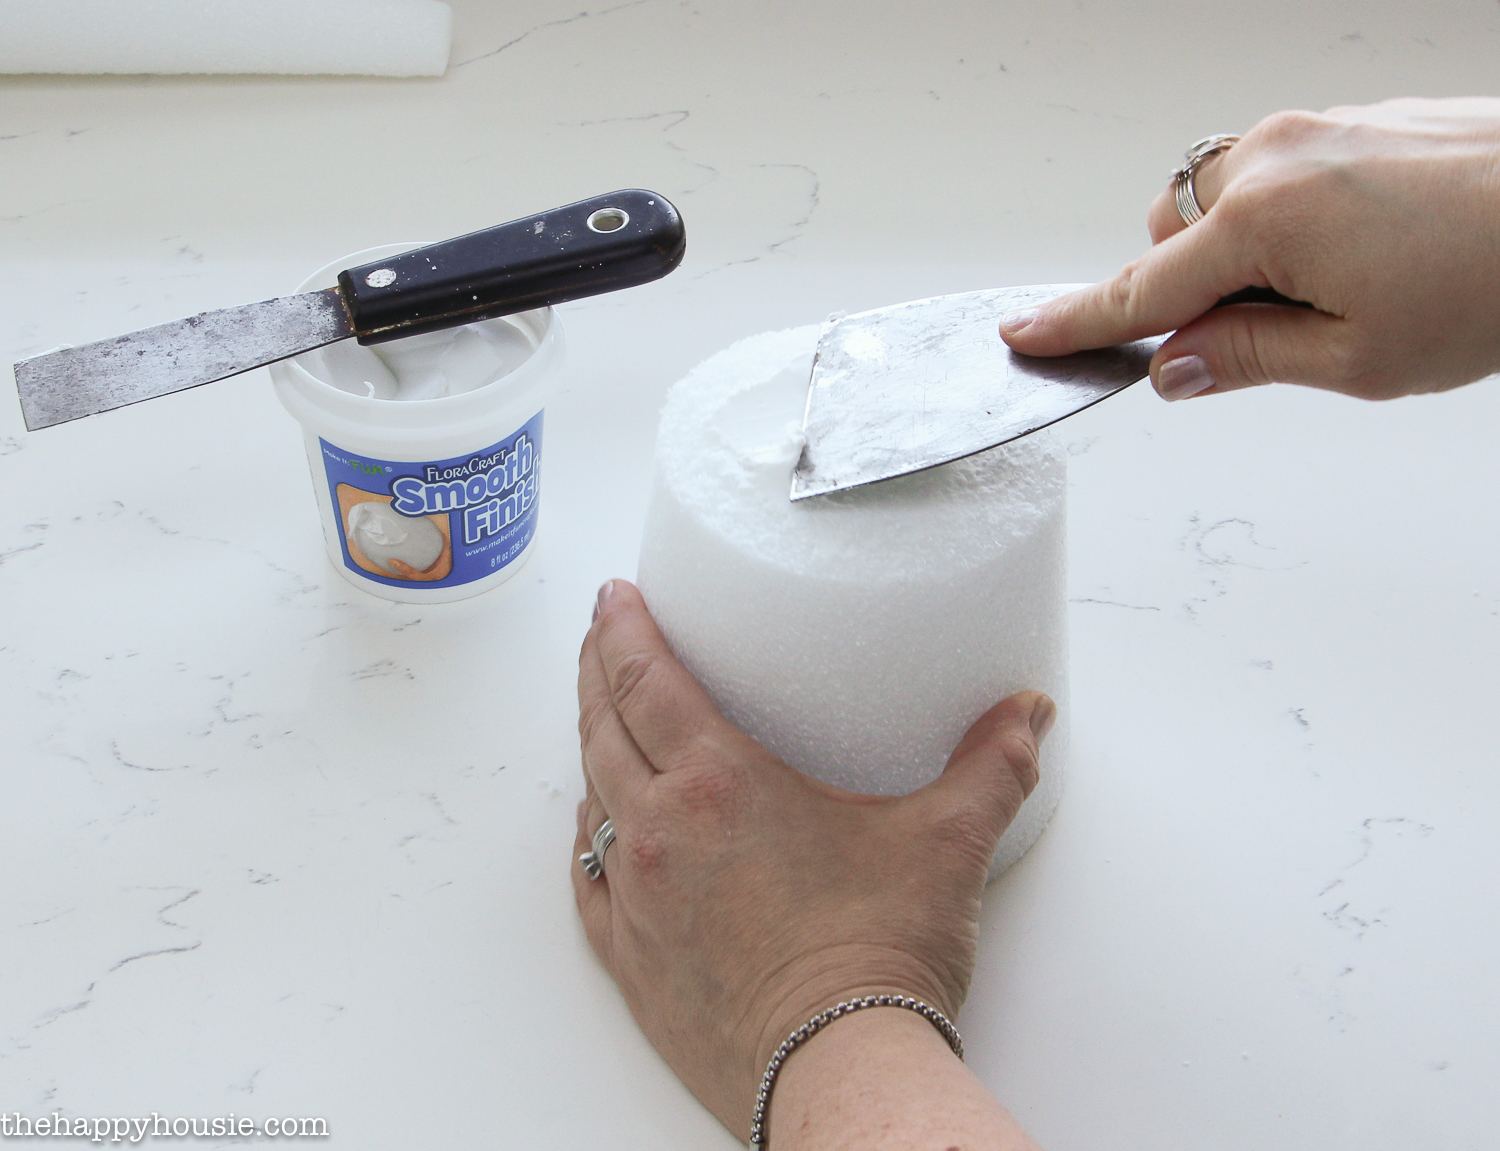
And covered both the base and the cone with Smooth Finish. Once it was dry, I added a second thin coat of the Smooth Finish.
After the second coat has dried, I sanded both pieces smooth with some 220 grit sandpaper…
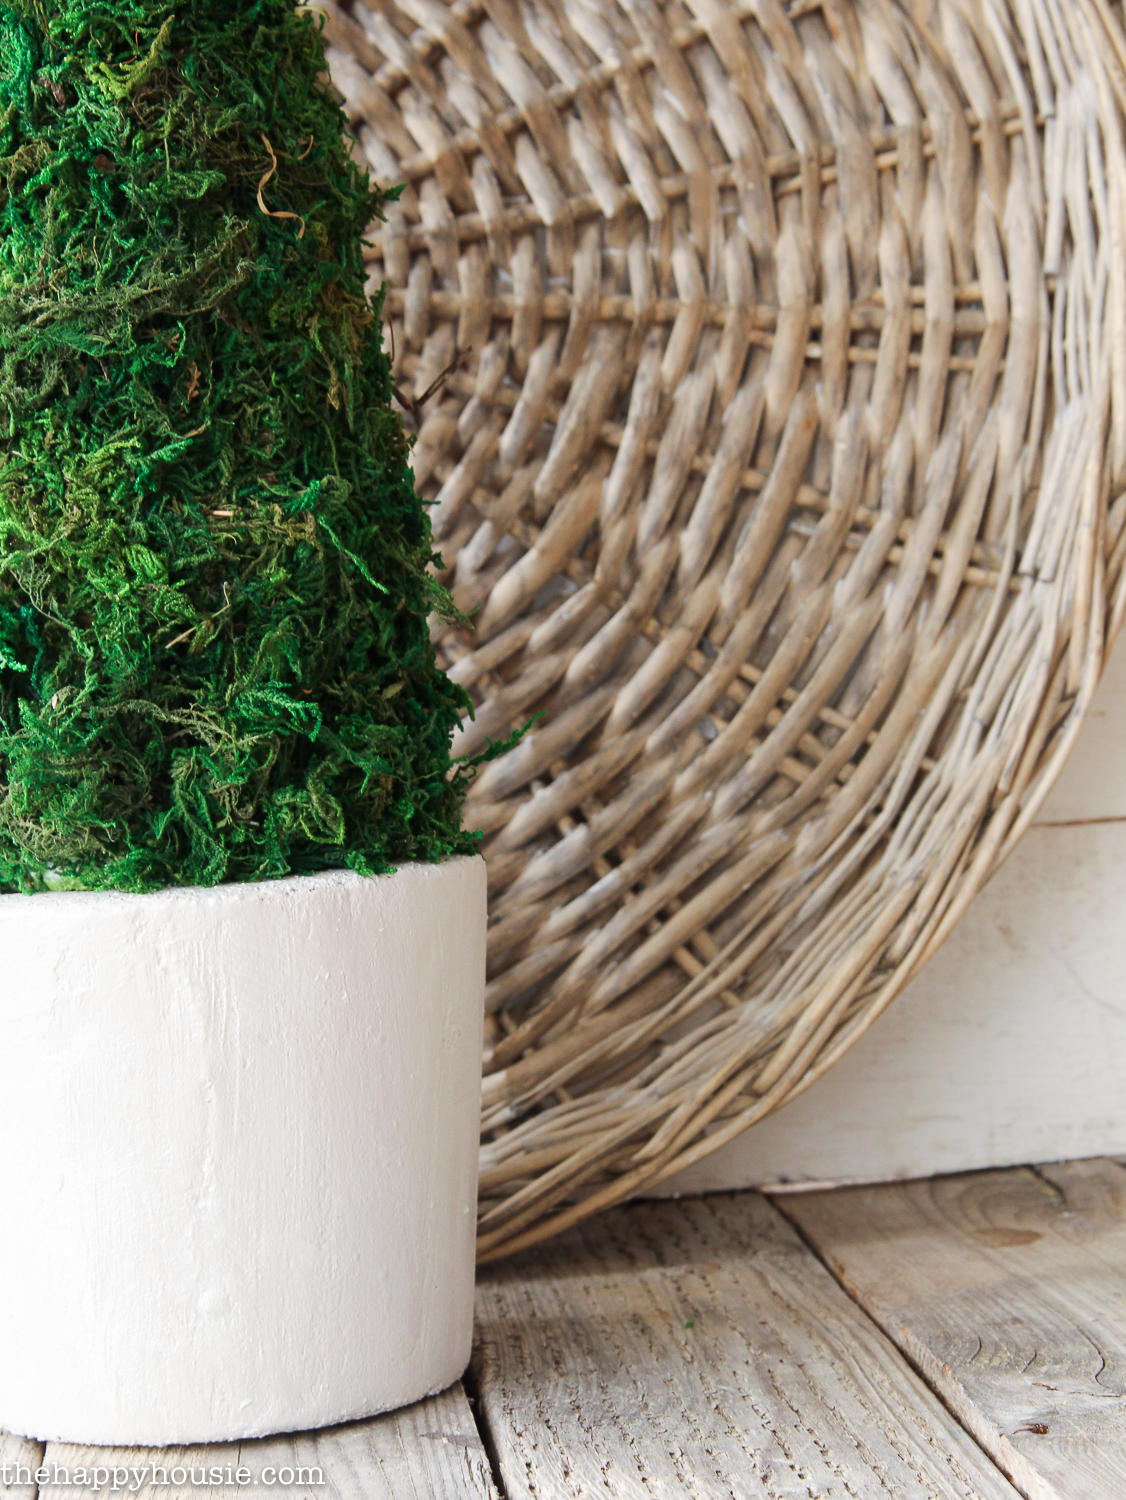
I painted the pot with a putty-ish colour called Lake Fog (Martha Stewart)…
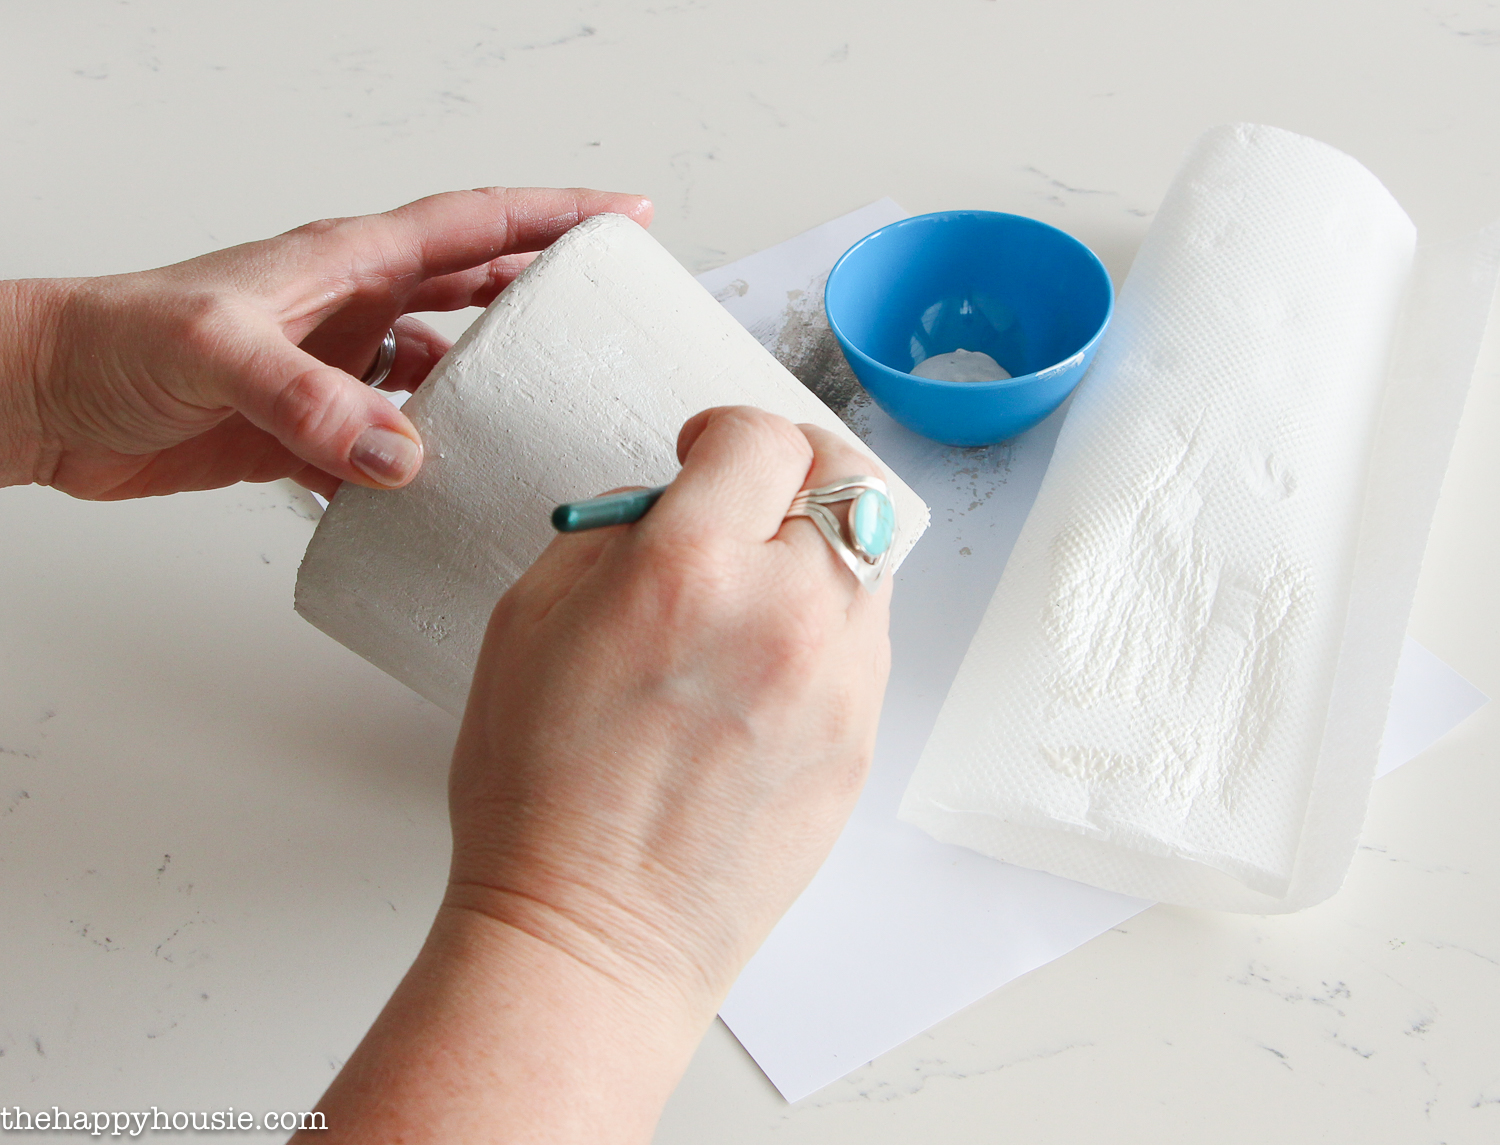
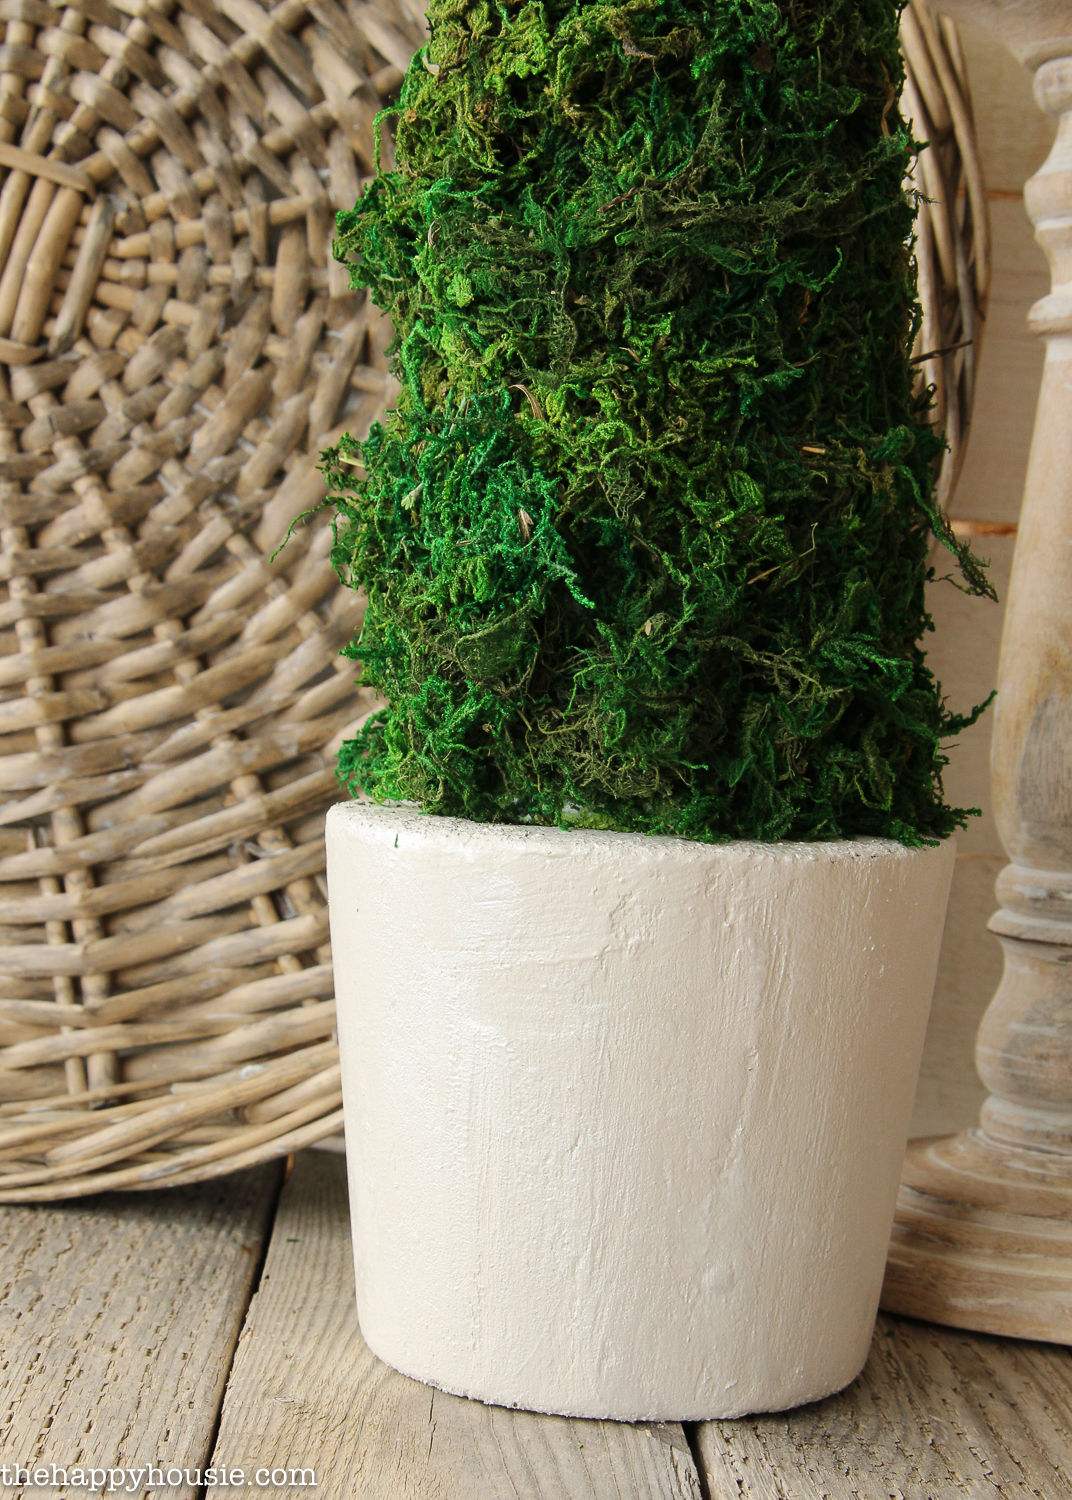
And then I went back and dry-brushed on some Craft Paint in Mother of Pearl (Martha Stewart). To “dry-brush”, just take most of the paint off your brush by first painting it on a cloth or paper towel, and then brush it onto the base. I went back and forth in a cross-hatch pattern. There is very little paint, but it gives added dimension and texture to the “pot”.
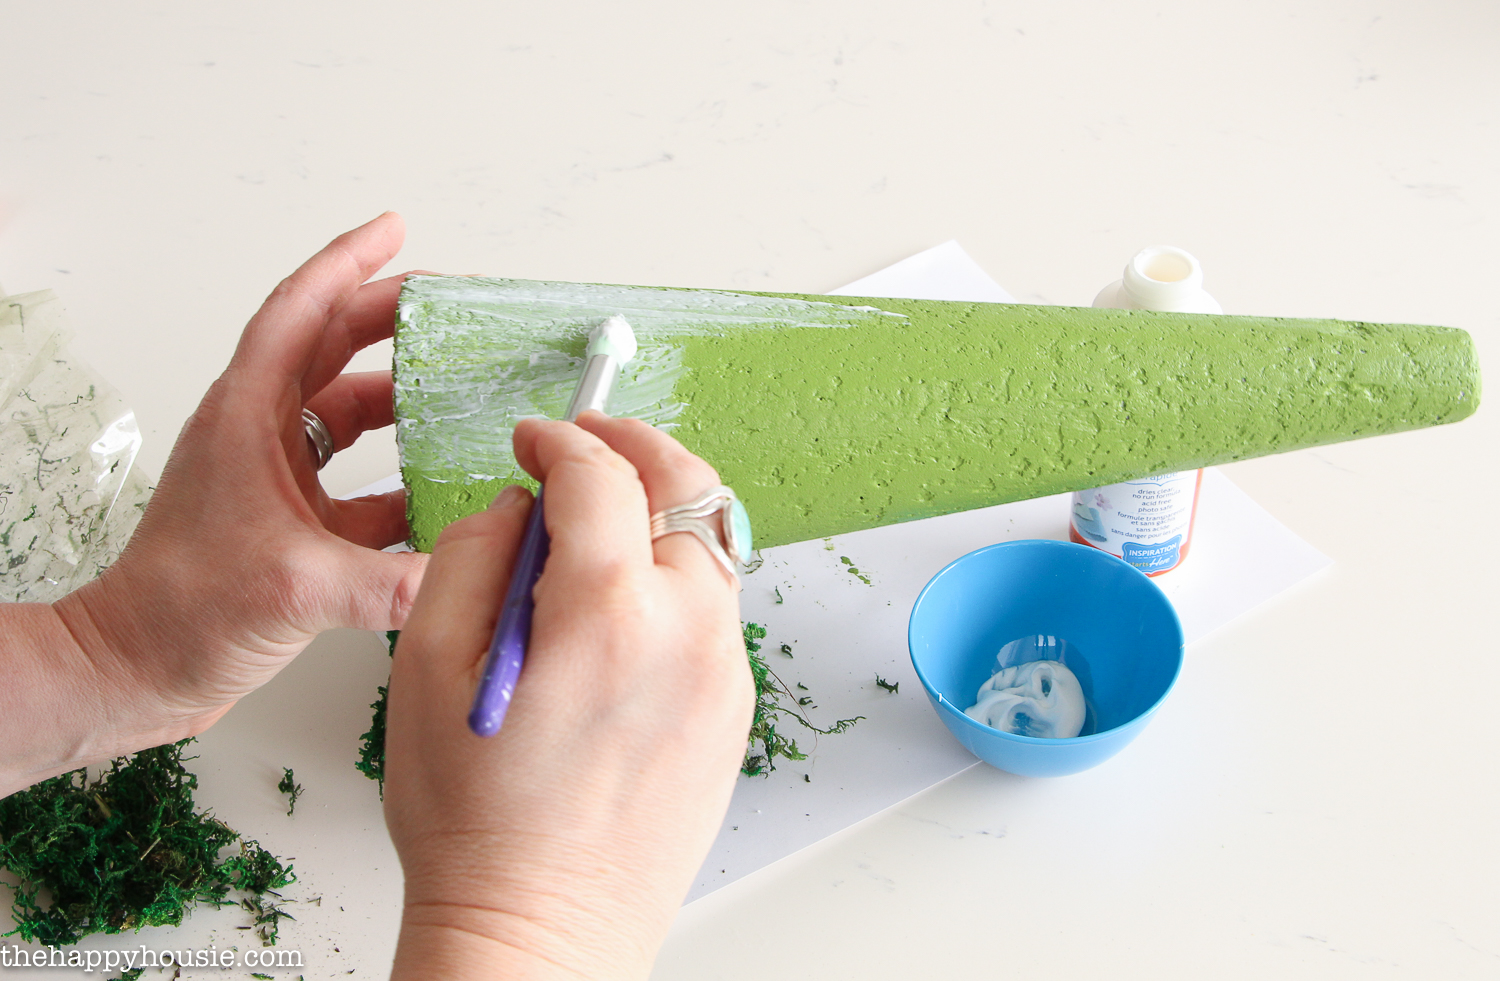
Also I gave the cone a coat of green paint (Martha Stewart Olive Green) as a base coat in case there were any little gaps in the moss as I didn’t want white to be showing through.
I used a brush to add the Elmer’s Craft Bond glue, and then pressed and held the moss on the cone form…
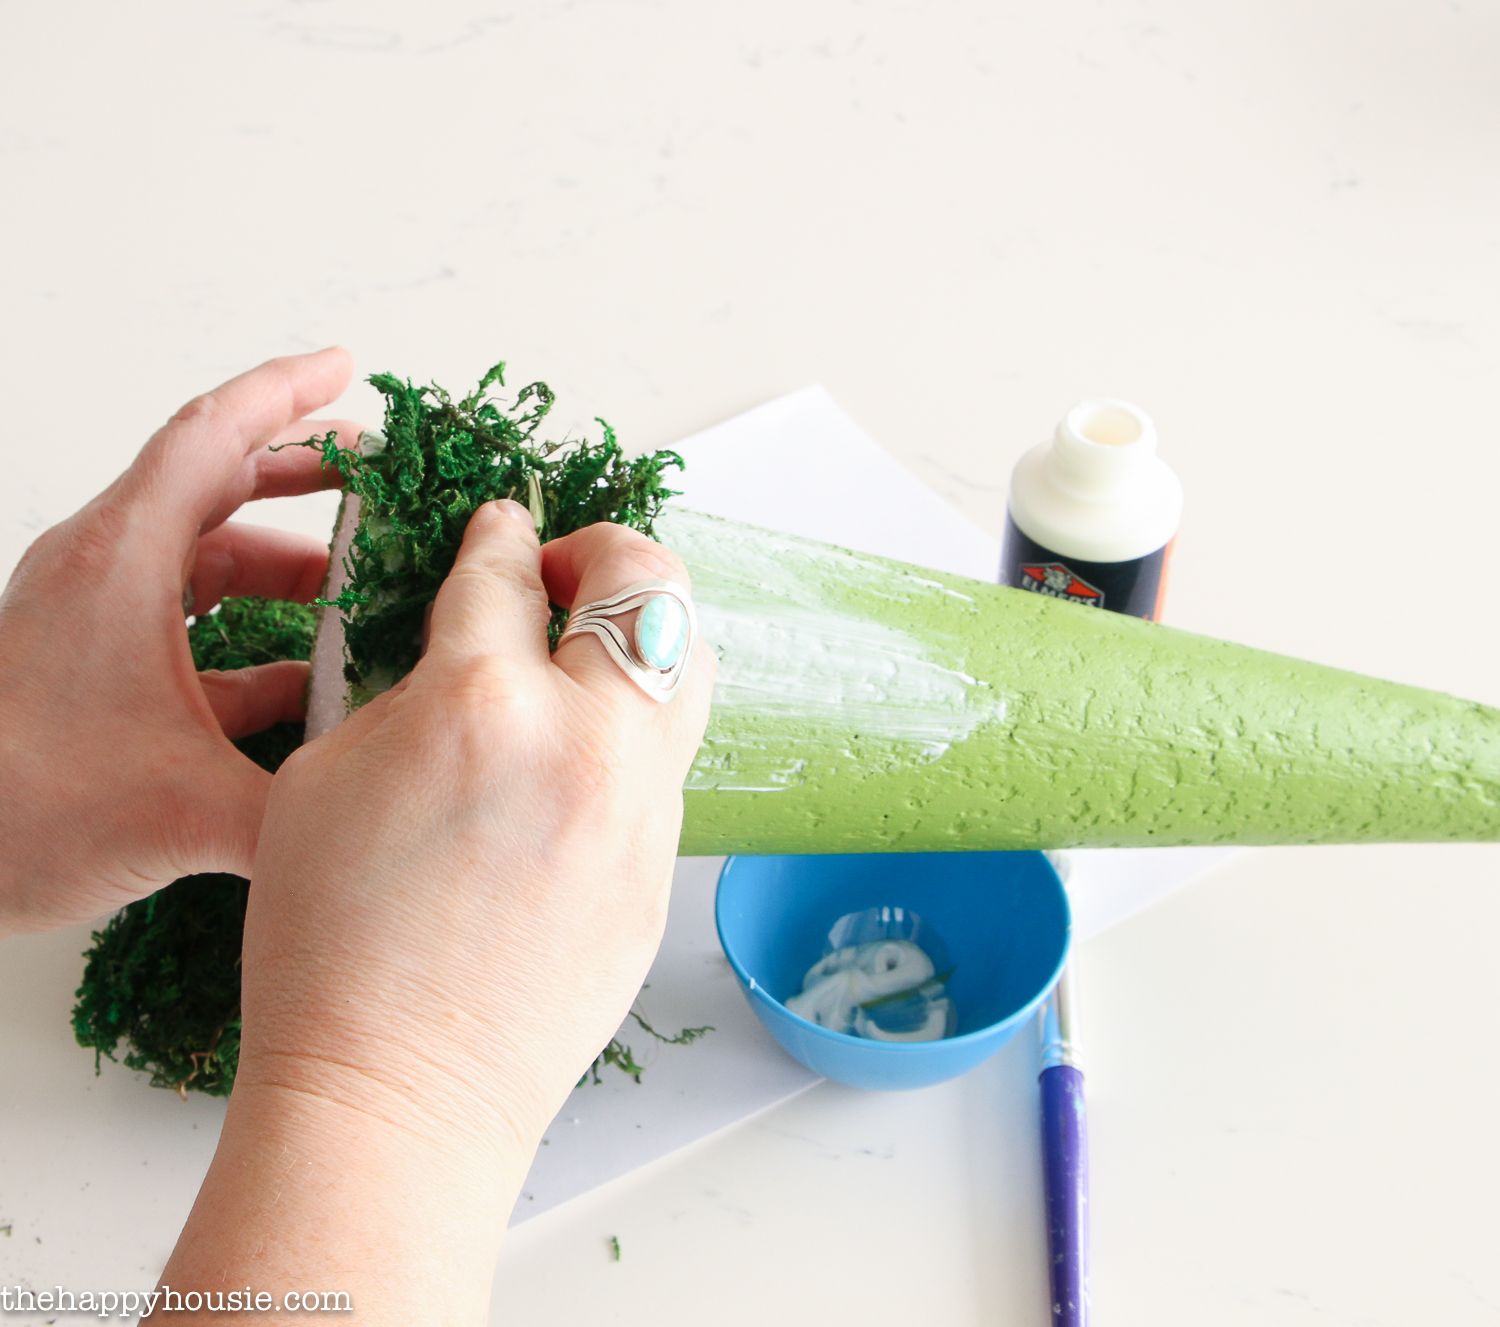
I worked my way from the bottom to the top, adding more glue and then moss as I worked…
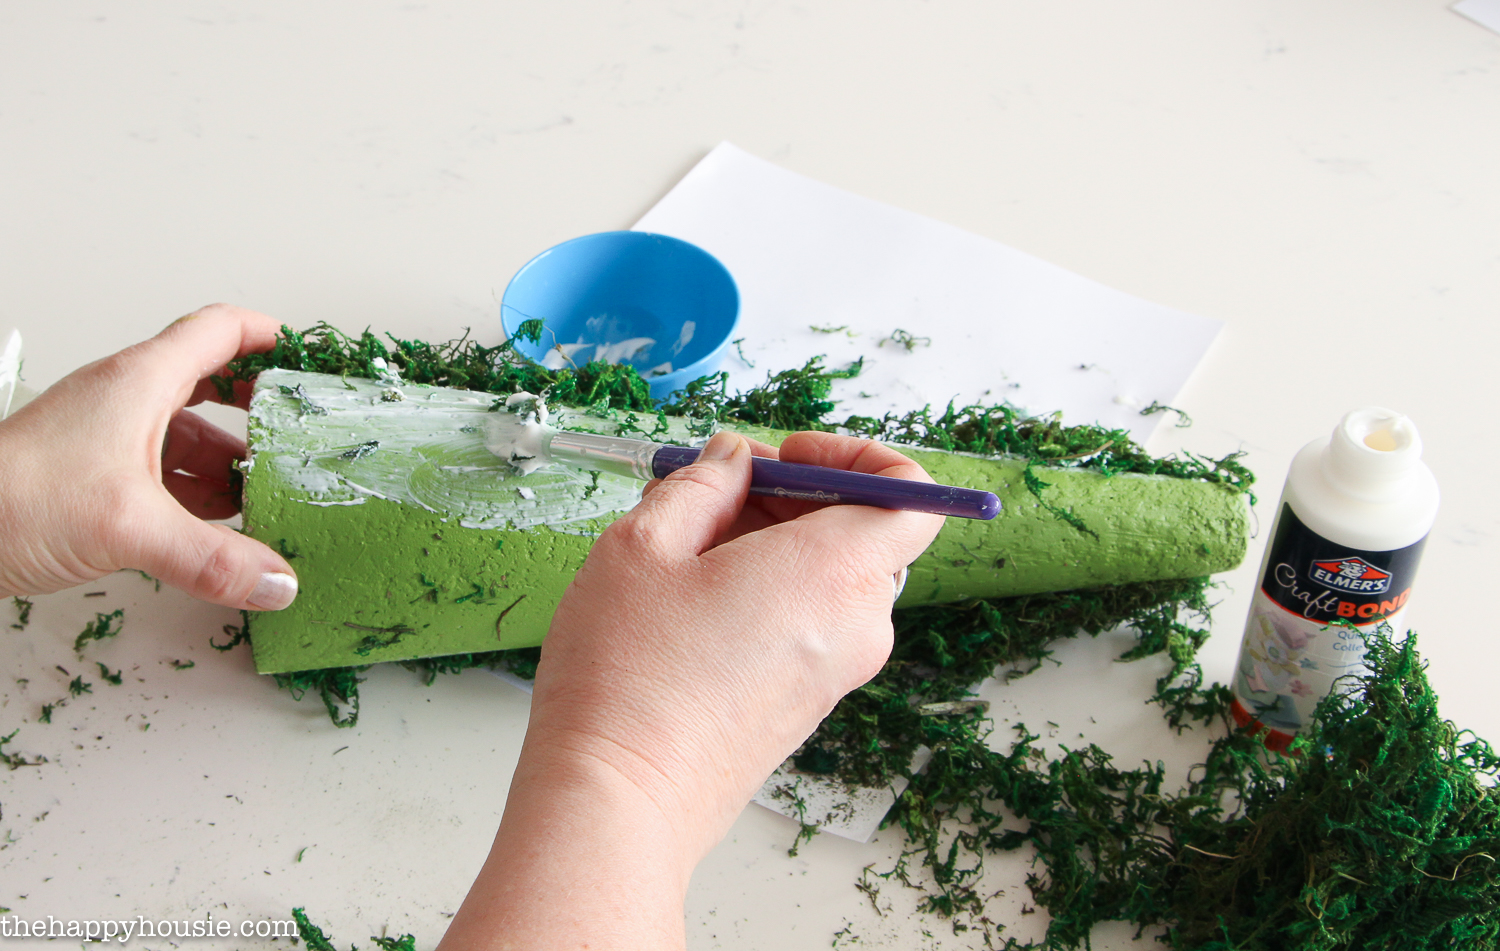
I pressed the moss into place, holding it down for several seconds to make sure that it adhered to the glue.

Once both pieces had had a chance to dry, I attached them together using one skewer that I broke into two pieces.
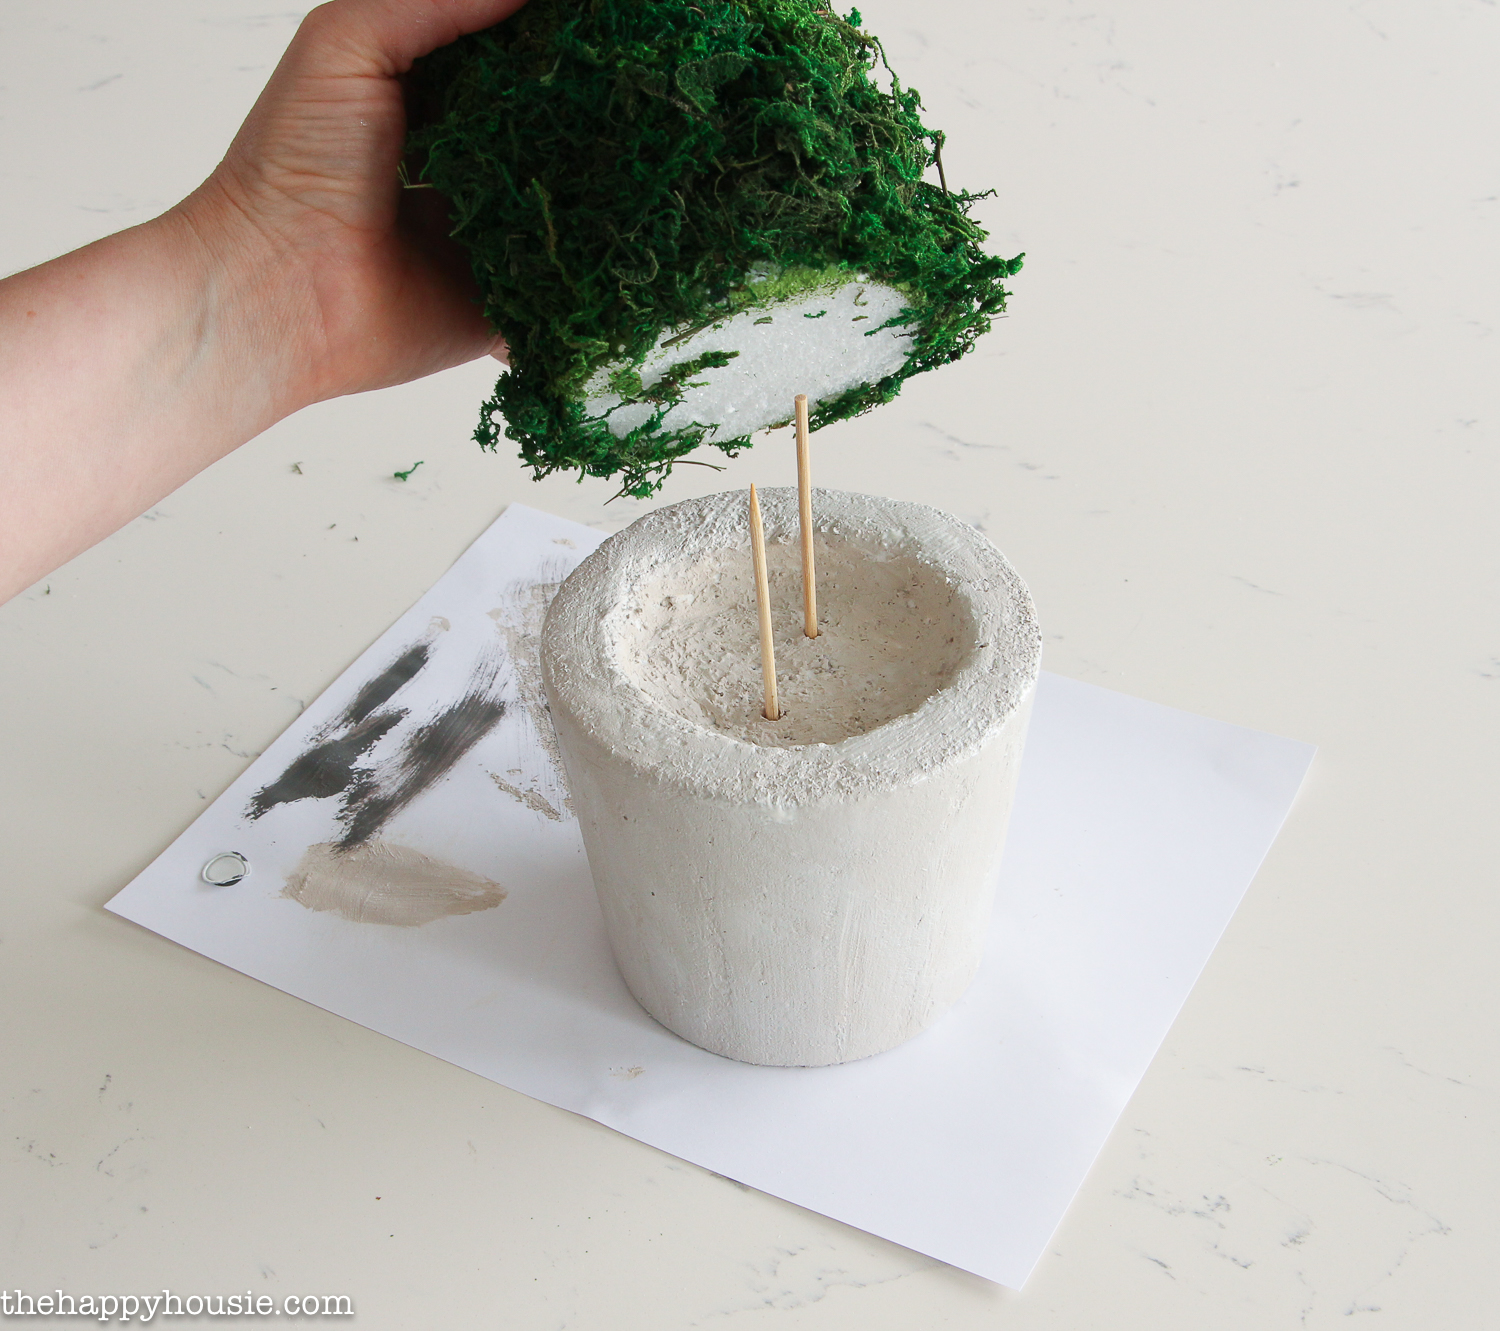
Done!
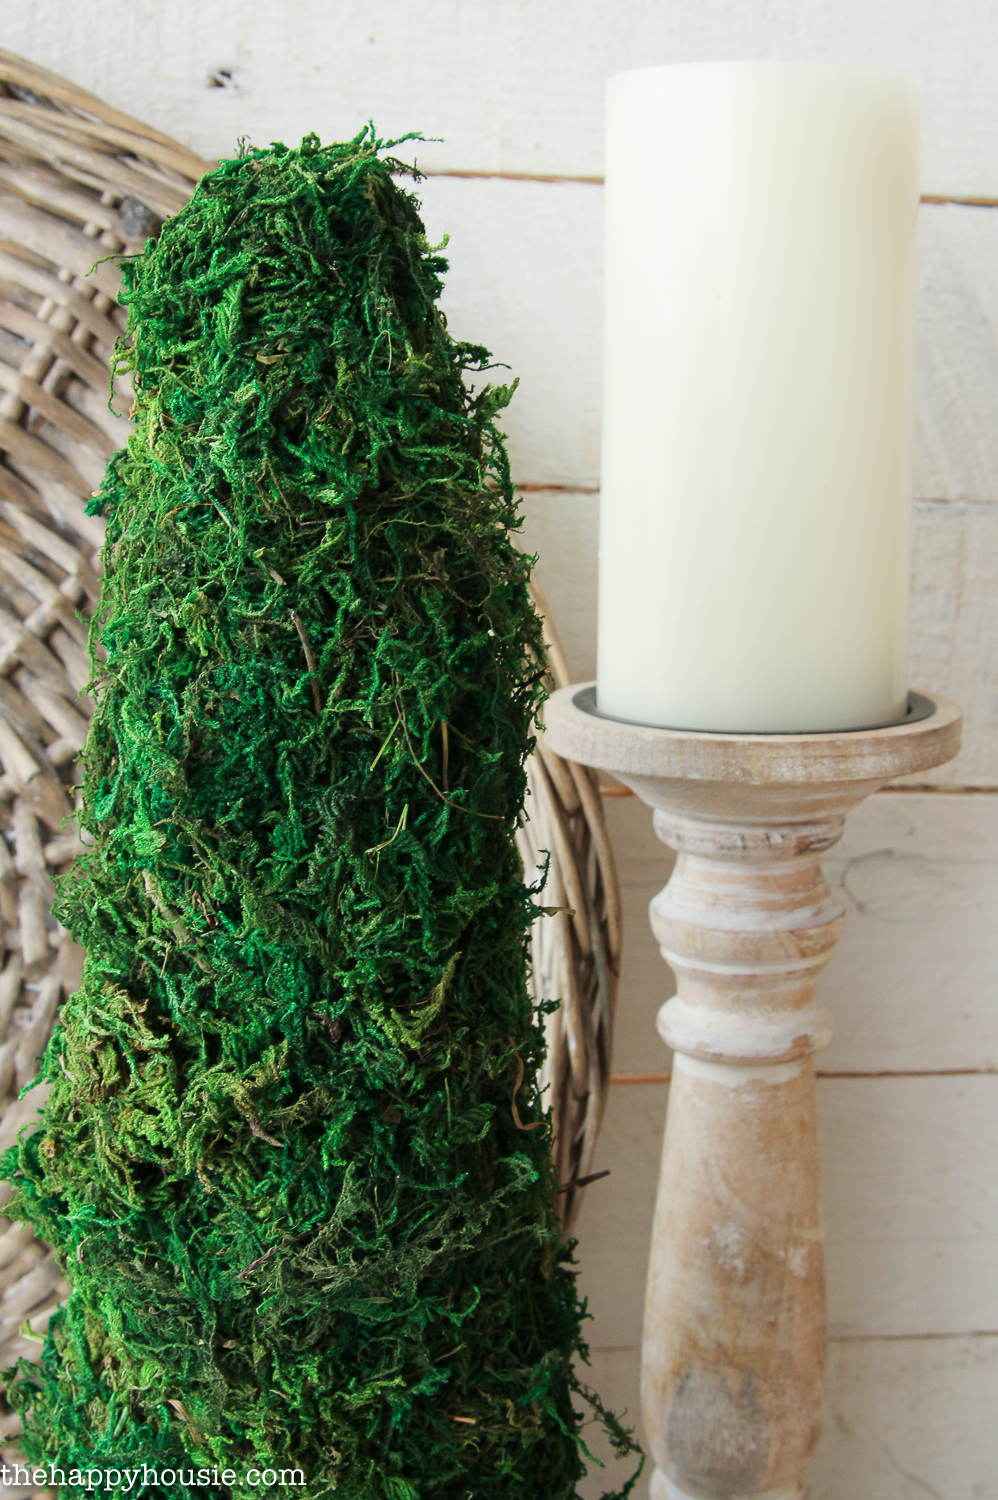
I was thrilled with how well the sheet moss worked – it isn’t moss in a full attached sheet like some that you buy (like I used here), but it held together really well and seemed to adhere to the glue while still being a bit flexible and easy to work with.
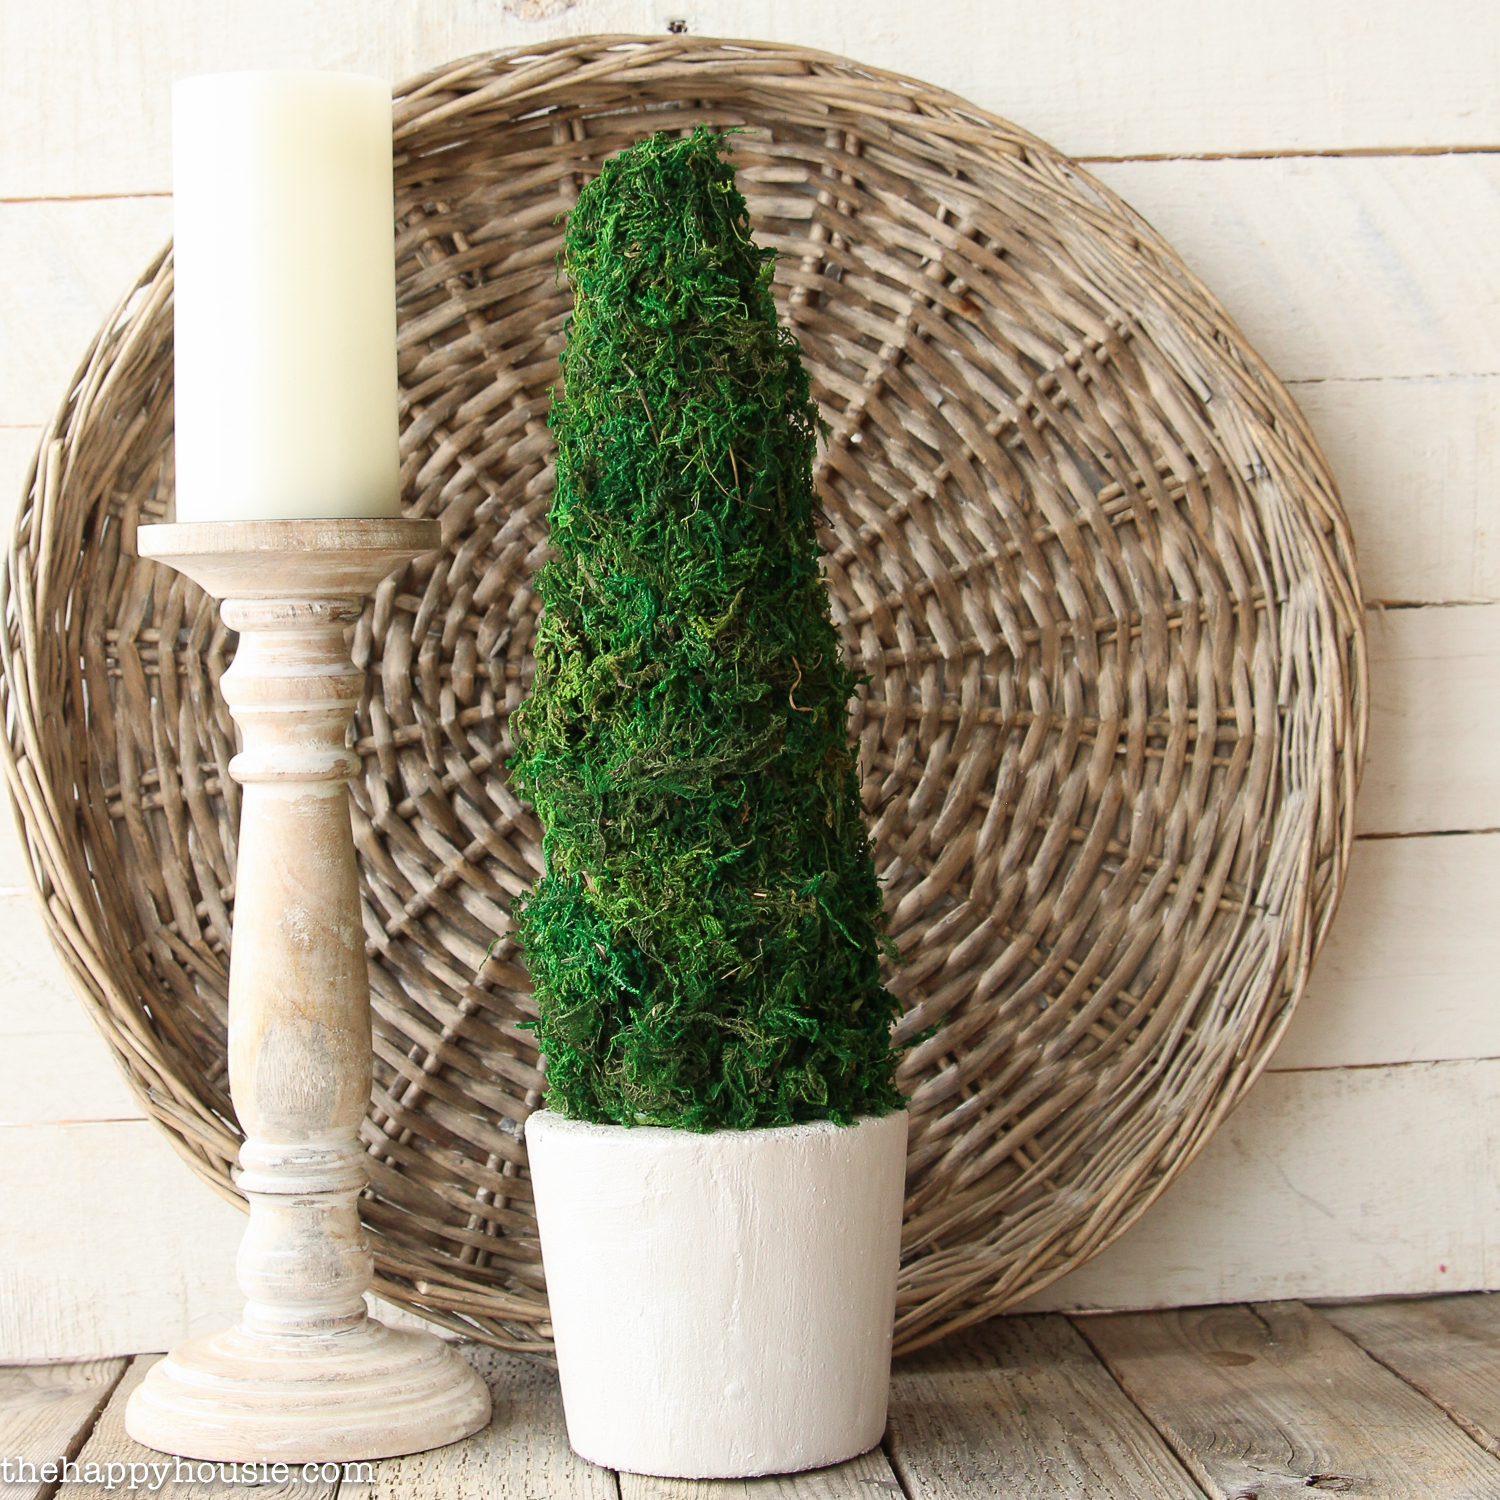
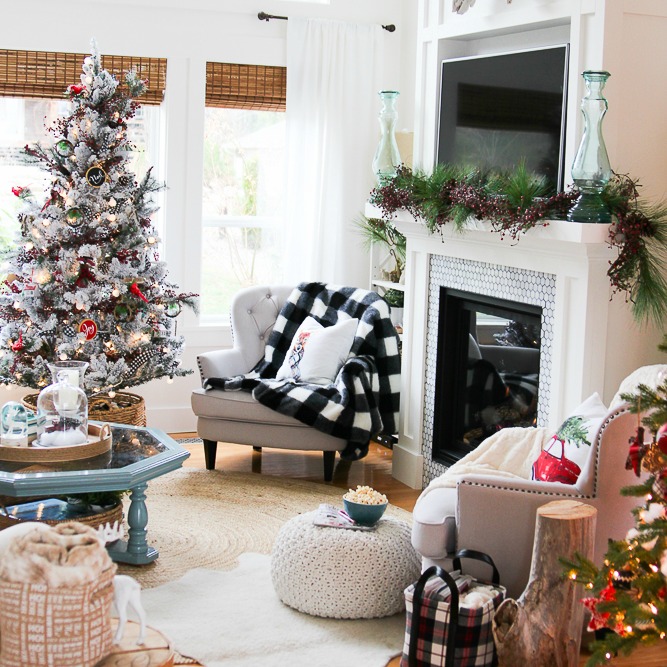
The texture and colour of the moss are so pretty and springy… and the crosshatching on the pot adds just enough texture to give it that old world farmhouse feel. In fact, now I’m wishing I’d made two – one for each side of our mantel!
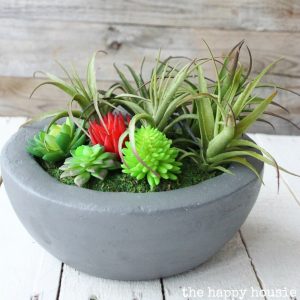
While I decided to use my full cone to create a tree style topiary, you could also create a similar topiary with foam balls and a twig or small branch as the stem. Maybe next time I’ll tackle that; I’ve got lots of moss left! And I love making these faux pots out of foam; like the concrete succulent planter pot and the copper patina faux vase of peonies that I made.
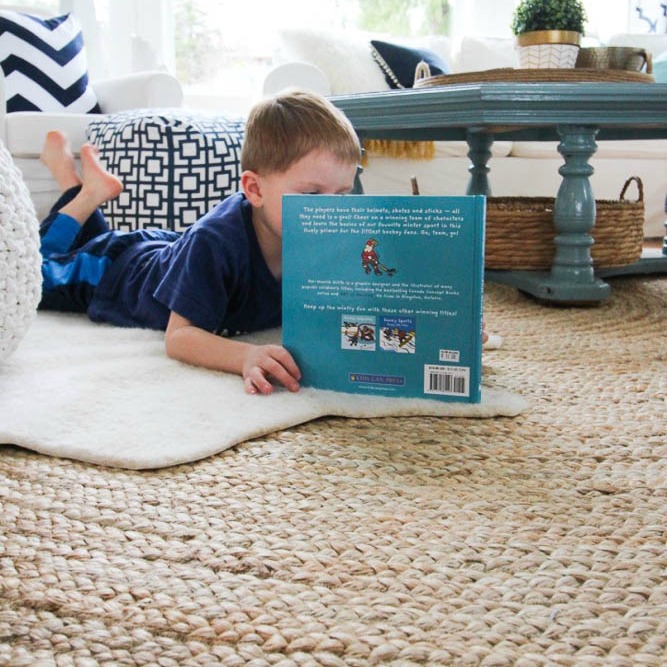
The foam lets you easily attach your faux flowers or greenery and looks great, while being super lightweight. It also doesn’t spill water and break when knocked over by roving basketballs or nerf bullets; which is a real risk around here.
Think you might try your own??

Check out some of my other Make it Fun® Team projects!


DIY Faux Copper Patina Vase / Faux Concrete Succulent Planter / Faux Aged Copper Vase Fillers
DIY Faux Wood LAKE Sign / Driftwood Tree / Faux Succulent Wreath (PB Knock Off)

Disclosure: I am on the Make it Fun® craft team and do monthly challenges using theses products. All opinions and ideas are 100% my own.


Can’t believe that “pot” is made from foam!!! You never would have known. I love how this turned out.
this is a wonderful diy I love topiaries! My favorite part is that you used the bottom of the styrofoam cone as the pot, brilliant! Please tell me you shared this at TFT. Pinned!
Great idea:-))) Beautiful decoration, I must try it:-)))
Greetings from Poland:-))
I can’t believe this is Styrofoam! That Smooth Finish stuff is awesome. That is going on my next crafty shopping list for sure. Thanks for the awesome tutorial for a gorgeous piece of decor!
Interesting because I never heard of this
Topiaries? They originally were made from boxwood or moss grown over a shape/form in gardens – and now mini ones (and faux ones) are popular in decor.