
How to Install a DIY Giant Pegboard Wall {Craft Room Makeover}
This functional giant pegboard wall is easy to install and I will show you how I did it!
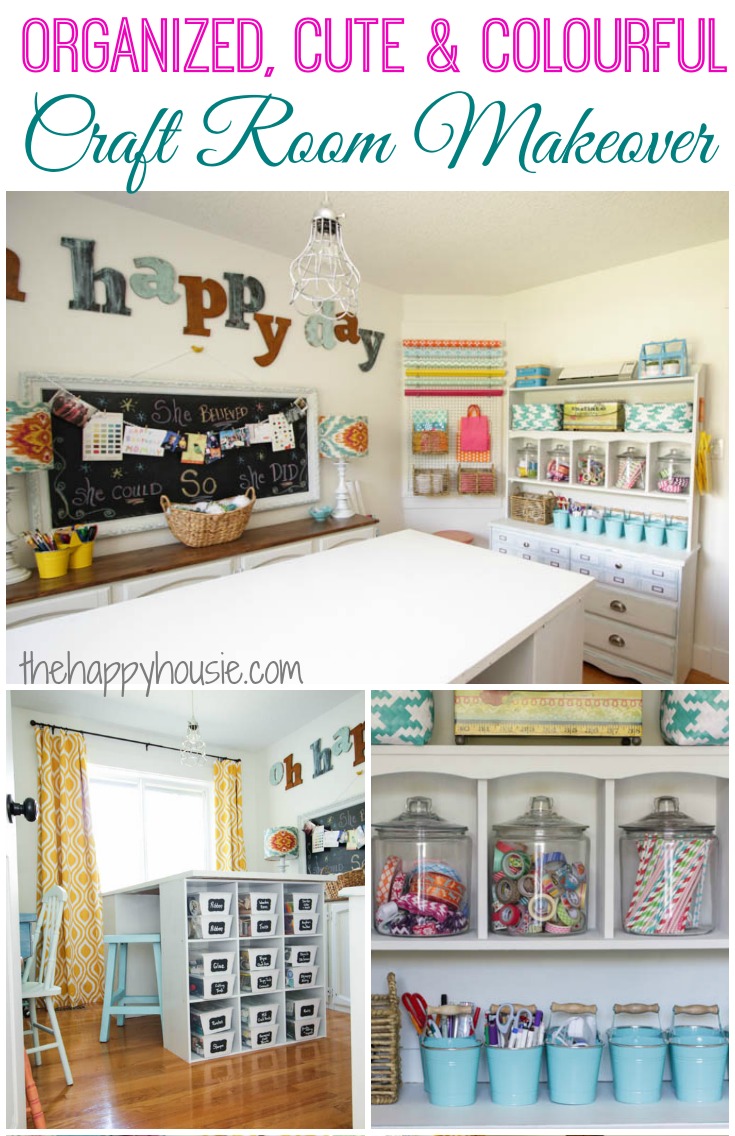
Did you get a chance to see my Craft Room Reveal last week?
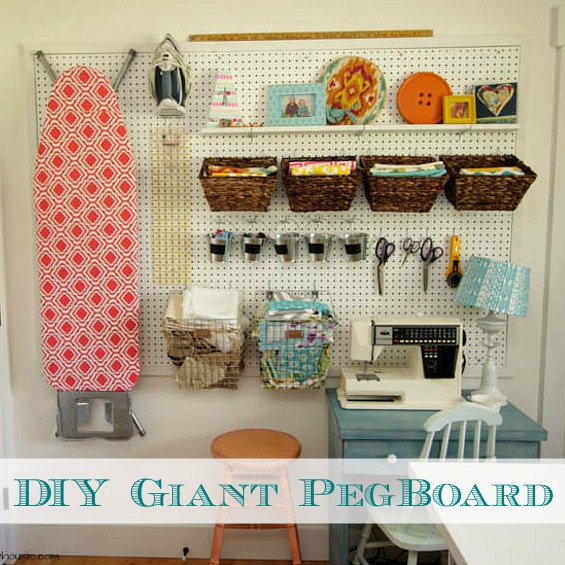
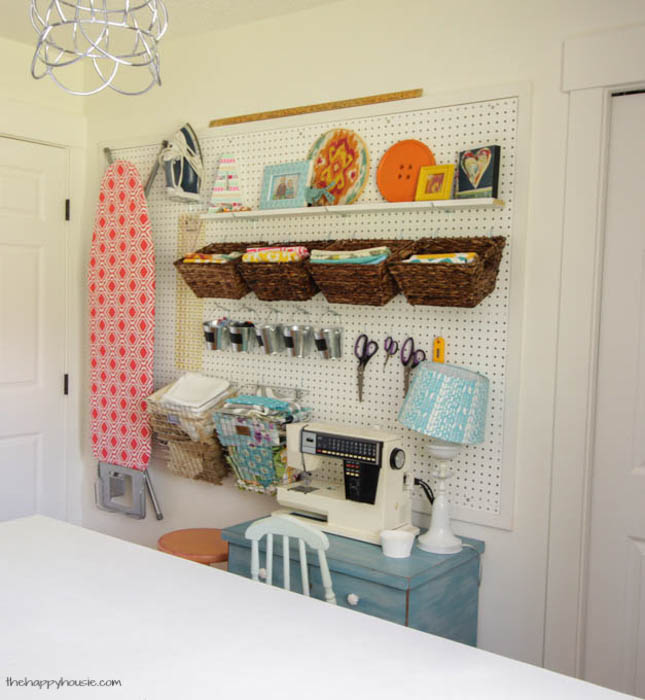
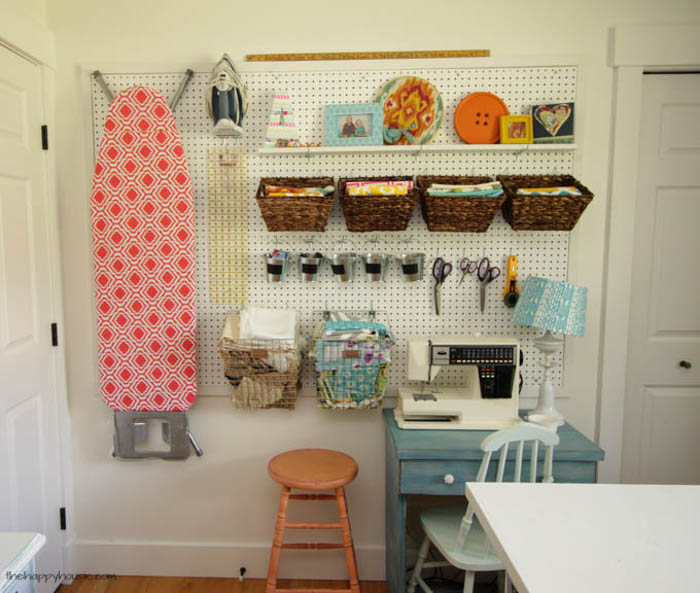
If you did, then you likely got a little glimpse of my DIY Giant Pegboard Wall – it is kind of hard to miss. I absolutely love how this pegboard organizer turned out. I wasn’t even sure if I wanted to do it, but after creating the pegboard gift station I fell so completely IN LOVE WITH PEGBOARD that I knew I wanted to add some more.
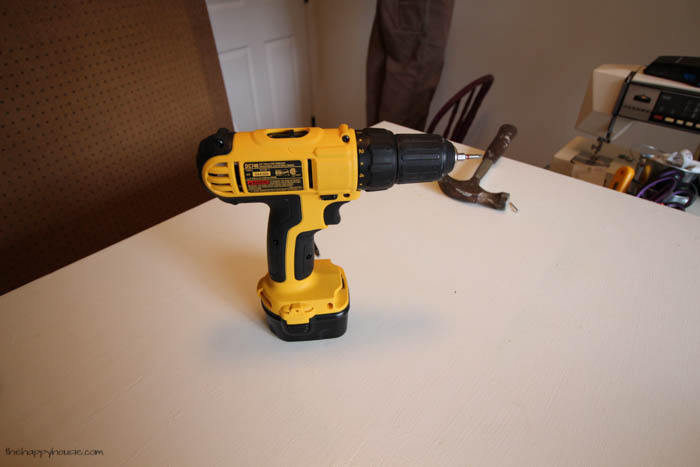
When Wendi from H2O Bungalow contacted me a few weeks ago about participating in a Power Tool Challenge {where we show our readers how to tackle a simple DIY using a power tool and to NOT be afraid of using power tools}, I knew this pegboard wall project would be perfect. Mainly because the key tool required for this project was a DRILL, and that happened to be the theme of this first challenge.
Talk about perfect timing.

We also used a mitre saw, but you could have all these cuts made at a local home improvement store. I had my pegboard cut to size at the hardware store, so I didn’t even need to use a table saw. The only other tool we used was our nail gun to attach the trim around the edges of the pegboard – but you could just use a good ol’fashion hammer and nails for this as well.
To get started, figure out what size you want your pegboard to be. As I said, I used a piece that I had cut at the hardware store. It was actually the rest of the 4×8 sheet that I bought for our Pegboard Gift Wrap Station.
I first read a great tutorial for how to install a giant pegboard over on the DIY Mommy. She did an entire wall in pegboard and IT. IS. AMAZING. You really have to see it.
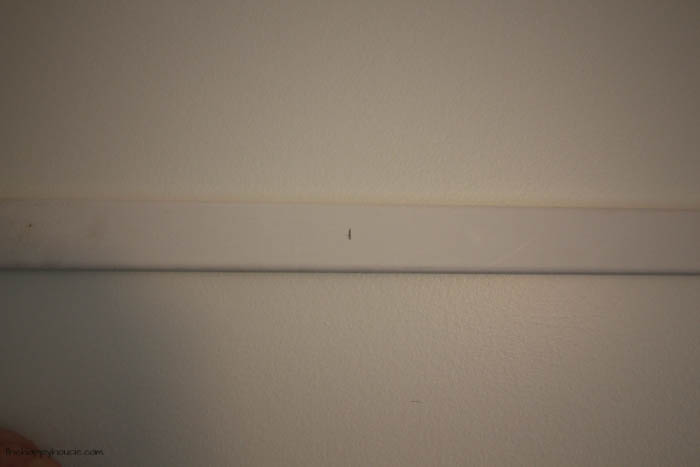
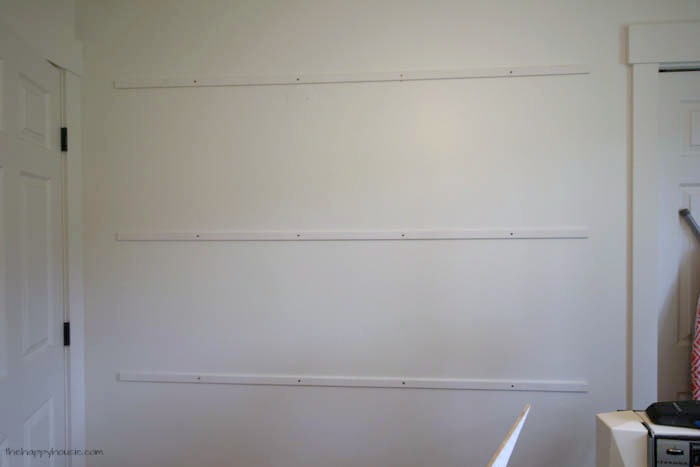
I wasn’t doing the entire wall, so I had my back strapping pieces cut to the length of the pegboard (6 feet). The reason you need the strapping pieces to attach the pegboard to is because without a little bit of distance between the pegboard and the wall, you can’t get the little pegboard hangy-thingys {technical term} into the pegboard holes.
So start out with your drill, some wood screws, and about three pieces of 1/4″ strapping cut to the same length as your pegboard…
I used a stud finder to locate the studs (and did an extra little check using a hammer and nails- I wanted to make sure that my strapping was right in the studs). Then I marked the spots I wanted to drill and went for it…
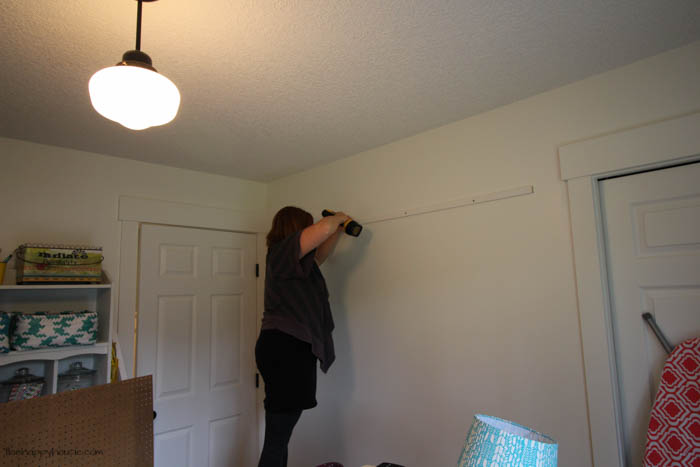
I put about four screws in each piece of strapping, going right into the studs. If you try to put the screw too close to the edges of the strapping it will likely strip the wood, so keep them on the studs and further into the middle of the pieces. It might be a good idea to add a little finishing nail on each end of the strapping pieces in order to make sure that they are held tight to the wall as well.
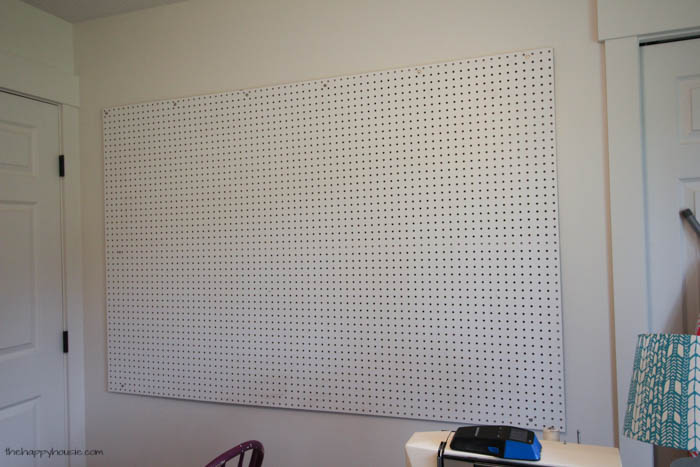
Then go ahead and screw your DIY pegboard right into your strapping pieces. You will likely need someone to help you hold the board in place at first {thanks Dad!} – but once you have a couple of screws into it, you can go ahead and let go… continuing to add about five or six per length of strapping (depending on the size of the pegboard you are hanging).

Done! Well, not really. But we ran out of screws at this point and I had to pick some more up at the store to finish it off.
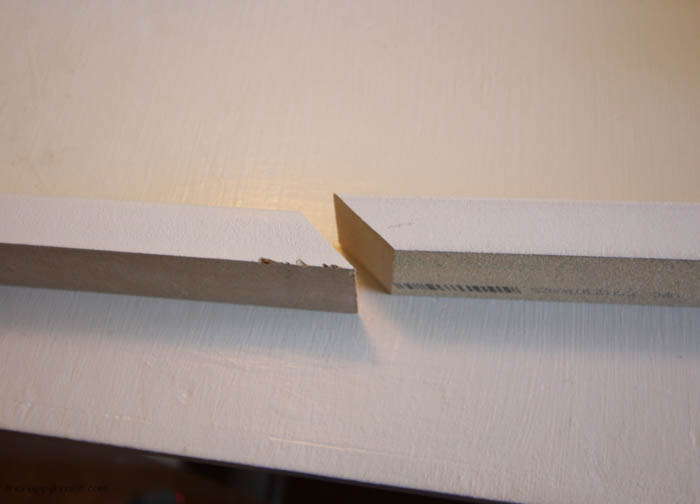
To finish off the edges and hide the gap between the pegboard and the wall, we trimmed the whole thing out with some pieces of 1×2 MDF trim. Some of our pieces weren’t quite long enough so we cut them with a mitre saw on an angle, like this. and pieces them together. With a clean cut, once you fill and paint, you won’t even notice the transition. We just used simple butt joints on the corners (think: shaker style cabinet – not angled at the corners, but longer straight pieces at the top and bottom butting up to straight ends on the sides).
All trimmed out! Doesn’t that make a big difference?
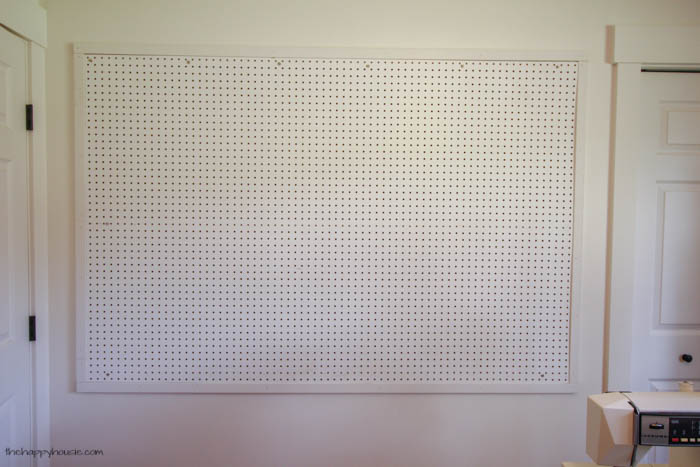
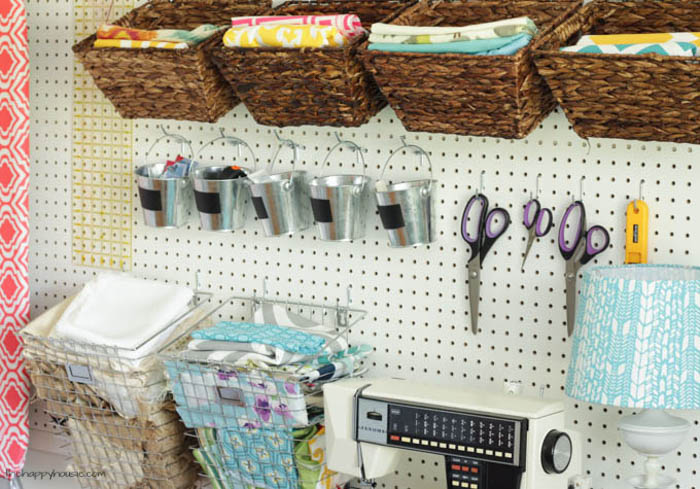
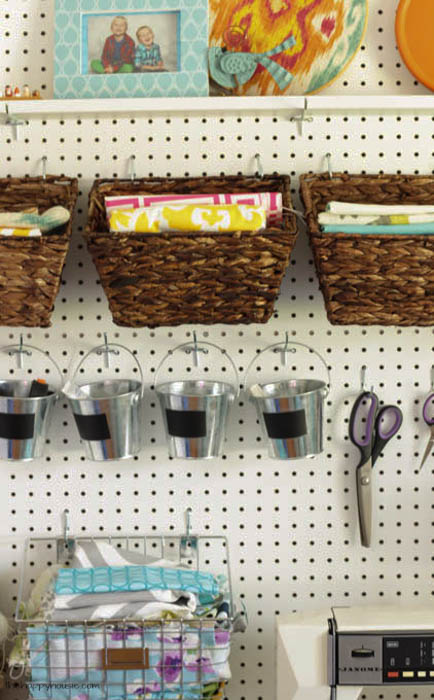
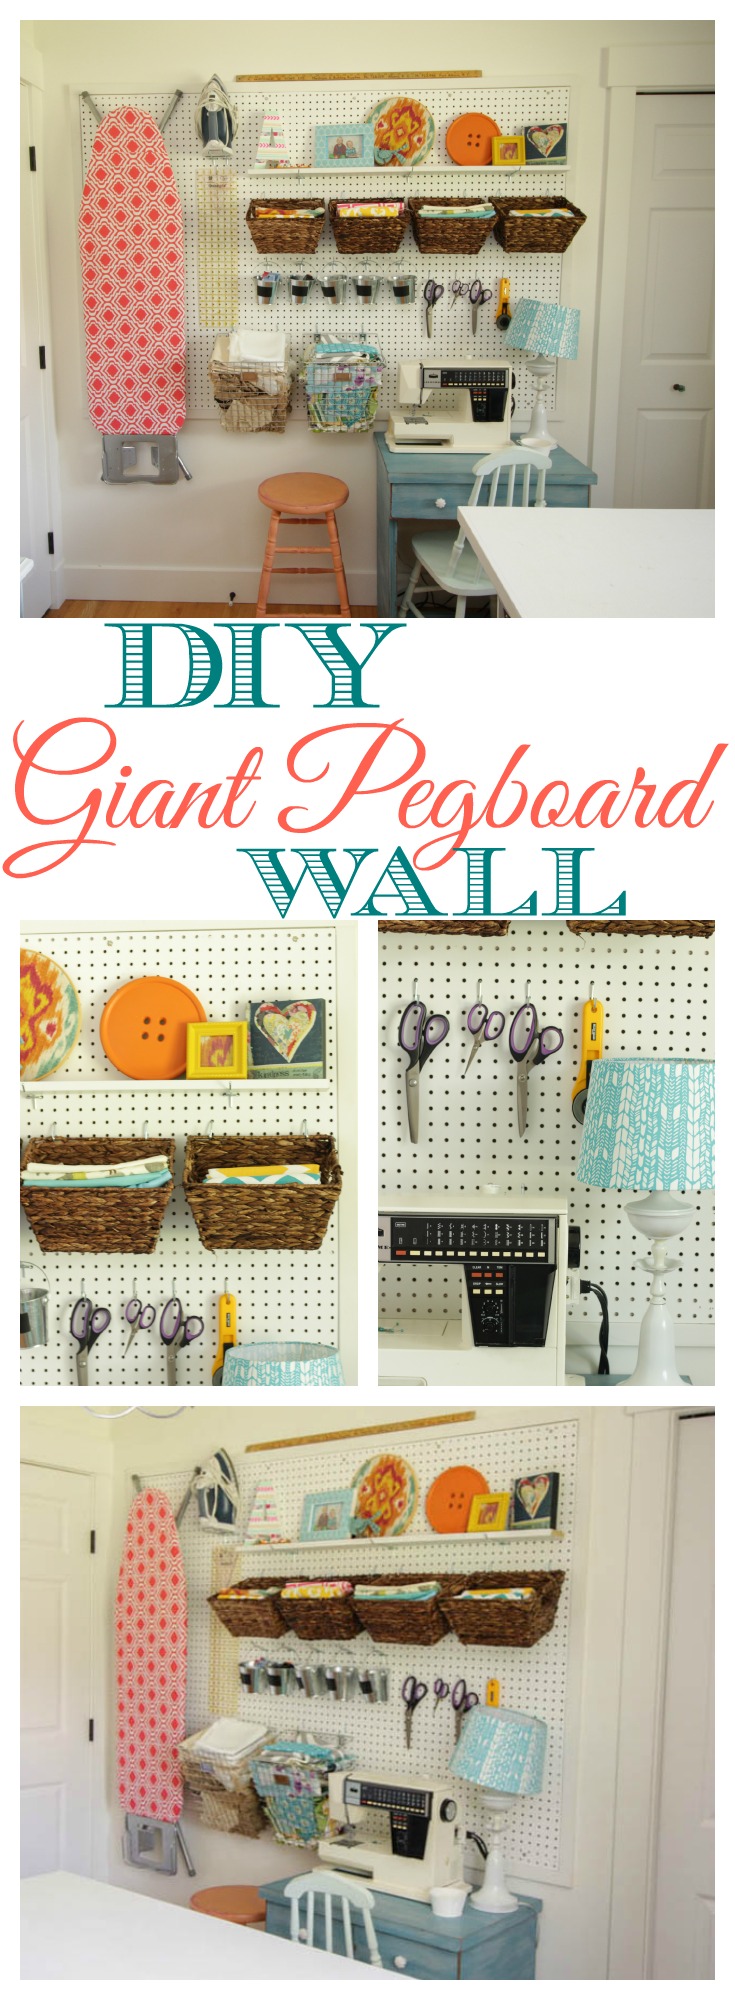
Done! The perfect storage for my sewing station!


Want to see a little more of my Craft Room Reveal??
Today I have joined up with 12 other bloggers who are also sharing a simple DIY project you can make using a DRILL. These projects look amazing! I can’t wait to check them out myself… Just click on the links below to head over to their tutorial.
And, don’t be afraid to try out a power tool project yourself. I hope we get to do a table saw challenge soon- that is one tool that I haven’t tried yet and I know I need to face my fears.
What about you? Do you love using power tools? Or do they make you very, very nervous?

![]()
![]()
![]()
![]()
![]()
![]()
![]()

it looks like really good
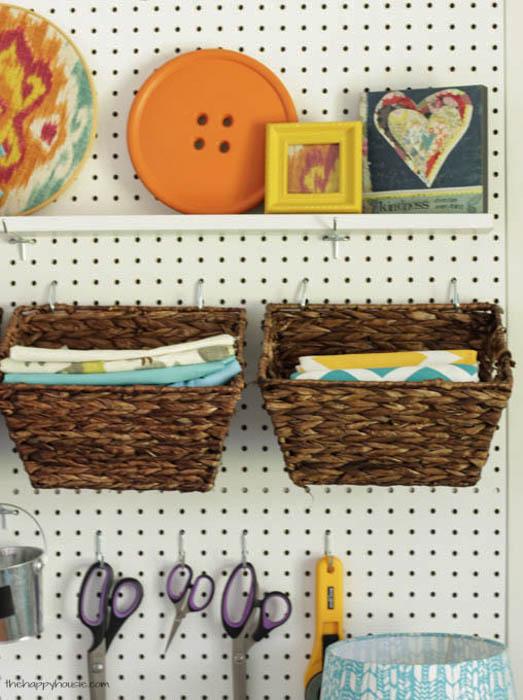
Where did you get those wire baskets?
Thank you! My girls’ craft stuff is getting out of control and this is a perfect solution.
*Sigh* I have been planning a pegboard ever since my craft armoire makeover had to be shelved due to the armoire being a lot larger than my art studio door. Doh! There was just no way, so after literally months of lovingly and painstakingly sanding the antique lead paint off (It was that horrible baby poop yellow color) It was all for naught, I needed a new plan.
Pegboard sounded perfect! I have looked at sooo many tutorials and pictures of other people’s boards on Pinterest, I thought I was totally prepared! My husband helped me get it on the wall, okay actually I watched while he got it on the wall….lol My mother was over so I took her into the art studio to show her I was finally getting in gear, said check it out mom! As I went to stick my 1st peg in, only to find out that none of the tutorials I ran across said a thing about the space for the pegs to go in.
Now, I consider myself a person with common sense, I always think things through and try to think outside the box. For some reason it never crossed mine or my husband’s mind that we needed something between the wall and board. I wish I had run across your tutorial. So we have 6 2×4 pieces on the wall and are trying to decide how to proceed, and if we can manage to fix it without having to take it all down.
Thank you for your thorough tutorial!
Hi Evita!! I know, right?!? It’s such a key part of the process – because I think that pegboard was originally designed to go on garage and workshop walls without drywall on them. I wish you had found my tutorial first too – it’s so frustrating when you tackle and awesome project and then have to redo it! Ugh!!
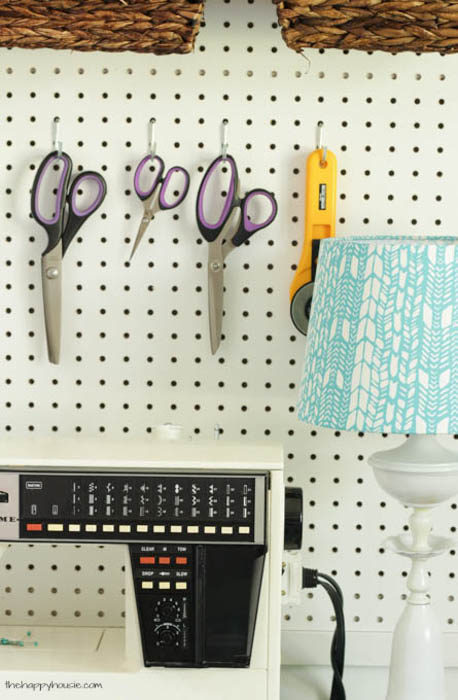
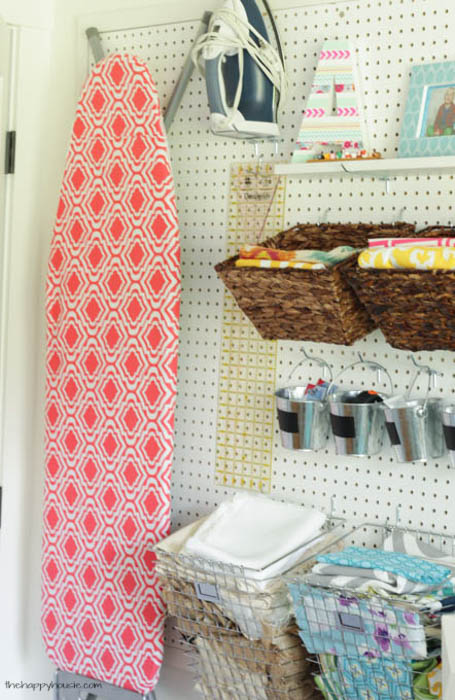
Where did you find the iron board and iron holders for the peg board? They have those at Home Depot or Lowes? I’m going to try this in my craft closet. Lucky to have a small walk in closet in my office that I use for crafts. I’ll send you a picture, thanks for the inspiration.
Hello Kathleen – I just used two long angled pieces for the iron (it sits right in the space between them) and then a large hook to hang the ironing board on. I found them both at the hardware store with the other styles of pegboard hooks. Good luck with your project!
Love me some organization! Peg board is awesome and I love how you have everything right there at your fingertips. Great job, Krista!
Wow this is awesome, what a great idea for the one tool challenge.
Well done, Krista! Pegboards are the best thing ever! I had picked one up from a salvage shop and it was huge. Only $3.00, too! Snatched that baby right up. They’re so hand, I’m about to decide that every wall in my house should be pegboard. LOL
such a great project krista!! i love organized creative space like this, and pegboards are super cool to work with! awesome tutorial! xo
Pegboard is so functional…love it here in your beautiful craft room! And you make installing this organizing solution look so simple to do! 🙂
I remember seeing that awesome pegboard in your Craft Room Reveal and fell in love with it. So pretty and so functional. I need one of these in my office and so I appreciate your easy to follow tutorial. It was great doing the challenge with you Krista!
That’s awesome Krista!! Organization Heaven! I need one of those in my room! 🙂
Great tutorial.
Nancy
Wow! Krista! that is an awesome one tool project!!!
Who wouldn’t love this huge pegboard wall in their craft room. I only WISH I had a place for one.
fabulous tutorial.
pinned!
gail
Love the pegboard wall! Such a great idea and I could certainly use more organization in my home!
Krista… I NEED one of those too! OK, I need your craft room too 🙂 But I’ll have to settle for a pegboard wall. Such a great way to organize all the stuff a DIY’er needs/collects 🙂 Thanks for joining in on the One Power Tool Challenge!