
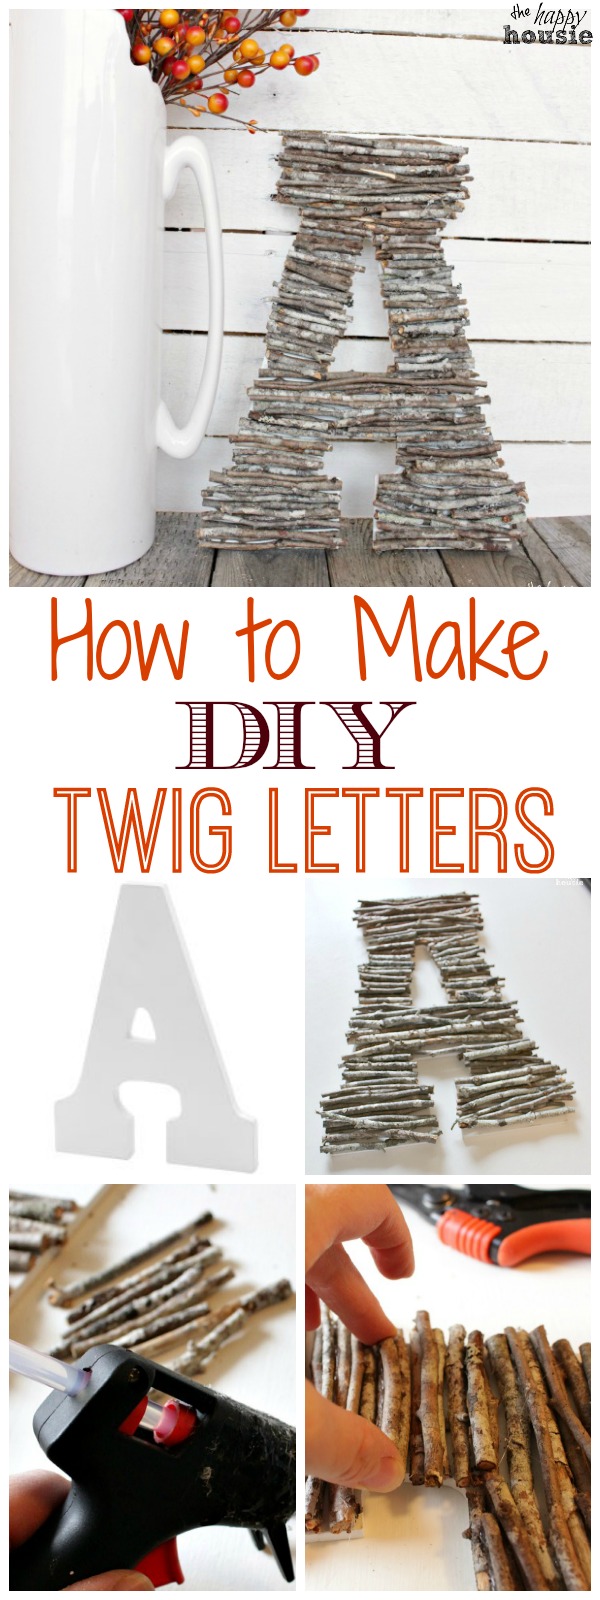
How to Make DIY Twig Letters
I will show you how to make twig letters that make an adorable decorative accessory.
Yesterday we were finally blessed with a stunningly clear, sunny, and beautiful fall day.
After a record amount of rainfall in the past month it was such a nice treat.
It reminded me of all the things that I love about Fall.
And taking family walks through the forest around our house is one of the things I love to do in the Fall.
My youngest son and I recently collected some twigs on a nature walk around the neighbourhood forest area…
Perfect for this quick and easy DIY project.
Today I can’t wait to show you how to make your these easy DIY Twig Letters for yourself.
And I think that miniature versions of these would be adorable as place cards on your Thanksgiving table.

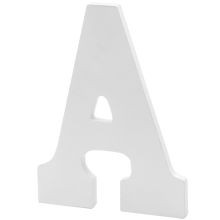
For the base of this I started with a white wooden letter that I had picked up at Michael’s Craft store…
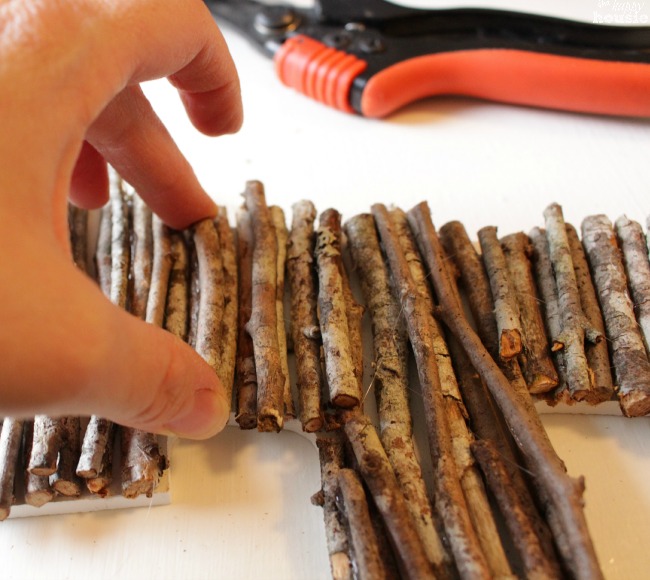
As I mentioned, my youngest son and I went on a little adventure in the forest area around our house and cut and collected twigs. He was pretty excited about using the garden clippers.
After we cut and collected all the woodland twigs, I brought my wooden letter into the garage to help me cut the twigs down to size so that they would cover the letter. I placed them loosely on the letter as I went so as to make sure that I had enough for good coverage, overlapping them in some spots.

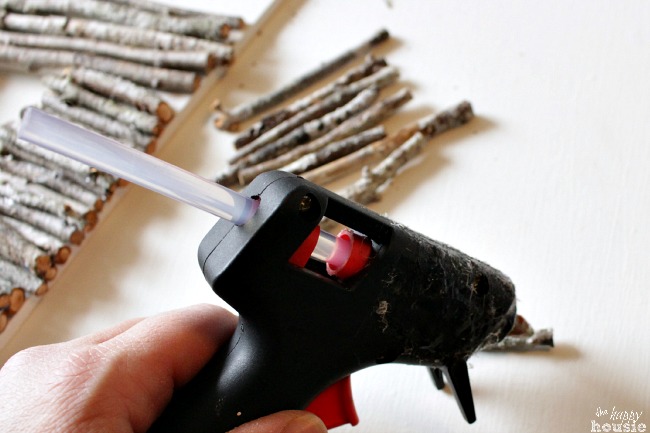
Then I moved the whole production inside to a much warmer work area in my craft room and then used my hot glue gun to attach them to the wooden letter.
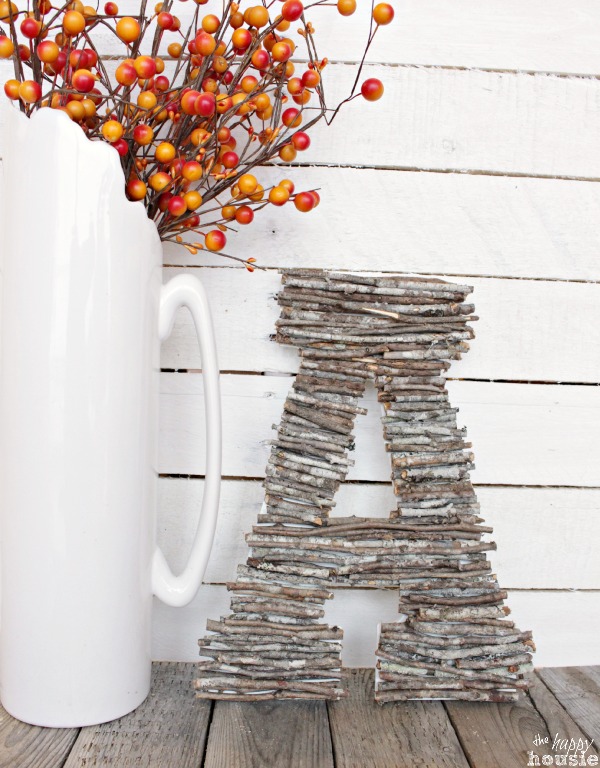
It didn’t take very long…and once it was all glued with some overlapping twigs, you really don’t notice the white letter underneath. It seems perfect for Fall. I love how the rustic look against our late fall Mantel – I will be back tomorrow to show you some more of that.
Want to remember this?


This month I have partnered up with some amazingly talented fellow bloggers for the ONE ITEM CHALLENGE.
For the next three Wednesdays we are each going to tackle the same Craft Item, and this week’s challenge was “TWIGS”, and here is what my fellow blog friends came up with:
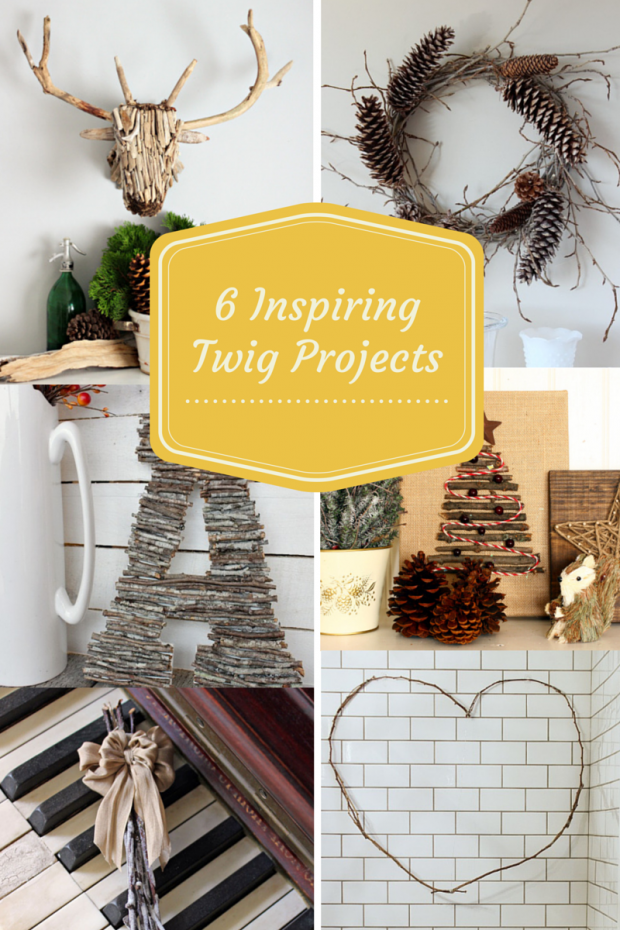
Driftwood Deer Head Taxidermy by Craftberry Bush
Woodland Wreath by Satori Design for Living
DIY Twig Monogram by The Happy Housie
Twig Christmas Tree Art by AKA Design
Snowy Twig Ornament by Fynes Designs
Twig Heart Art by So Much Better With Age
Fun challenge, right?!? You can see the rest of my projects as well…
Week One Item: TWIGS (you are here!)
Week Two Item: Fabric (check out my project here!)
Week Three Item: Wallpaper (check out my project here!)
It is a craft that will get the kids out of the house and participate in. What an awesome idea your “ONE THING” project is too. If you ever love want to expand, I would love to join!
What size is this
So cute
This is AWESOME!
So cute! I am sharing this on Pinterest.
I love the project. But I really love that white pitcher vase. Any idea of where you got it?
Hi Tatiana, I think I actually got it at Target a few seasons ago. Hope that helps!
Fabulous idea! Now I know what to do with all the twigs my kids bring in the house..ha! Holly 🙂
Love this twig monogram project. I have collected many twigs also from nature walks with grandkids. Look forward to trying it. Thanks for the information.
Hi Bettyann,
It was a fun project, and a great way to add some natural texture into our home! Perfect project to do with children:) Enjoy!
Love this. Is there a way we can do it without the wood letter?
Hi Emily! You might be able to if you use a letter A template (on paper or cardboard or something) and then glue the sticks to each other (above and below). Give it a go! Good luck with your project.
I actually used white foam core for the back since I wanted to see if I could do the entire thing for nothing, just materials I foraged in the yard and in the garage. I used a yardstick to make sure the letter was straight and then used an exacto knife to cut it out. I don’t like the idea of the white showing through, so I am debating whether to glue a medium brown fabric from an old pillowcase over the foam core first. This is a great project. I am also glueing some juniper prunings with the berries on the springs, so hopefully as they dry, the berries will not fall off. Dried roses, especially red, are also in my mix, they are a deep deep red/purple/black on their long stem.
I loved this DIY so much that I featured it in a recent blog post! You can find it here
http://thedeerandthewolf.com/fall-for-diy/
Amanda
Hi!! Love this. Could you tell me about those orange berries? Are they real or did you get in floral dept at craftstore. Thanks!!
They are from my local dollorama, believe it or not! They are very realistic looking!
I LOVE how simple yet adorable this project is! It is a craft that will get the kids out of the house and participate in. What an awesome idea your “ONE THING” project is too. If you ever love want to expand, I would love to join!
Totally a great craft to involve the kiddos in!!
Oh, and the ONE THING challenge is over now- we just did it last fall for four weeks!! Thanks for your interest:)
Great minds think alike! I’ve been planning a project similar to this (on a little bigger scale, several letters) but haven’t gotten to it yet. I love how yours turned out. I shared it on my FB page and it went over really well 🙂 https://www.facebook.com/CraftsbyAmanda/photos/a.353593675216.349539.323548680216/10155844709660217/?type=1&theater
Love this project! I have a series on my blog called “Saw It, Pinned It, Tried It” where I try out DIYs, recipes, etc from my Pinterest boards and today I tried this one out! There’s a link back to this post in there as well. Thanks for the great inspiration!
http://thelilthingsblog.blogspot.com/2015/06/saw-it-pinned-it-tried-it-twig-letter.html
Thanks Kelly!!
LOVE your twig letter!!!
Krista, this is adorable! What a great idea 😉
Hugs, Jamie
Krista, this is really great! I just hopped over to tell you that we are having our linky parties again and would love it if you would join in! Will you? http://www.finecraftguild.com/top-tips-for-scrapbooking/ (… and enjoy the scrapbooking features!)
Love it Krista! Love collecting twigs and sticks with our kids too and this would be so fun to make with them! Would love to have you share any of your beautiful posts at our link party tomorrow please 🙂
Love this, Krista! I love using nature in my decor, great DIY.
I love this project idea Krista! So easy for all skill levels to create
I LOVE this craft. I am going to take a walk with my family and do the same thing (except with an “M”. This looks great for fall, but I could see how it would fit with my decor almost all year long. You had a very clever, creative idea for the challenge. I’m looking forward to seeing what you do next!
Best,
Michelle from simplysantabarbara.blogspot.com
Looks great, Krista! So many possibilities with this and an easy project to get the kids involved in too!
That is such a great idea! I’m going shopping today in the woods!
This is so fun ! I love it ! xo
Great idea Krista! I love the look. xox
Oh so pretty Krista!!!! LOVE!
love this idea and i love that it uses things that are easily found!