
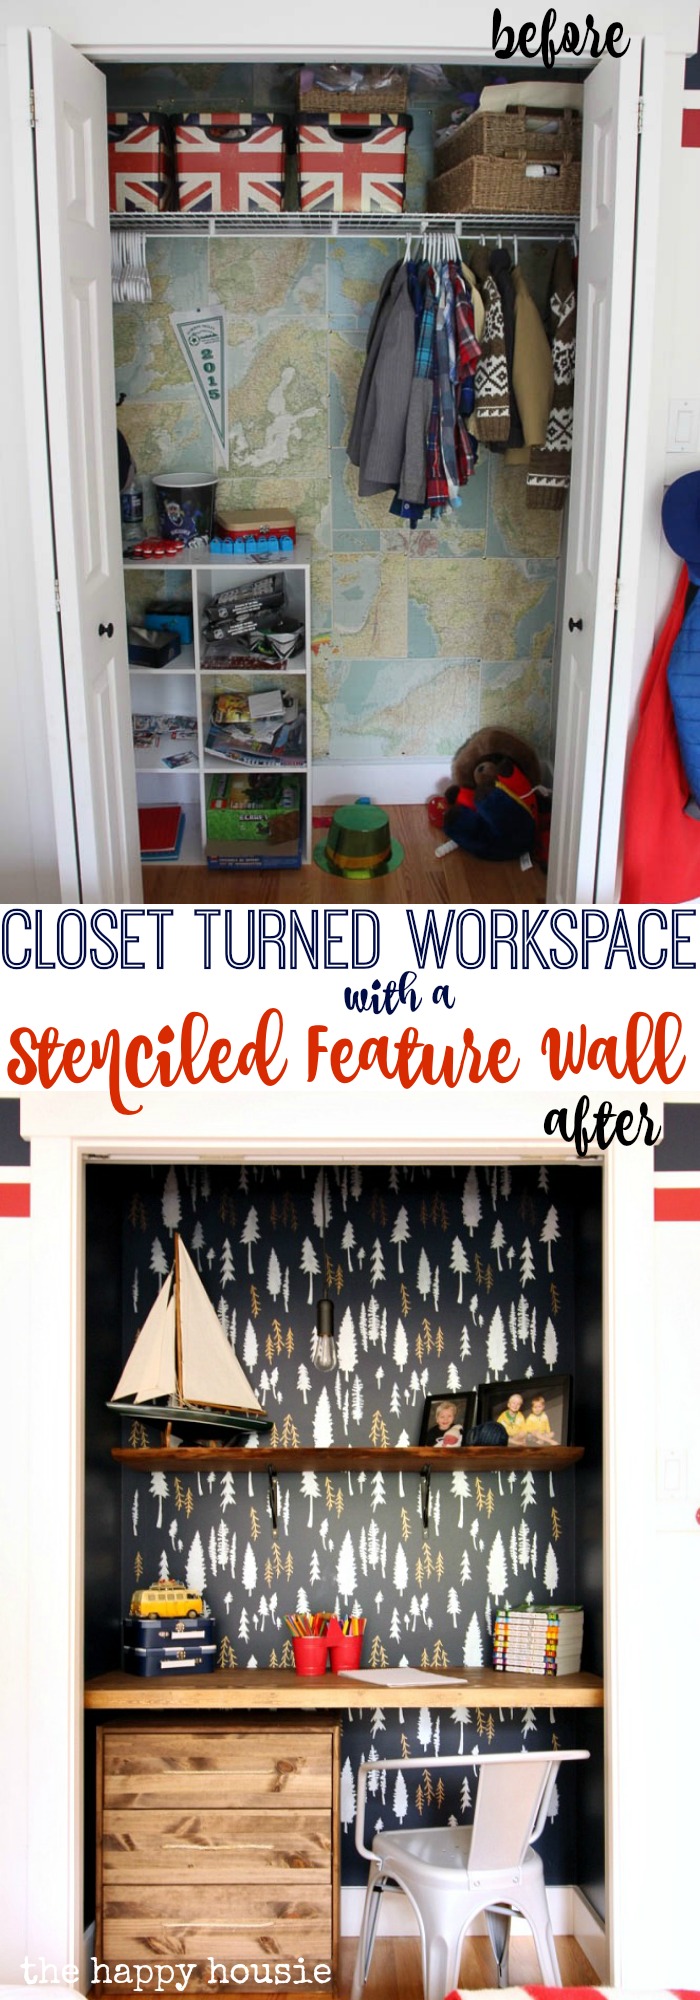
Closet Turned Workspace with a Stenciled Feature Wall
You guys!
I’m so excited about this project!!
You know those times when you finally complete a project and it turns out a zillion times better then you imagined?
Well, today is one of those!
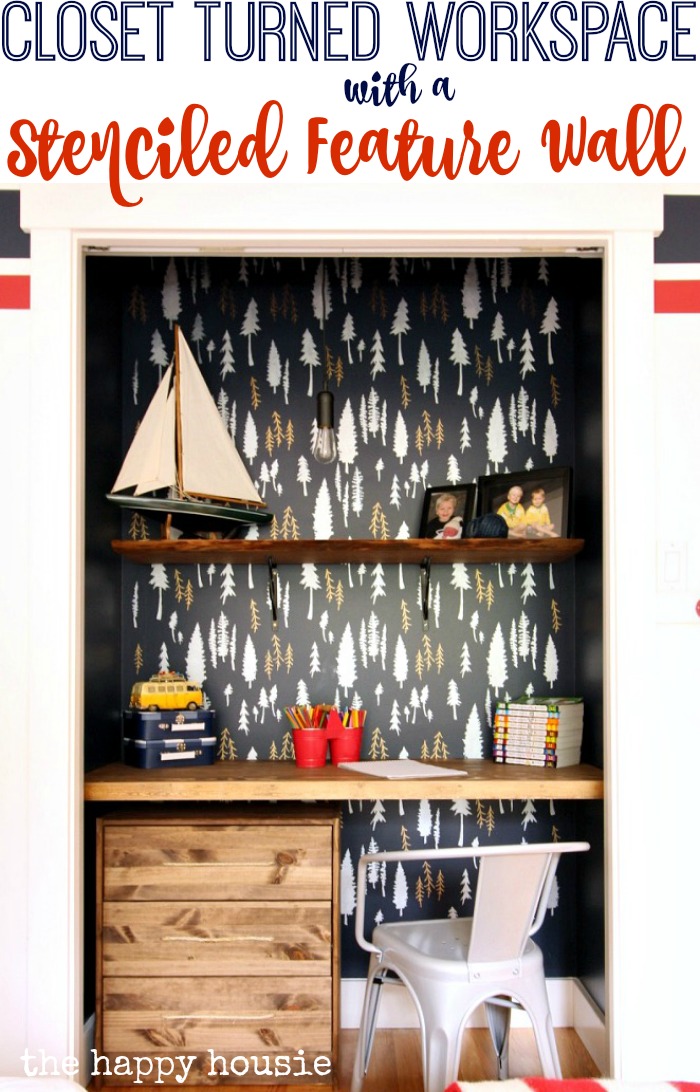
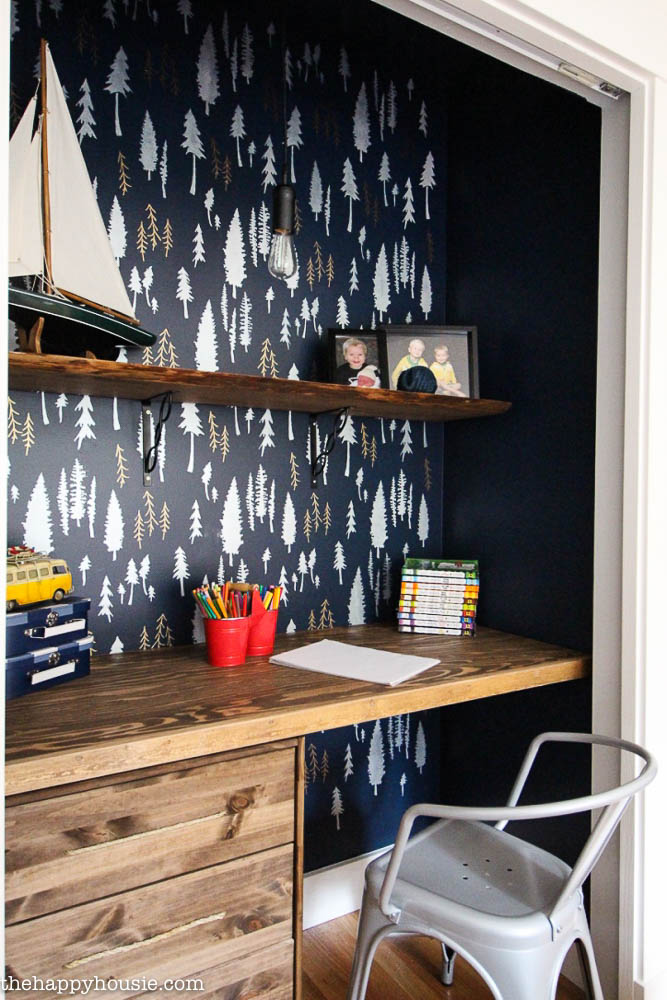
I am absolutely in love with our boys’ new closet turned workspace featuring an amazing wall stencil – and my boys are too.
The day we finished, my oldest was already sitting up at his new desk working on his drawing and writing projects. Gotta love that!
Did you ever see our boys’ shared bedroom makeover reveal?
It was such a fun space to work on – and it was nearly perfect… except for one major thing.
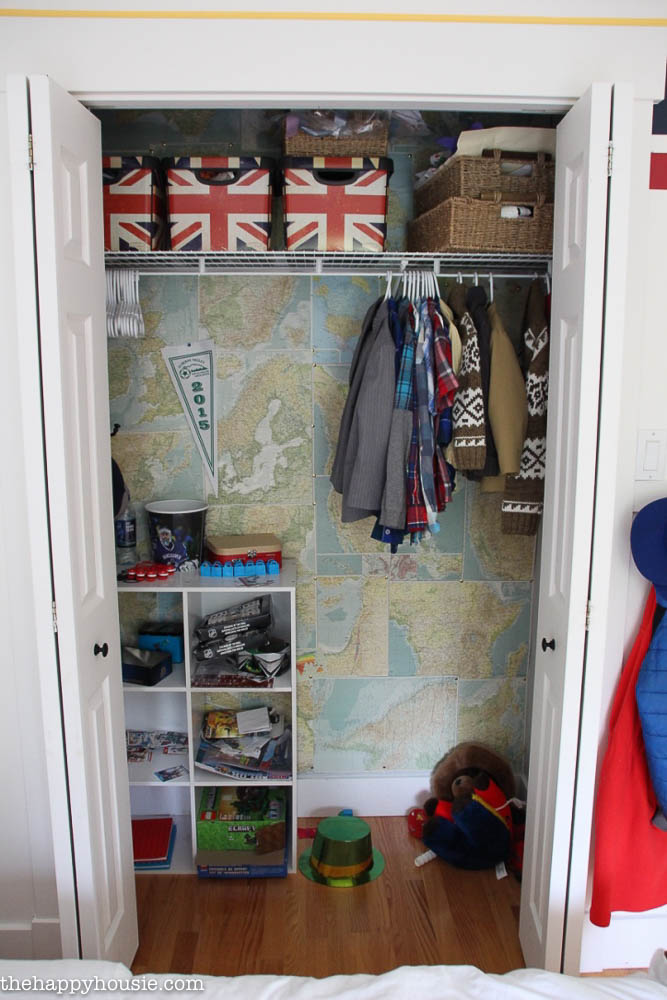
The closet. At first we put one of the boy’s dressers in the closet. And that…. just. didn’t. work.
The closet doors were constantly left open, dressers drawers askew, clothes scattered all around.
So after a year of living like that, we decided to get two new dressers for their room {details coming soon!}. While much more functional, the dressers left the closet nearly superfluous. There were about six items hanging in it – most of which could easily fit in their dresser. I mean, how much hanging space to two young boys need?
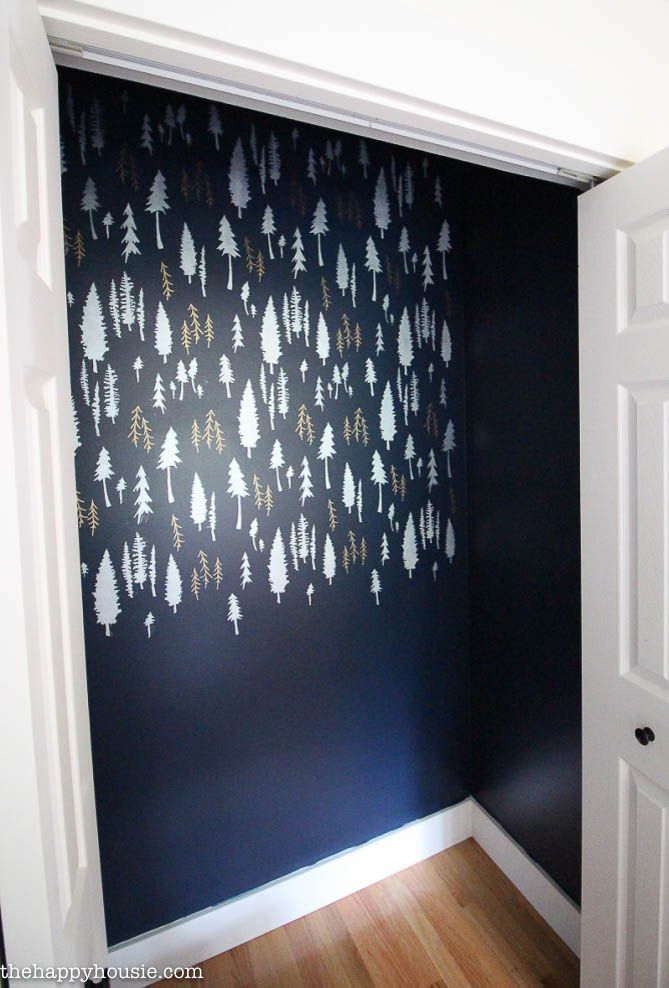
Here is the “before”…
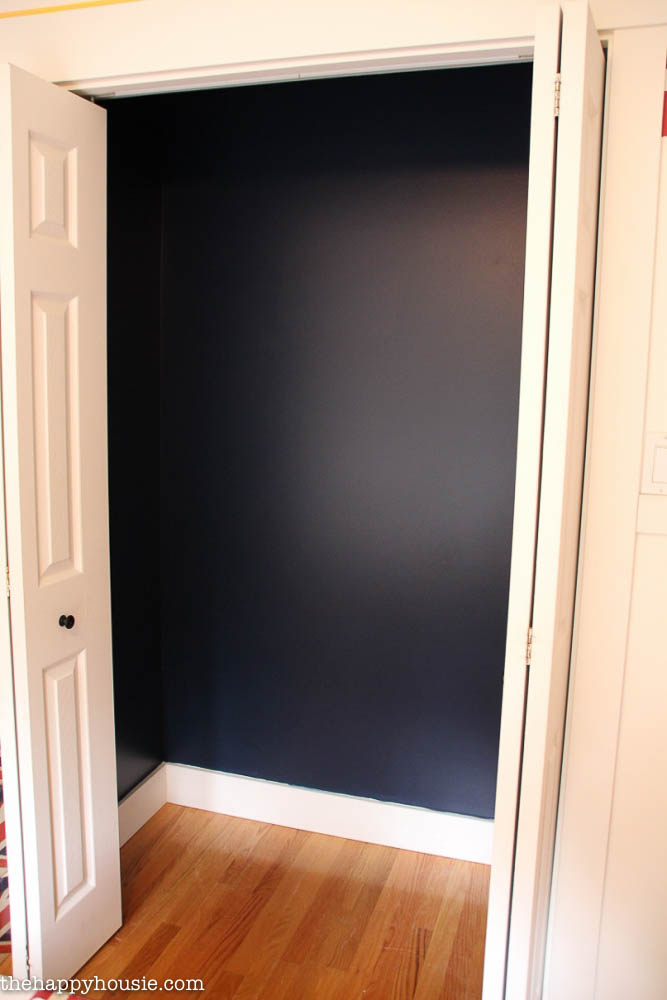
I started by giving the closet two coats of navy paint – I used the North Sea by Benjamin Moore – the same navy colour that I had used in the stripe on their bedroom walls.
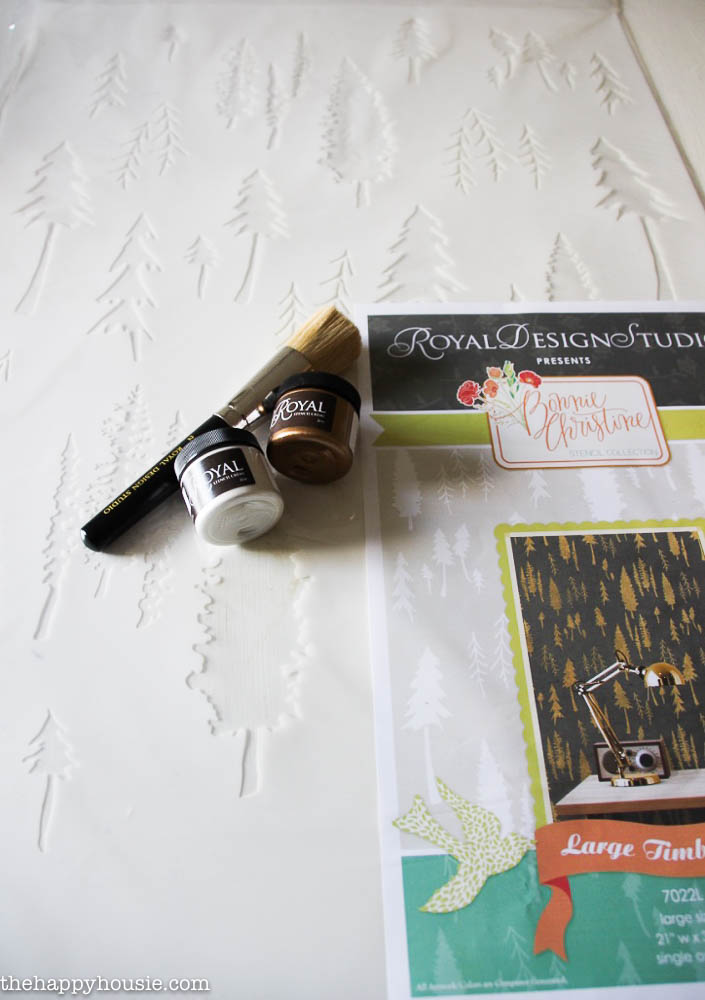
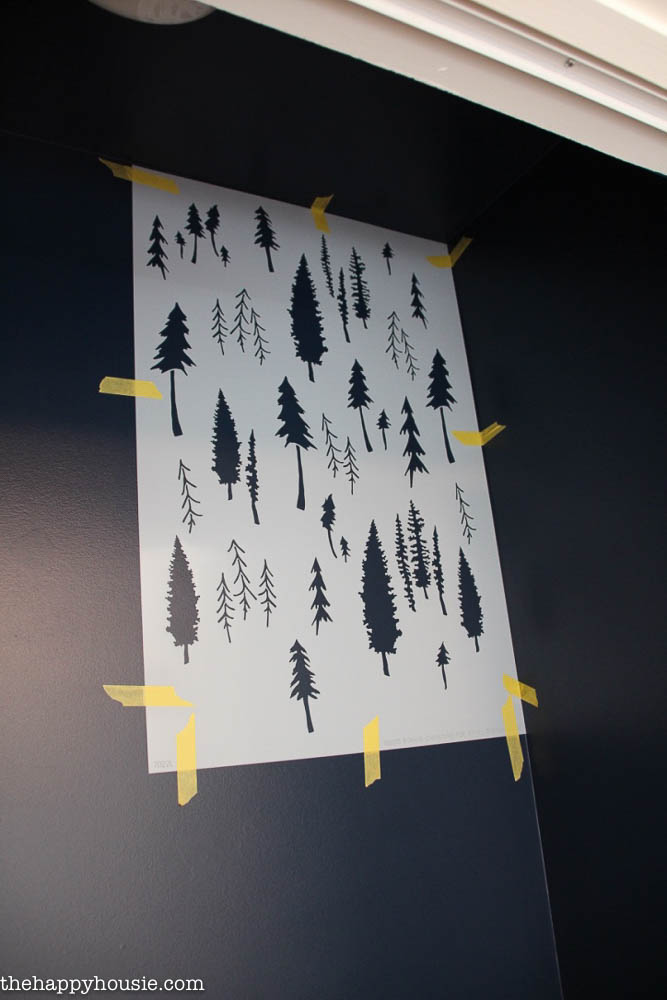
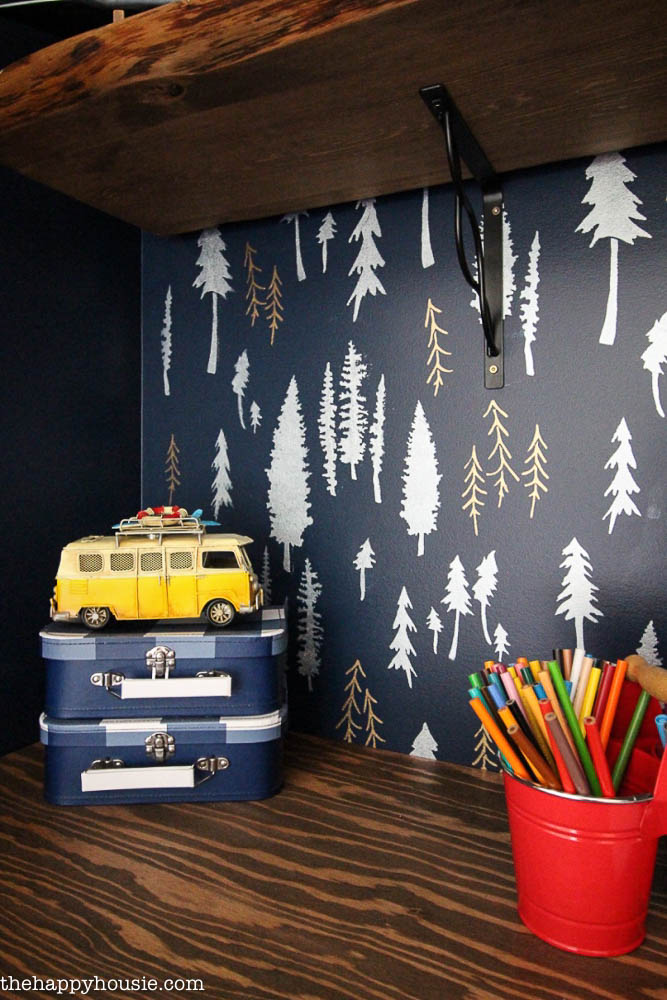
After it was dry, I used this gorgeous stencil from Royal Design Studios by Bonnie Christine – it is called Timberland. I also used the Royal Design Stencil Cream in Pearl Oyster and Antique Gold and the 2″ allover Stencil brush.
I started by taping the stencil in the top corner of the back wall of their closet – using Frogtape for delicate surfaces {which is perfect for recently painted walls}.
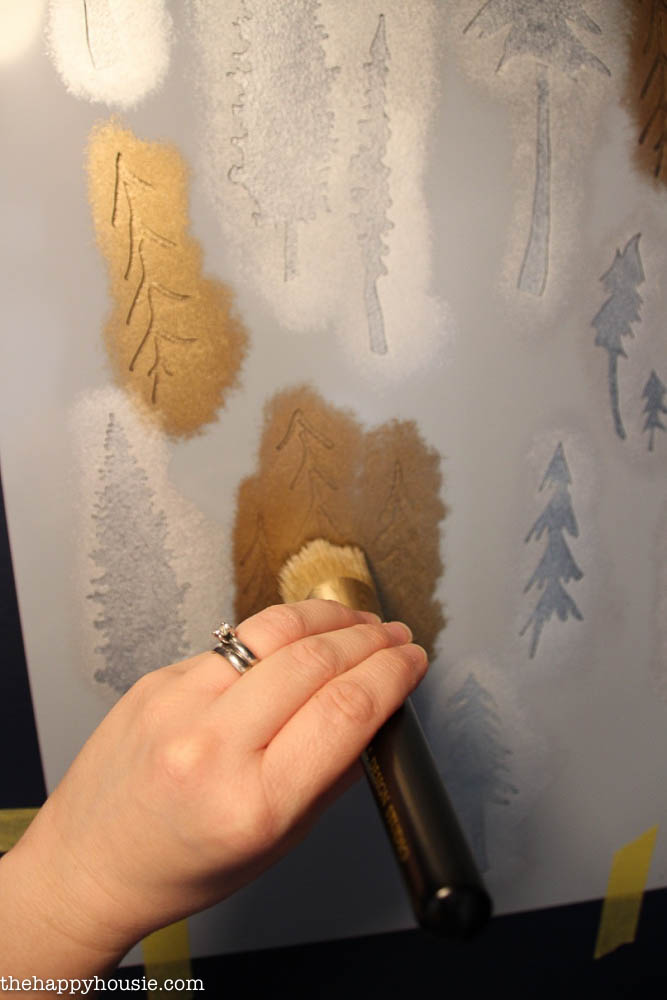
I followed the instructions the pamphlet that came with my Royal Design Studio Stencil- it talked about a few different techniques that could be used. You can also review this great tutorial on brush stenciling from RDS. I made sure to offload my brush- meaning that after loading my brush with the stencil cream, I offloaded most of it back onto a paper towel using a dabbing method. The stencil brush had very little paint on it and the paint was evenly distributed on the ends of the bristles. That way there was no excess paint to bleed under the stencil. I also washed the brush with soapy water and dried it off with a towel when switching from one colour to the next.
To move onto the next section, I overlaid the stencil so that the pattern would repeat. In the image below you can see that the trees on the far right of the stencil have already been stenciled. That is because they were stenciled when I used the stencil closest to the corner of the closet. When I moved it over, I lined it up so that the stencil would repeat. Be careful not to draft the stencil through the paint and smear the wet paint when moving it. I was impressed with how quickly the stencil cream dried.
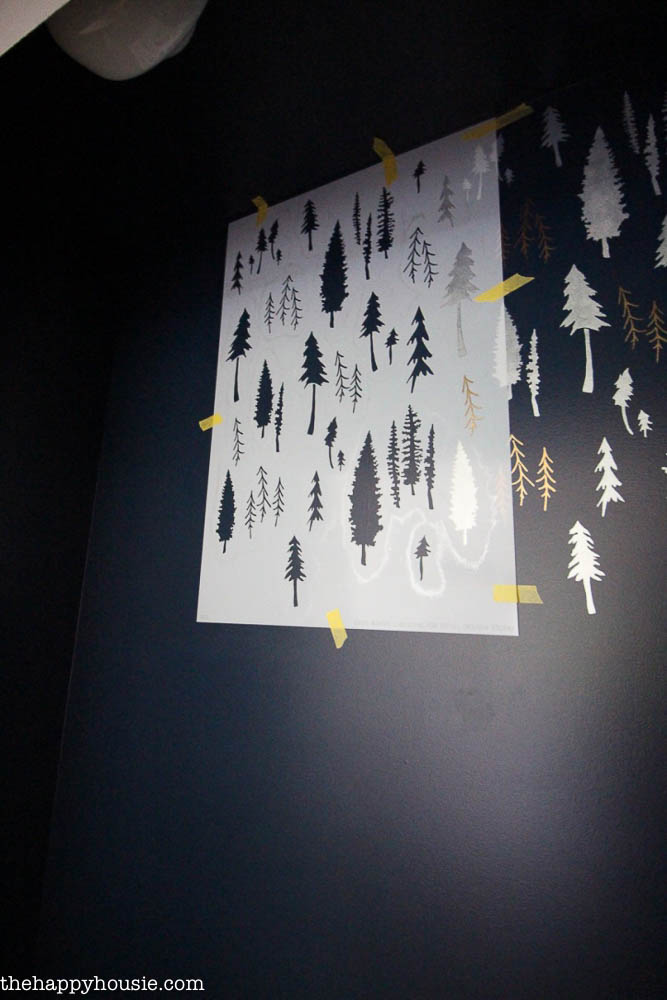
I continued stenciling across, and then moved it down, then across….
A couple of times throughout the procedure I washed the stencil cream off by laying it in the bathtub and spraying it off, then drying it thoroughly by laying it between two towels.
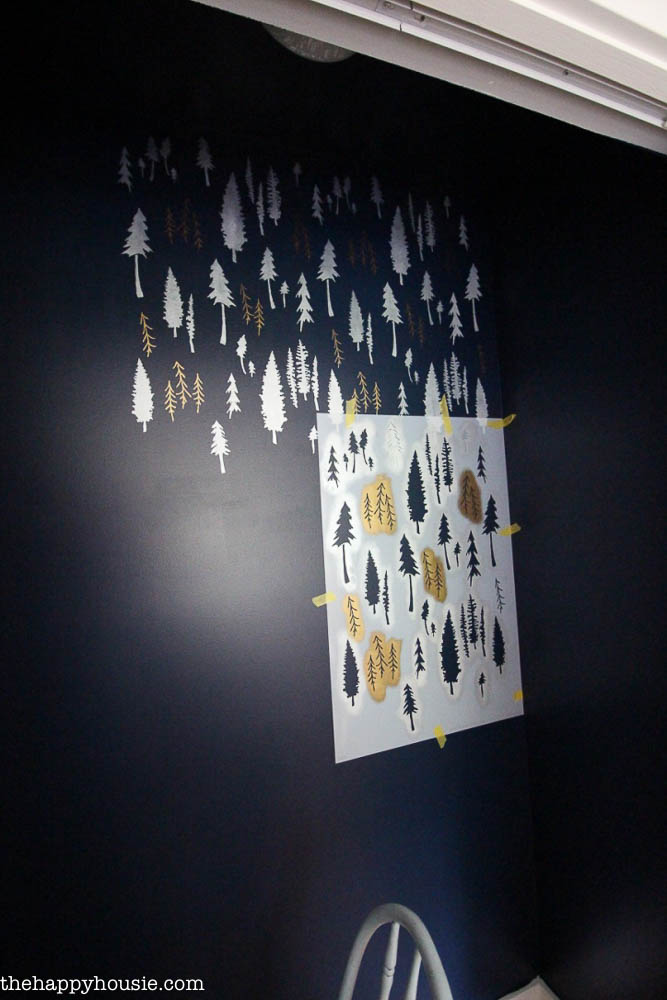
Here is with the closet 2/3 of the way completed…
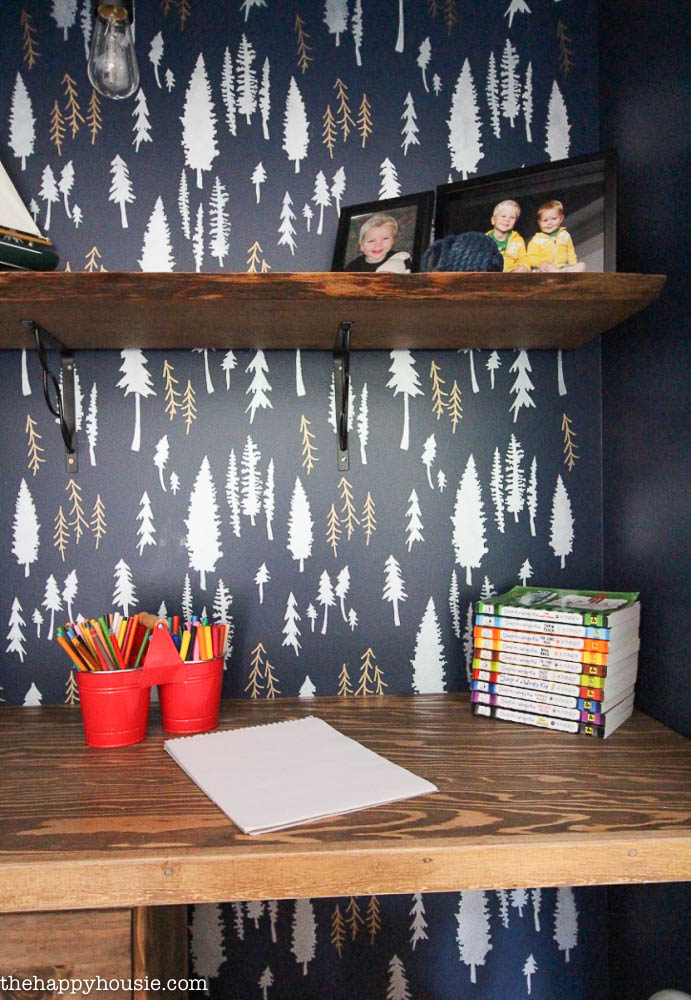
And after the whole closet was done, we added a countertop, live-edge shelf, and a RAST {more details on that coming soon!}.
What do you think?!?

Do you have an under-utilized closet that would be much more useful as a work space or office?

I’m so excited about how this turned out! I just love the crisp, graphic look of this space!
I would definitely tackle another space with a Royal Design Studio stencil – in fact I’ve got my eye on one to use in the laundry room!

![]()
![]()
![]()
![]()
![]()
![]()
![]()
Disclosure: Thank you to Royal Design Studio for the opportunity to collaborate on this amazing project! All opinions, ideas, and suggestions are 100% my own.
I may link up at some of these fabulous places below, for more info check out housie parties: Monday Funday , Inspiration Monday, Nifty Thrifty Tuesday, Project Inspire{d} , Inspire Me Tuesday, The Scoop, Hit Me With Your Best Shot, Wow Me Wednesday, Whimsy Wednesday , From Dream to Reality, The Inspiration Exchange, Wow Us Wednesday, Live Laugh Rowe Live Laugh Linky, Thursdays Are Your Days, Inspire Me Please, Catch as Catch Can, Fabulously Creative Friday, Party Junk, Pinworthy Projects , Link Party Palooza,, Weekend Bloggy Reading, Strut Your Stuff Saturday, Spotlight Saturday, Suburbs Mama , That DIY Party

LOOOOVE it!! can’t believe it is a stencil!
I think it looks awesome! I just can’t even imagine what it’s like to have an unused closet. . . 😉
This turned out SO well Krista! I am loving that you used two colors of paint, as well. It totally looks like wallpaper now! You would never guess it was a stencil.
Amazing transformation! I love this space now! Perfect for your growing boys! xo
This is adorable! It makes me want to do something like it in our boy’s room. Thanks for sharing!
Krista I just love how this turned out! The little bit of gold you added to the tree stencil is such a fun detail and everything came together beautifully. I’m sure your son is super stoked to write and draw in his new space. I know I would be too!
I can’t tell you how much I love this wall, Krista! I don’t think I would have ever thought to stencil something in a closet like that – it totally makes the space!
This is such a brilliant idea Krista! And I never would have guessed that wall was stencilled! It turned out perfectly!
This looks so good!
Beautiful just beautiful!
The final result was great!! Unfortunatelty I don’t have such a under used space like that…
oh krista, i just love this! it looks amazing!!!