
How to Make DIY Envelope Style Lumbar Pillow Covers {the STARS of the show!!}
I will show you how to make your own envelope pillow case.
So you may know that I have a thing for envelope pillow covers.
And for pillows in general.
I love switching them out with great regularity.
And today I want to share with you how I make my DIY Envelope Style Lumbar Pillows.
Because these are some important throw pillows.
Really, they are the STARS of the show.
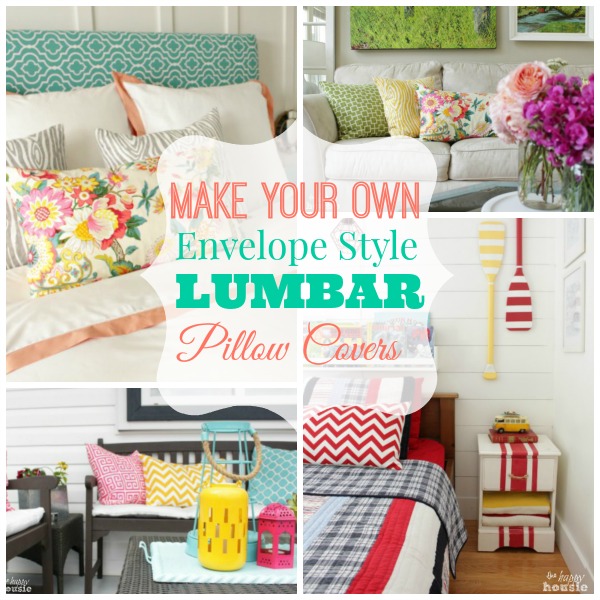
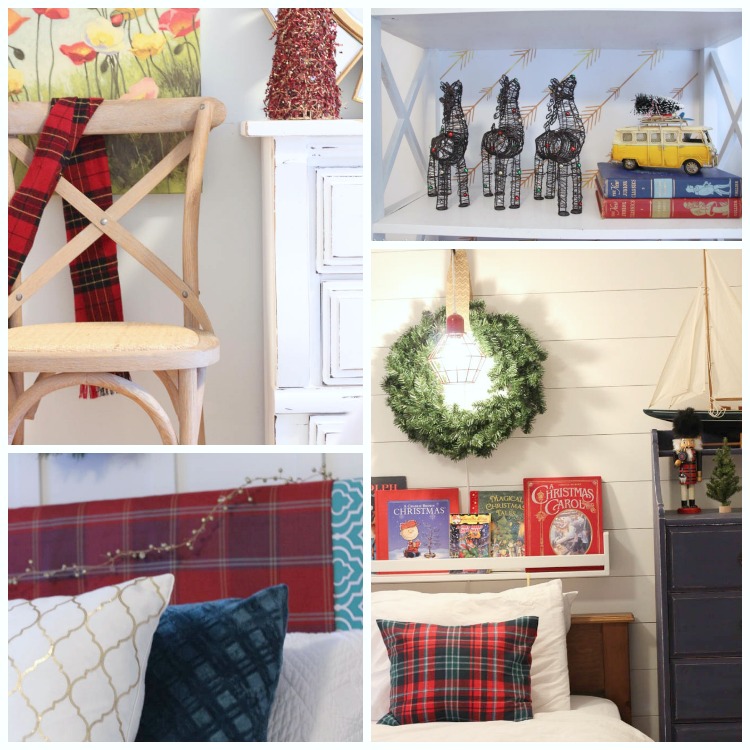
The lumbar pillow is the place to use your ‘best’ or favourite fabric because they get the most visual attention.
And they are the perfect way to tie together a colour scheme in a room.
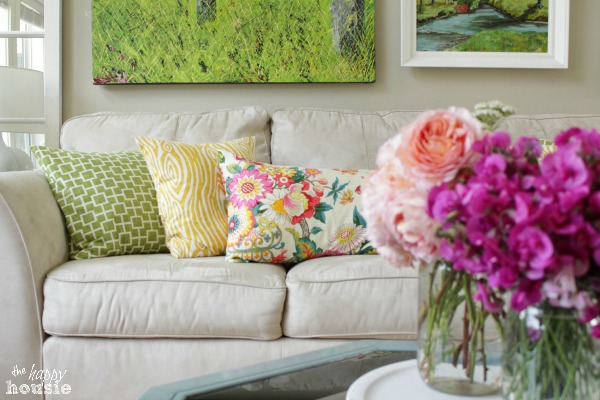
Like they did in our beautiful summer living room that I shared during our summer house tour….
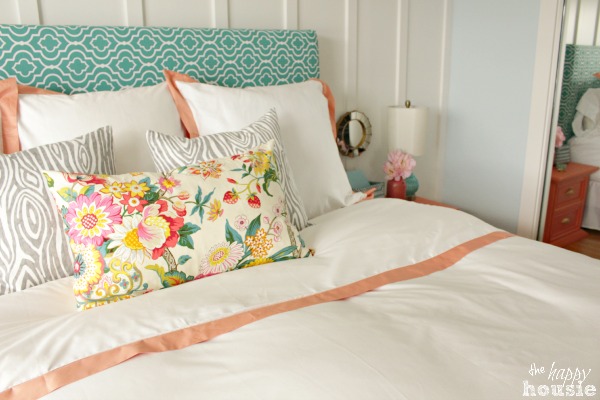
This same beautiful fabric was used in our Master bedroom (you may have seen it when I shared our Master Bedroom Refresh…. ). The stunning scheme of these floral pillows totally tied together the coral, turquoise, pink, and grey elements of the room.
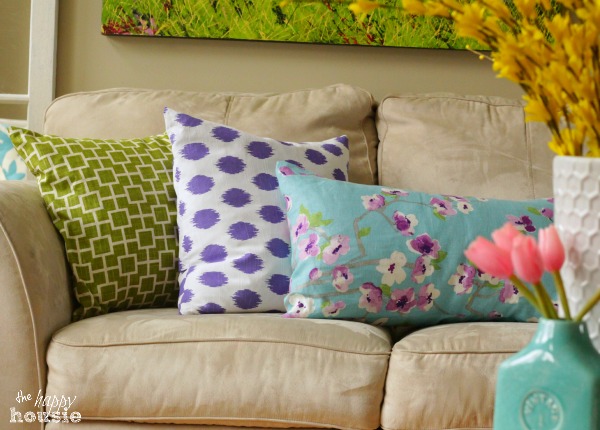
And even during our Spring House Tour….
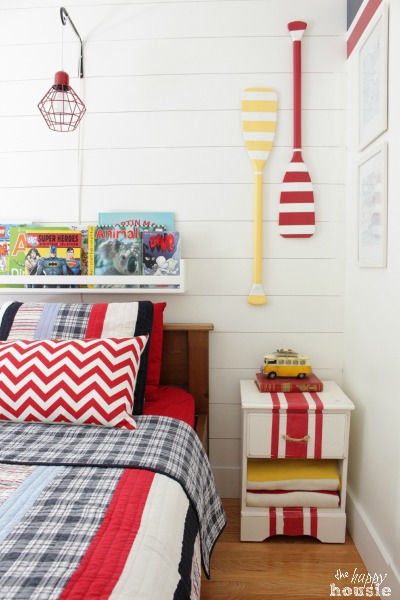
For my tutorial, I am using images of a yellow chevron lumbar pillow cover that I made for my son’s bed.
To make this pillow I used:
– piece of fabric (height of your pillow form plus double the length of your pillow form with an additional 8″ added to the length for overlap)
– rotary cutter and mat (you could also just use a straight edge and scissors)
– sewing machine, sewing scissors, and thread
– iron and ironing board
– measuring tape
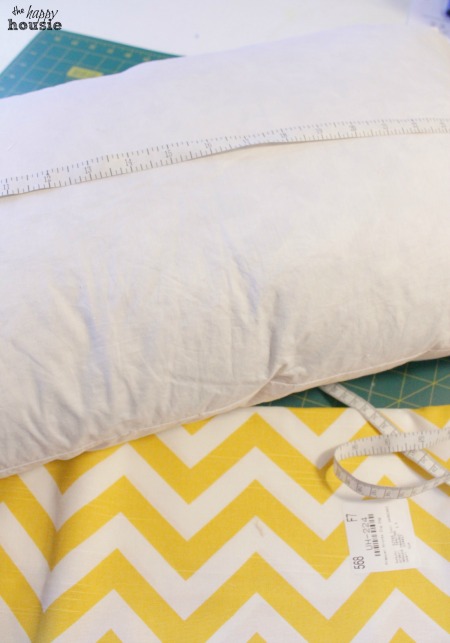
The trickiest part is figuring out the size that your fabric should be. First measure your pillow form. And don’t measure it loosely. Squish it together so that you get of measure of it with firm edges. My pillow label said it was 16×28 but there was lots of extra space in the form so I squished it up and measured it to be 14″ x 24″. You want to add about 1/2 inch for the seams along the non-envelope part and you add about 8″ for the overlap for the back, so I cut my fabric to 15″ x 56″.
Choosing your fabric size also depends on how full the form is you are using. For a full discussion of this, see my other envelope pillow tutorials here and here.
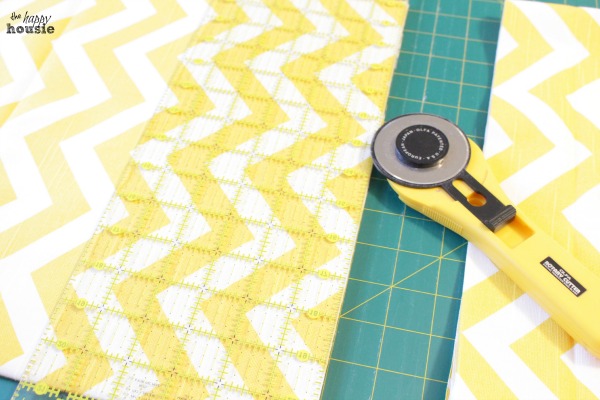
I used my rotary mat and cutter to help me slice up my fabric but you can just as easily measure it with your measuring tape, use a straight edge or ruler to mark it lightly on the back and cut it with some sewing scissors.
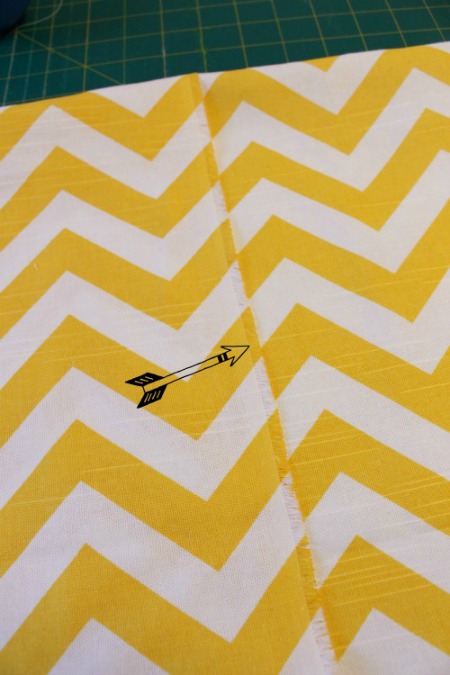
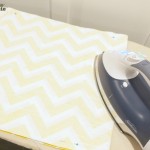
Next, you may wish to take the ends and iron a hem and run it through your sewing machine so that you will have nice clean edges on the back of your envelope pillow where the fabric overlaps..
For this demo pillow, I actually skipped this step and just used the rough sewn edge that the fabric came with as it was a 56″ width of fabric, as you can see below. Other times I do sew the edge so I have a neat finishing edge to it.
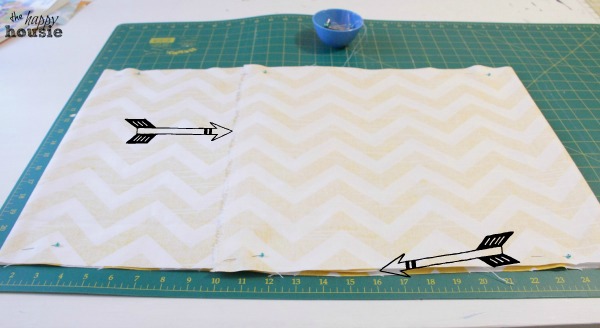
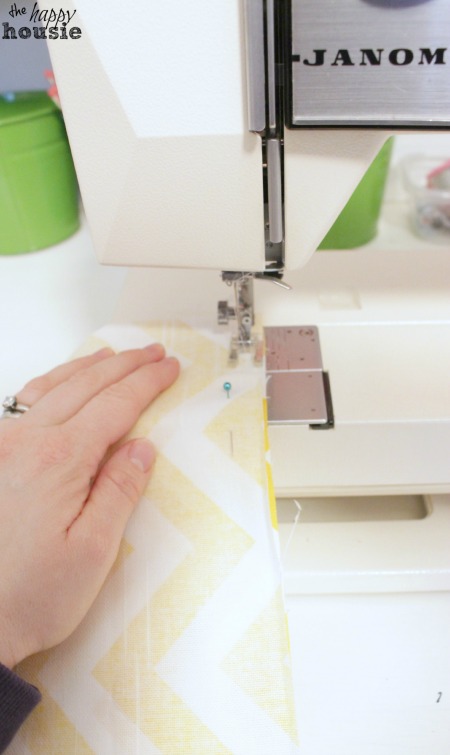
Once the piece of fabric is cut (and you have hemmed the two edges if you are doing so) lay the fabric out and fold the right side (or pretty patterned side) facing IN on itself. I measured to make sure it was the dimensions I wanted (15″ x 56″) and then pinned it lightly.
I ironed it lightly to the correct size…
And then ran the open, pinned sides through my sewing machine…
Flipped it inside out…
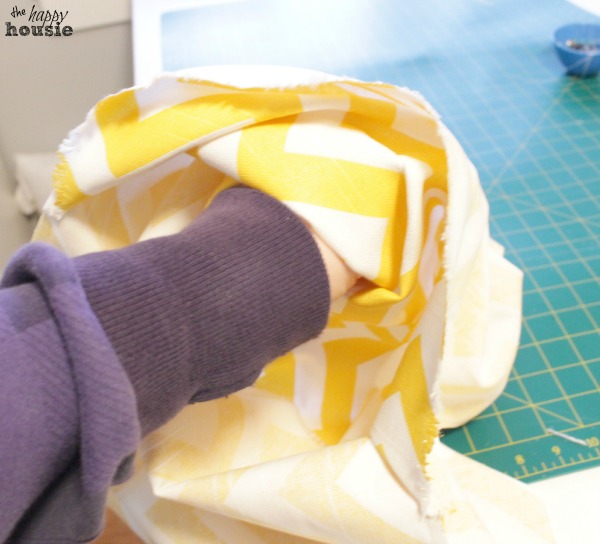
And stuffed the pillow form inside of envelope pillow.
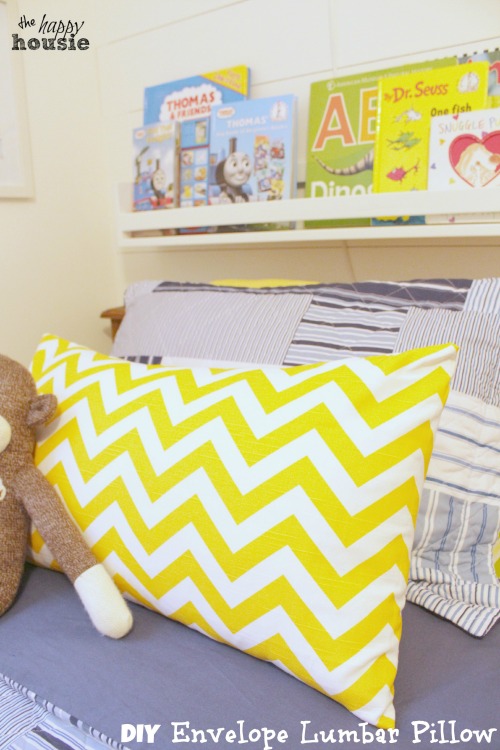
Each boy has their own ‘color’ – our oldest son’s is red, while our youngest son’s is yellow.
Truly, they are so easy. Especially once you try a few and really get the hang of things. They take minutes!
Want to give it a try?
Pin it to remember it!


![]()
![]()
![]()
![]()
![]()
![]()
![]()

Thank you for the tutorial. Some of your photos are not showing.
Great. Love this post. Love that you like color so much. Tired of all the white.
Hi Gail! I don’t think I can ever let go of my “pops” of colour- but I sure like the way the colour pops now with white walls! So crisp and fresh but still cheery and colourful. I can’t wait to get this space finished up:)
That is great tutorial. I am in love with the yellow pillow cover! I totally want to make one to decorate for my home!
Thank for awesome instructional.
I truly like the hues it match well, would it say it isn’t?
What’s the filling you utilized?
where did you buy the red and white and black bedding?
Thank you
Thank for great tutorial
I really like the colors it match well, isn’t it?
What’s the filling you used?
Hi Krista, I’ve made your square envelope pillows and they turned out great! Just had a question about the lumbar ones. Are you using the same process here and dividing the 56″ by 2 for 2 pieces for the back, or is it 1 piece? Not sure how just 1 piece would still be an envelope style. The math seems different than the square envelope pattern.
Hi Susan,
You have likely read my post about making 2 piece envelope pillows, but I have another post (that is even faster!!) about making your envelope style pillow out of one piece of fabric. The link is: One Piece Envelope Pillows I think if you read that then the one piece lumbar envelope pillows will make more sense- let me know if you are still confused! (I am on holidays right now so it might take me a few days to respond). Good luck with your project!
Krista
What kind of fabric is recommended?Thanks for the post.
What can you use for your pillow form?
Great question Sandy, I should have mentioned that! I buy my lumbar forms at IKEA – they have awesome ones. I love all their pillow forms and I only get there a couple times a year so I stock up. But I have also seen that shape at fabric stores that sell forms as well. Hope that helps!
gracias me encanta el almohadón…¡¡¡
This is perfect!! Thank you for posting this! Question? I purchased some fantastic pillows from Home Goods and the quality is fantastic however, they are not removable covers. I would like to turn them into just that. Any suggestions?
Thanks,
Savannah
Savvydarling.com
Hi Savannah! I have to be honest – I don’t think you could do it unless you downside the pillow form or make two pillows with a different fabric for the backs – like these two sided DIY envelope pillows that I shared before. You could use the original fabric on the front and put a plain or coordinating fabric on the back as the overlapping envelope part. You need an extra 6-8″ for overlap on the back so there wouldn’t be enough fabric for that in the original pillow. Another option would be to add a zipper…I haven’t tried that yet. Good luck!
Adding a zipper is exactly what I was thinking too! Maybe I will try that!! Thanks for getting back to me!!
Thank you so much for posting this tutorial Krista. I need to change my pillows out more and then is so much easier!!!