
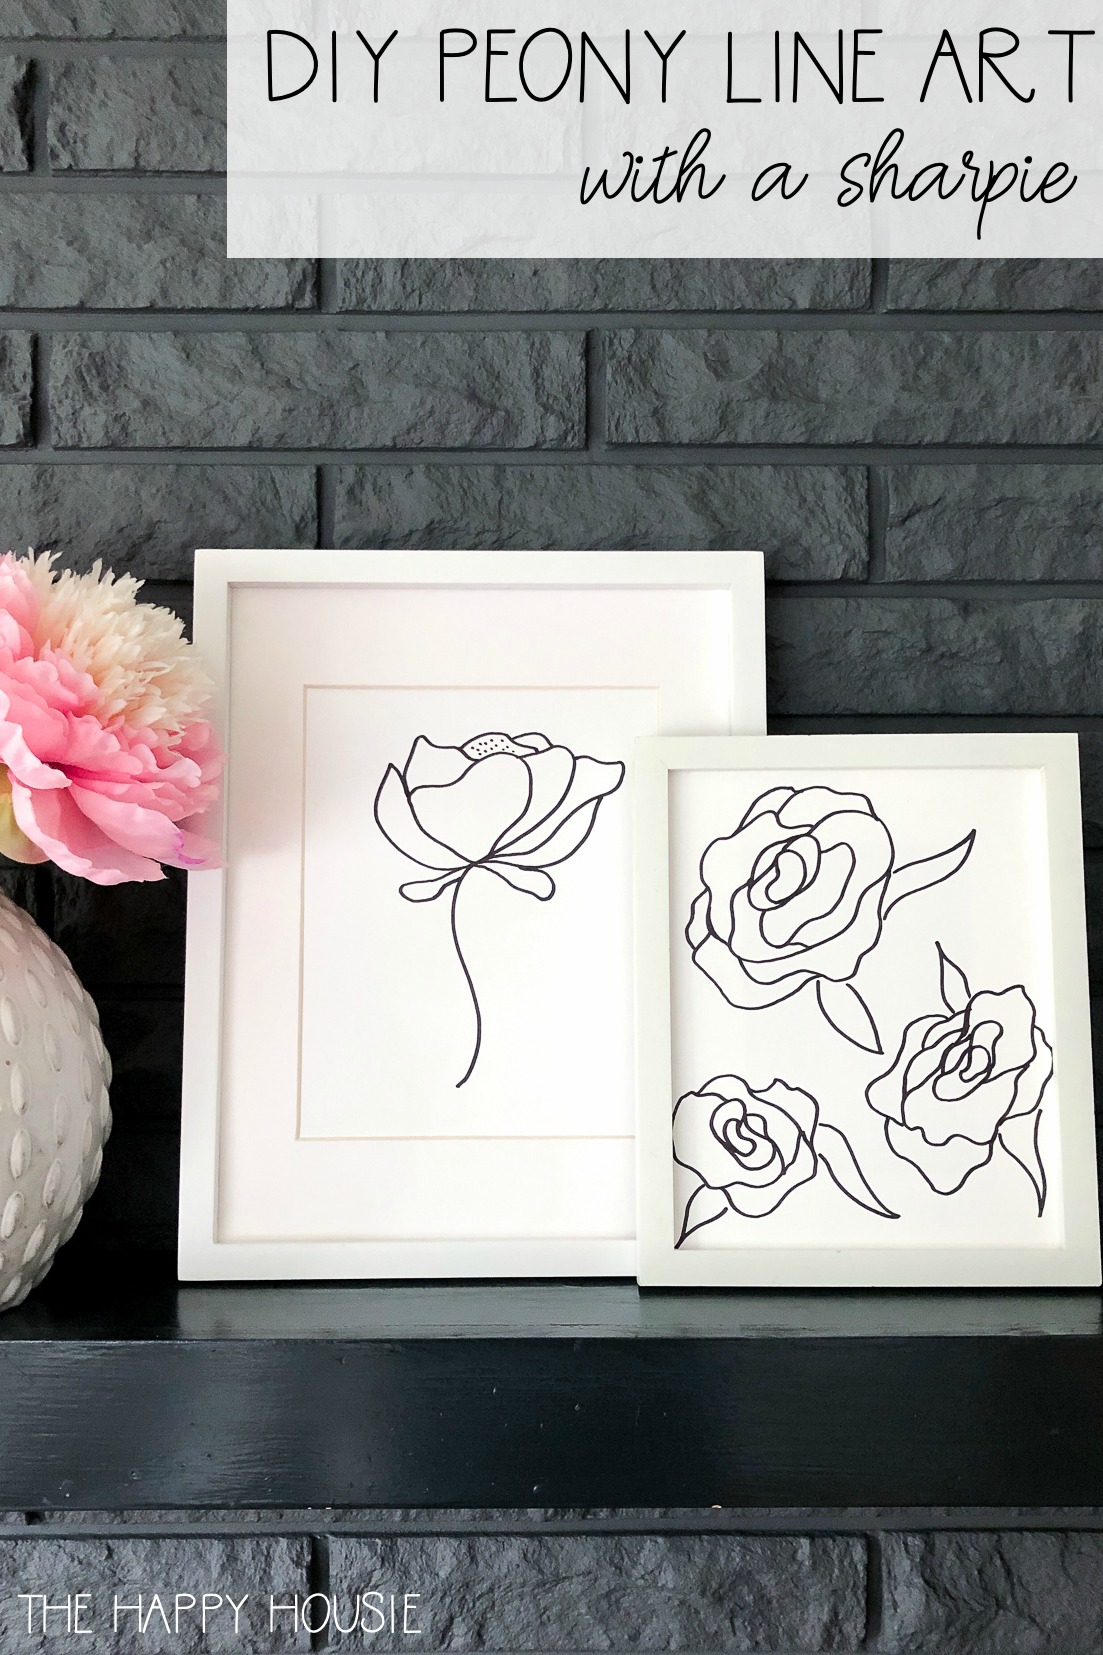
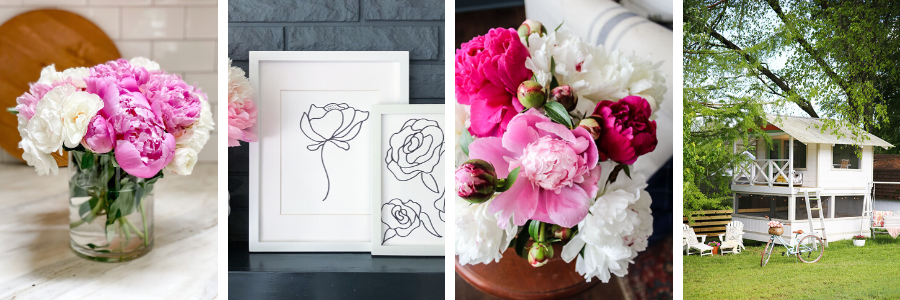
Simple DIY Peony Line Drawing with a Sharpie
Today I’m sharing how to make a simple but beautiful DIY Peony Line Drawing using only a sharpie and white paper or cardstock.
You know when you come up with an idea but you aren’t sure how it’s going to turn out but then you decide to try it in spite of your doubts and it turns out even better than you expected? Well, today’s DIY project is one of those ideas. This super easy peasy DIY peony line drawing is so fun and crisp and fresh – it gives a light and airy springy feel to our mantel without adding any colour! Black and white is really growing on me…
I’m really excited today to be joining my friends Ashley, Janine, and Leslie who are hosting this peony themed project hop. I wasn’t sure what to do at first, since peonies aren’t in bloom yet and I haven’t been out shopping in many stores with a good selection of pretty florals lately. But this idea for a line drawing came to me out of, seemingly, nowhere…
Living on Vancouver Island, the peonies are close to blooming but we still have a couple of weeks until those beautiful blooms are lighting up gardens everywhere.
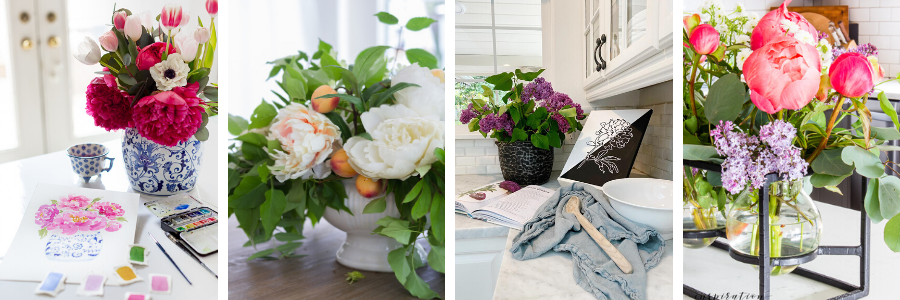
Until then, I’ve got faux peonies in a few vases throughout my lakehouse.
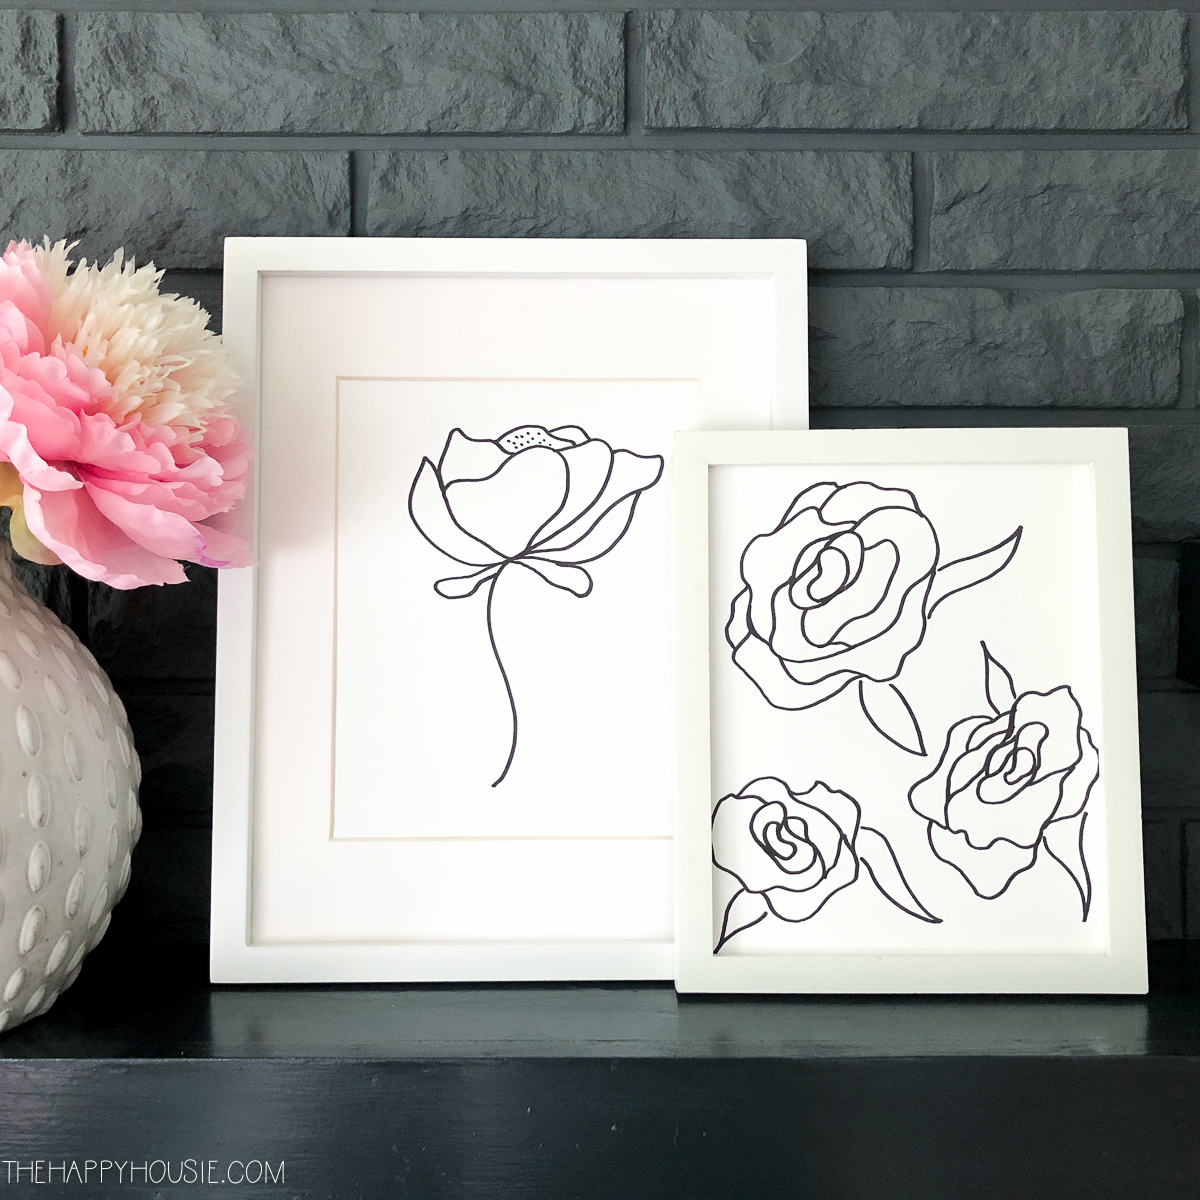
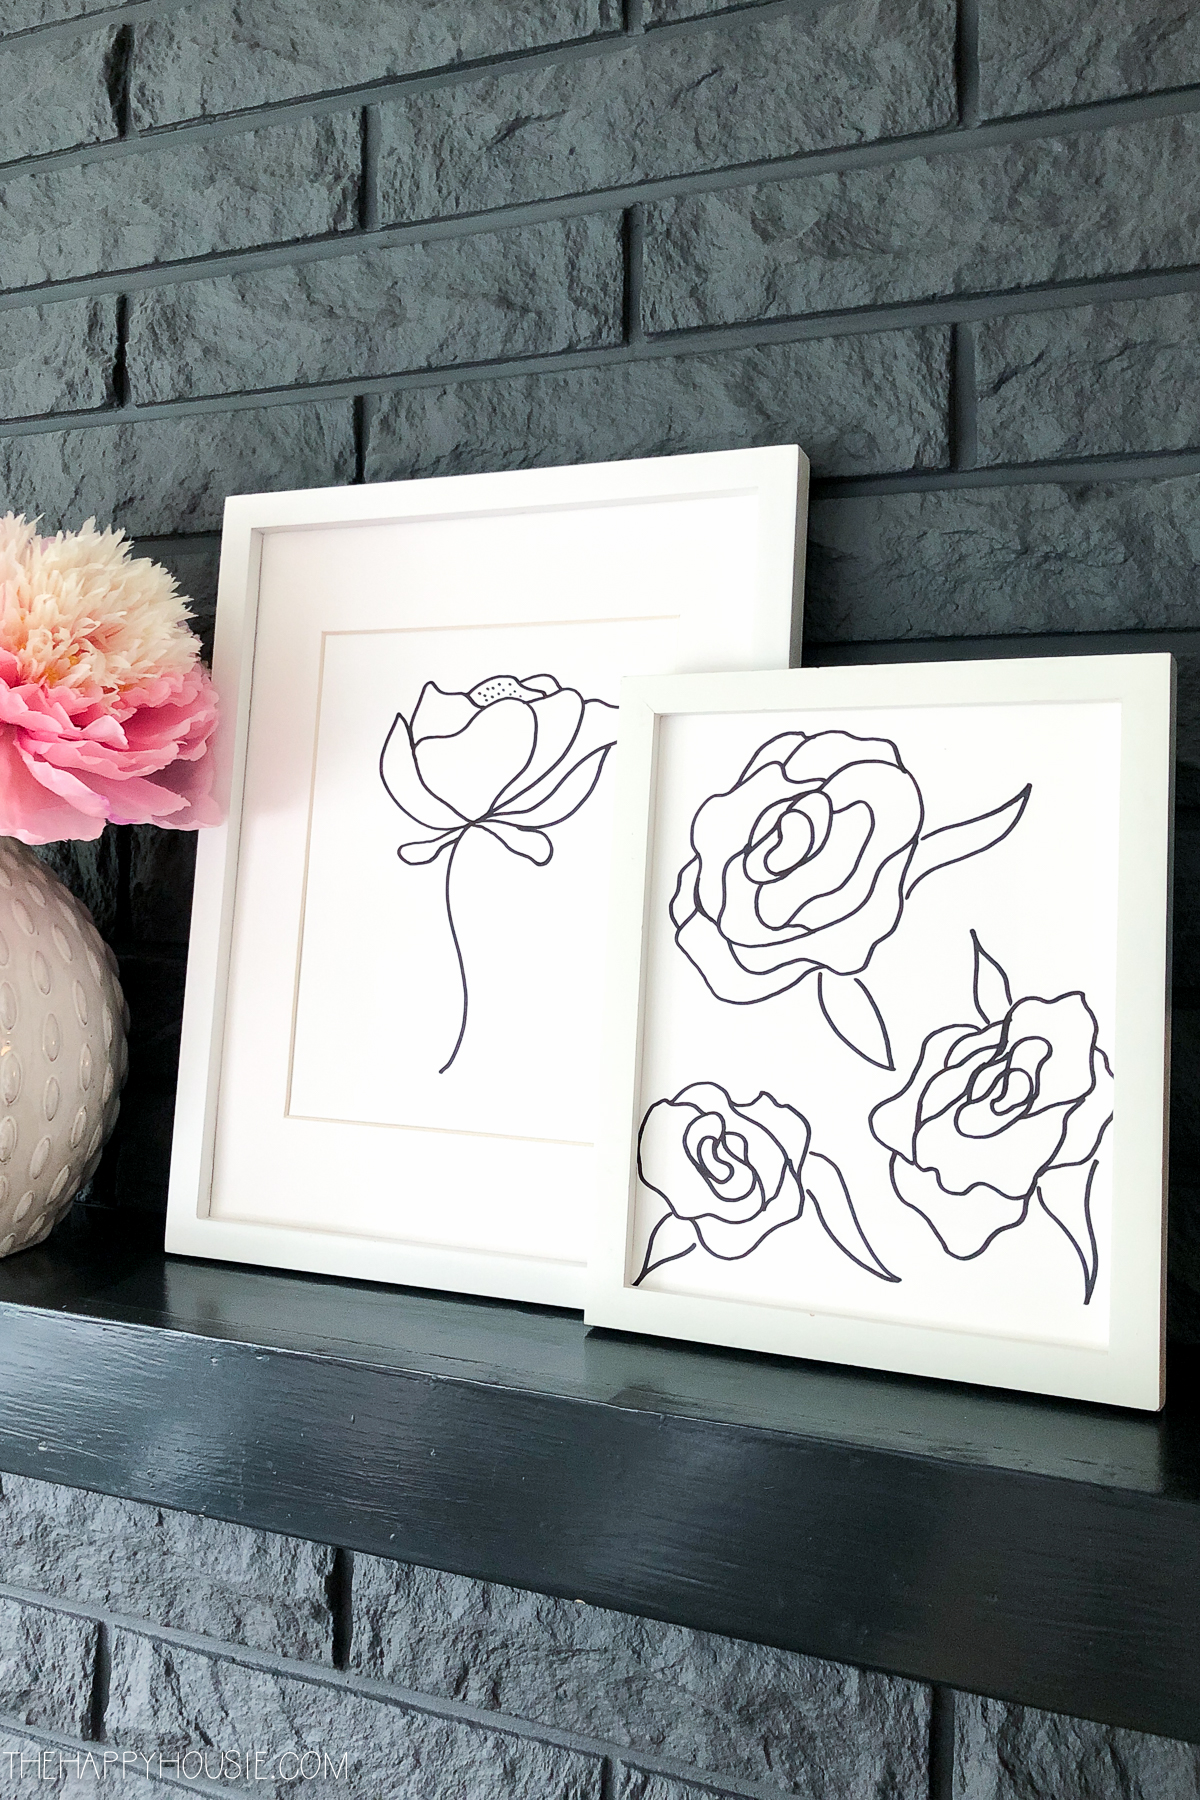
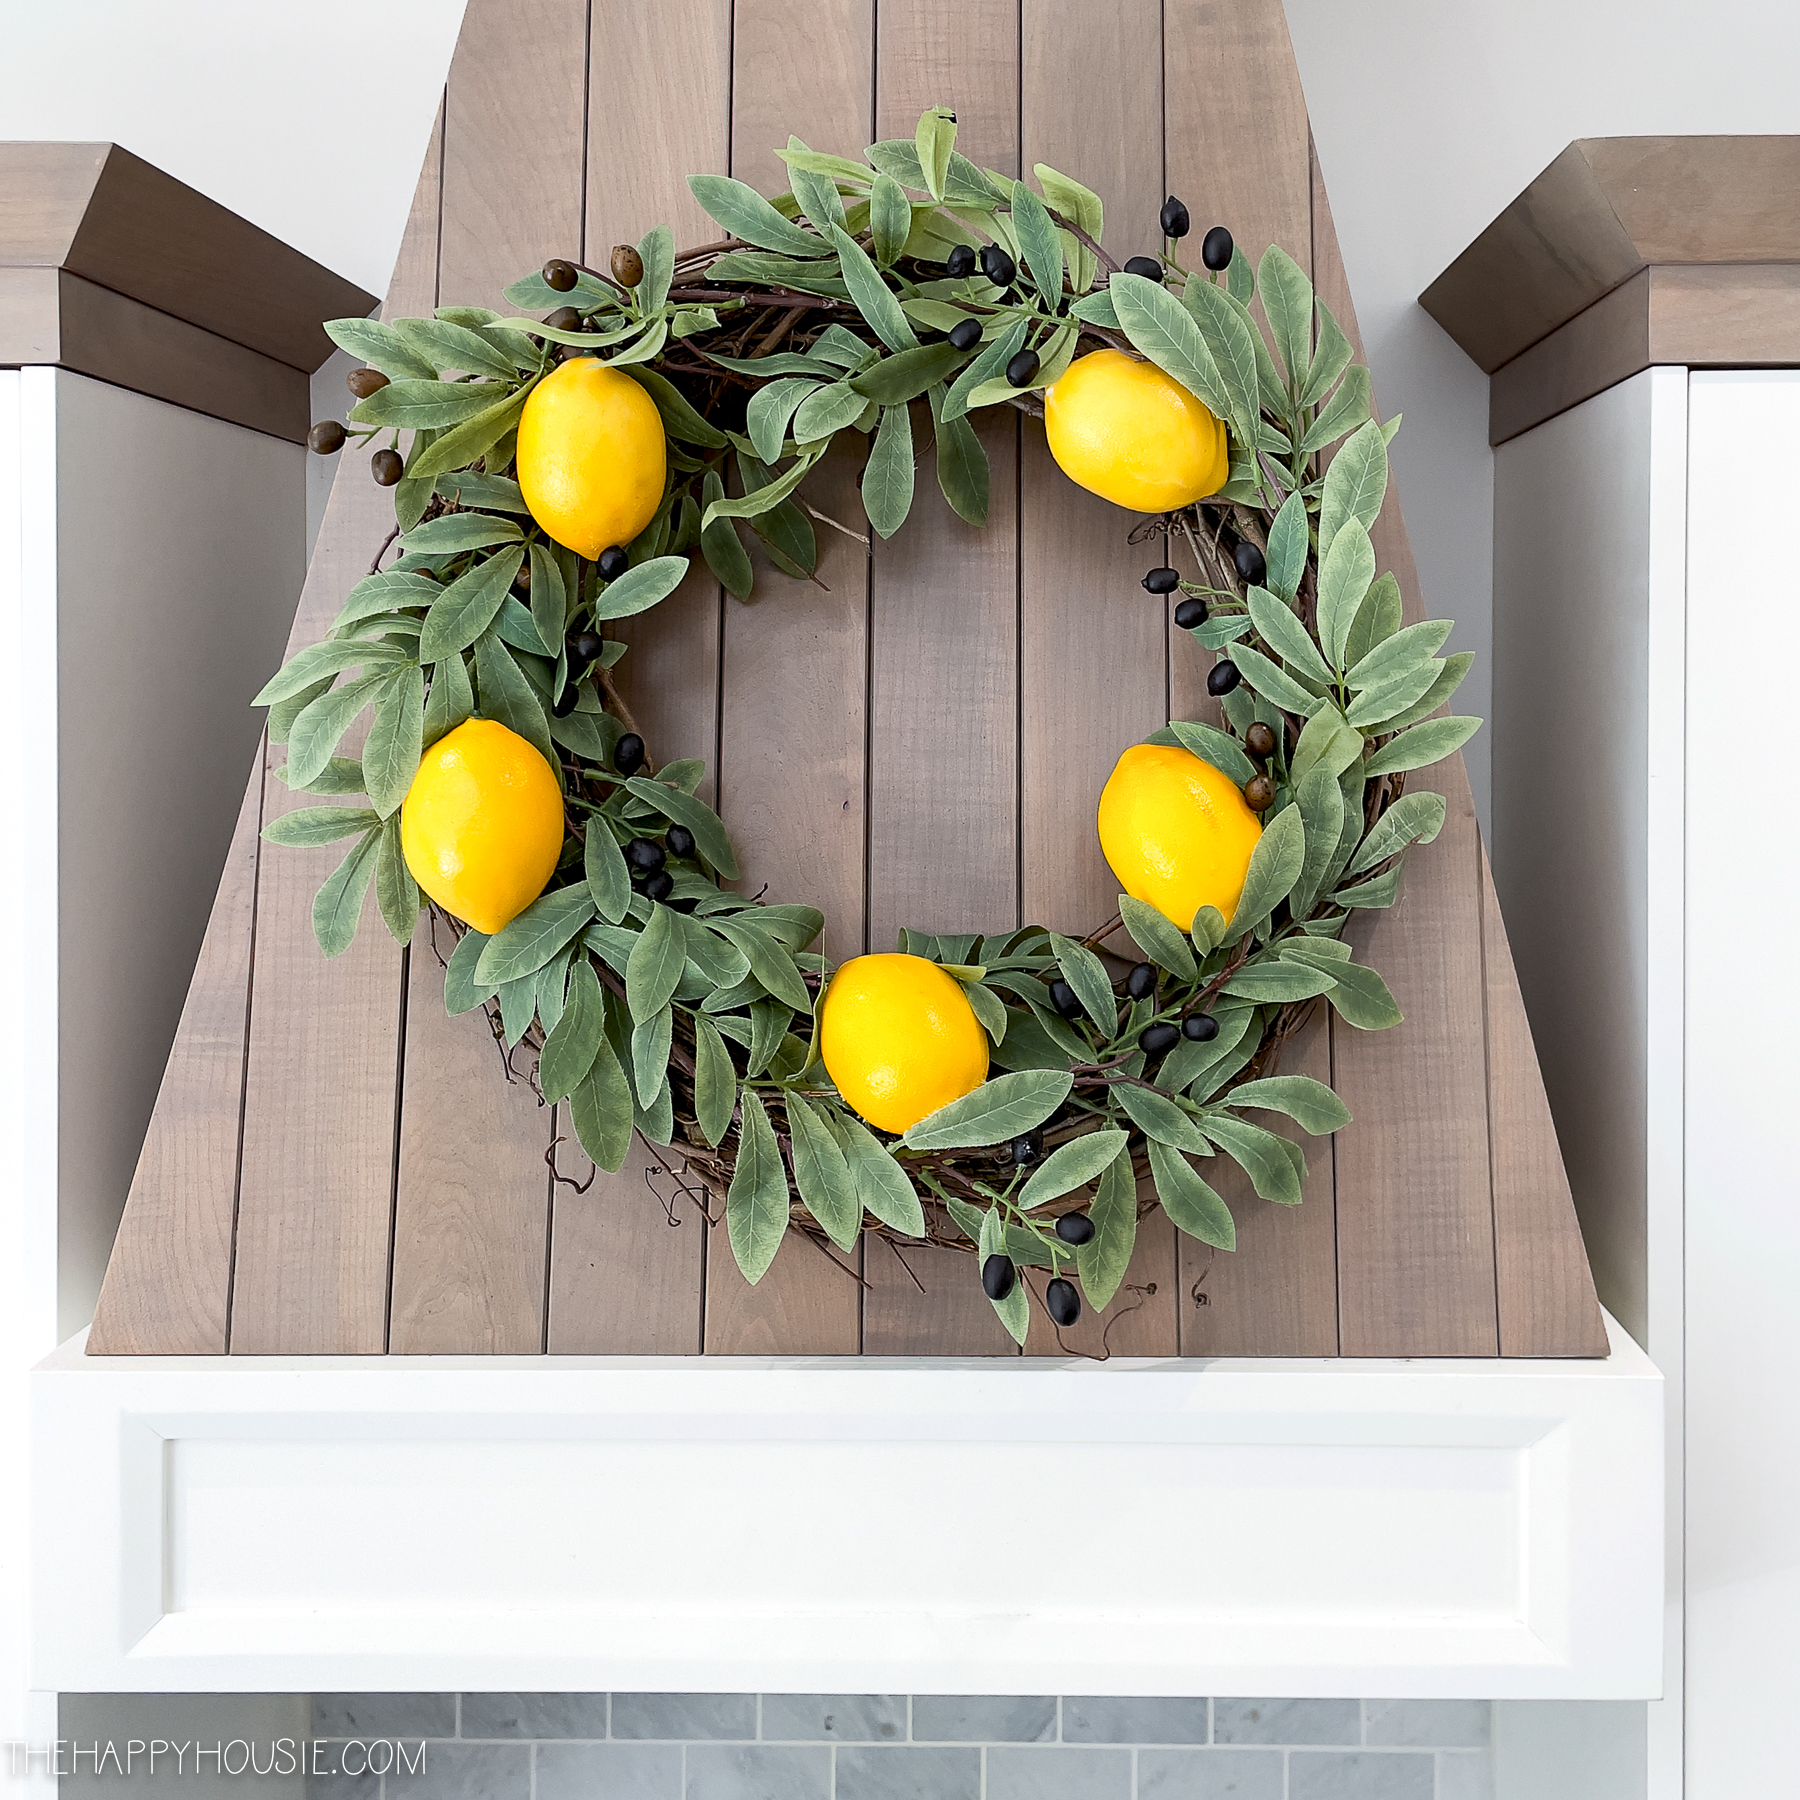
I think this simple update to our mantel of my DIY peony line art is a great way to pay tribute to these beautiful blooms.
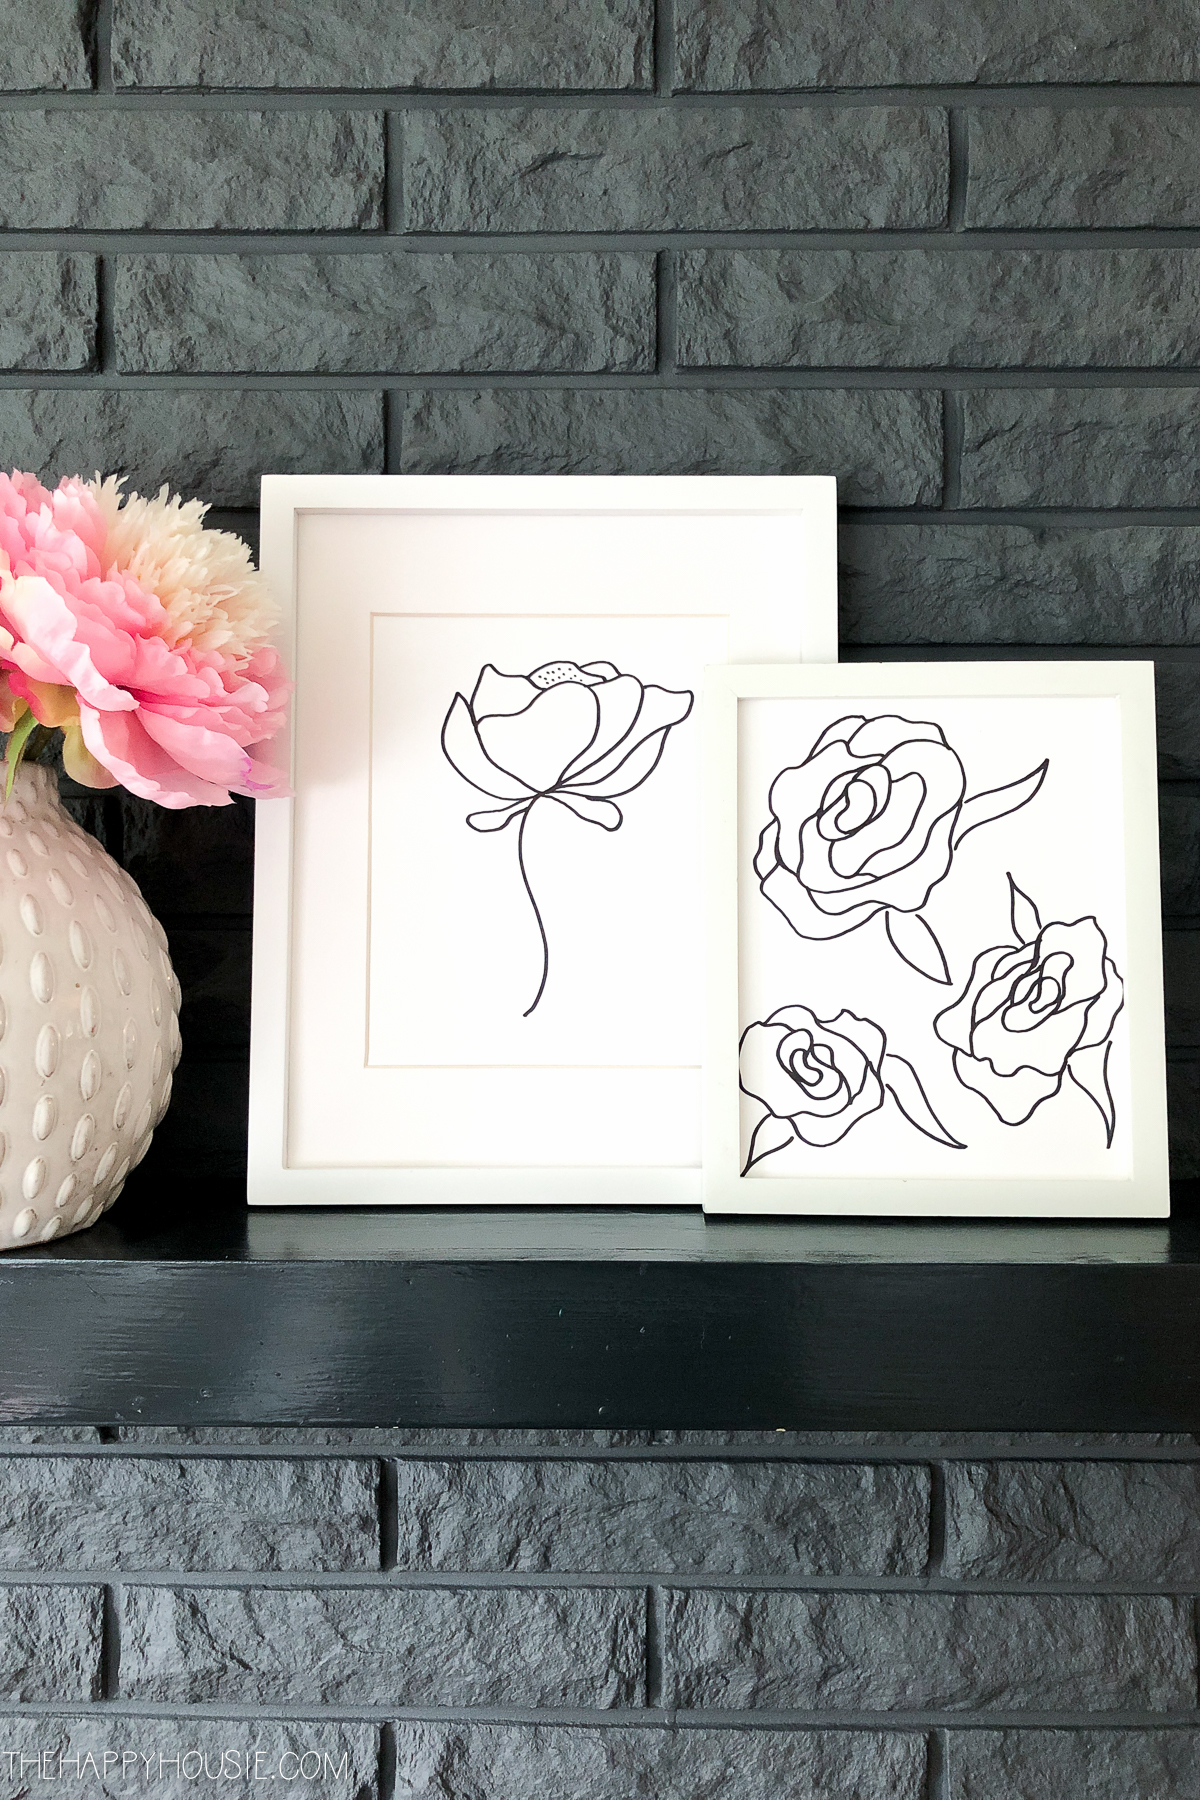
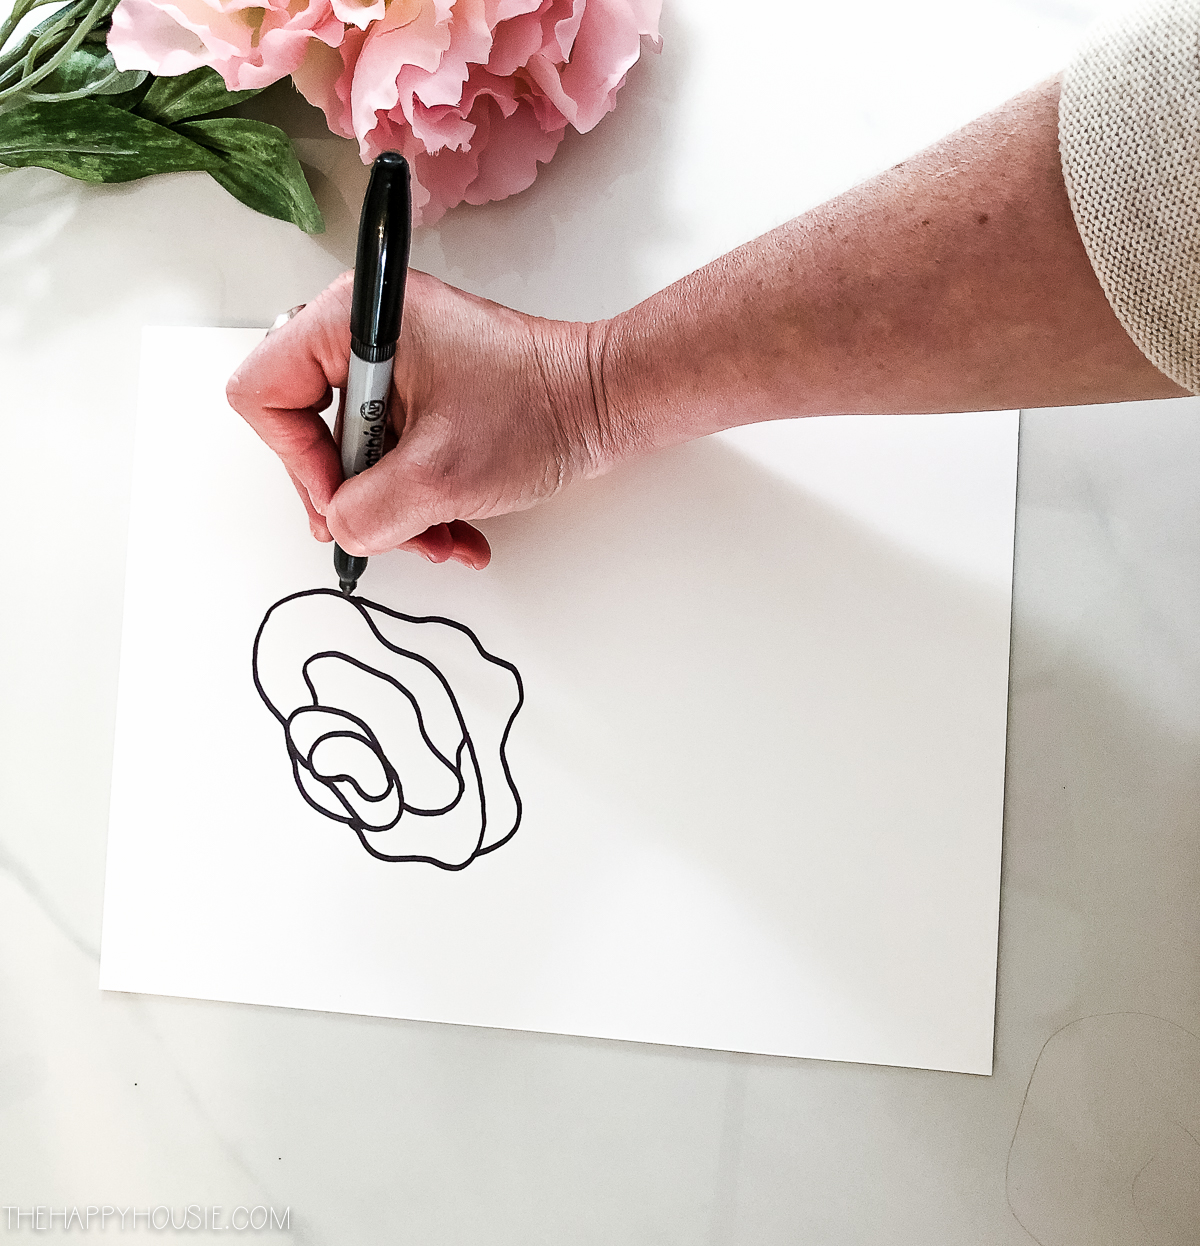
All you need is a fine point sharpie as well as white cardstock. I think you could even get away with plain white printed paper if that is all you have on hand.
I walked you through the steps for drawing your own in this video…
Easy, right?
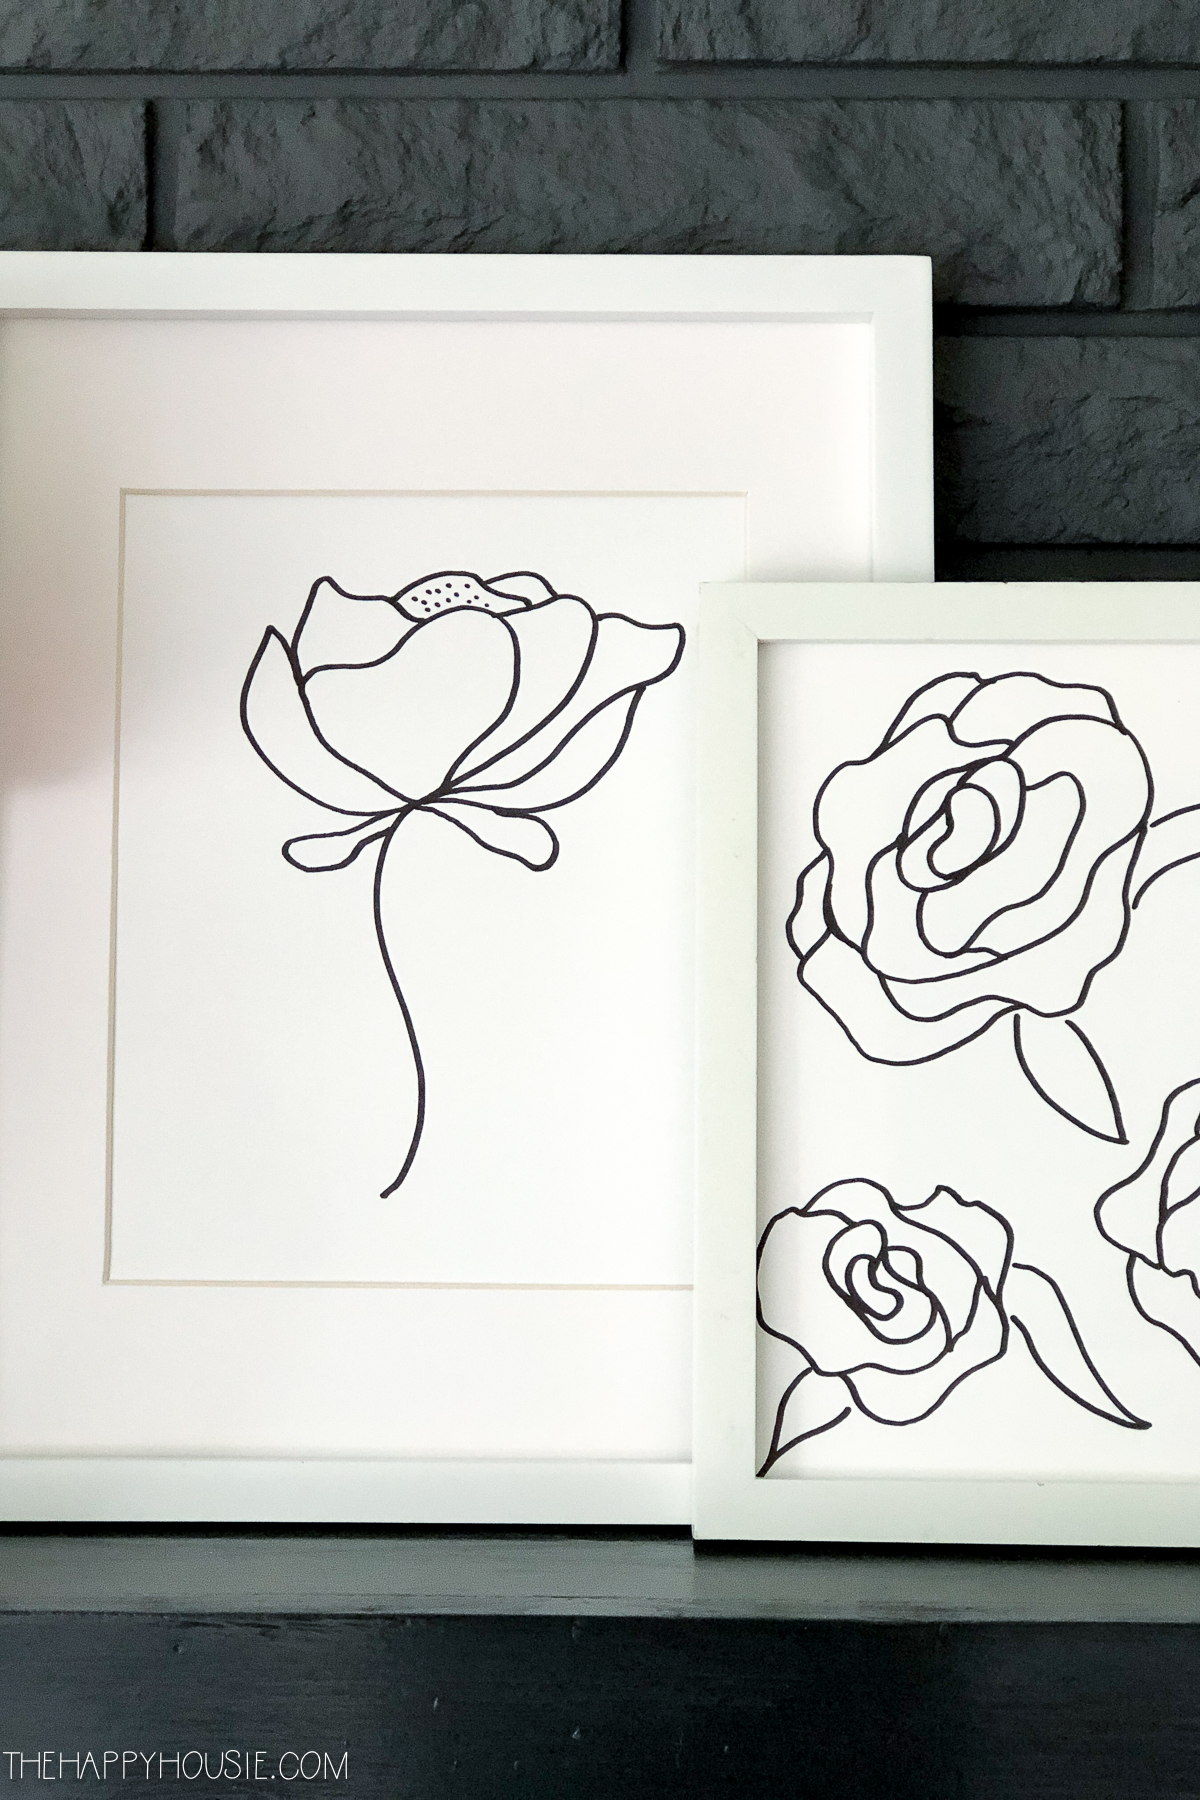
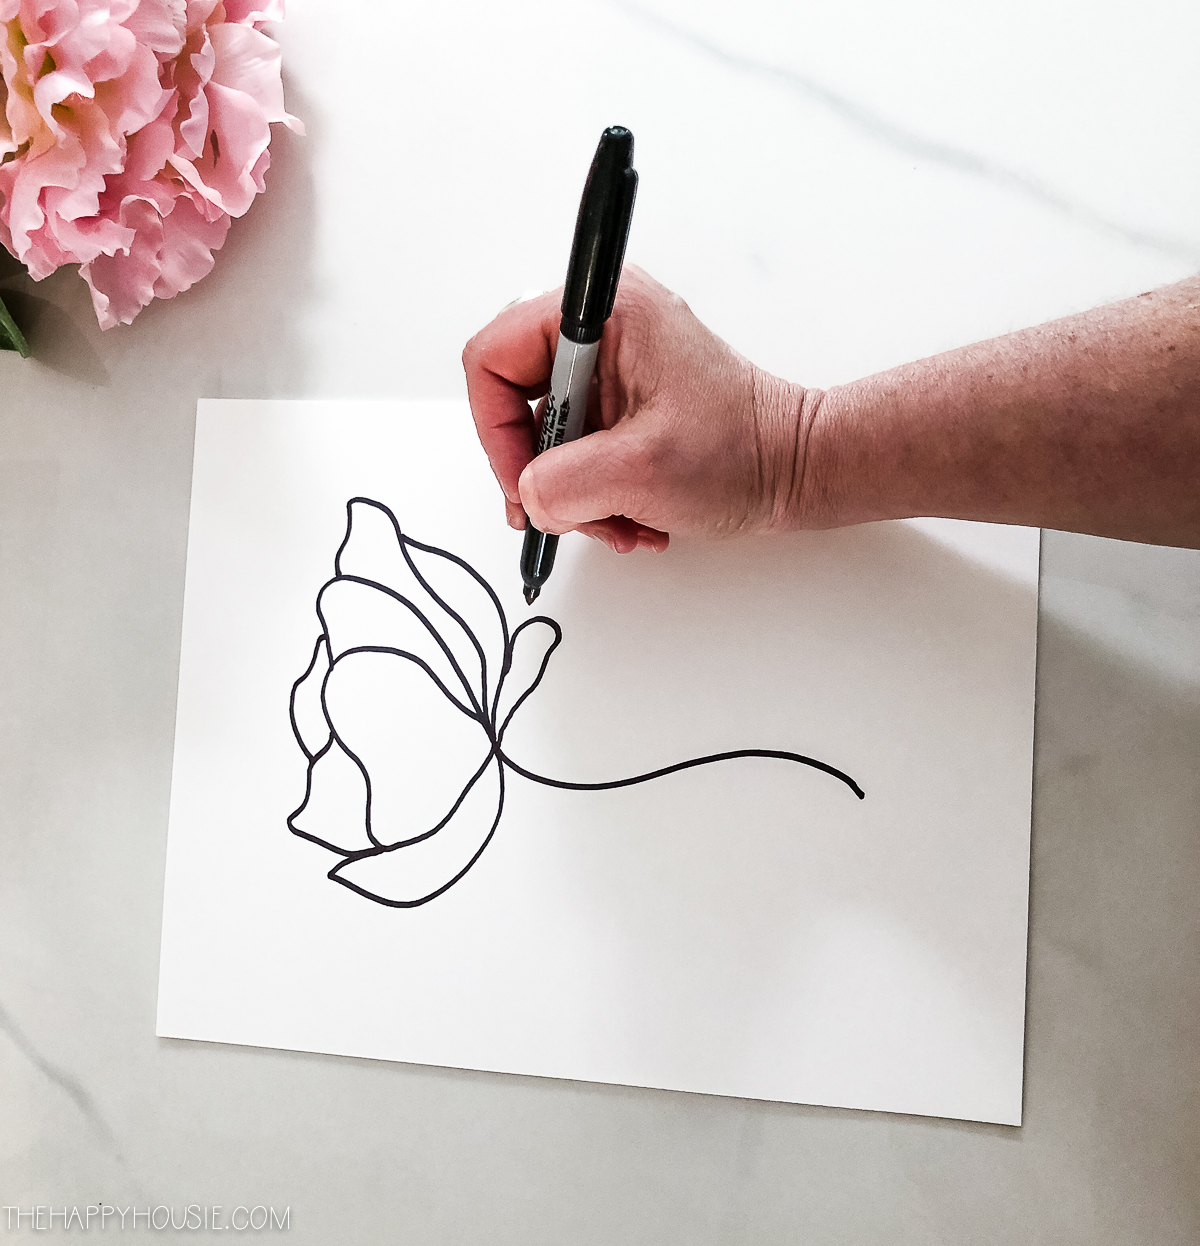
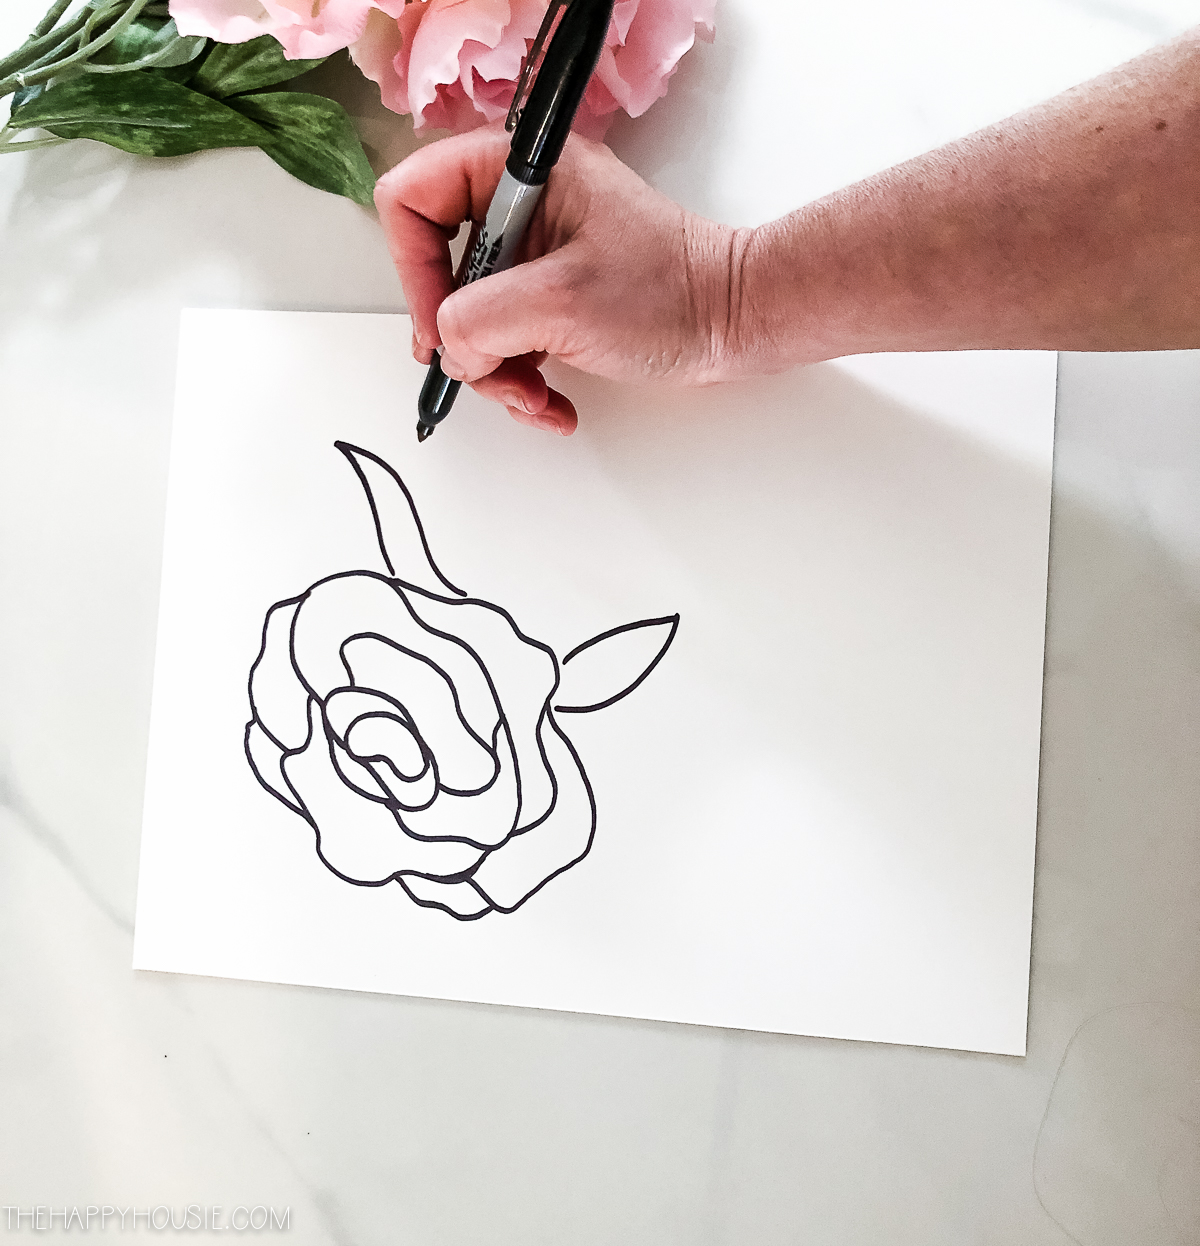
For the single flower on a stem, start with drawing your stem and add an organic shape at the top of it…
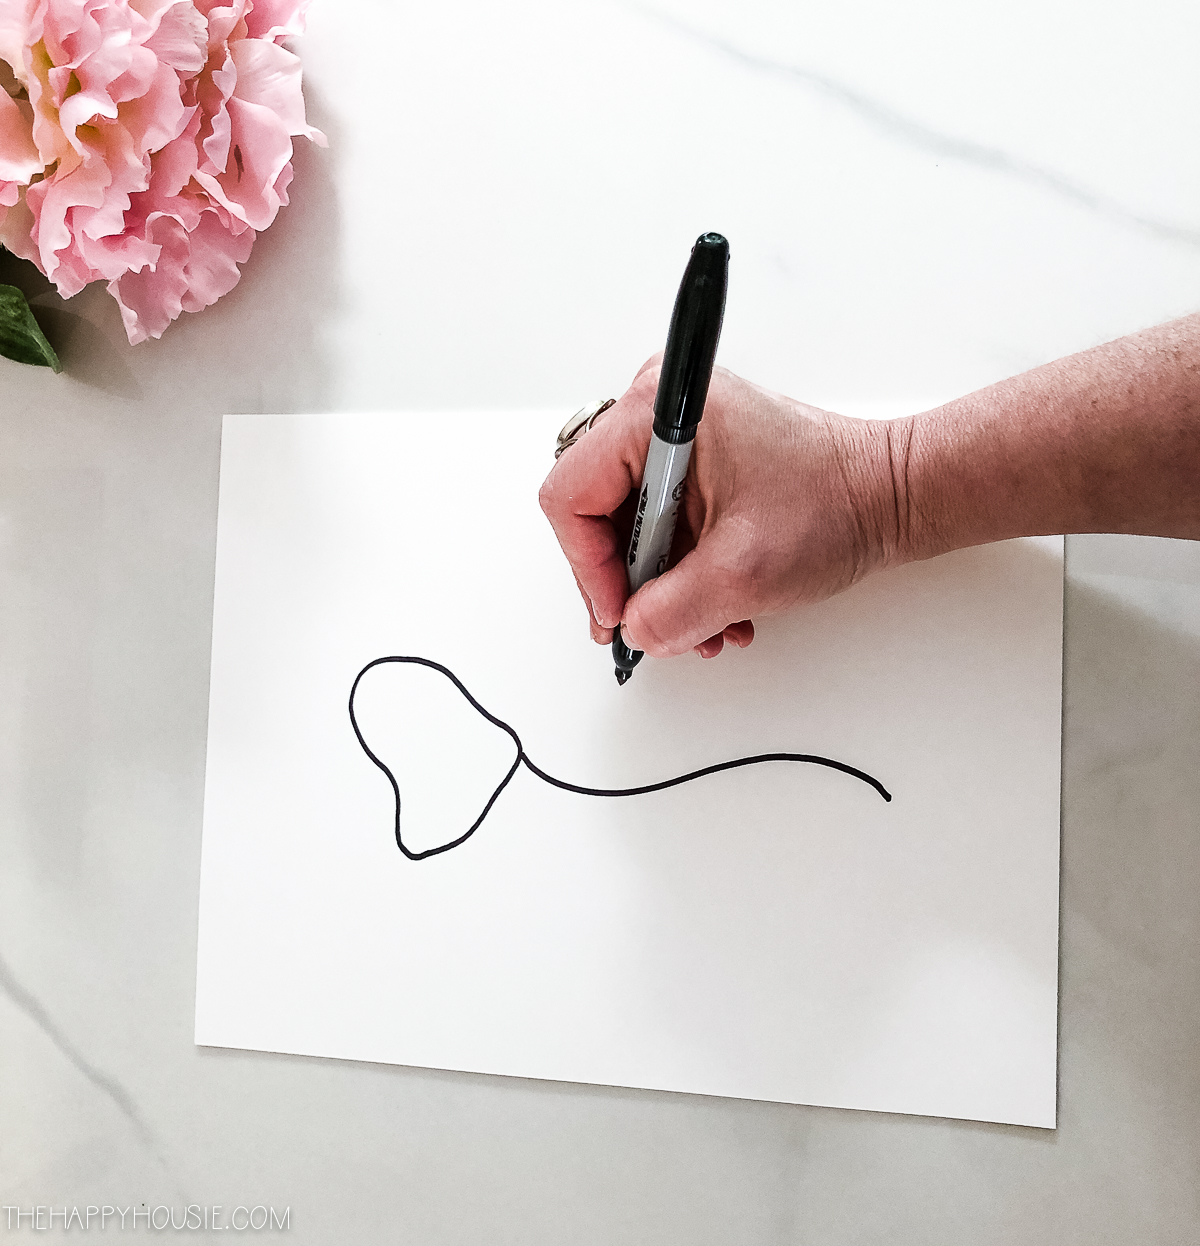
Then layer out to one side, keeping things (always) as simple and organic/flowing as possible…
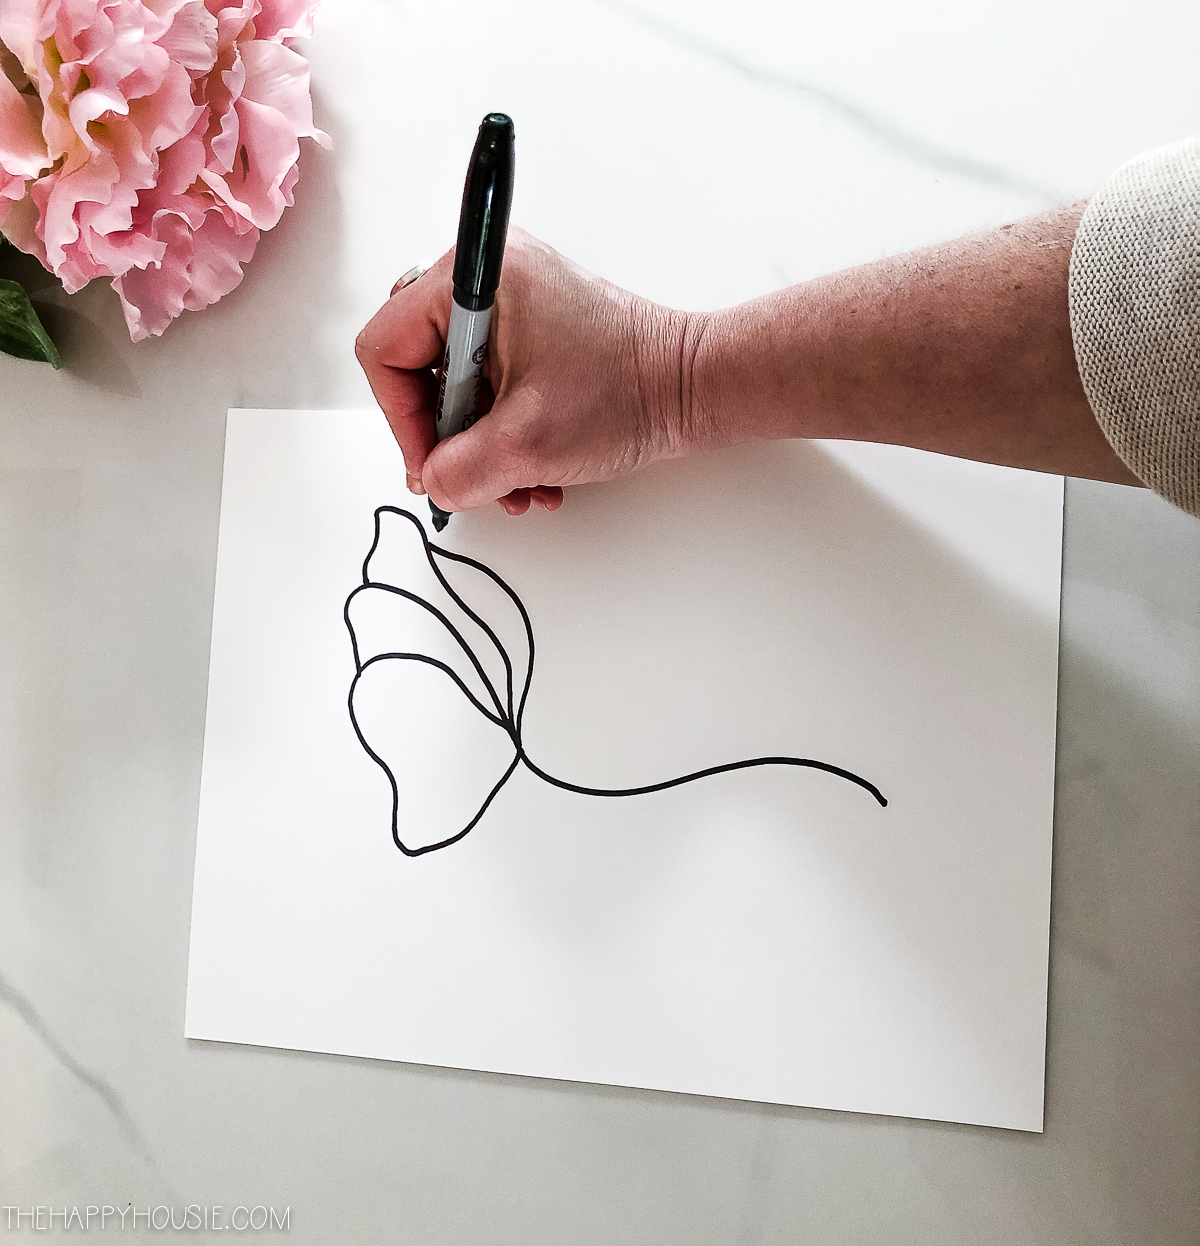
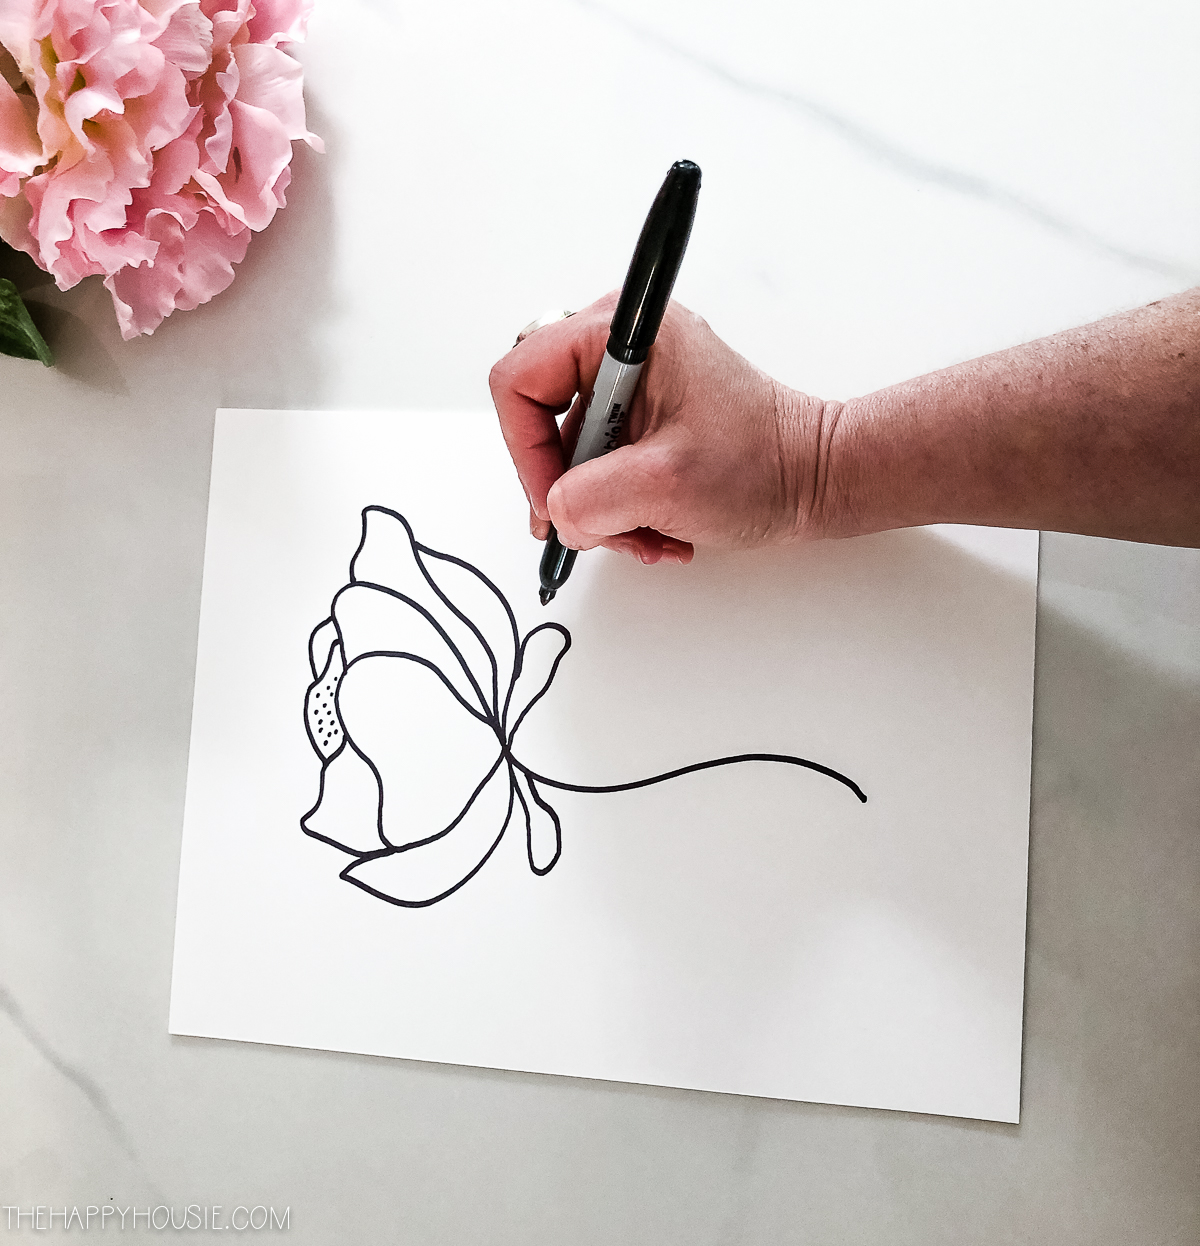
Next, layer out to the other side, and add some organic waves above the first/central shape…
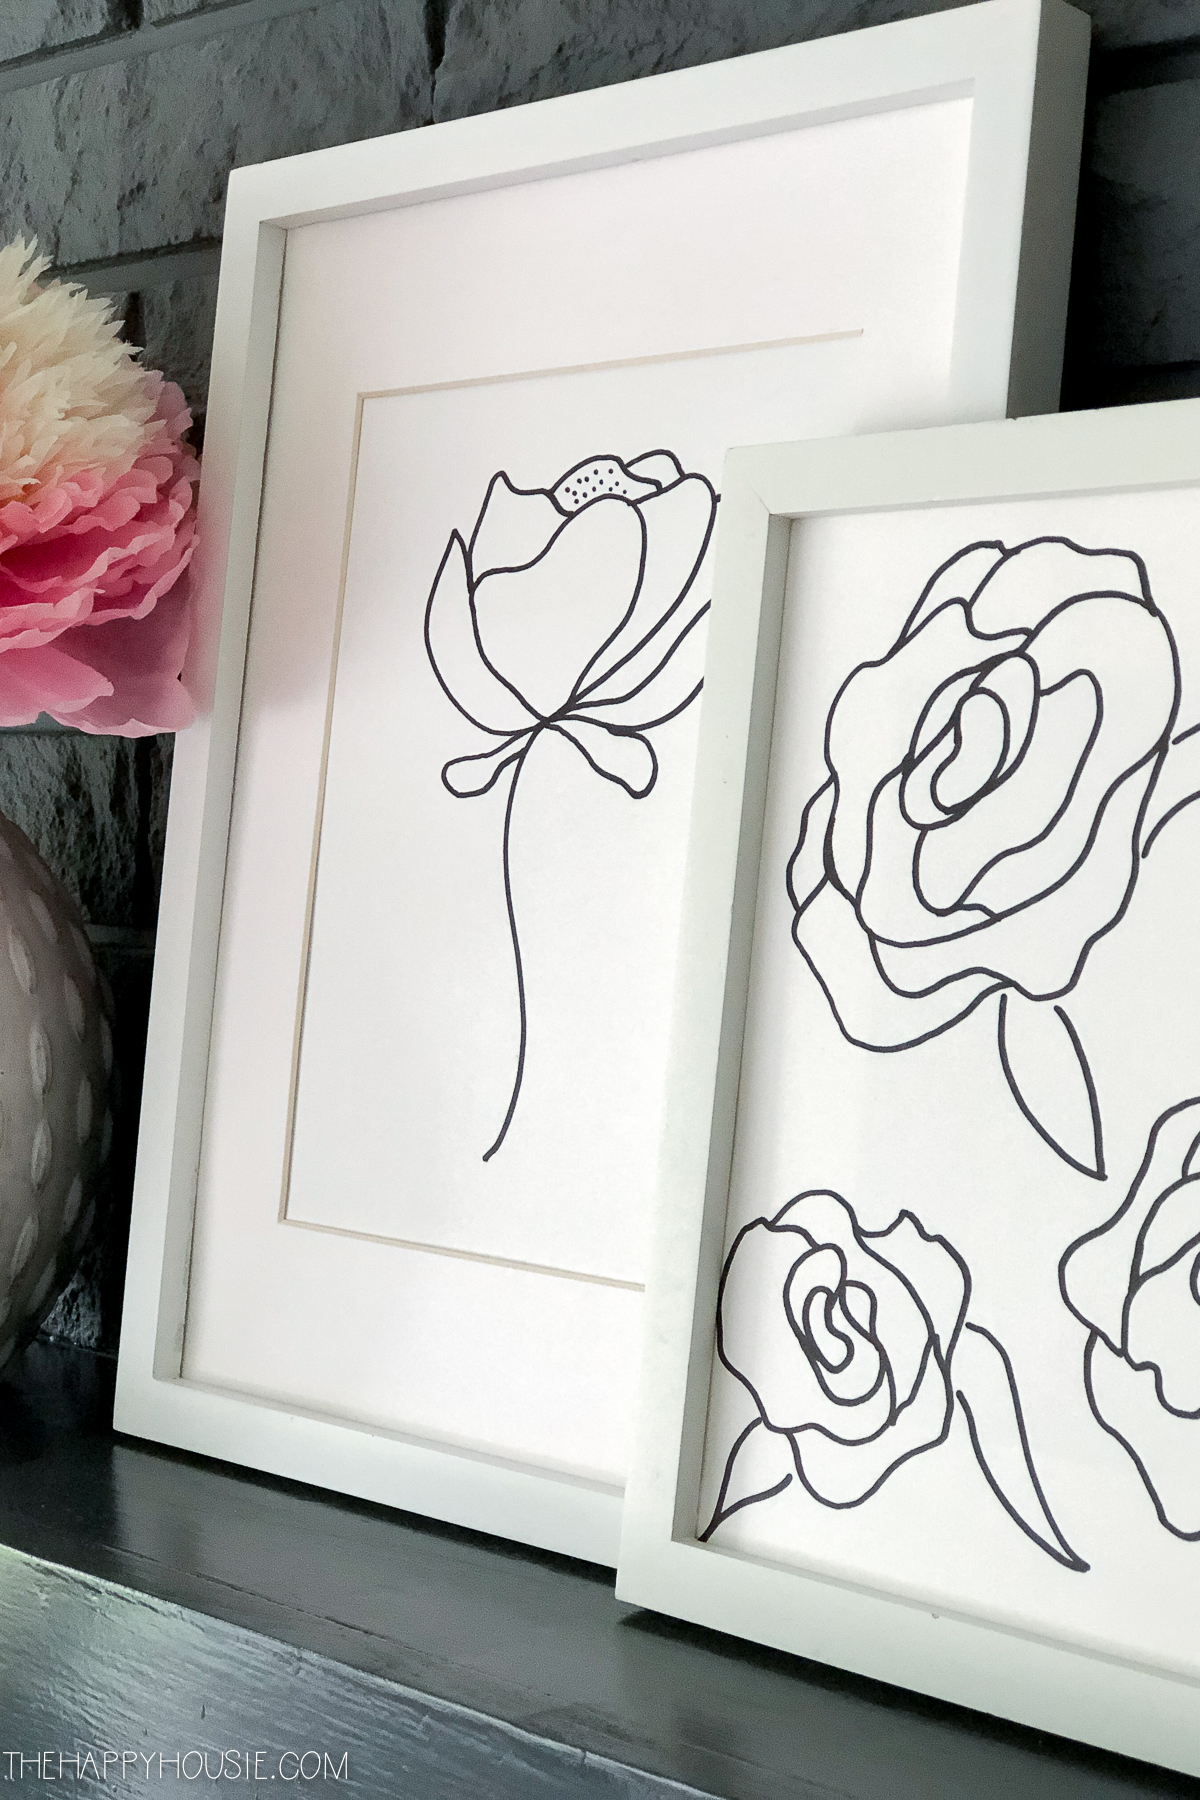
And, finally, add one or two more organic swoops at the top, and fill one with tiny dots to represent the centre of the peony…
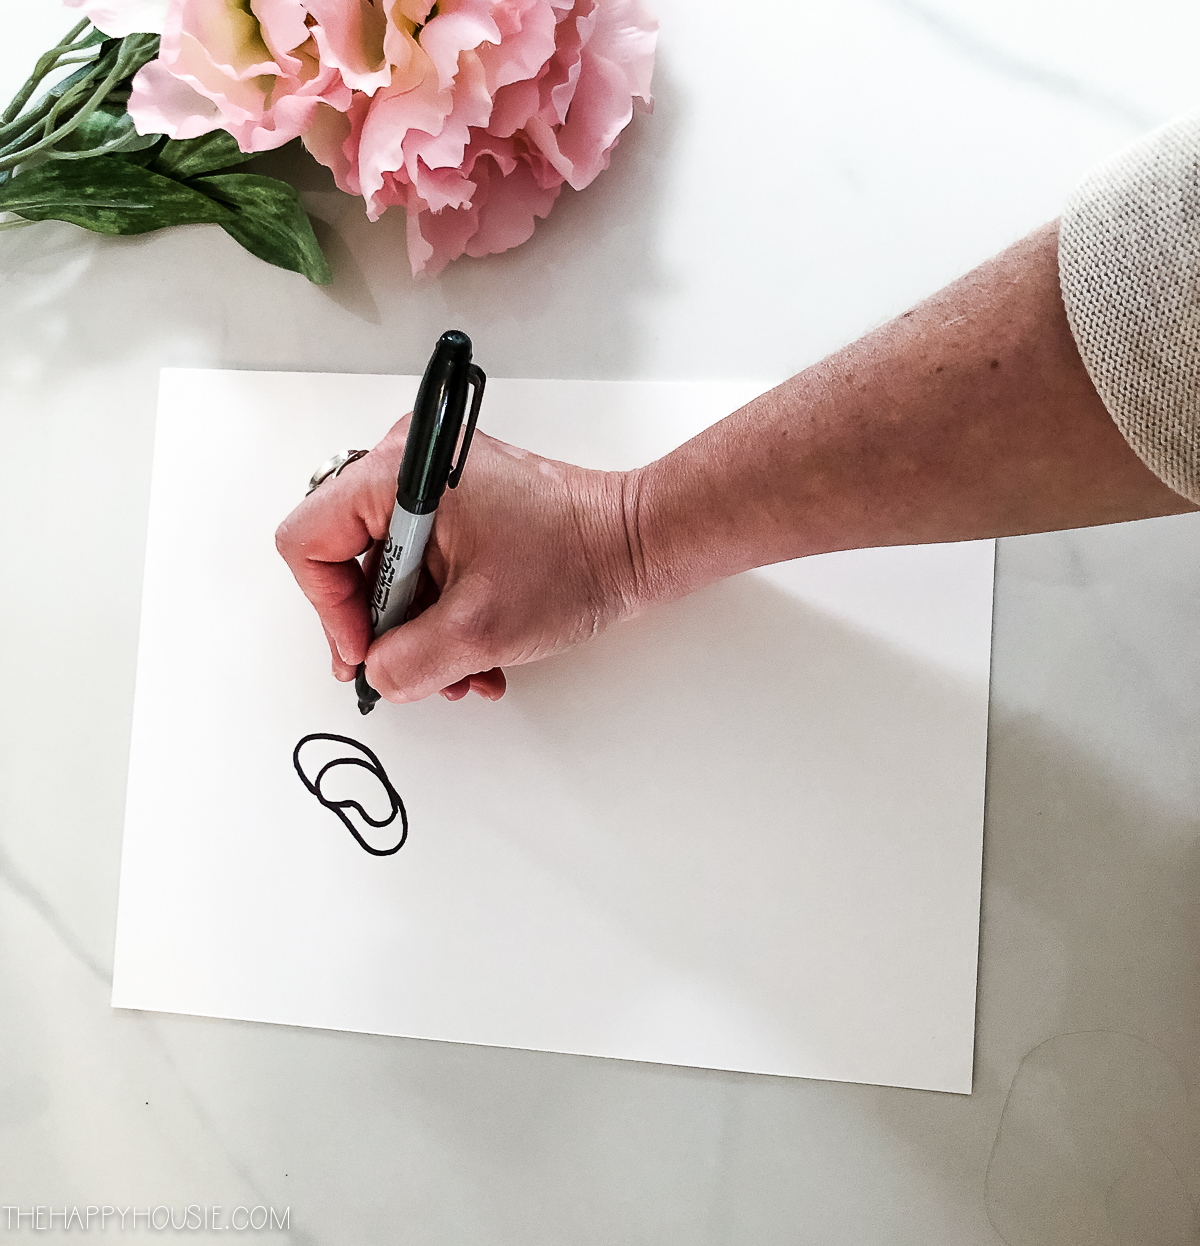
For the trio of peony blooms, start with a simple shape like a bean and build out around it (like everything is flowing or growing out from this original bean shape)…
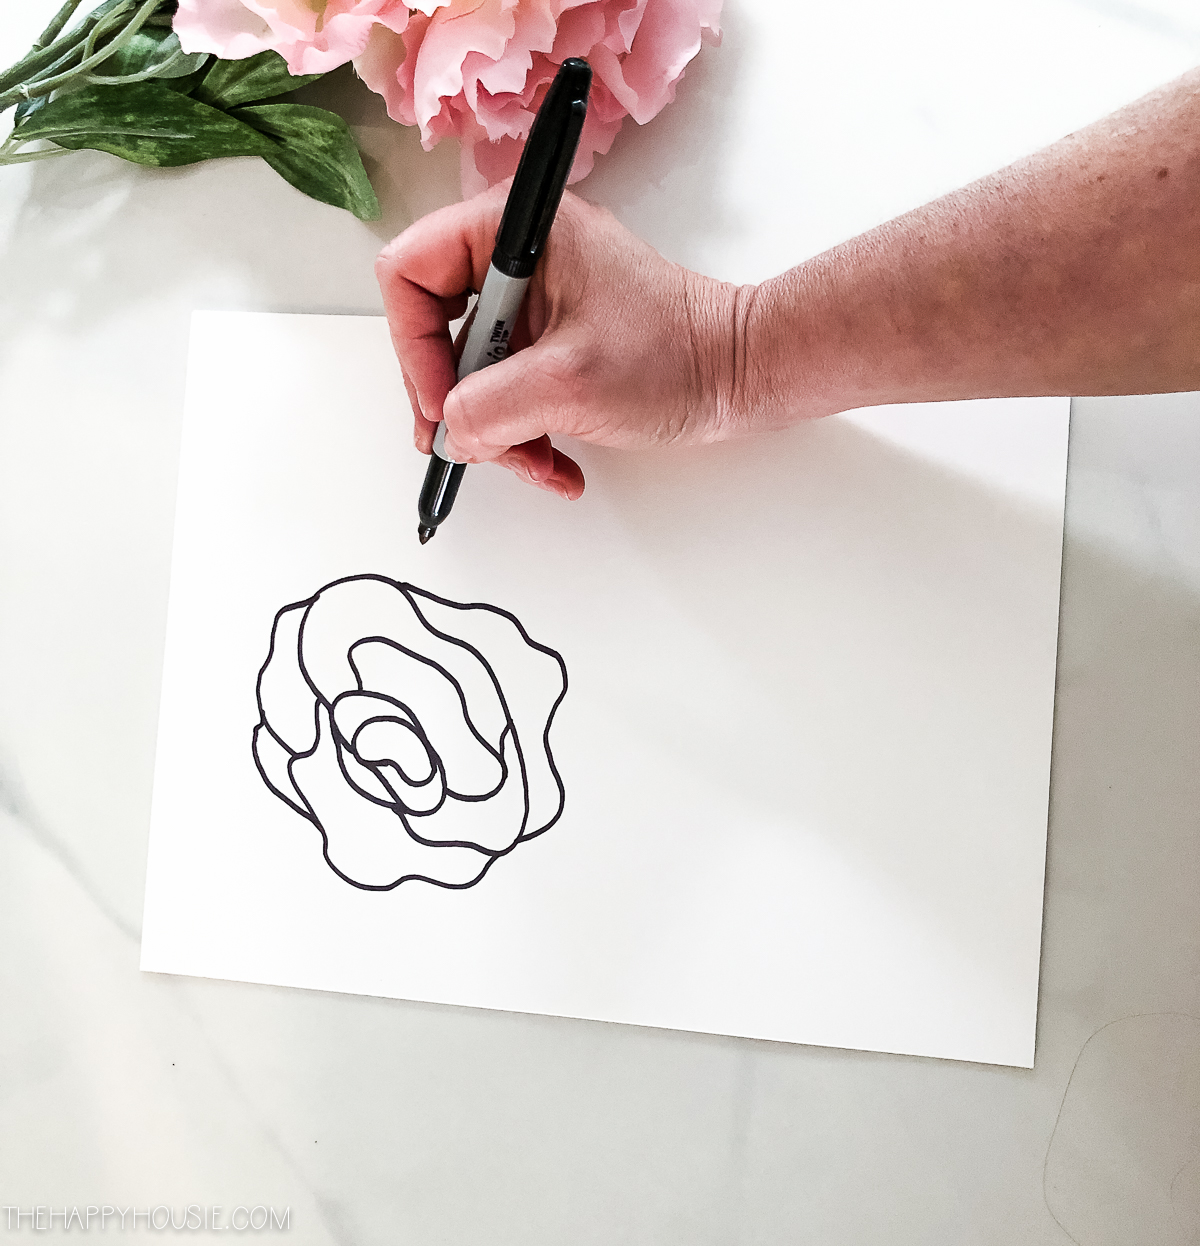
Next add some larger flowing petals…
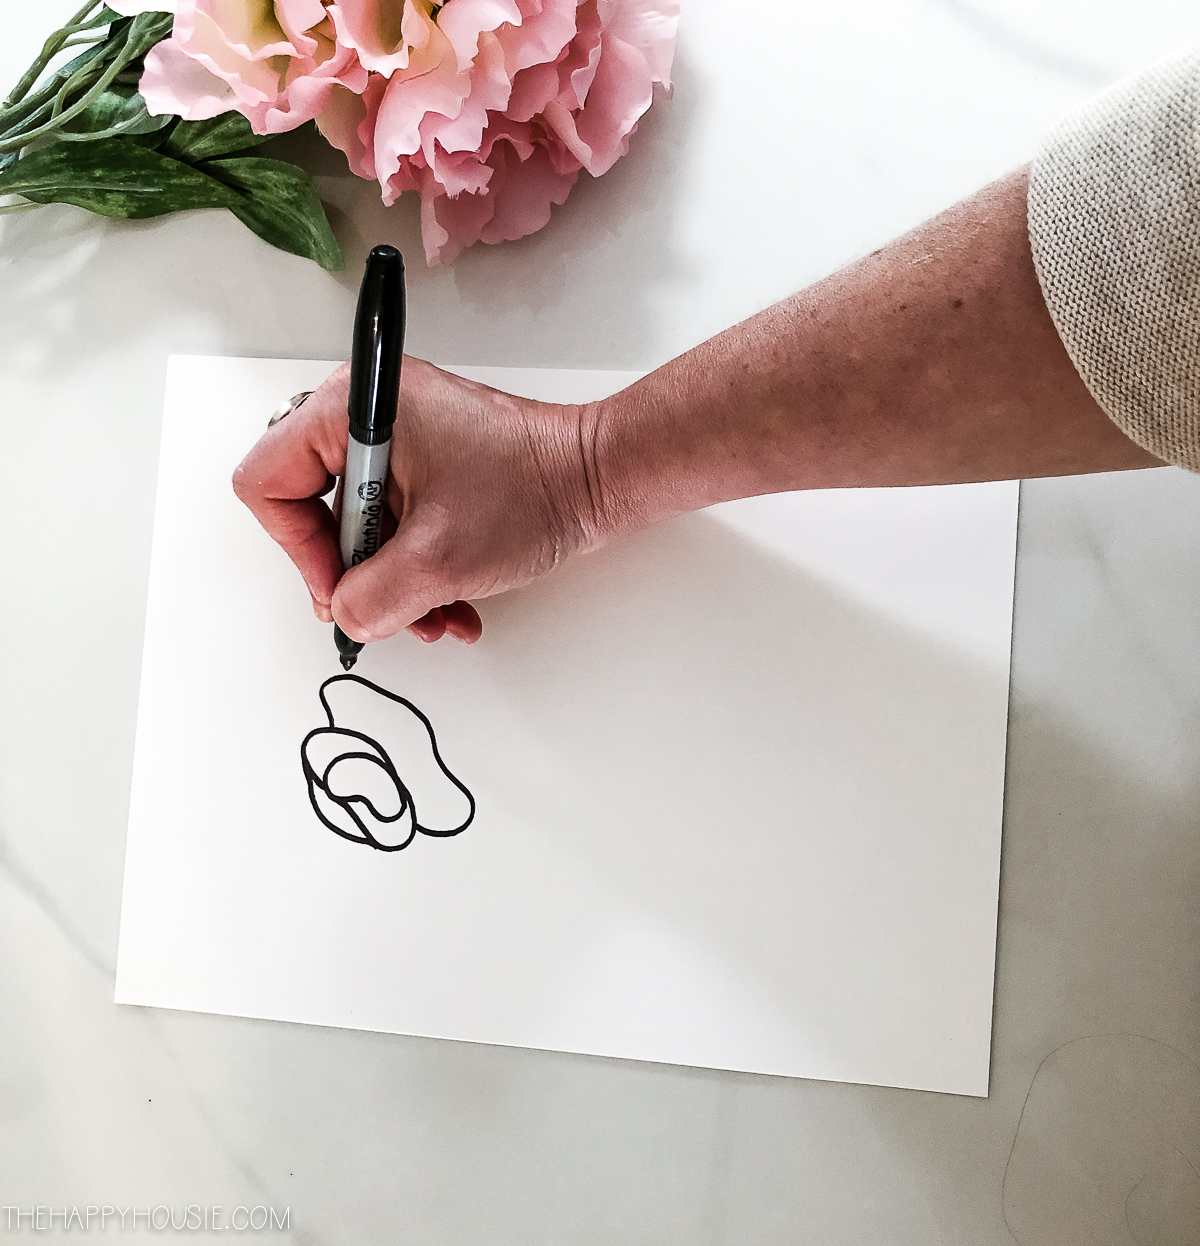
Continue to add some undulating petals around the outside until it feels complete…
And, lastly, add some simple peony leaves flowing out from 1-3 spots on the bloom…
Repeat the process on your page to create a design of three peonies!

They key is to be relaxed about it, play around until you get the feel for it, and even start with a pencil if you wish. Also, with a simple line drawing like this, don’t be too picky or perfectionist. Enjoy the feeling of creating art and making something that is uniquely yours and beautiful, rather than “perfect” or manufactured! I hope you enjoy the simple joy of creating something as much as I did.
And today, I’m joined by a group of my talented blogging friends who are also sharing their love for peonies and their beautiful DIY peony projects…
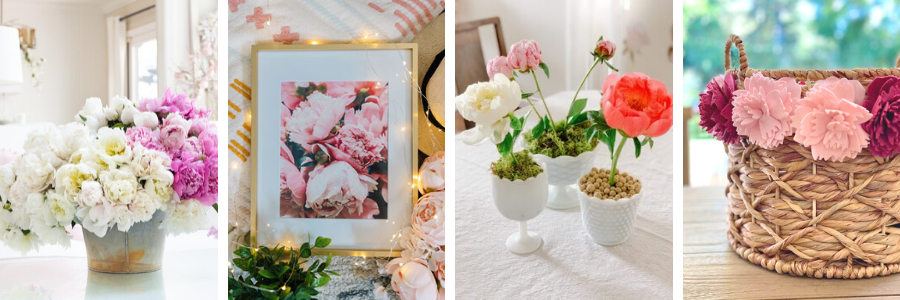
How to Make a Simple Floral Arrangement – Happy Happy Nester
Free Peony Printable Art & Lock Screen Download – The DIY Mommy
DIY Potted Peonies in Milk Glass – Life Is Better At Home
How to Make a Felt Peony Basket – My 100 Year Old Home
Peony Tips & Tricks – Modern Glam
DIY Peony Line Drawing with a Sharpie – The Happy Housie
Tips for Creating a Peony Arrangement – A Blue Nest
How To Make Paper Peonies – The Handmade Home
Watercolor Peonies in Ginger Jar Art – Craftberry Bush
Easy Foraged Peony Arrangement – Zevy Joy
DIY Peony Canvas Art – My Sweet Savannah
Easy Peony and Lilac Arrangement – Inspiration For Moms
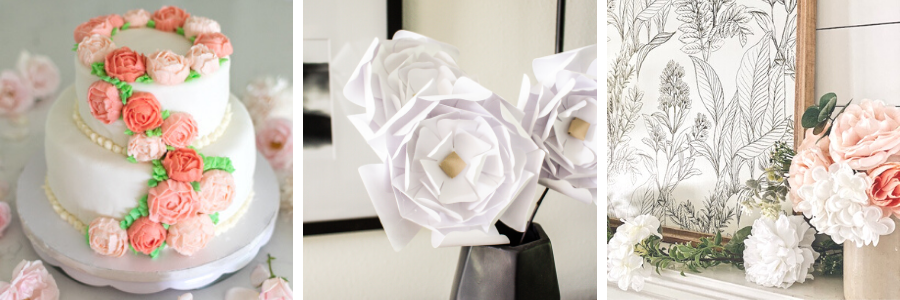
Iced Peonies: How to Make Buttercream Flowers – Jennifer Maune
DIY Paper Peonies – Taryn Whiteaker Designs
Easy Summer Mantel Styling With Florals – She Gave It A Go
Want to remember this? Just PIN it!


This is so simplistic yet such a statement piece, I love it! I love the way your line work is clean, and framing it just added that finishing touch! I will definitely need to try this out and add some new decoration to my place. Thanks for sharing!
– Sabrina ♡