
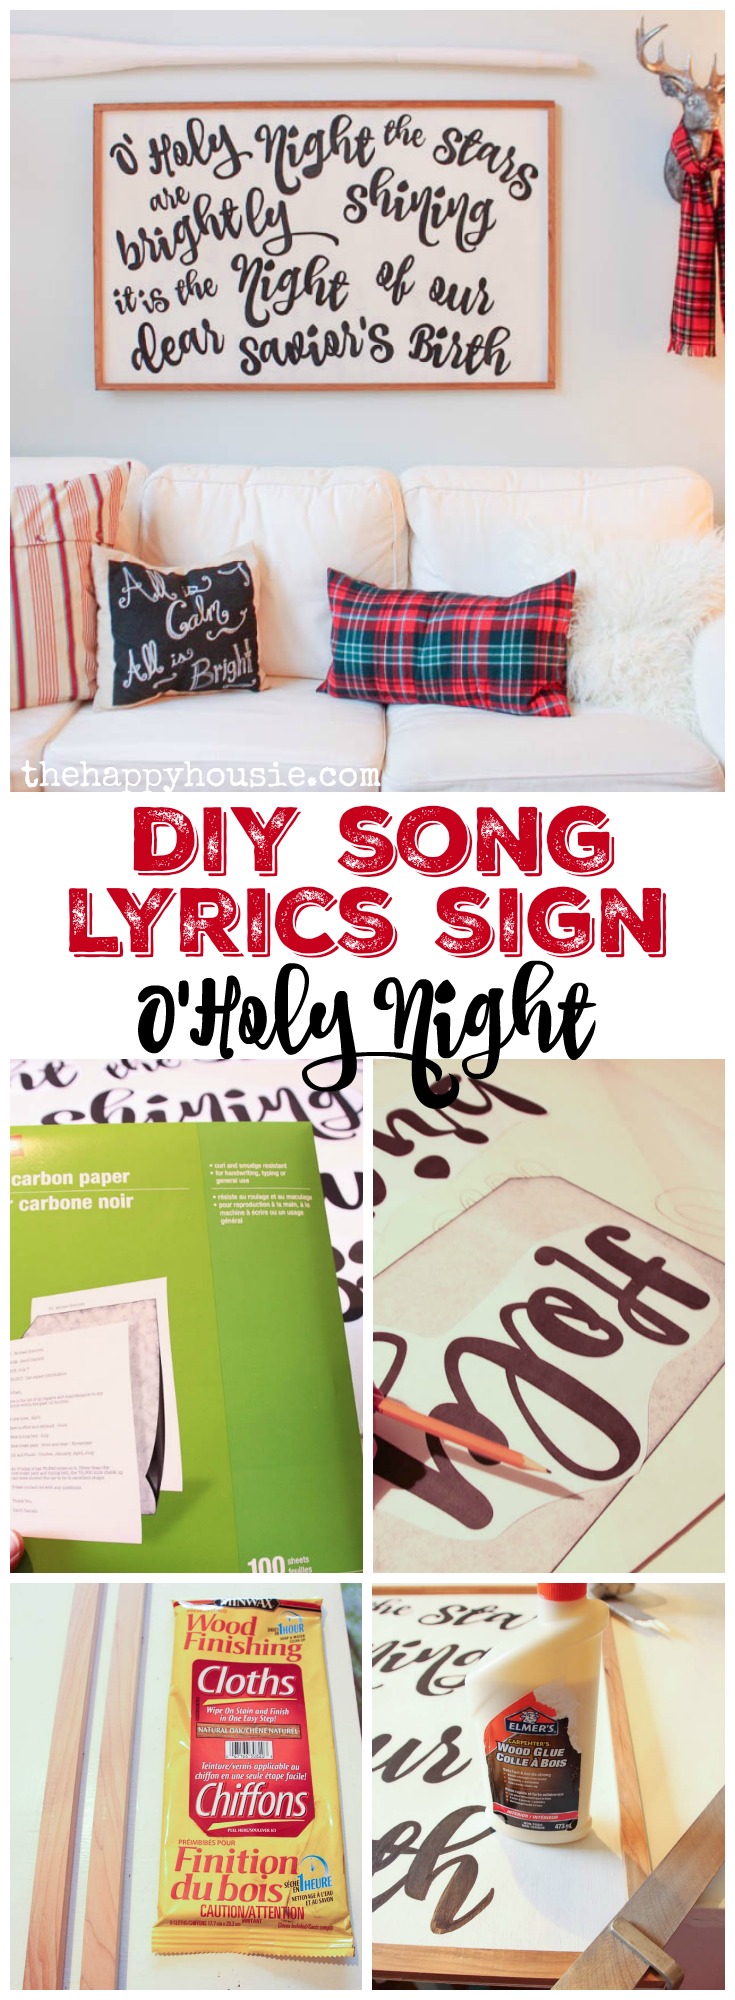
DIY Song Lyrics Sign / Christmas Carol Sign: O’Holy Night

Welcome to Day 8 of my Twelve Days of Christmas Series, and a tutorial that I have just been itchin’ to share with y’all! I’ve had this idea in my head for a couple of months now and I wasn’t sure if I was going to be able to find the time to get to it; but I am sure glad that I did. I just love how this DIY Christmas Carol Lyrics Sign turned out and it is one of my favourite pieces in our Christmas Living Room. Maybe you spotted it in my Christmas Living and Dining Room Tour yesterday?!?.
{PSSSST: I have three awesome giveaways happening right now- you can hop to them from the end of this post!}

To make this I started with a piece of 1/8″ plywood that I had cut to size (30″ by 60″). I chose that size based on the space I had available above my couch – you could really chose any size you want. I began by painting the plywood with two coats of white paint (I used some extra trim paint that we had on hand).
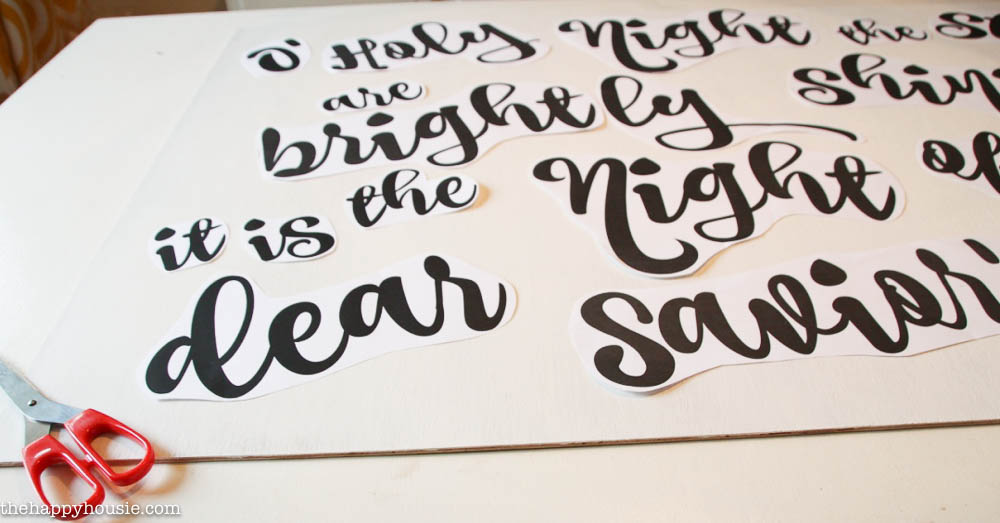
While it dried, I used my computer and designed the wording using PicMonkey. I saved each file and then took it to my local Staples to have printed on large (11×17) paper.
I have the font I used for the O Holy Night Lyrics if you want to print this out yourself.
![]()
Then I did something completely different!
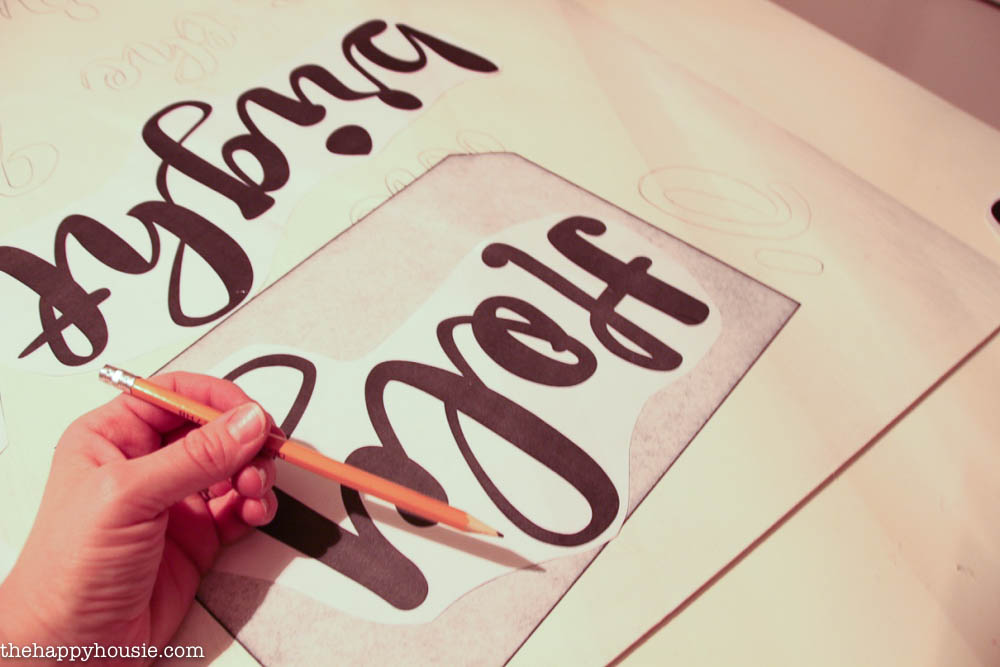
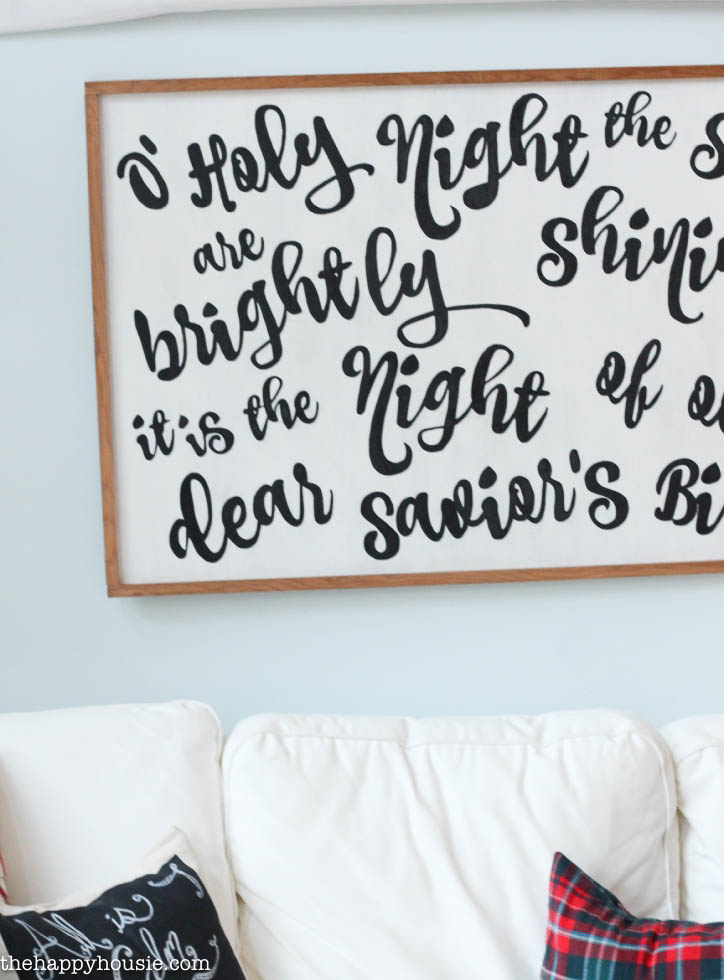
Instead of my usual laborious pencil transfer technique, I used carbon copy paper to help me transfer the lettering onto my sign board. I just laid it under each word and then traced over the letters with my pencil and it transferred the image perfectly onto my sign board. The only disadvantage is that it was a little more smudgy then my usual method, but I found that any marks easily erased off using a good quality white eraser. 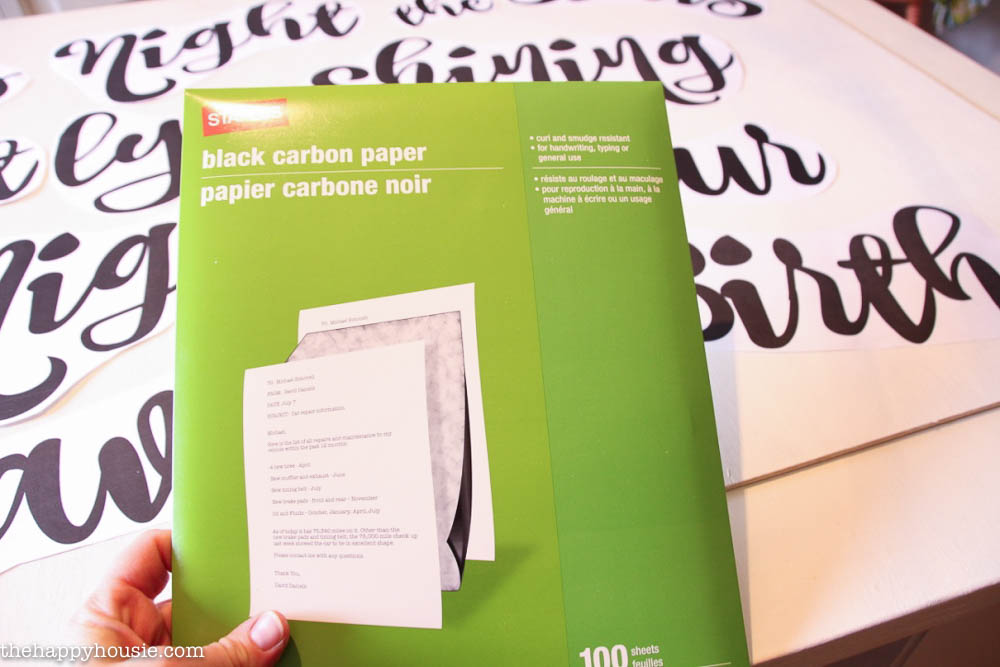
I then filled in my letters with paint – and instead of a brush and paint I just used a sharpie (water based) black paint pen to fill it in! I was thrilled with how well it worked and it was very easy to use.
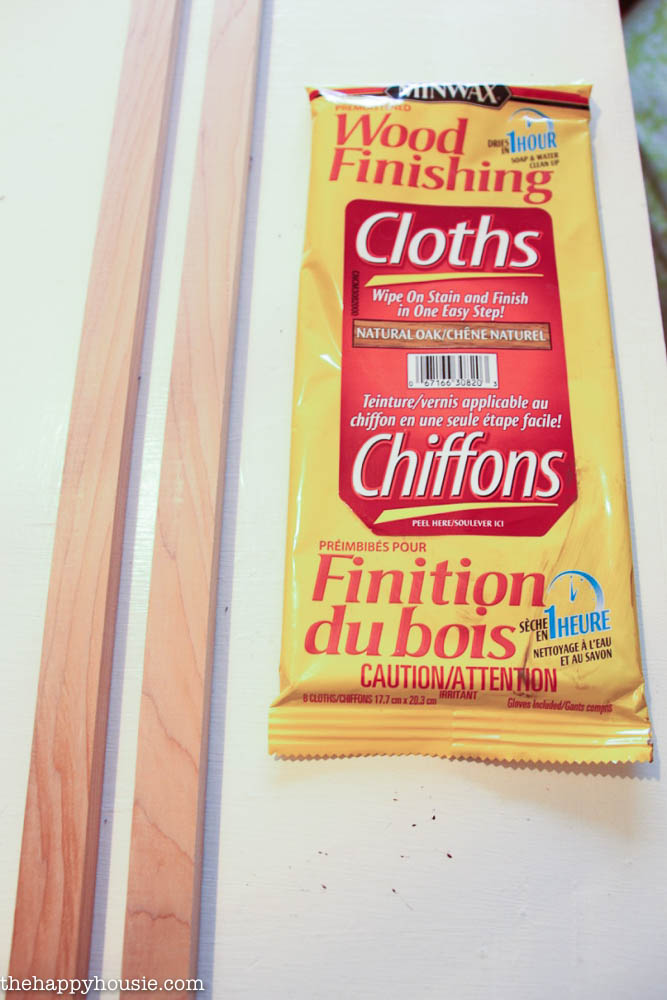
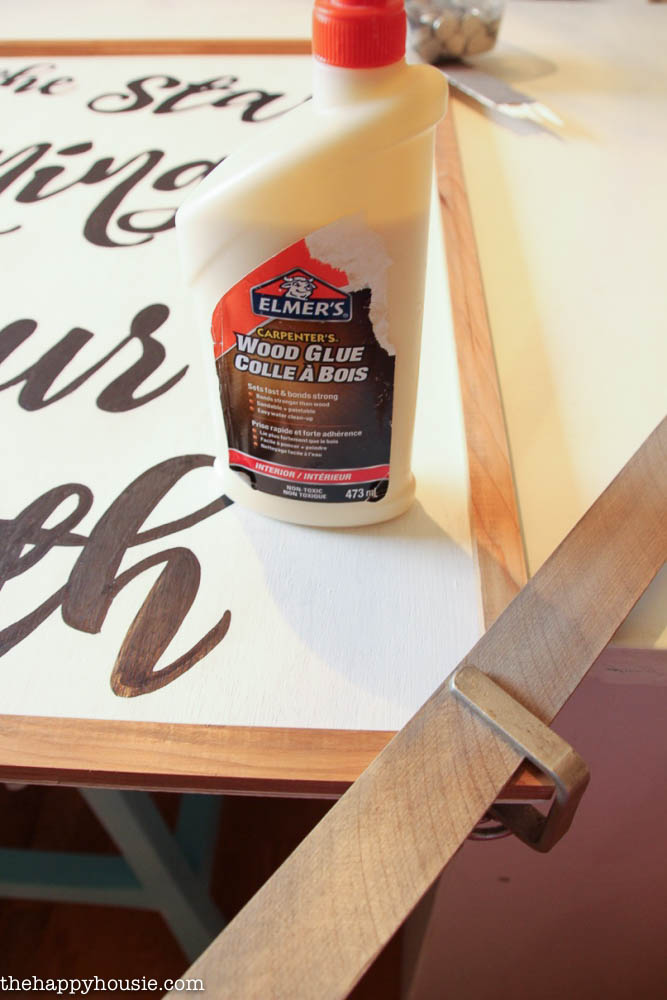
To trim out the edges of the plywood I used some thin strips of wood that I picked up at the hardware store. I first stained them a little darker, and then we attached them using wood glue. We clamped the frame down while it dried in place, but it was ready to hang within a couple of hours!
Done!
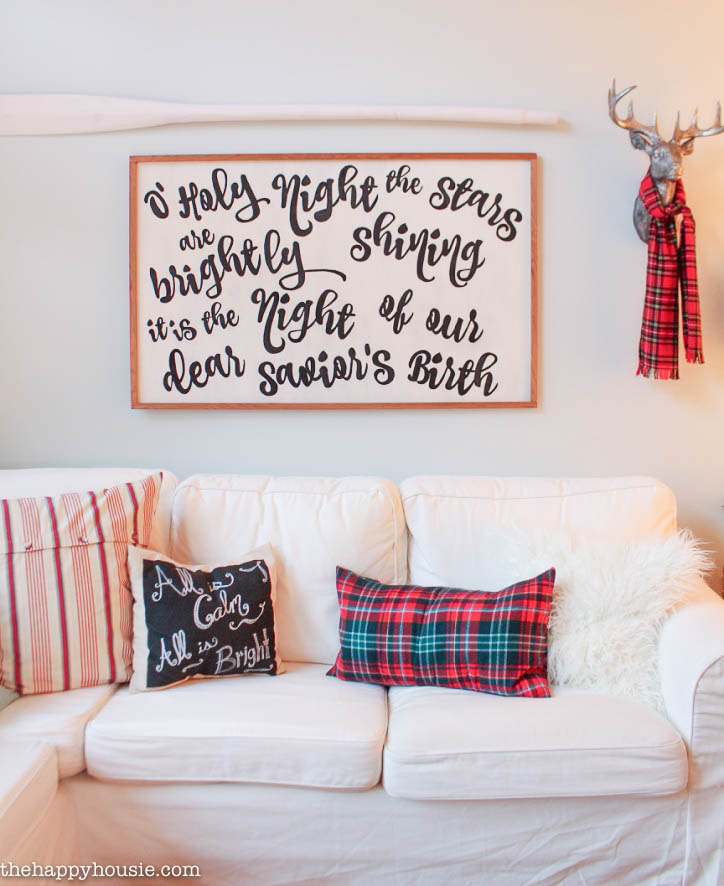
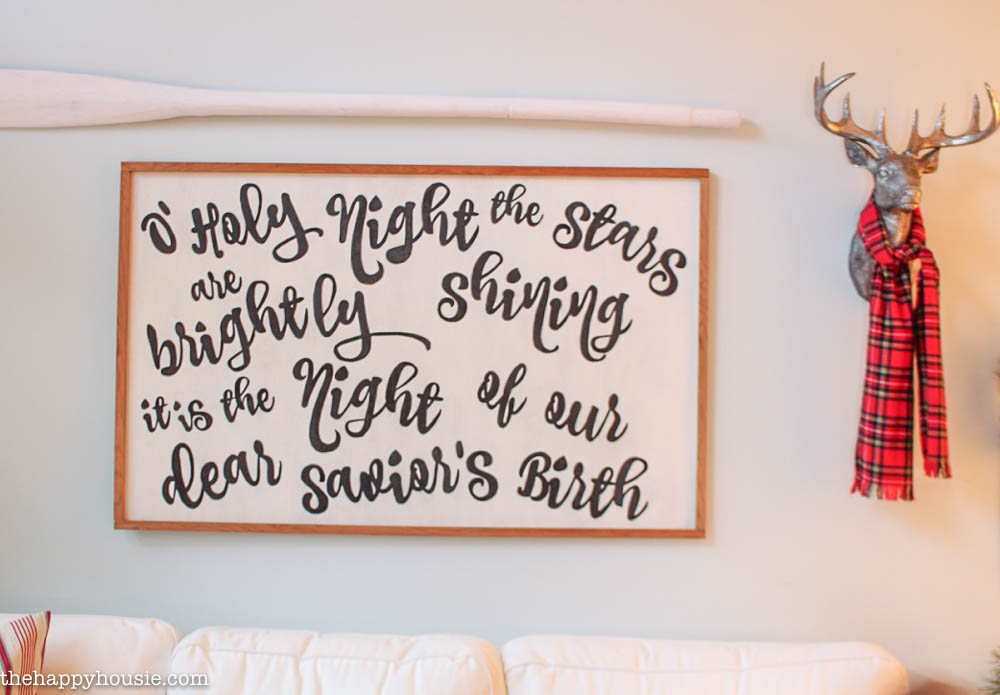
I love how it looks in our Christmassy Living Room!


Come on by for the full tour if you haven’t already!!
Want to try making your own sign? It could say anything, really. You aren’t limited to Christmas carols!


This coming Sunday (December 6th) is the Get Your DIY On Challenge Party: Thrifty Christmas Projects.
My fellow hosts have been crafting up some amazing projects as well for this challenge:
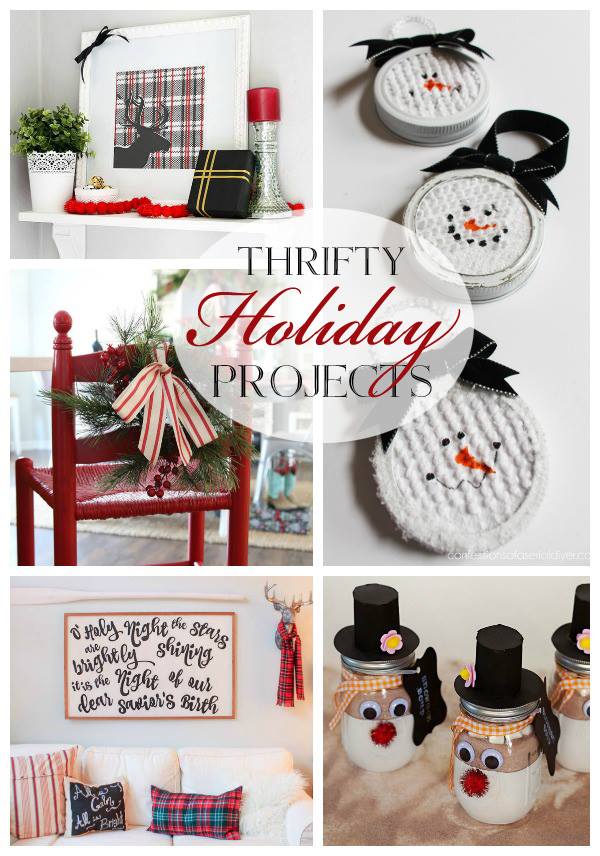
Thrifty Christmas Vignette at Just a Girl and Her Blog
Holiday Bar Stool Makeover at House by Hoff
DIY Song Lyrics Christmas Carol Sign at The Happy Housie (you are here)
Mason Jar Lid Snowman Ornaments by Confessions of a Serial DIYer
Snowman Soup Gift Jars by The Hankful House
We hope you will join us on Sunday for the DIY Challenge Party – 7pm EST!!

Oh, and don’t forget about my 12 days of Christmas Series!!
If you haven’t seen what I’ve been up to…
Here are all my holiday projects for this Christmas Series:

Fab Photo Gift Ideas {Perfect for Grandparents!}

DIY Faux Fur Mini Christmas Trees

DIY Natural Greenery Display with Lights

4 Fab Ways to Personalize Your Gift Wrapping

2015 Christmas Front Porch and Foyer

Christmas Kitchen 2015

2015 Christmas Living & Dining Room

DIY Song Lyrics Christmas Carol Sign Tutorial
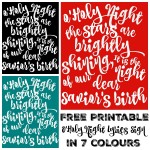
O’Holy Night available in 7 colours

Elegantly Adorable Ways to Fill Clear Ornaments

2015 Christmas in the Bedrooms

Rustic Natural & Blue Lake Cottage Coastal Christmas Tree Decor

![]()
![]()
![]()
![]()
![]()
![]()
![]()
I may link up at some of these fabulous places below, for more info check out housie parties: Monday Funday , Inspiration Monday, Nifty Thrifty Tuesday, Project Inspire{d} , Inspire Me Tuesday, The Scoop, Hit Me With Your Best Shot, Wow Me Wednesday, Whimsy Wednesday , From Dream to Reality, The Inspiration Exchange, Wow Us Wednesday, Live Laugh Rowe Live Laugh Linky, Thursdays Are Your Days, Inspire Me Please, Catch as Catch Can, Fabulously Creative Friday, Party Junk, Pinworthy Projects , Link Party Palooza,, Weekend Bloggy Reading, Strut Your Stuff Saturday, Spotlight Saturday, Suburbs Mama , That DIY Party
Save


I love this project! Just wish I had the wall space in my house to hang it! Will definitely be book marking this for a later date!
Thanks Courtney! You could always make a little version with the same method:) Happy holidays!
this is without a doubt the best Christmas sign I have ever seen xx
Thank you Chris! What a compliment!
This is ADORABLE. Pinned! Thanks for linking up at Moonlight & Mason Jars!!
Thank you so much Jennifer!!
This is so pretty, Krista! Thanks for linking up with our Merry Monday party – I chose your sign as my Feature Pick. Hope you’ll link up with us again this week!
Thank you Emily!! And thanks for hosting!!
this is so cute! perfect for the holidays! I love typography decor! what a cool idea!
stop by and chat with me 🙂 http://storybookapothecary.com
Thank you so much!!
Love that the frame is so easy! I am going to try this…frames can be so expensive!
Yes, and super thrifty to do!!
So nicely done! Thank you for inking up to the Talk of the Town Link Party!
Thank you! And thanks for hosting!
I love the sign, it came out so beautifully. I never tried the carbon paper method but I heard it works really well. Thanks so much for sharing!
I used to do the pencil method but the carbon paper is faster. Still working on spending some time to master my silhouette!
This sign is brighr and gleeful very nice. Your whole living room is gorgeous. Thank you for the inspiration.
Thank you so much! I love decorating for the holidays:)
I love Christmas art, switching out a picture for the festive season is so easy and it is even nicer when you bring your normal art back in again too! I love that this doesn’t require any expensive equipment to do – it’s just lovely.
I totally agree!
Oh wow, we did use similar methods! I so wish I had seen your idea to use a paint pen! Brilliant! Your sign is amazing!
Hi Samantha! Yes, the paint pen worked well, but it would have been nice to have other colour options (I just happened to have that one on hand and went with it). I really like the light grey font you used. I hadn’t originally planned the frame out properly and we had to make adjustments to get it to work – and ended up doing what you did. Great minds think alike, I guess! (PS- our solution was my husbands idea:) lol
I LOVE this so much!! It turned out so beautifully! XO
Thank you Christy- I’m thrilled with how it came out as well!
Your living room is gorgeous with all your exquisite Christmas decorations. I love your sign….it is very unique and different. Thank you for explaining the details as to how you made it. I can’t wait to see what you post next. 🙂
Thank you so much Jeanie- it is one of my favourite Christmas projects this year!! I am really happy with how it came out:)
Krista….I LOVED this piece of art the minute I saw it in your home. I was over the moon when you said it was a DIY project, and better yet that you be be sharing how to make it!!!!
This WILL me made and adorn my walls. Thank you so much for sharing!!! Loving your home this Christmas!!!!
Thank you Dawn for your kind words – and I hope your project is perfectly successful!! (or as perfectly successful as any DIY can be!)
LOVE it Krista! And that Sharpie paint pen … BRILLIANT!
Thank you Kristi- it definitely sped up the job!!