
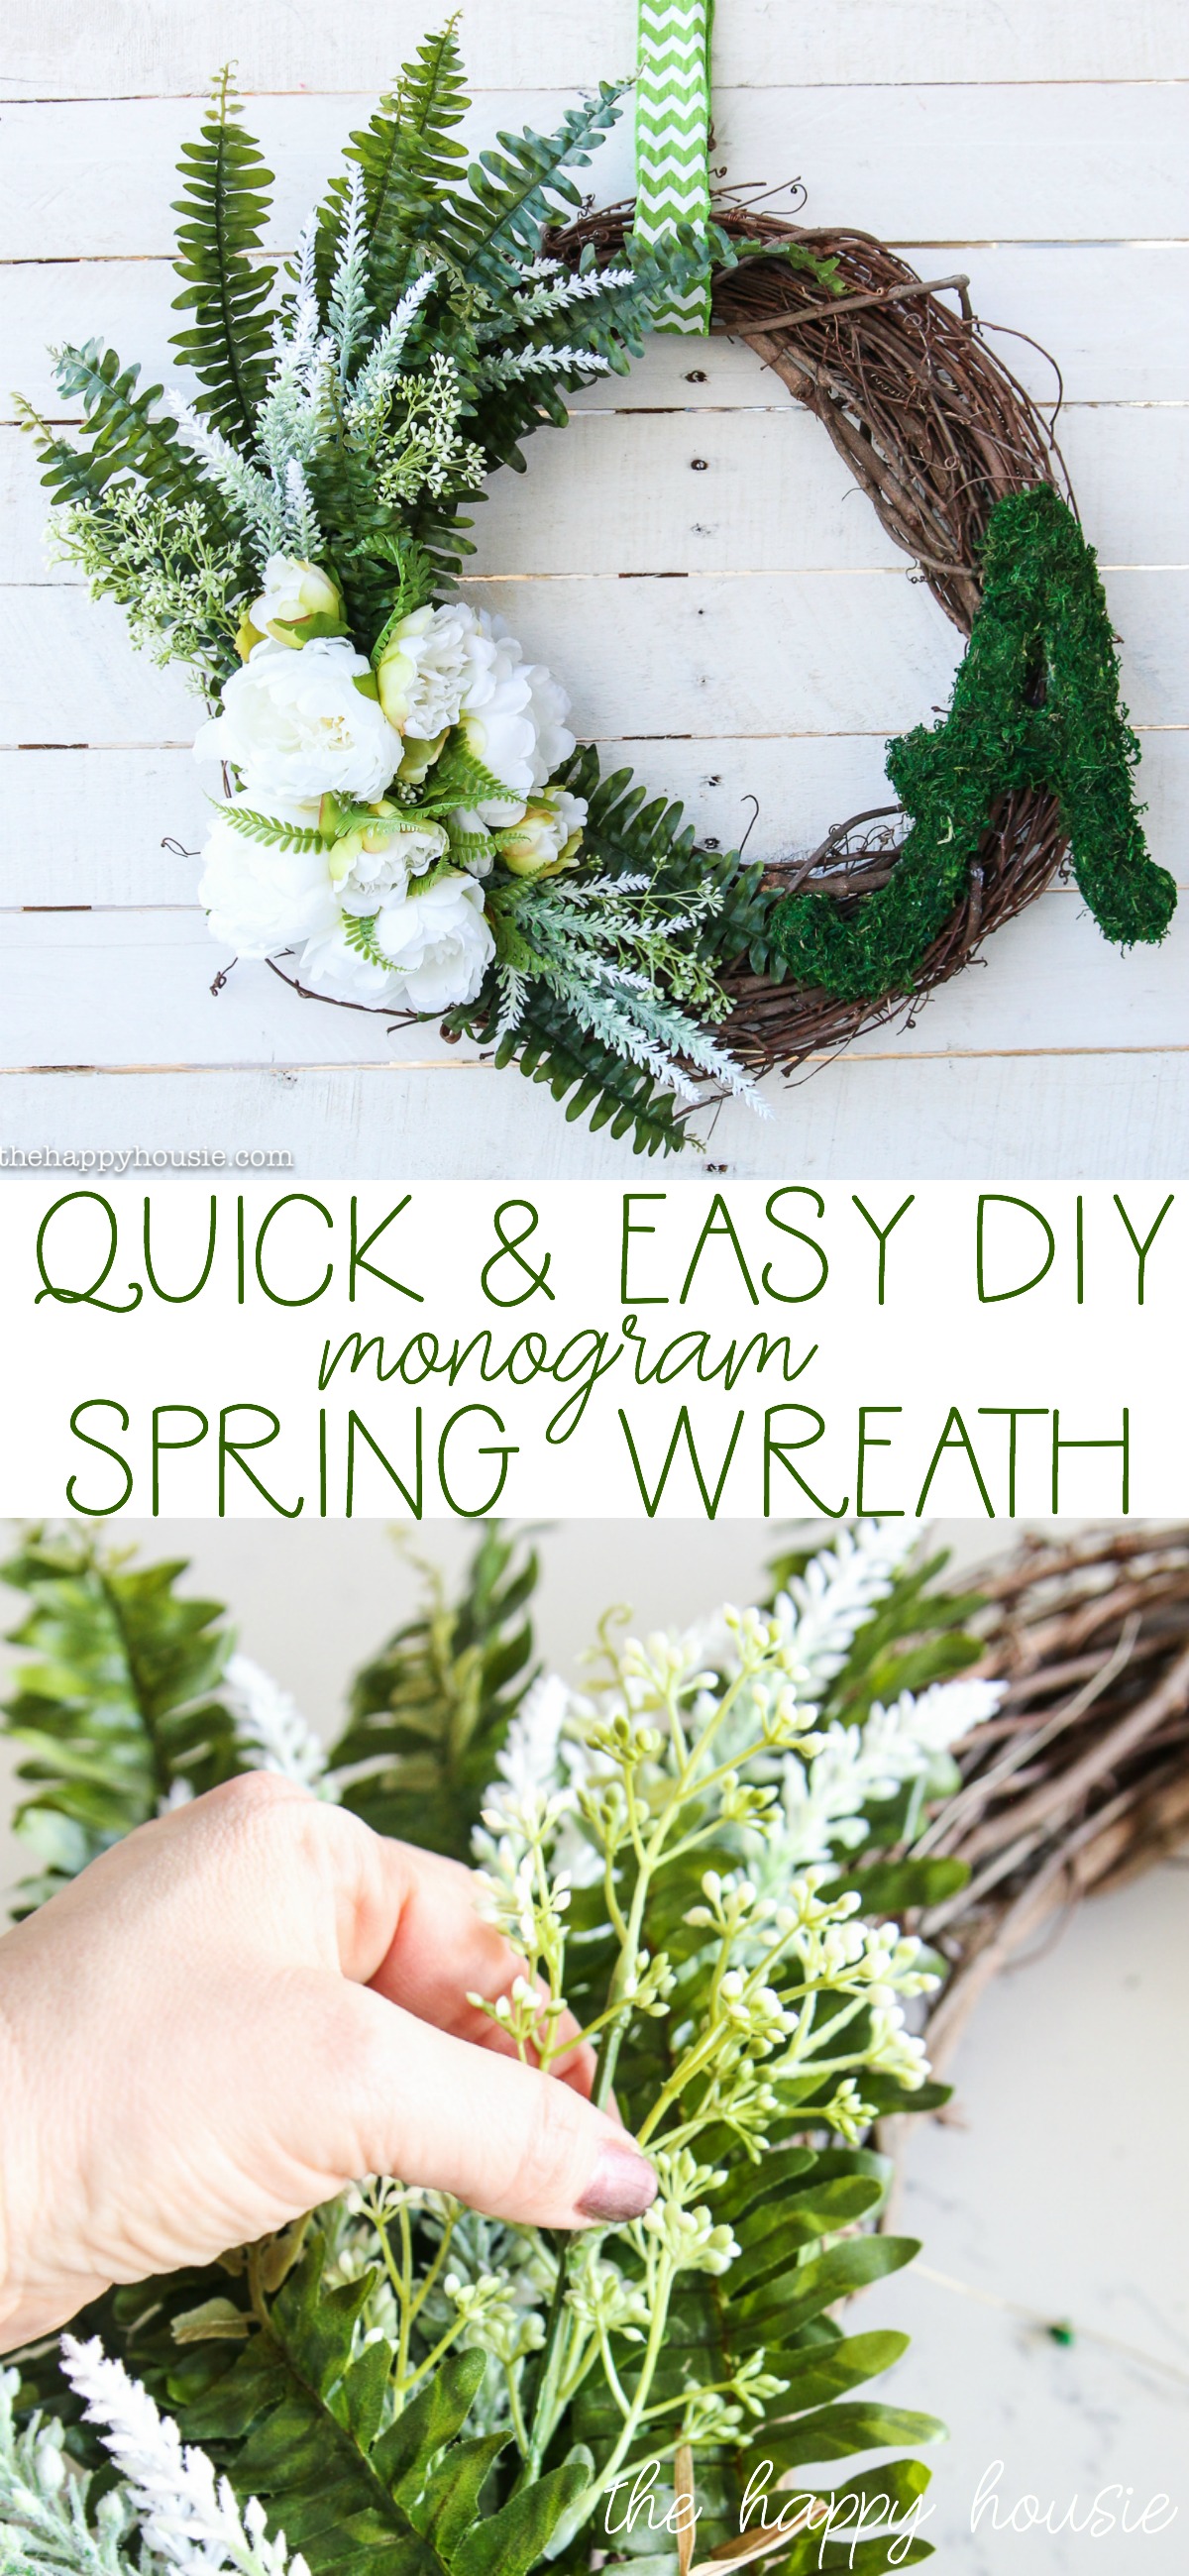
Quick & Easy DIY Monogram Spring Wreath
You guys! It’s happened!
I finally. Finally. Finally got around to it…
The Christmas porch is no more!
And although my primulas have still not recovered from the recent snowfall there is, in fact, a lovely springy wreath adorning our front door! Yay!
We had some lovely, sunny weather this weekend and my husband and oldest son took care of removing all signs of winter from our porch while I crafted up a little something new to add a springy feel. I still have some more things to do to really bring the porch from barren-lonely-sad back to springy-friendly-cheerful, but it’s a start!
The Fed-Ex guy will no longer be suddenly confused about what month it is as he approaches our door… It’s the little wins, sometimes, am I right?
I’m really excited today to be hosting the second in this series of spring Seasonal Simplicity posts! Today is all about gorgeous DIY spring wreaths! Don’t forget to take in the ideas at the bottom of this post! The wreath I’m sharing today was super quick, easy, and fun to put together and I’m really thrilled by how it came out.
What do you think?

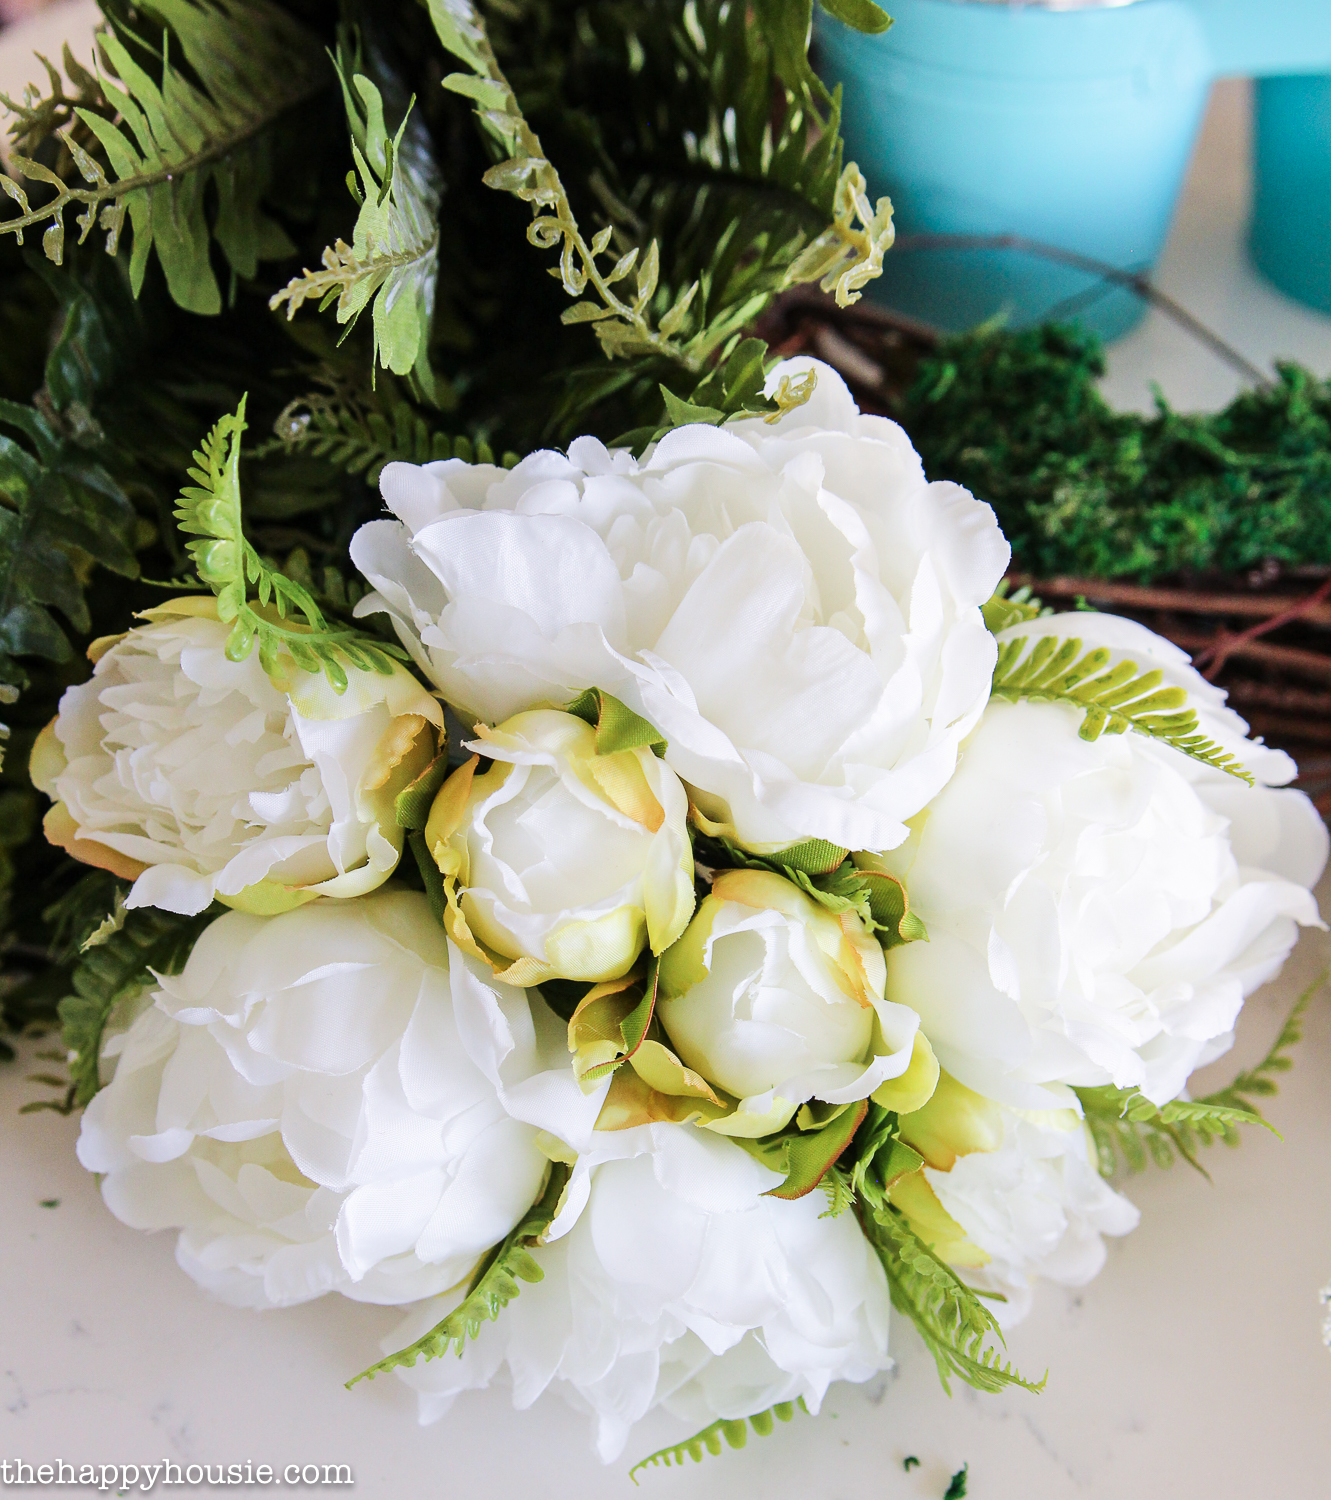
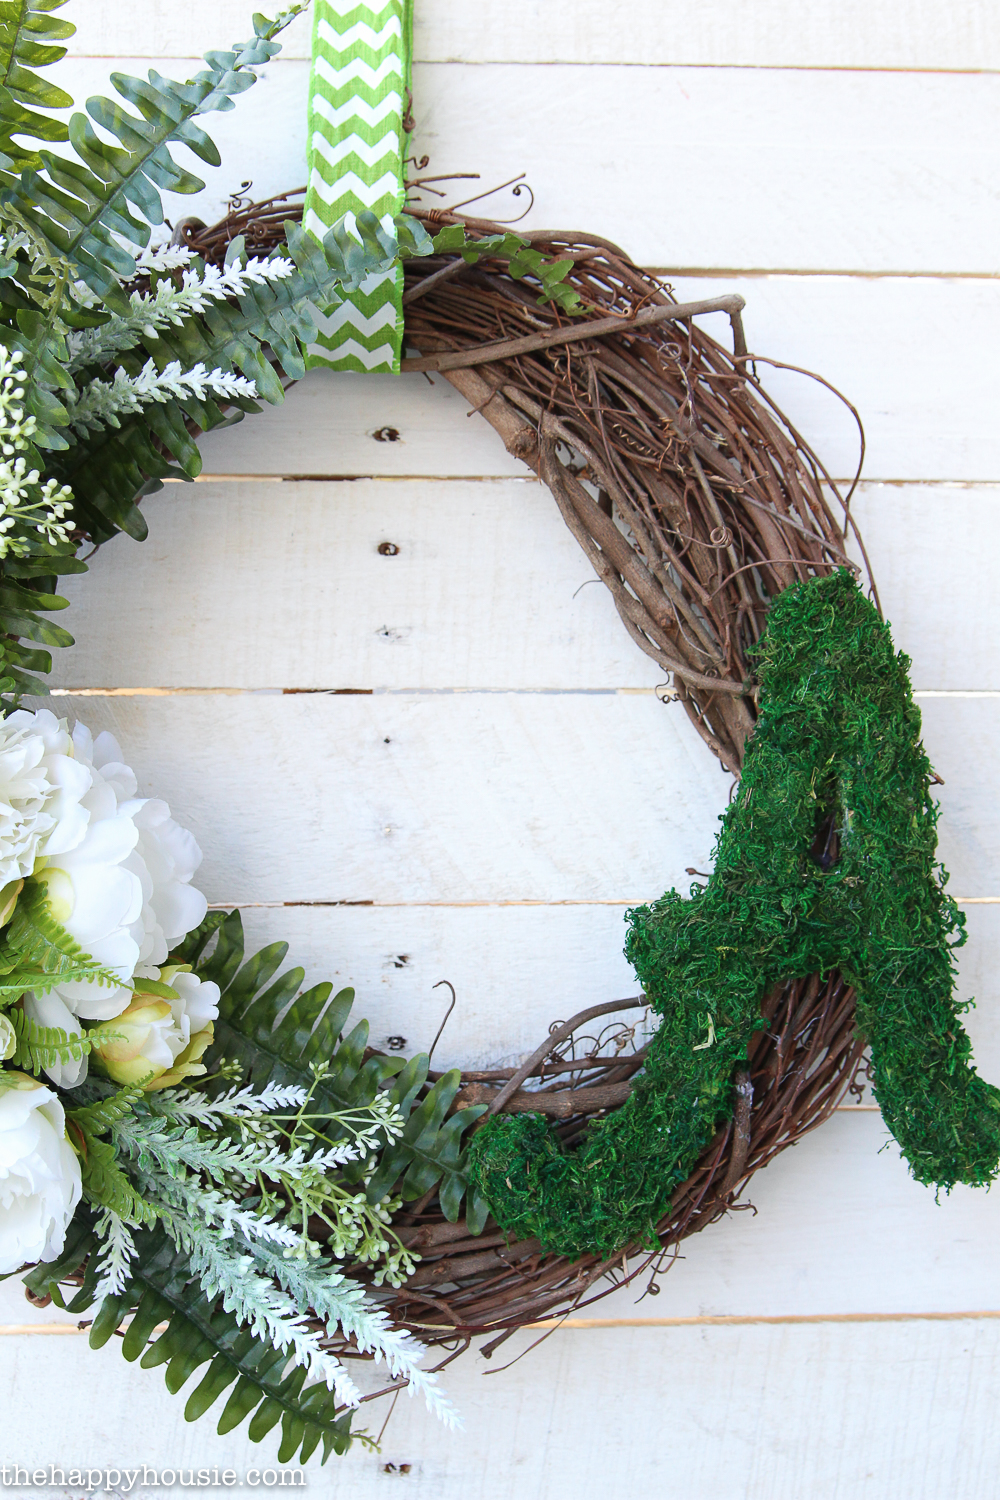
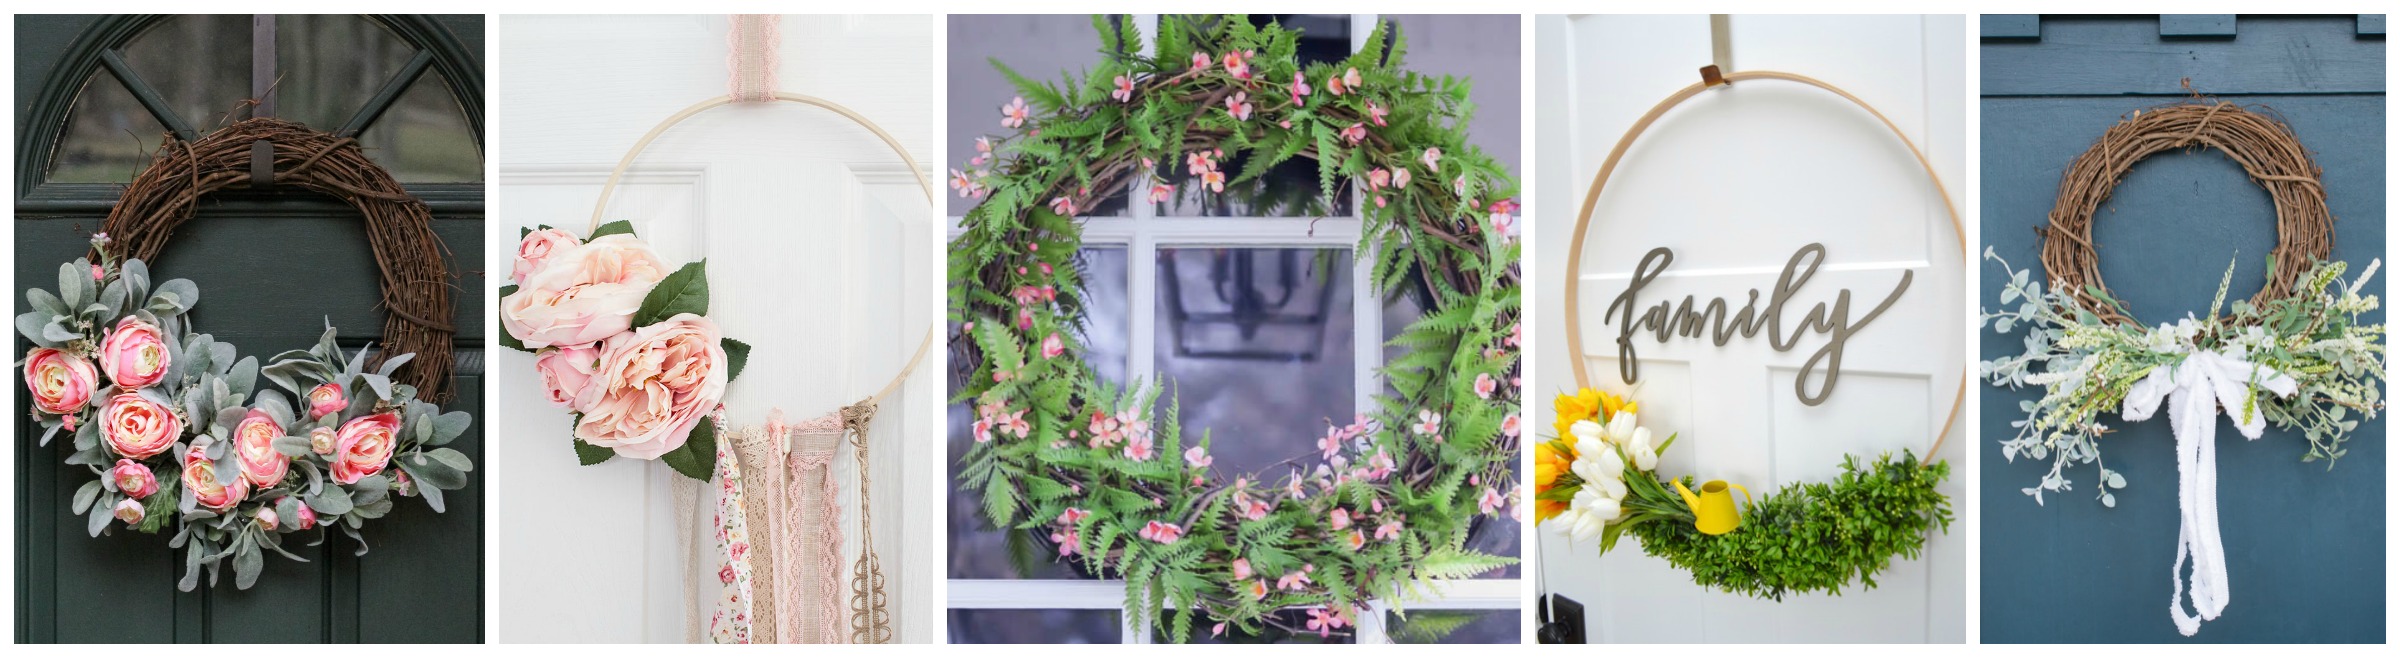
To make this I used a grapevine wreath form, hot glue, and some faux greens from my local craft store. You could really go with any colour scheme, but I chose to focus this wreath around this pretty little bouquet of white peonies…
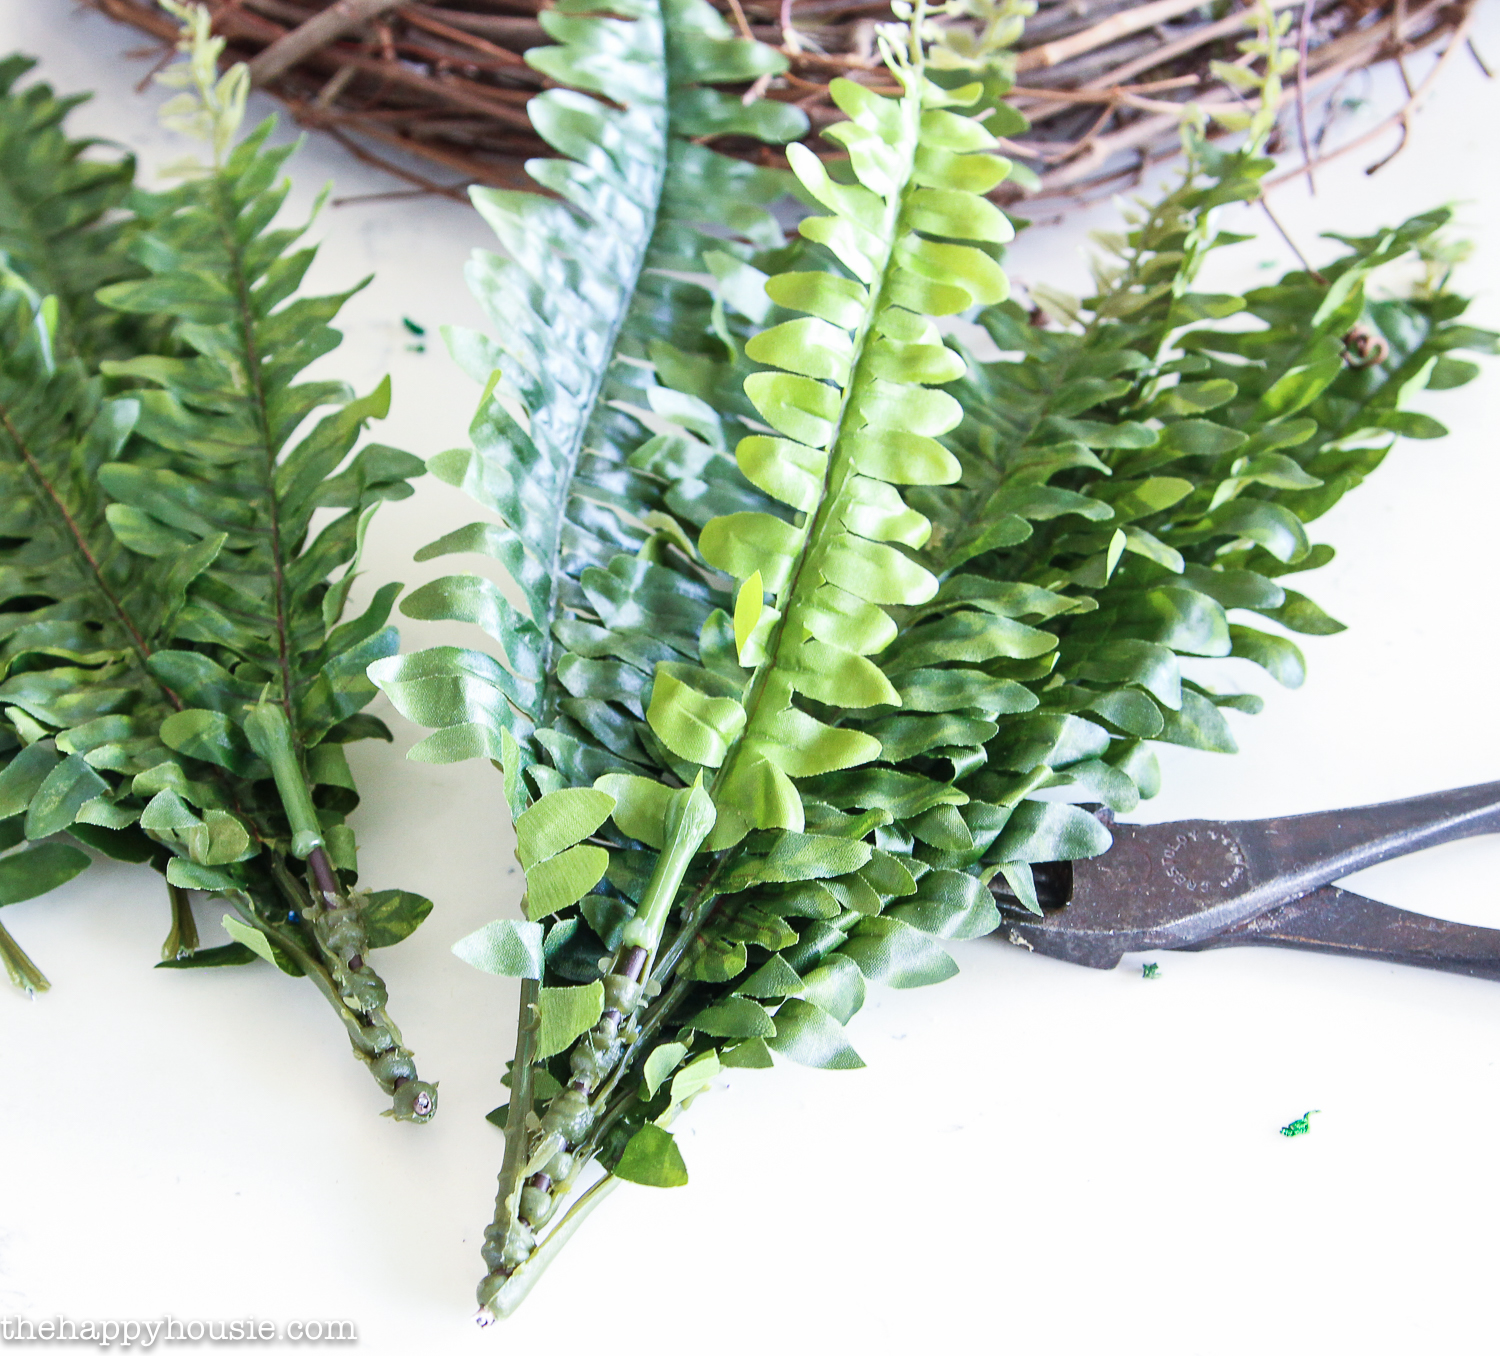
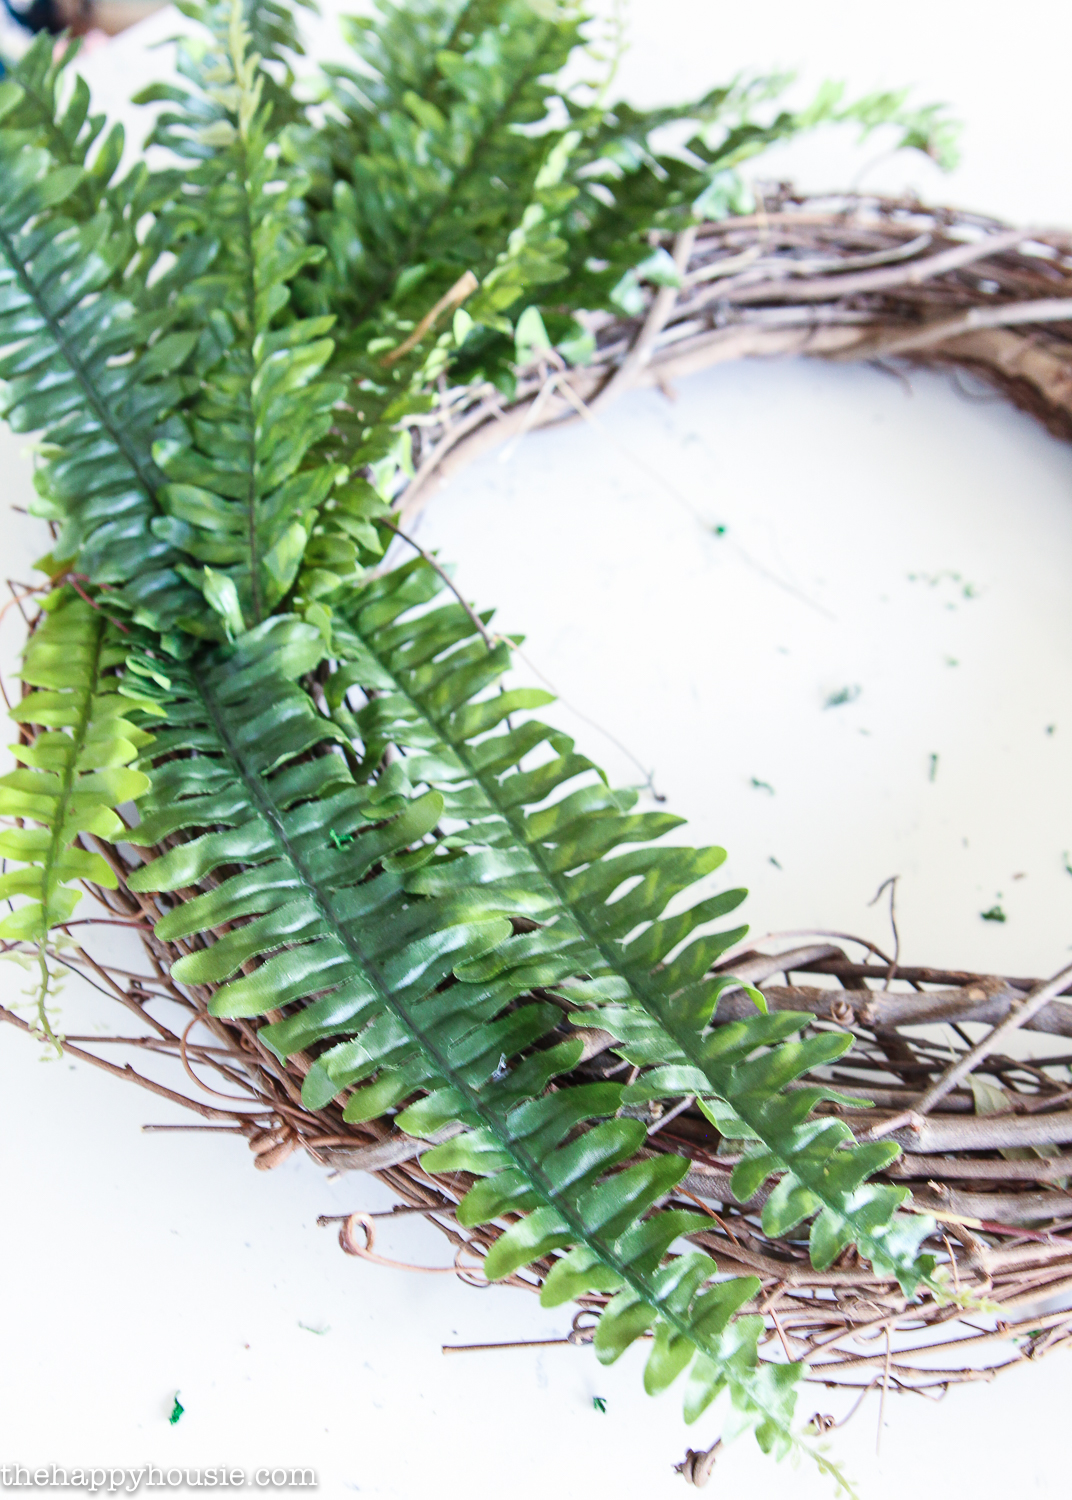
As well as some faux fern fronds that I cut into sections…
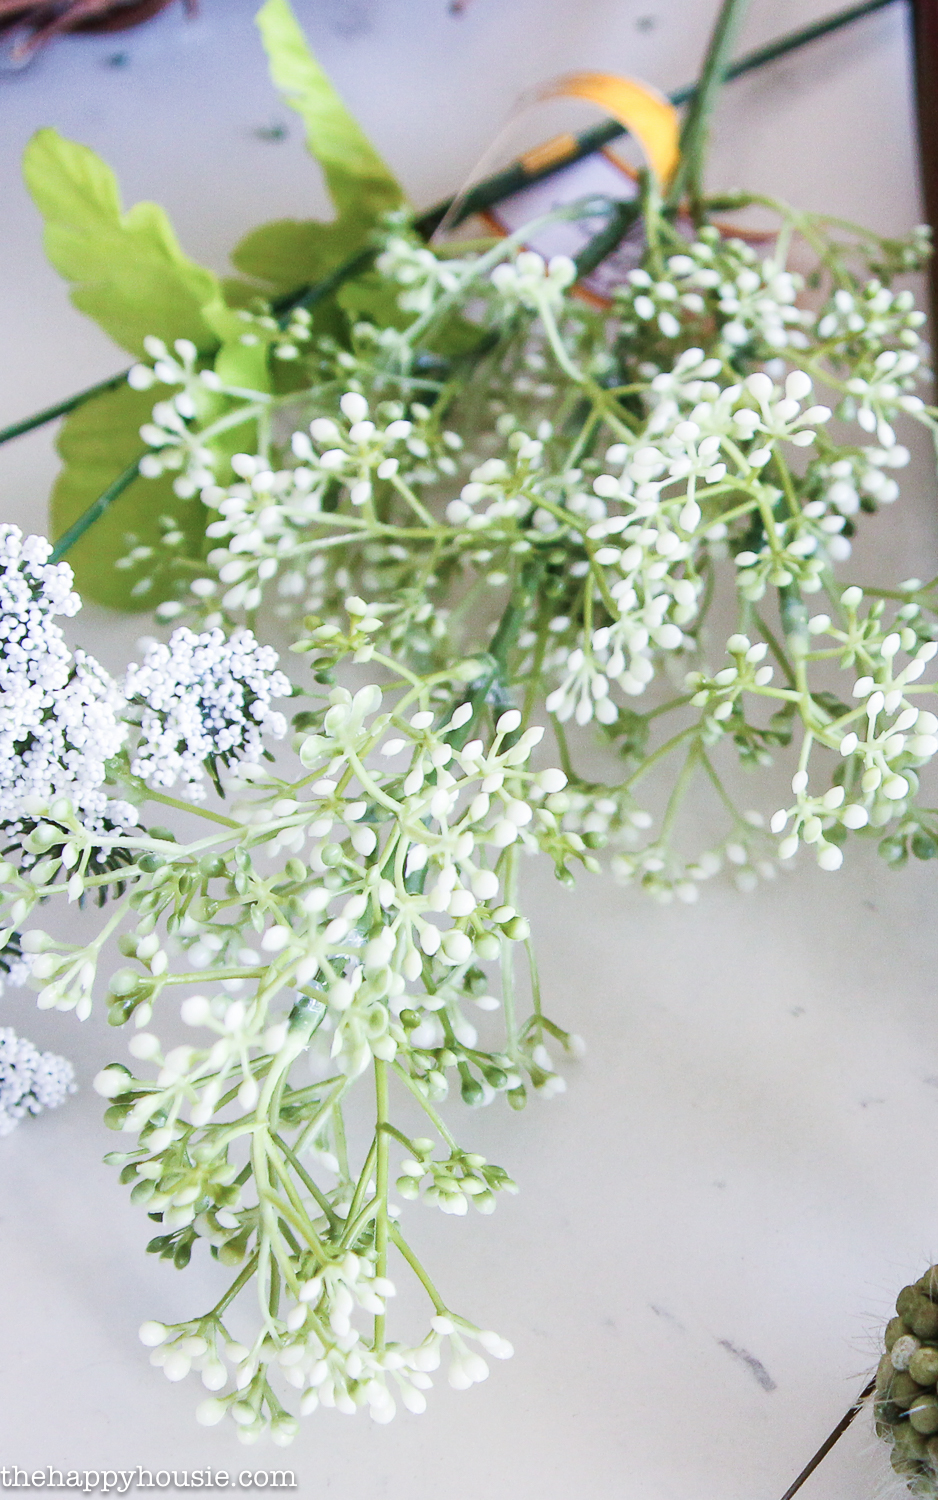
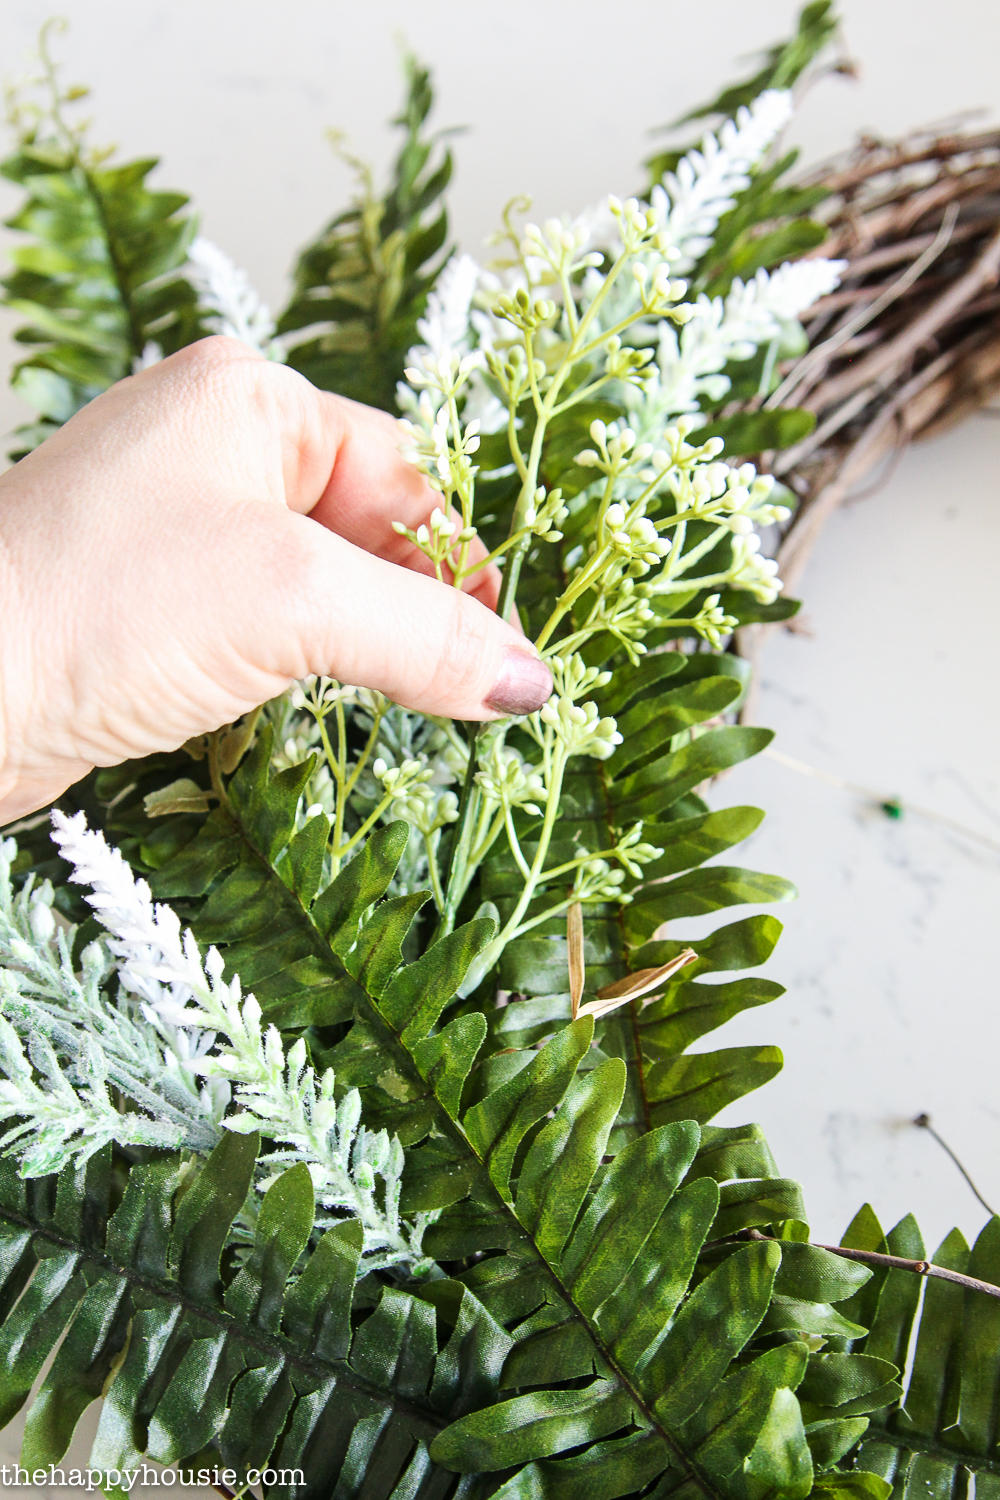
And a couple of different sprays of white “berry” style faux branches…
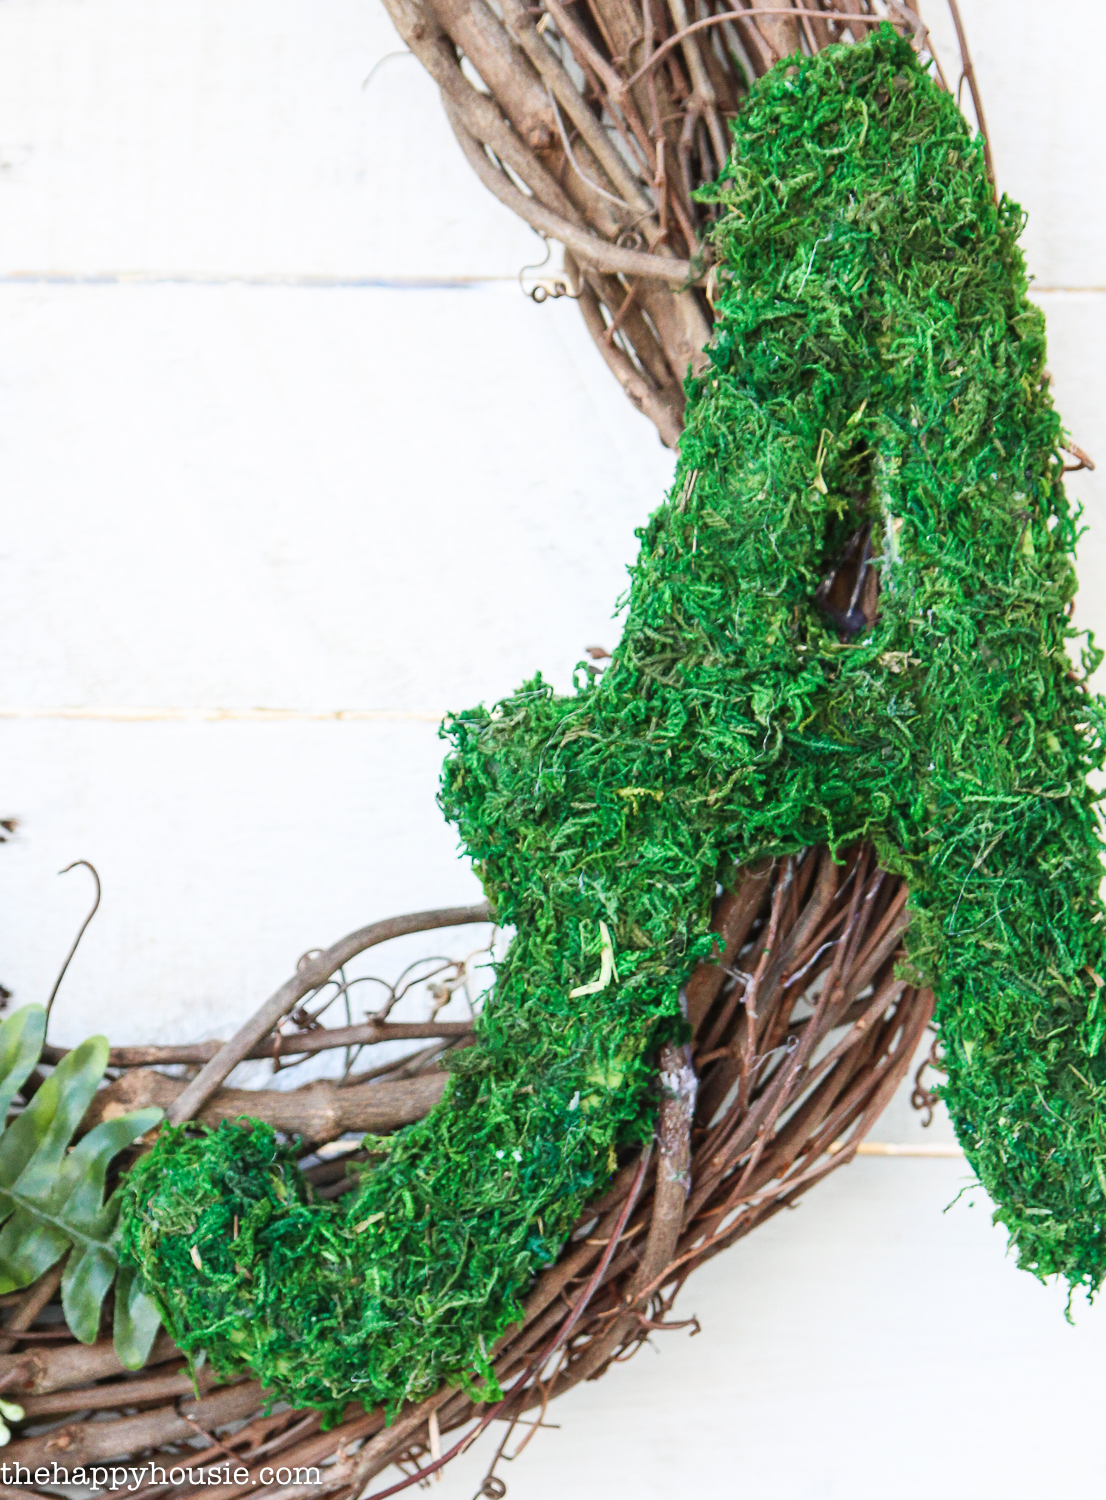
I also used the moss covered letter “A” that I made, using a different version of the method to the one I shared last week. Basically I found a cursive letter “A” (for our last name) at the craft store and painted the base of it green. I then used my hot glue gun to attach the moss. I cut it to shape as needed so as to keep the shape of the letter quite clear. 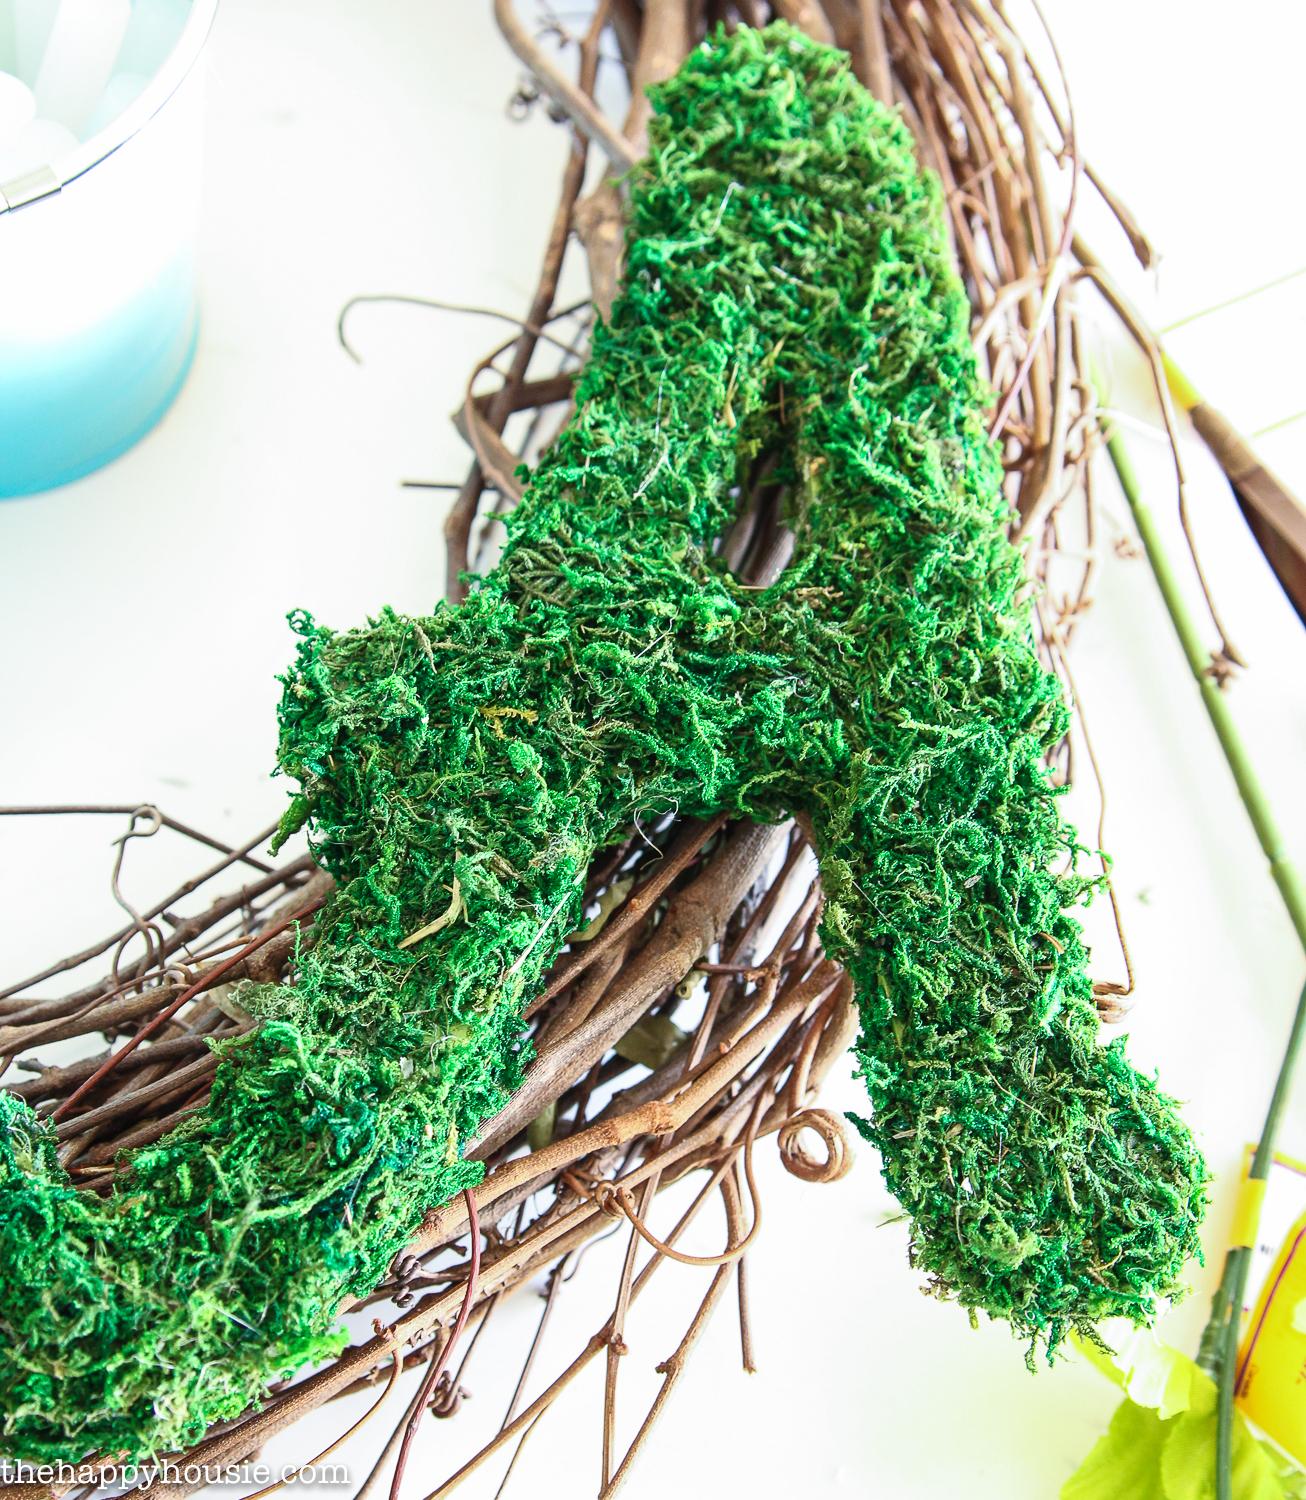
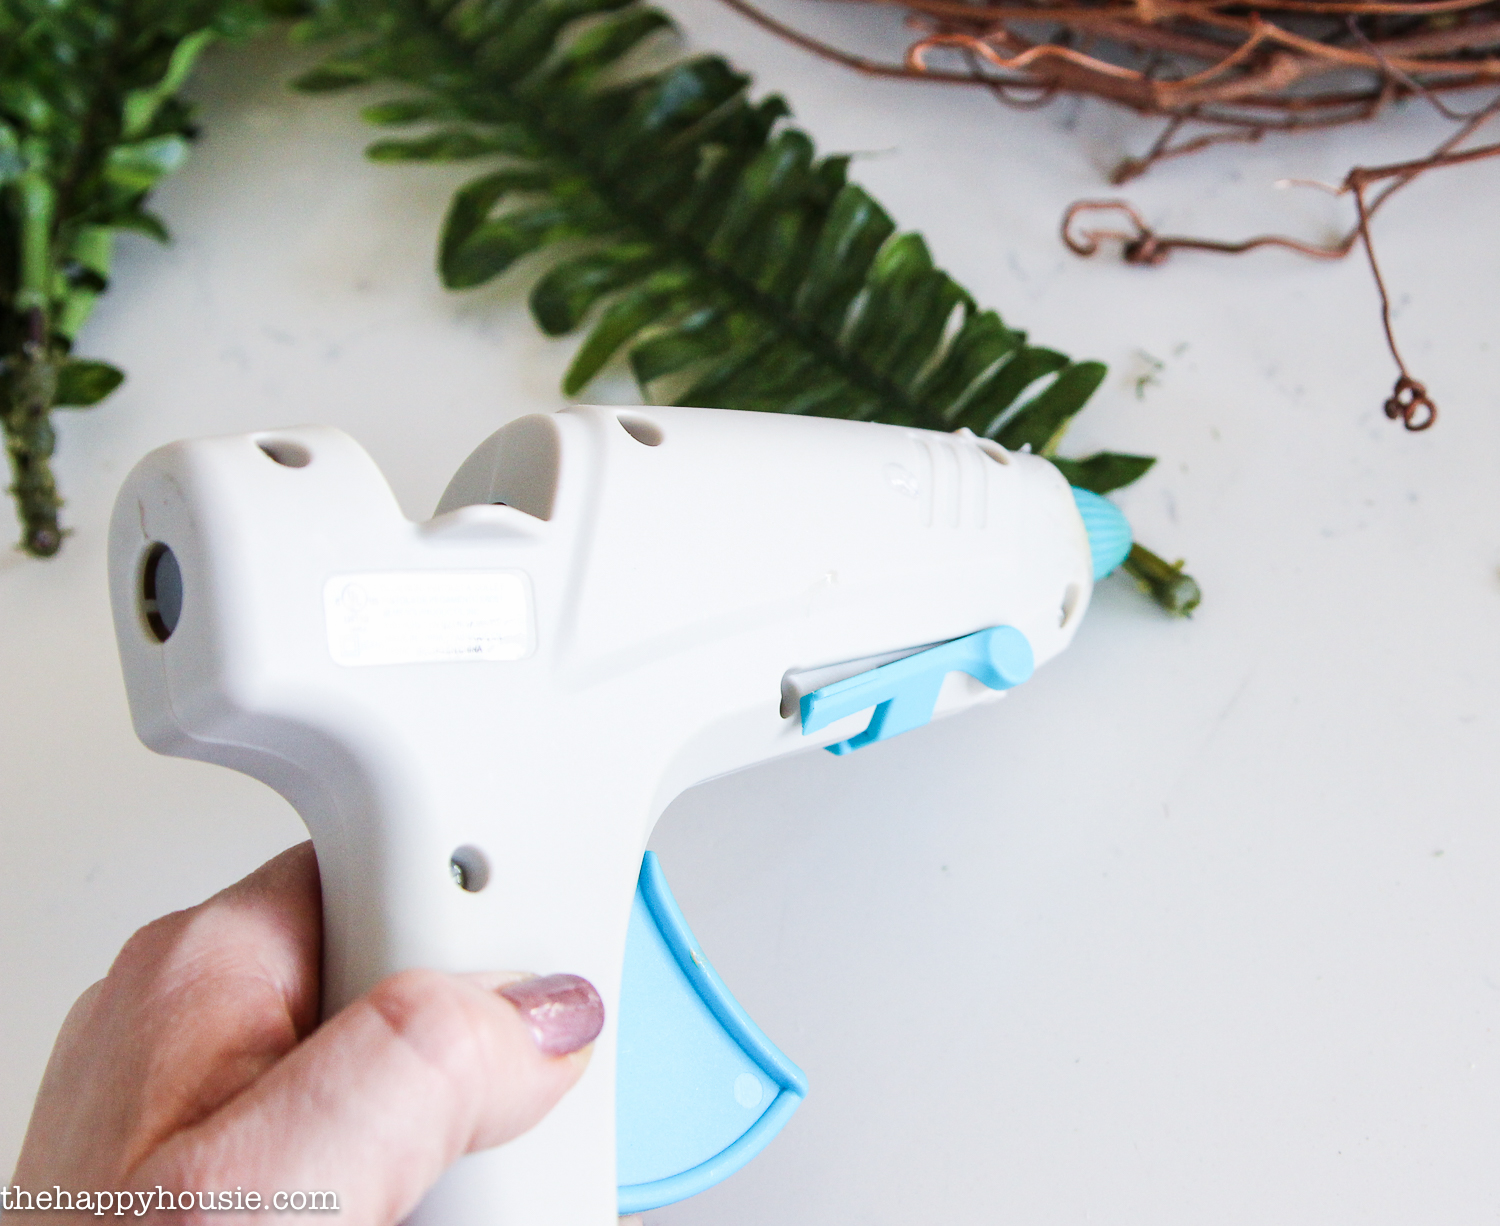
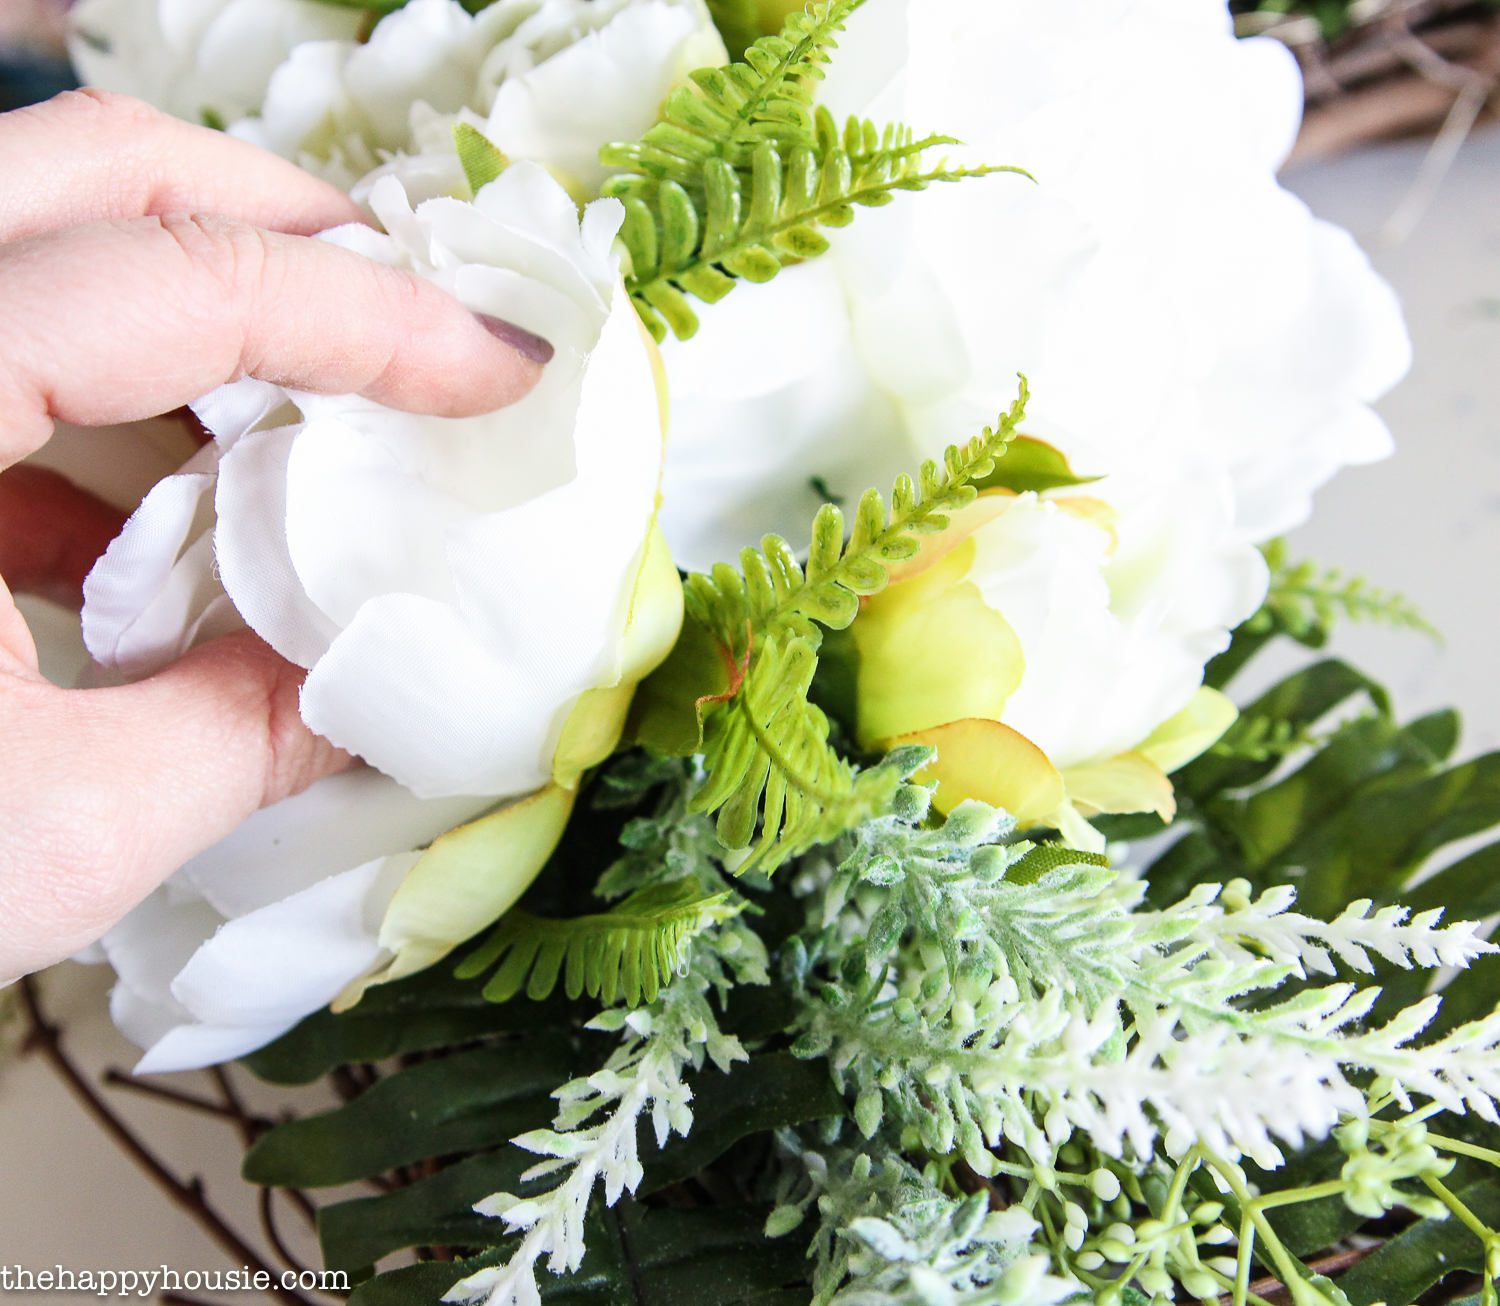
To put the parts of the wreath together, I started by cutting the pieces into the sections I wanted and then hot gluing them into place. The ferns were the base or foundation…
Once the ferns were in place, I glued and tucked in the berry stems…
And then, lastly, I glued and tucked in the peony stems in a close together bunch to create the design you see in the finished wreath!
Note: I did not keep the peonies in the little bouquet shape that I bought them in. Instead, I cut them apart and cut their stems shorter and then placed them individually into the cluster you see in the final wreath.
I used some simple green and white ribbon to hang it with…
Done!

I’m loving the fresh, springy feel of the green and white, and think it will last well for months to come. In fact, it could really carry itself right into summer!


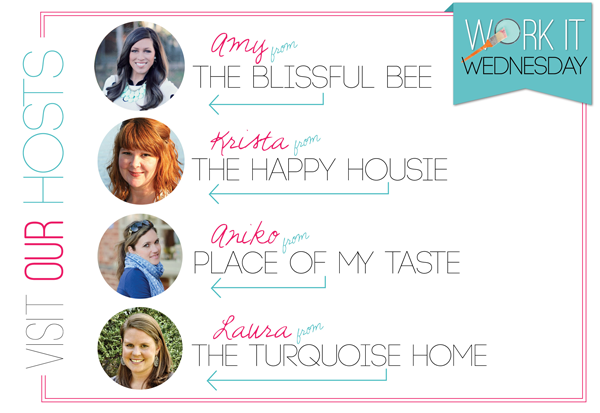
And today I’m super excited to be joined by an amazingly talented group of my blogging friends who are also sharing their DIY Spring Wreath tutorials!

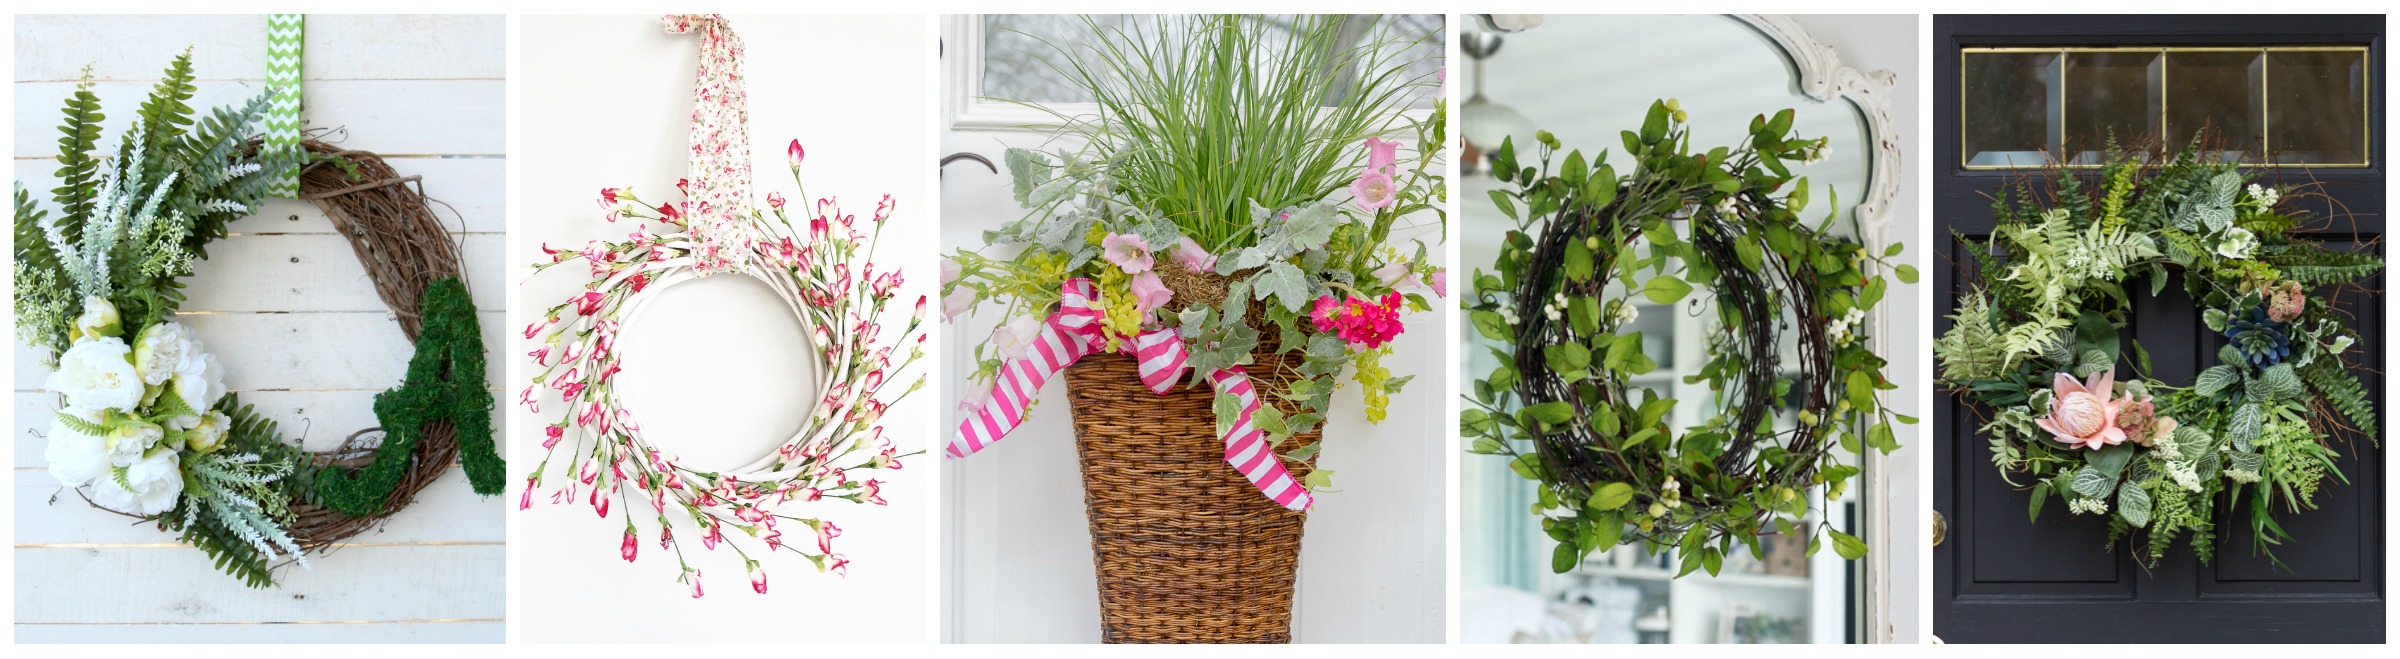
DIY Monogram Spring Wreath at The Happy Housie
Simple & Pretty Spring Wreath at A Pretty Life
Hanging Spring Basket Using Live Plants & Flowers at Duke Manor Farm
Simple $7 Greenery Wreath at Confessions of a Serial DIYer
DIY Whimsical Spring Wreath at Zevy Joy
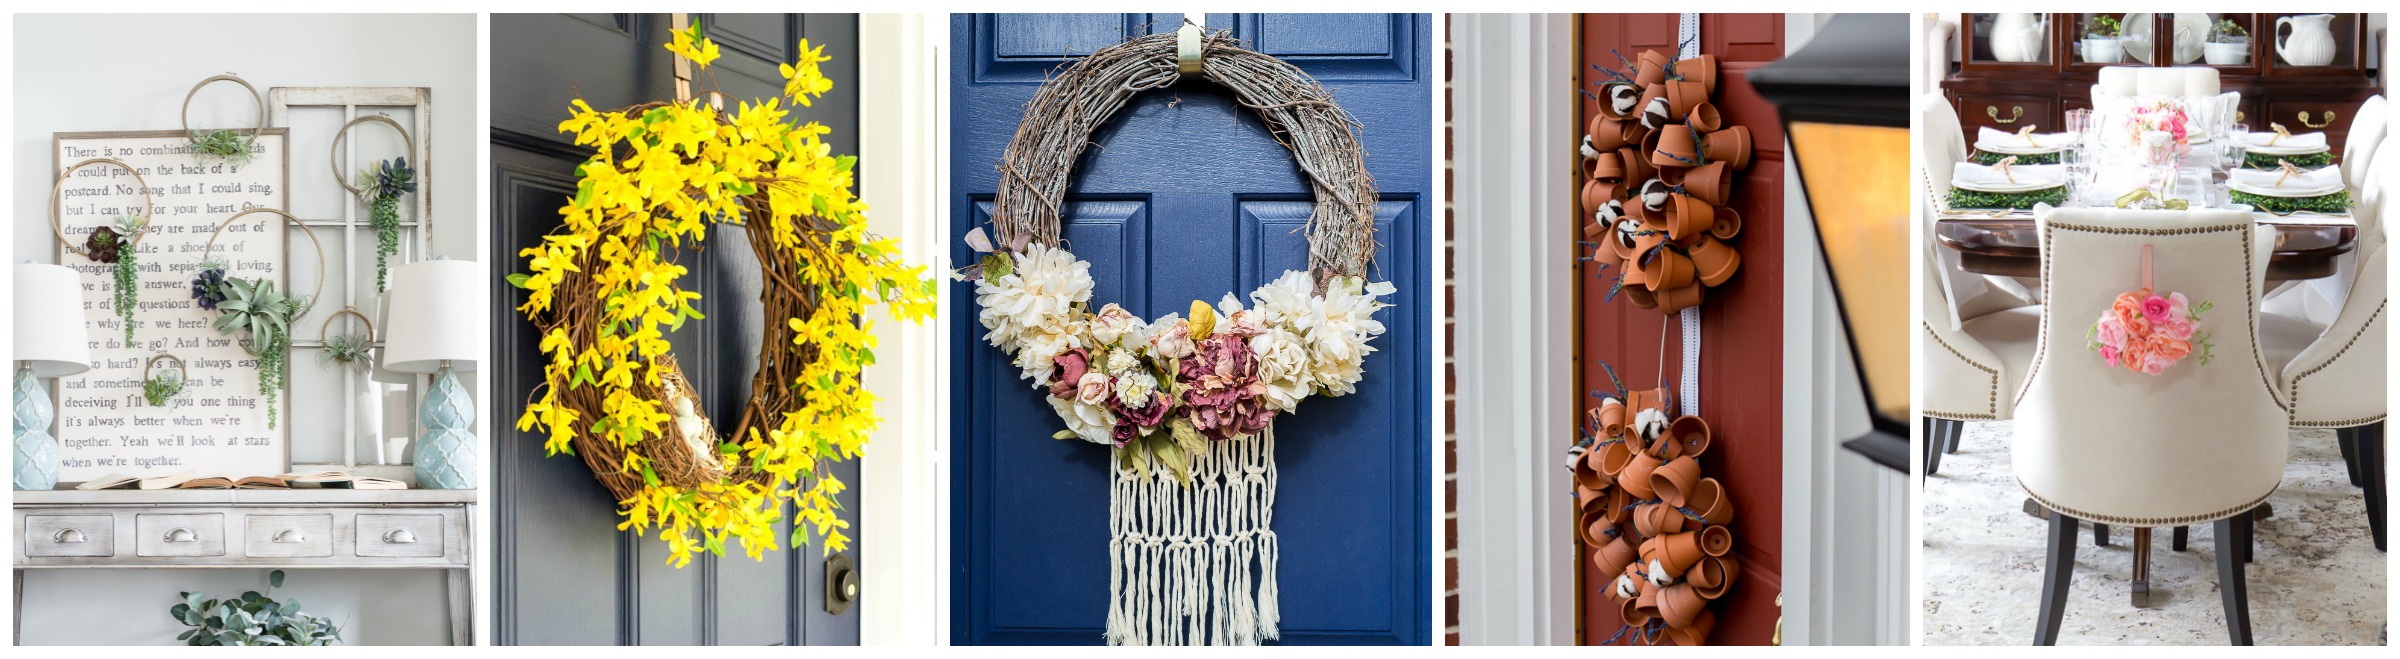
DIY Succulent Embroidery Hoop Wreaths at House by Hoff
Spring Forsythia Wreath at On Sutton Place
Boho Spring Wreath at Place of My Taste
DIY Terracotta Pot Spring Wreath at The Heathered Nest
Easy Faux Floral Wreath DIY Tutorial at Setting for Four
Simple Spring Wreath with Peonies at The Turquoise Home
Floral Boho Spring Hoop Wreath at Home Made Lovely
Simple Beautiful DIY Spring Wreath at Willow Street Interiors
Spring Tulip Wreath at Newly Woodwards
DIY Spring Wreath at Amber Tyls

I hope you find something perfect to adorn your front door this spring!


Love your spring wreath, Krista. The mossy monogram is adorable and the fern and white flowers just makes you know spring is here. It is a very cheery wreath. Thanks for sharing.
Your wreath is perfect for Spring! I love the addition of the monogram!
Thank you Shannon! It stands out so much better in real life… I love the little touch of moss!
Gorgeous Krista! Moss , ferns andblooms are perfect for Spring!!
Es hermoso cambiar de estación. Me hace pensar en un nuevo comienzo!!! Nuevas oportunidades de mejorar.
Looking really good
I love your wreath, Krista! The combo of peonies and ferns are so perfect. Yay, for warmer weather! xoxo
Your wreath is lovely and so cheery Krista! And I have to confess…I just removed the last of my Christmas decor from my front step too! Hahaha!
I love the springs of ferns! This is a perfectly springy wreath!
This is gorgeous, Krista! I too am guilty of just removing our Christmas wreath from the front door this past weekend lol! XO