
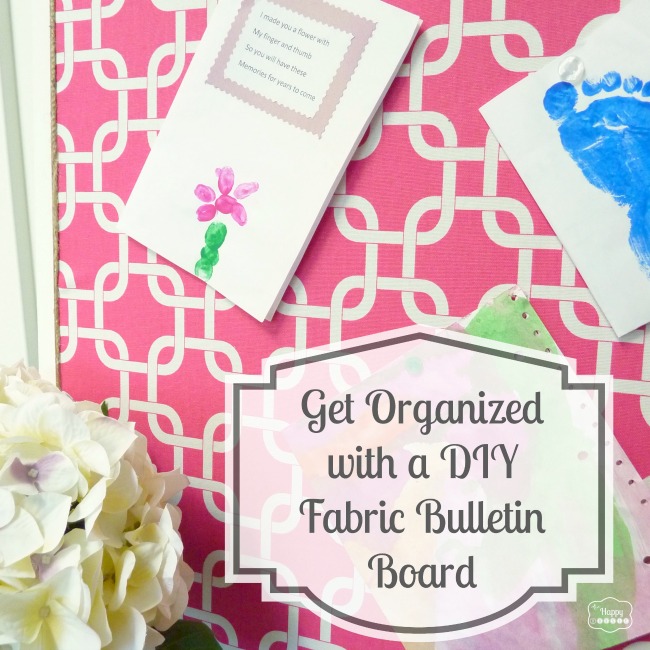
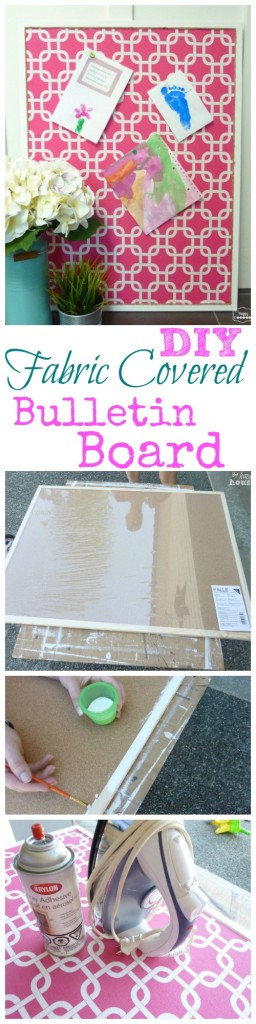
Ready to learn how to make your own DIY Fabric Covered Bulletin Board??
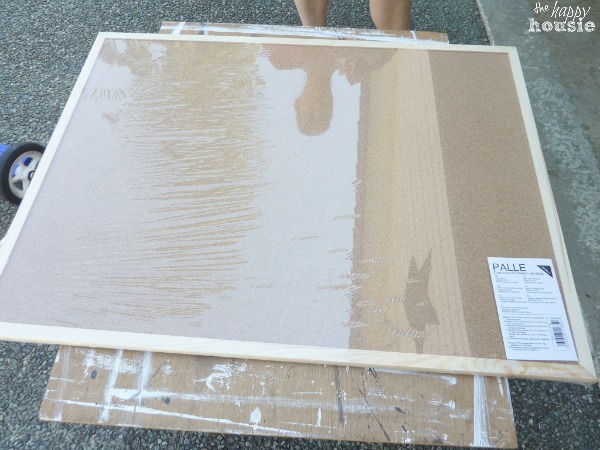
The supplies needed for this easy project were a bulletin board, fabric, white craft paint, a small paint brush, an iron, spray adhesive, a glue gun, and twine for edging. This bulletin board was picked up at Jysk for about $9, but I have sometimes seen these at thrift stores as well.
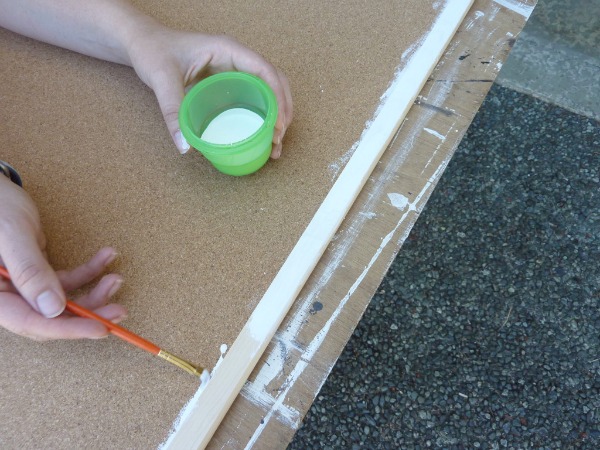
First the unfinished pine frame was given a good couple coats of white craft paint.
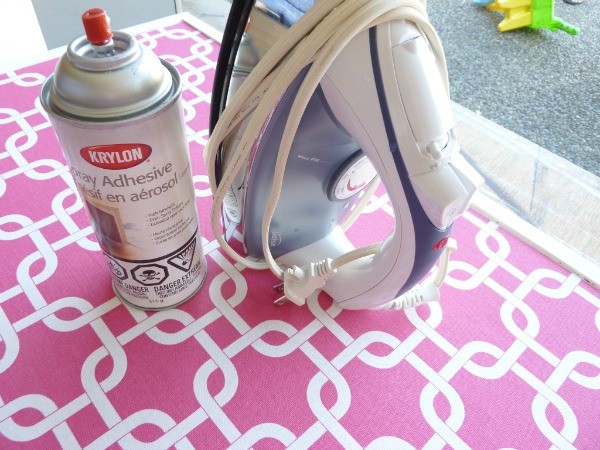
Next, measure and then cut the fabric to the exact size of the bulletin board. I gave it a little iron to remove all ridges and wrinkles.
Then I used some spray adhesive on the back of the fabric and on the cork to attach them together. Follow the instructions on the spray adhesive to make sure to avoid any sort of catastrophe…
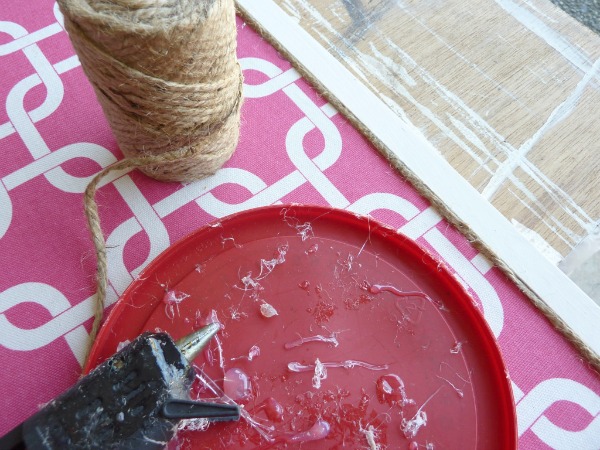
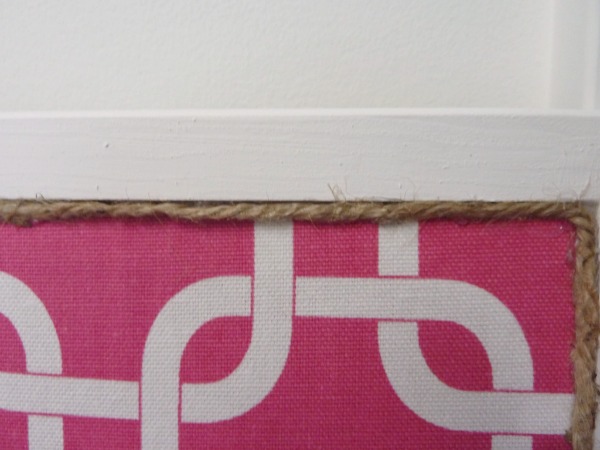
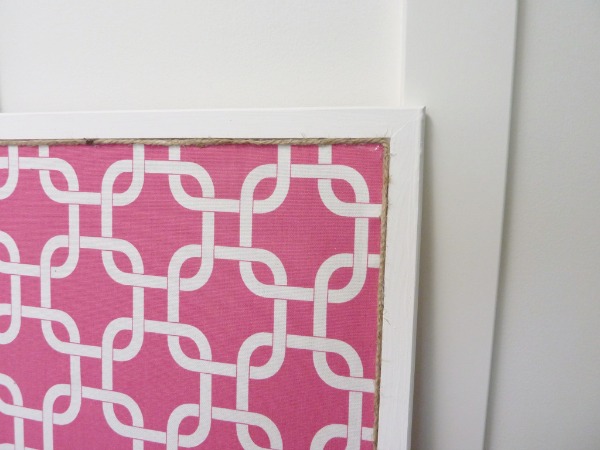
Once the fabric was attached I added a piece of sisal twine between the frame and the fabric to provide a transition between the two.
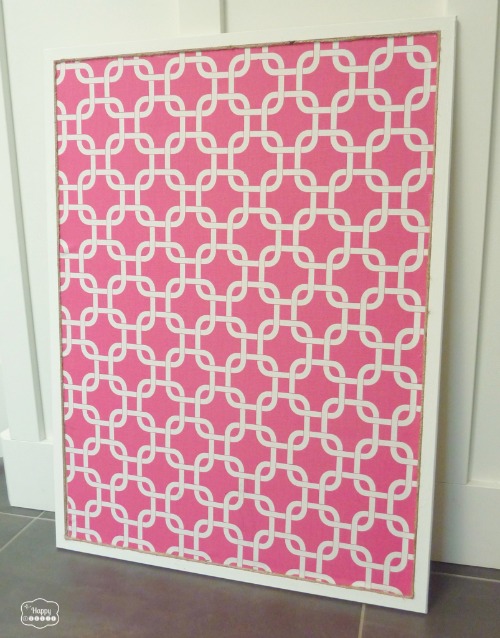
How easy was that?!? You could have completed the project in about the time it took you to read this, it is that simple.
This one if for a little girl’s bedroom (you may have seen the stenciled nightstand for her room the other day…) but you could choose any style of fabric to coordinate with your kitchen or home office or closet or rec room -wherever you need a little organizational love!
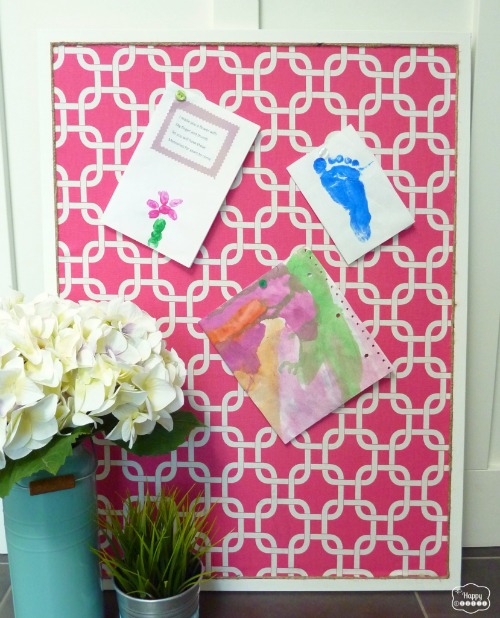
Oh, and I made some cute coordinating button push-pins by simply hot-gluing buttons onto the ends of flat push pins…
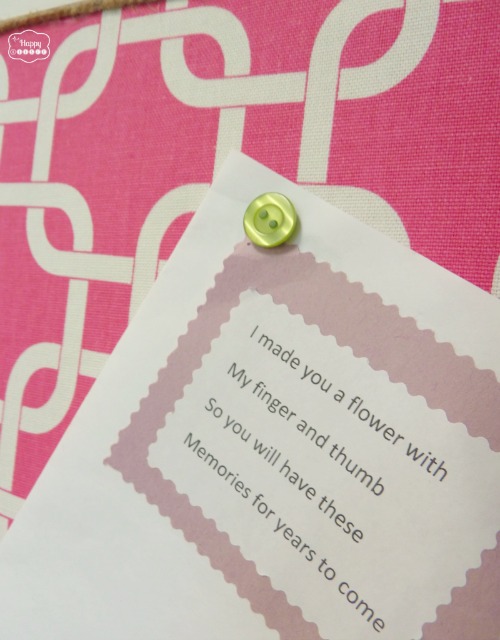
Pretty push-pins give it that much more of a finished feel… I love these button jobbies.
Like it?
Pin it to remember it!
What sorts of things are you doing to get organized for fall? I have several areas left to deal with… and a whole different paperwork storage solution in-process right now for my son’s room. Not to mention I am in serious need of a command central before back to school kicks in ’round here. Luckily I have a few more weeks!

![]()
![]()
![]()
![]()
![]()
![]()
![]()