
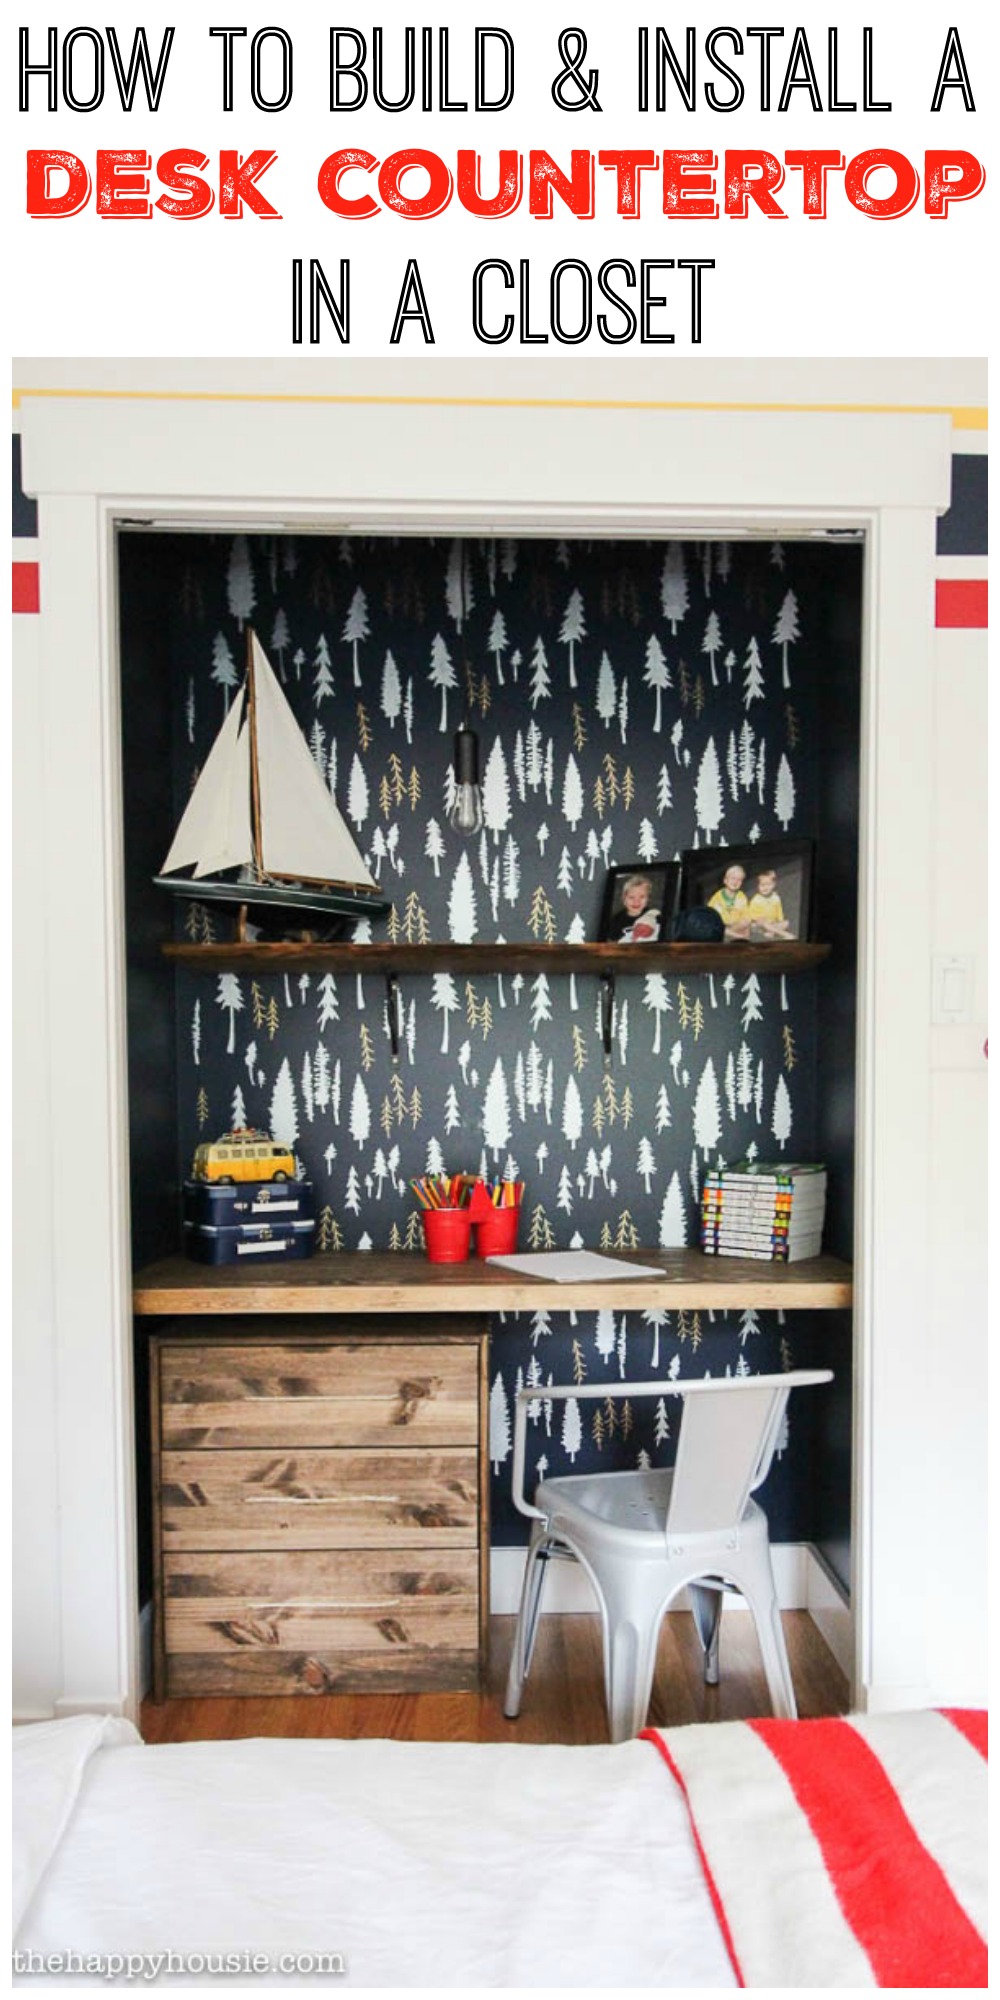
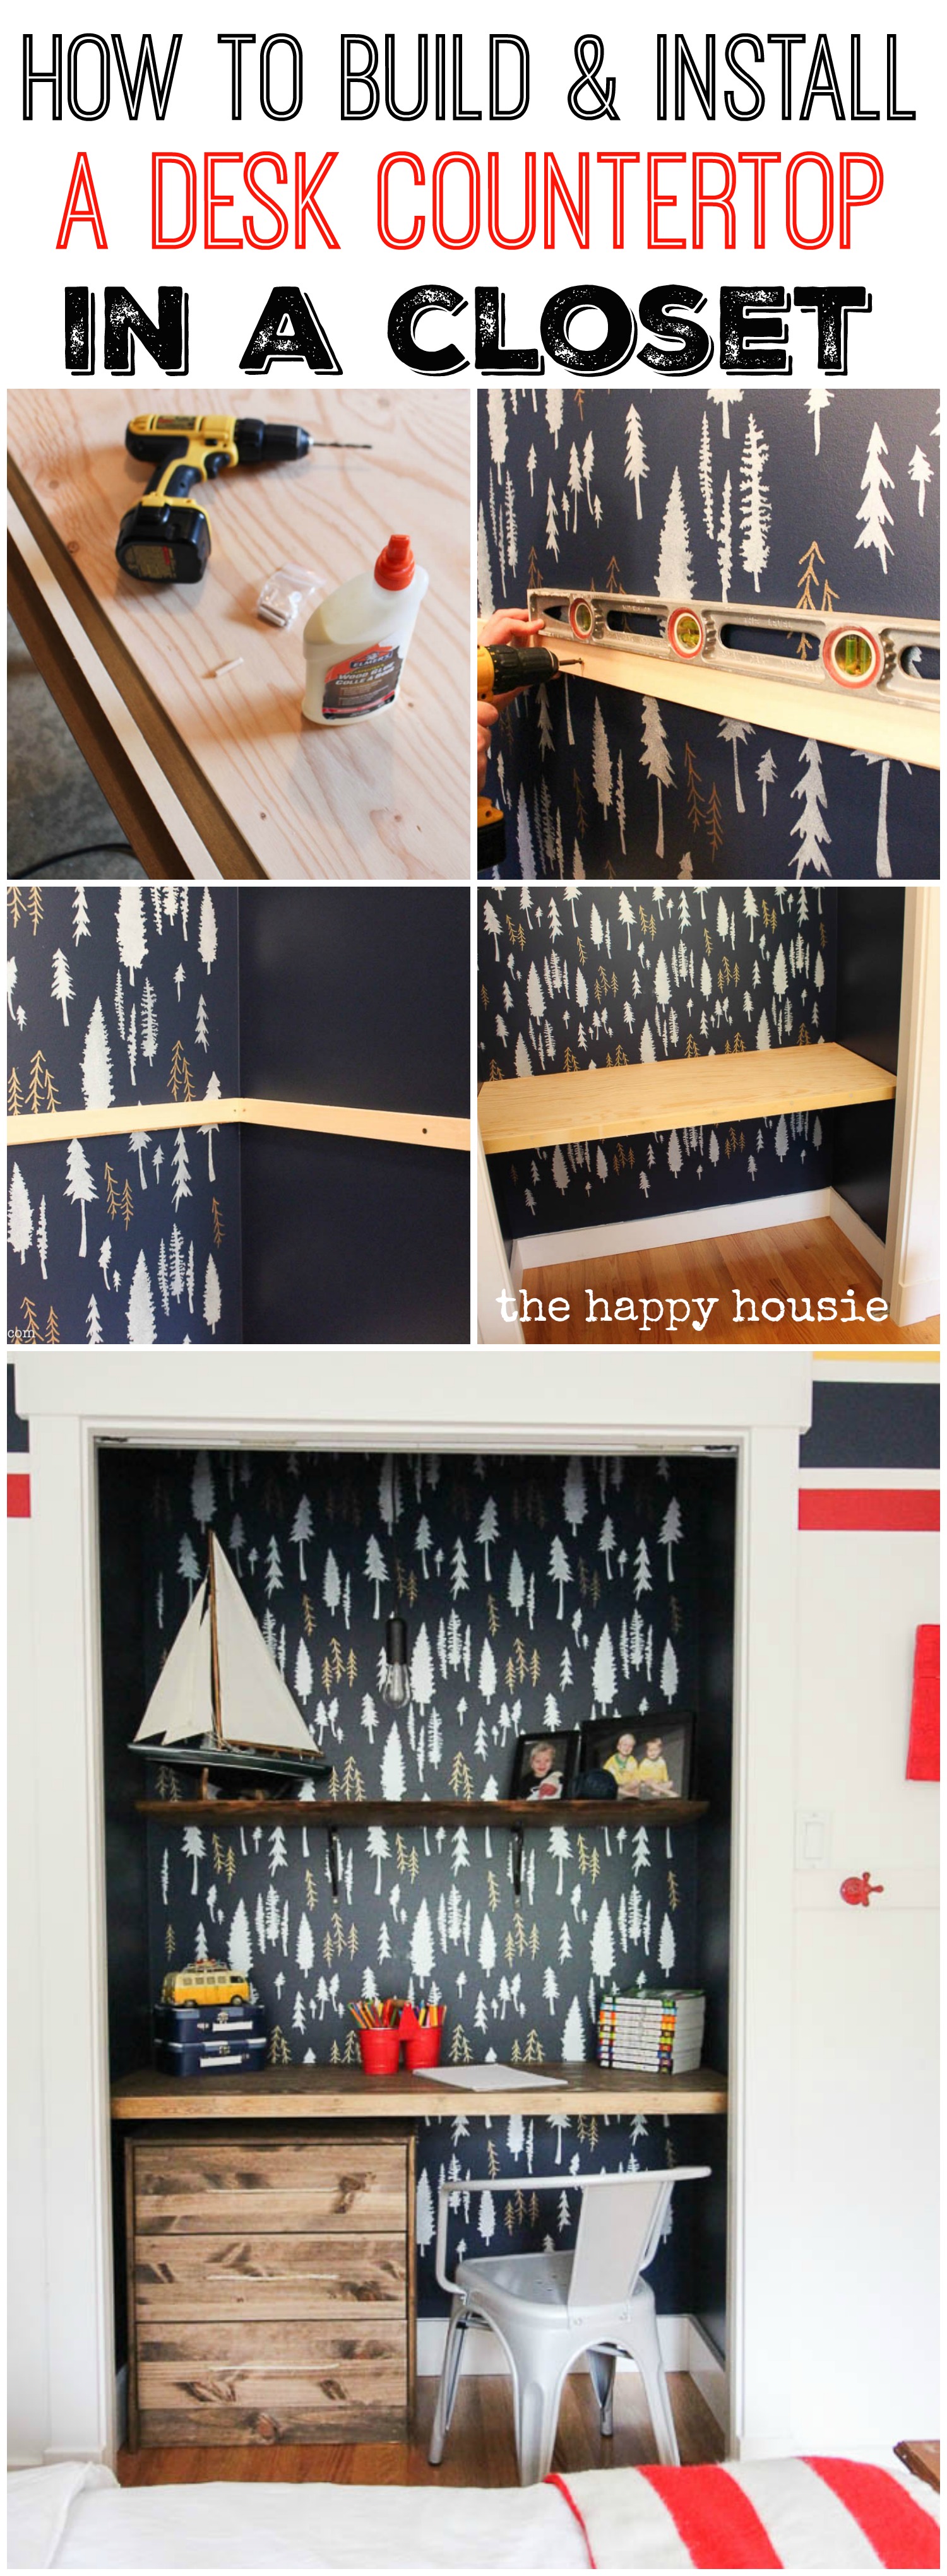
How to Build & Install a Desk Countertop in a Closet
Um, August?!? Seriously??
How did that happen??
I guess spending most of July in Switzerland means that the month kind of passed in an amazing-crazyfun-exploring-adventuring-hiking-cheese-and-bread-eating-and-wine-drinking blur.
Which has been completely awesome of course.
We actually bid farewell to this stunning country next weekend, and once we head home I know it will be time to start gearing up for the whole back-to-school-thing.
I have quite a list of organizing projects I want to tackle before the school year starts up again, and this week I’ve joined up with Amber from The Restless Arrow and an amazing group of fellow bloggers who are all sharing something back-to-school related for the #backtoschoolstyleguide series.
If you have hopped over today from Style Your Senses where Mallory is sharing a great back to school “look for less”, then welcome!
My name is Krista, and I love to share all kinds of DIY, decor, organizing, and crafty projects around here – like today’s how to install a desk countertop inside of a closet. If you are new here today you can hop over here to read more about me and the blog, or visit our latest summer home tour here!
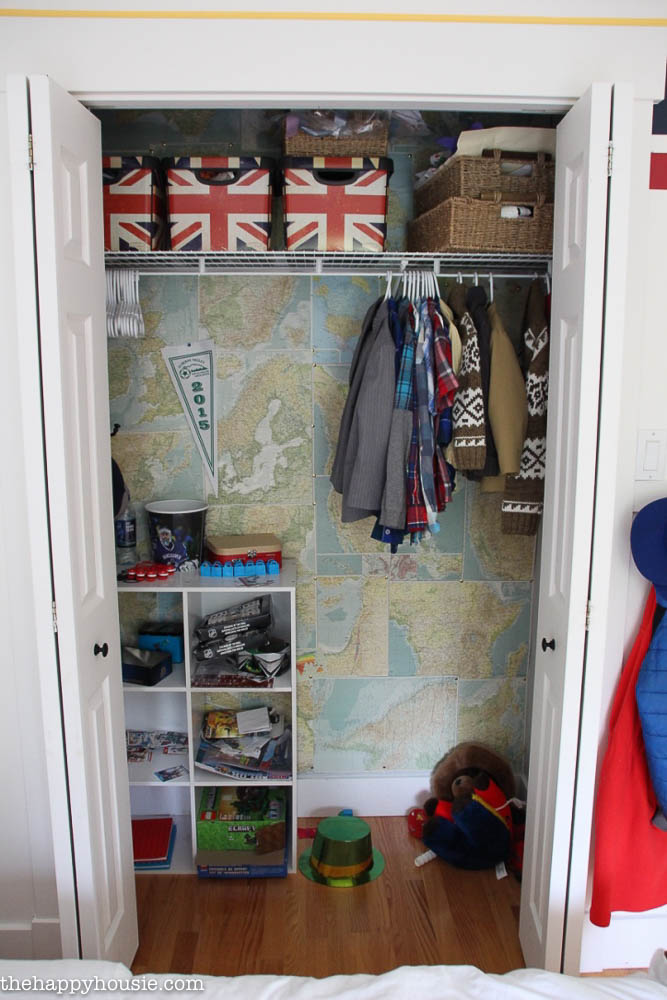
Our boys closet before was really a waste of space. Between the two of them, there might have been five dress shirts, two cardigans that I loved but they refused to wear, as well as two adorable little dress suits that are mostly for dress-up play. Plus, all their school work (that I STILL need to sort and deal with) and a storage cube full of junky-mcjunk and hockey cards.
And when you’ve got two busy little boys sharing a relatively small bedroom you kinda need to maximize every square inch.
![]()
Plus, with our oldest starting Grade Four this year (um, what?!? cue the tears…), it was time for him to have a bit of a quieter space to do his homework or quiet hobbies in.
And I love me a good desk-in-the-closet situation (like in our command closet).
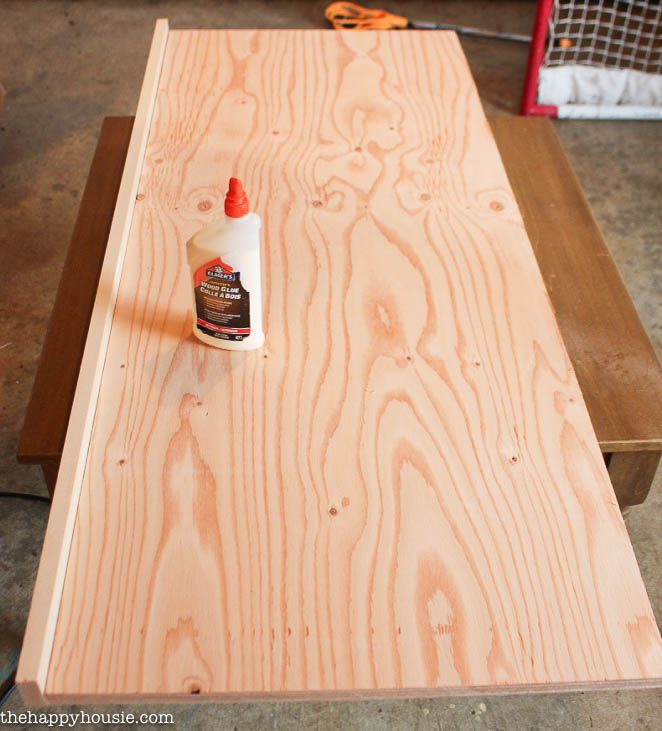
So we started out this project with a sheet of plywood that we cut to the width and just shy of the depth of the closet. We also used our drill, wood glue, wood filler, and some wood screws. First, we glued the wooden front/facing piece on and then used small screws to secure it further. Then, we filled the screw holes with some wood filler.
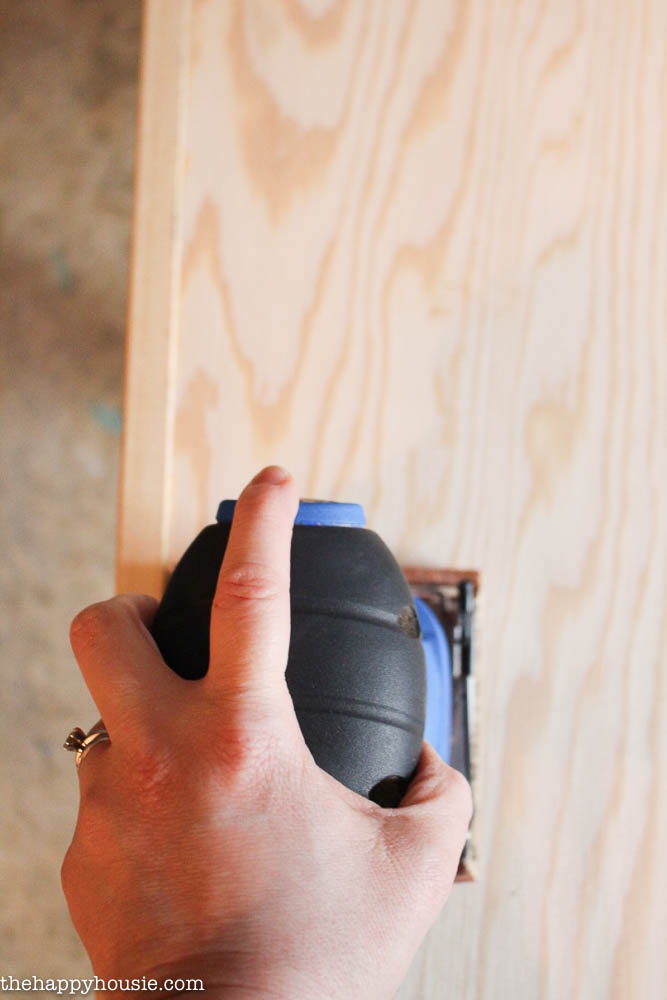
After that had dried, I gave the whole thing a good sand with my palm sander and some higher grit paper to smooth it out nicely.
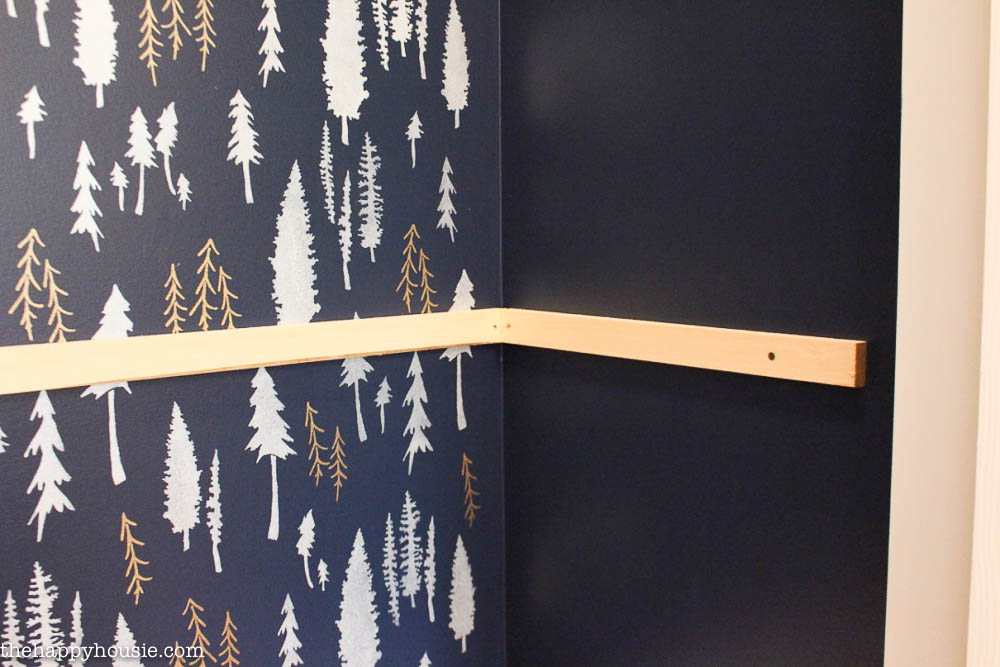
To hang the countertop in the closet, we attached wooden pieces across the back and sides of the closet…
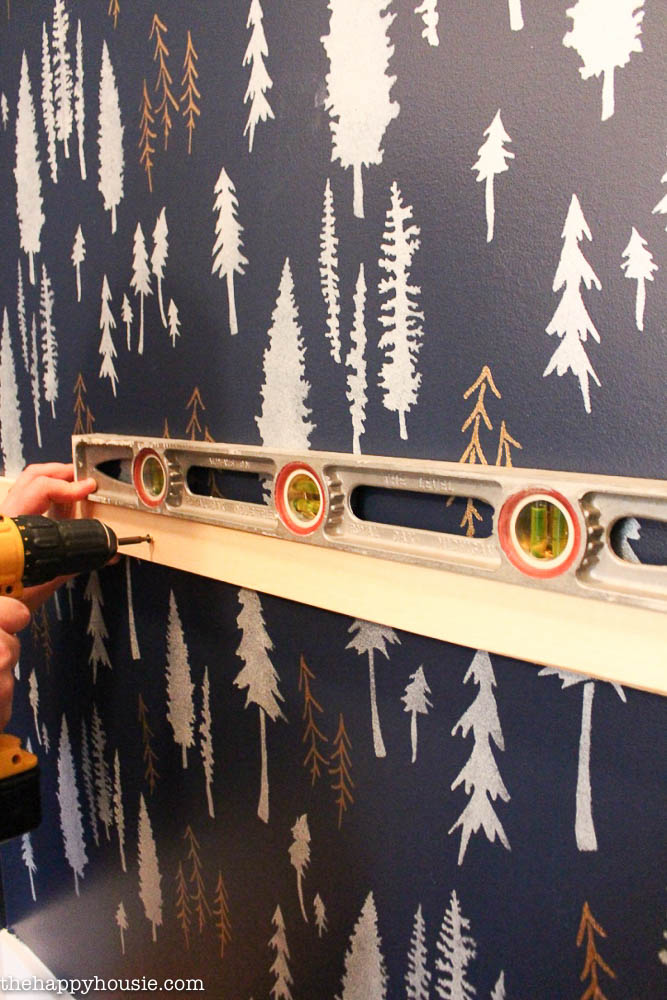
In the picture below you can see where we filled the screw holes along the front face of the countertop – this was before they were fully dry and I sanded them smooth.
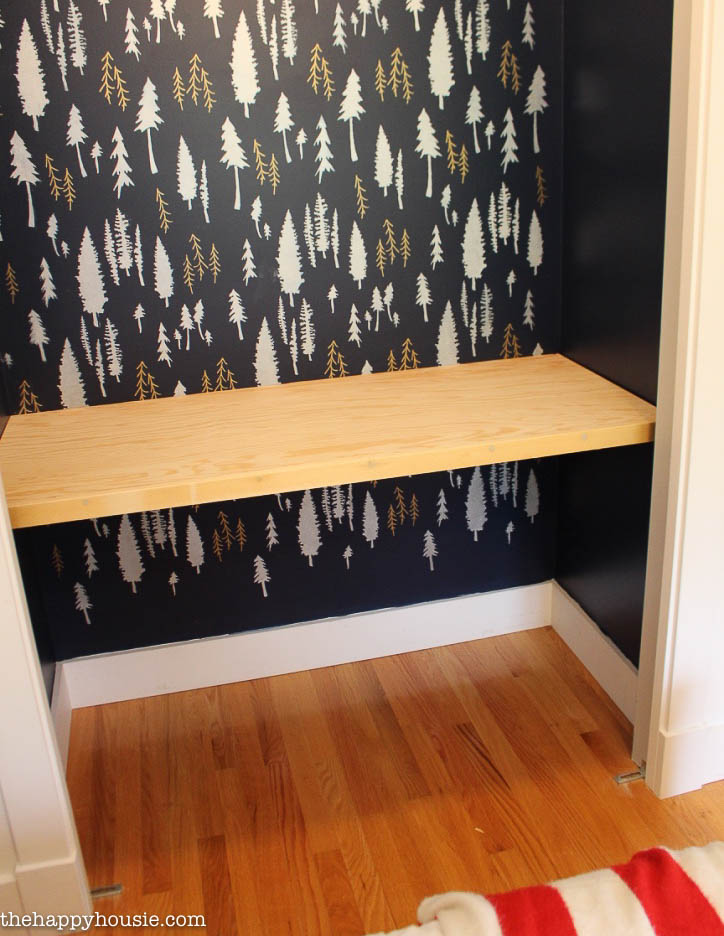
The last step was to use some rustic toned wood stain and then a few coats of a clear satin Varathane to seal it up.
Done!
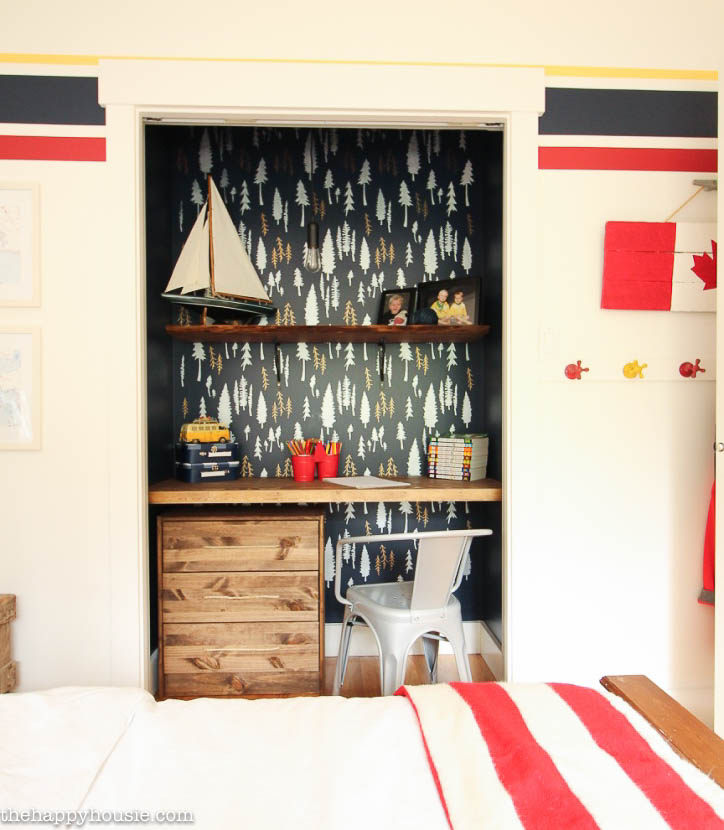
We added a shelf using a piece of raw edge wood and some metal brackets, and created some storage with an Ikea Rast hack – details on that are coming soon!
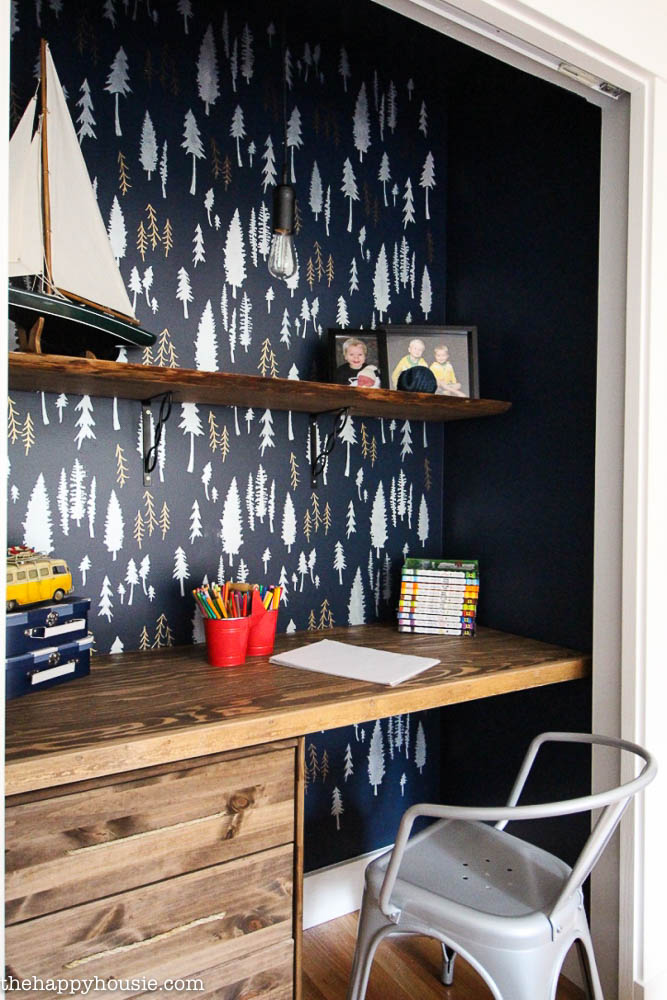
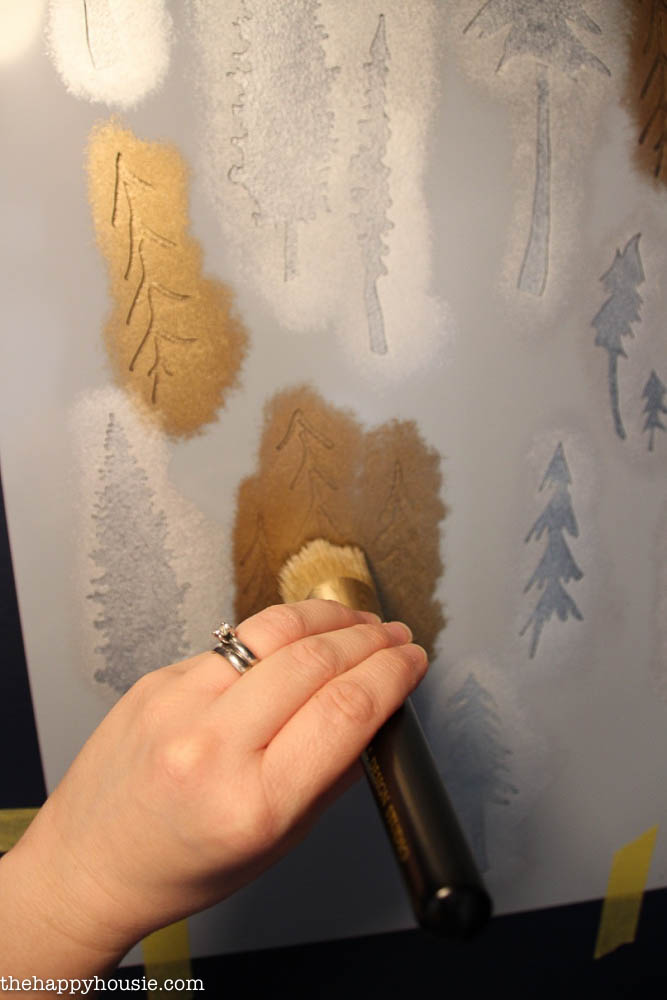
I also wrote a post all about how I stencilled the back wall.
Think you might want to try it?

I’m hoping this will be the perfect spot for my oldest to do some quiet reading and homework this year- I think Grade Four will mean that things step it up a notch in the homework department.
Thanks again to Amber from the Restless Arrow for organizing this series!
Head over to see her sweet idea for organizing kid’s school things at the front door!
For some more awesome #backtoschoolstyleguide inspiration, head over to visit the rest of the gals on this fun series!

![]()
![]()
![]()
![]()
![]()
![]()
![]()


This looks easy enough that even I could do it! Haha. I suppose the only trick here is finding a chair that’s small enough that I can slide it under the desk and close the closet.
Hi Michelle,
It’s just a regular sized chair! The countertop was installed at table height and the closet is wide enough to accommodate a regular chair.
can you please list the — size of wood strips and plywood.
Amit
I love your style and creativity! You are so smart. Thank you so much for joining us!
Aw, thanks Amber! Thanks for organizing this!
love this space so much- love the paper! i used the same process for emmy’s shelving in her room and it was easy and looked great! love an easy diy that looks good, too!
Thanks Cassie- I think I’m office closet obsessed! I love them. Boys have nothing to hang anyhow, so we might as well capitalize on the extra square footage:)