
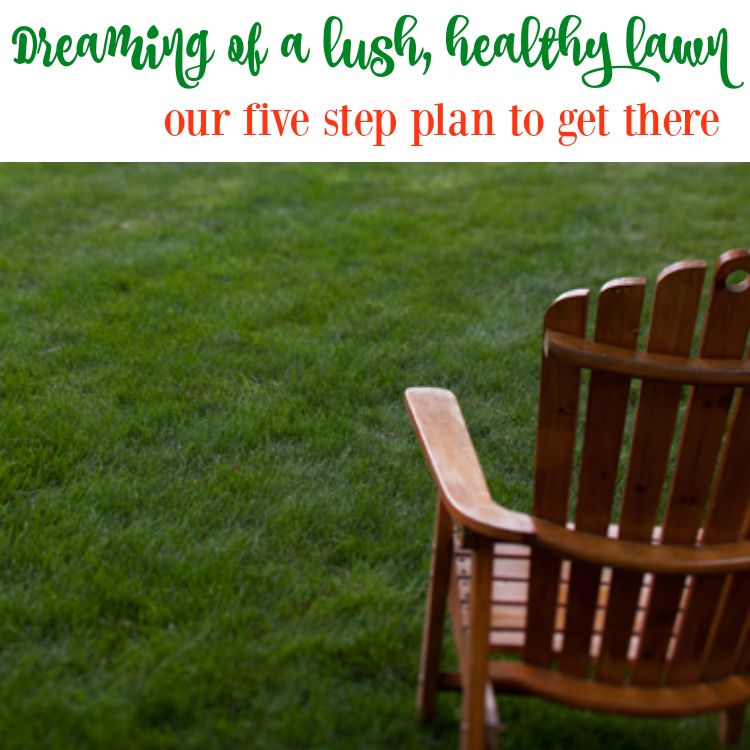
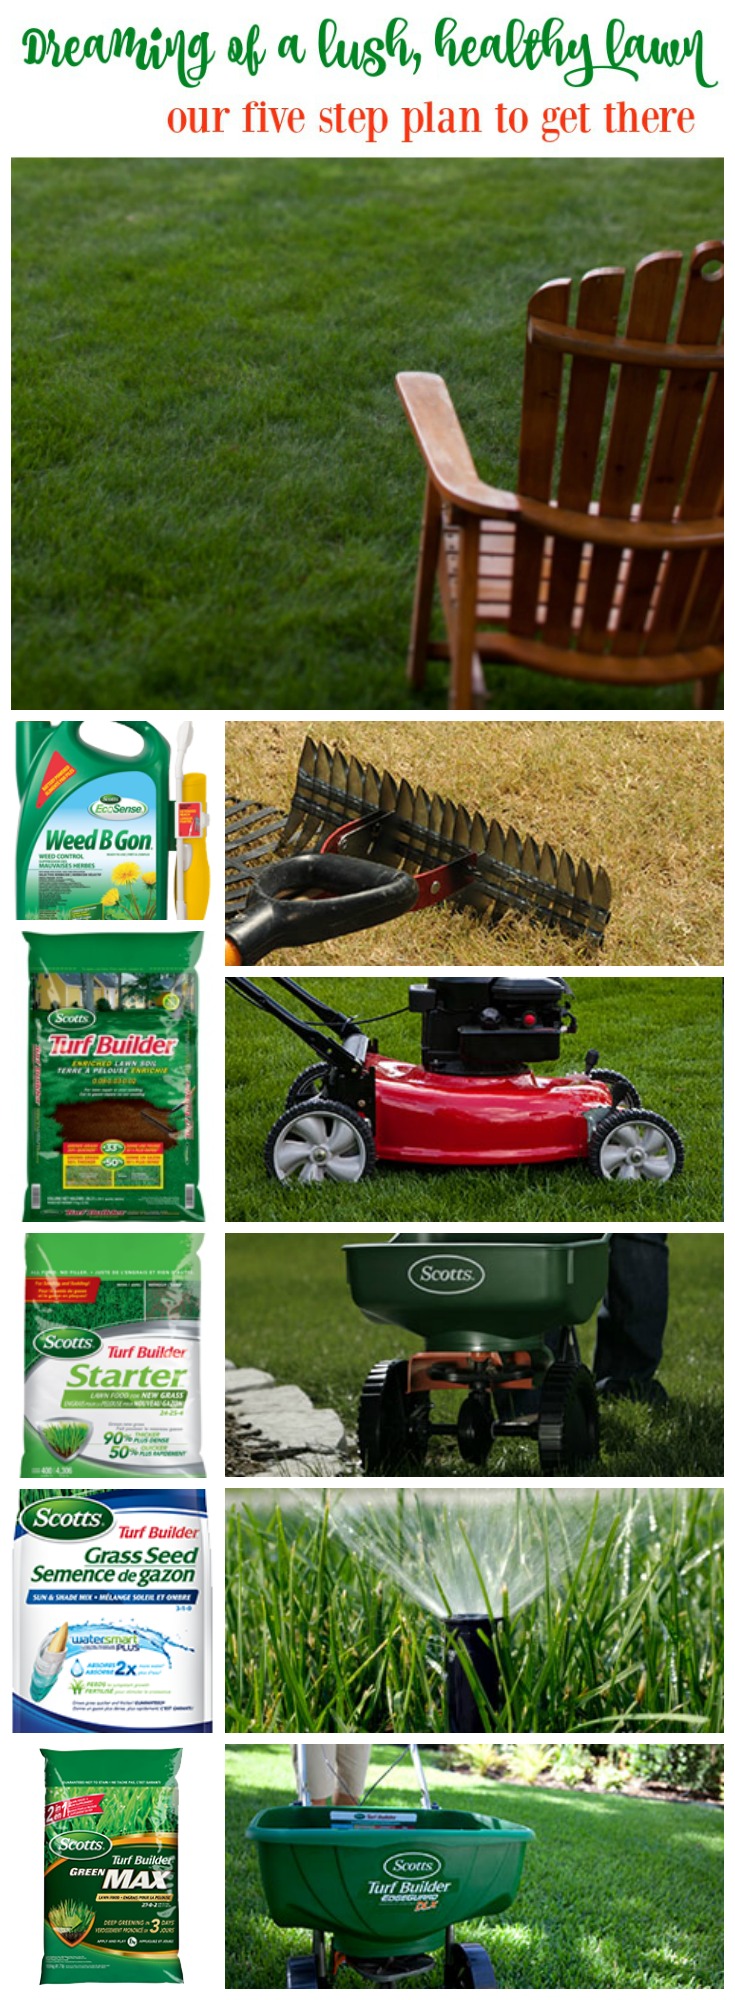
Our Five Step Plan for How to Develop a Healthy Lawn
{via}
I’ve always dreamt of a lovely green lawn.
A lush, dark green grass free of weeds and moss. Thick and soft to sit on.
But it’s just one of those things on the list that we have never gotten to.
But the question is: How to develop a healthy lawn?
Especially when you are starting out with a lawn in pretty rough shape. Each of the homes we have owned have had pretty “rough” lawns. Basically a mix of weeds and moss with a few tufts of stubborn grass that hasn’t been killed off by lack of lawn care.
And since we have really done nothing with it aside from basic mowing over the past five years, it’s possible that our lawn may be in even worse shape now then it was when we “got” it.
The thing is, during half the year we use our lawn on an almost daily basis.
Every day after school it is the site of baseball games or soccer matches. We sit out there quite often, and the lawn actually borders quite a lovely garden and landscaped dry river bed that we added. But yet, the lawn itself is full of moss. Weeds. Dry bare patches. And generally unsightly grass.
Which is why I’m ridiculously excited that the time has finally arrived to tackle our lawn!
We’ve made a plan and the hubs is in agreement. We are going to do this lawn project together, and I’m telling you; I can’t wait to have our grass at the point where I get to share it as an “after”!
But today is about the don’t judge us before pictures and our plan, in collaboration with Scotts Canada, to improve the rough looking lawn we are starting with.
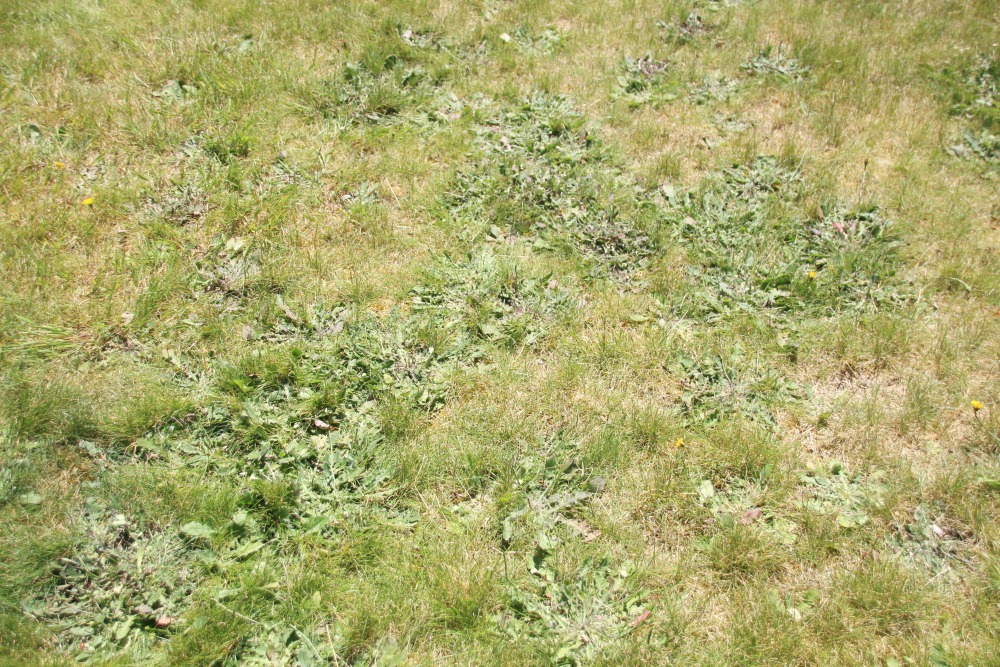
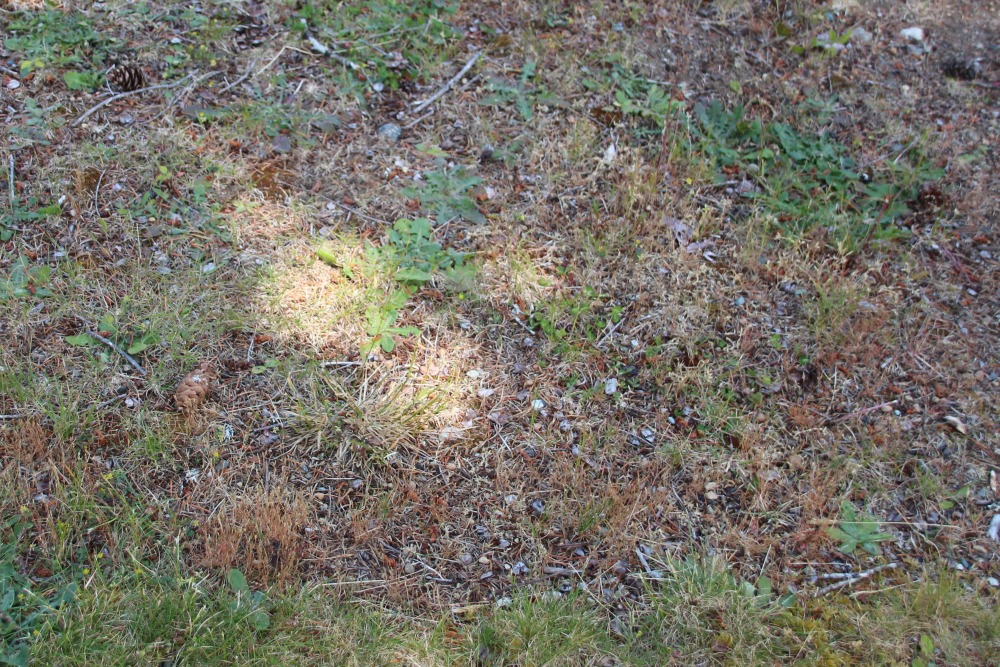
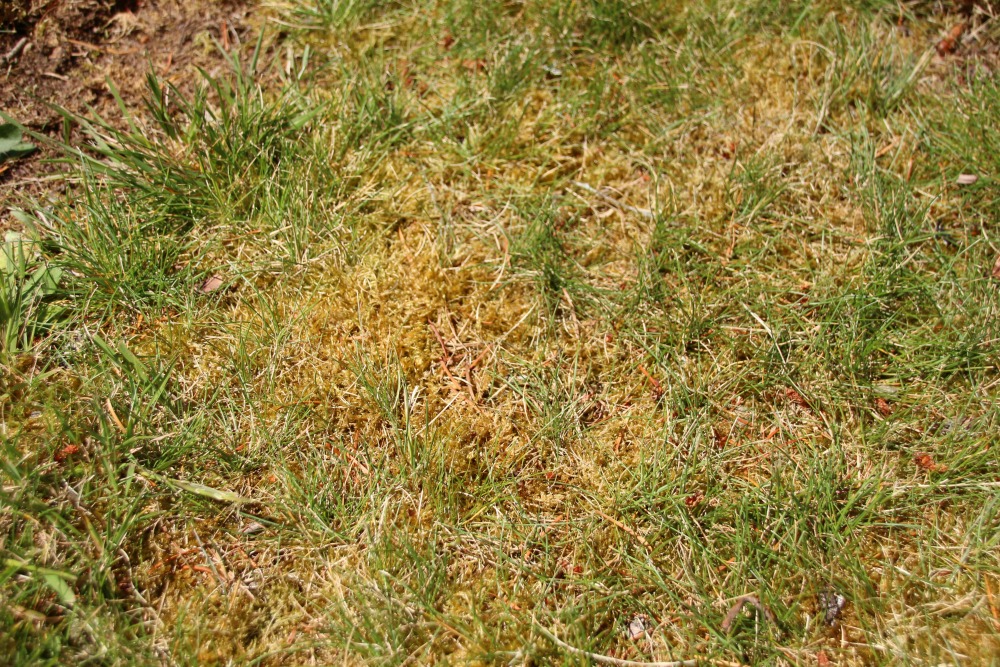
Here is our lawn as it currently stands…
Bare and patches where we planted some grass seed haphazardly last year and failed to maintain it:
Full of moss:
Dry and bare areas around the tree where it is difficult to grow grass:
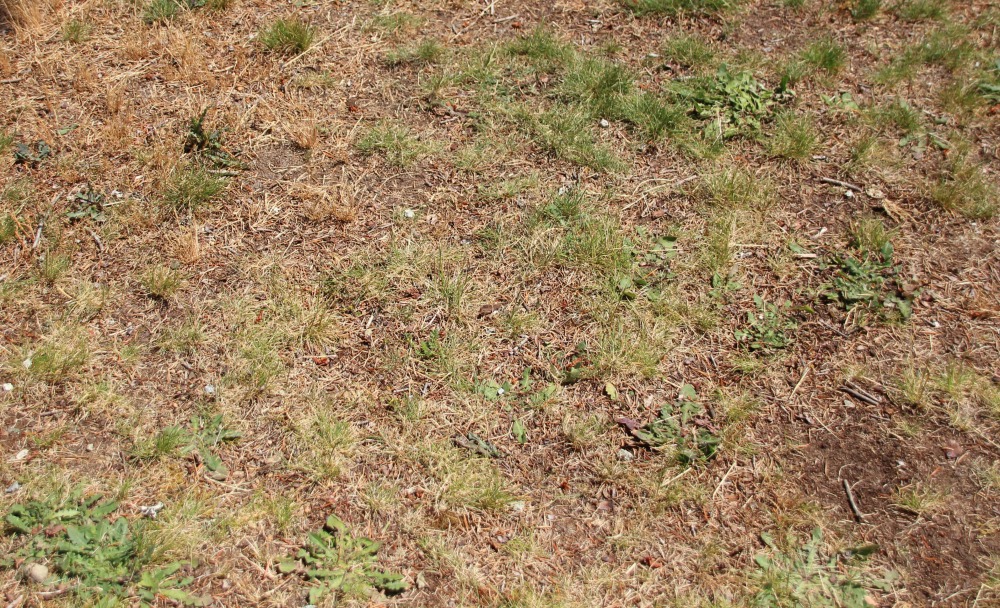
Tons and tons of very healthy & well-establish dandelions are gradually taking over the lawn:
As you can see, it’s in a scary state.
But we finally feel better about it {despite the embarrassment of sharing those horrible before photos} because now we actually have a plan!
I spent a great deal of time playing around on the Scotts website – there are all kinds of awesome information videos, product recommendations, and even a spot where you can enter your needs and it develops a custom made plan for you to help you improve the lawn you are working with.
I printed out my lawn care plan and starting making a list.
Then I watched this video about overseeding and I was sold.
We have so many bare patches and such a rough starting point that we are going to go back to the basics.
Here is our five step plan to getting our lawn lush and green – or at least presentable once again!

First, we are going to spray all the weeds in our lawn with Scotts EcoSense Weed B Gon. This is only to be used right now, before the rest of the plan takes place, because it is not meant for newly seeded lawns. EcoSense Weed B Gon works on the actively growing weeds in your lawn. It controls our main issues: buttercups and dandelions, as well as a huge list of other weeds. You just spray it on (the version I bought – below – comes with a battery operated sprayer!), making sure to thoroughly wet the weed’s leaves to the point of run off, and you should see the results begin within hours!


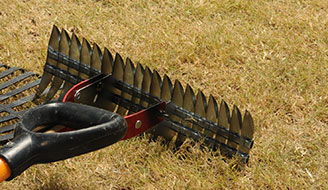
Next, we are going to rent two tools from a local tool rental center: one to dethatch (get rid of the moss) and another to aerate the lawn by removing plugs of soil from it. We think that because our lawn is old and has never been maintained properly that the soil is likely quite compacted. I read a great article about both on the Scotts website so we feel ready to tackle this part head on!
{via}

After we prep the area, we will need to add some new soil to get our yard for overseeding – so we plan to apply a thin 1/8″ – 1/4″ coat of soil, including some Scotts Turf Builder Enriched Lawn Soil to help our new lawn have the best chance to grow and flourish quickly. This soil delivers essential nutrients to your new lawn as it has Turf Builder Starter Fertilizer right in it – and guarantees that your new lawn will grown 33% faster and 50% thicker. Yes. Please.


To overseed we will use two types of seed – one called Turf Builder Heat and Drought Mix for around the large tree in our yard, and another called Turf Builder Sun & Shade Mix for the rest of the yard. The Sun & Shade Mix is the most versatile blend of grass seed and will grow well in areas that get a mix of sun and shade – like our front yard. Both types of seed have a special coating that mean they will retain double the water that uncoated grass seed does. We want to use the Heat & Drought Mix around our large evergreen tree as this area is quite dry and is more difficult to grown grass in.


After we oversees, we are going to fertilize when we overseed using Scotts Turf Builder Starter Lawn Food for new grass. This fertilizer is designed to feed and nurture a newly seeded or over-seeded lawn because it has a high phosphorus content. I’ve learned that phosphorus is important in helping your new lawn to develop a strong route system – and we know that strong roots are a critical component of a thick and healthy lawn.


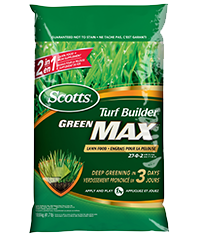
Lastly, we are going to water, water, water and watch it grow. After about two weeks it should have taken off and then we will plan to fertilize the newly seeded lawn about a month in using Turf Builder Green Max Lawn Food. This fertilizer can be repeated every six to eight weeks during the growing season. We are also pretty lucky given that our water comes directly out of the lake so there is a never a water restriction during the summer months.
Well! That should do the trick, right?
It’s definitely a time commitment to tackle our lawn this way, but I know we are going to be so thankful for it all when we see the lush green results.
I will be back soon to share some more details on this project!


![]()
![]()
![]()
![]()
![]()
![]()
![]()
Disclosure: Thank you to Scotts Canada for the opportunity to collaborate on this project. All opinions are 100% my own.


What a helpful article! Now I understand why we haven’t had any luck just throwing out some grass seed every spring and hoping for better results.
Hi Melanie! Right?! I’ve honestly coveted a nice lawn for years and after two seasons of putting some effort and fertilizing into our yard I can honestly say it’s improved enormously. Of course we still get lawn weeds, but the lawn is so much healthier and fuller and greener. I wish I’d known it was possible (and not that difficult) earlier!
Love how it turned out!! What month did you start this? And how long did it take to get your lawn beautiful??
Hi Ana,
We started in early June, which was a bit late in the season. Ideally you would start in April or May, depending on where you live. You could also re-seed in early fall, depending on when you start to get frost and snow in your area. You want the grass to be well on it’s way before it freezes! I hope that helps.
Hi there! What time of year/season did you do all this? What is the recommended season? Many thanks for a great, insightful article!