
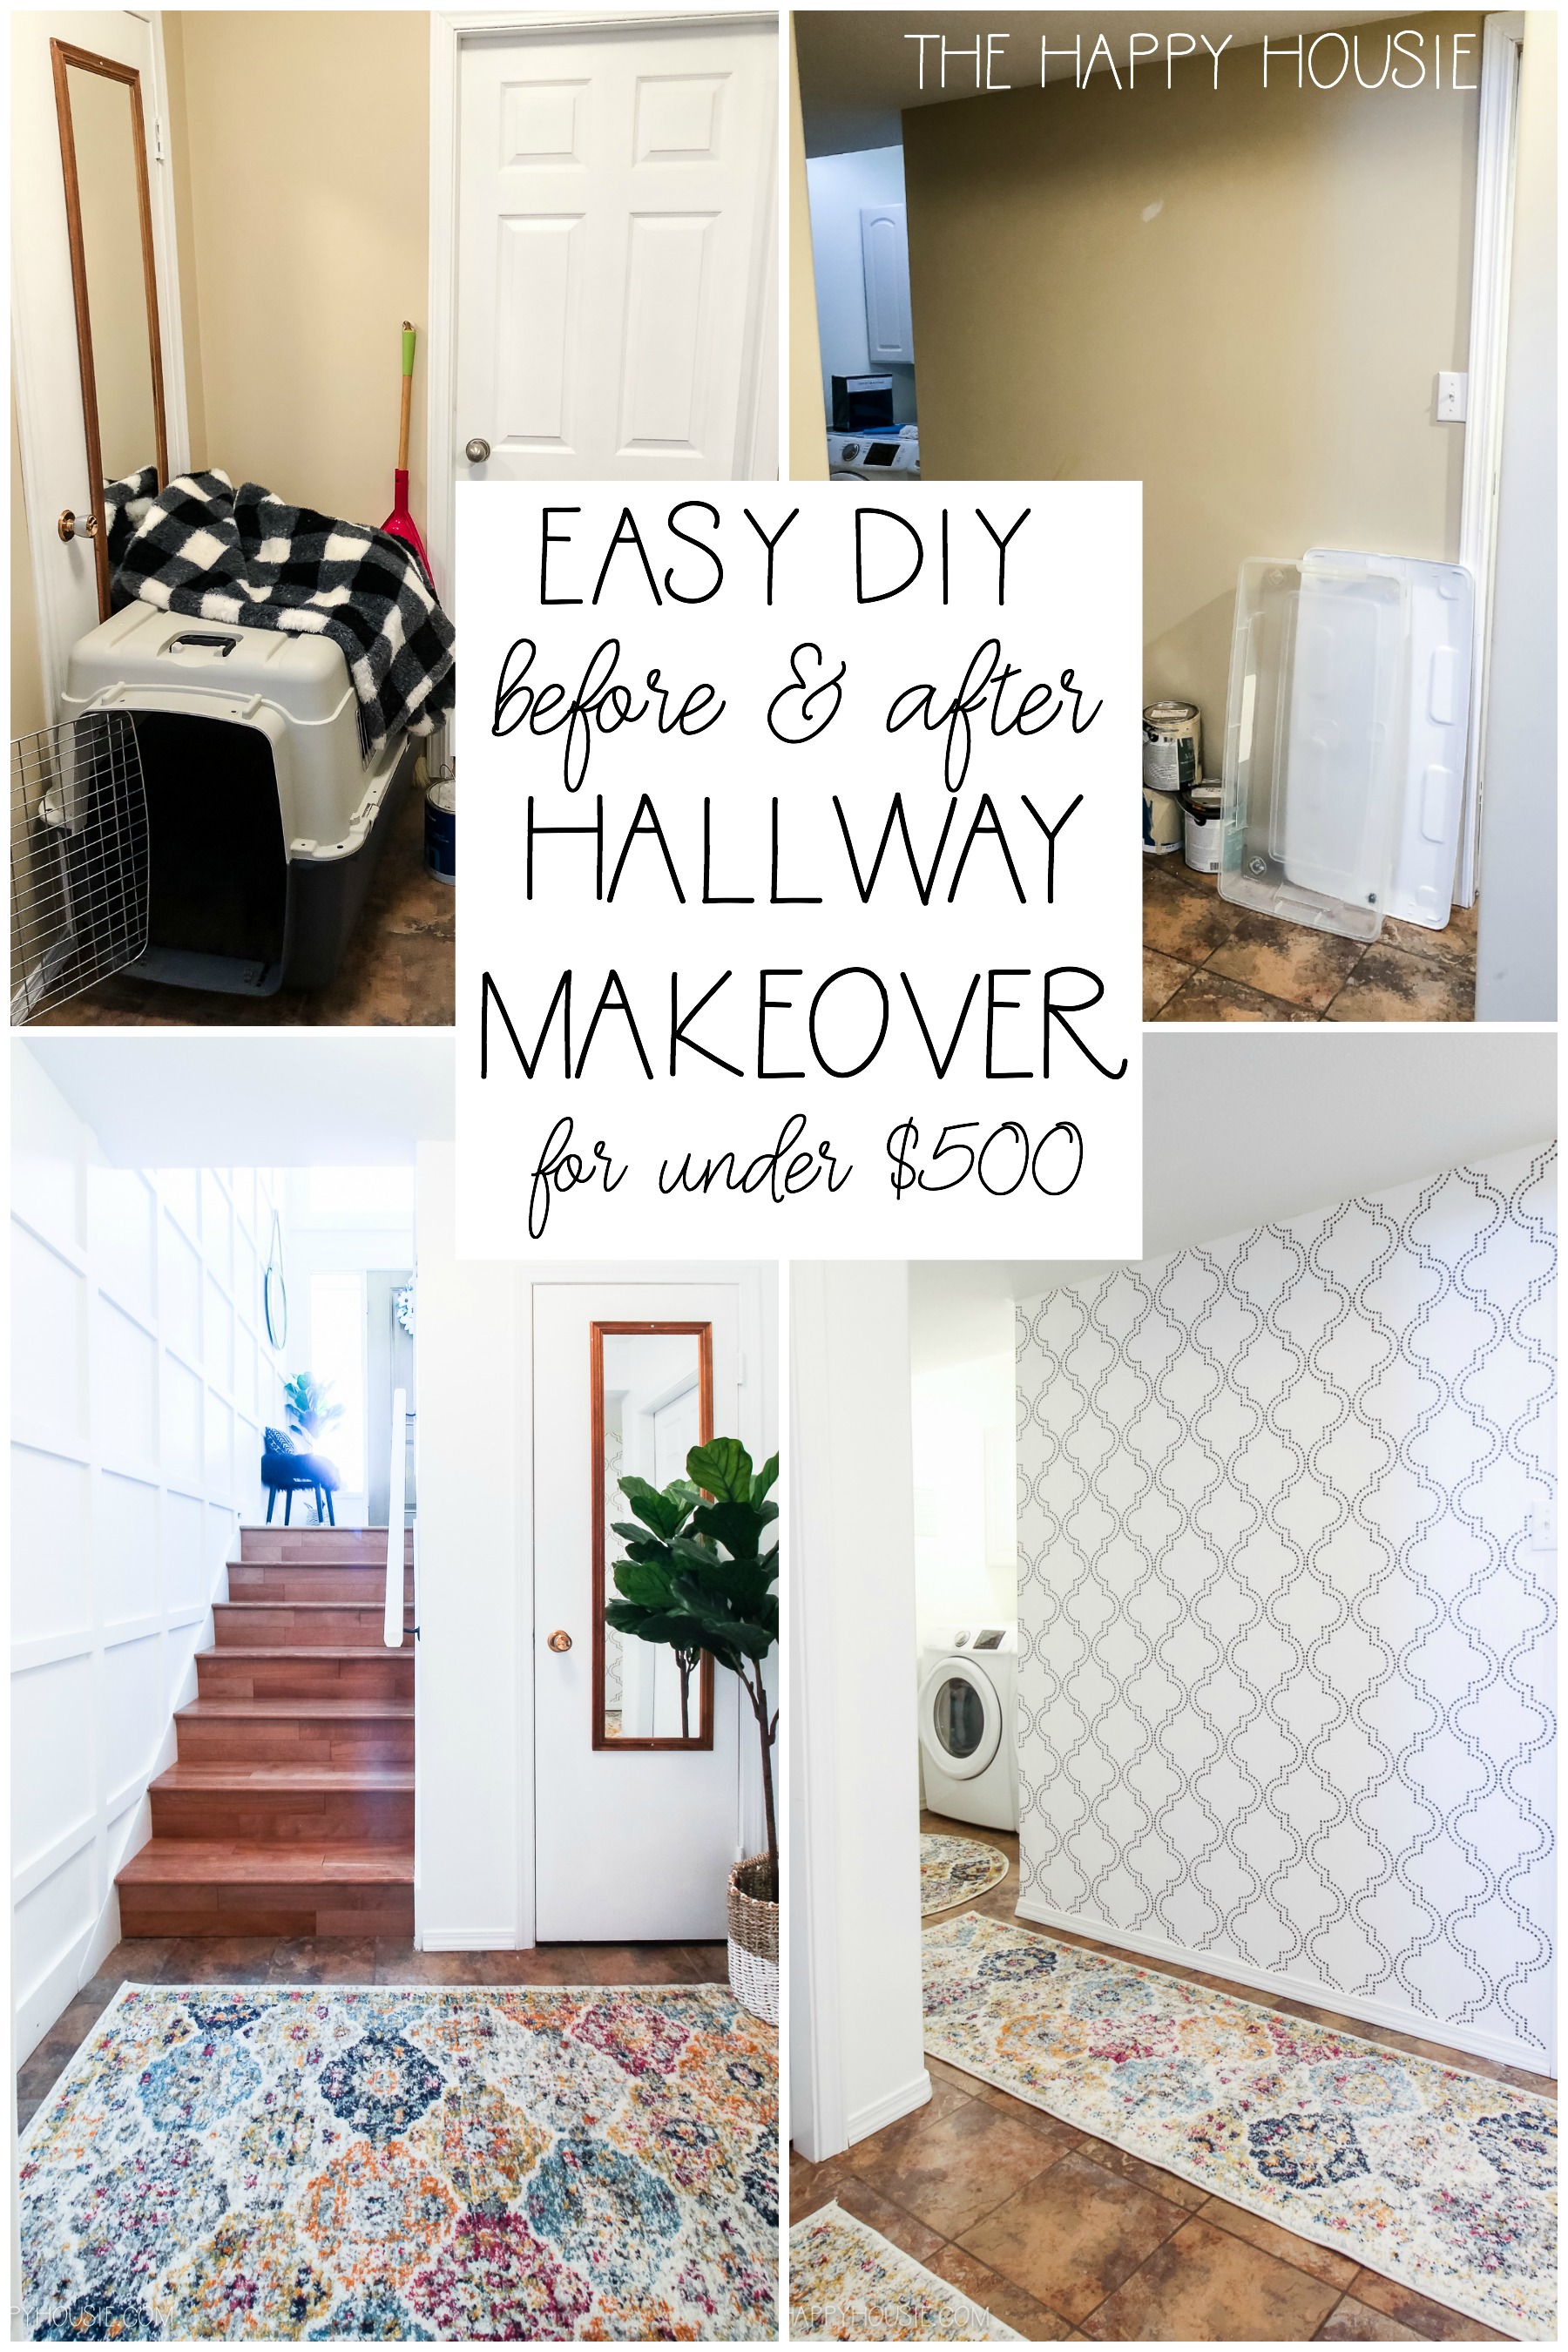
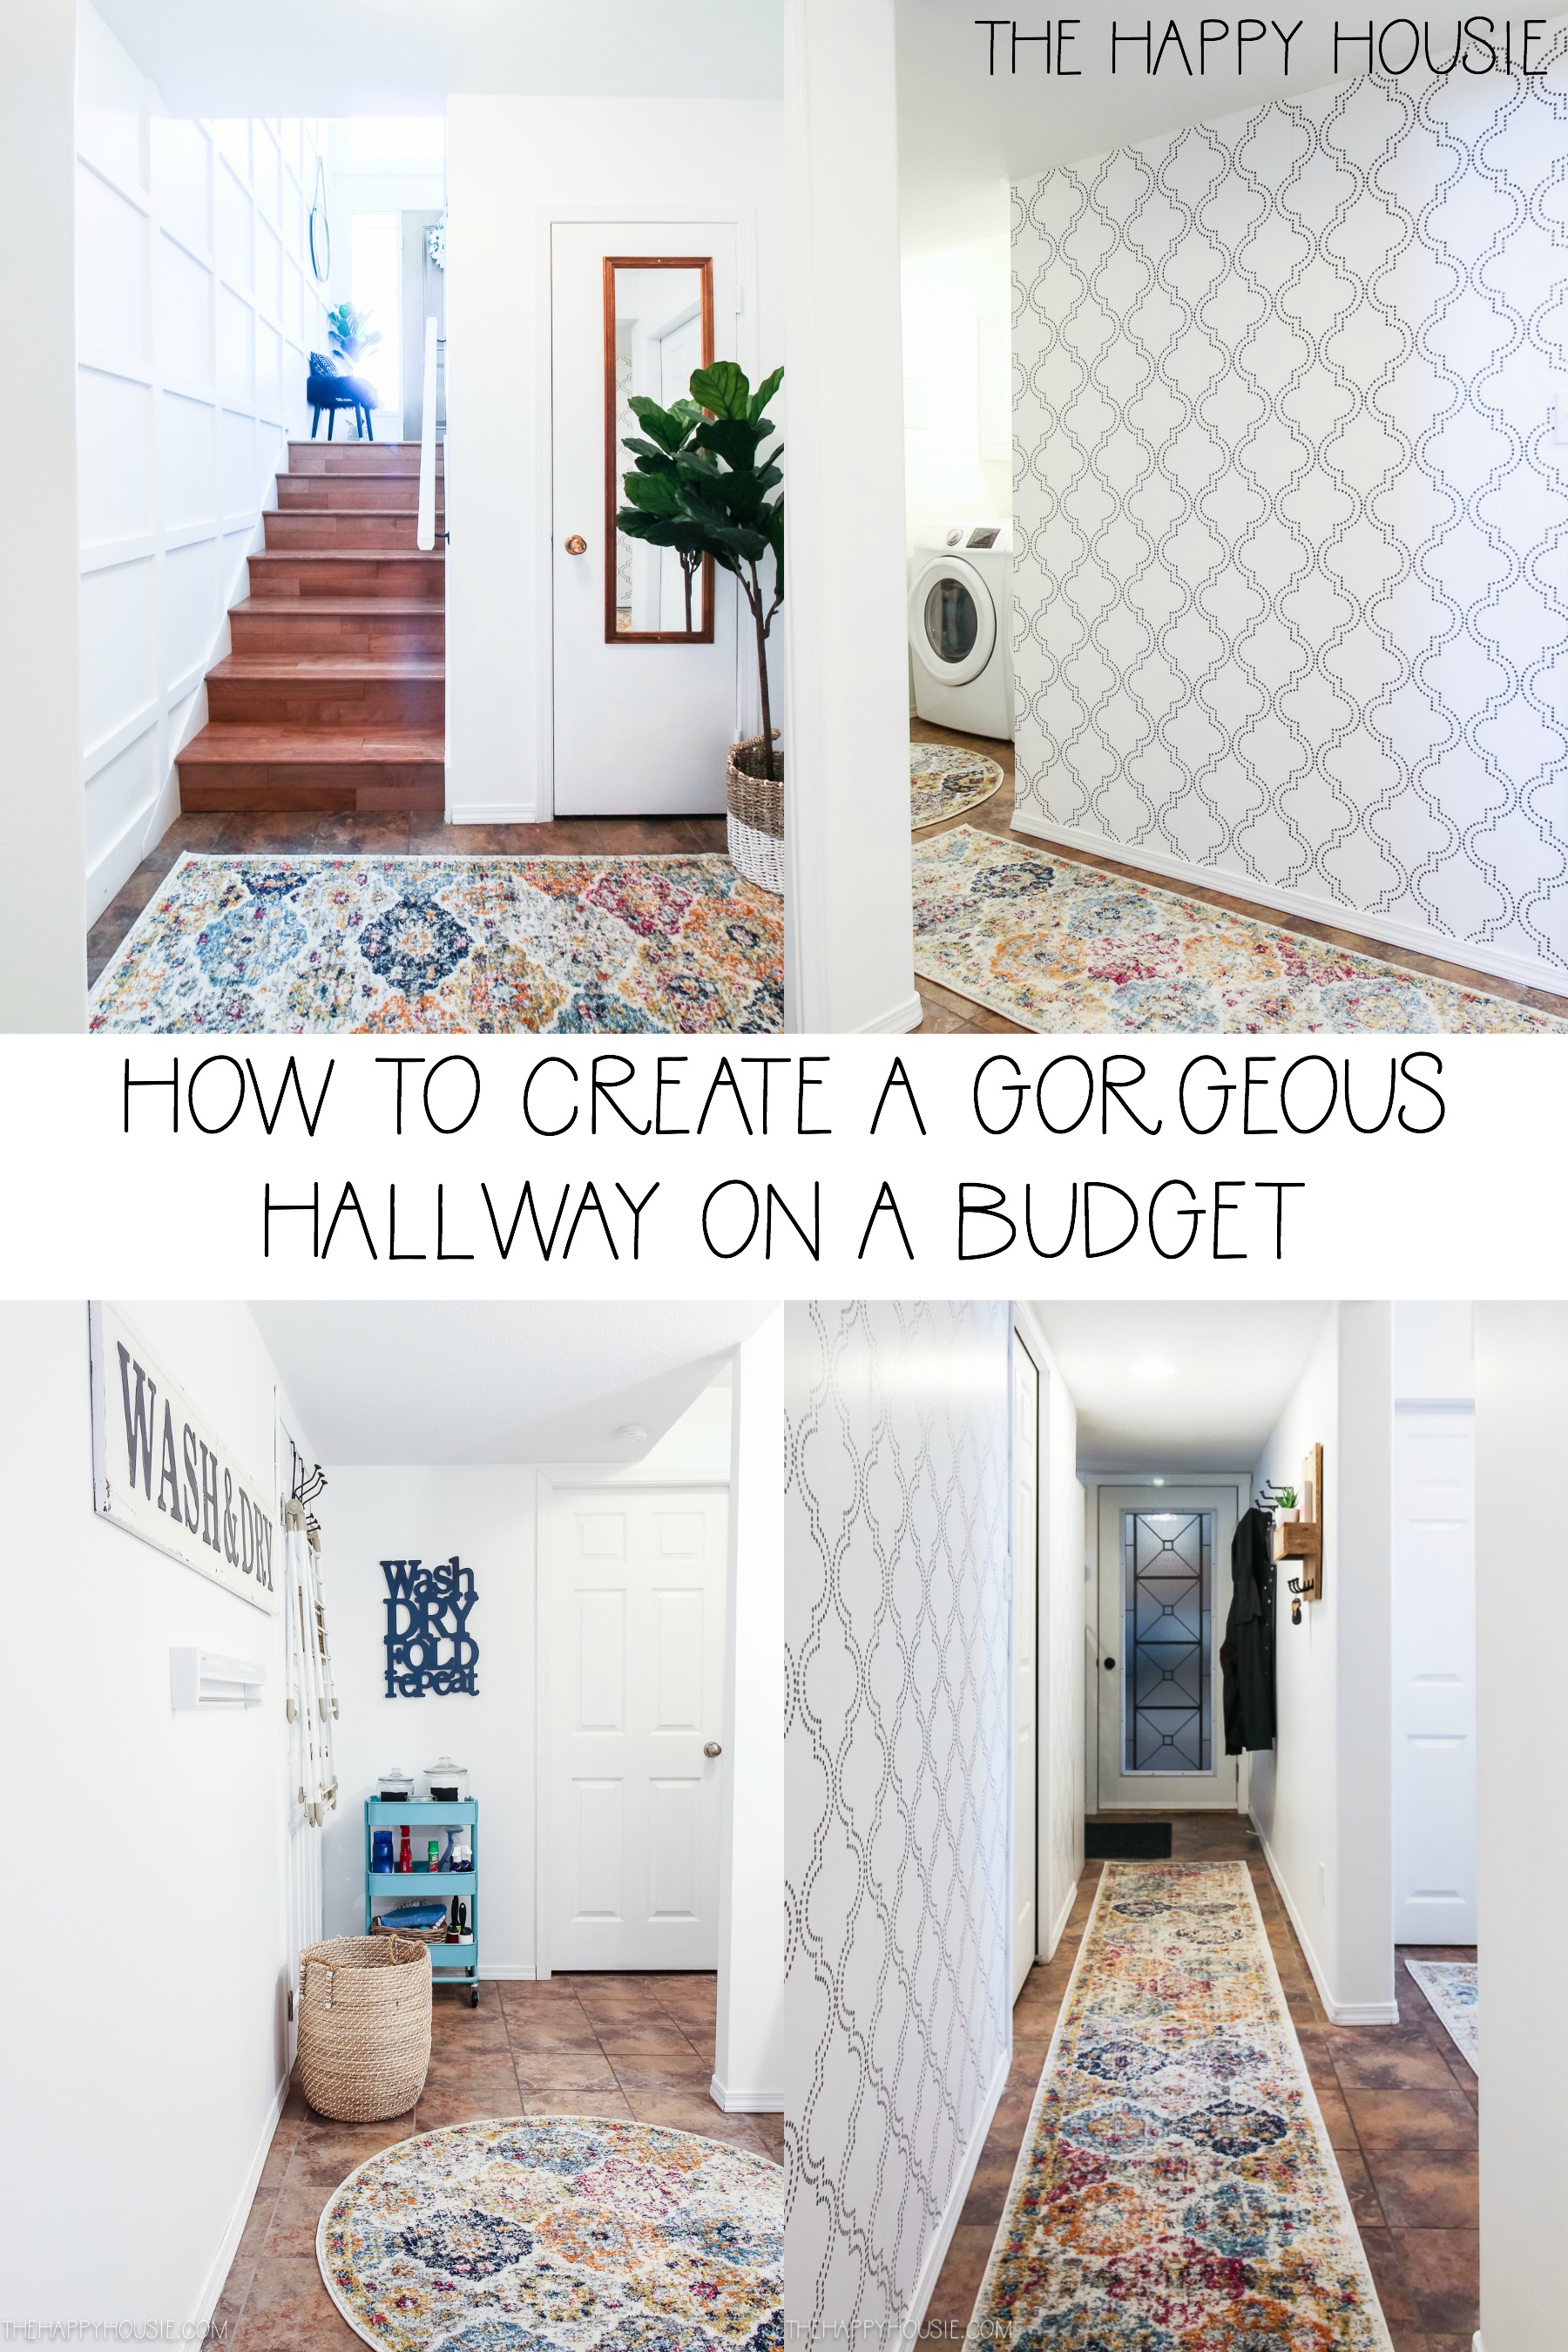
How to Give Your Hallway a Makeover on a Budget
Today I’m sharing the quick, easy, and thrifty makeover of our basement hallway which includes our mudroom and laundry alcove space.
The basement hallway. The power of paint. Thrifty changes with floor rugs and a little wallpaper. It’s amazing how quickly and easily a busy pass-through space in your home can go from blah to #allthehearteyes.
Hallway Makeover
Now that it’s done, I wish I had tackled our basement hallway/mudroom/laundry alcove WAY earlier. I put it off and put it off and put it off, and it didn’t take nearly as much time and effort as I thought. Kudos to my husband for helping me hang wallpaper (for the second time in this house!). And I’m honestly thrilled with the power of inexpensive brightly coloured area rugs to warm up the space and help subdue the strong orange slate tile-look floor that we have down there.
If you’ve been following along the last couple of days as I shared the re-organization of our mudroom and laundry alcove, then you have had some glimpses of this space. But who doesn’t love a good before and after? So, here we go!
As I mentioned in my one year in our home (and what’s to come in 2020) post at the beginning of January, we are considering building a house either later this year or next year. And if you’ve been following for a while, then you know that we have done some major construction in this house with two new bathrooms and a new completely kitchen… moving walls and doors etc.
SO, all this to say that I think we’ve just about maxed out on what we should spend on renovating our current home. The rest of the updates we do are definitely going to be thrifty and well thought-out so as to not overspend and lose money in the long run.
The basement hallway has a worn tile floor that I do not love, but that is still in good shape (and most likely adhered right to the concrete subfloor, making it even more of a mess to get up). At one point I thought that we might just go right over it with some vinyl plank flooring, and that is still a possibility, but for now I wanted to give the basement hallway a refresh and decorative makeover without going to the huge hassle of floor replacement.
Here is what I did to transform this space for right around $500…
Paint!
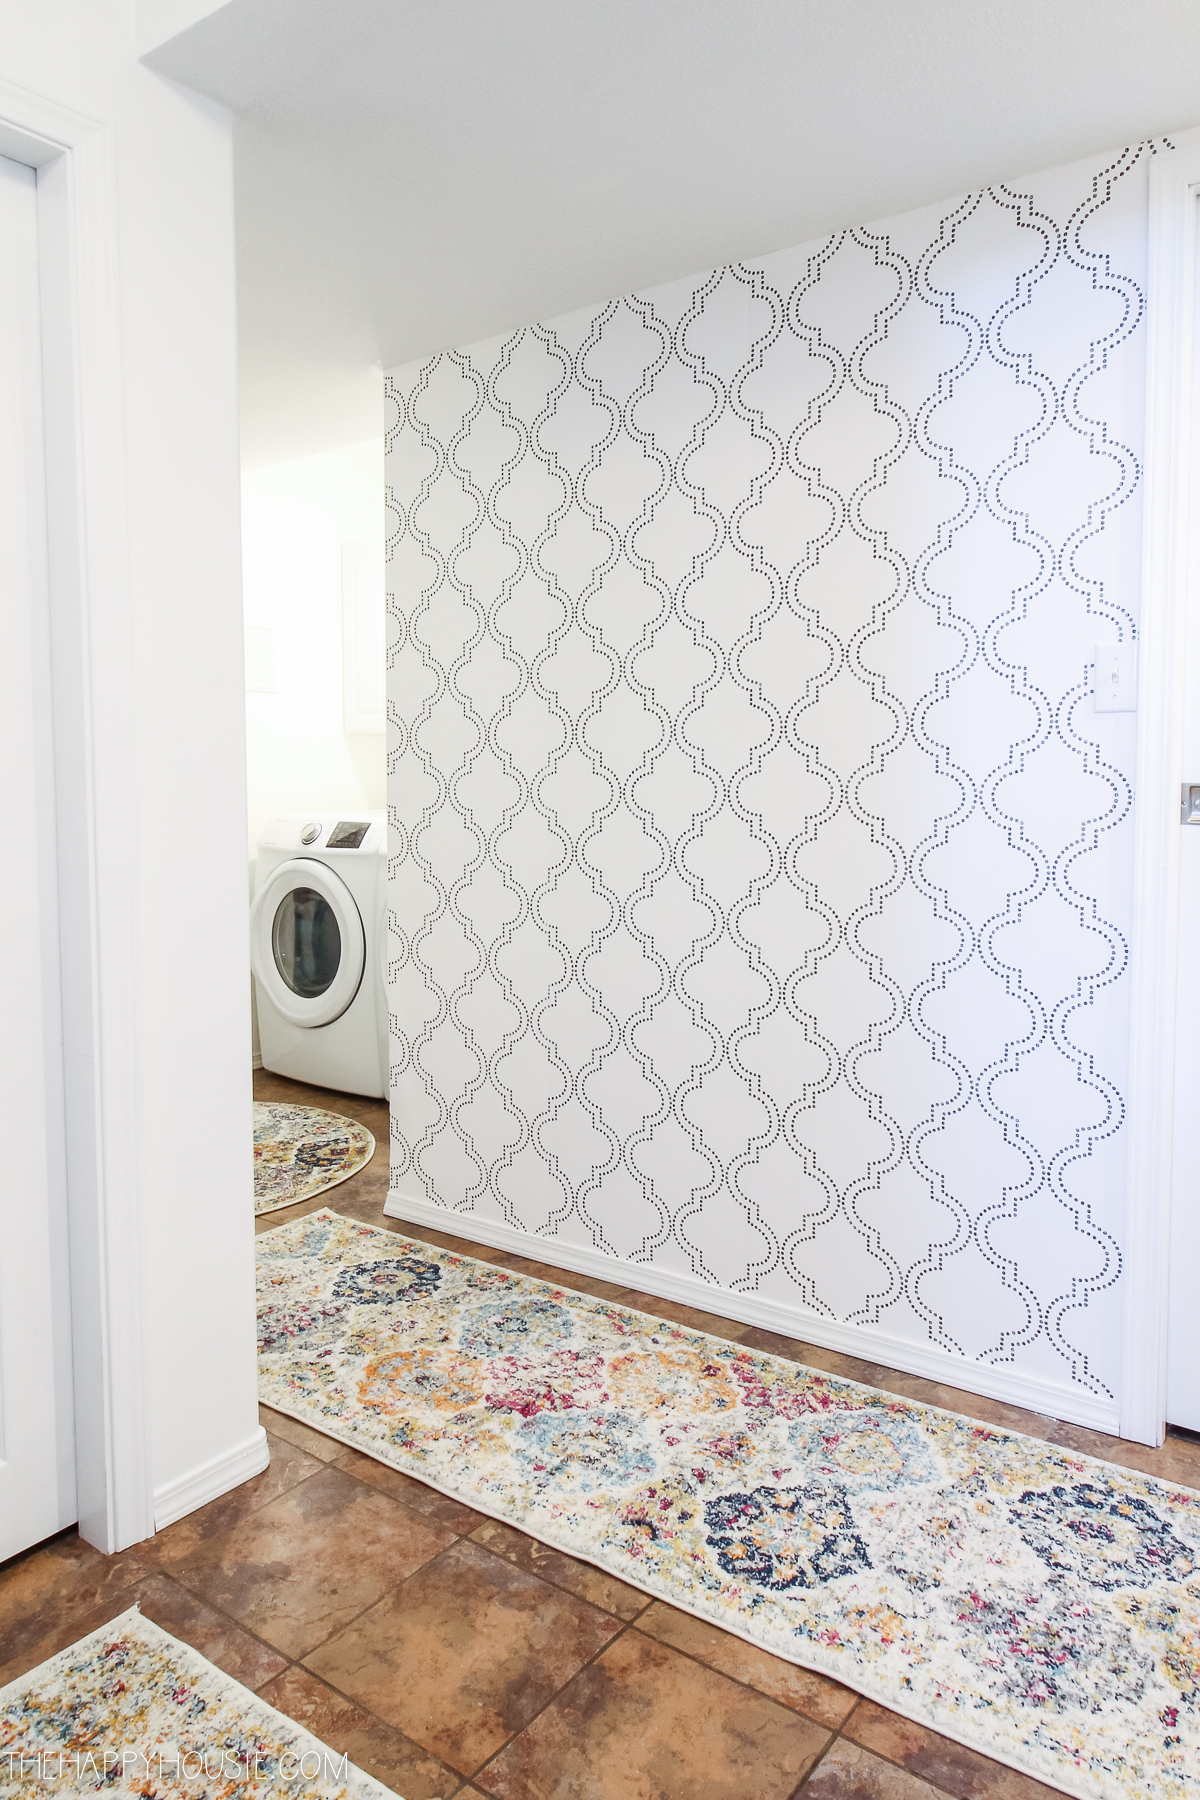
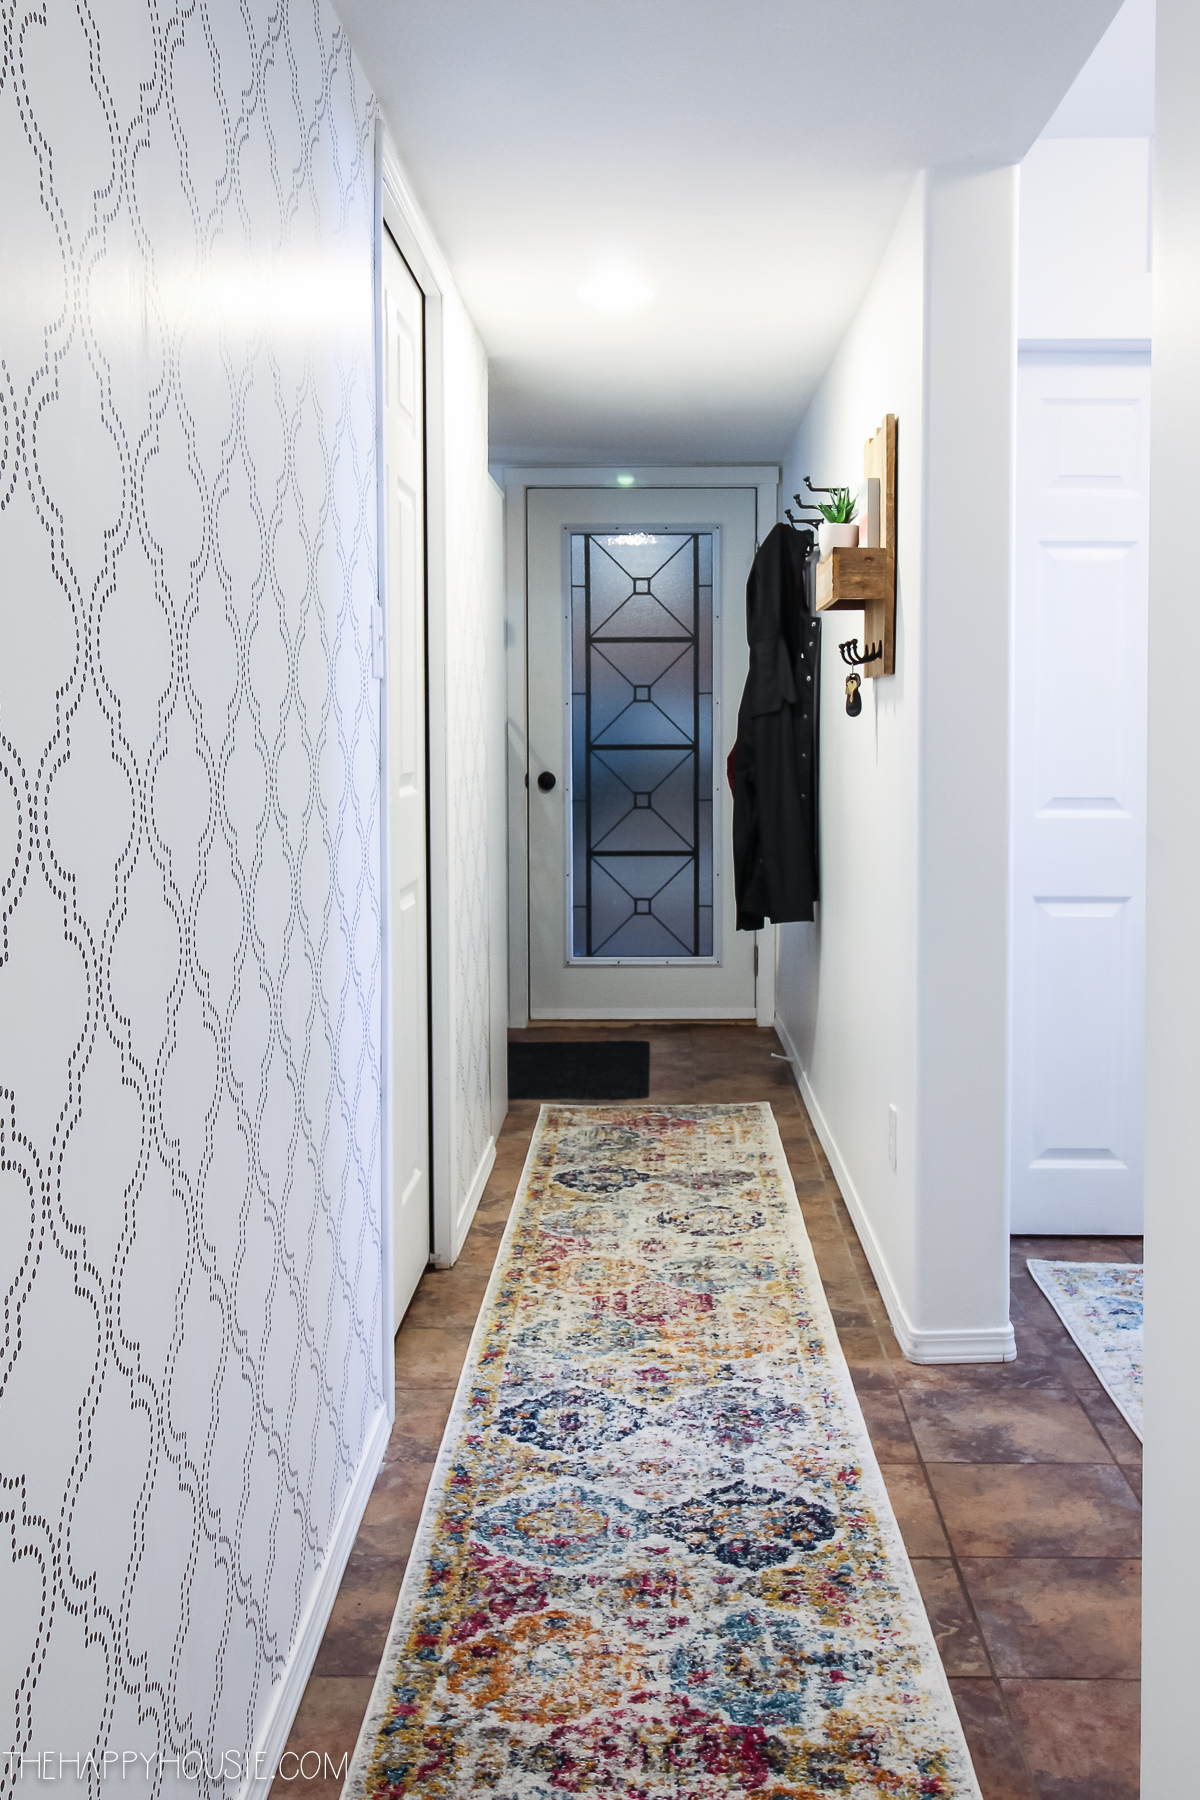
I decided to paint the entire hallway and all the trim an airy white. It took three full coats, as I was painting over a darker more pigmented colour like the yellow-tan that was on the walls. Choose a colour that works well with the other colours in your home, or go with white and add some interest with wallpaper or a gallery wall. The exact colour of white that I used is called White Design (WHO1) by General Paint. It’s the same white as we have used throughout the rest of the house and on all of our trim work.
Create a Feature
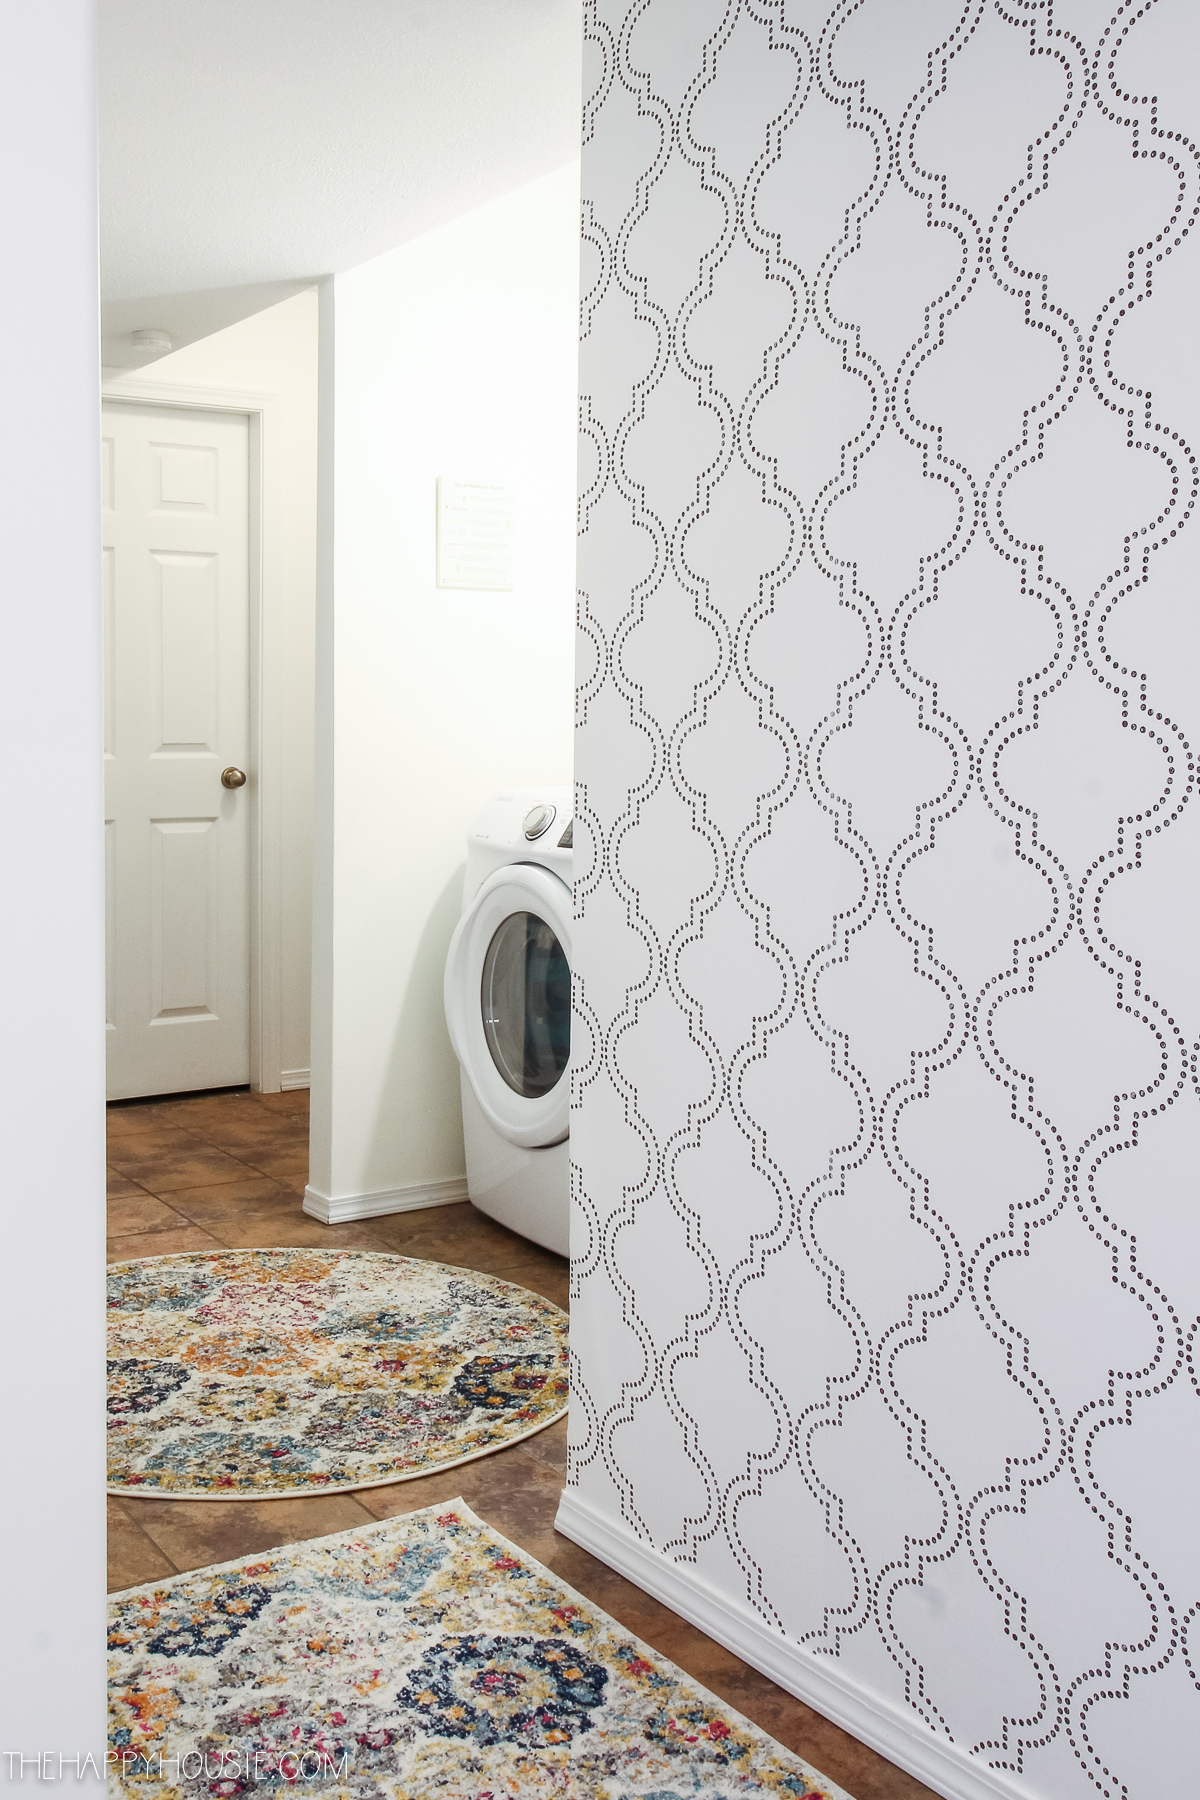
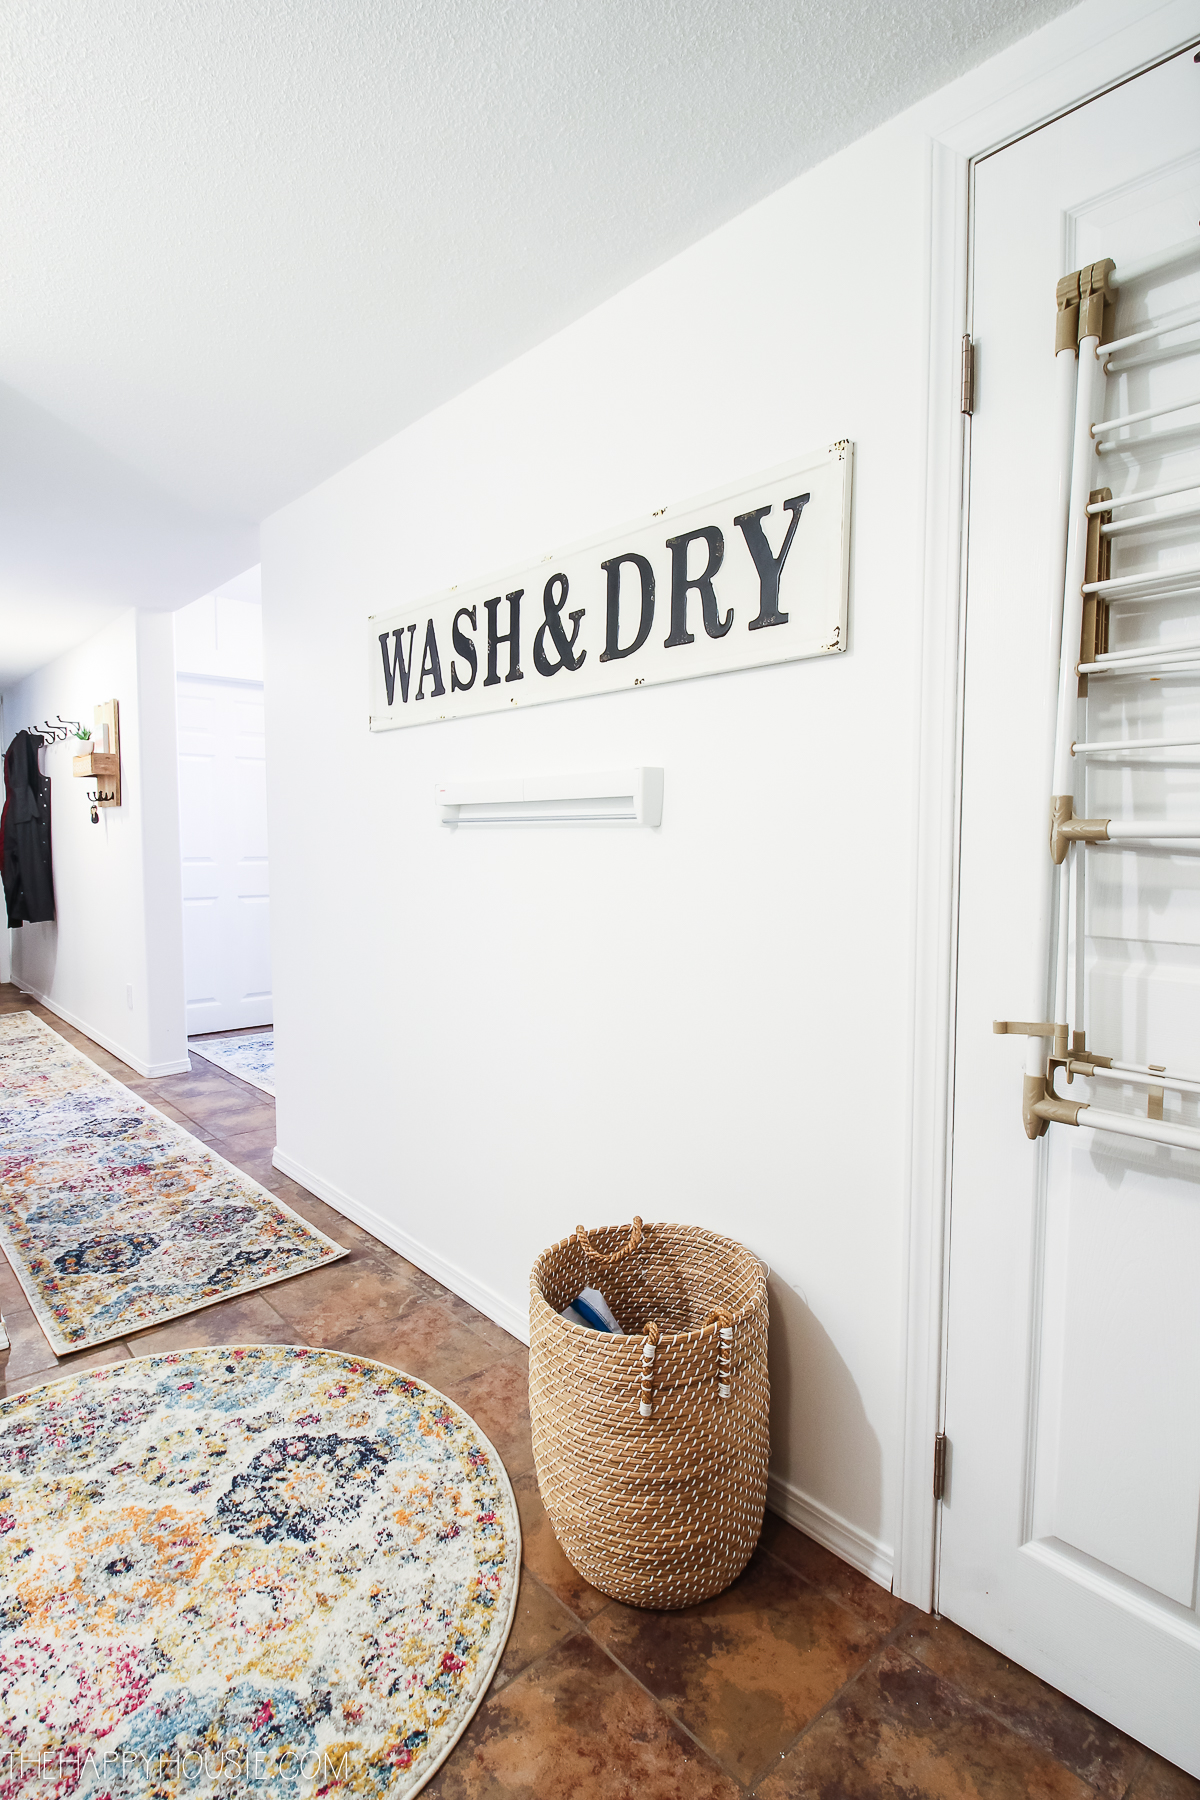
Think: wallpaper, art, or a gallery wall. My husband helped me hang this really pretty black and white quatrefoil pattern wallpaper that I ordered from Wayfair. It only took us a couple of hours and it definitely was super transformative for this hallway space. I chose a wallpaper with a white background to keep things light, and the black and white pattern is really neutral so it work well with our strong flooring. The exact wallpaper I used is:
Alcott Hill Tarbox 33’x20.5″ Quatrefoil Wallpaper from Wayfair
Rugs
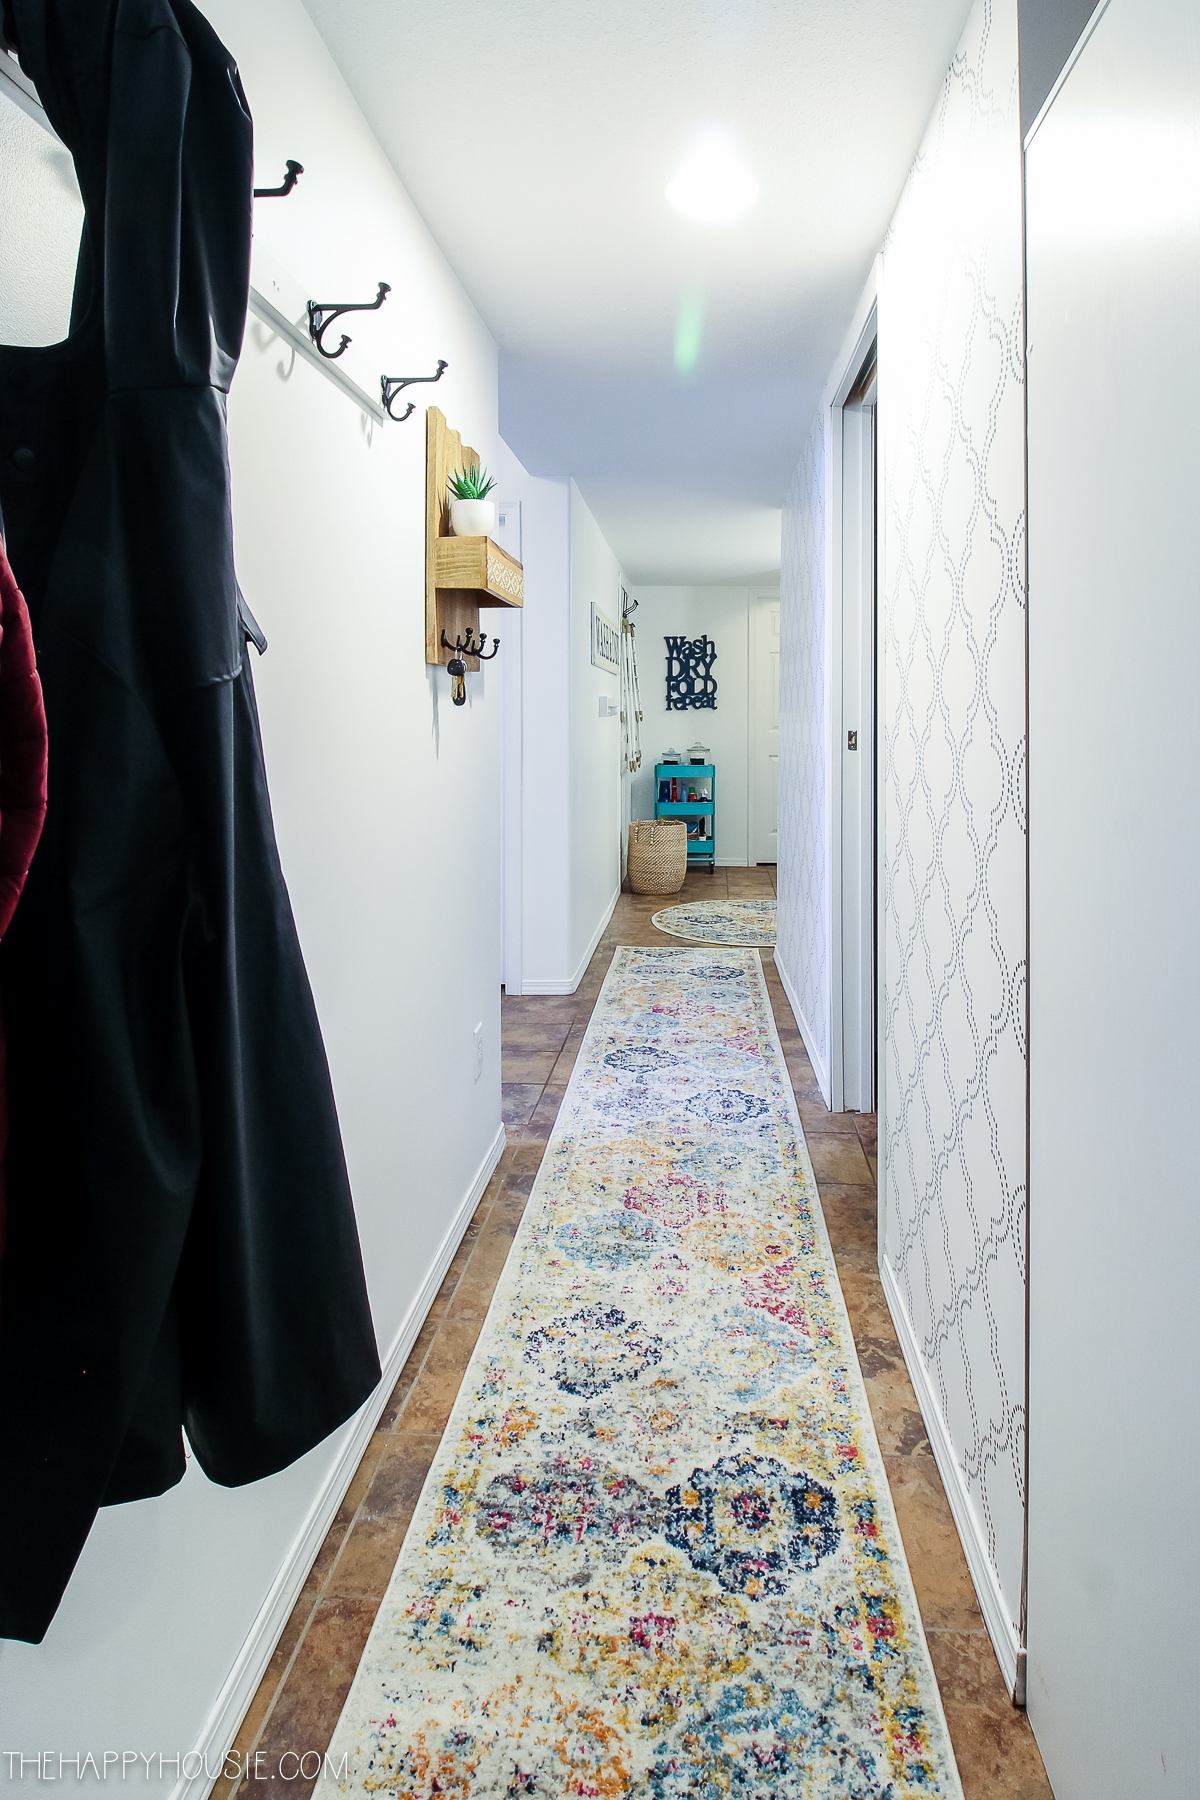
A runner is a great way to add character to your hallway. Since I was tackling a landing, long hallway, and laundry area, I ordered three matching area rugs from Wayfair in 4×6, a runner for the hallway, and 4′ round for in front of the laundry machines. I specifically chose rugs that had some colour and pattern and that include orange in them in order to tie in with the colours of the tile flooring. I love how fresh it feels now. I chose these rugs from Wayfair, and I’ve listed my exact size/sources below. The fabulous thing about this rug (aside from how pretty it is), is that you can order it in a ton of different sizes and it’s super affordable!
Mistana Katie Geometric Cream Area Rug – 4×6′ Rectangle
Mistana Katie Geometric Cream Area Rug – 4′ Round
Mistana Katie Geometric Cream Area Rug – 2’3″ X 14′ Runner
Lighting
Adding some interesting lighting is another great way to dress up your hall on a budget. We changed our the fixture over our washer and dryer (which was a fixture we had brought from our previous home), and it gave the whole space more light and a cute new look! The light we used is similar to this single metal cage pendant light.
Now, let’s take a look at the before and afters…
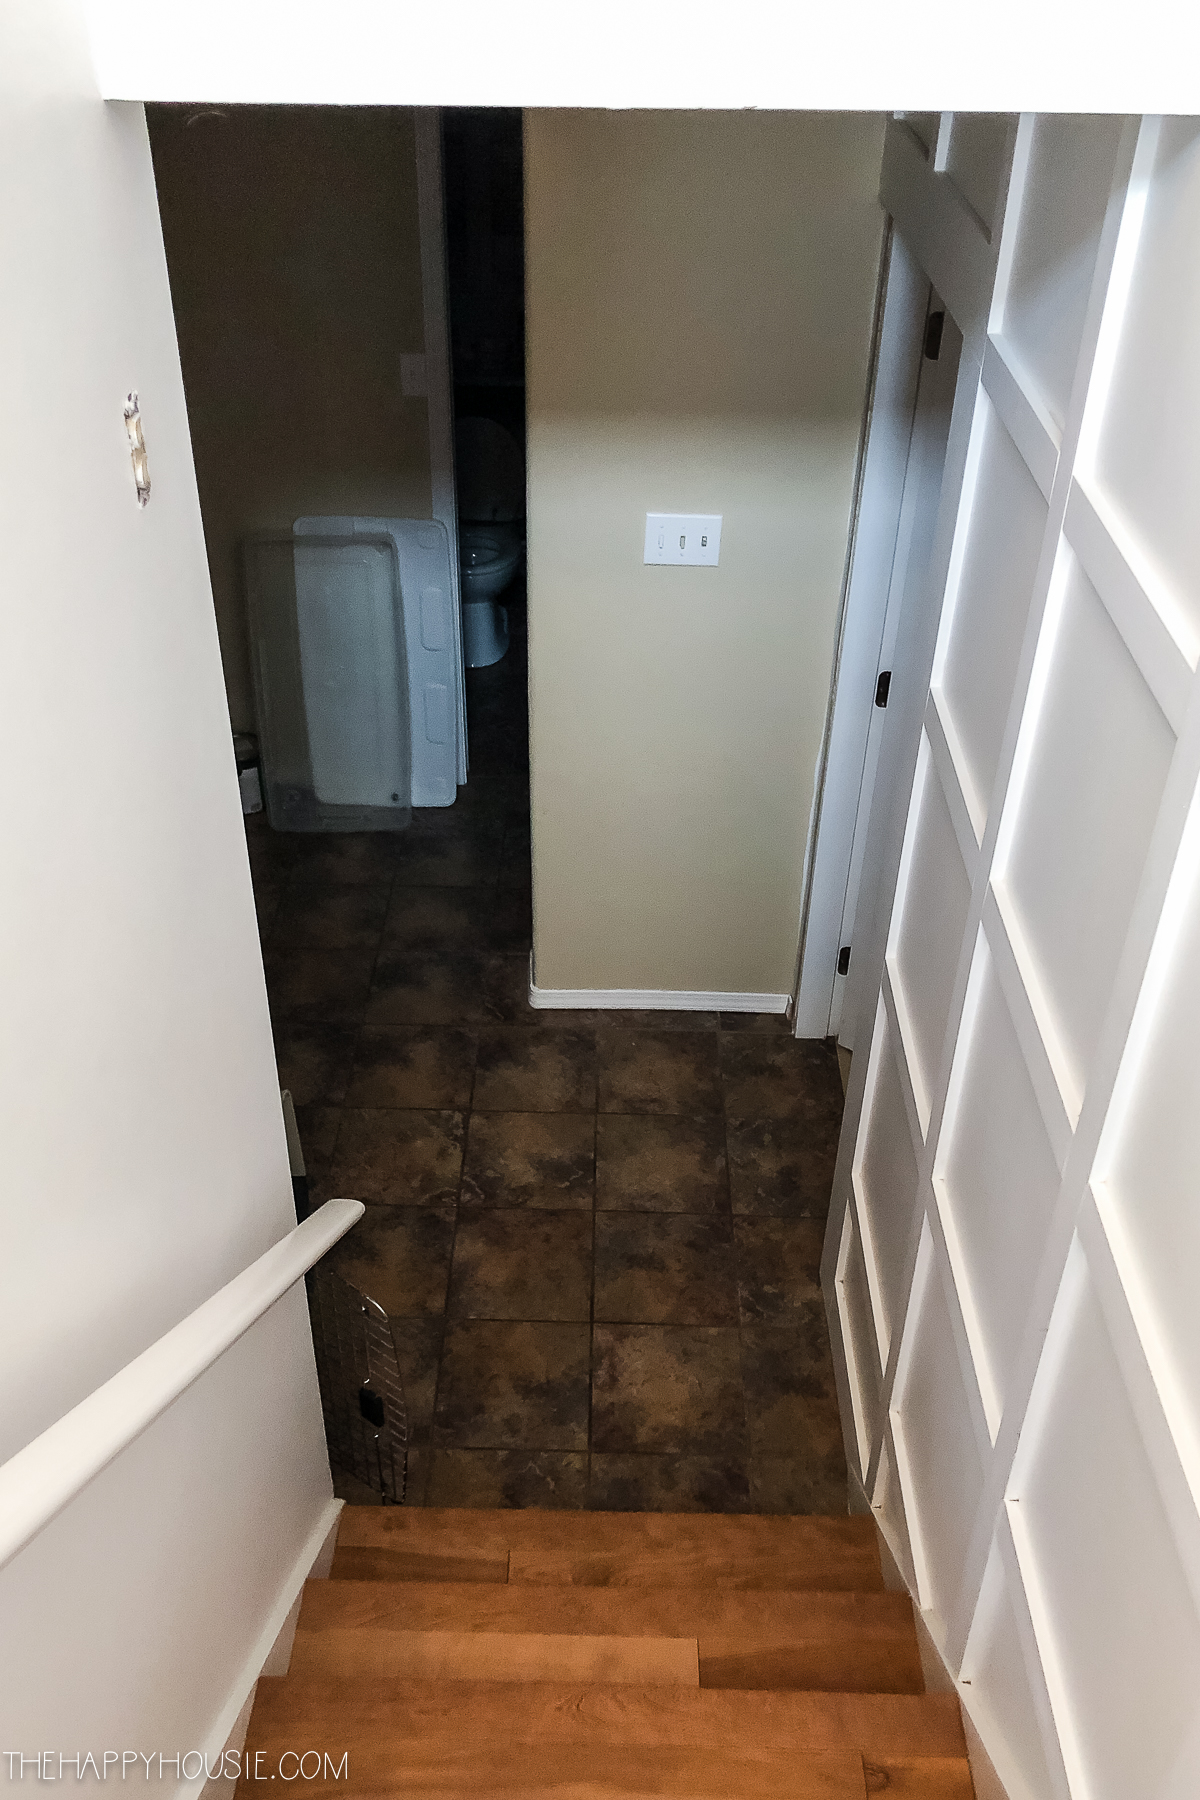
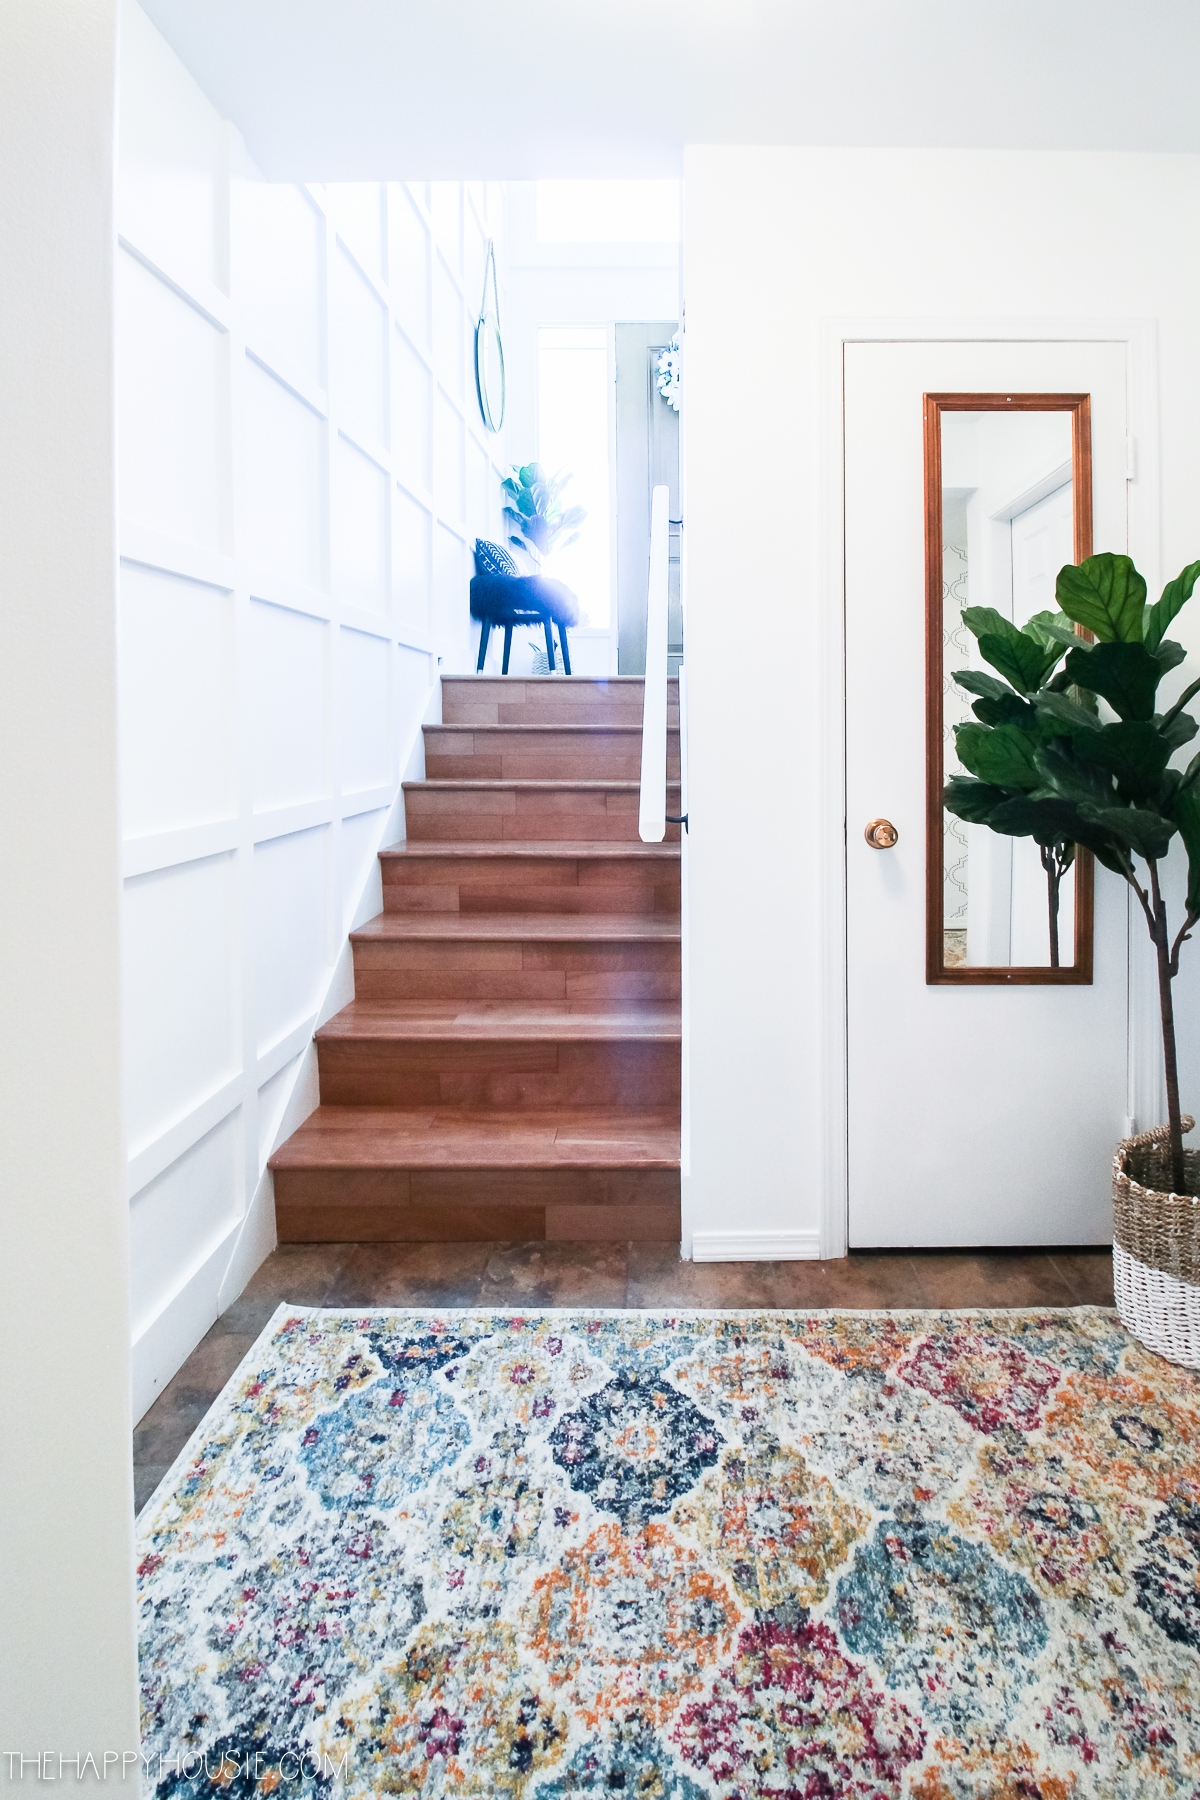
As you head down the stairs from our front entry, you head onto a small landing area with our back hallway directly ahead. The door you can see to the right at the bottom of the stairs leads to my craft room/office. On the other side of this landing is a door to the boy’s rec room, and straight ahead is the downstairs 3 piece bathroom.
Before…
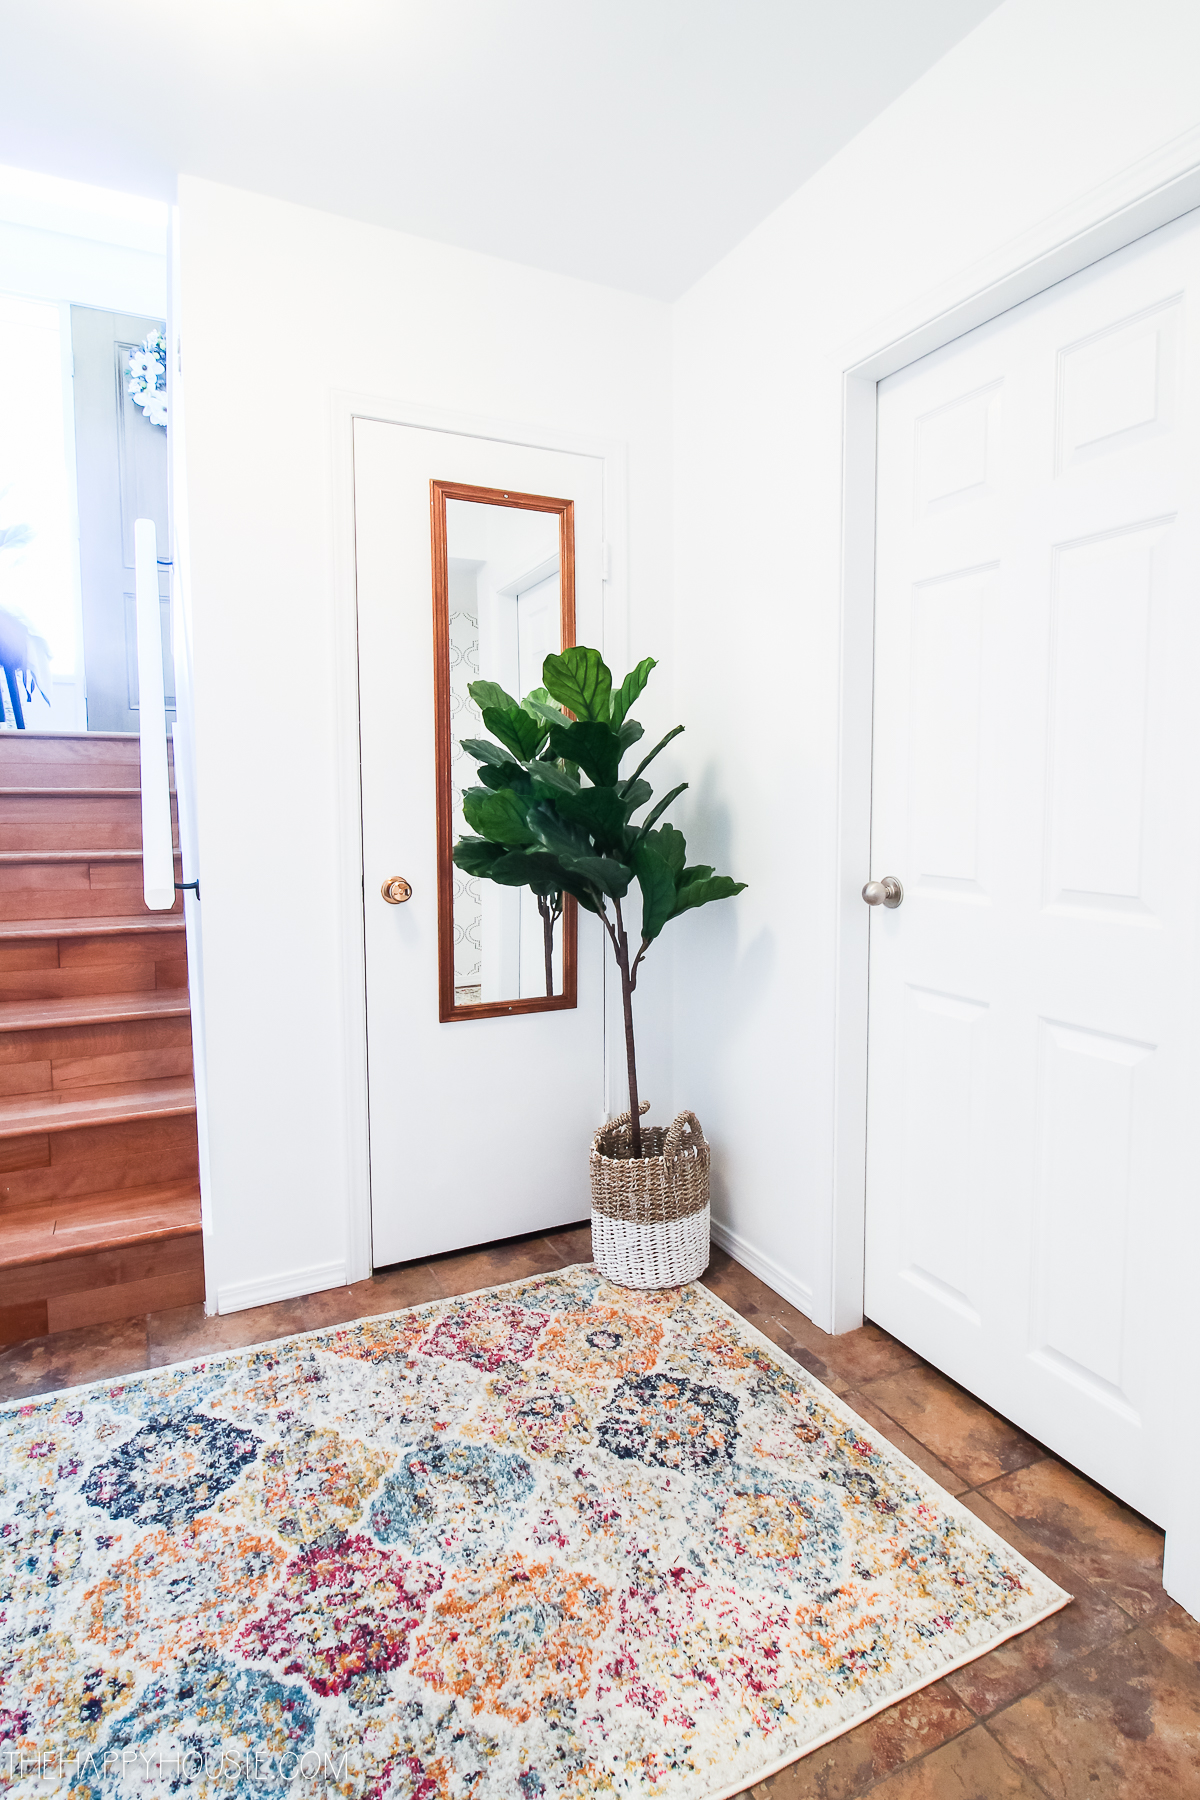
After…
This landing area was also where we kept our dog crate, but we have relocated that to a cozy spot in the boy’s rec room (which our puppy seems to prefer as well!).
Before…
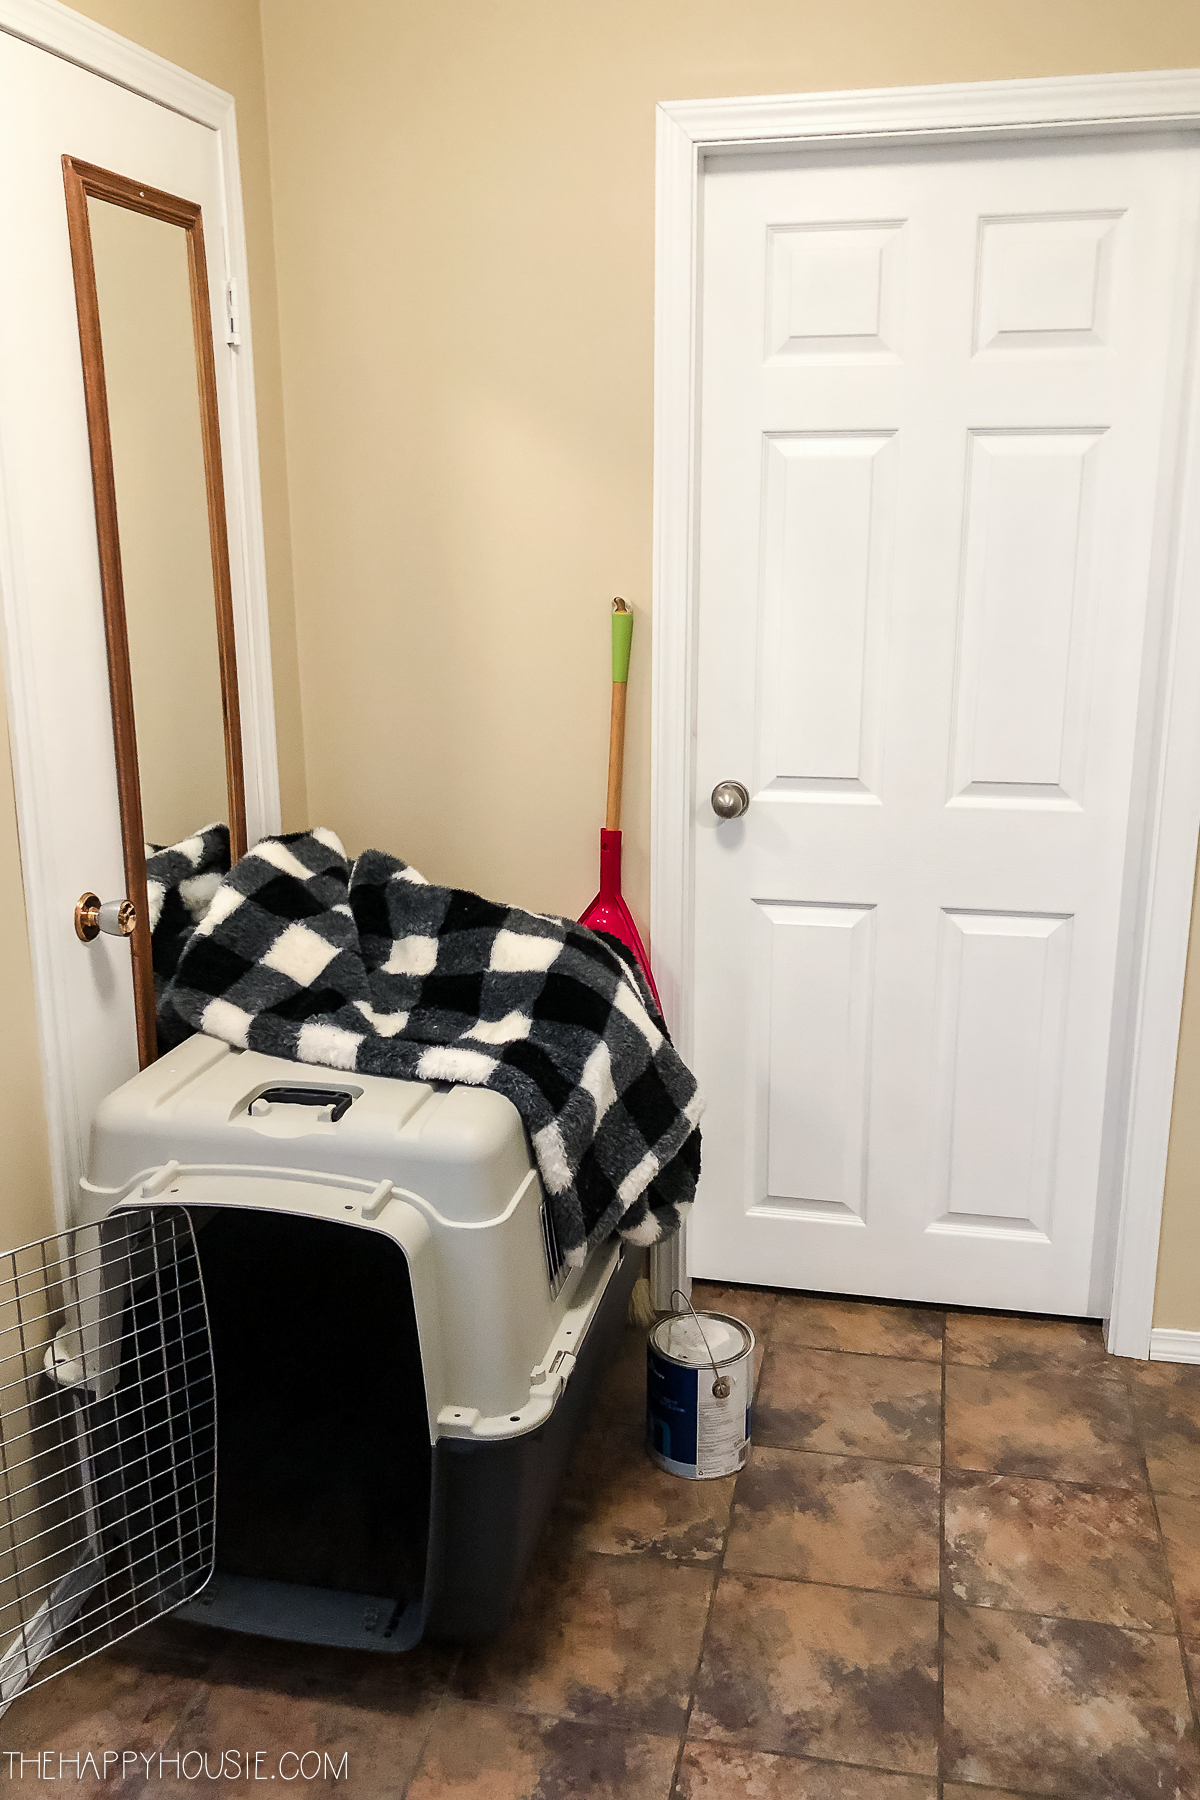
After…
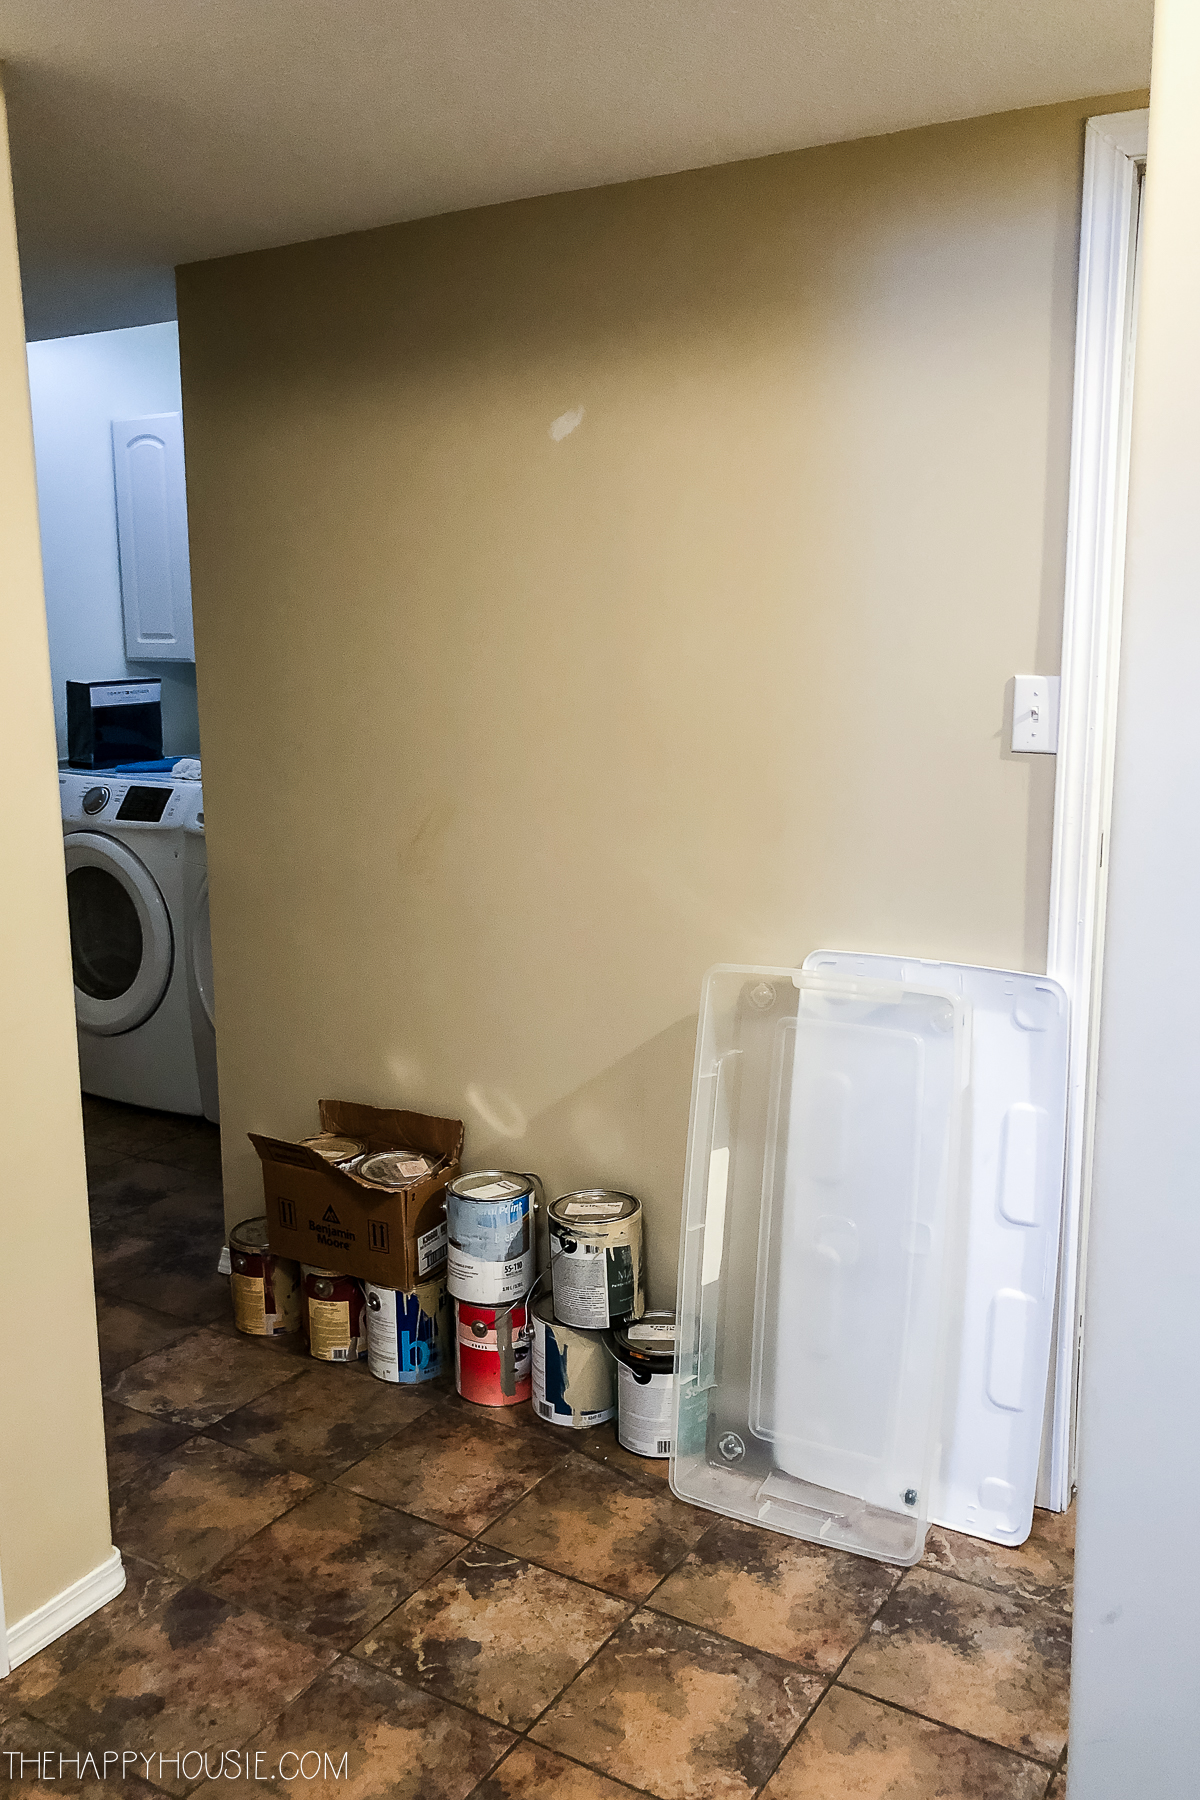
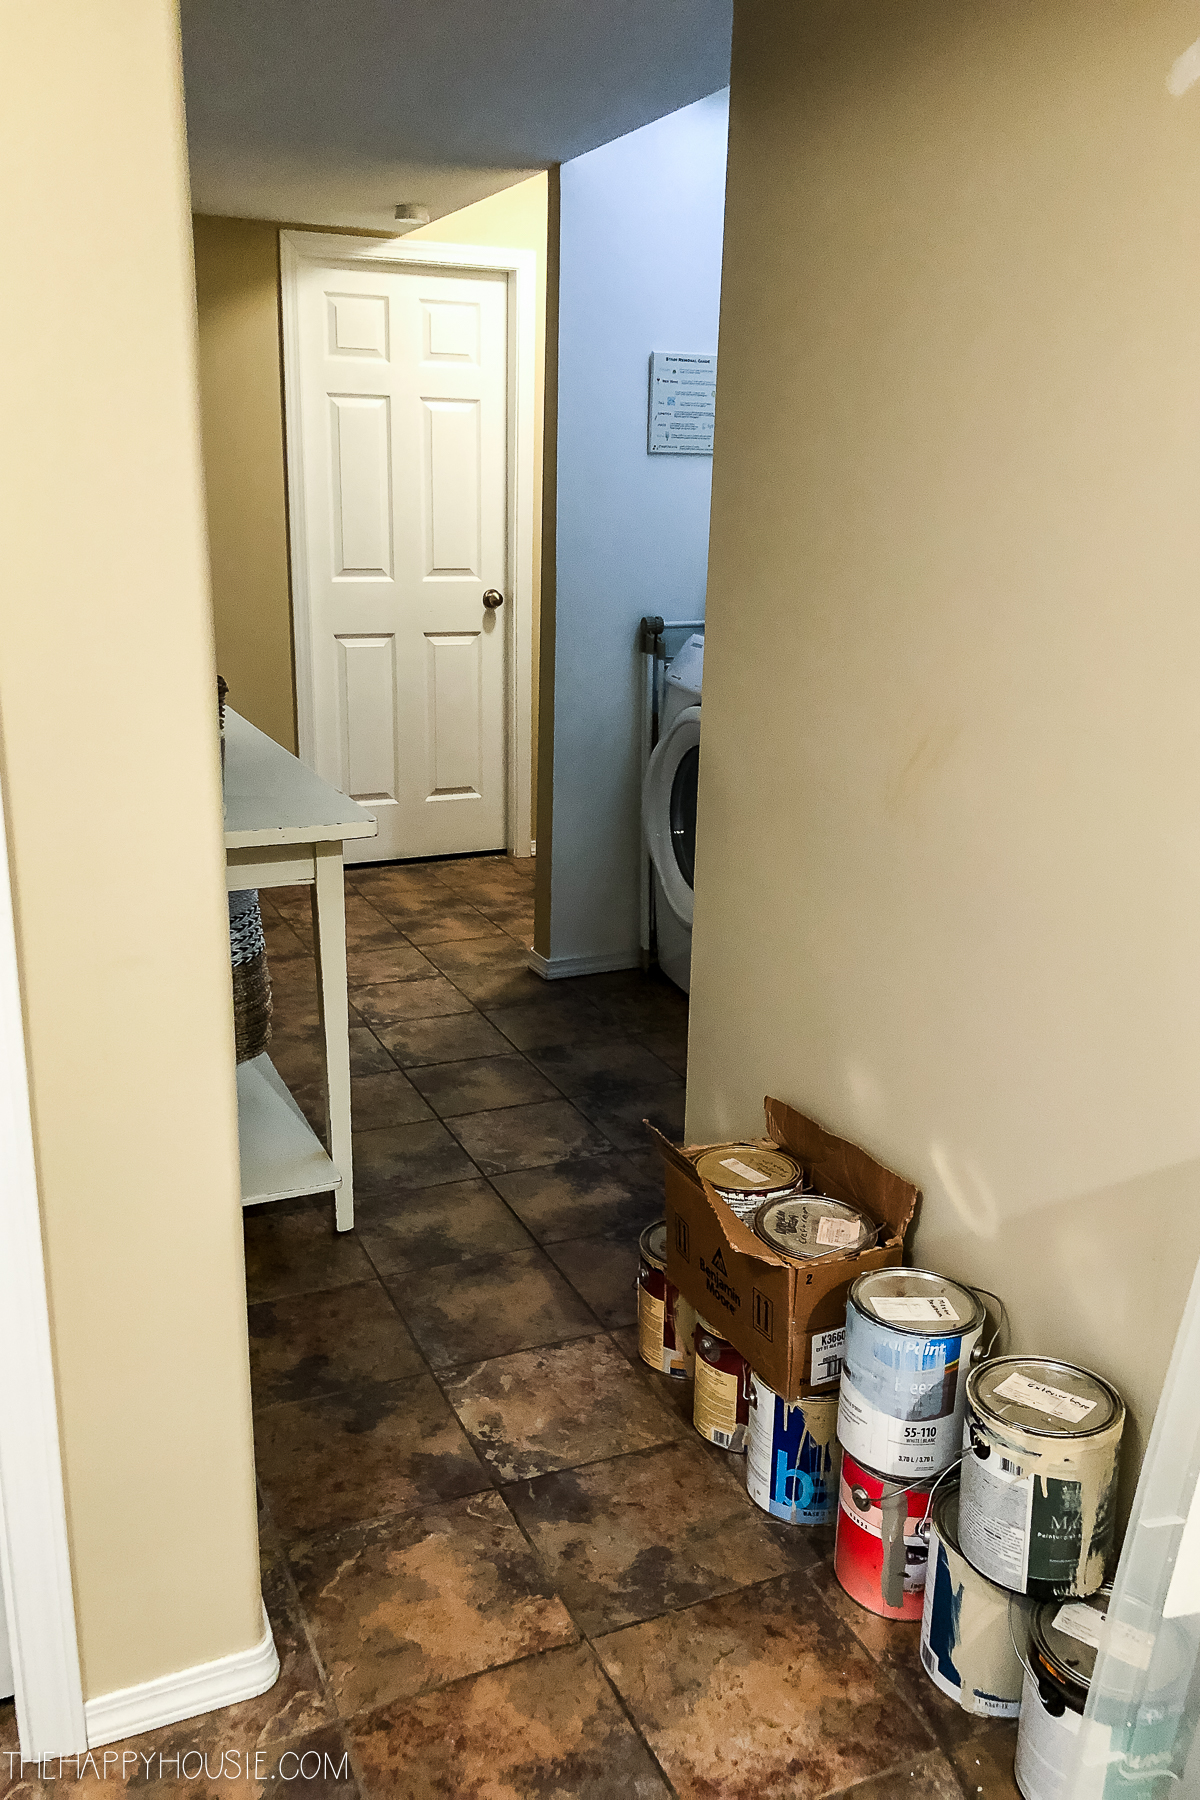
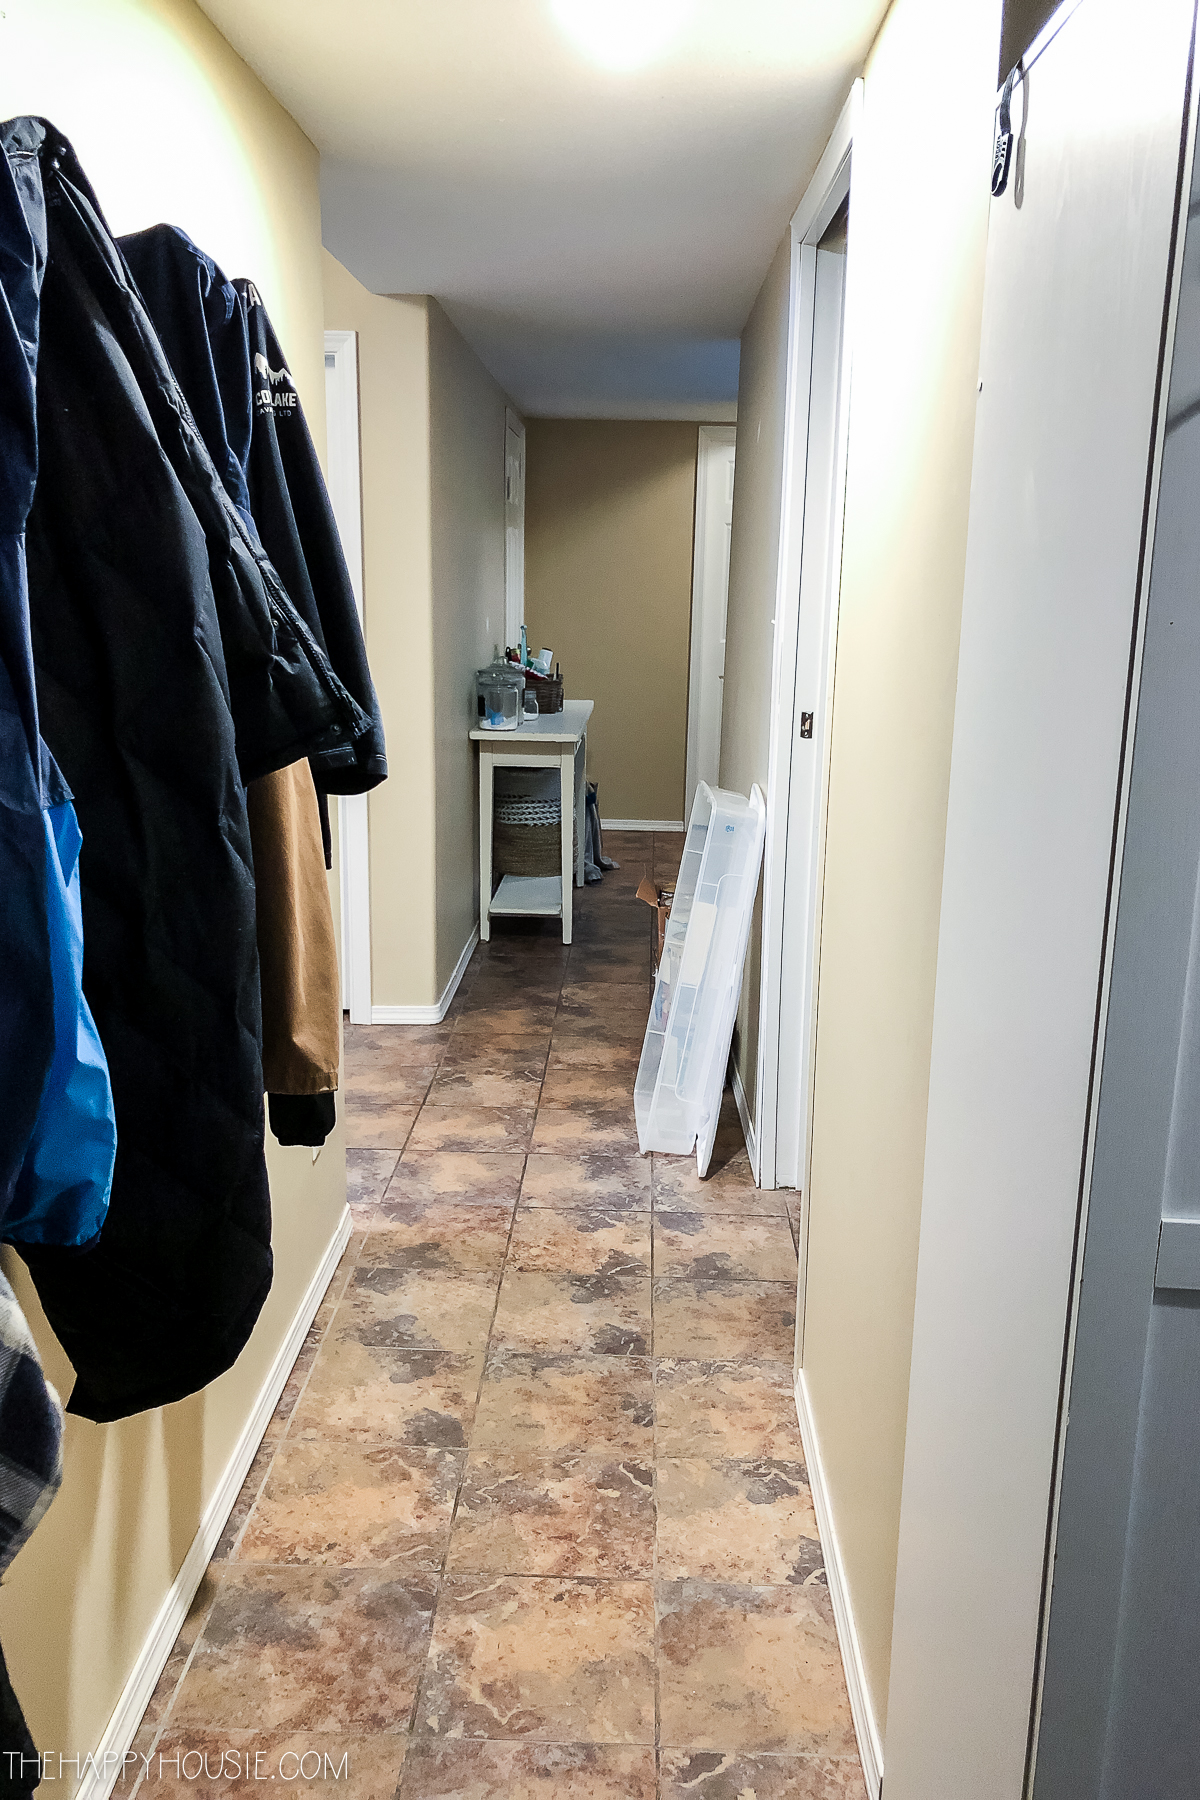
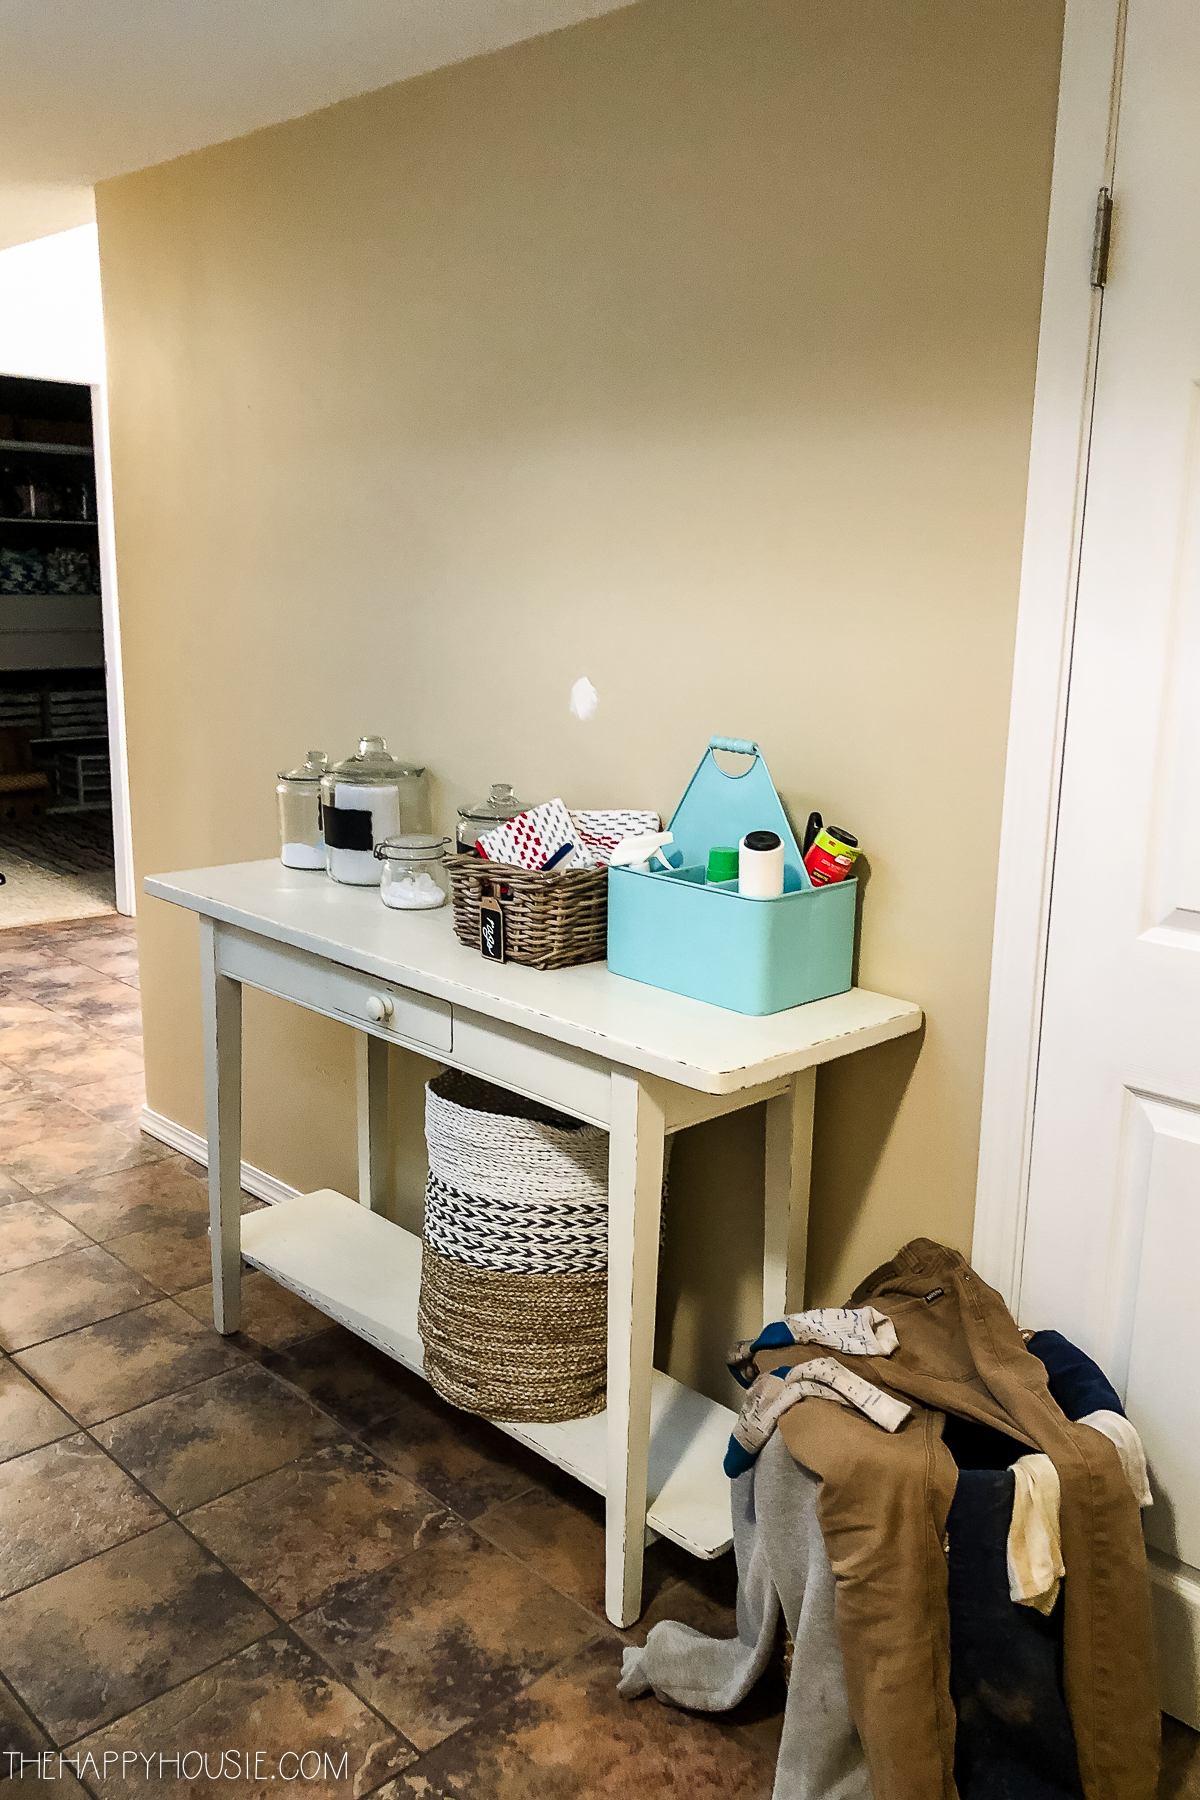
The basement hallway has tended to be a spot for overflow from the renovations the last few months, with things we didn’t want upstairs being piled down here. If you head to the left from the bottom of the landing you head towards our laundry alcove.
Before…
After…
Next is the view from the other end of the hallway looking back towards the laundry room (the view we see when we come in through the garage door).
BEFORE…
After…
And, below is the view looking back towards the landing from the other side of the laundry alcove (where the rolling cart now sits).
Before…
After…
Finally, here is the view straight down the long hallway looking towards the garage entry door.
Before…
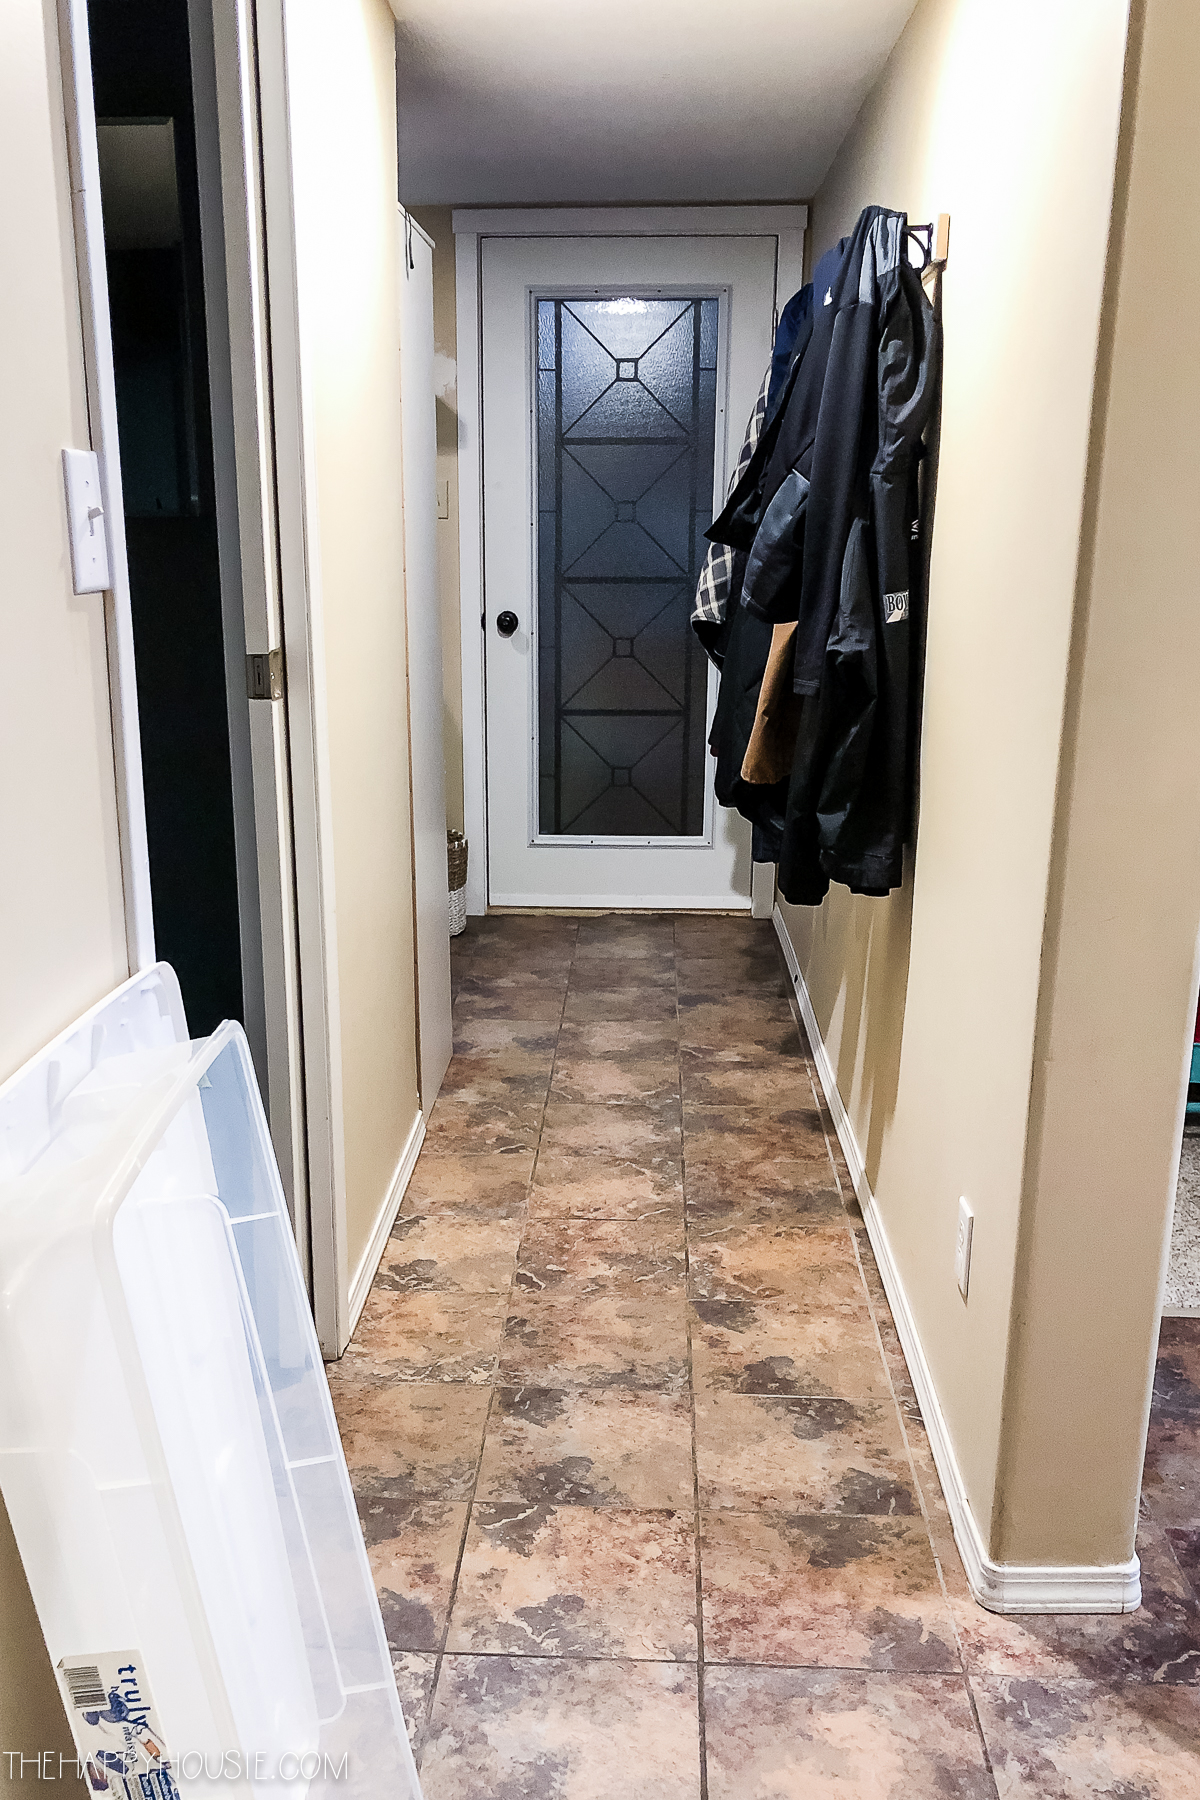
After…
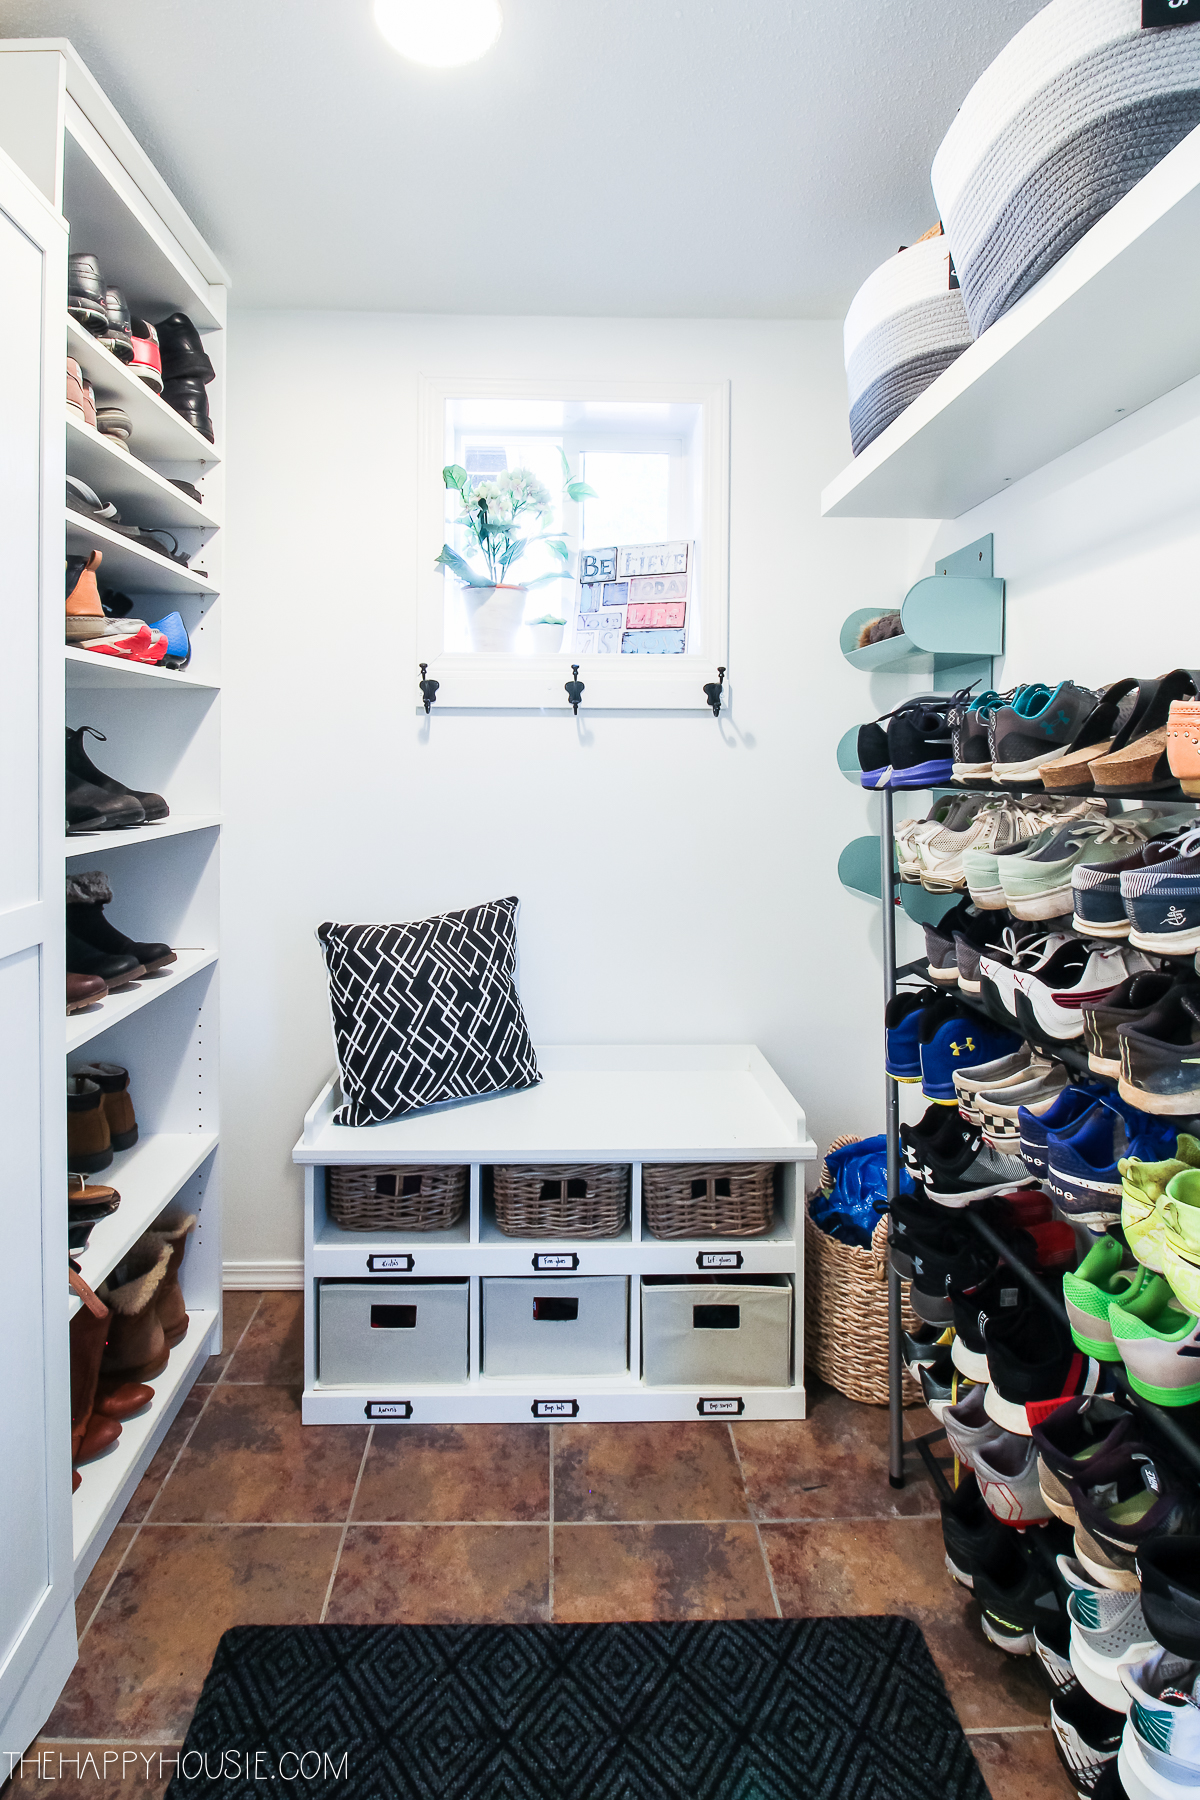
And, a quick peak at our mini-mudroom makeover (for more pics and details on this space see this post).
Before…
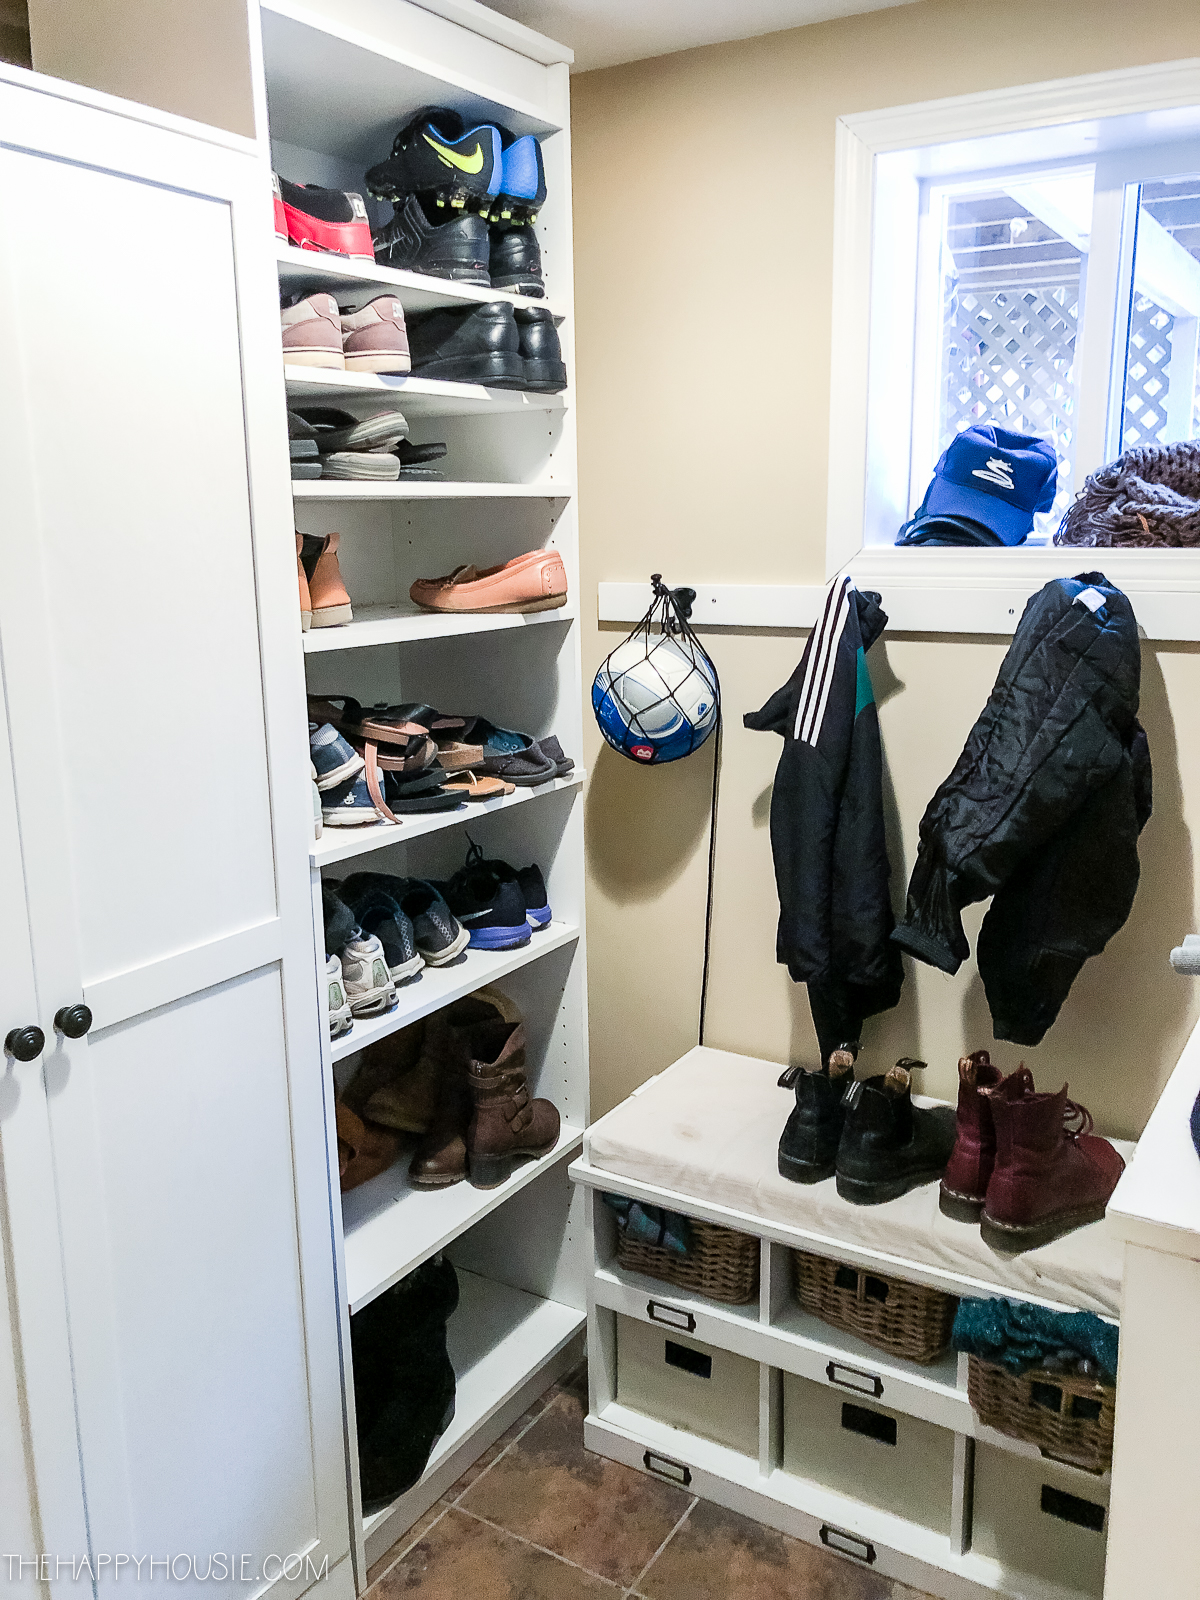
After…
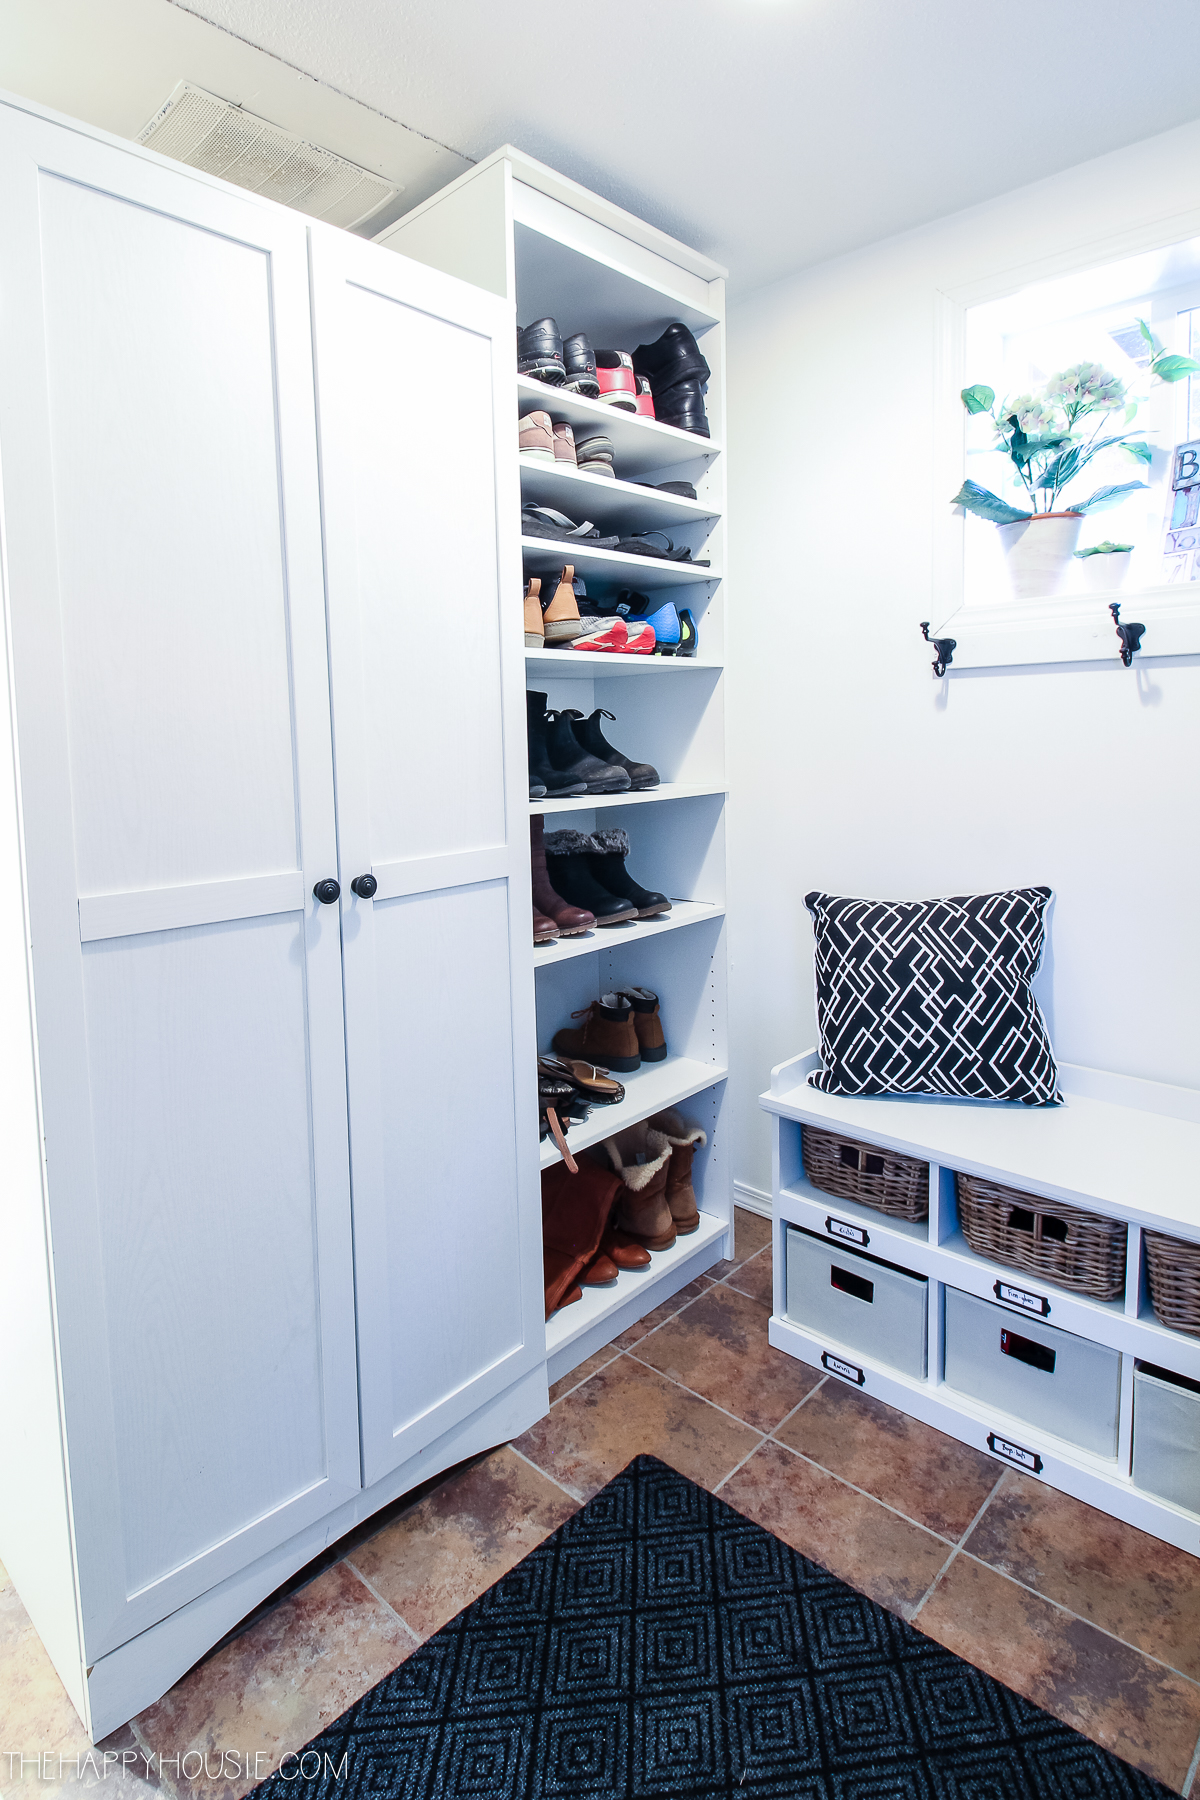
Before…

After…
Isn’t it amazing what a little paint, some throw rugs, and a fun feature wall can do to a space?
I love walking through this area now (which is great, since we do it several times a day – every time that we come and go from the house!). And it all cost me less than $500 for the paint, rugs, and wallpaper! Woot woot!
You can see more of this transformation and read about how I organized a mudroom in a tiny space, as well as how I used a laundry cart to create functional storage in these posts:
How to Setup a Functional Mudroom in a Small Space
How to Organize Your Laundry Space with a Rolling Cart
Want to remember this? Just PIN it!


I just found your website and I’m loving it so far! I love the moulding on your entryway that follows into your lower level. We have a split entryway exactly like yours and I want to do this too!
Do you have a write-up on how to do this, or tips you can share? More specifically the part where the moulding meets the lower stairs. It looks like there’s another piece just above the stairs? Was this cutout in the exact same shape as the steps?
Thanks!
Good job girl!!!!!
Great job! It is an amazing transformation really!
Love the way you lightened and brightened this space without spending too much money! Well done! I have that same Mistala runner in my kitchen, and I just love it–especially the way it doesn’t show dirt. 🙂
Thanks so much for joining the Grace at Home party at Imparting Grace. I’m featuring you this week!
Beautiful transformation Krista, love the wallpaper, the rugs and how everything flows together just as it should. Thanks for sharing on the Tuesday Turn About Link Party. I’ll be featuring your post this week!
WOW, what a difference lighter paint and rugs make! this doesn’t even look like the same space. Such a huge improvement!! Thanks so much for joining in for All About Home. I’m featuring this post this evening!
Fabulous transformation!
Thank you so much Jeanne!
Thank you! The colour comes across just as you’ve described!
Krista,
What a great transformation!! Goes to show with some imagination and paint, etc., you really can do wonders with odd spaces. My pantry is on my agenda for a makeover and you are inspiring me to move forward on this project.
Where did you get all of the nice rugs for the mudroom and hallway? Ireally like the pattern!
Thanks, Monica
Hi Monica,
It’s amazing how much joy and satisfaction we can gain from organizing and updating/decorating these little spaces that we don’t usually both with! I’m going to add the direct links for the rugs in the post for you, right now.
Krista
Very nice!
Thank you Amy – it’s so much nicer to walk through it multiple times a day, now!
WOW!!!! this is gorgeous! I love the Rugs you chose.. They are nice and bright, such nice colours, they and actually make the tile disappear or look good. It’s like magic!
White paint and wallpaper too, it’s all perfect! You’ve inspired me to go tackle my own basement laundry room. It’s also painted a dark yellow and it’s ugly!
I am going to use the same rugs. Thank you for sharing!!
Thank you Tracey! It’s amazing what a difference a few simple changes can make! Especially in these little rooms that we never bother with – feels so much better to go down there, now. Good luck with your project!!
It’s so bright and inviting!
I’d love to know what colour white you used please.
Hi Sue,
I use a colour called White Design (WHO1) by General Paint and in our home it’s quite a clean, crisp white – not cold but without grey/pink/yellow undertones either.
Hope that helps!
Krista