
How to Install Vinyl Plank over Concrete (ORC Week 4/5)
Today I’m sharing how we installed Golden Select Vinyl Plank flooring right over top of our concrete subfloors in the basement family room the One Room Challenge.
Hello everyone! I’m feeling a bit behind on sharing our basement renovation updates with you all; we’ve had a lot going on behind the scenes lately that I look forward to sharing more about soon! And the basement is really now ready for me to completely reveal to you – I can’t wait for sharing the final few details tomorrow, followed by the full reveal next week!
Today I’m sharing how we quickly and easily installed Golden Select Vinyl Plank flooring right over top of our concrete subfloor. It gave our room a completely fresh, clean, and updated feel and made such a huge difference!
I’m taking part as a guest participant in the Spring 2020 One Room Challenge (also known as the ORC). If you aren’t familiar with the ORC, it’s a challenge where designers and bloggers attempt to give one space in their homes a complete makeover in a 6 week time period. This time, because of the complications involved with designing and renovating during COVID19, the ORC has extended the timeline to 8 weeks instead of 6. Which means, that over these 8 weeks I have been and will be sharing the process of making over our basement family room with you one step at a time.

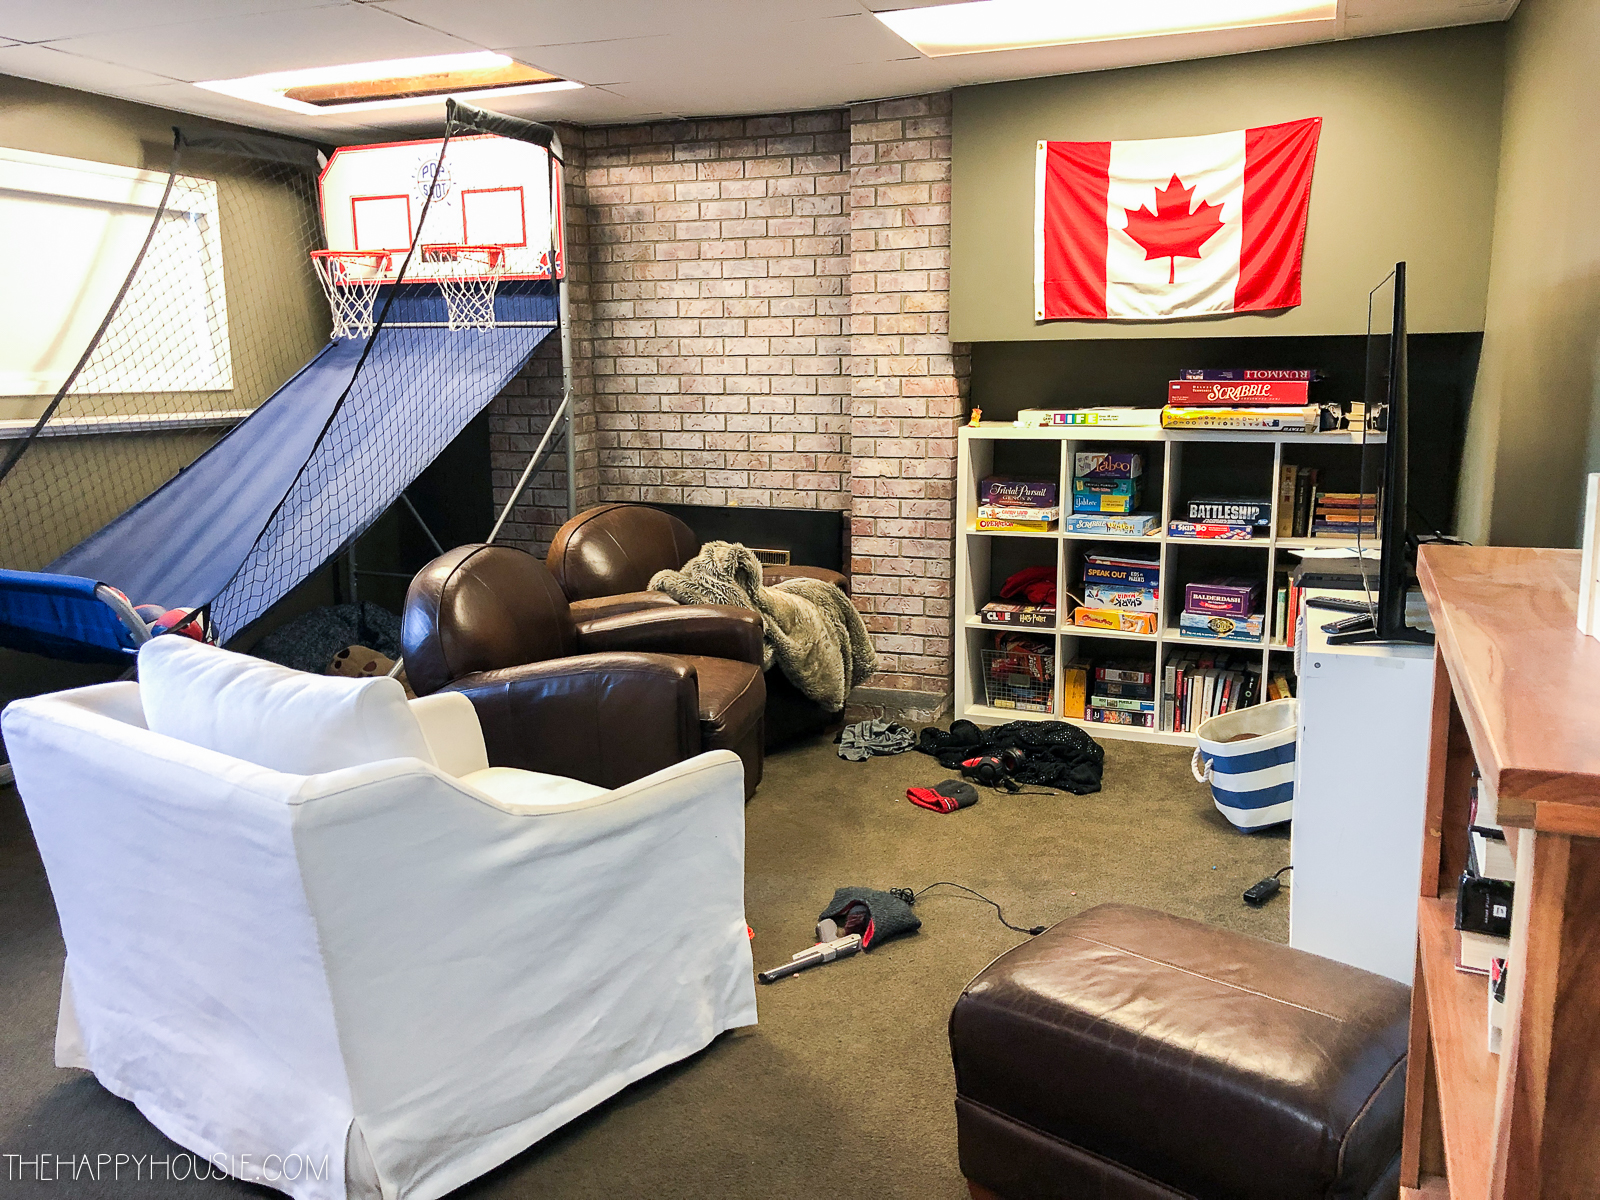
If you’ve been following along, then you might remember what we started out with (see the before pictures and our inspiration board in this post):
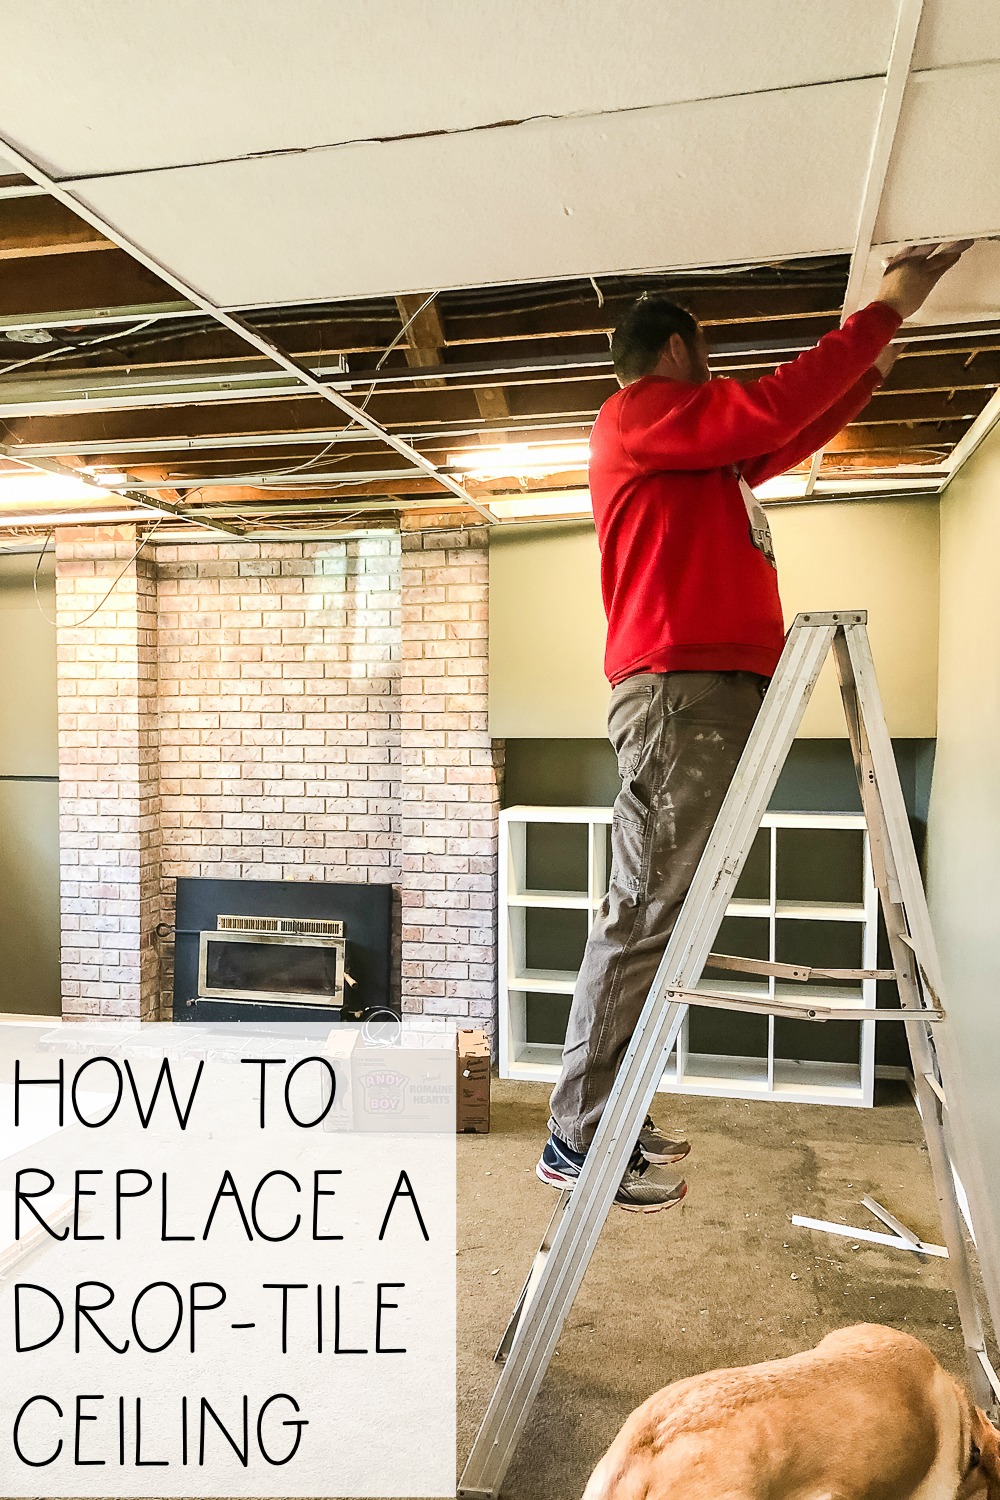
We tore out the drop-ceiling and replaced it with drywall, installing new pot-lights and painting the walls in a light and bright warm grey colour (see this post):
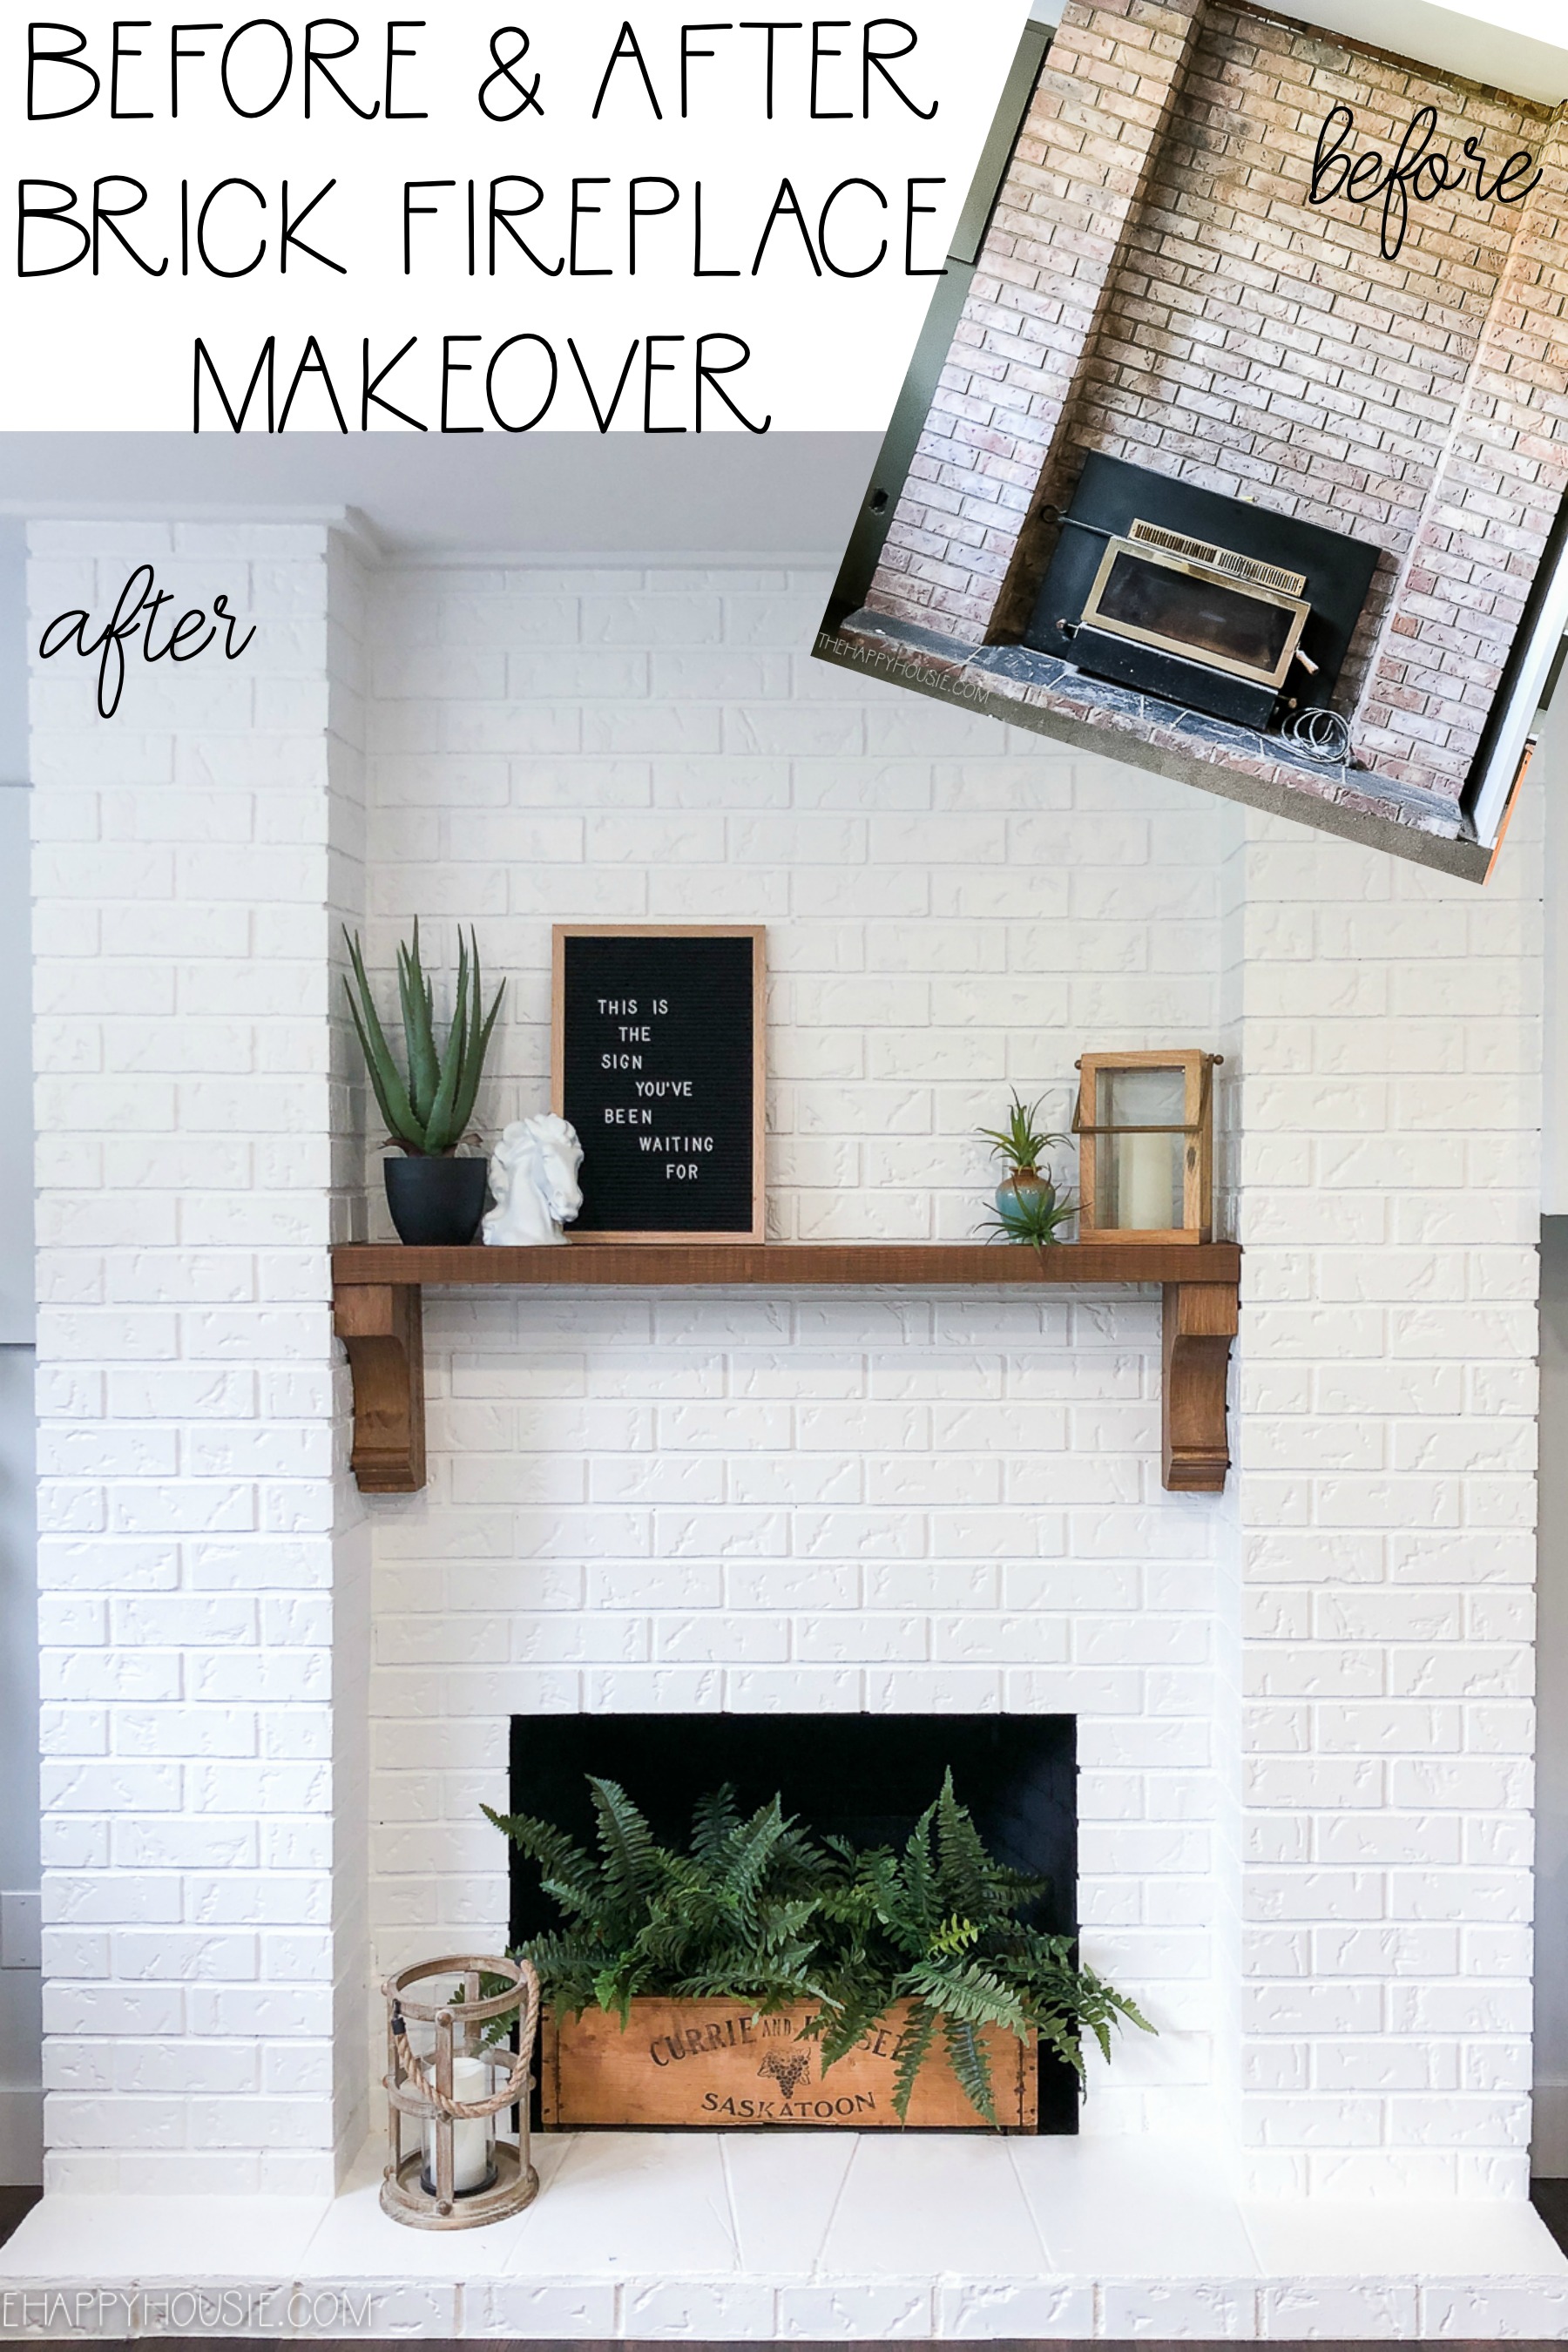
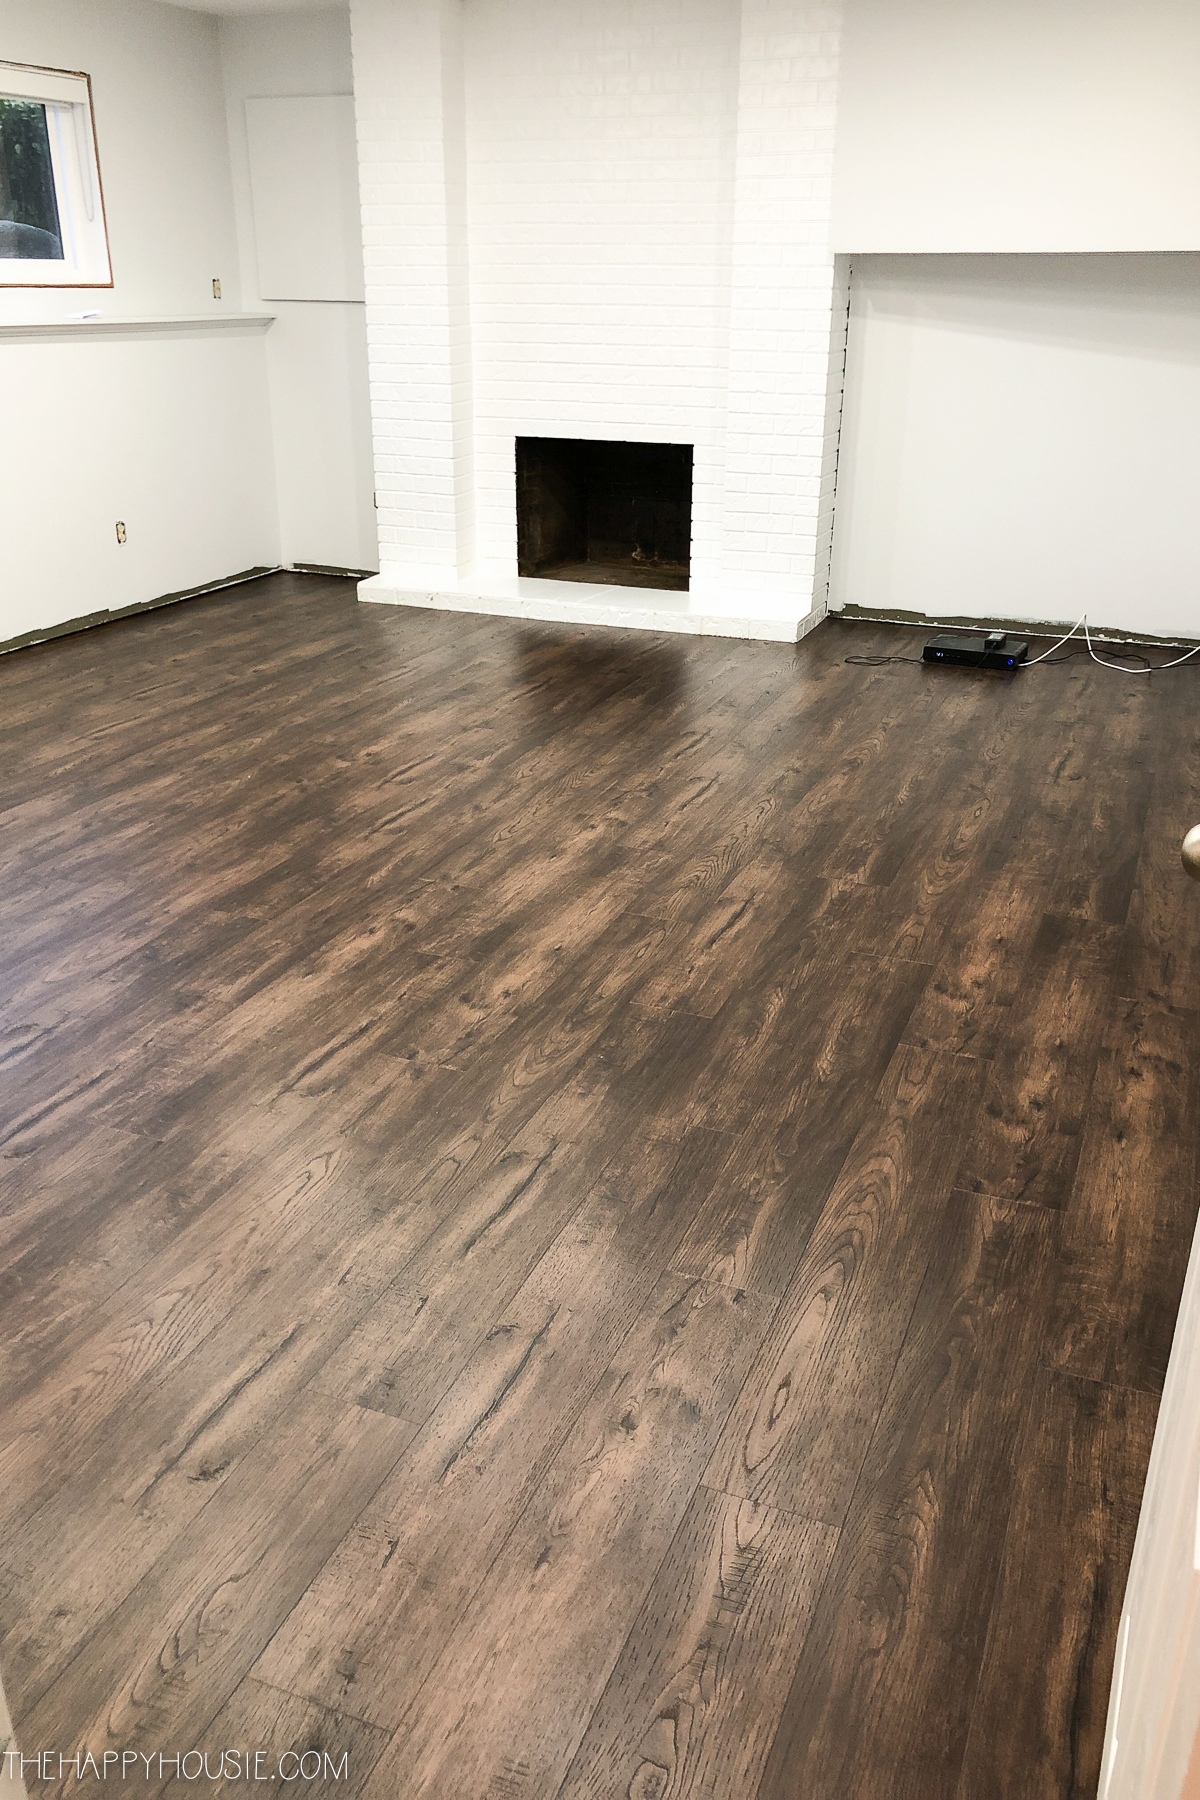
Next we pulled out the old (non-functional) wood stove unit, painted the fireplace, and added a wooden mantel with corbels (see this post):
And now I’m sharing how we updated the flooring!
We are not new to flooring installations. We’ve installed laminate flooring, tile flooring, vinyl click tile, and refinished hardwood floors ourself in a few different houses in the past. As such, we had some background knowledge about the click flooring process and how to cut the “wood” pieces to stagger the joints appropriately. But this was our first installation of vinyl plank, and I can tell you already that we will definitely use it again.
We picked up our Golden Select Vinyl Plank flooring at Costco – we bought it at our local Costco but you can also order it online. The colour we went with is called Smokey Barrel, and it’s a nice medium-dark brown that adds a ton of warmth to this space.
The Process
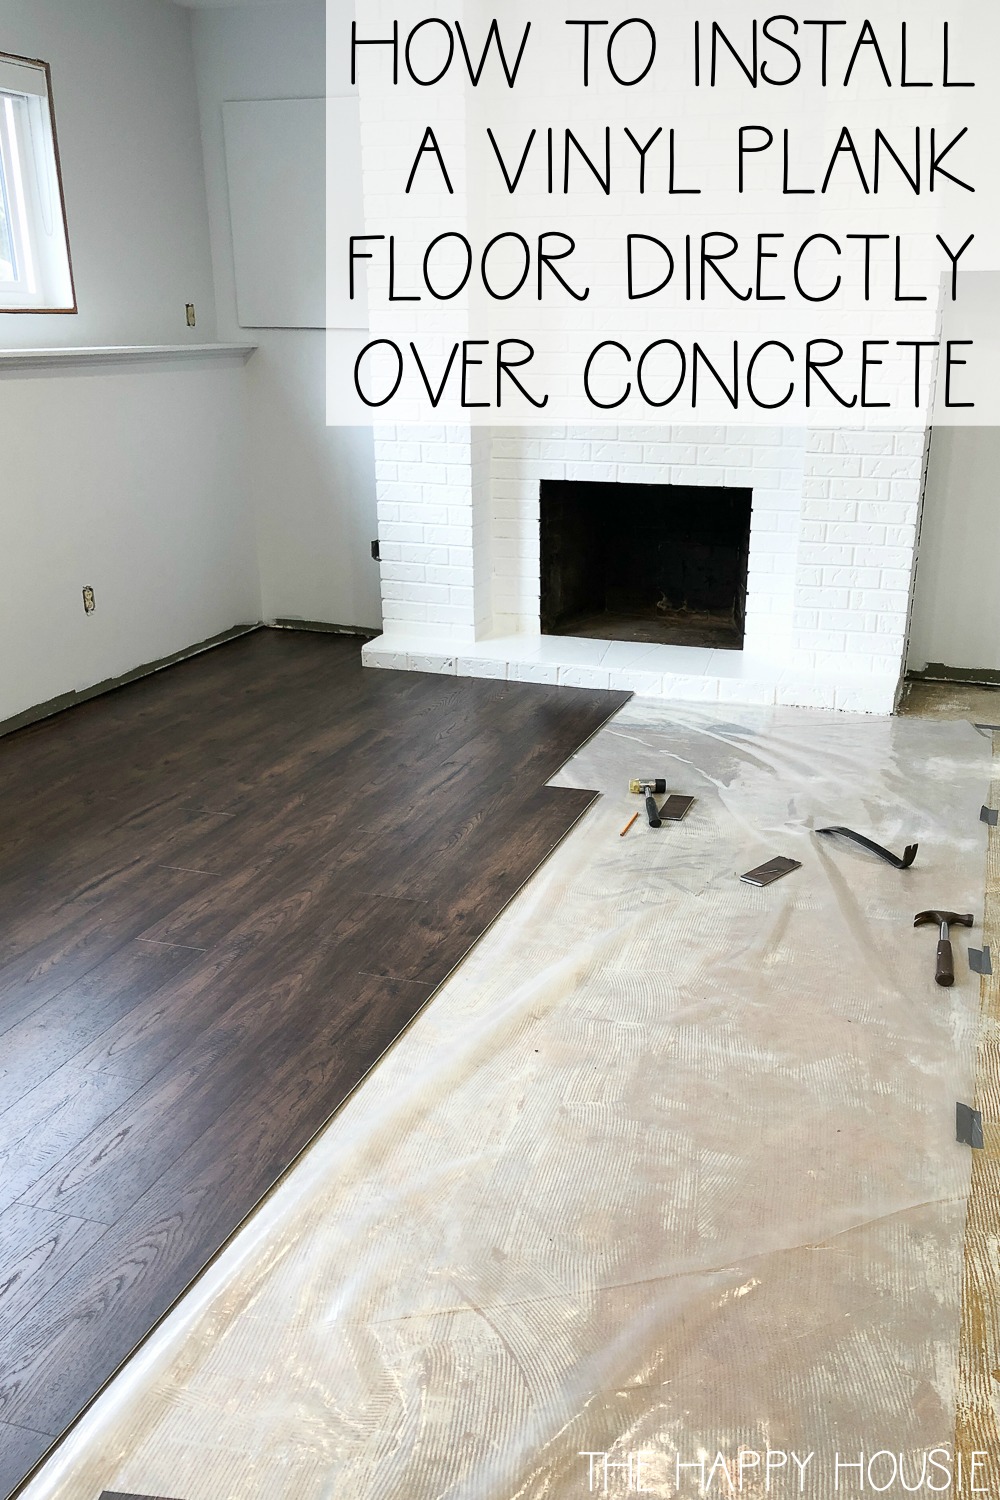
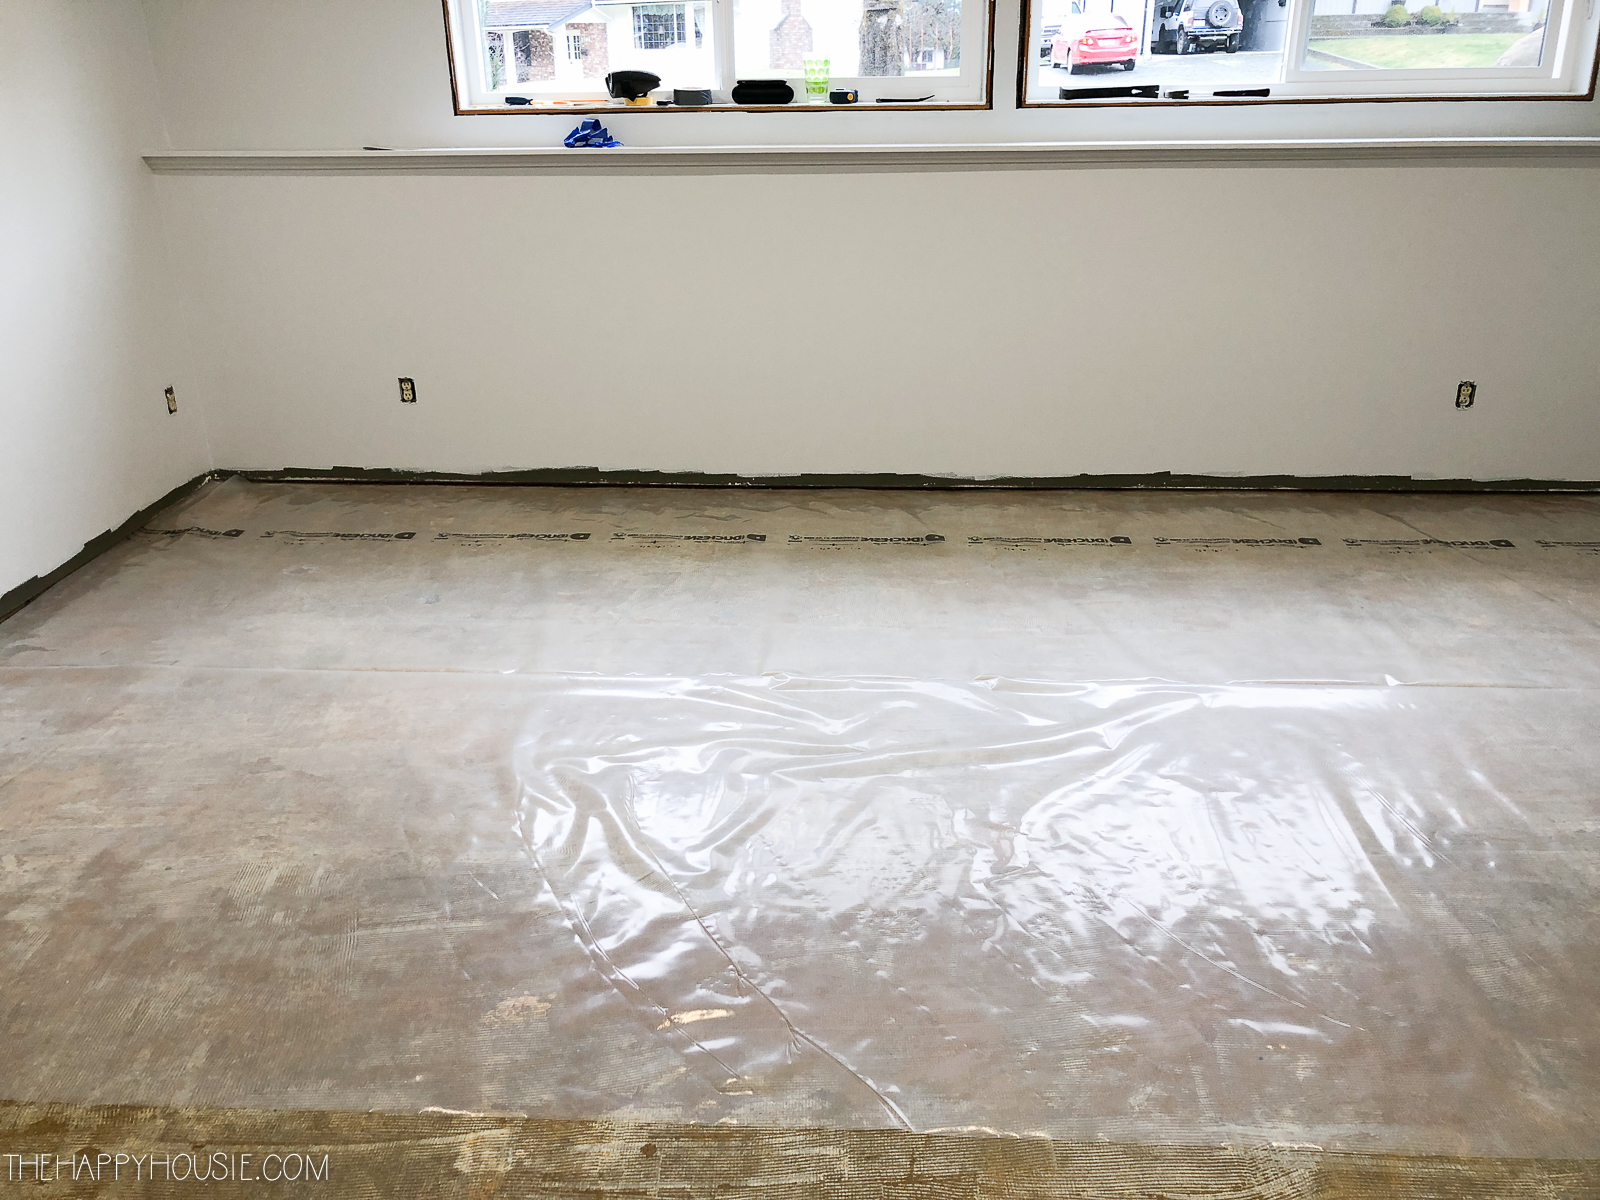
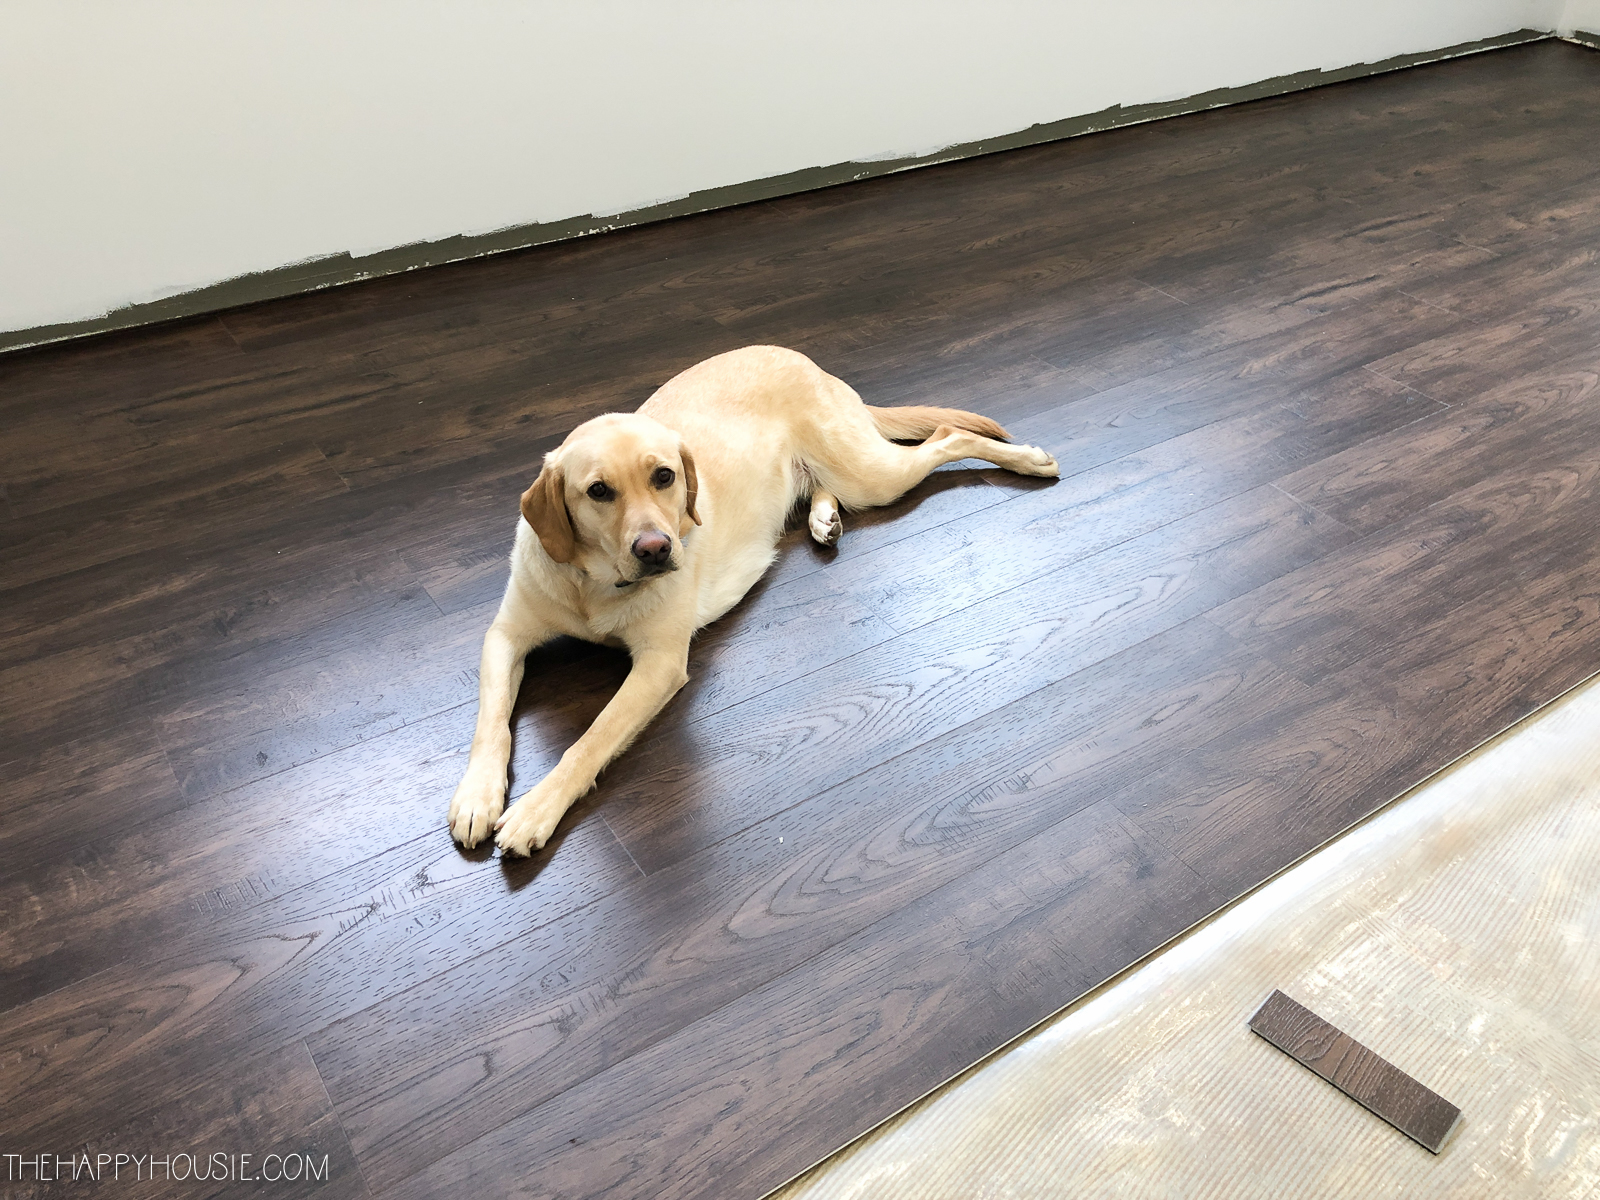
To begin we tore out the old carpet, and clean/smoothed off the concrete subfloor as best we could to get a nice and level surface…

The instructions from Golden Select recommended that we use a plastic vapour barrier between the concrete and the flooring, although it is a waterproof flooring, just for that extra layer of protection I imagine.
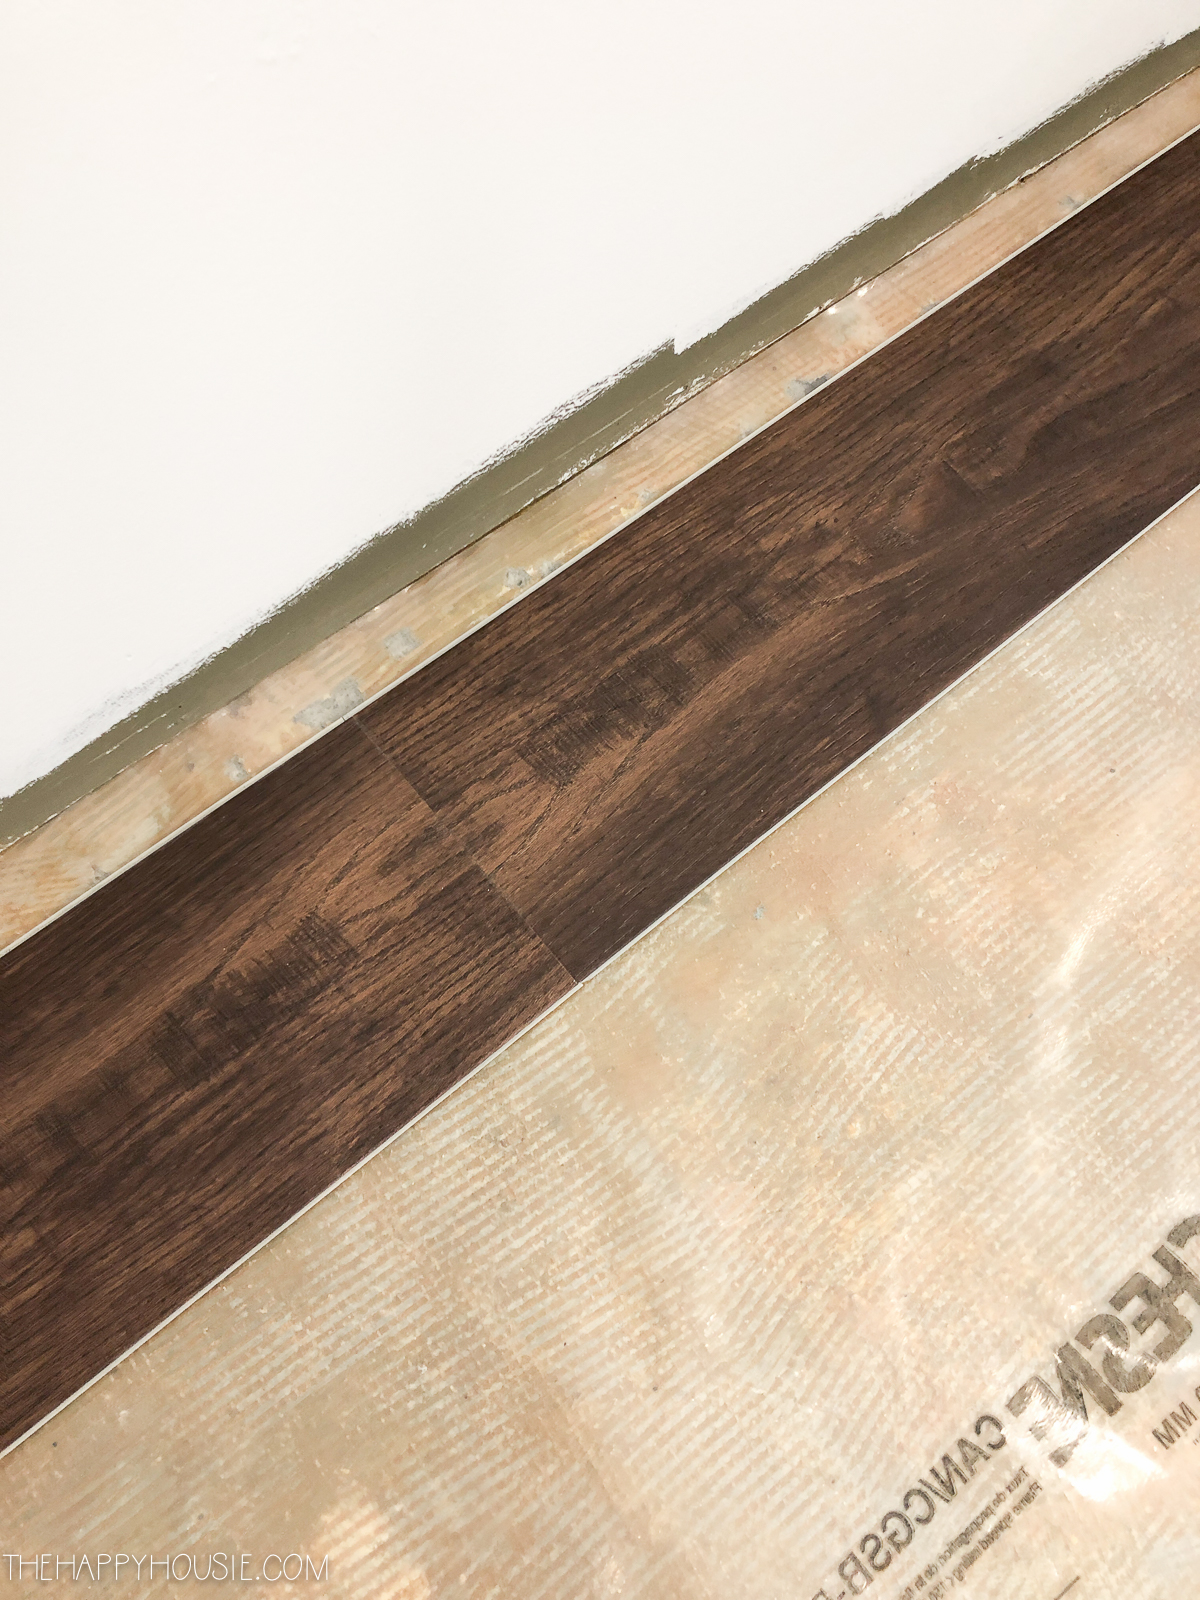
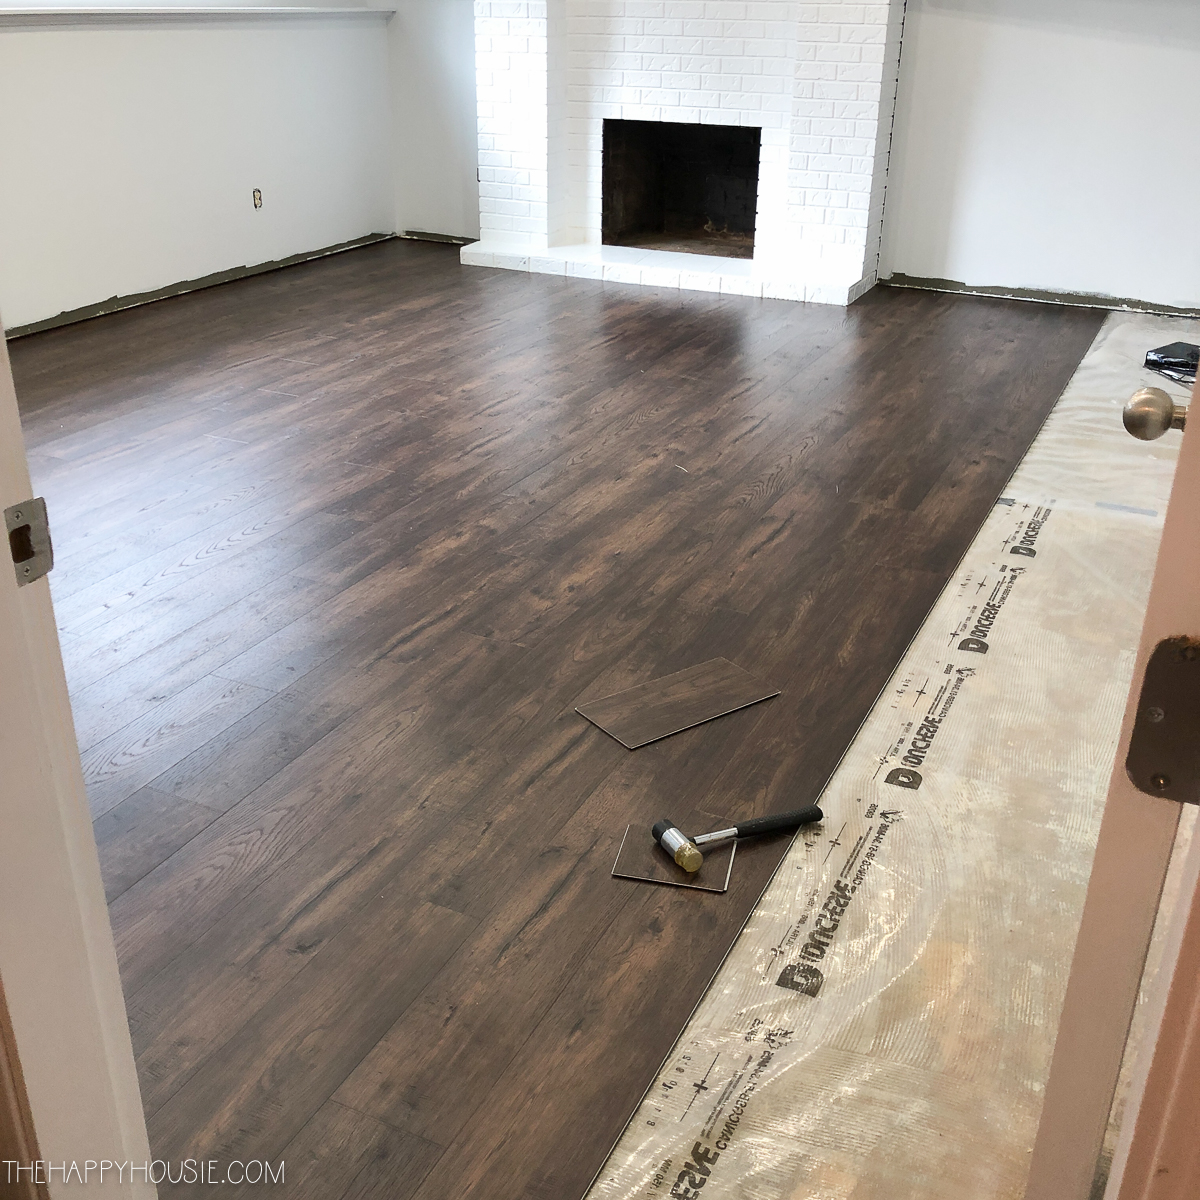
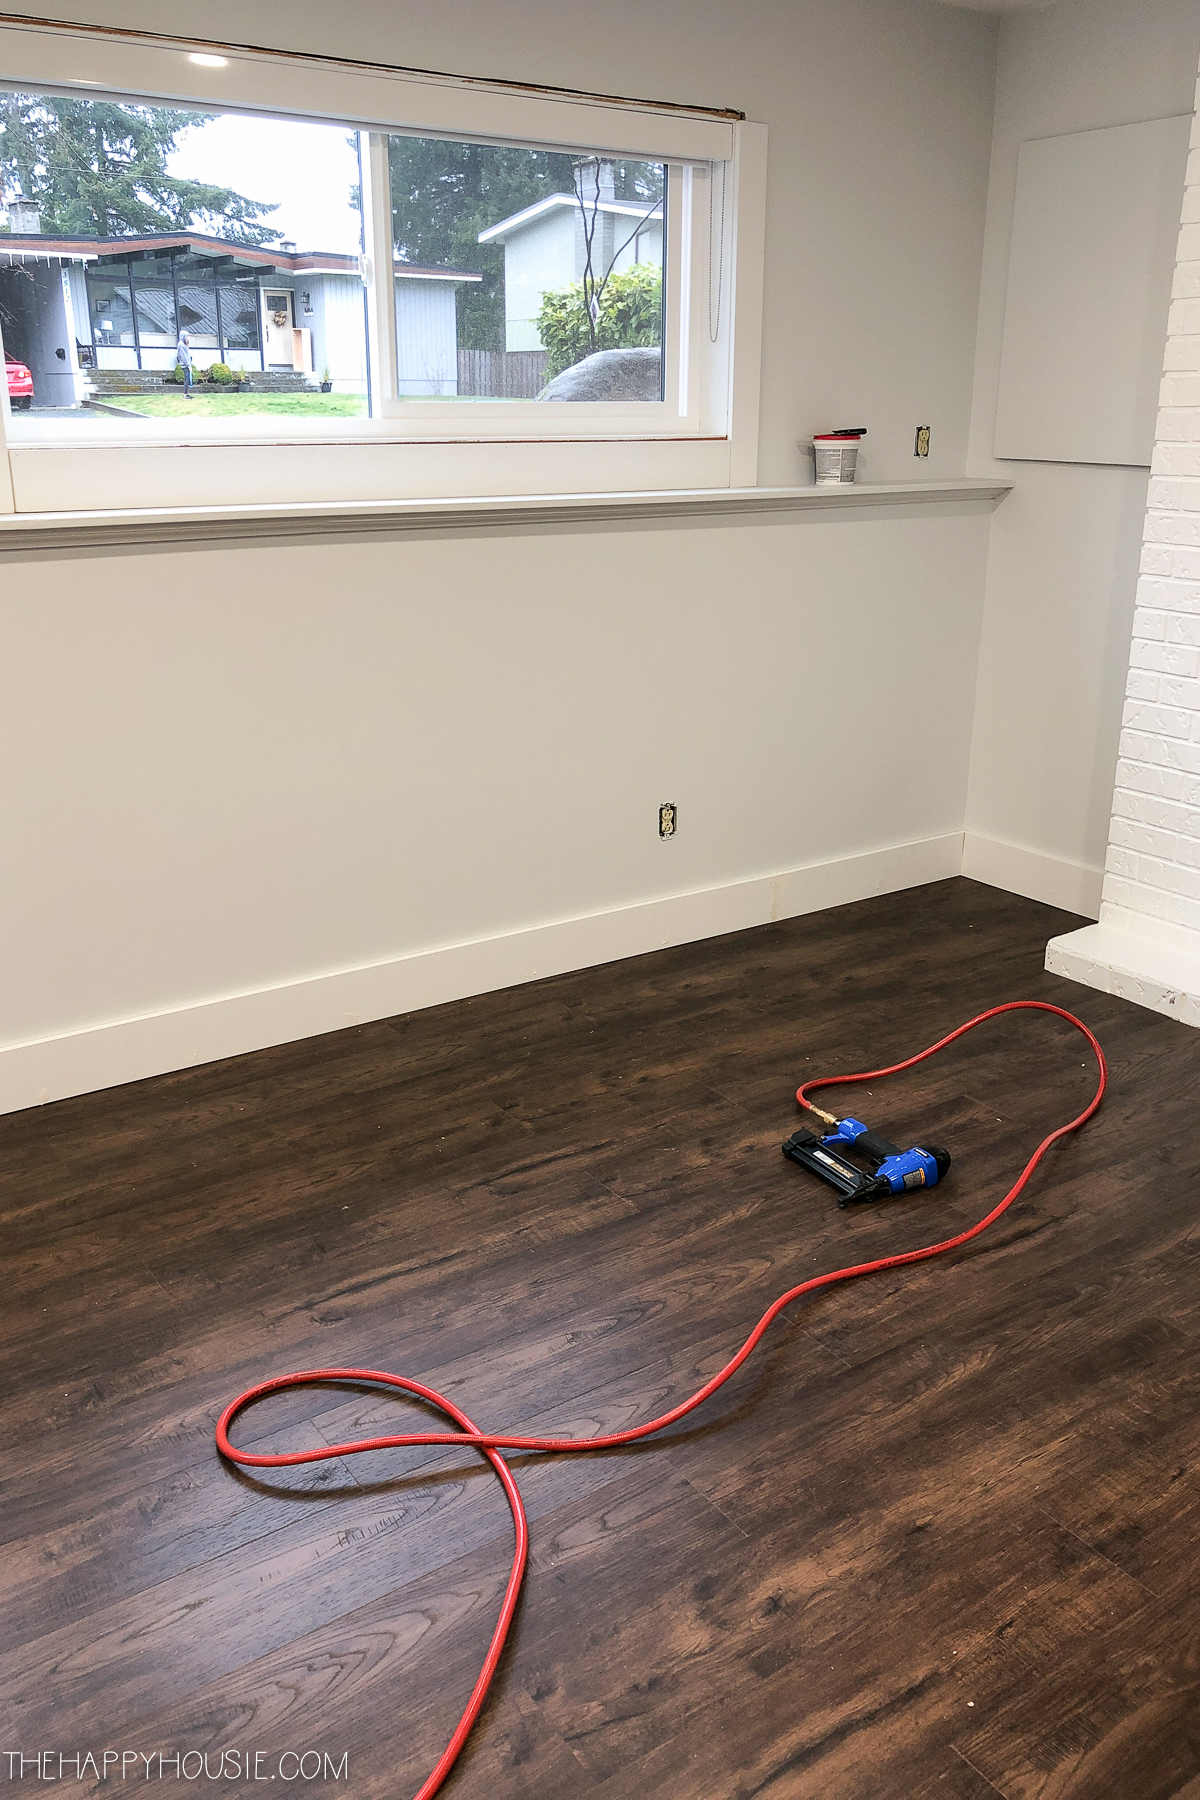
We started on the far wall with a long piece first, and carried on down to the end of the row, making sure that the first row was straight using a level (in case your wall isn’t quite straight). To begin, we measured across the wall to make sure it was straight. After a few rows, we re-measured to make sure it was all lined up straight in the room.
Once you get to the end of the first line, cut your piece to size and install it. Then take the remaining length and start off your next row with it so that your joints naturally stagger. No joint should be within 8 inches of another joint.
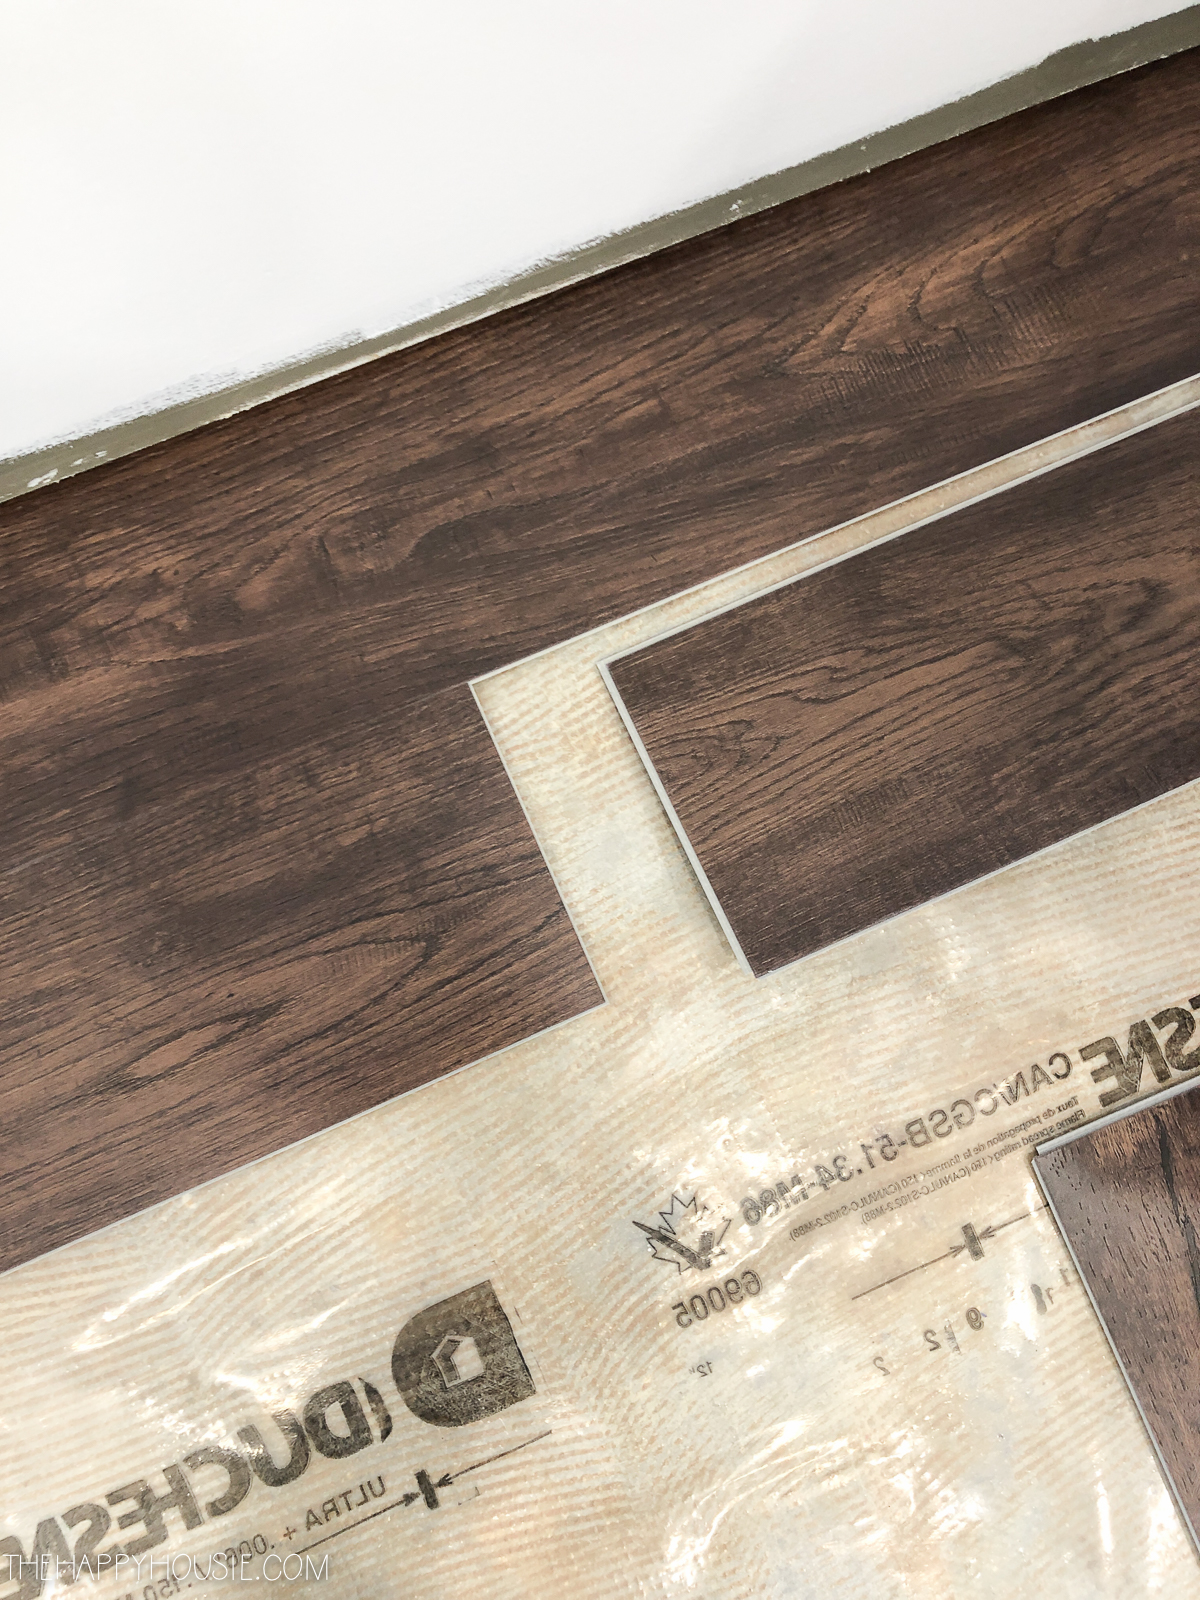
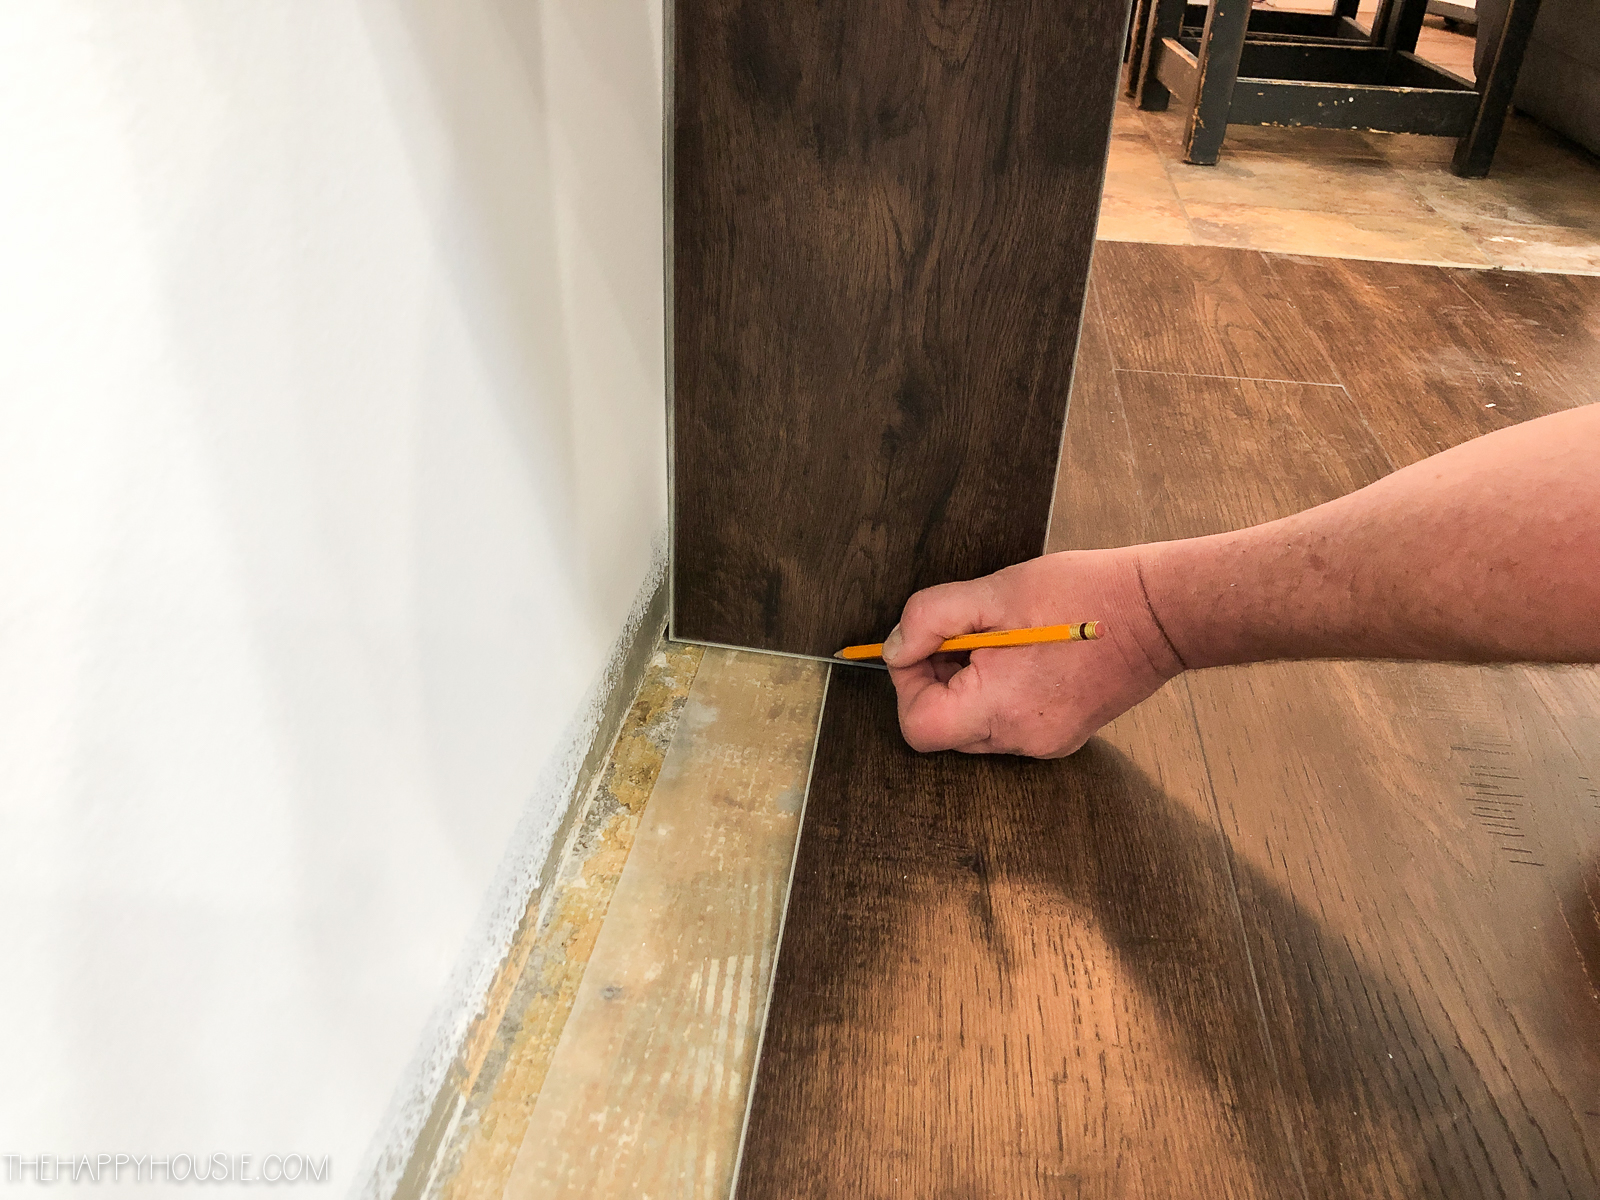
To cut the pieces correctly to length, make sure that you flip them the opposite way, line it up with your last piece, and mark it with a pencil. Then to click it into place, start with the short end and get things lined up, and then gently click it into the long end. If you can’t get it quite tight, then you can also use a scrap piece of flooring to help you tap it into place with a rubber mallet. As you lock it into place, you will hear a little click sound and the boards will lay nice and flat – showing you that it is locked in correctly. The seams will also be tight and flat.
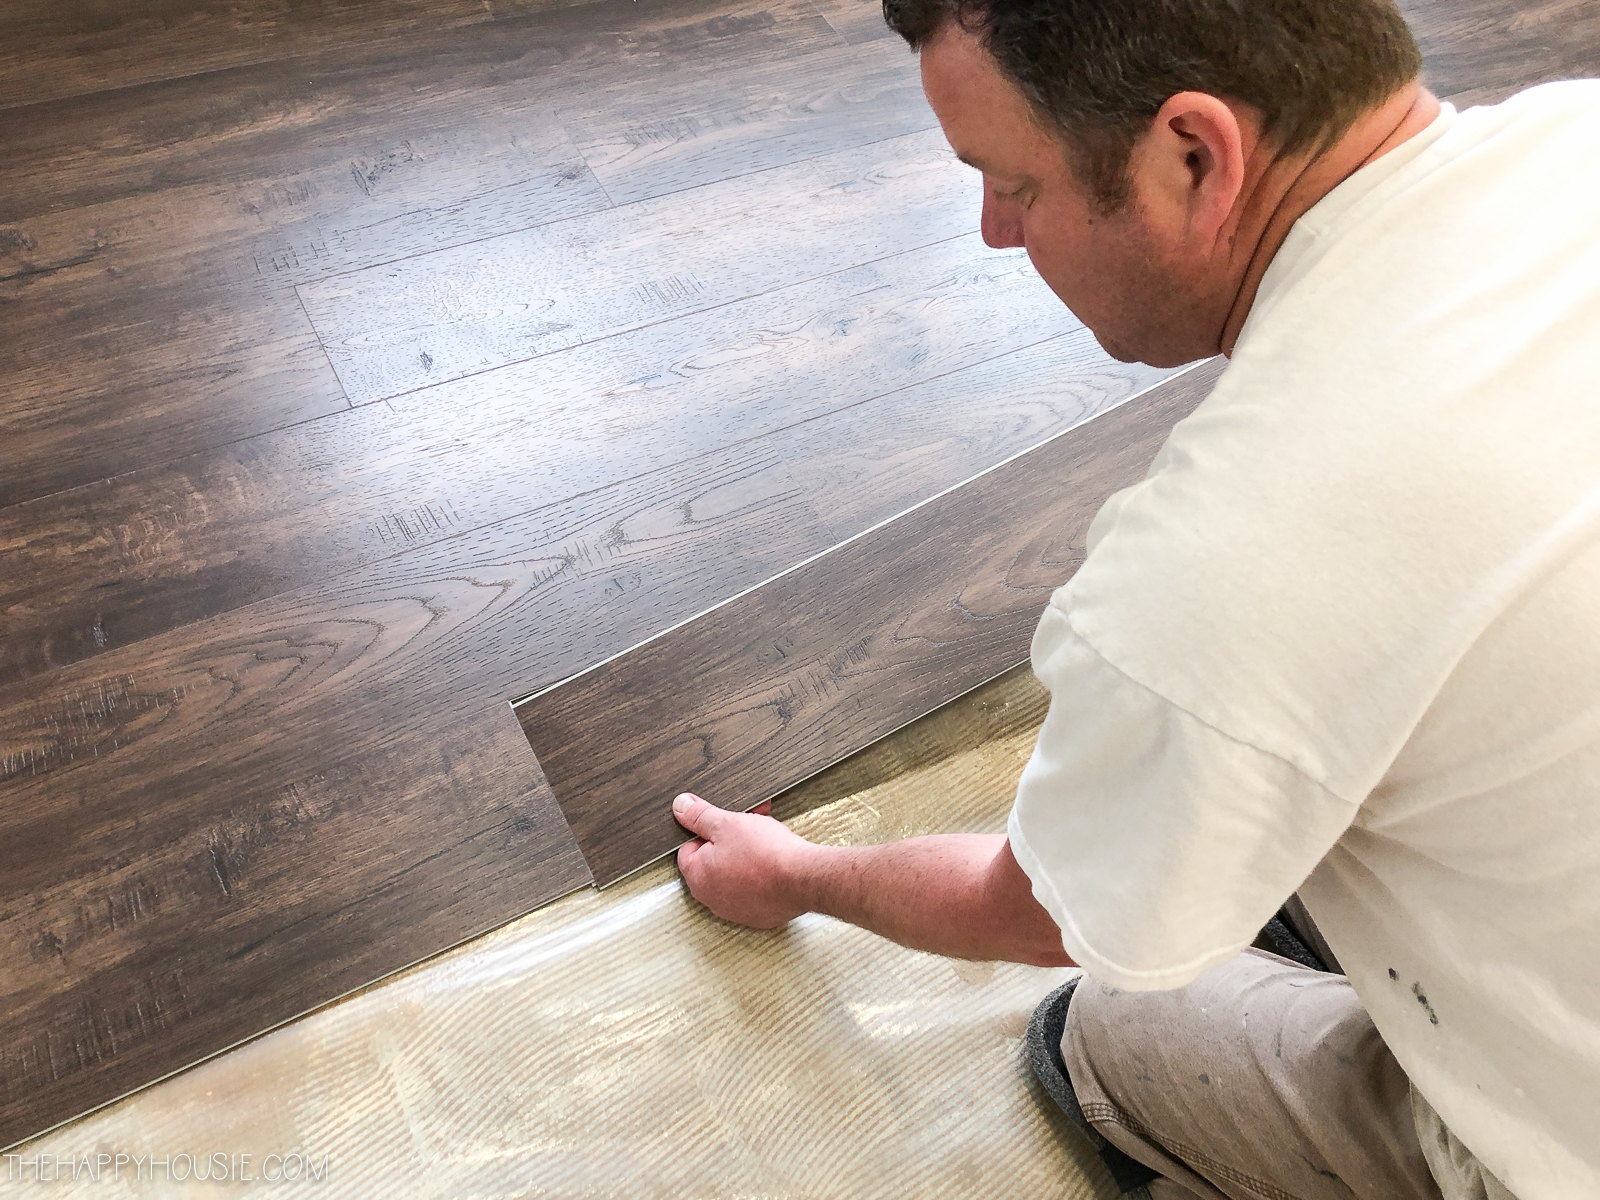
This short video below shows the process:
Continue along for the full length of the room! It took us a good part of two days to get this floor laid.
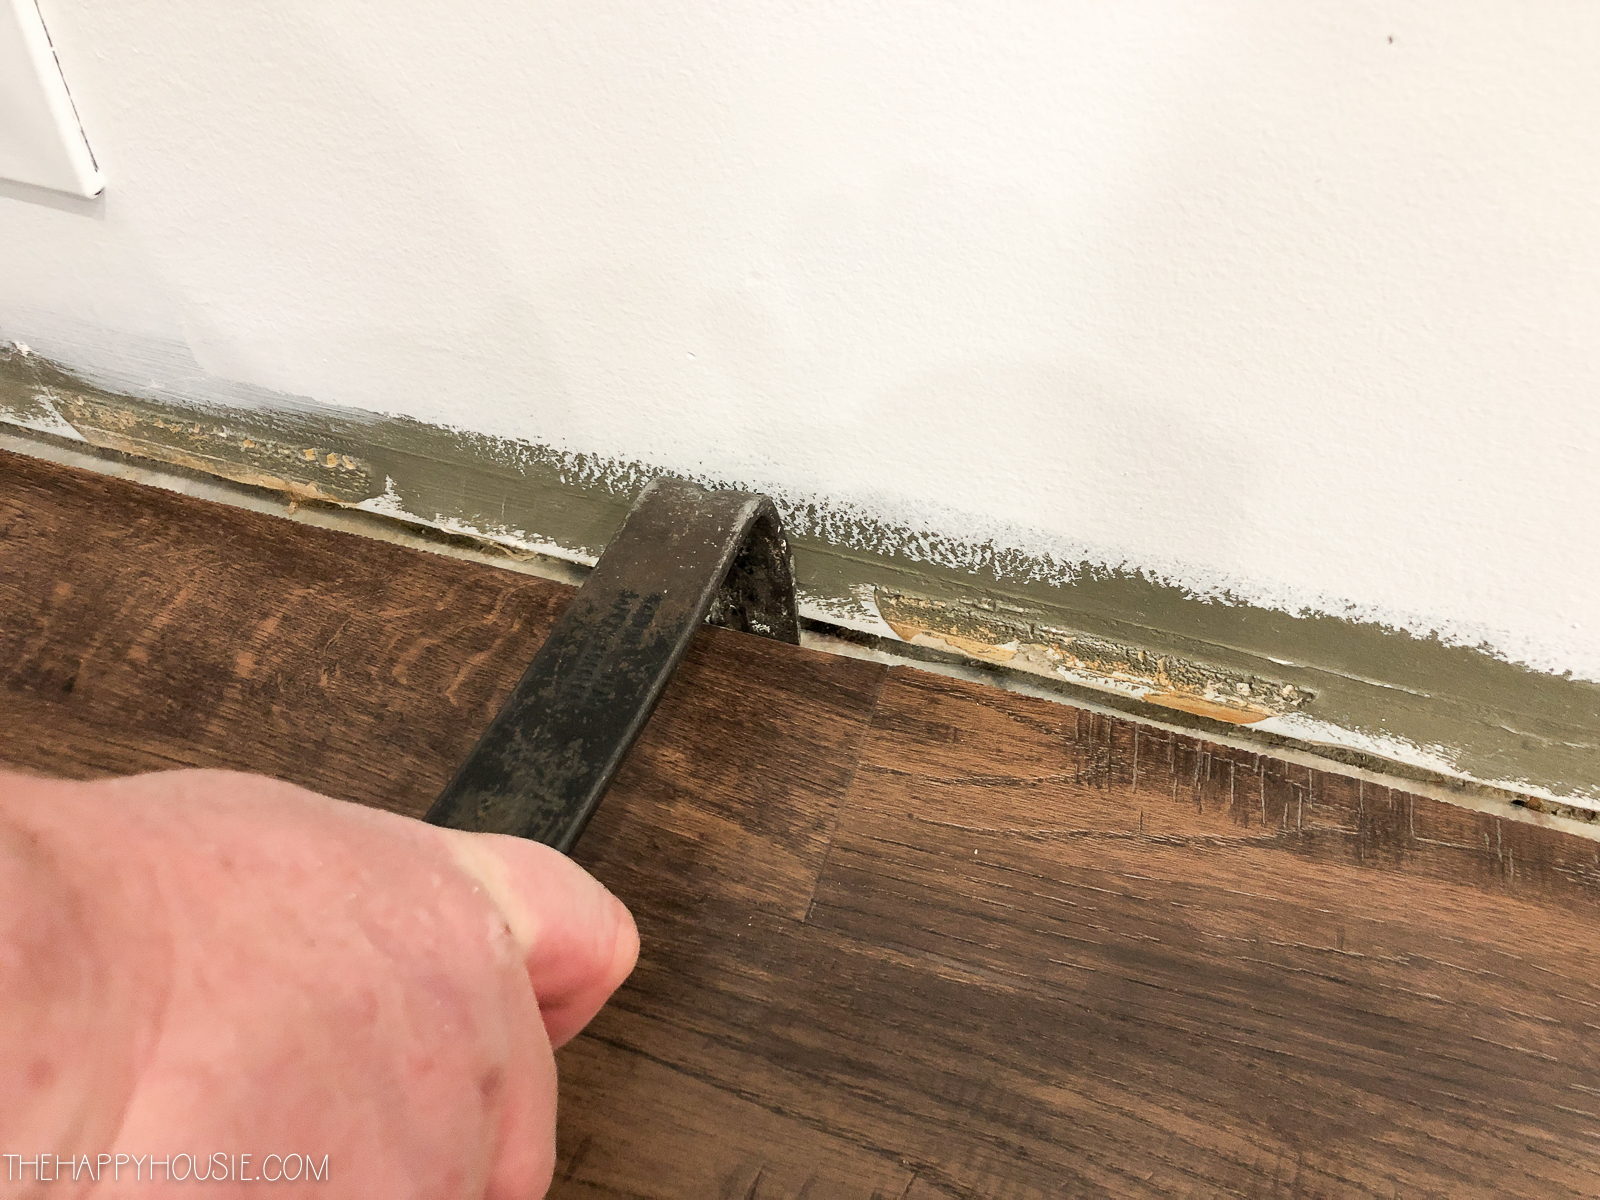
As you reach the last row, measure both ends of any piece you are cutting in case there is an angle to your wall. We used a table saw to cut it down the length of the boards. Allow sufficient room when you make your cut to be able to click the piece into place on the tongue of the previous row. The baseboards will cover the bit of allowance that you need to allow for this space. We used our pry bar to help us nudge it onto the tongue of the last row if needed.
Done!

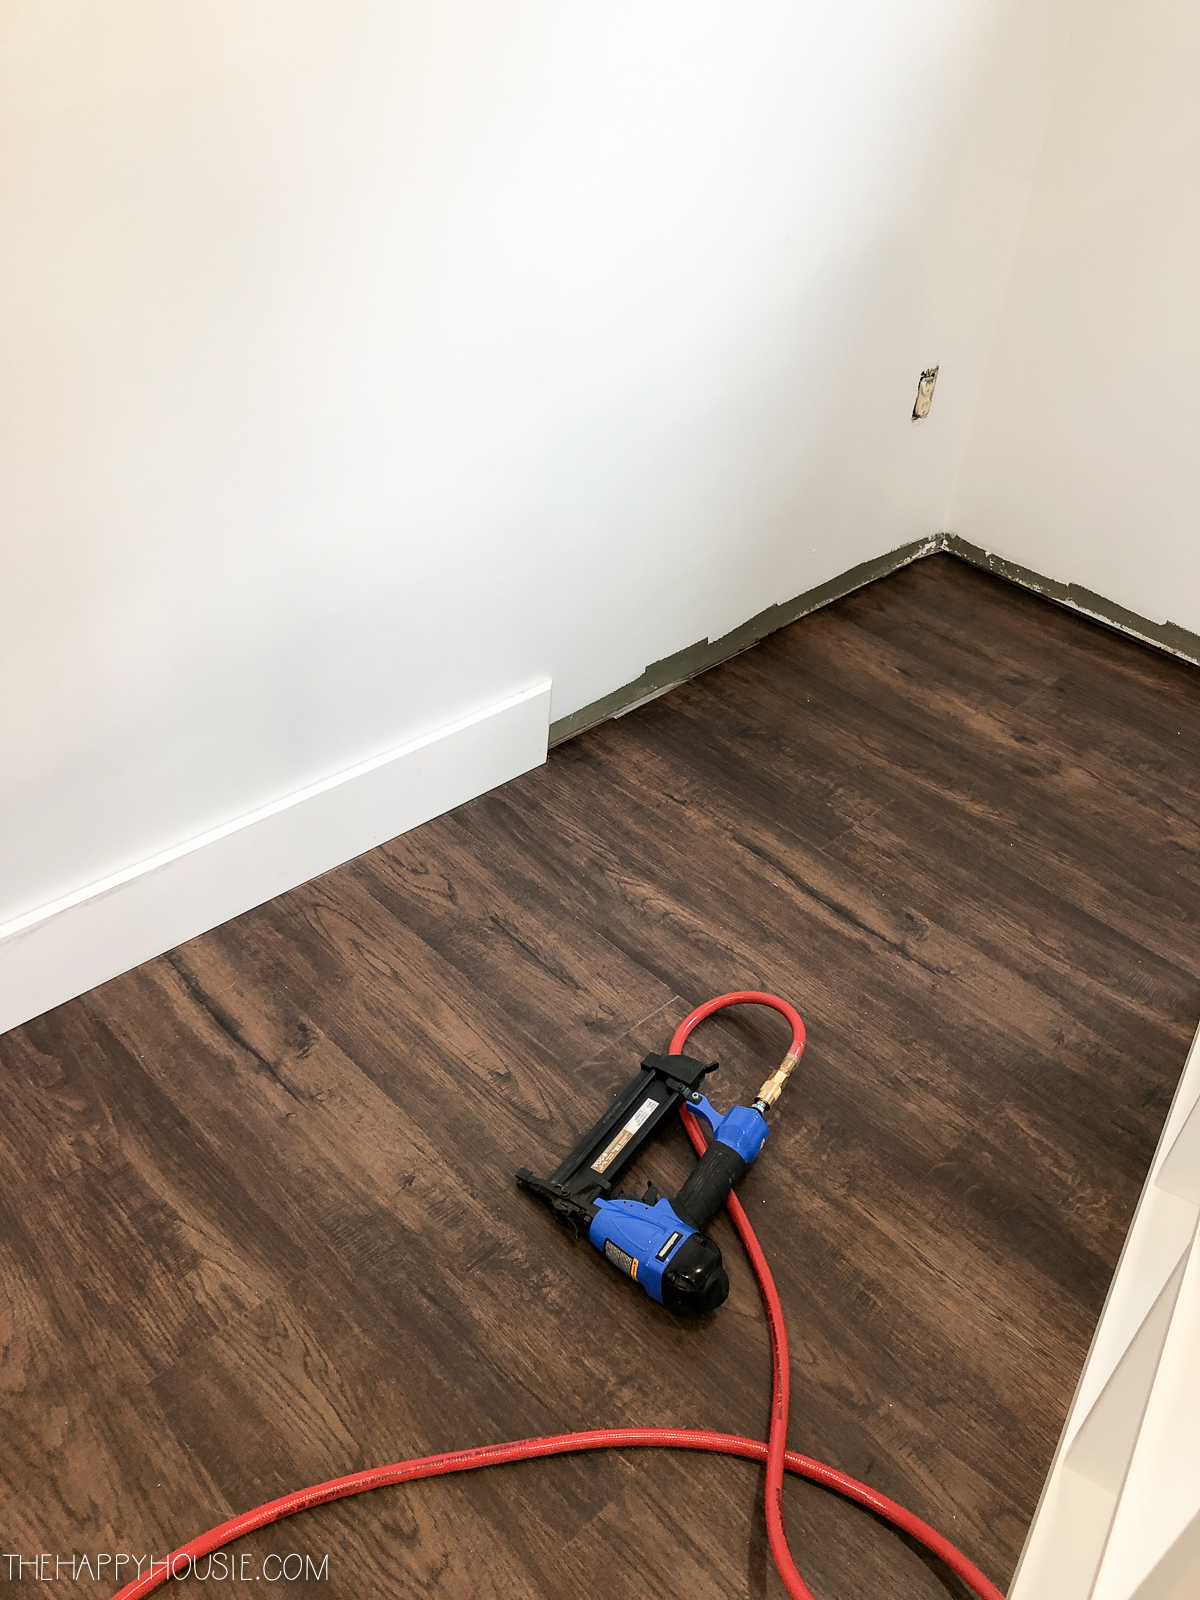
After installing the flooring, we installed the new door trim and then installed the new baseboards, which we had pre-painted in the garage to cut down on painting time and mess once they were installed. We used 1×6 MDF as we did in the rest of the house.
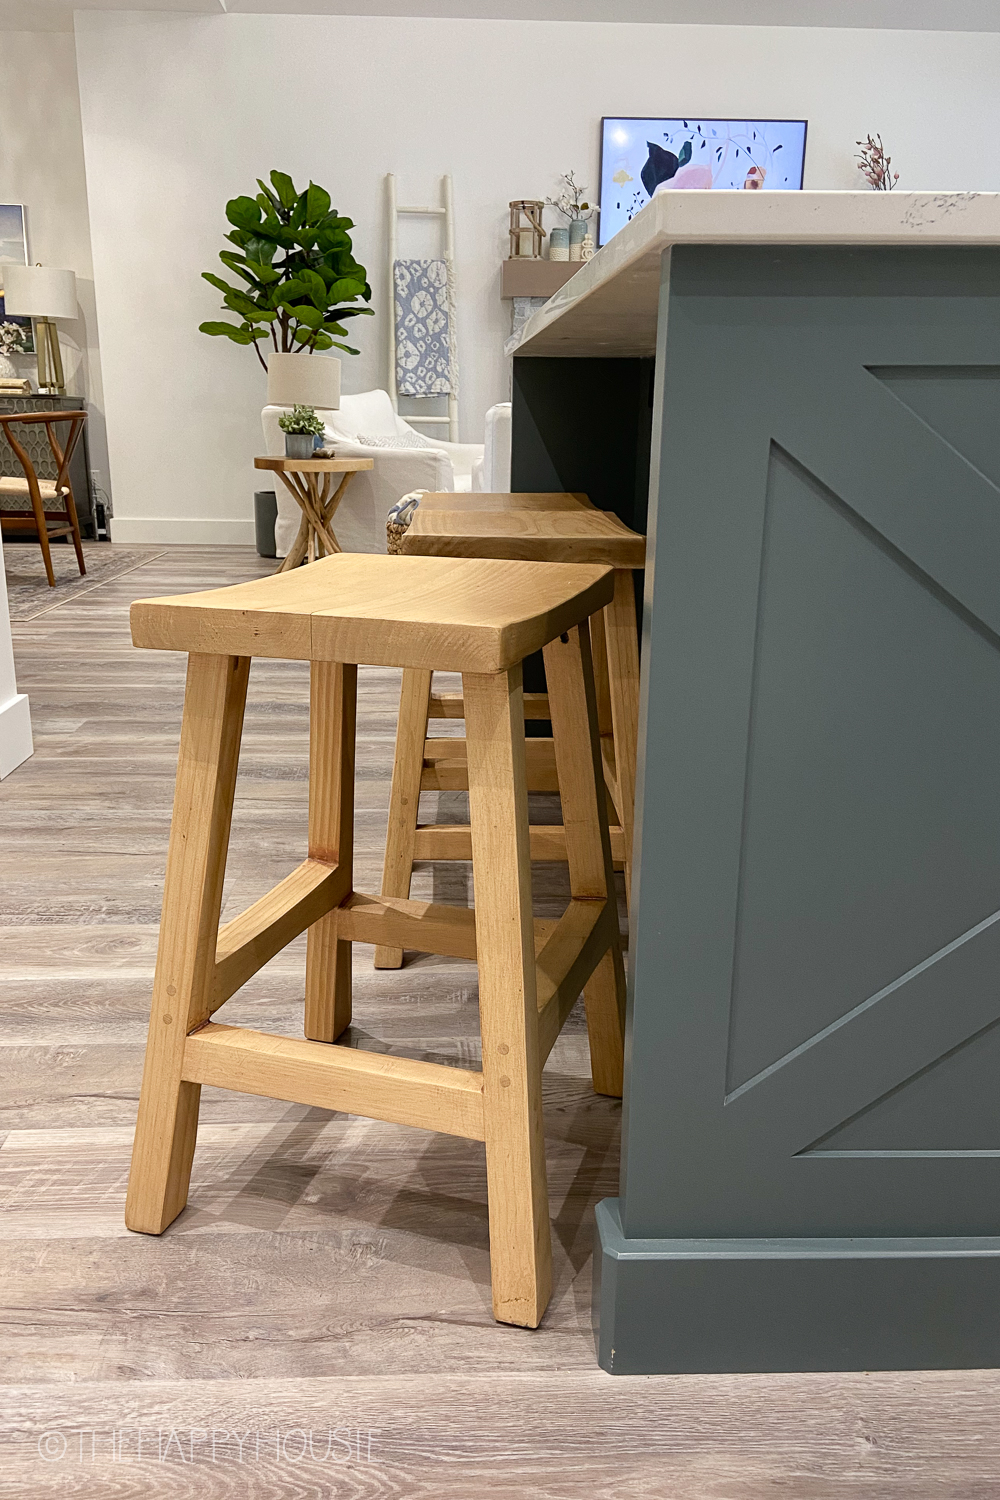
Whew! It was a big job but definitely worth the time and effort. This room is already 100% better than it was with the ceiling, flooring, and fresh walls and fireplace. I can’t wait to share the furniture and art choices I’ve made for it, and will be back tomorrow with that (I’m catching up from a few busy weeks without much time to actually write about everything that has been going on).
If you are thinking about installing some vinyl plank flooring in your home, I definitely recommend looking into the Golden Select brand. They carry it at Costco here in Canada. It’s awesome quality for the price point, was easy to install, and comes in several different colour styles. I’m also thrilled that it’s waterproof and durable so it’s perfect for a family room space. And how awesome is it that we could put it right over the concrete? We also kept going and installed it right over our tile in the rest of the basement – I’ll be back to share tips for doing that with you really soon!


Do you find it cold on the feet? We are planning on finishing our basement, and was thinking I would need a subfloor, but if I could skip that step it would be awesome just don’t want to have a super cold floor.
If it doesn’t have a cork backing you may wanna put in a foam underlay.
Wow! This is such a transformation! I love your sense of style and can’t wait to see the finished room!