
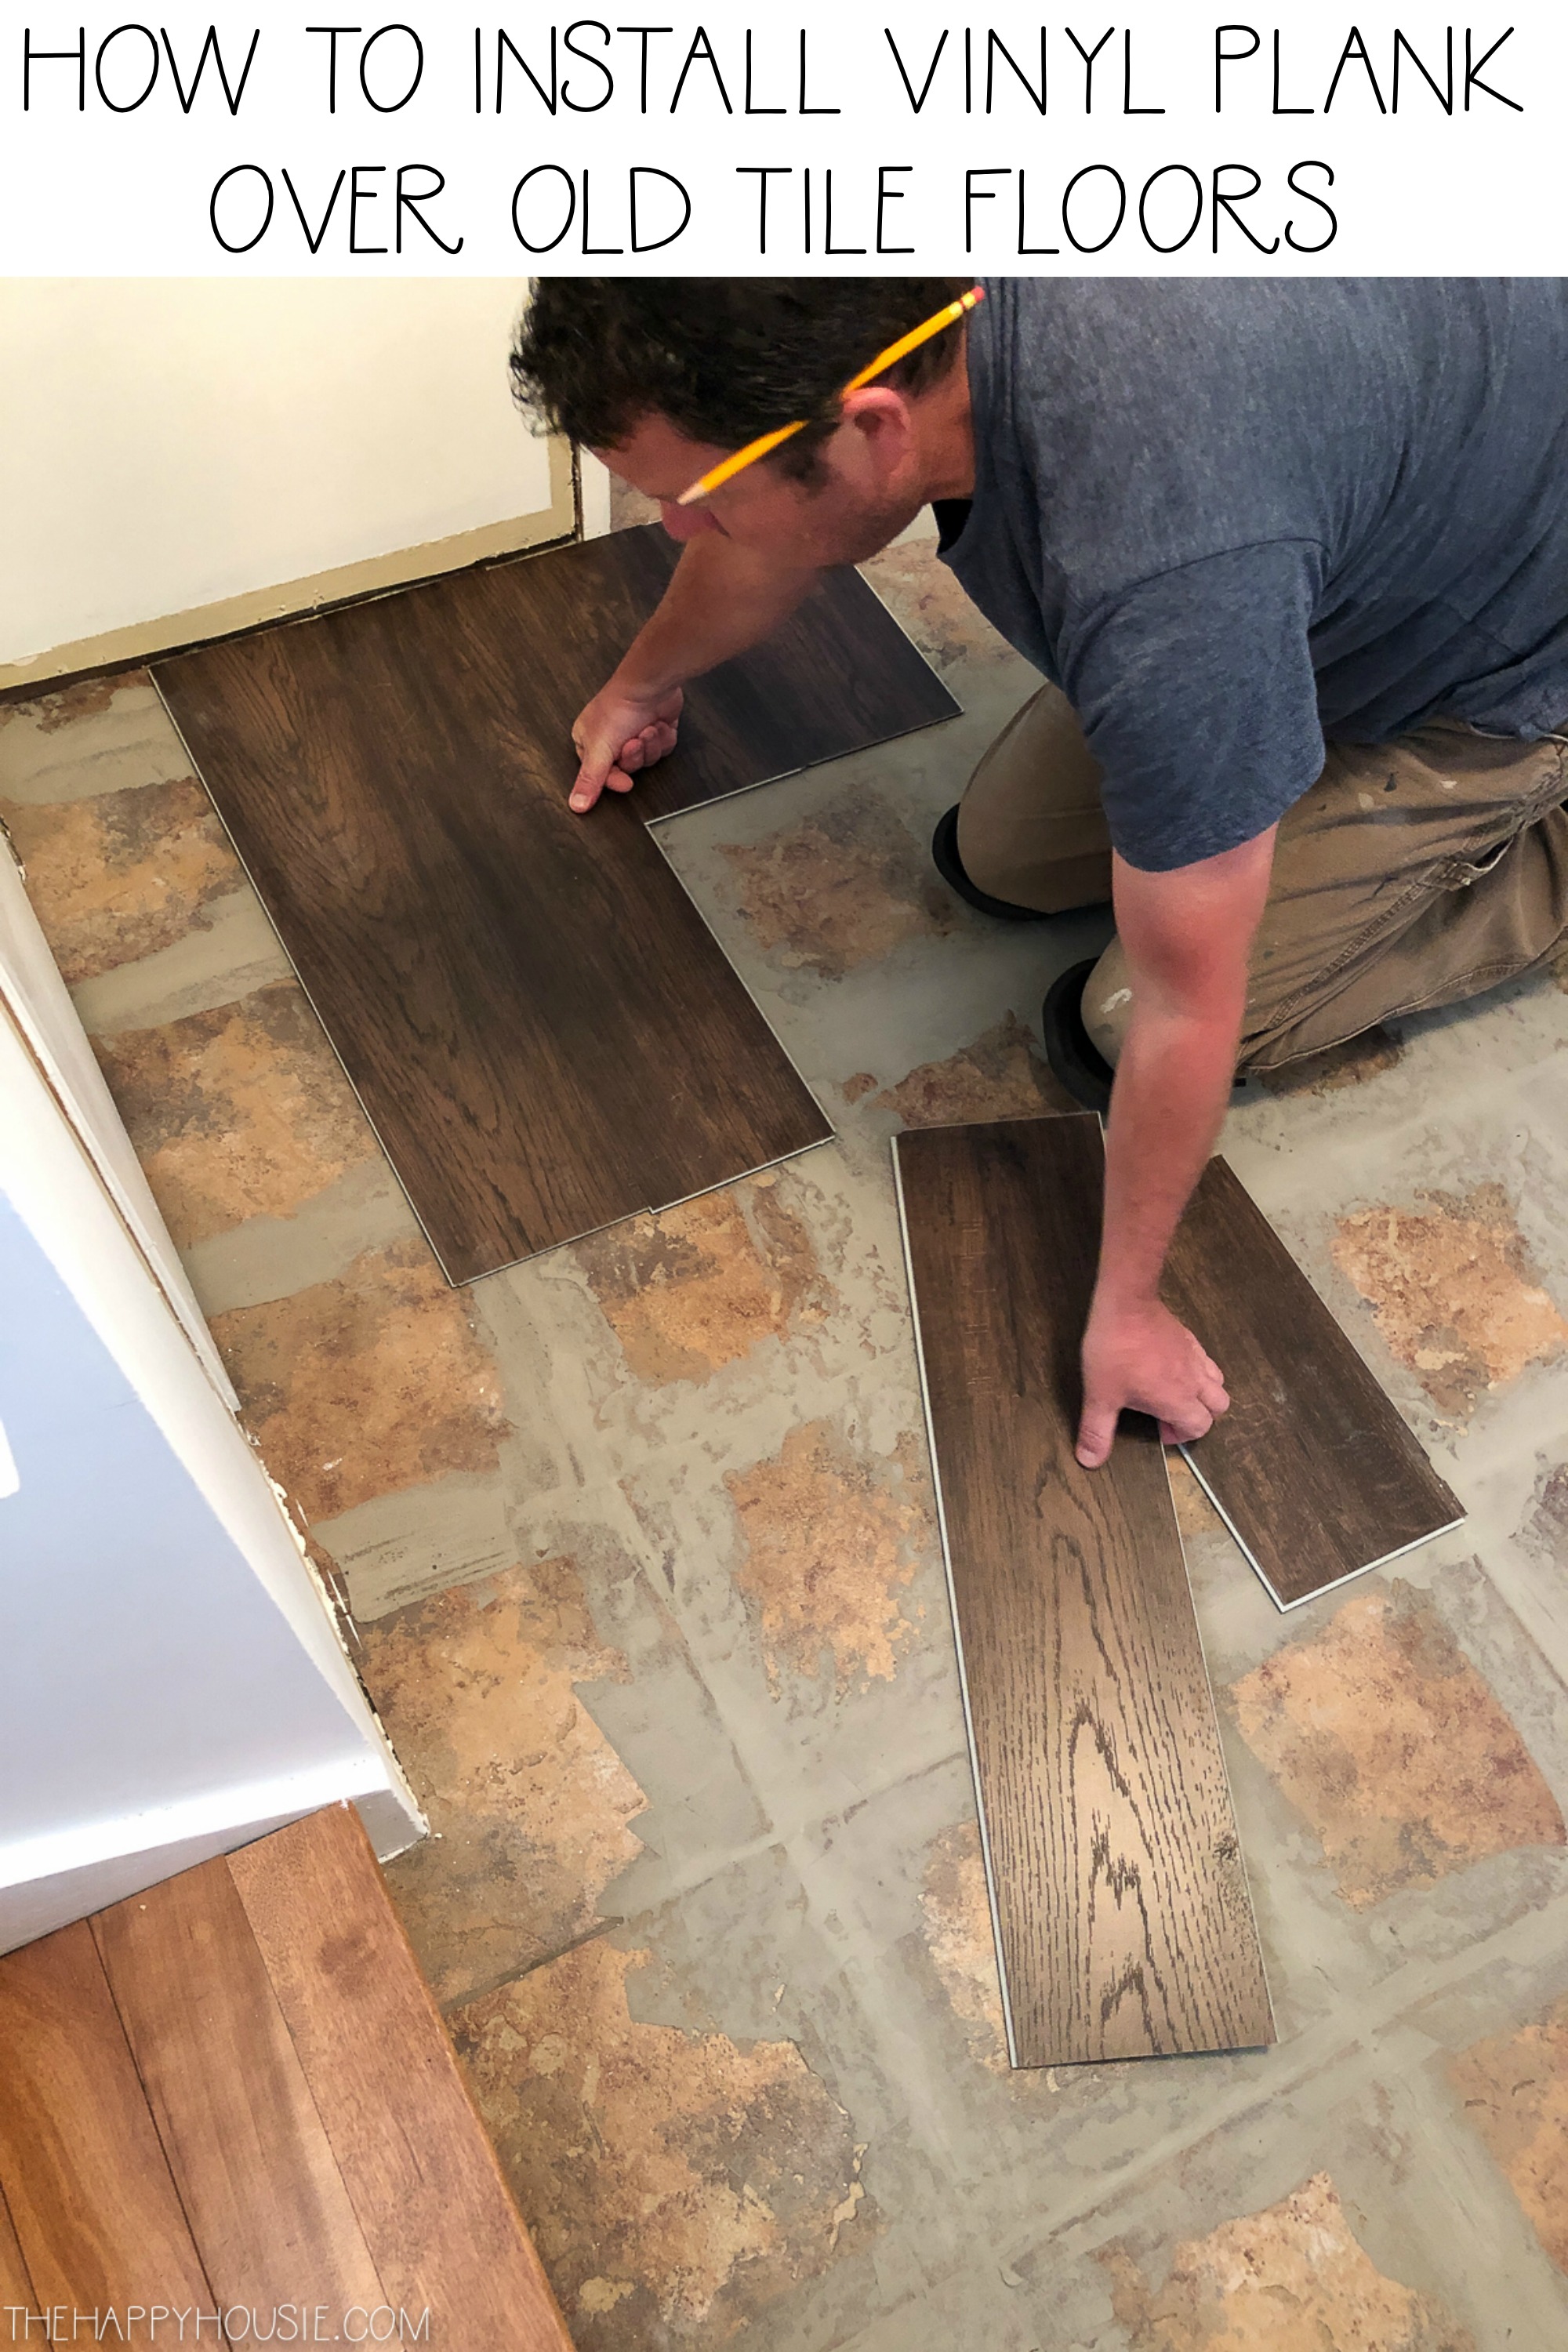
How to Install Vinyl Plank Over Tile Floors
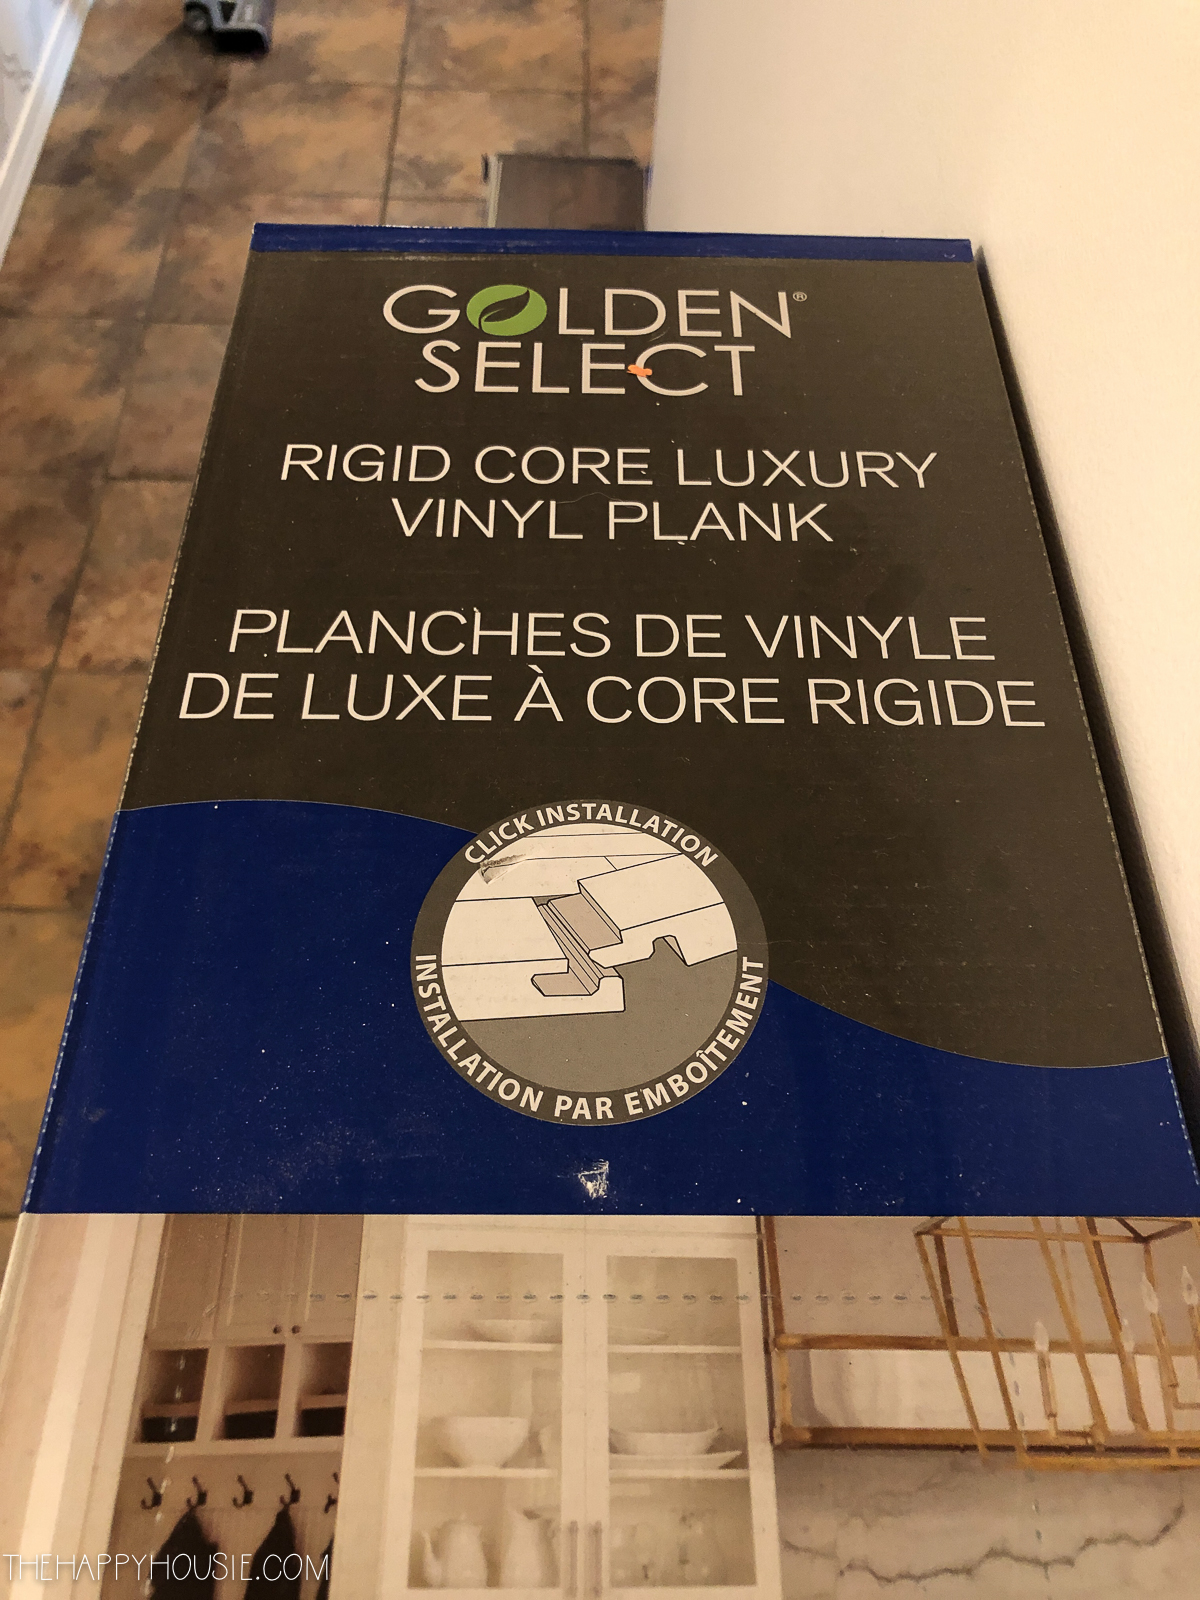
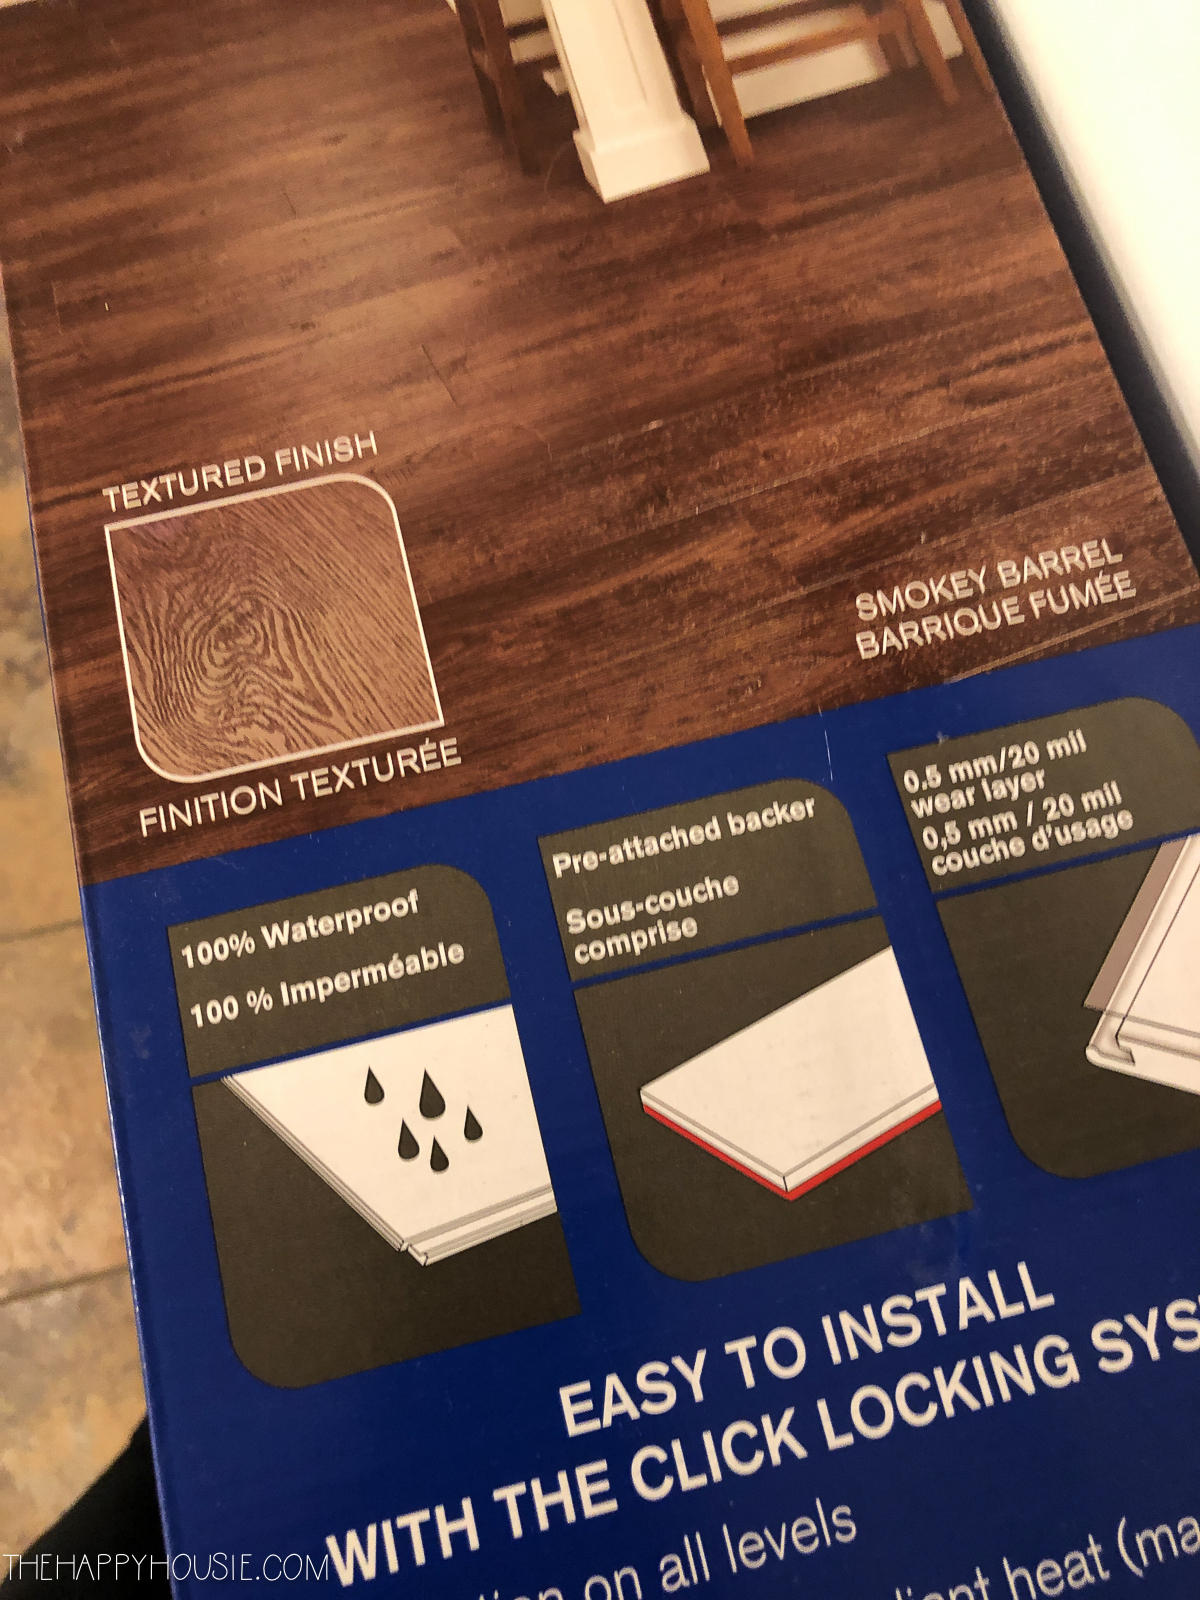
Today I’m sharing how we installed new vinyl plank floors over top of our existing ceramic tile flooring with just a few easy steps to ensure it was properly level. We used Golden Select Vinyl Plank in Smokey Barrel.
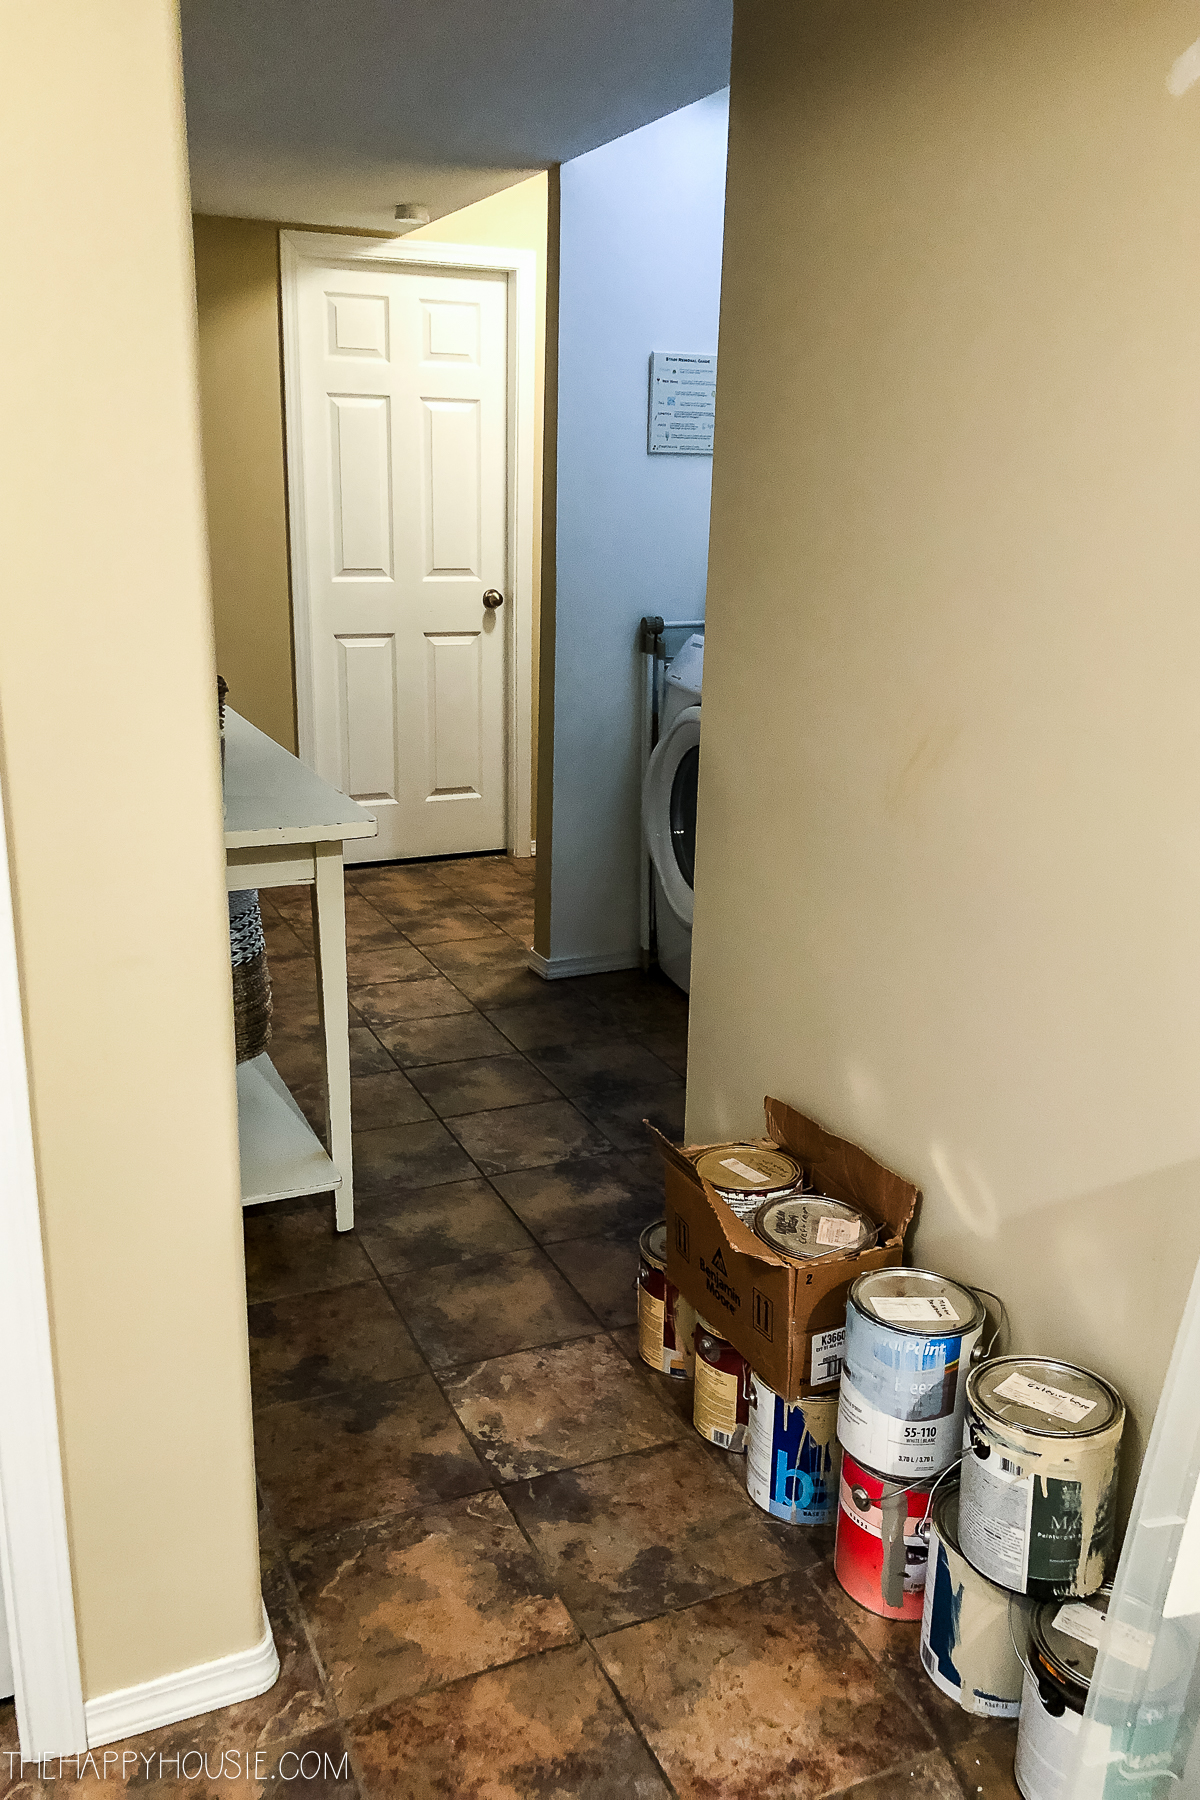
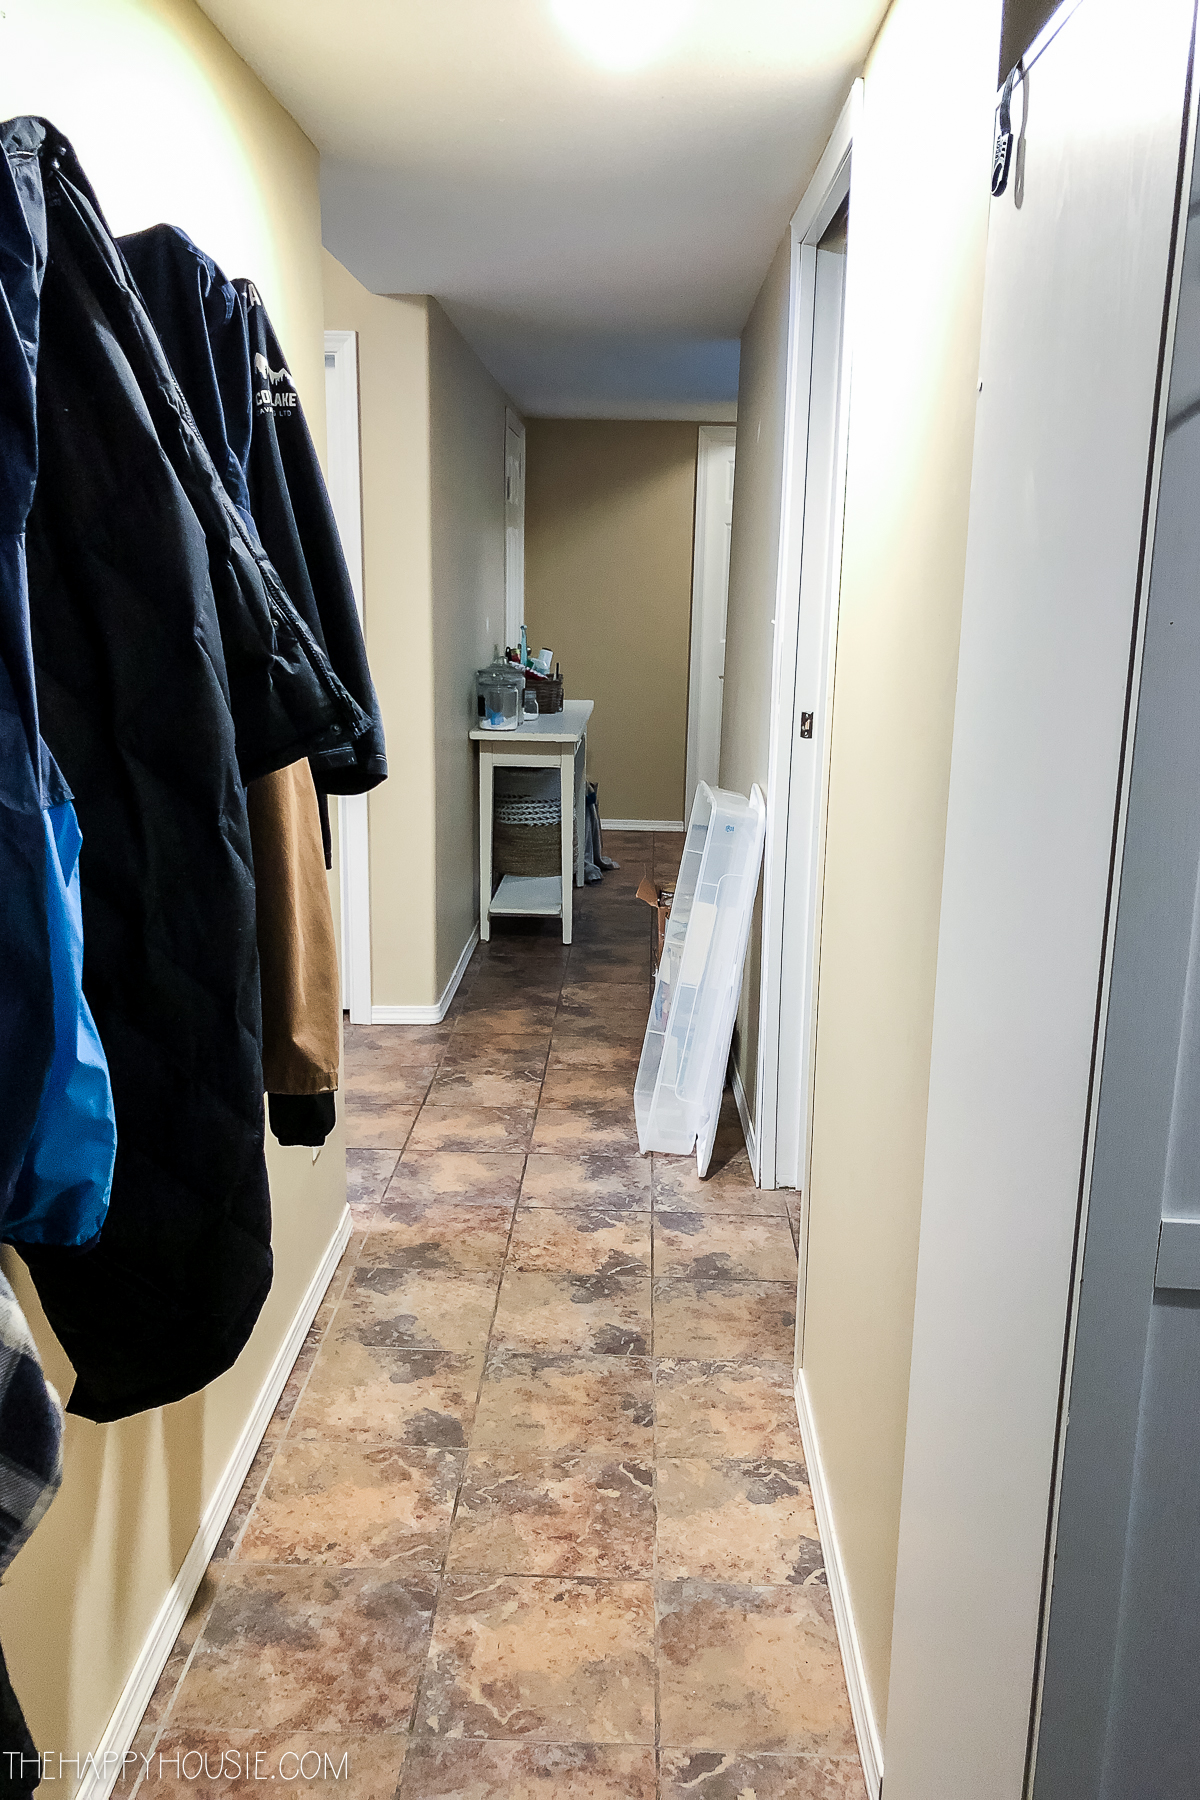
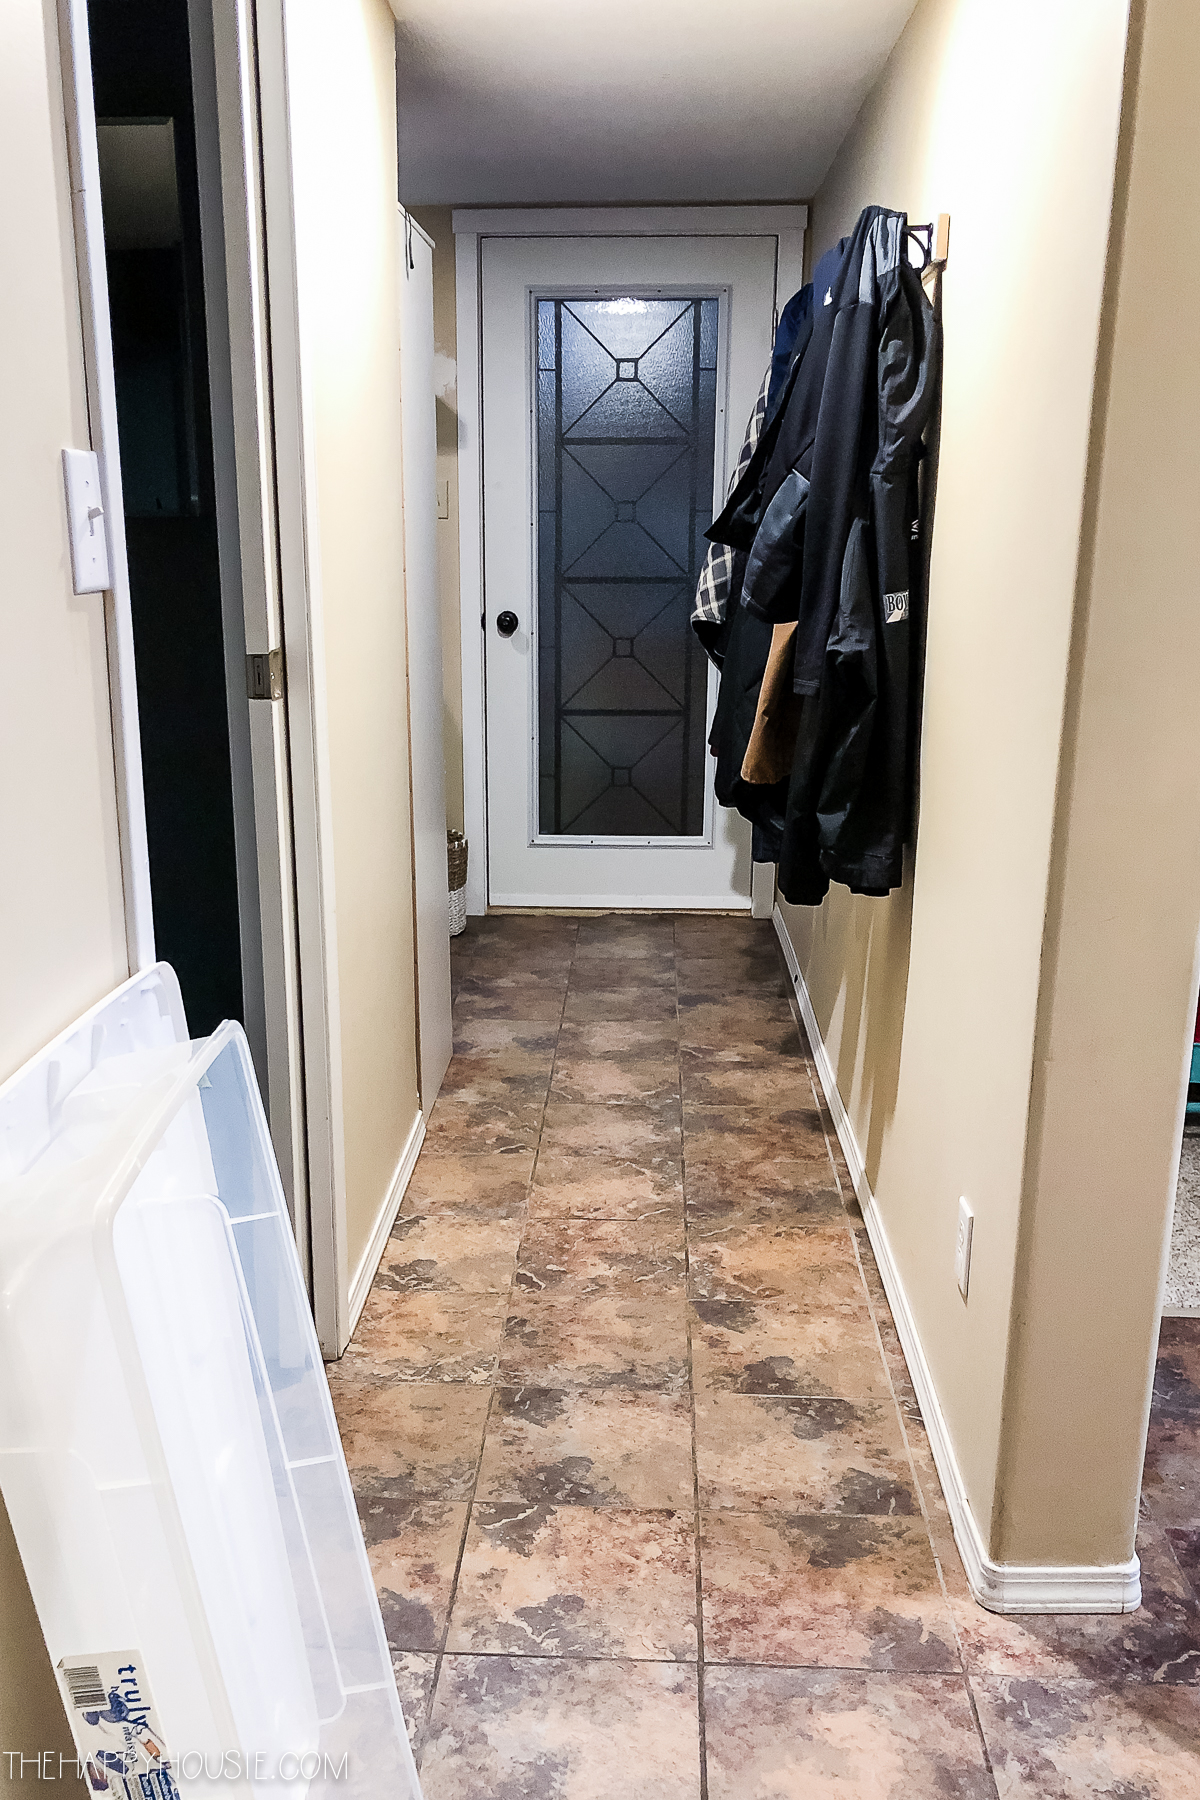
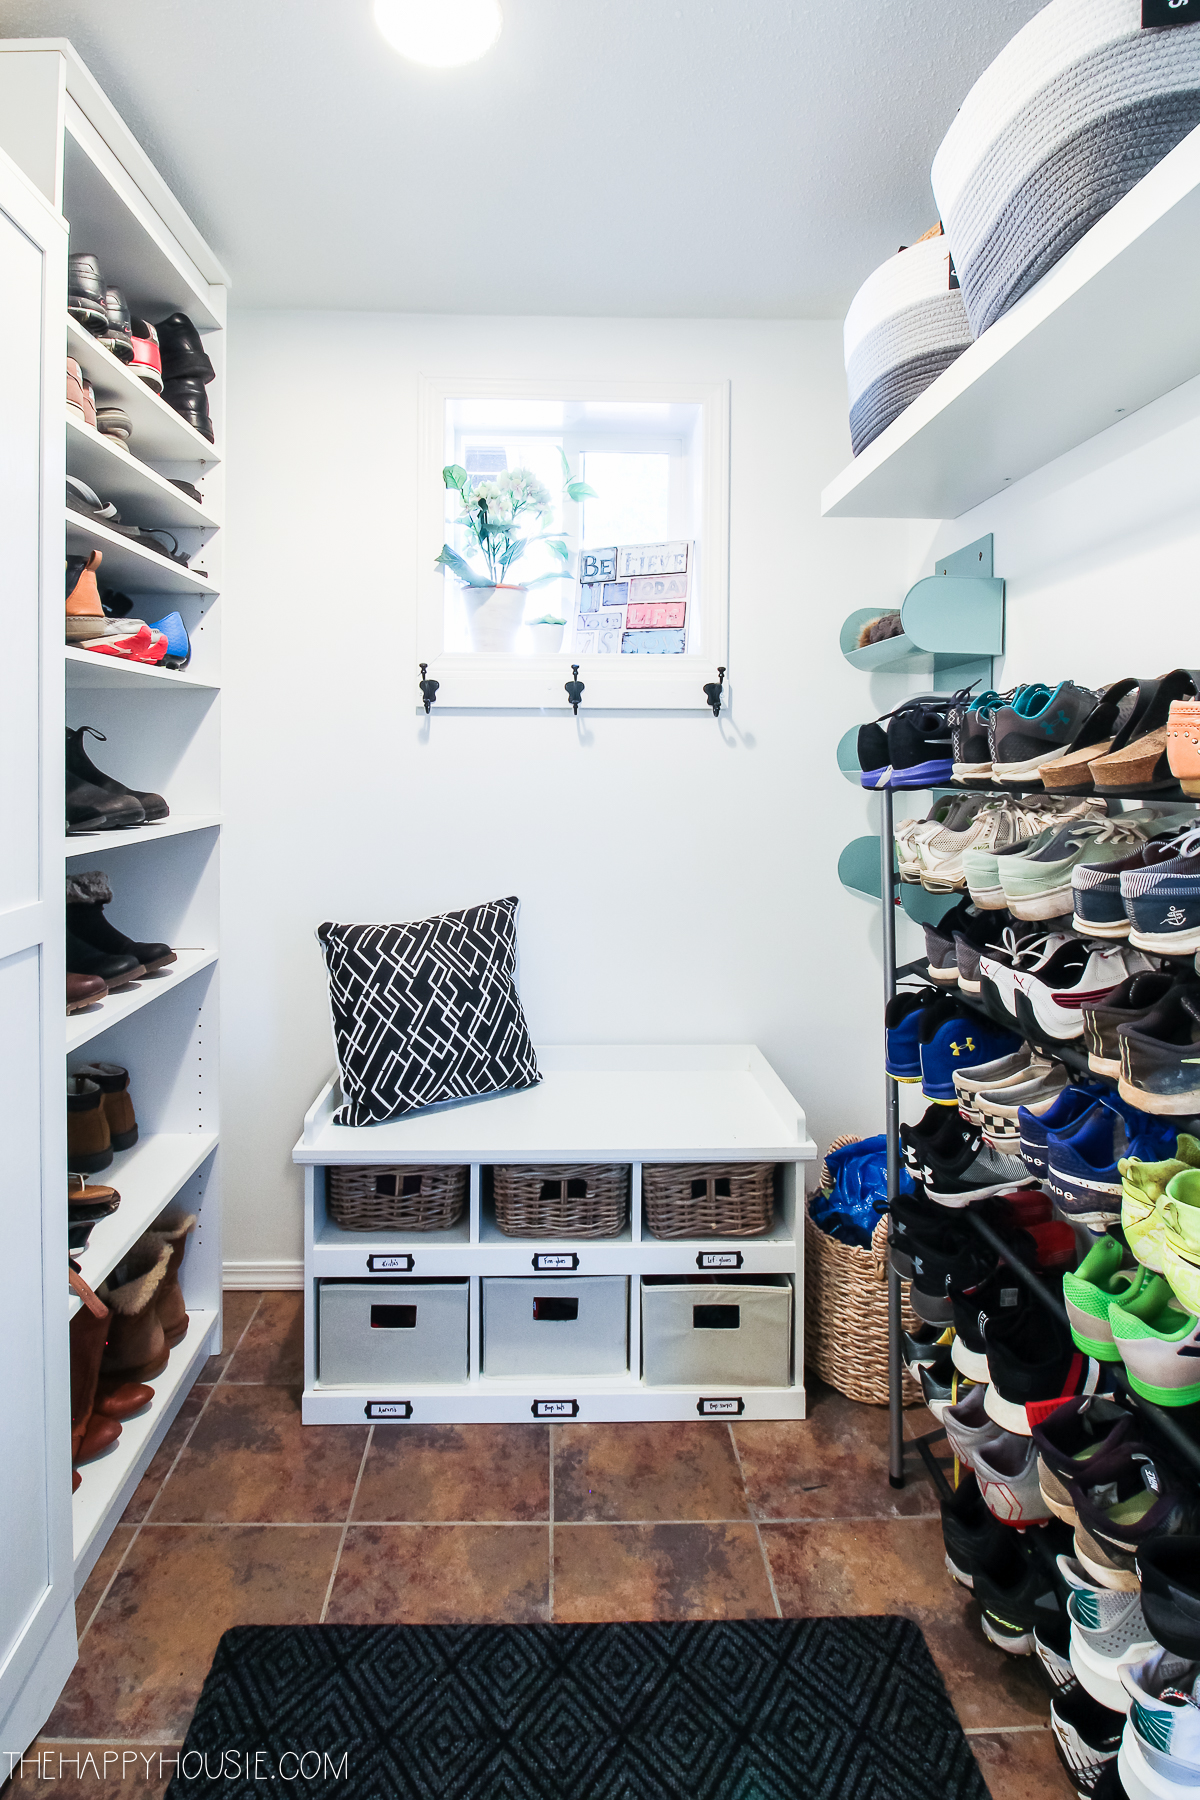
When things suddenly and drastically changed this spring with the pandemic and our spring break holidays were cancelled, we decided to hunker down and tackle some home projects. We hadn’t decided whether to replace all of the tile in our basement as it seemed like an enormous job since the ceramic tile had been laid directly on the concrete subfloor. But we also knew that we really wanted to change and freshen up the look in the basement as well as create a more consistent flooring choice through the whole space. The old tile was un-level, difficult to clean, hard on the feet, and cold in the winter. It was also not exactly our style or colour preference.
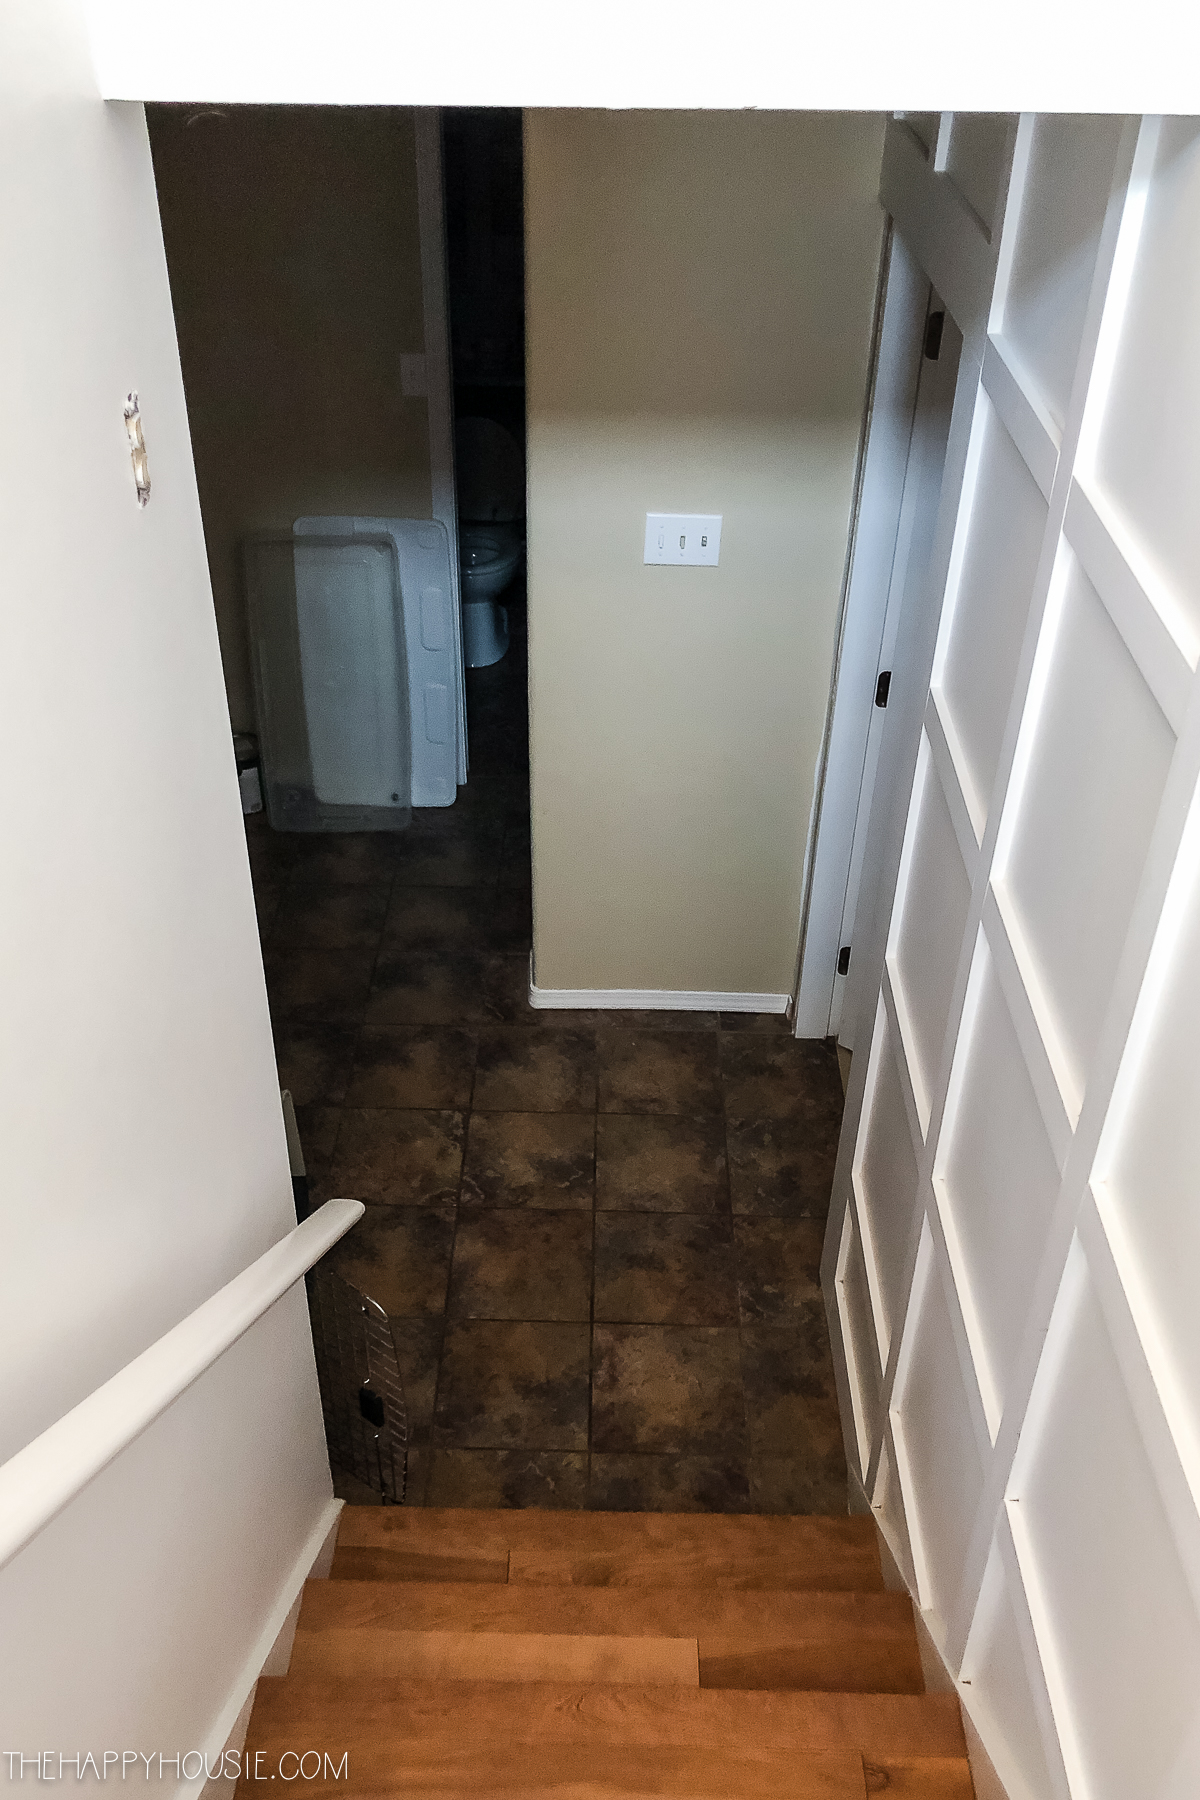
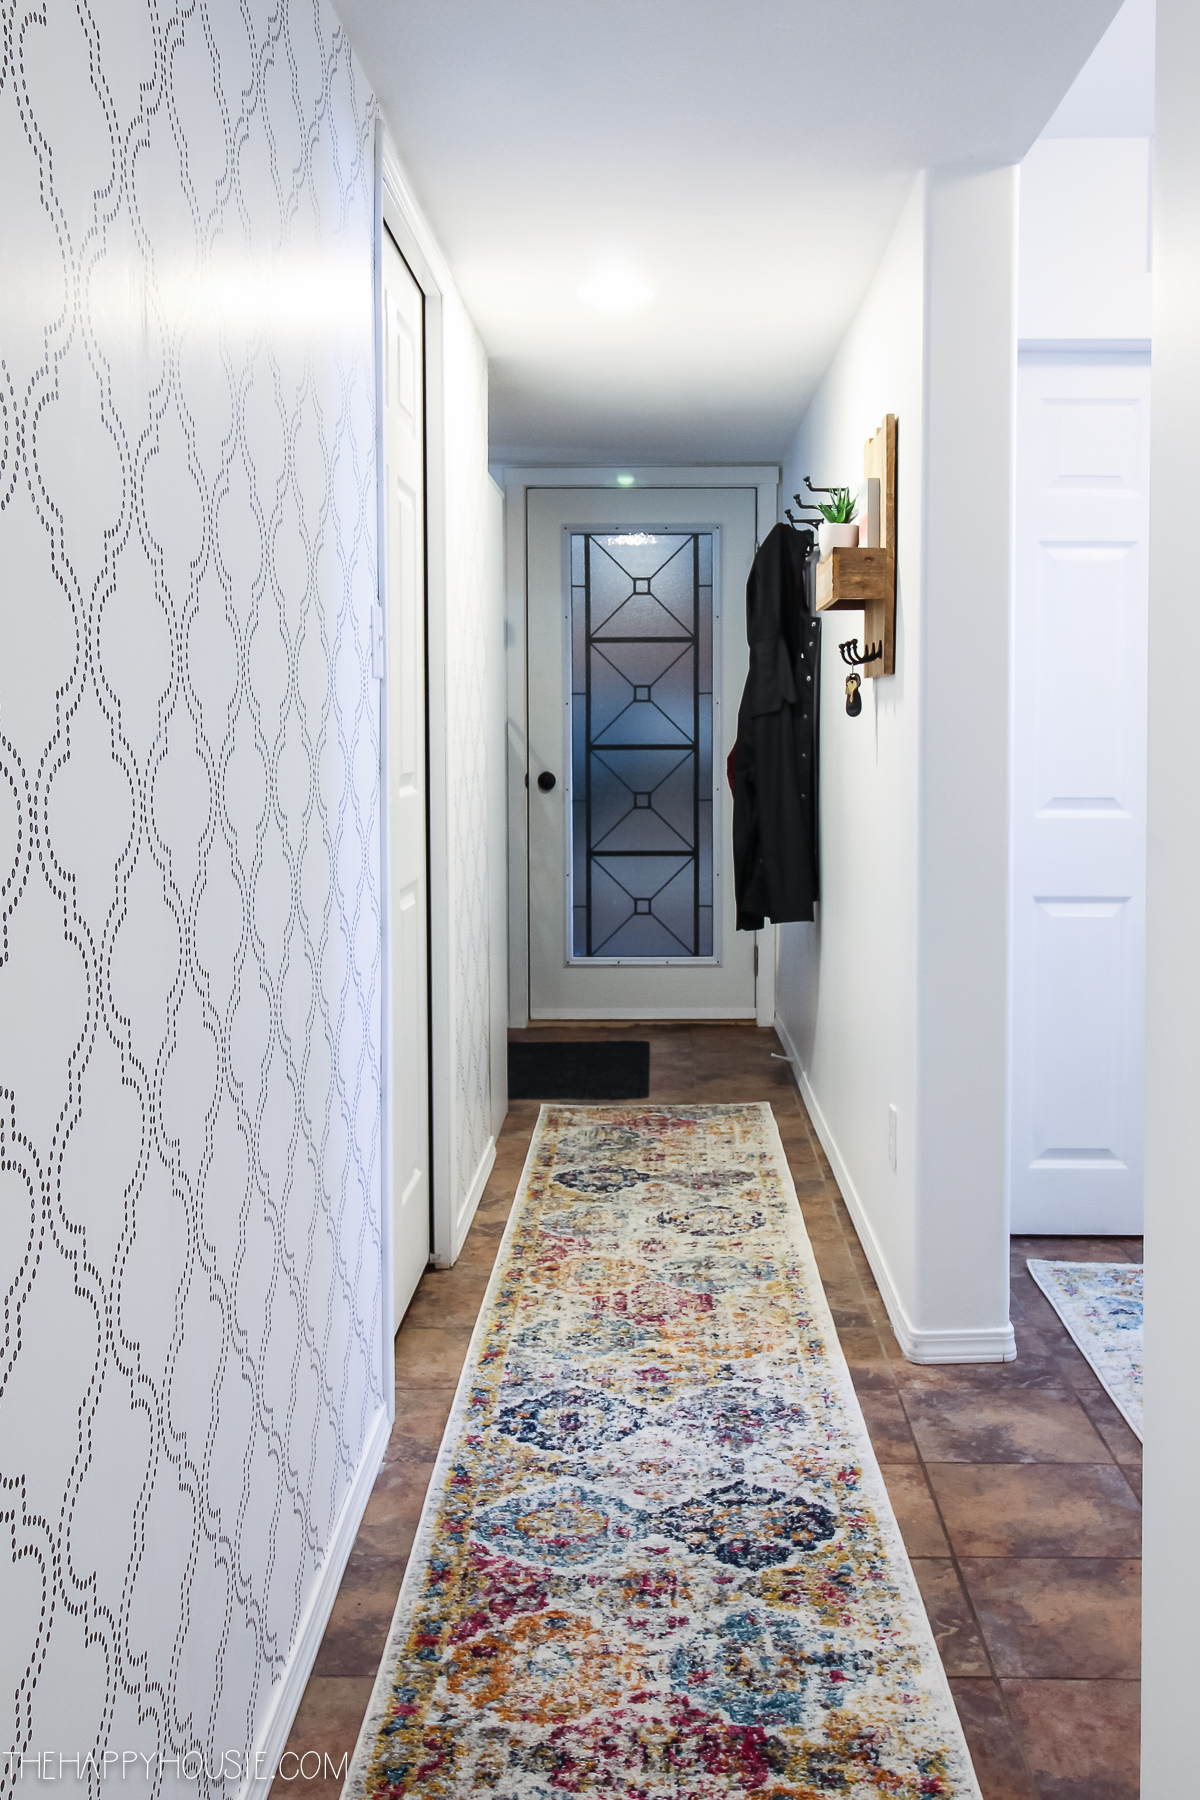
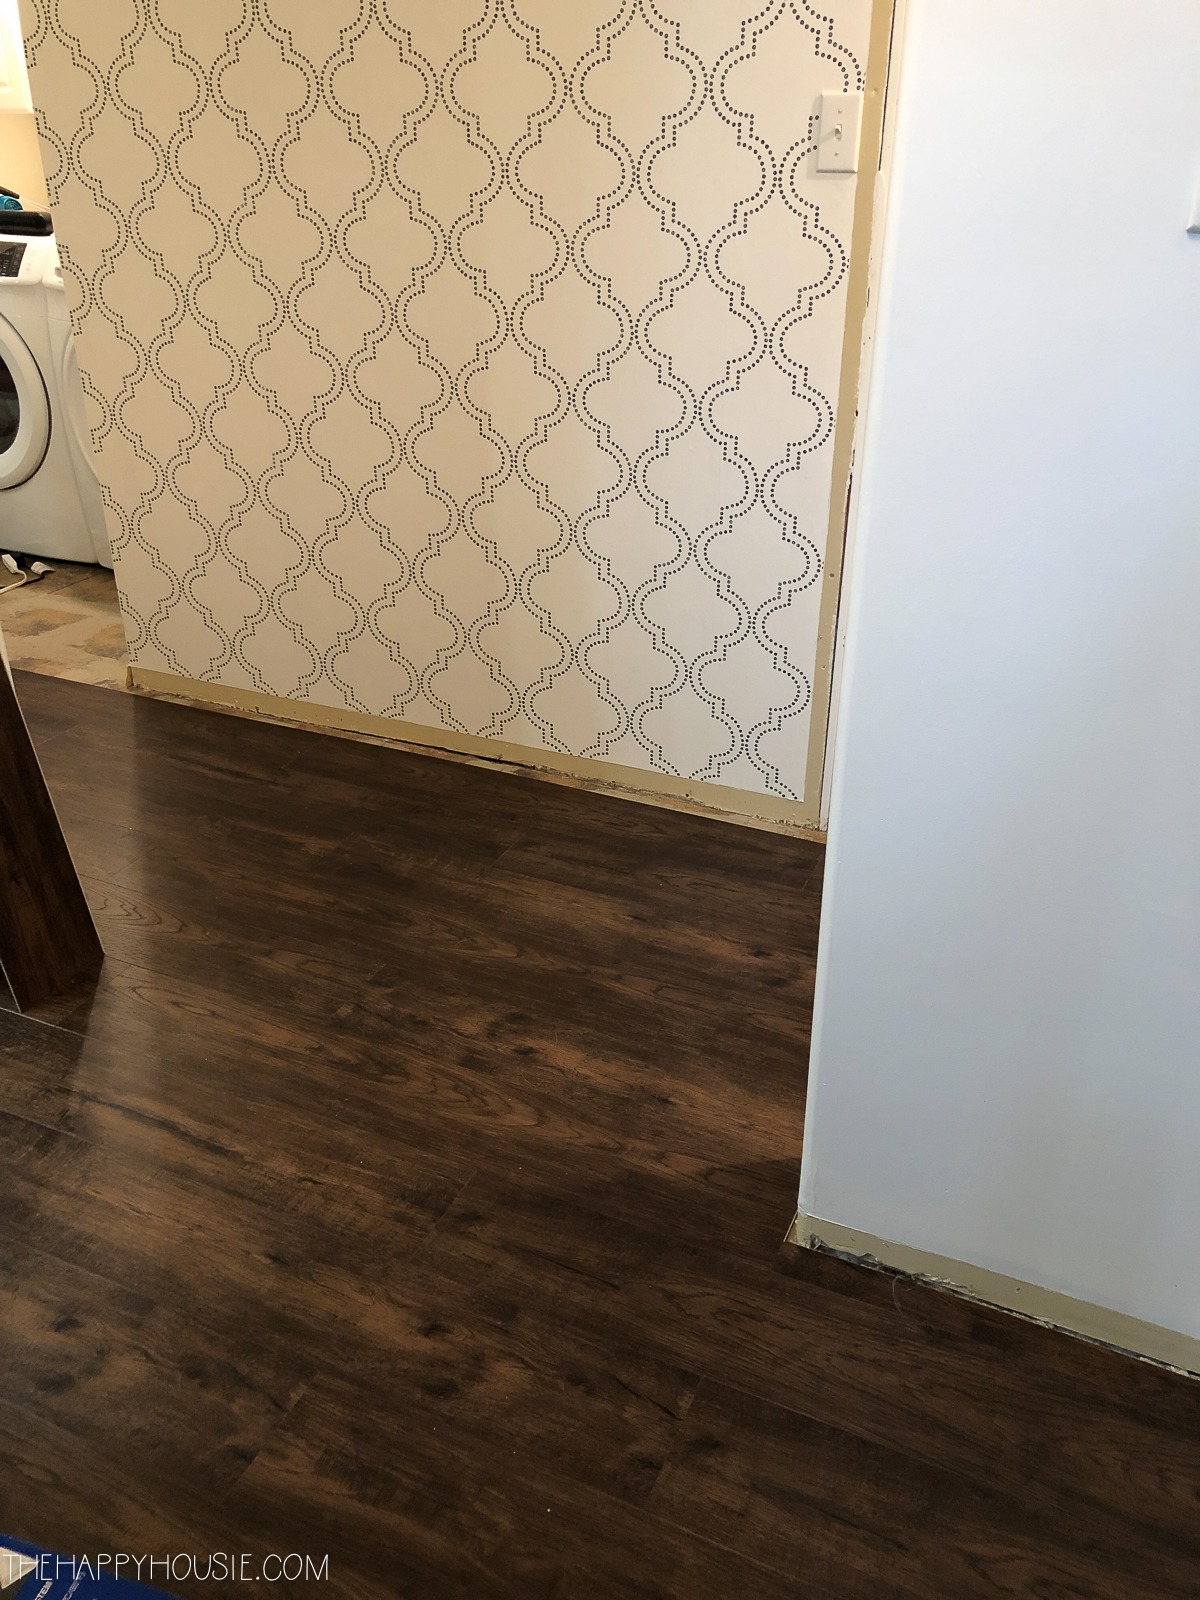
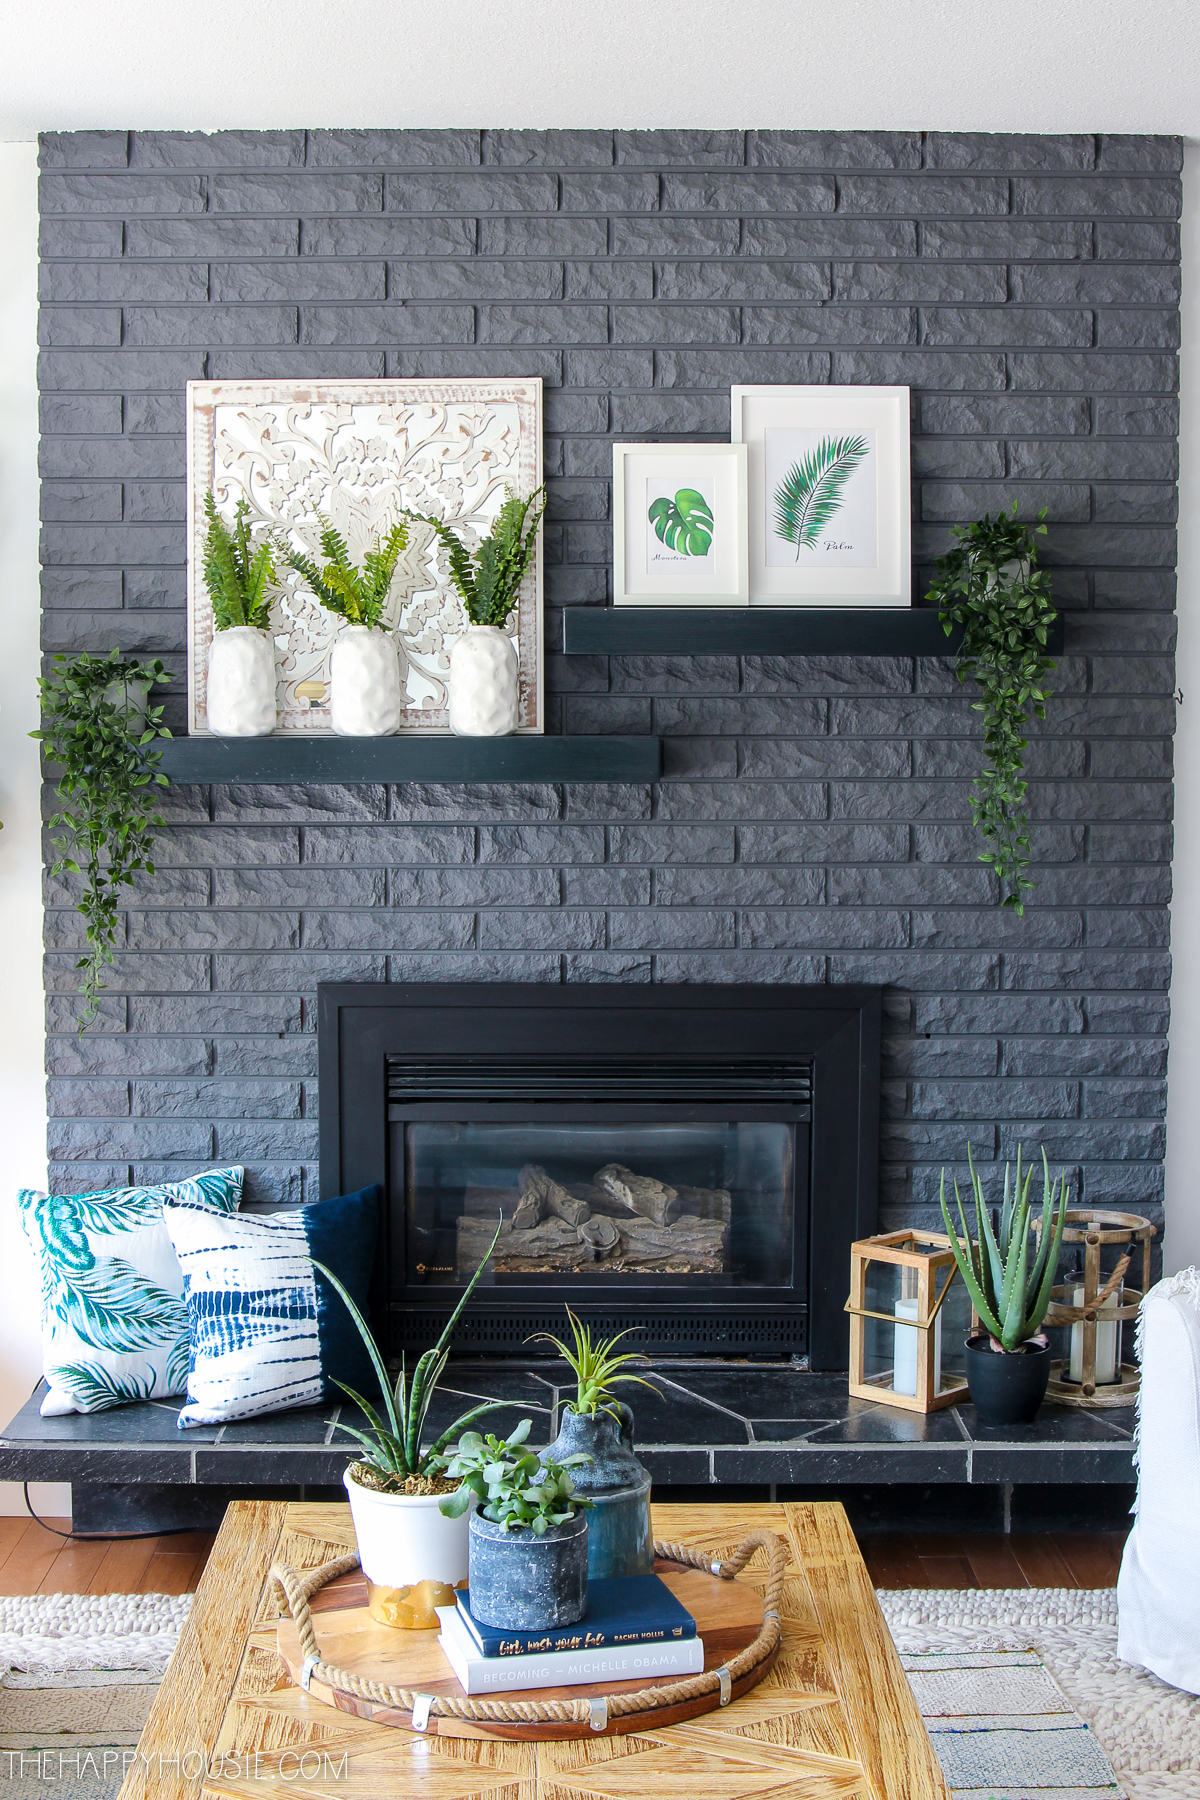
Here is how it looked before…
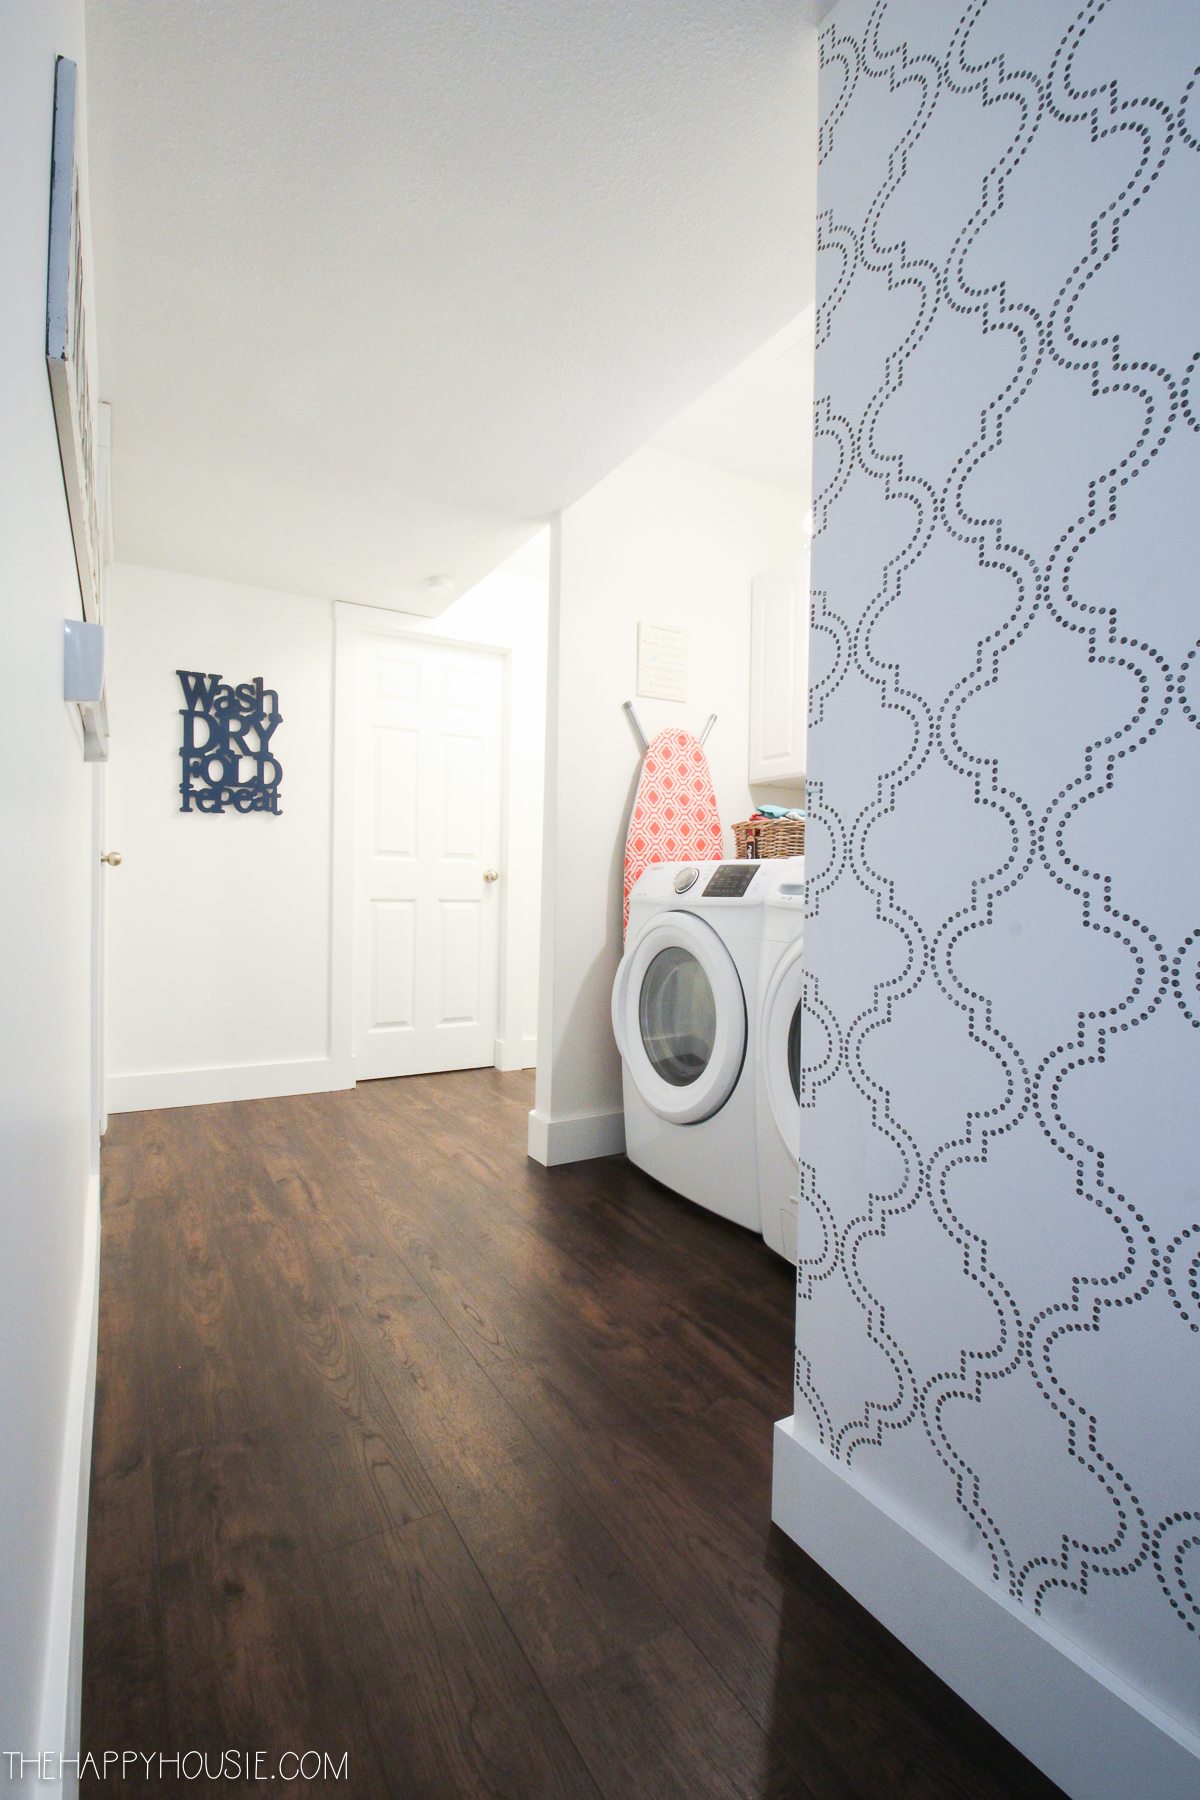
In January I had repainted all of the walls white and we had added a wallpaper feature wall. I had also purchased some area rugs to cover the strong tile and warm up this space, which definitely worked well as an interim measure.
You can read more about my temporary updates in this post.
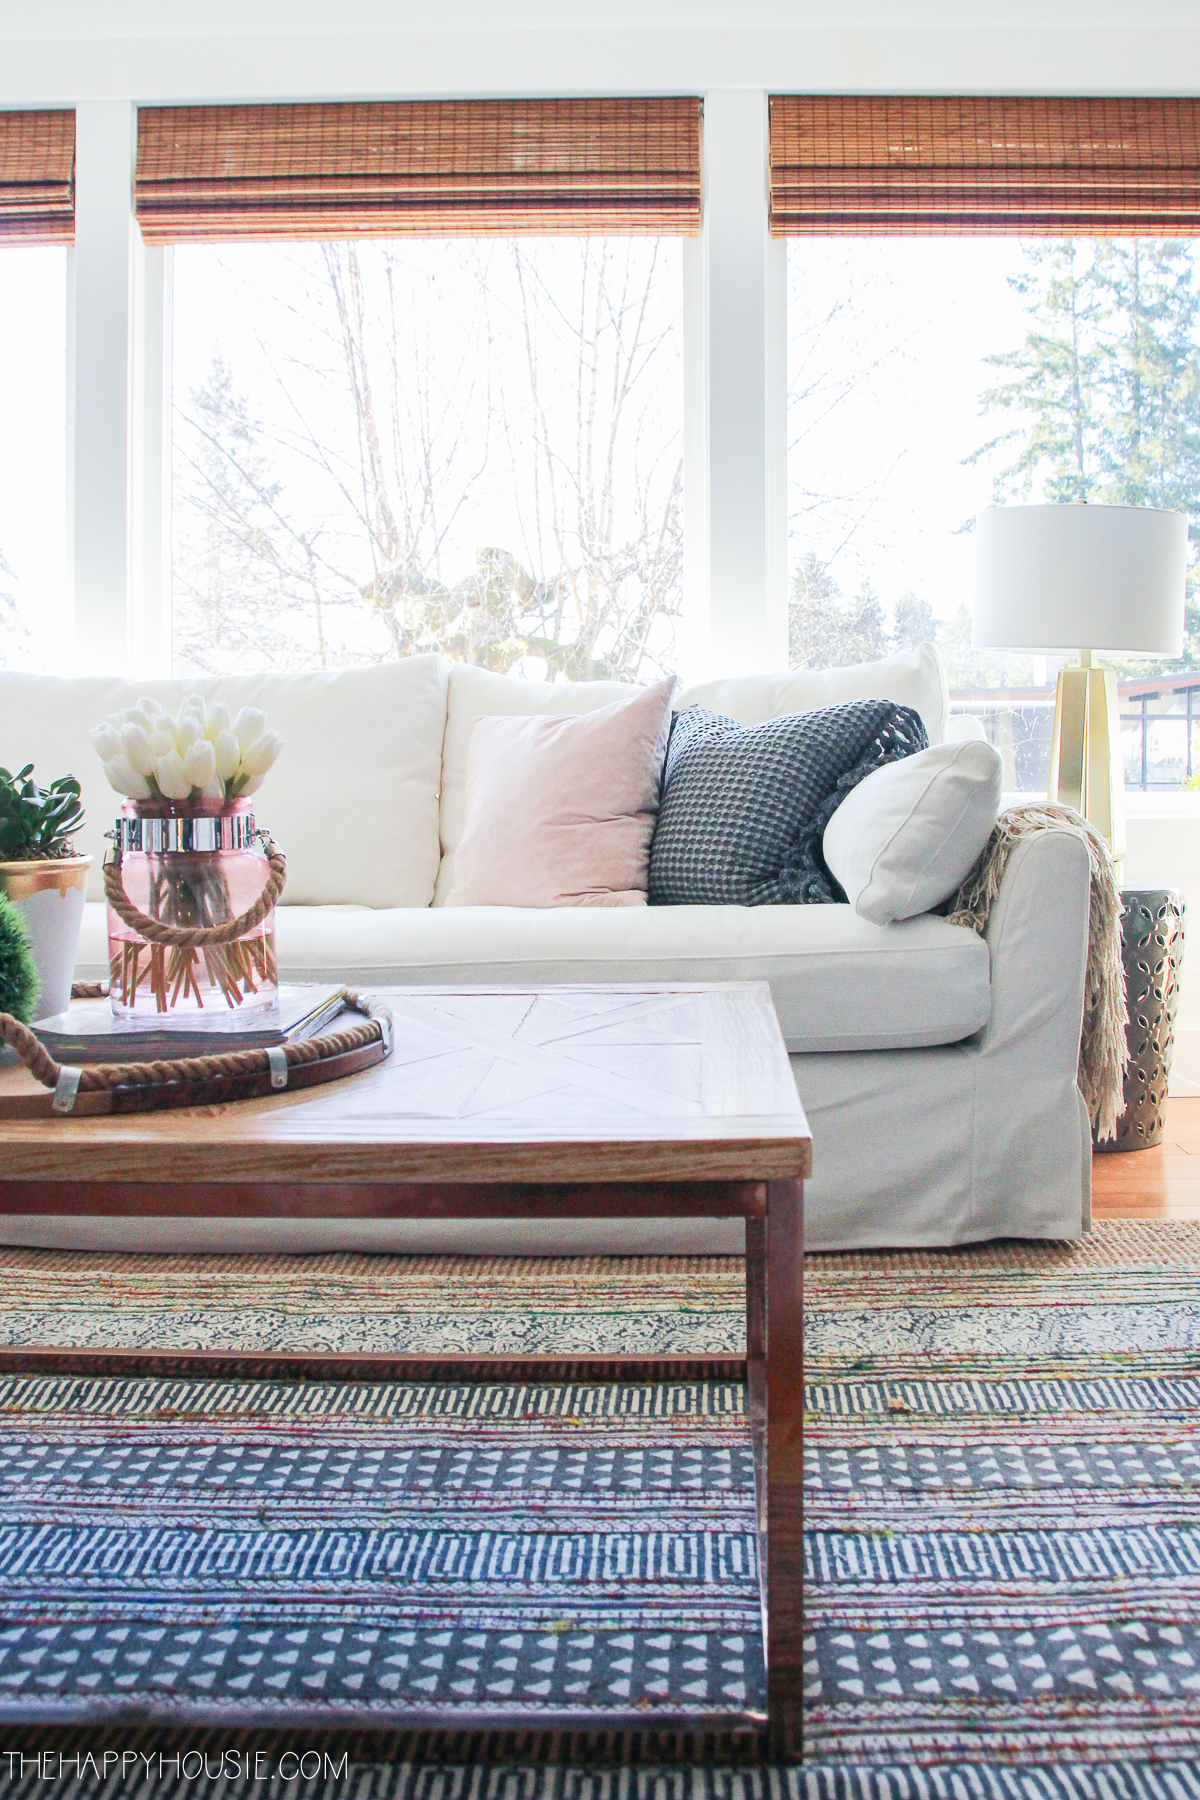
But once we decided to makeover the family room, updating the ceiling, flooring, and trim, the project just kind of snowballed into included all of the basement common areas and hallways.
We headed down to Costco just before everything really blew up pandemic-wise and purchased enough boxes of Golden Select Vinyl Plank flooring (in Smokey Barrel) to tackle the entire basement flooring aside from the three bedrooms which had a carpet in reasonably good shape (and which keeps things warmer in the winter). We could also have ordered Golden Select from Costco online, but were impatient to get started!
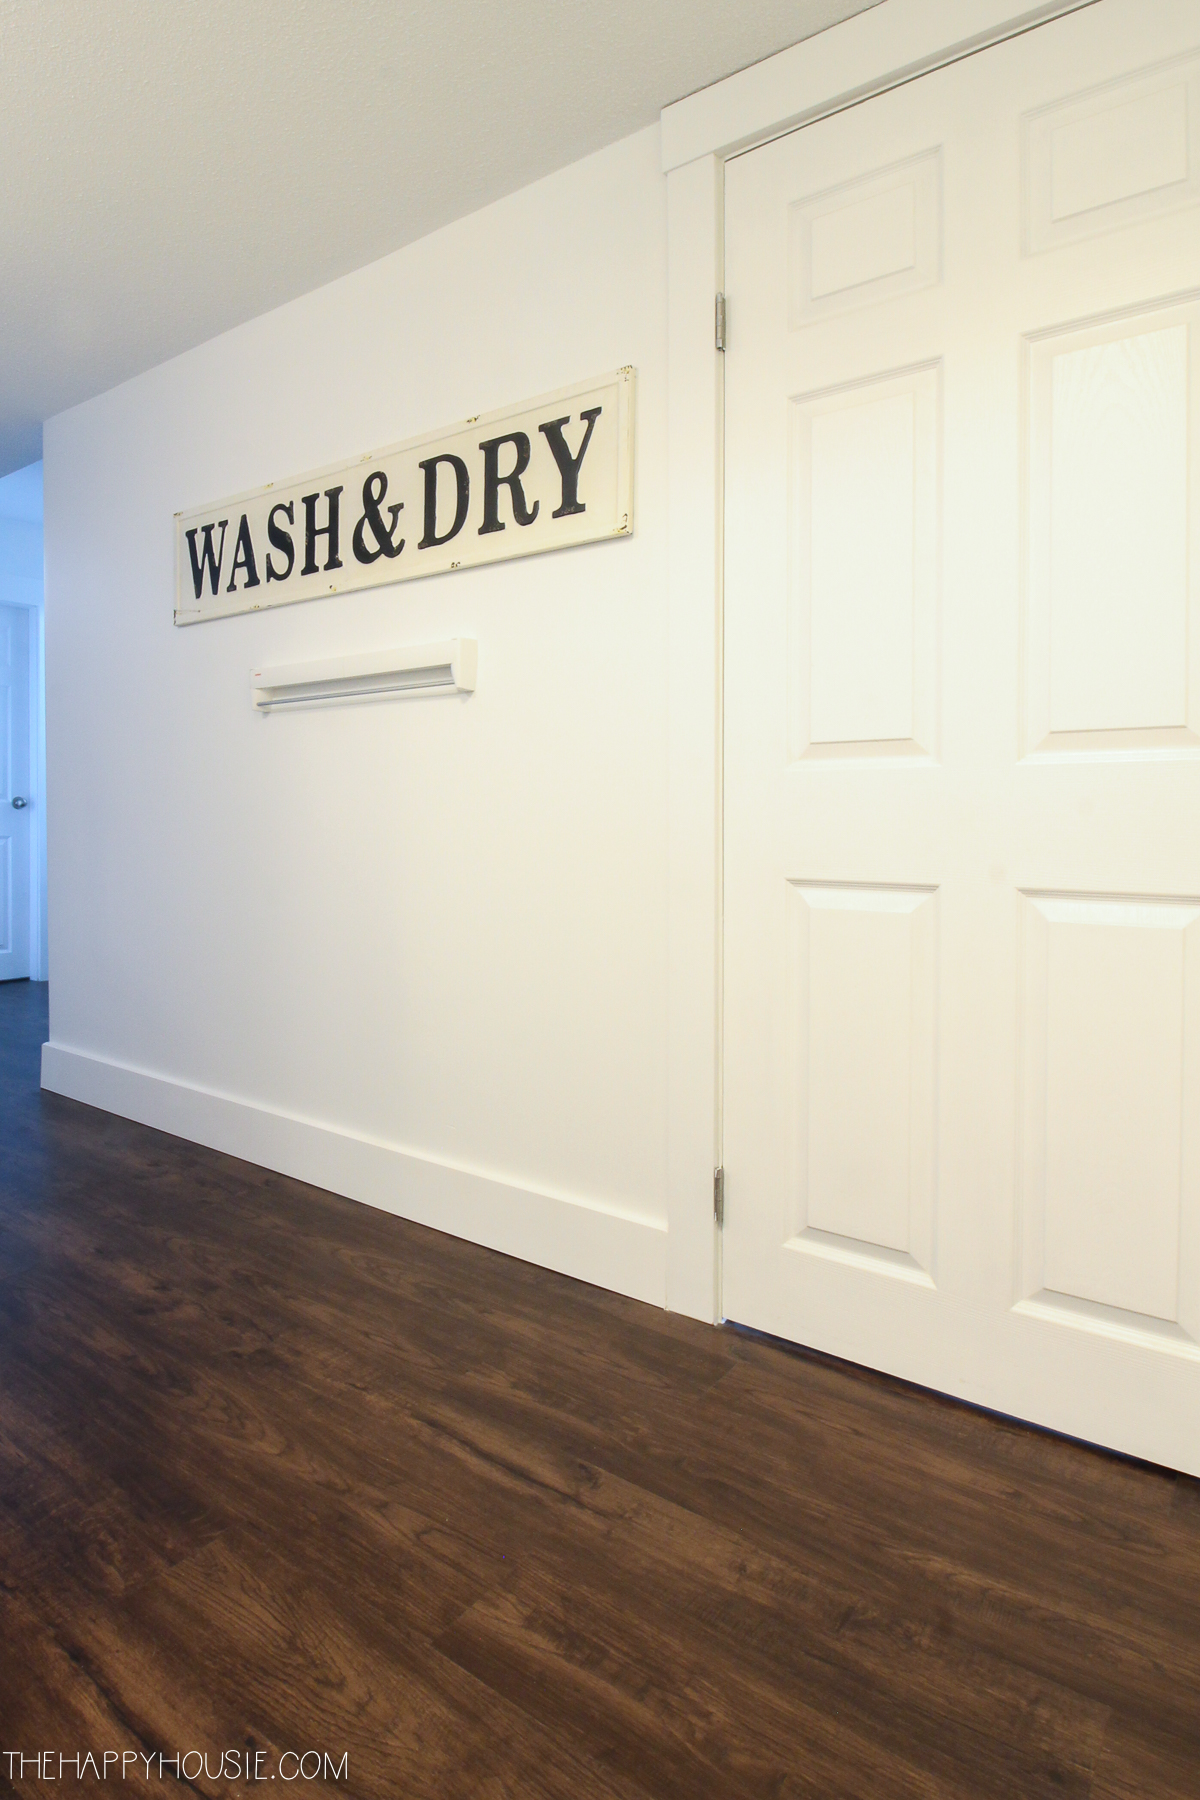
Before we started, we removed the wall baseboards and made sure to vacuum and clean our floors thoroughly.
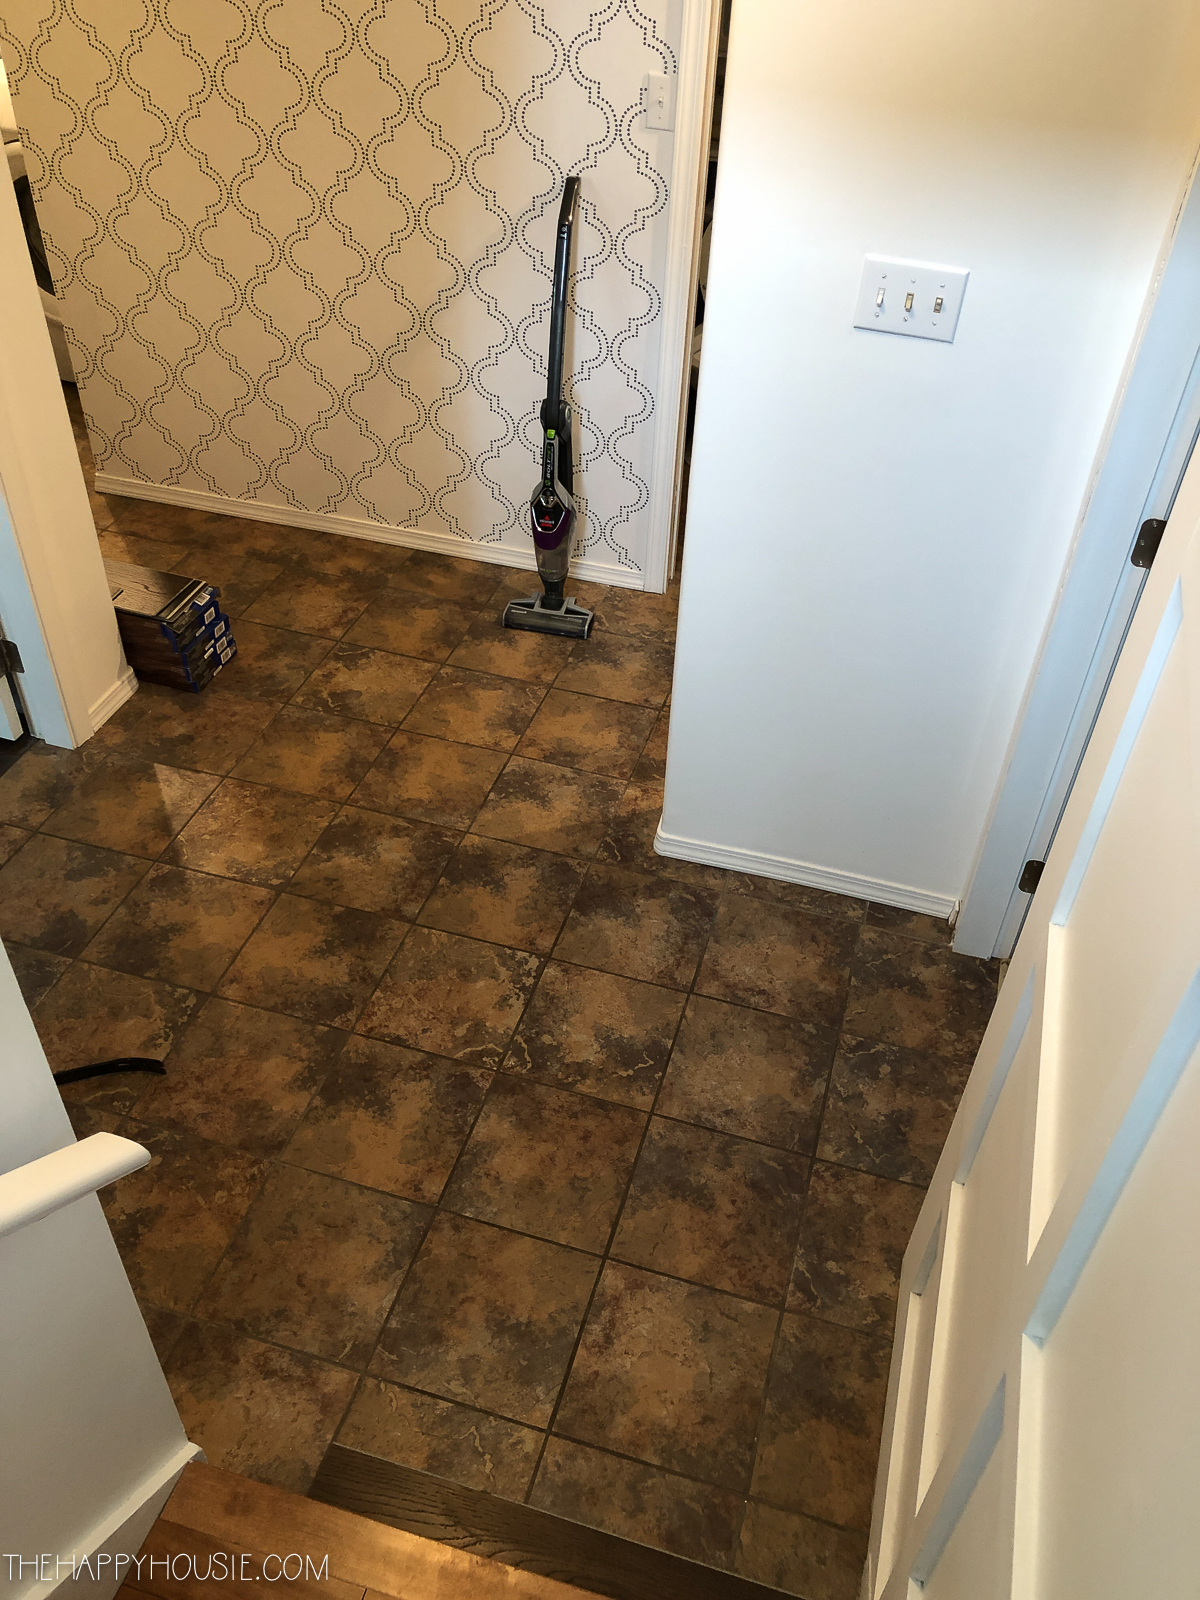
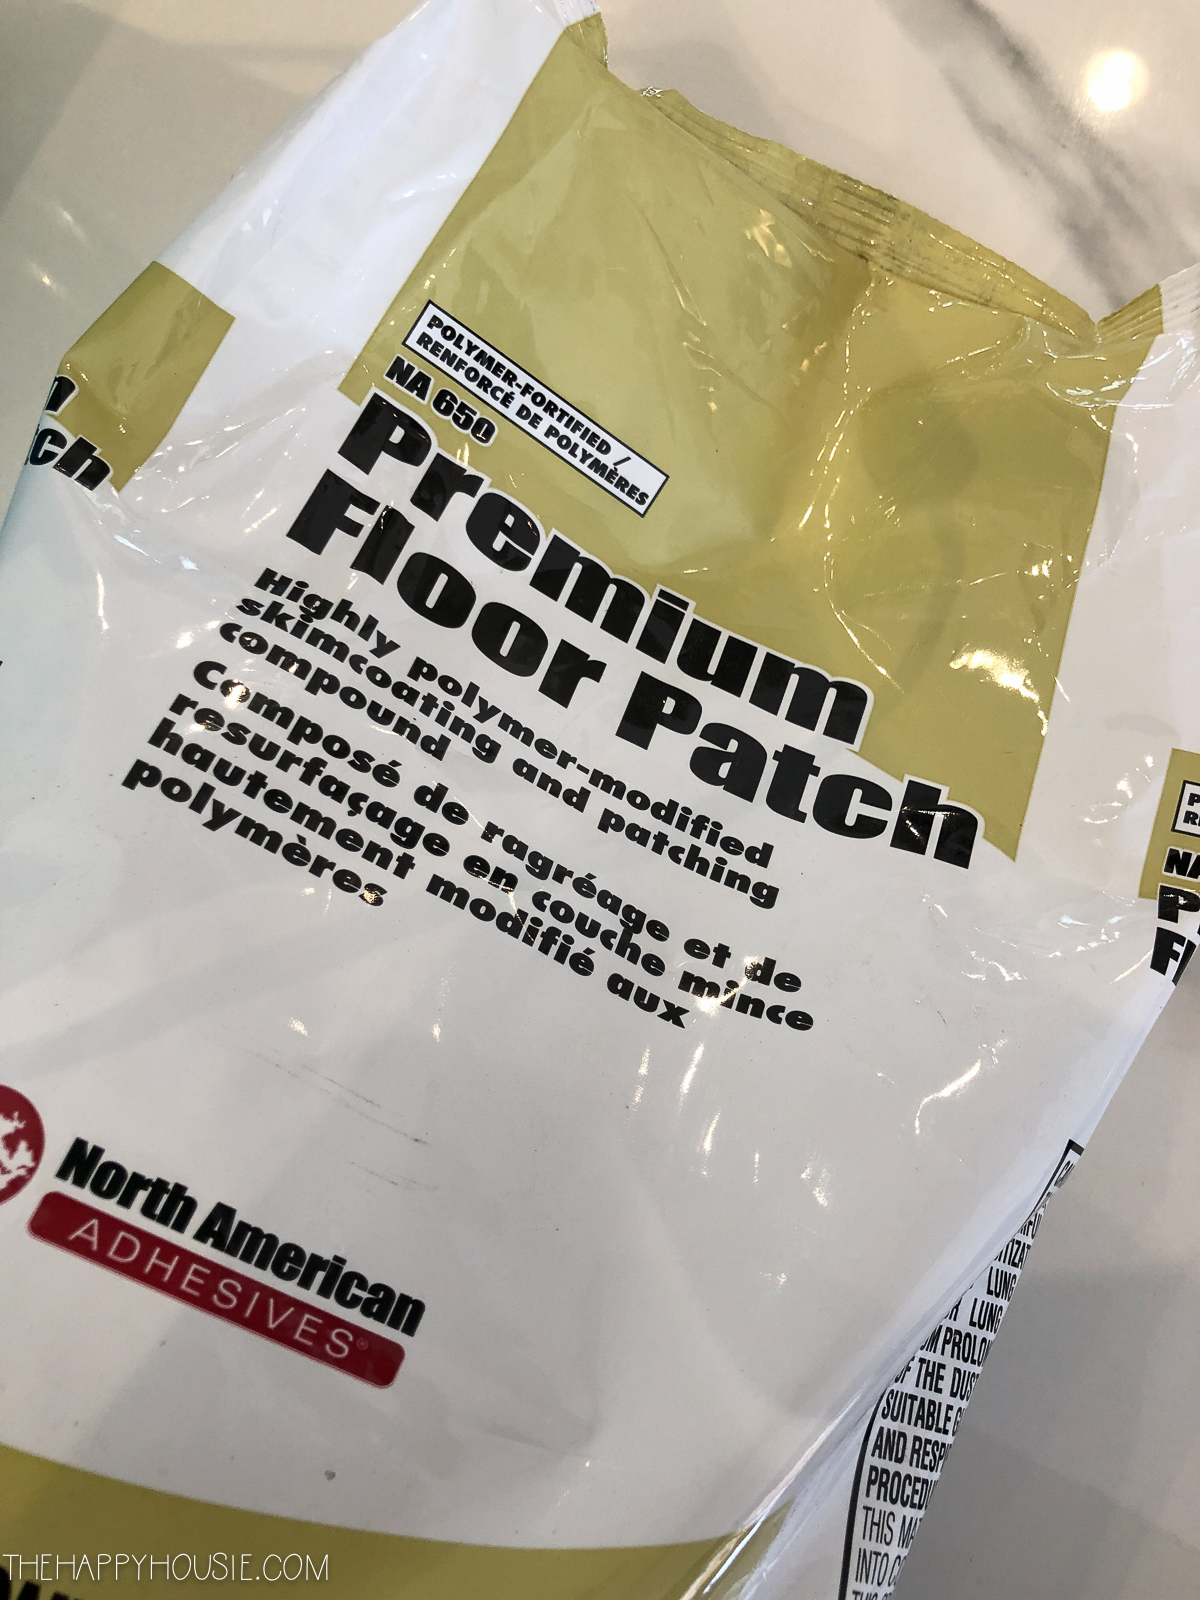
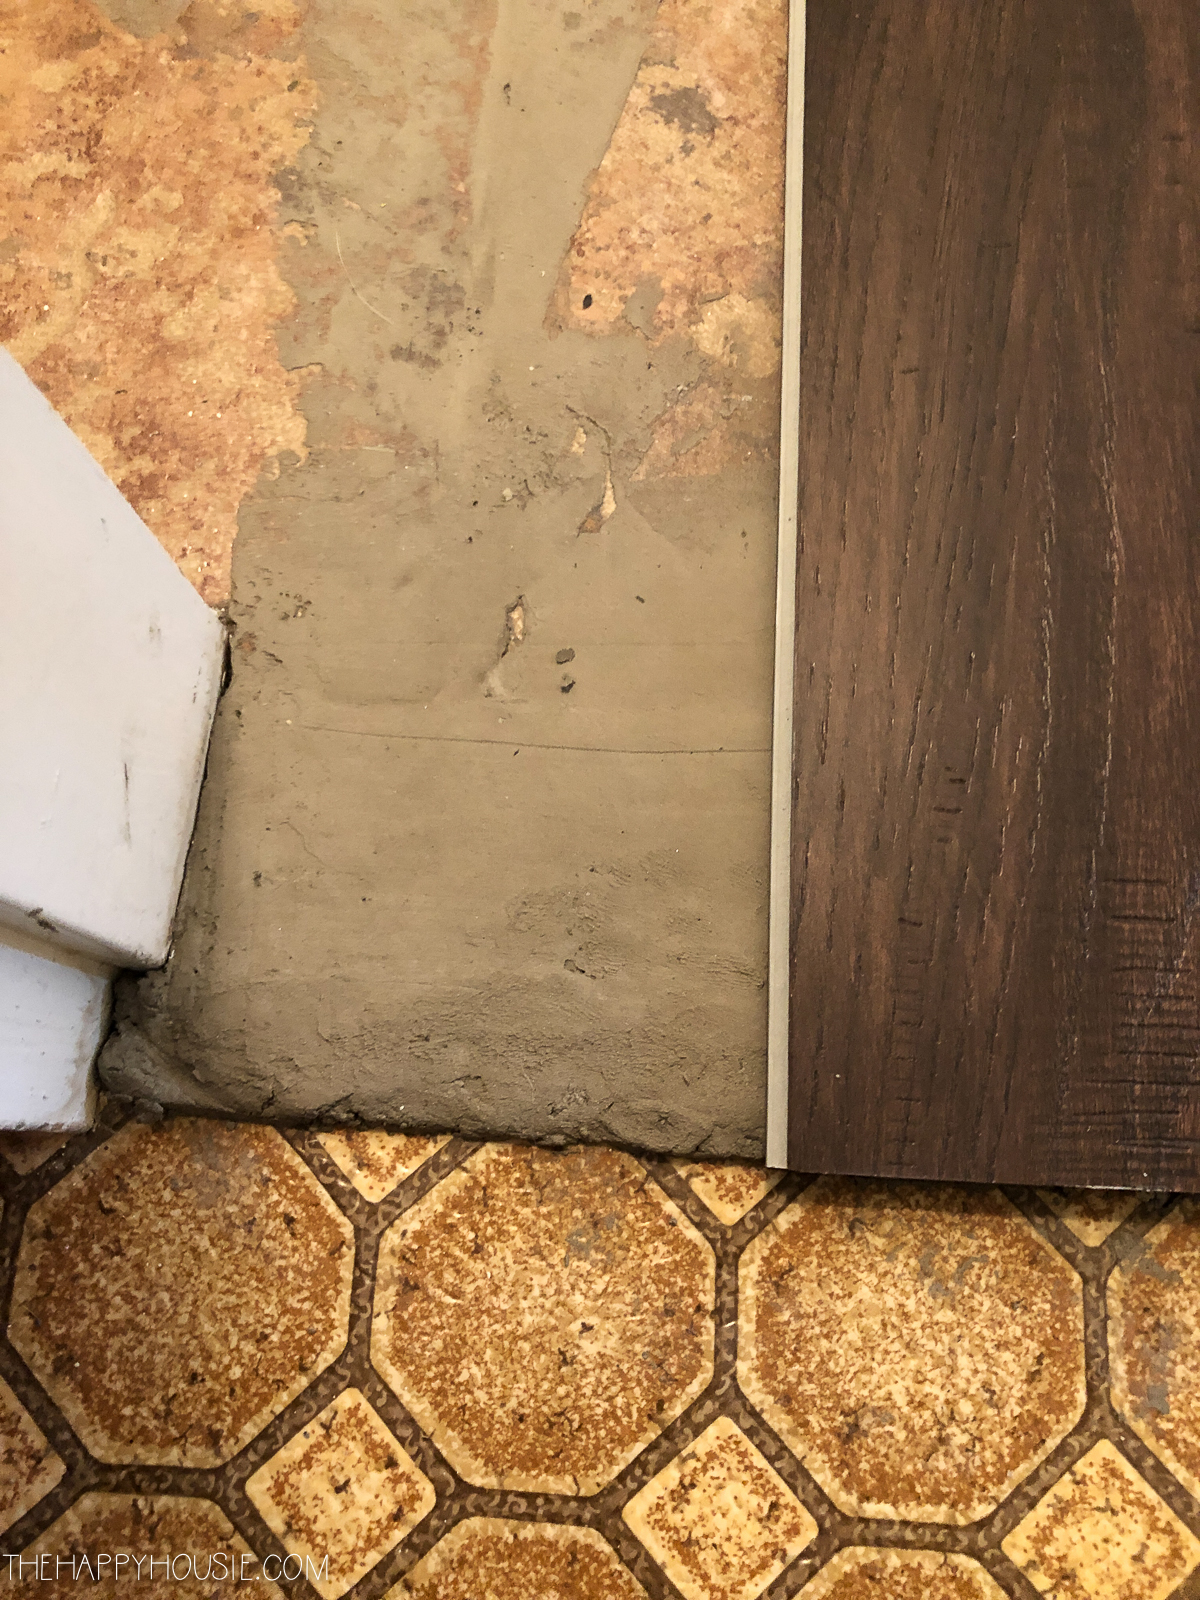
I purchased this premium floor patch compound from my local hardware store and mixed it according to the package directions. Because our tile had a faux-slate type of texture to it, we wanted to level it out before installing the vinyl over top.
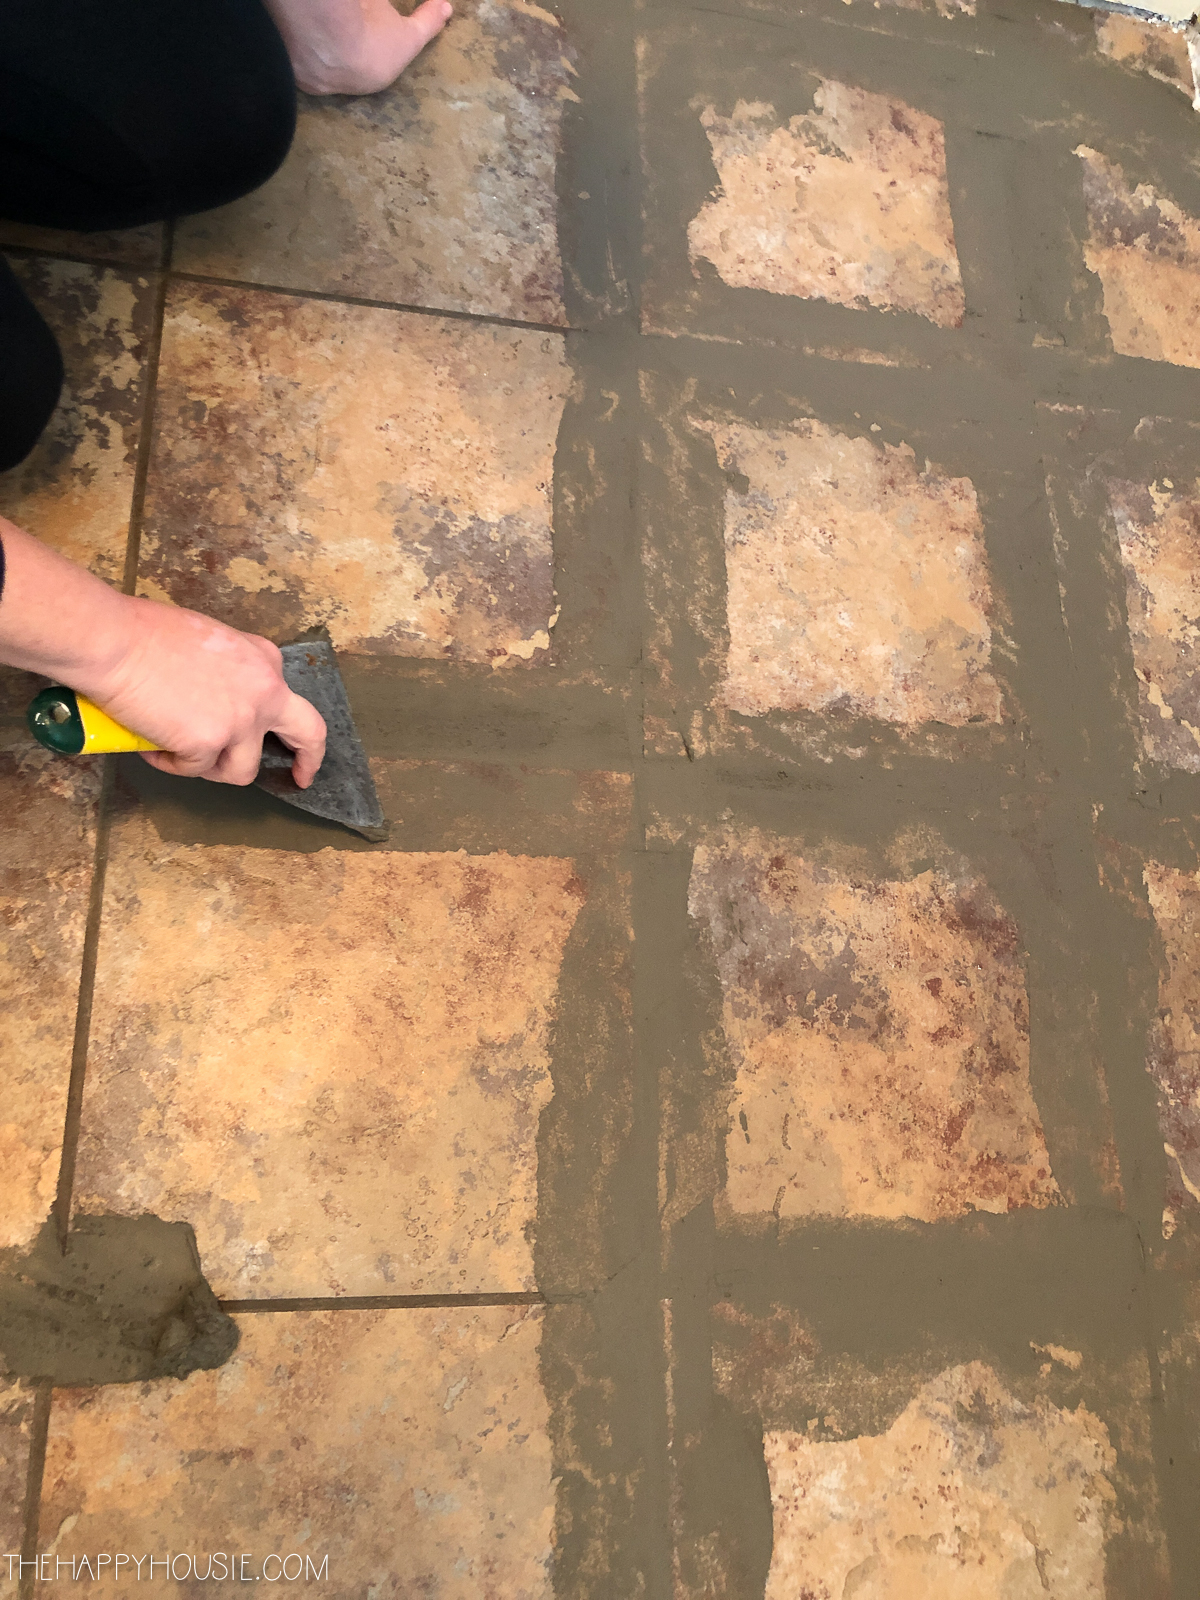
I used a wide putty knife to apply the compound to the grout joints and any areas that were low, making sure to spread it out smoothly and scrape off any excess product.
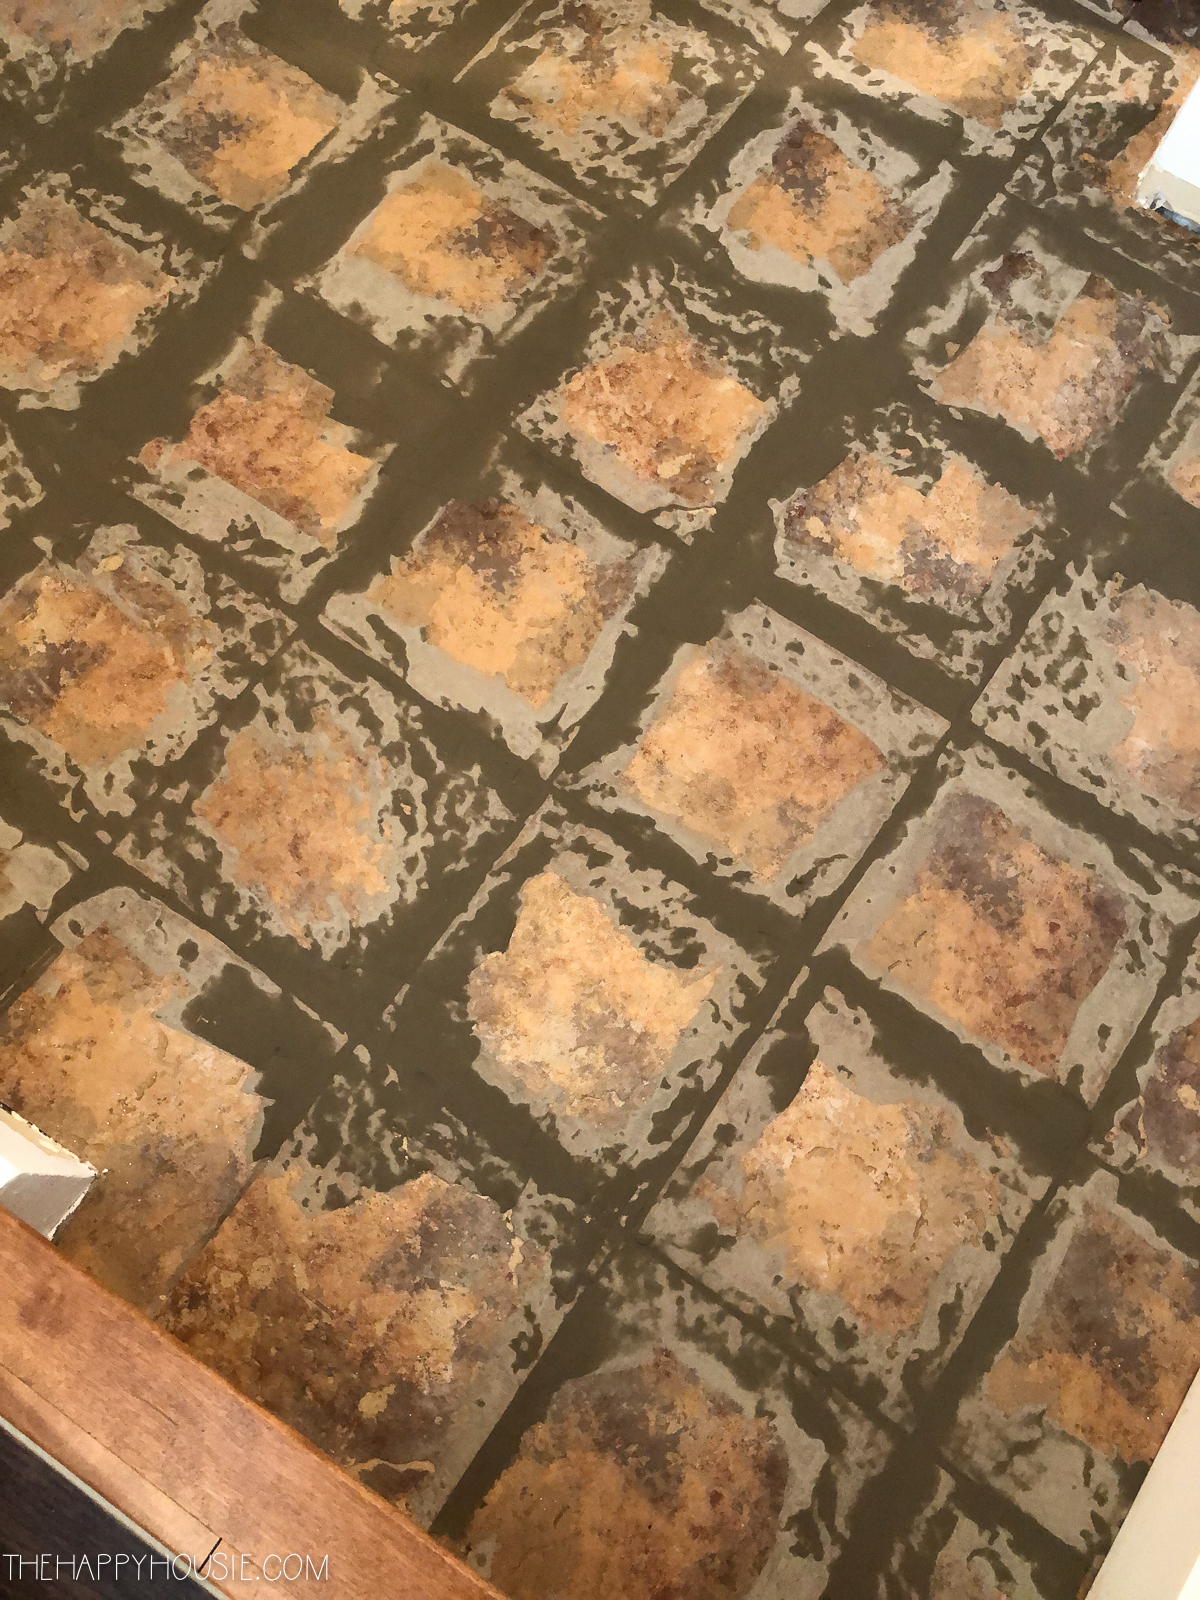
As the compound dried it changed colour.
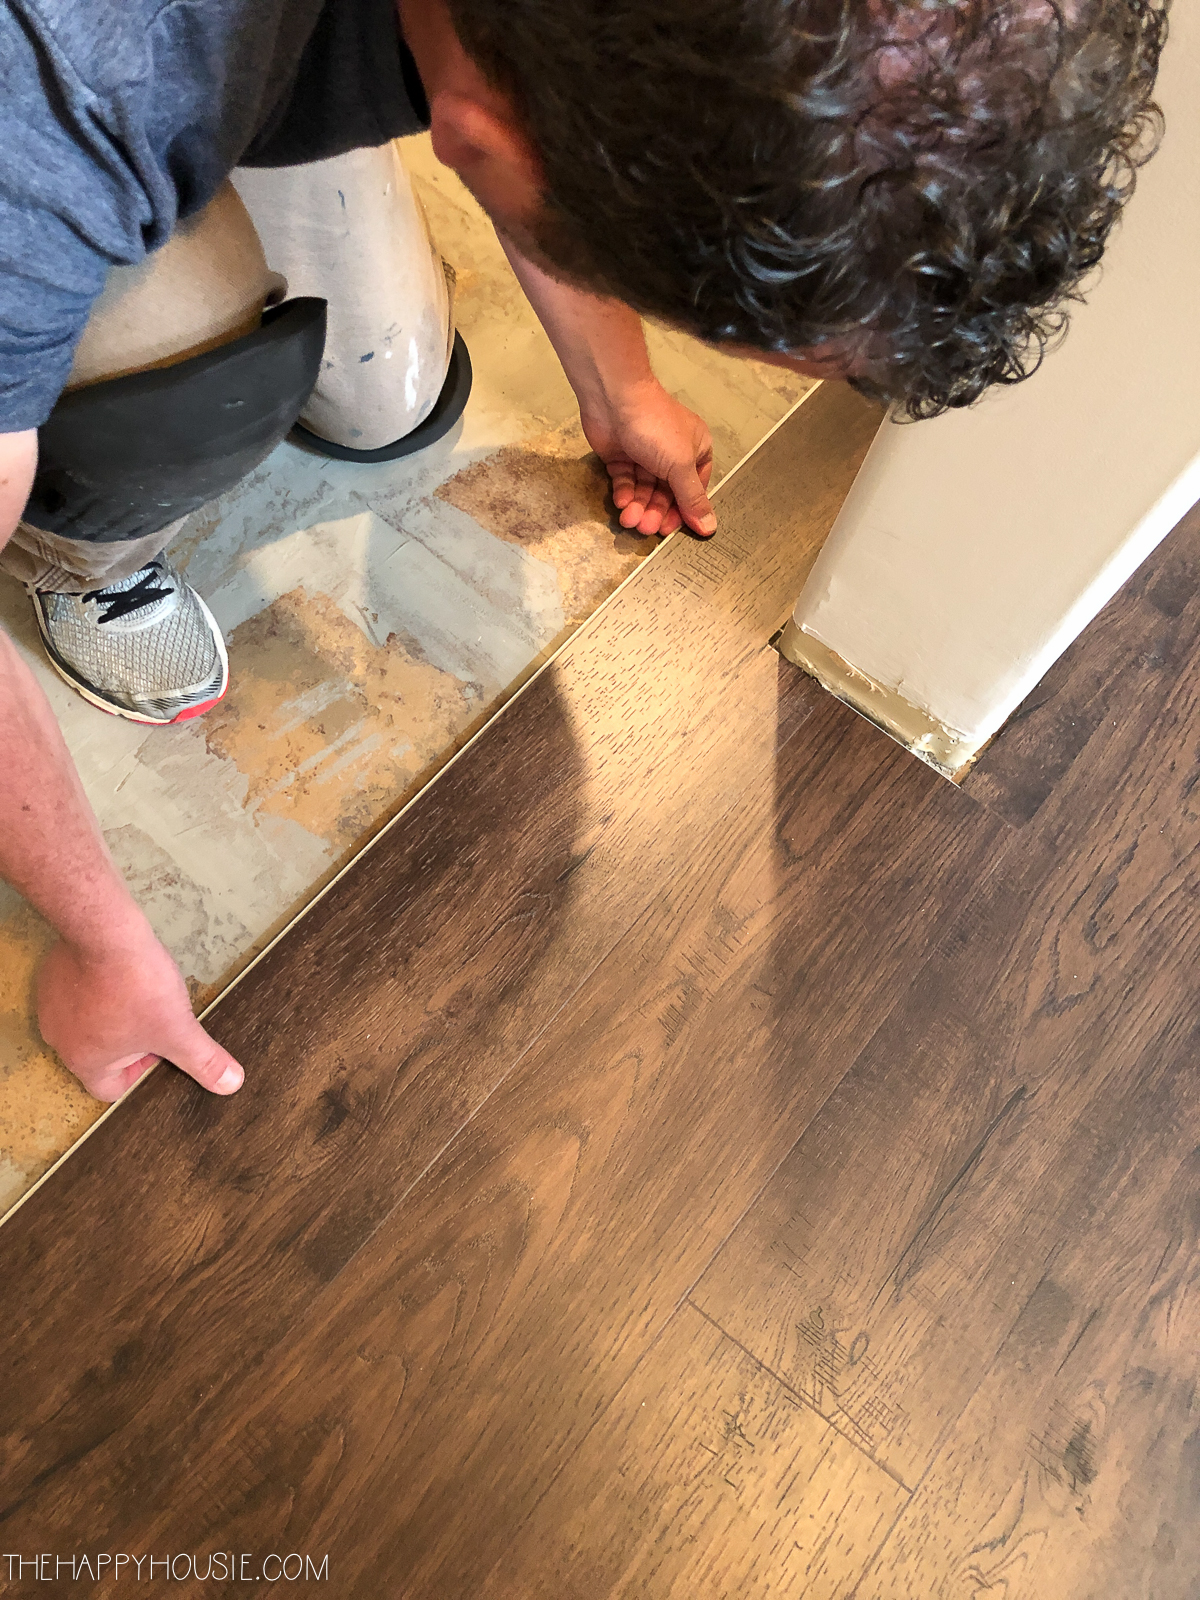
Once the floor was level and clean, we started the vinyl plank installation.
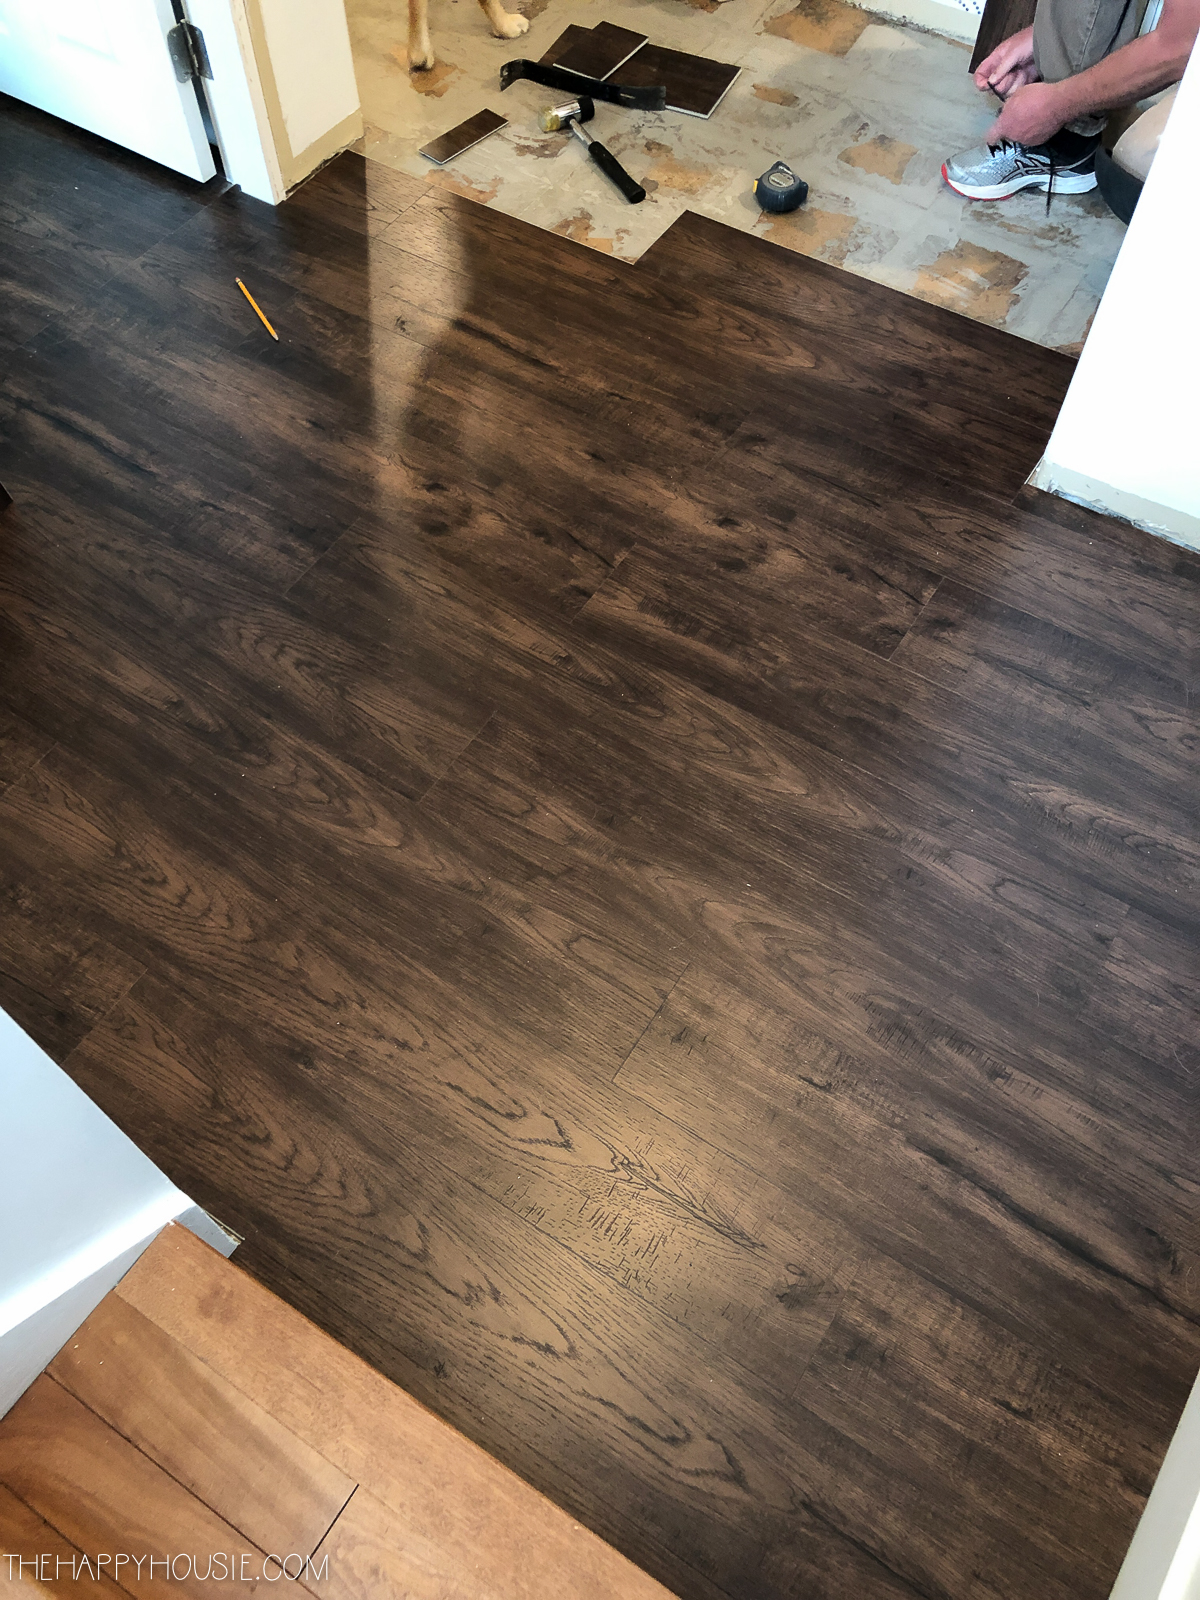
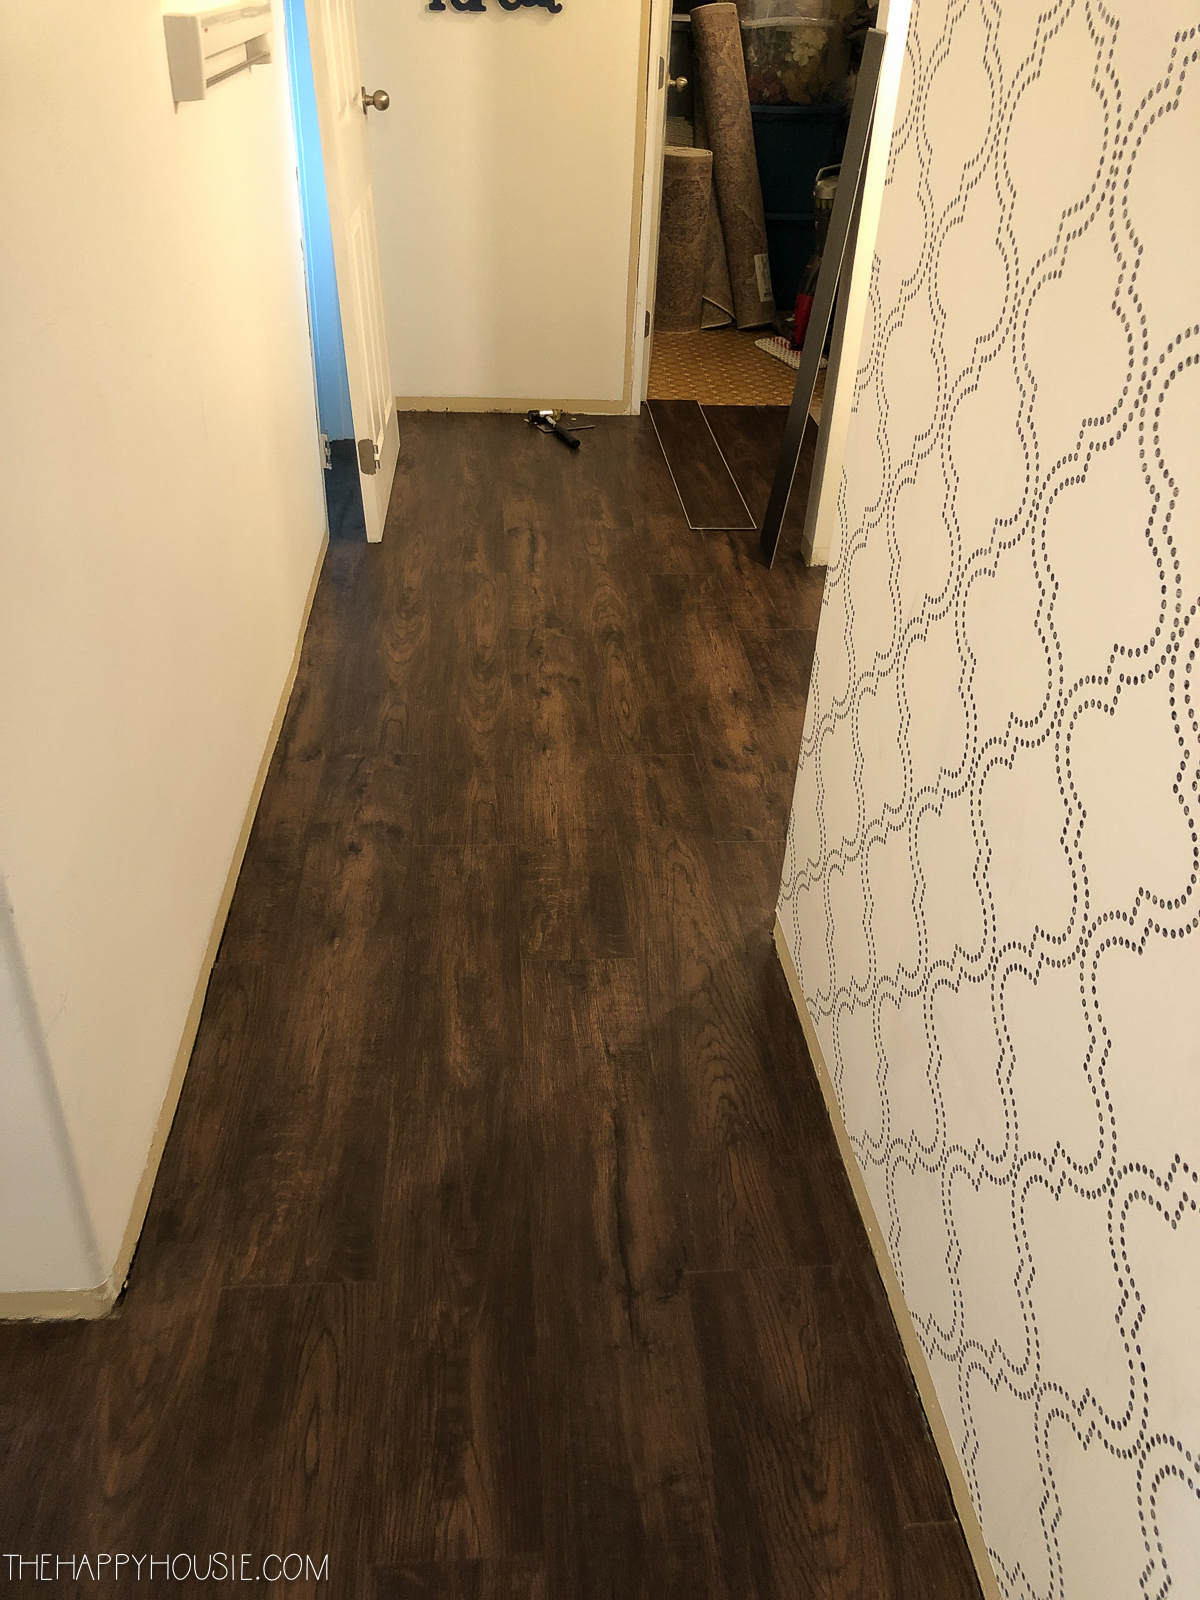
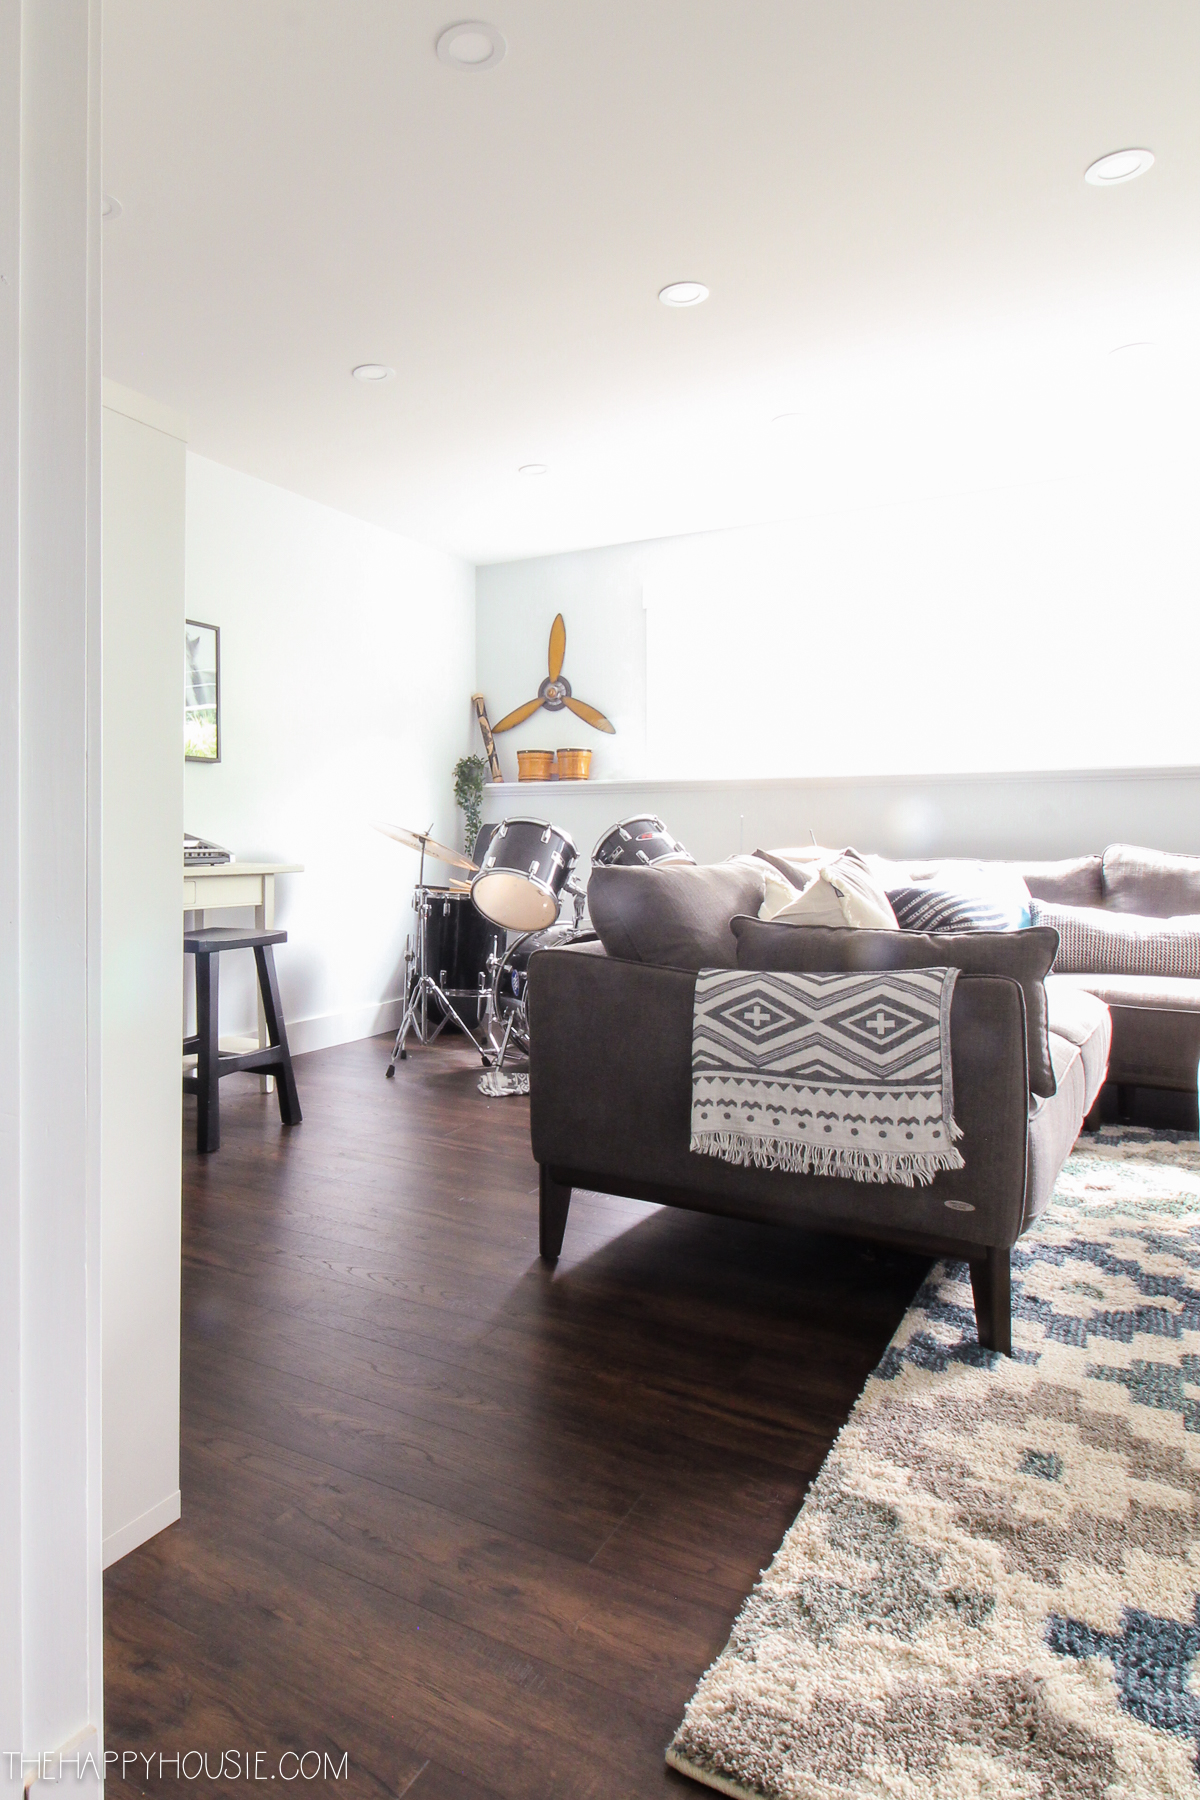
Since we had installed vinyl plank in the family room already, we lined up the floor boards with that doorway so that the line continued. We laid it out first, working our way back from the family room doorway, in order to determine what width our first piece needed to be.
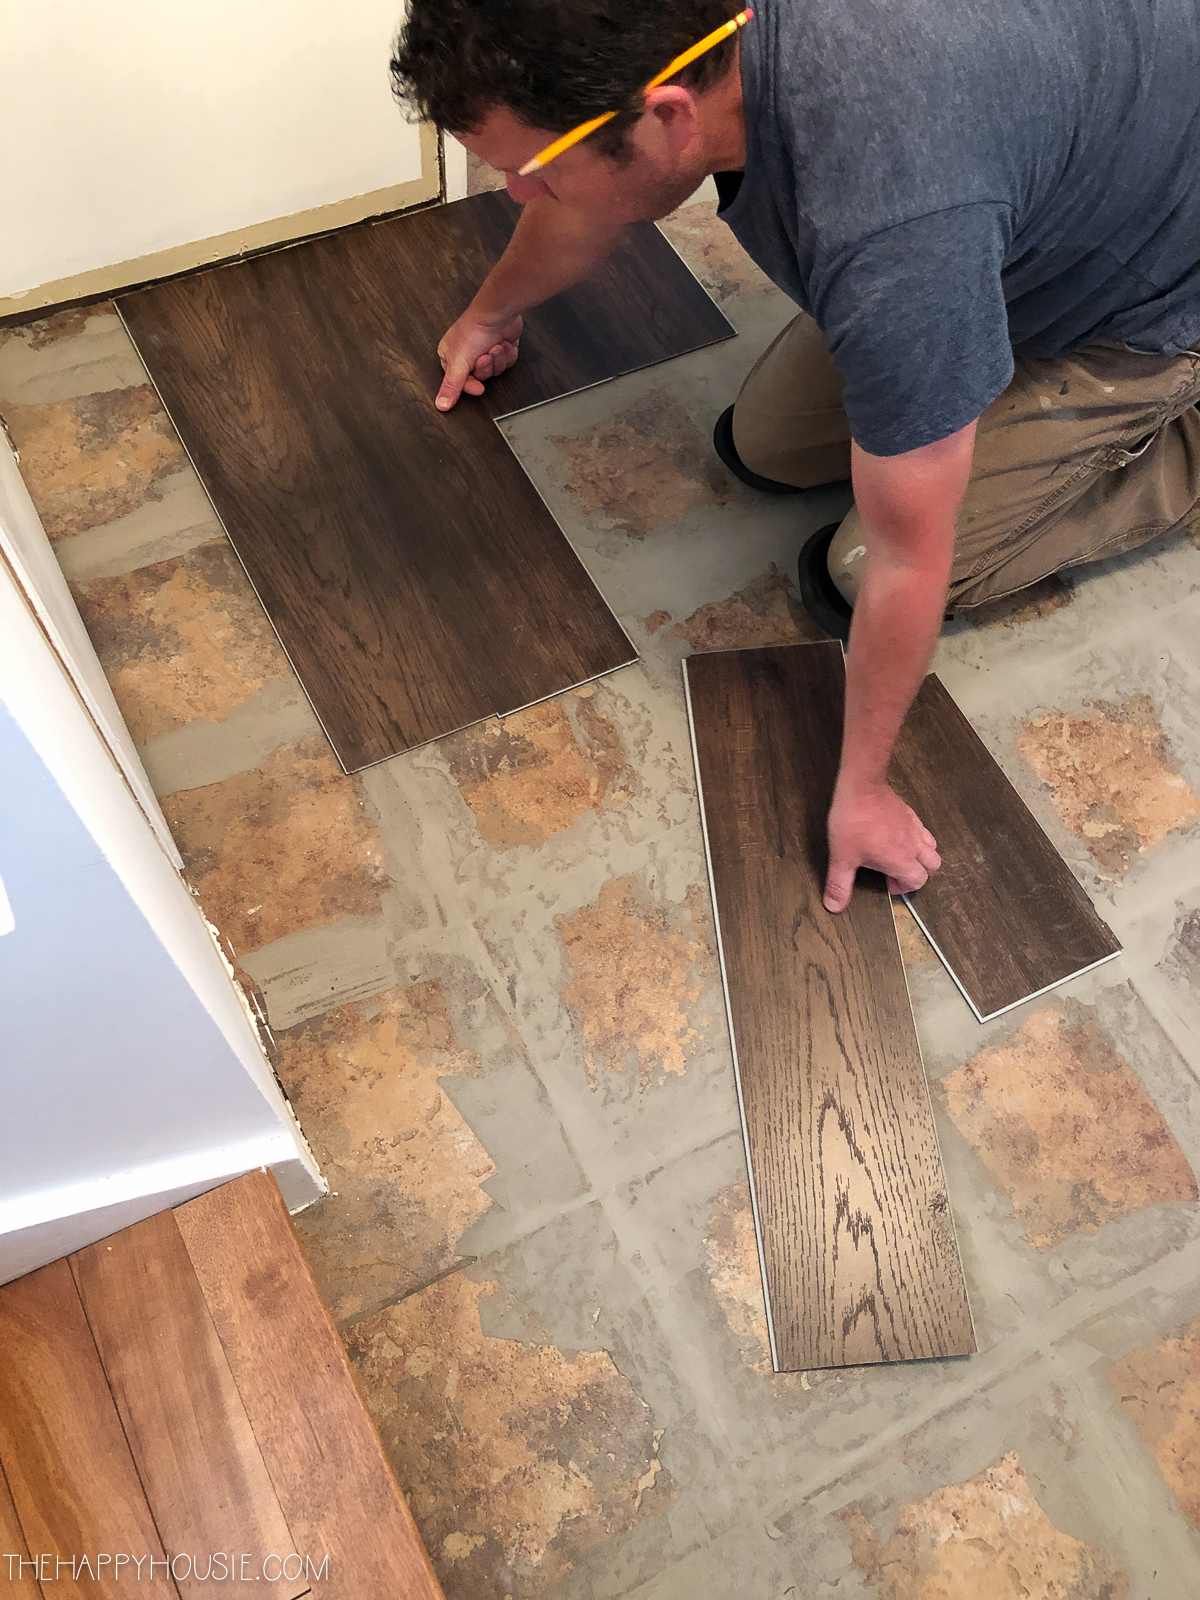
You can see below, where the door is open at the top left of the picture, how we lined up the planks so they were in a straight line and flowed from the hallway into the basement family room. We later used a transition strip as the two rooms were slightly different heights, but we still wanted to planks to be straight between the two rooms.
Install went a lot more quickly than we had expected, given that we had quite a few little cuts to make.
To learn more about our best overall tips for installing vinyl plank read this post.
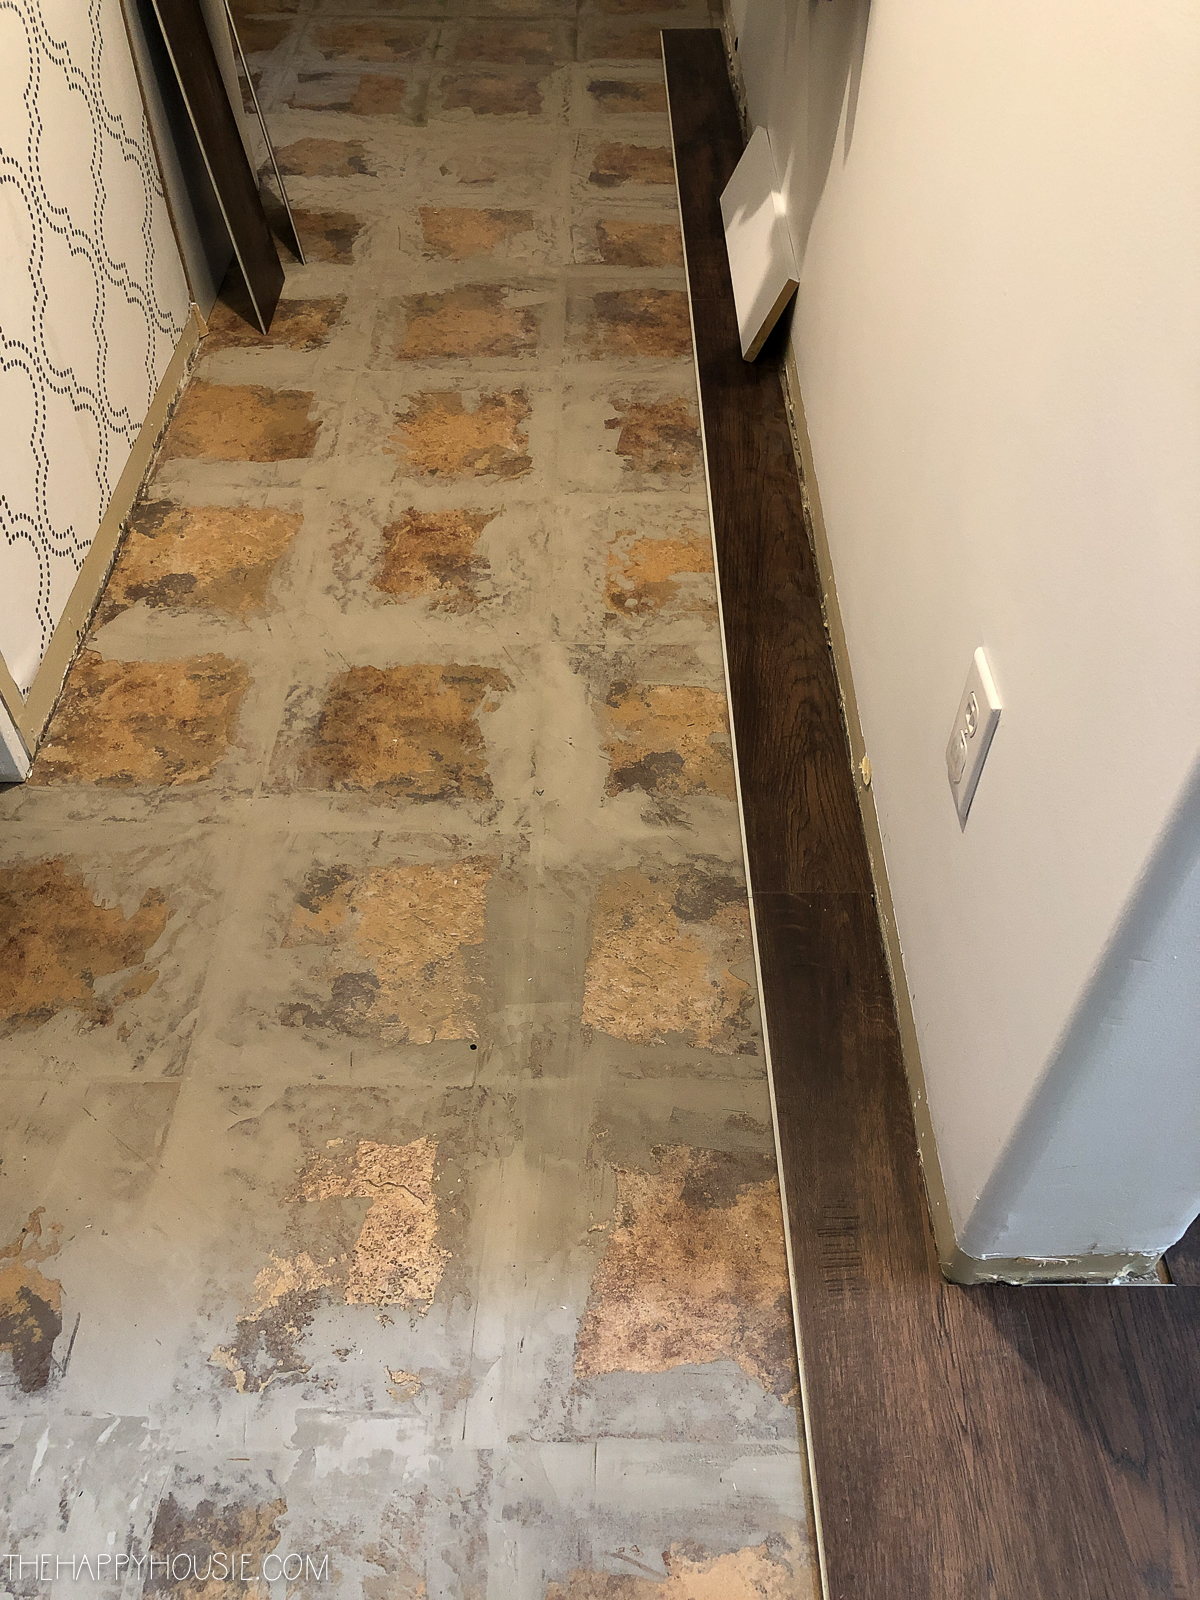
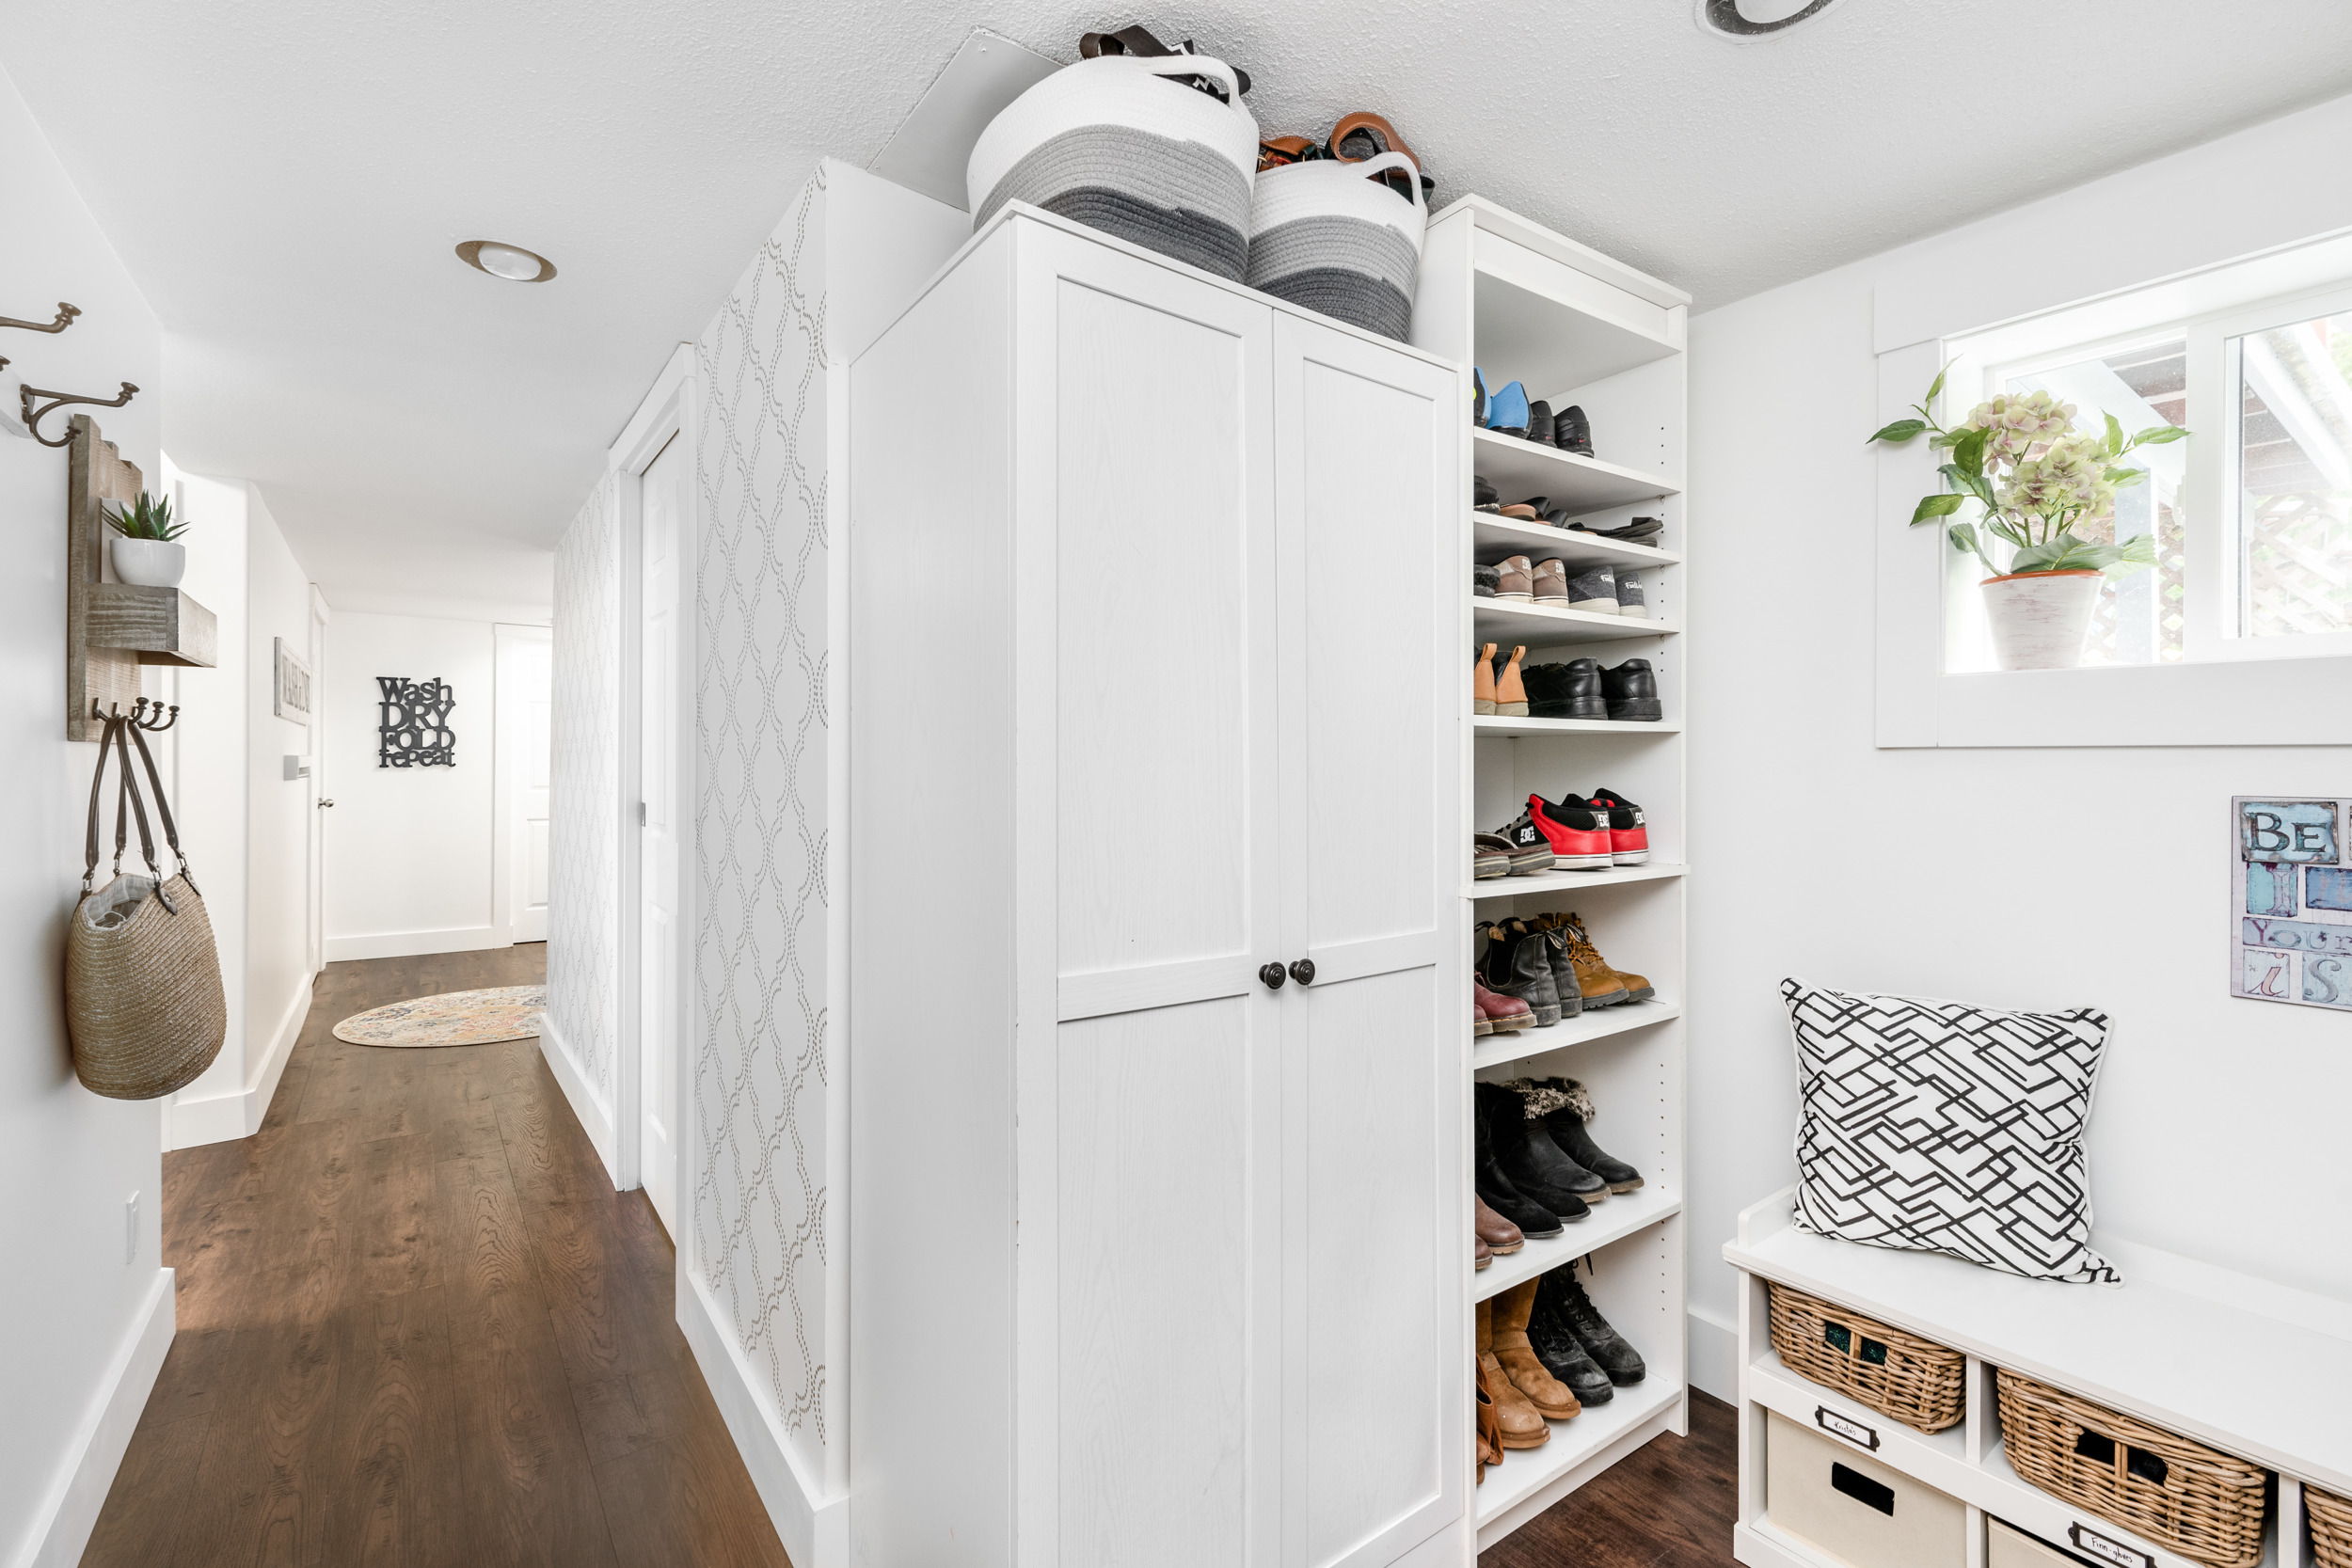
We worked our way from the bottom of the stairs backwards and through the long hallway.
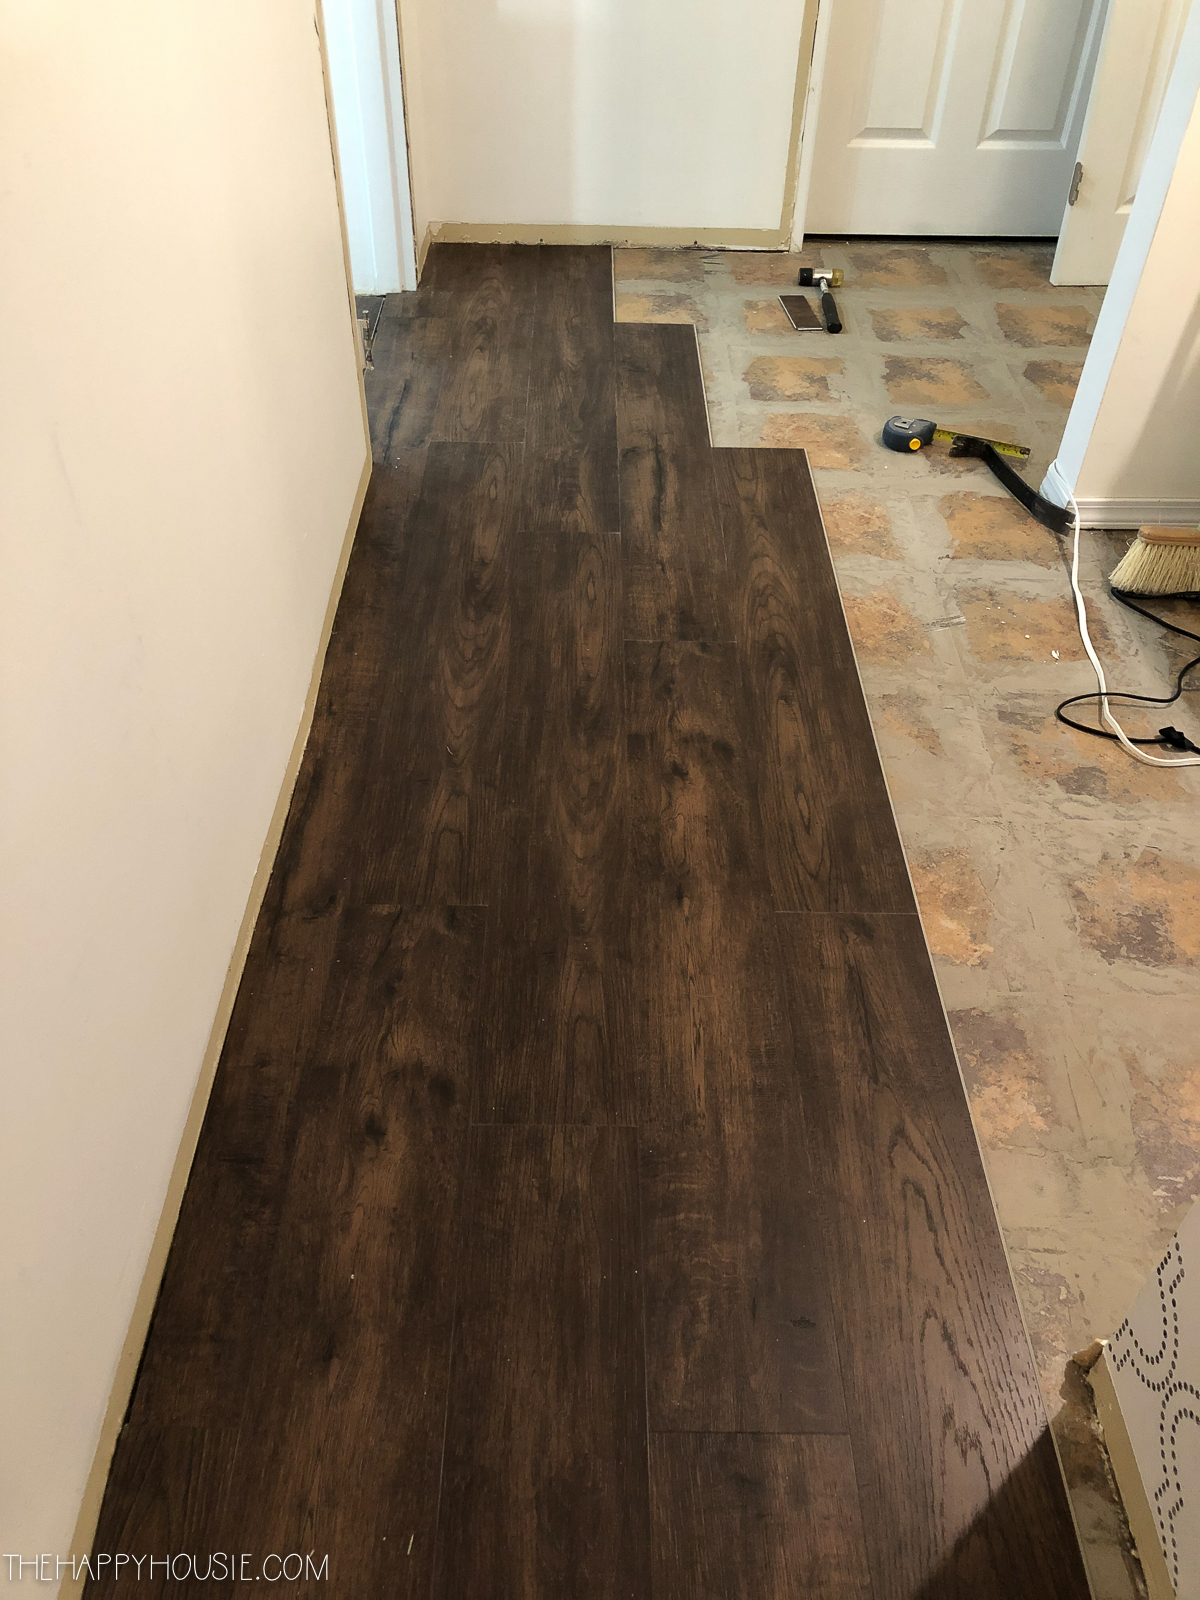
We encountered some spots that were not level, so it was important to build up the floor with the patch compound to make sure the vinyl plank was installed on top of a level surface. We needed to do this where the flooring stopped before entering the furnace/mechanical room in the basement.
We were super happy with how easy it was to install this vinyl plank flooring (read more details and installation tips in this post).
You can also watch the video I made with our tips – the process is the same with the addition of ensuring that your flooring is completely level (and patching as needed) when going directly over an old tile floor!
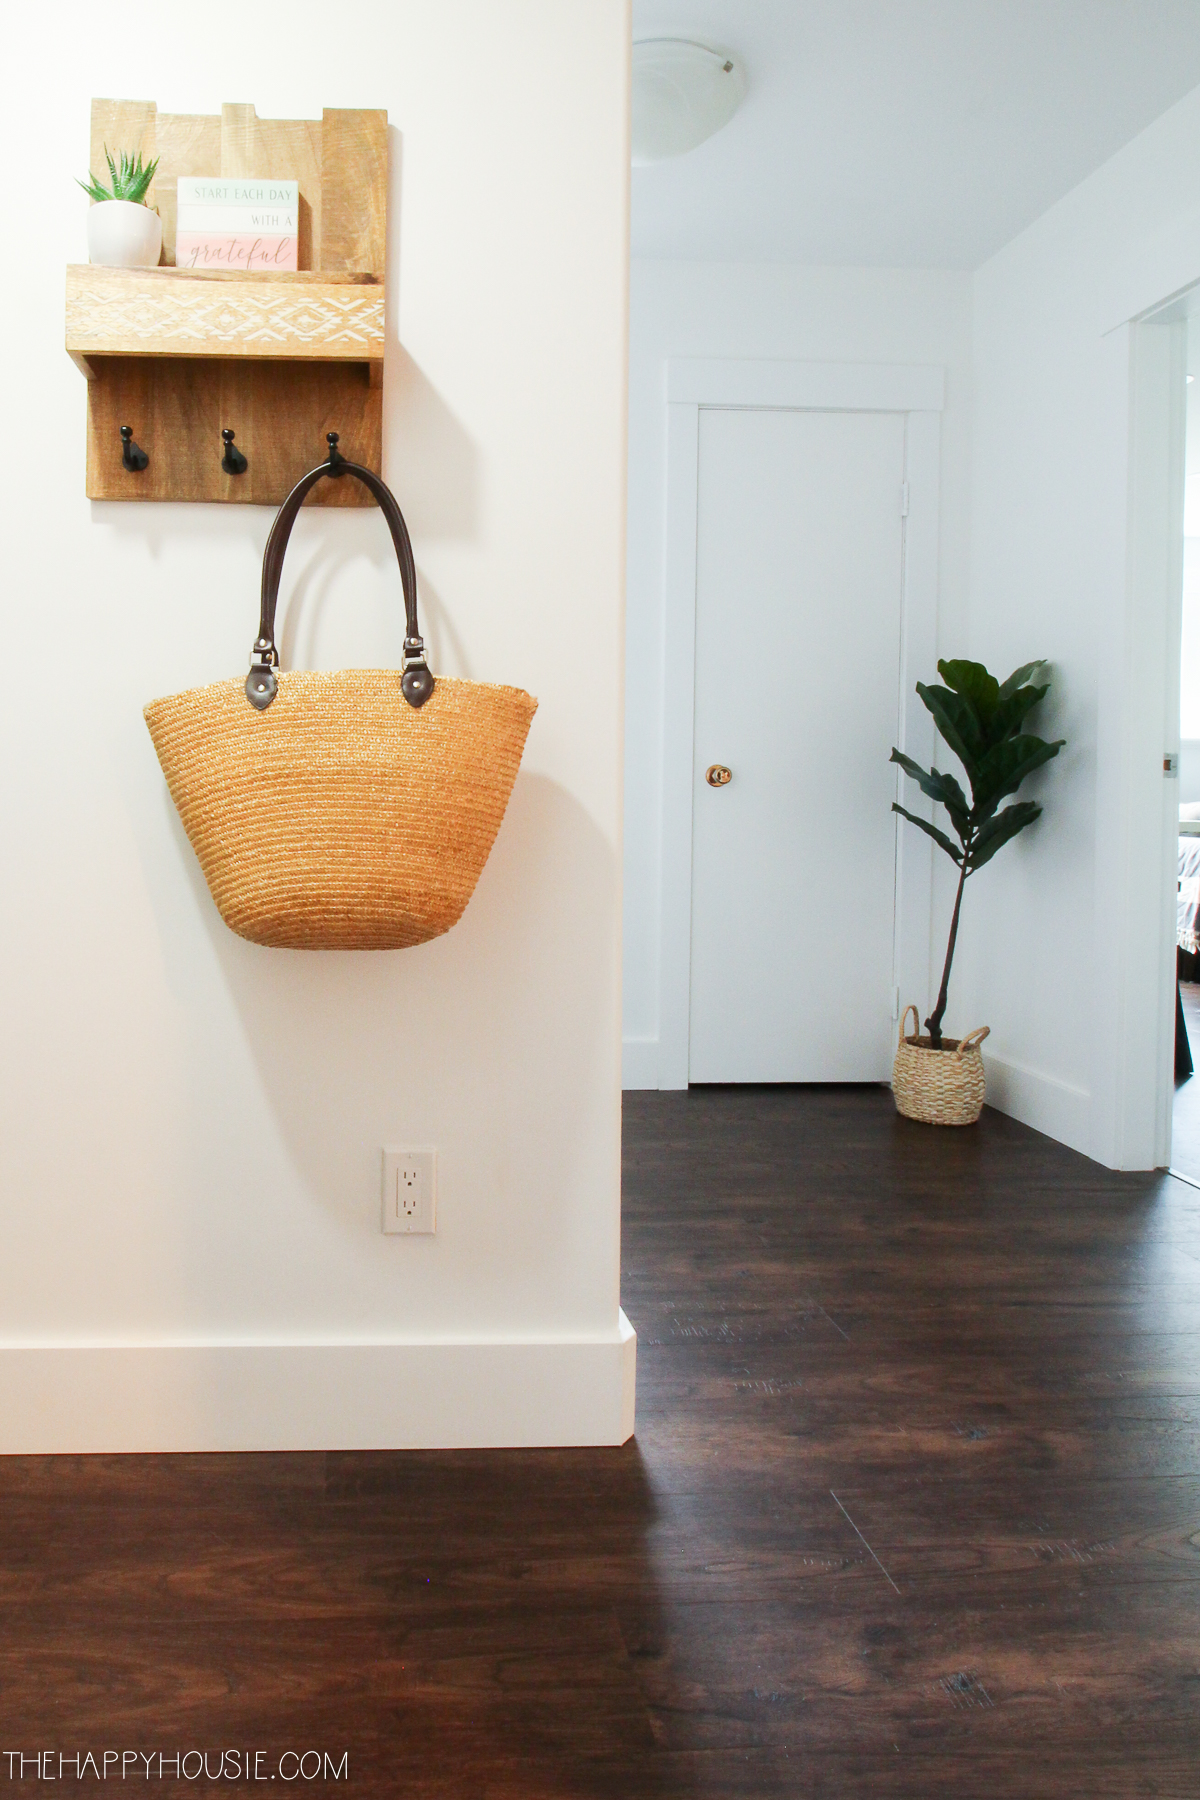
No matter how much white paint I used on the walls, and how much I cleaned the floor before, it always felt dirty and old. Having a uniform, easy to clean, beautiful planked floor downstairs completely transformed the basement area!


We shared how we laid this same flooring directly over the concrete subfloor in our family room in this post.
You can find Golden Select at Costco and it comes in a several beautiful colour options. We love the Smokey Barrel colour, but I would really love to use the Antique Oak in our new build!
Want to remember this? Just PIN it!


So I assume that over time there were texture shadows coming thru the vinyl? I worry any imperfections will eventually show.
I meant NO textures showing thru.
How do you handle height variations going from a room with tile into a bedroom where carpeting was removed? Thank you, Phil
Hi Phil,
We used a transition strip between the two flooring heights – it was the only way we could bridge between the two rooms.
Krista
My wife heard that the perimeter gap the tile has to the wall where the trim was should be grouted .
Our née trim will sit above the new vinyl
Not sure why this is recommended .
Thoughts??
Hi Rick,
I’m not sure exactly what you mean – did your tile run up to the trim and then there is a gap after removing that old trim?
Krista
Looks so good! Do you have a picture of the transition where you mentioned it was different heights? I wonder about putting this over our existing kitchen tile floor where it butts to the hallway that has wood floor.
Hi!
Your floor looks wonderful! We are thinking of doing something similar in a beach house. I’m curious how your flooring has held up. Are you satisfied with the flooring itself? Has it been exposed to heavy traffic or any water at all? Would you use this particular flooring again?
Thank you!
Branan
Just wondering if you had any trouble with doors fitting over the new flooring? Beautiful work!!!
Hi,
We are considering doing the same thing in our kitchen and dining room (they are connected). We have one or two cracked tiles and maybe another loose one and someone said these might crumble or give way over time and ruin the floor. Did you have any cracked or loose tiles and did you do anything with them?
Cheers,
Vince
Hi Vince,
We did not have any cracked or loose tiles – they were securely attached to the concrete subfloor. I think it would be best to remove anything cracked or loose and use the patch/repair filler that I used to level out those spots – at least you would have a solid, level, even base to work on in that case. Good luck with your project!
Krista