
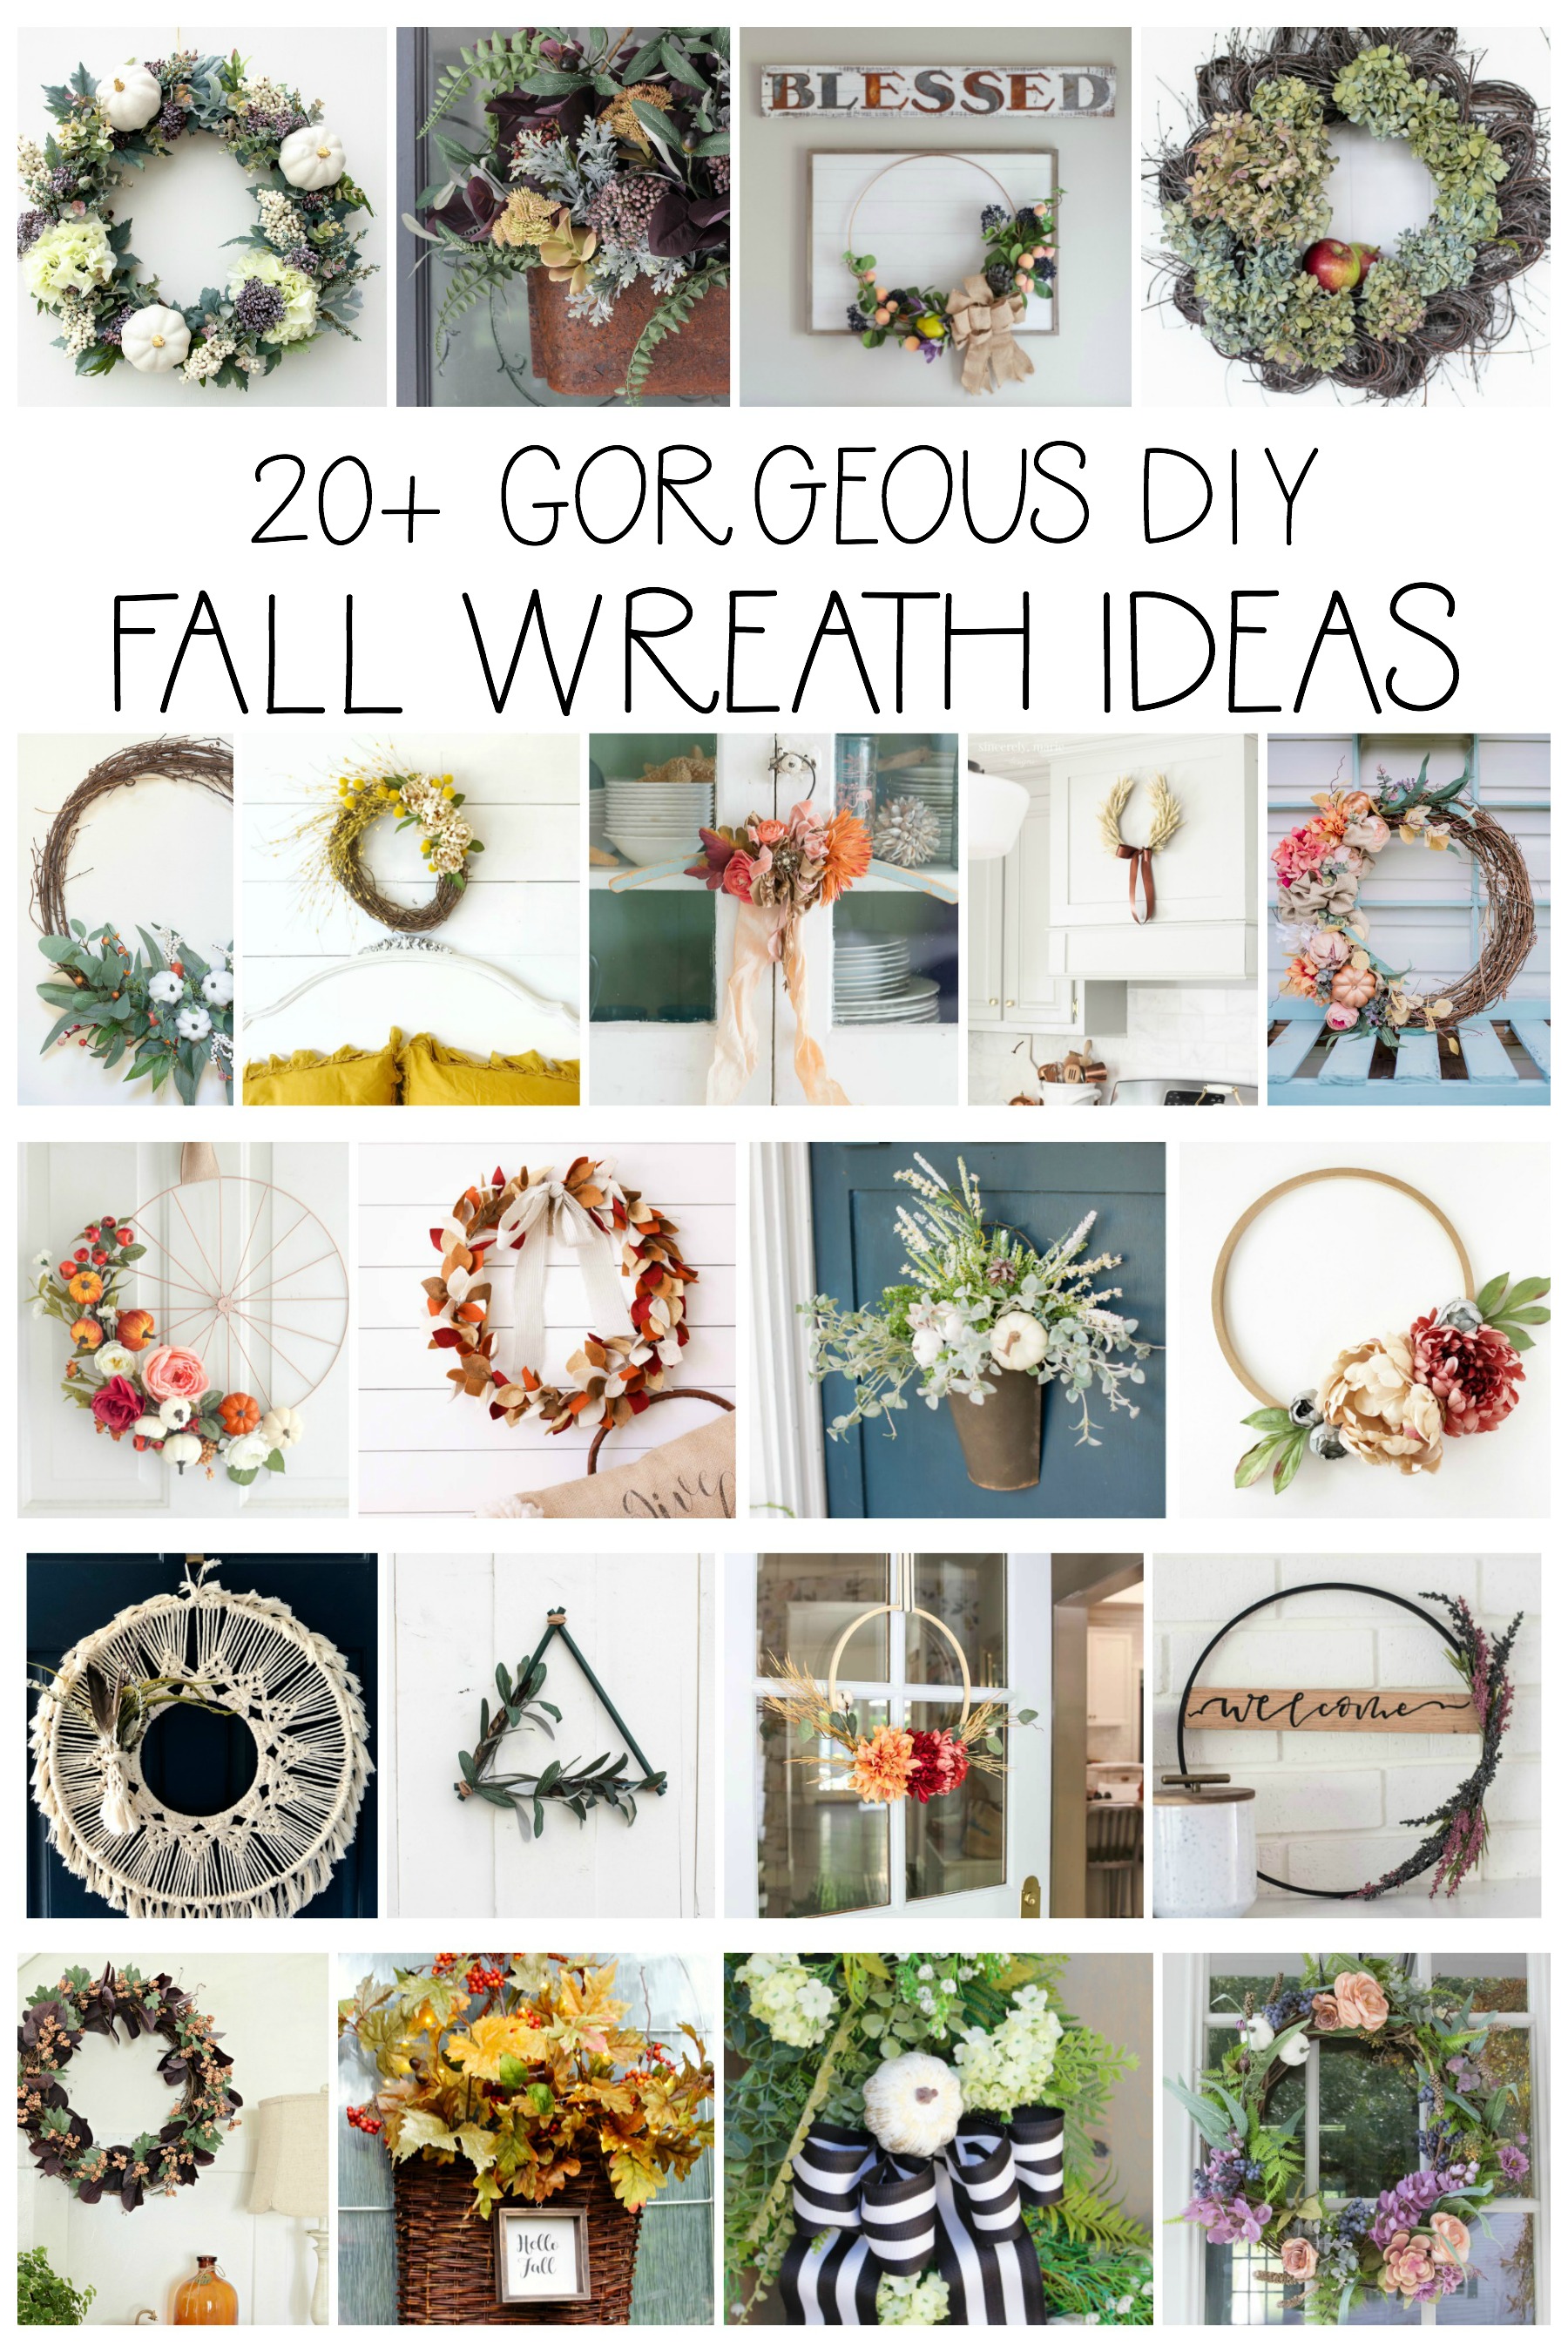
How to Make a High-End Style DIY Fall Wreath on a Budget
Today I’m really excited to be sharing our new fall wreath as well as my tips for how to make a high-end style DIY fall wreath on a budget!
Hello, friends!
It’s officially fall around here. Okay, not “officially”. But school is back in session as of today, so it’s as good as fall in nearly every way.
Such mixed emotions this time of year.
On the one hand, it’s very sad to bid farewell to the warm sunshine and long, easy days that are summer. On the other hand, it feels pretty exciting to think about getting back into a regular routine and schedule. Not to mention the enticement of warm sweaters and fluffy scarves; crisp, sunny autumn days; and cozy evenings spent by the fireplace.
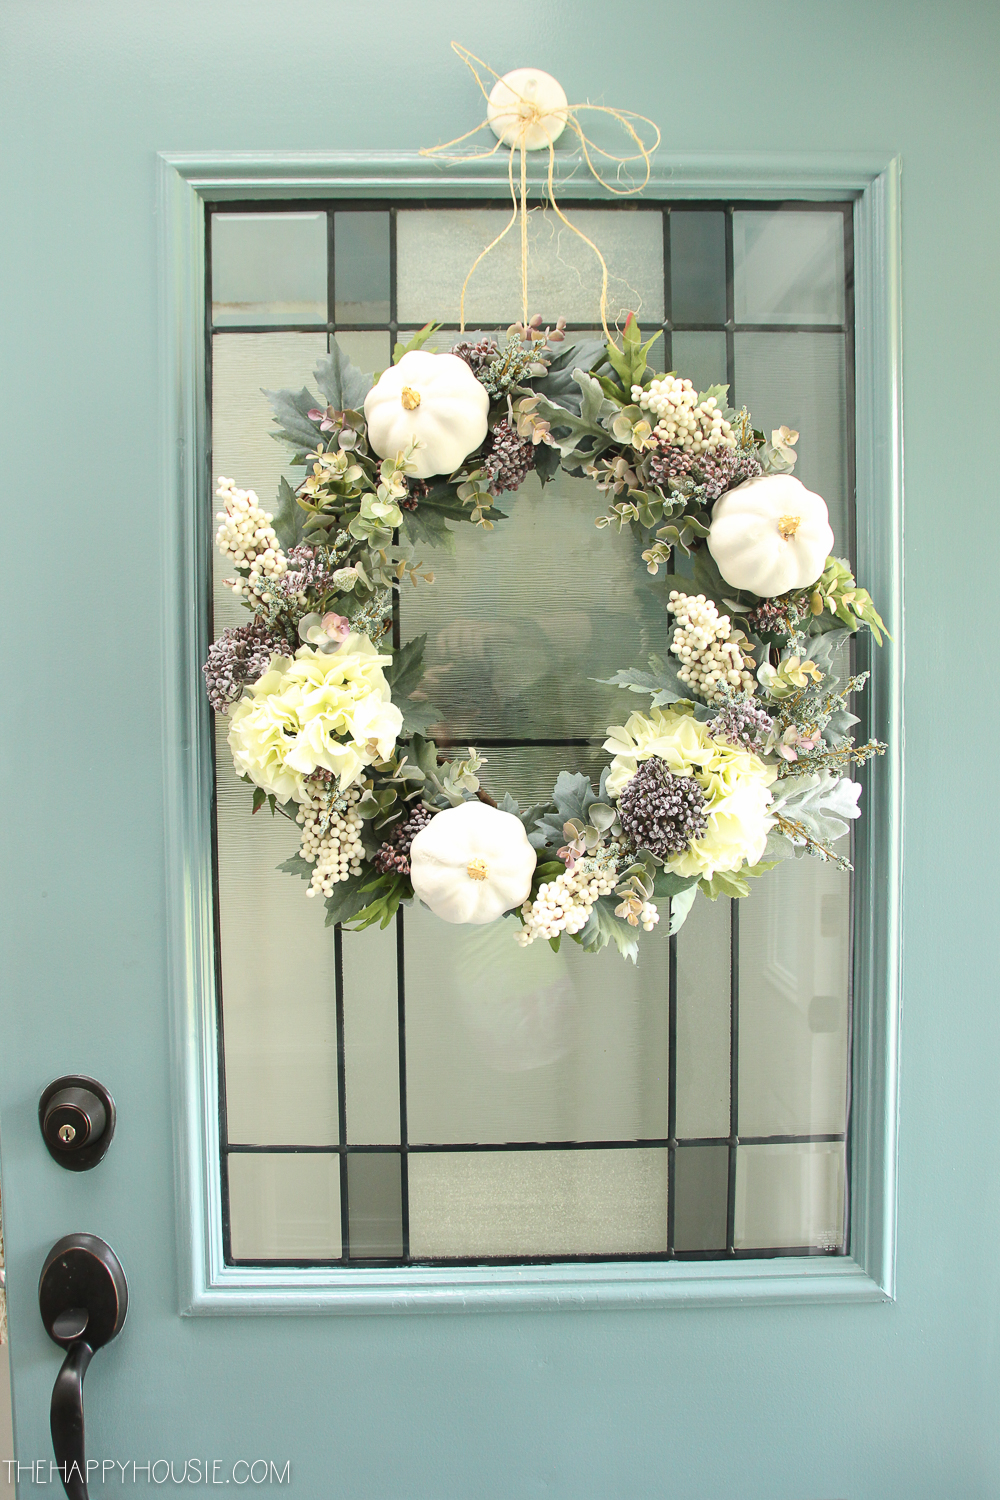
So… as much as I am loathe to bid summer farewell, I’m also ready to embrace the autumn season in all it’s glory, starting with the transformation of our home into an autumnal haven, of course. Okay, perhaps that is a slight overstatement, be we do now have pumpkins on most surfaces as well as a really pretty and welcoming DIY fall wreath adorning our door…
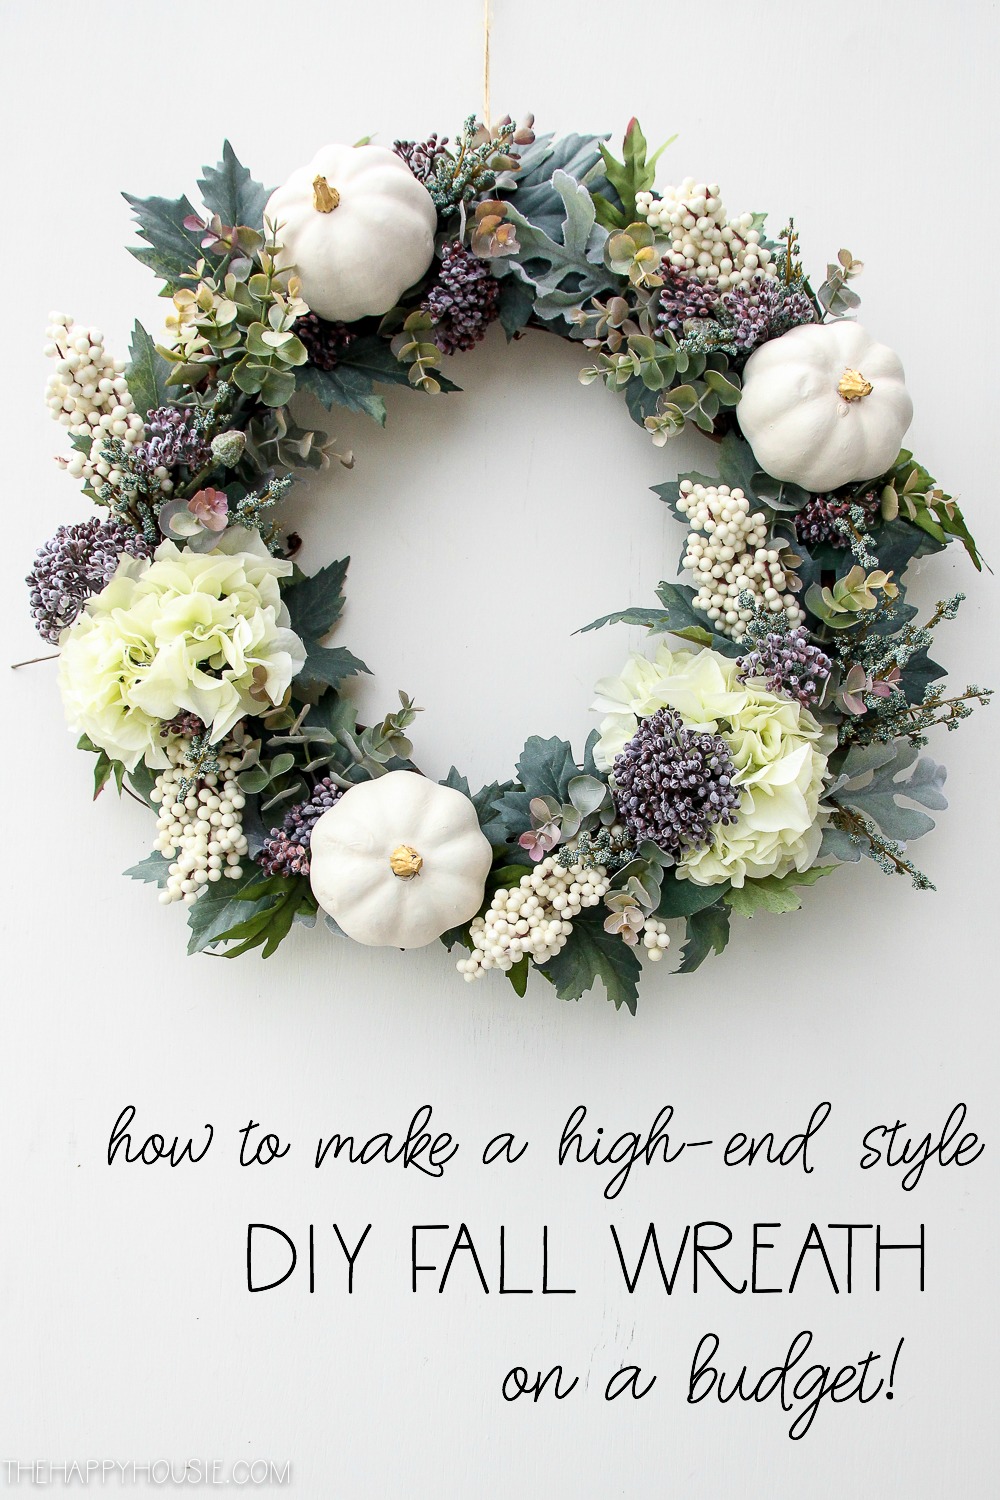

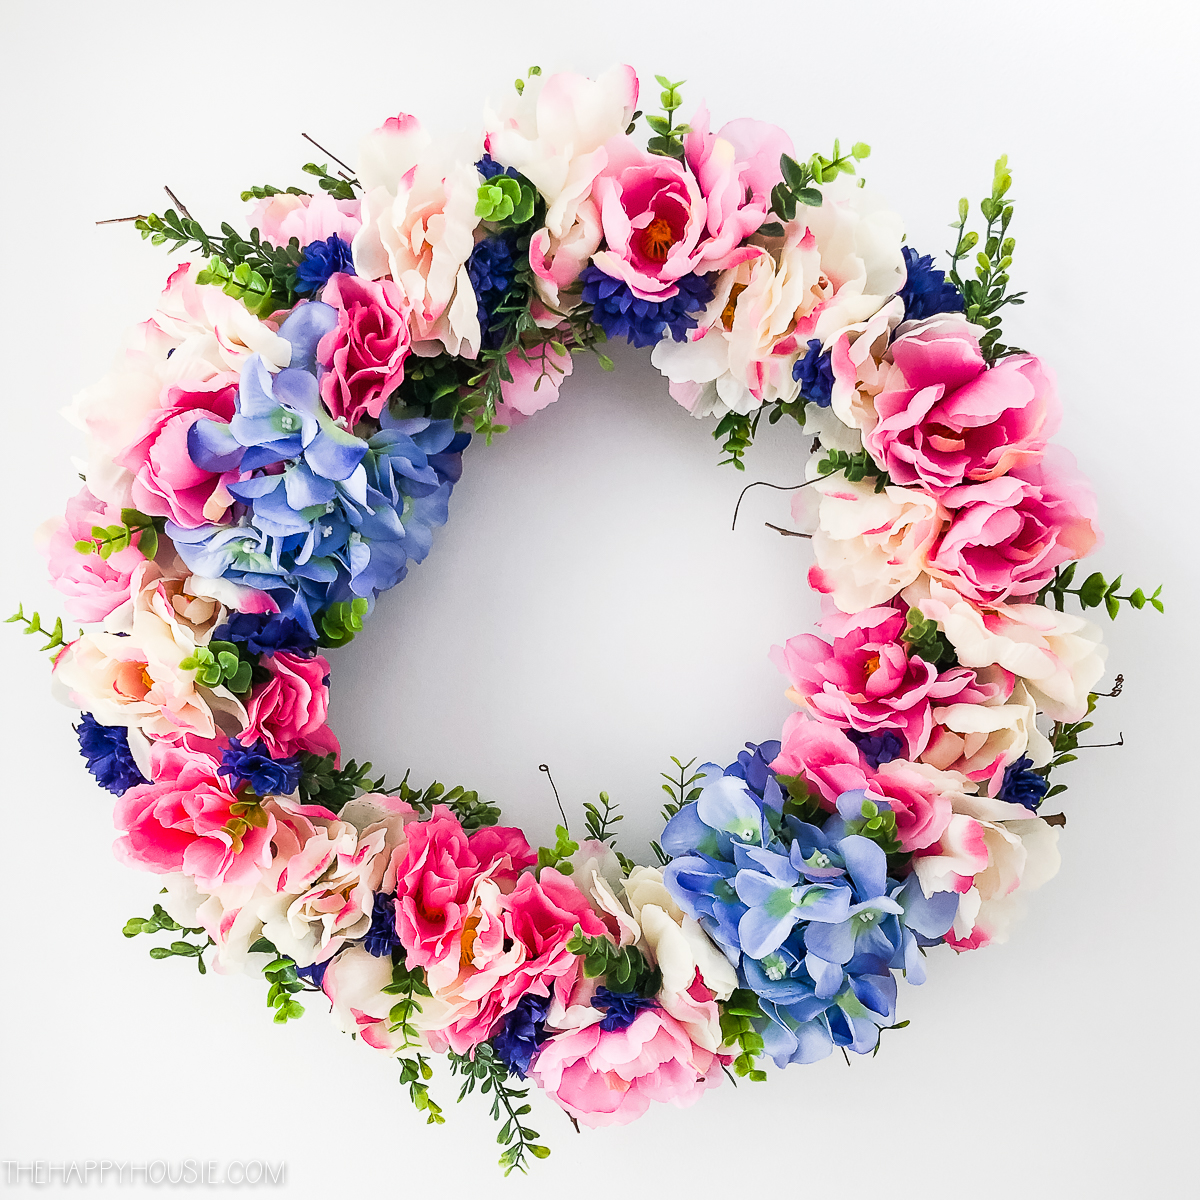
After years of ogling beautiful, full, fall wreaths in stores and online, I decided the time was now to try to make my own DIY version. I’m usually pretty cheap about spending a lot on making a wreath because they are only up for such a short time before the next season arrives on our doorstep, so I really wanted to try to get a high-end feel on a low-end budget. I think I got the organic look I was going for, and it cost me just over $20 in materials since I already owned the grapevine form.
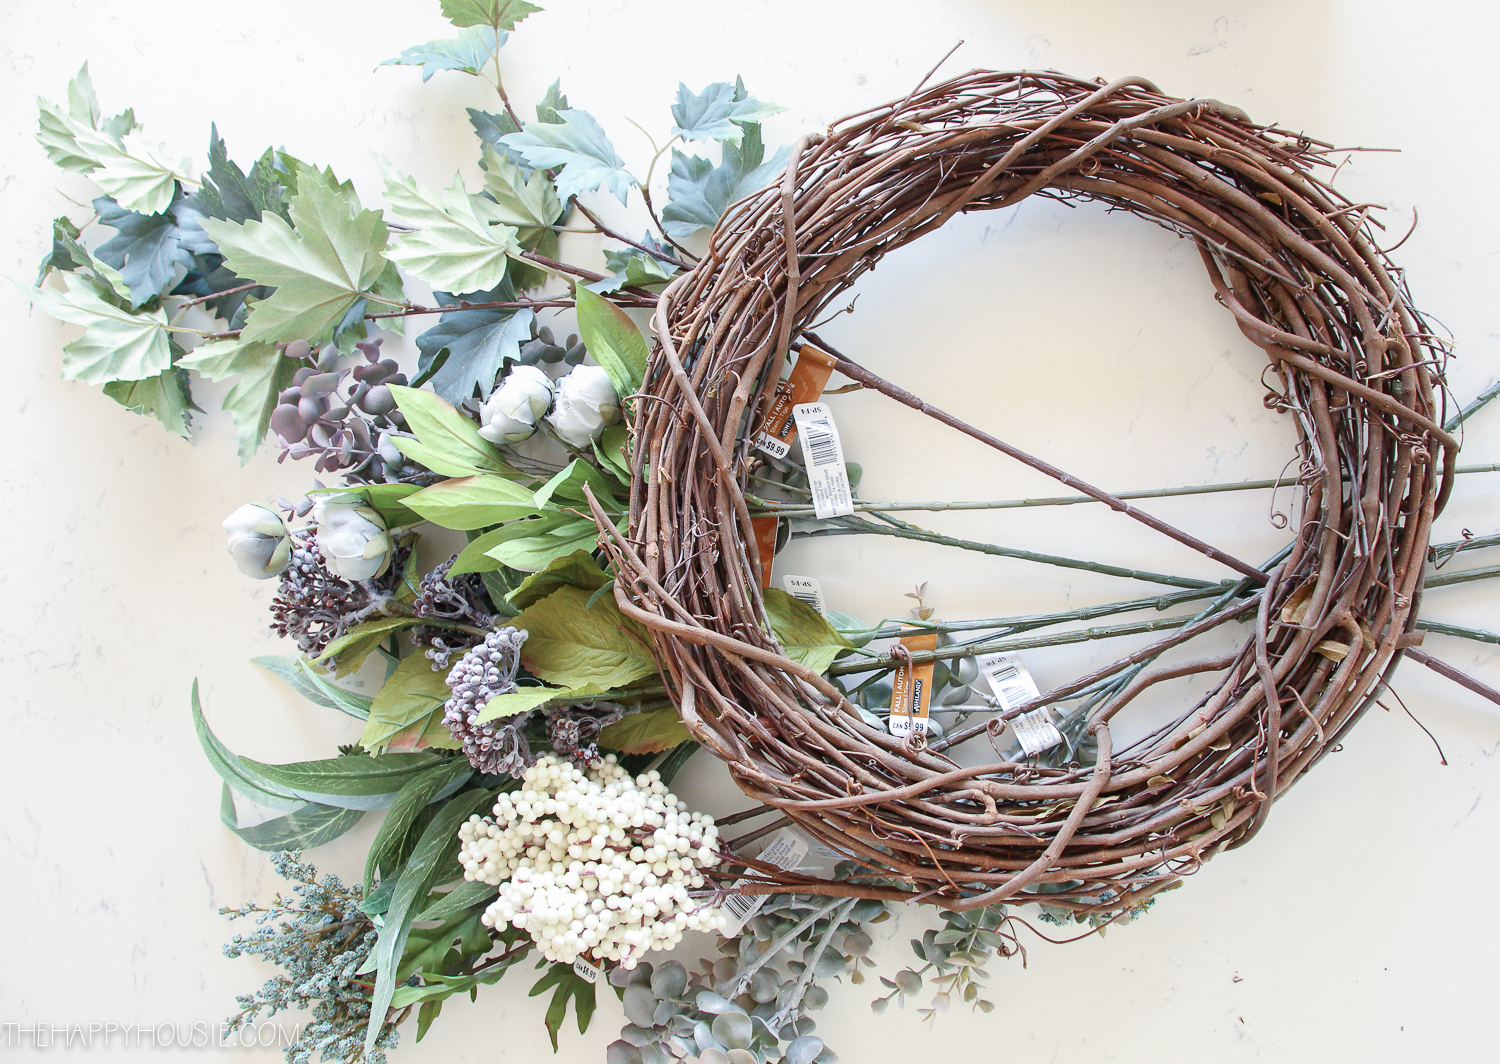
The key to doing this affordably is to look for a good sale such as a buy one-get one on the floral materials. I got all my branches and floral/leaf pics for BOGO at Michaels (and if I hadn’t already owned a wreath, I could have used a coupon to get 40% off the cost of the wreath form).
In addition to the grapevine wreath form which I already owned, I used a few different “leaf” branches or pics, along with one pretty hydrangea, some purple berries, white berries, and tiny blue berries (as well as my hot glue gun and wire snippers, of course). I didn’t even end up using all the floral pics that I bought for this wreath and will be returning some! Yay for savings!
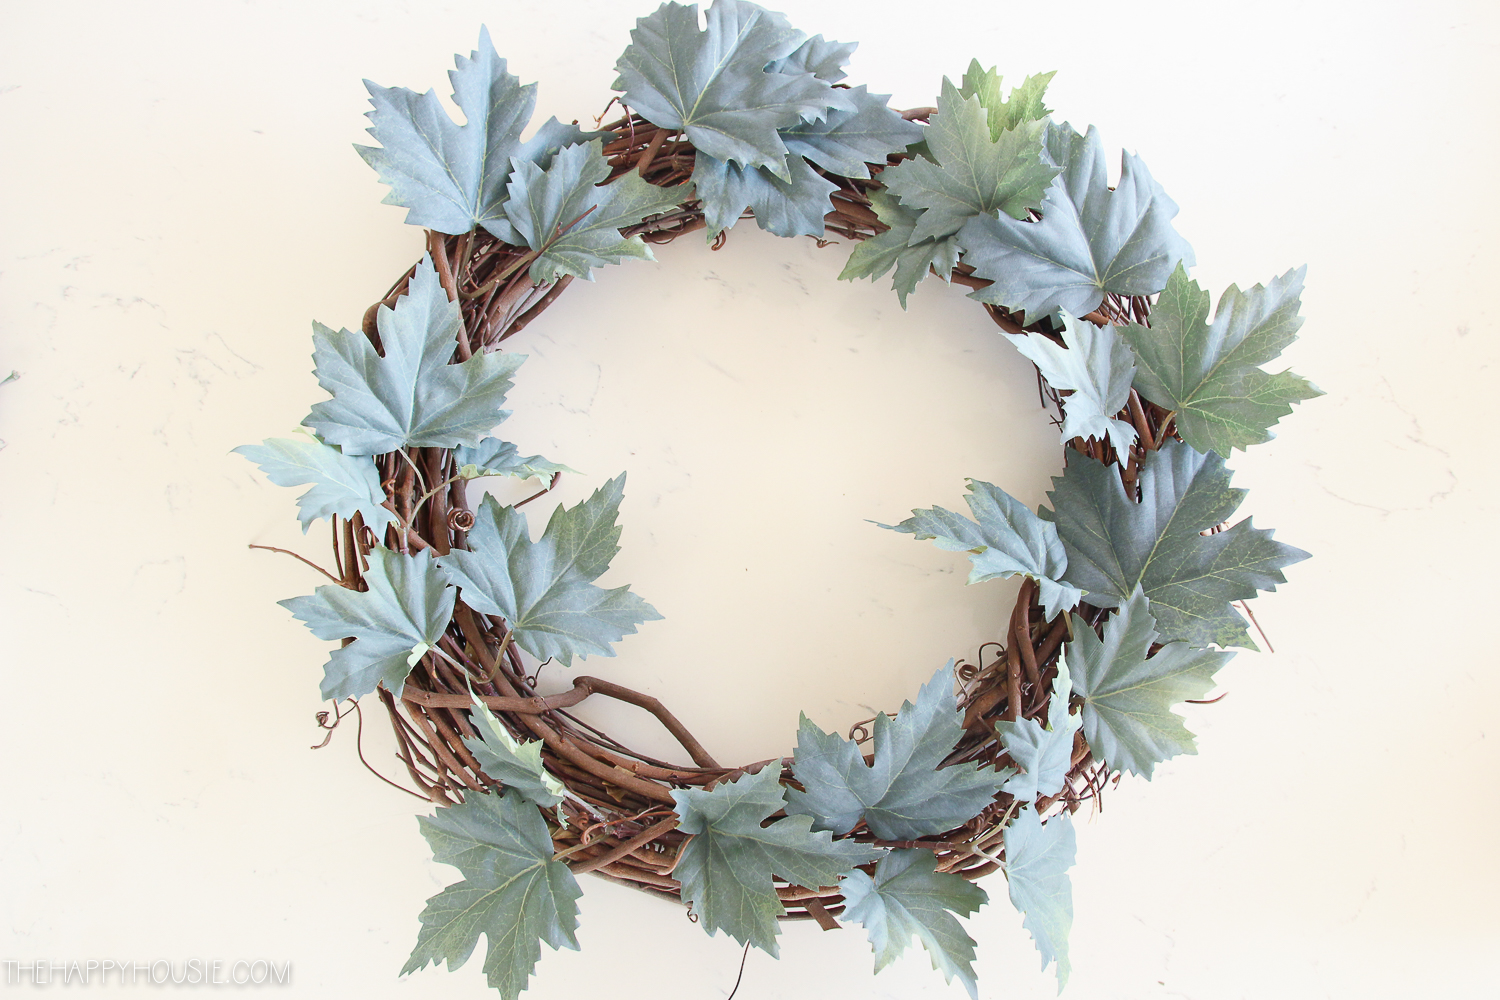
I started by cutting the various “leaf” pics apart…
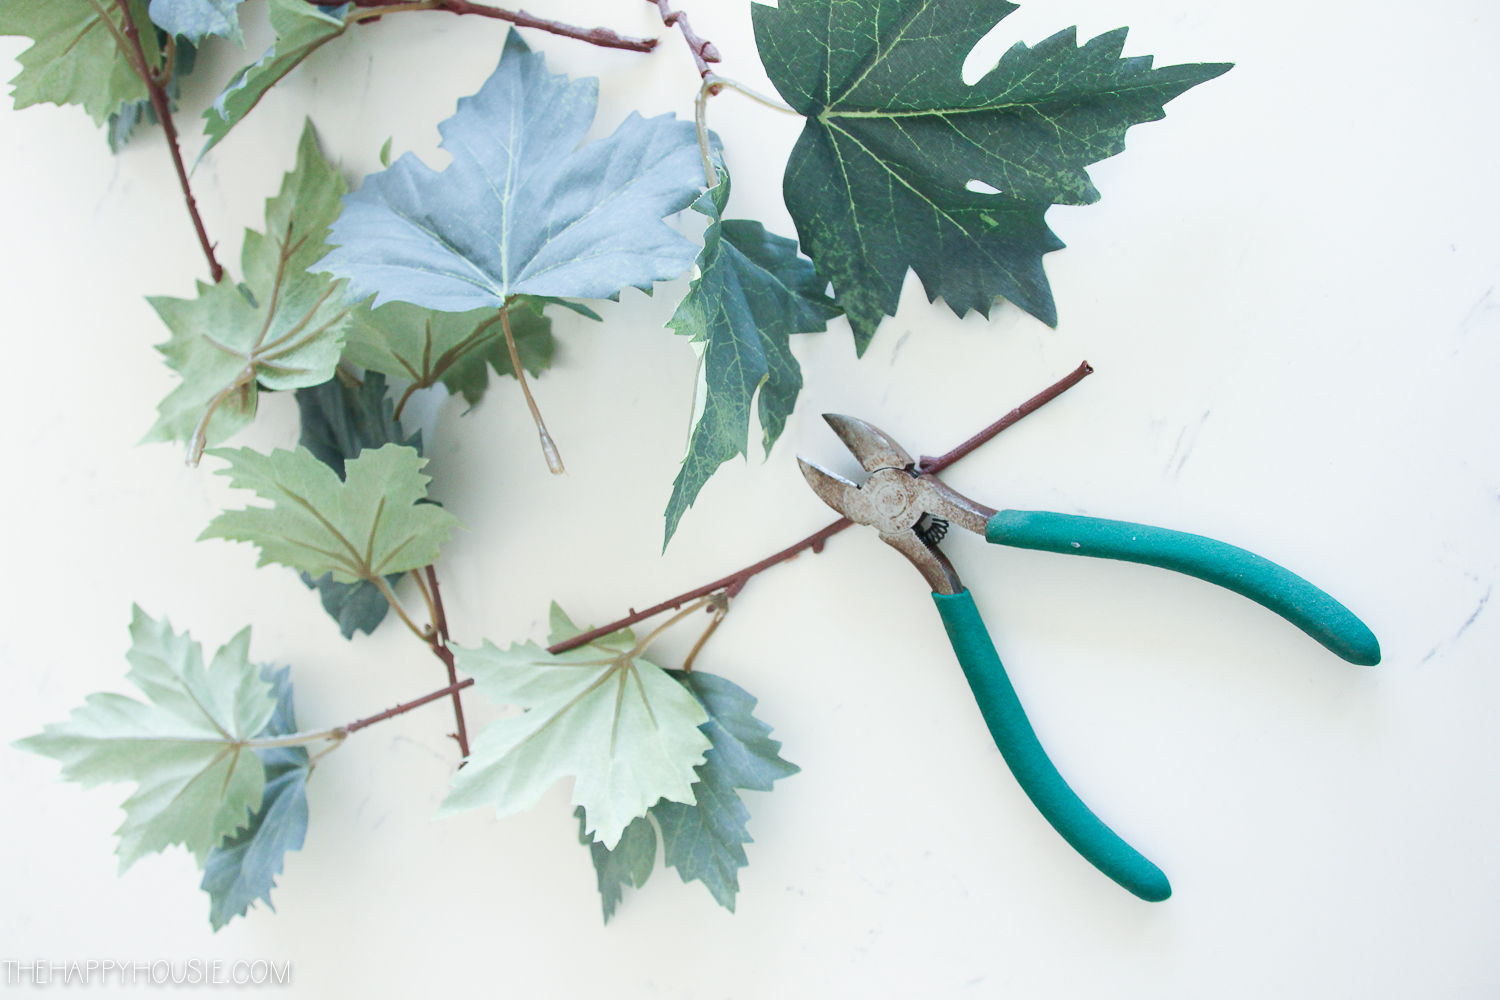
You can see the variety of leaf styles I used below, although I did not need all of the ones shown here. I had some leftovers.
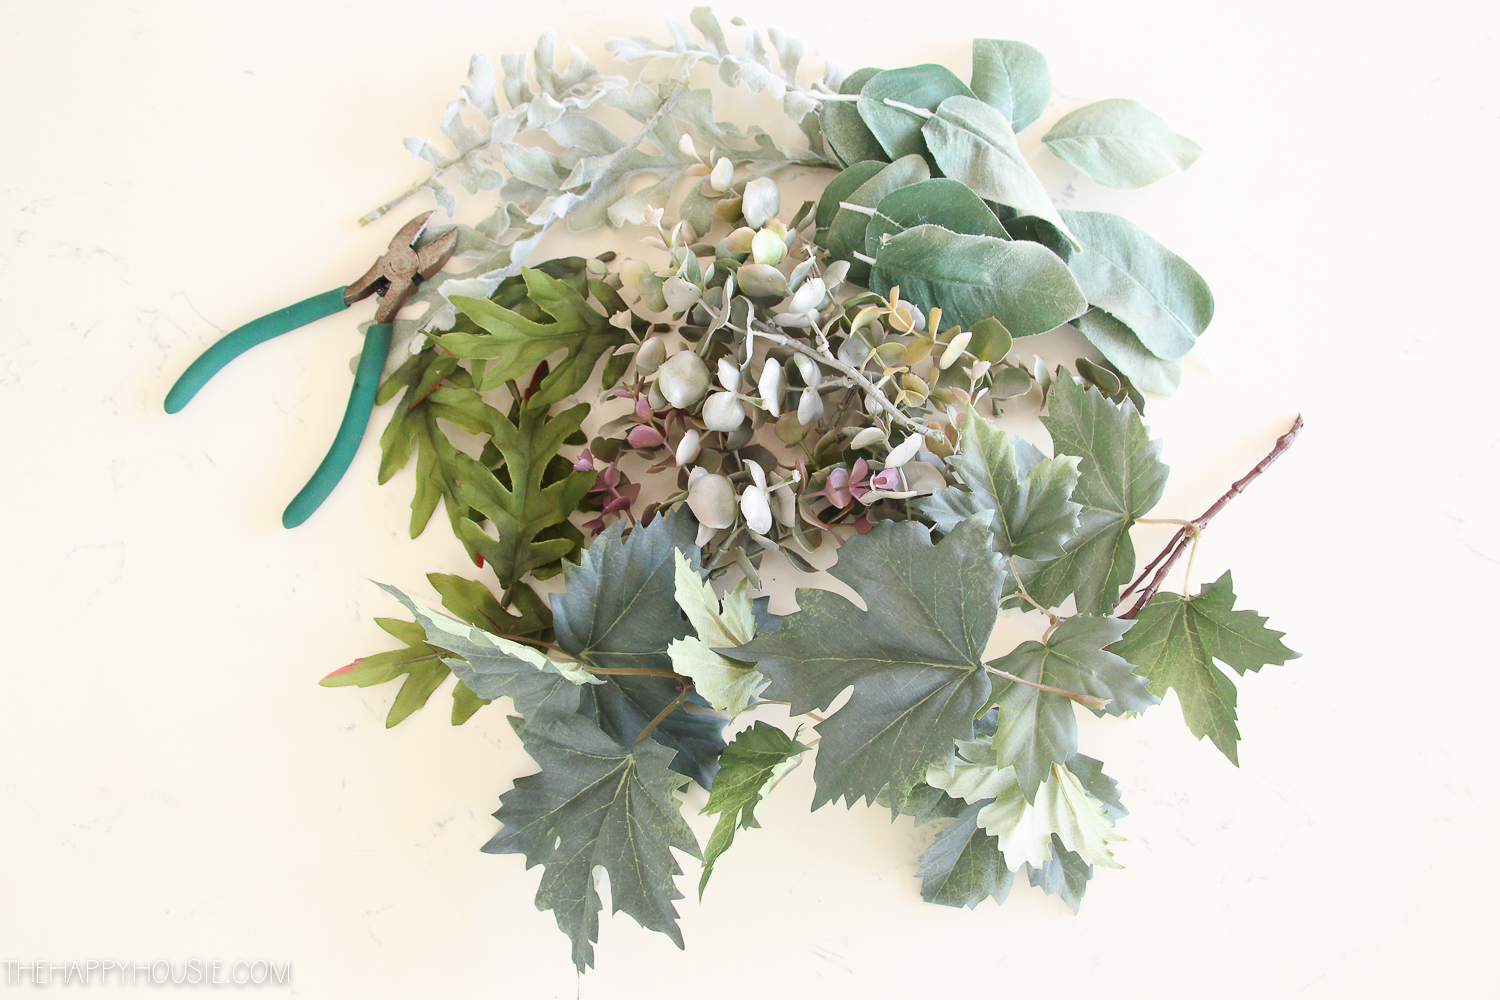
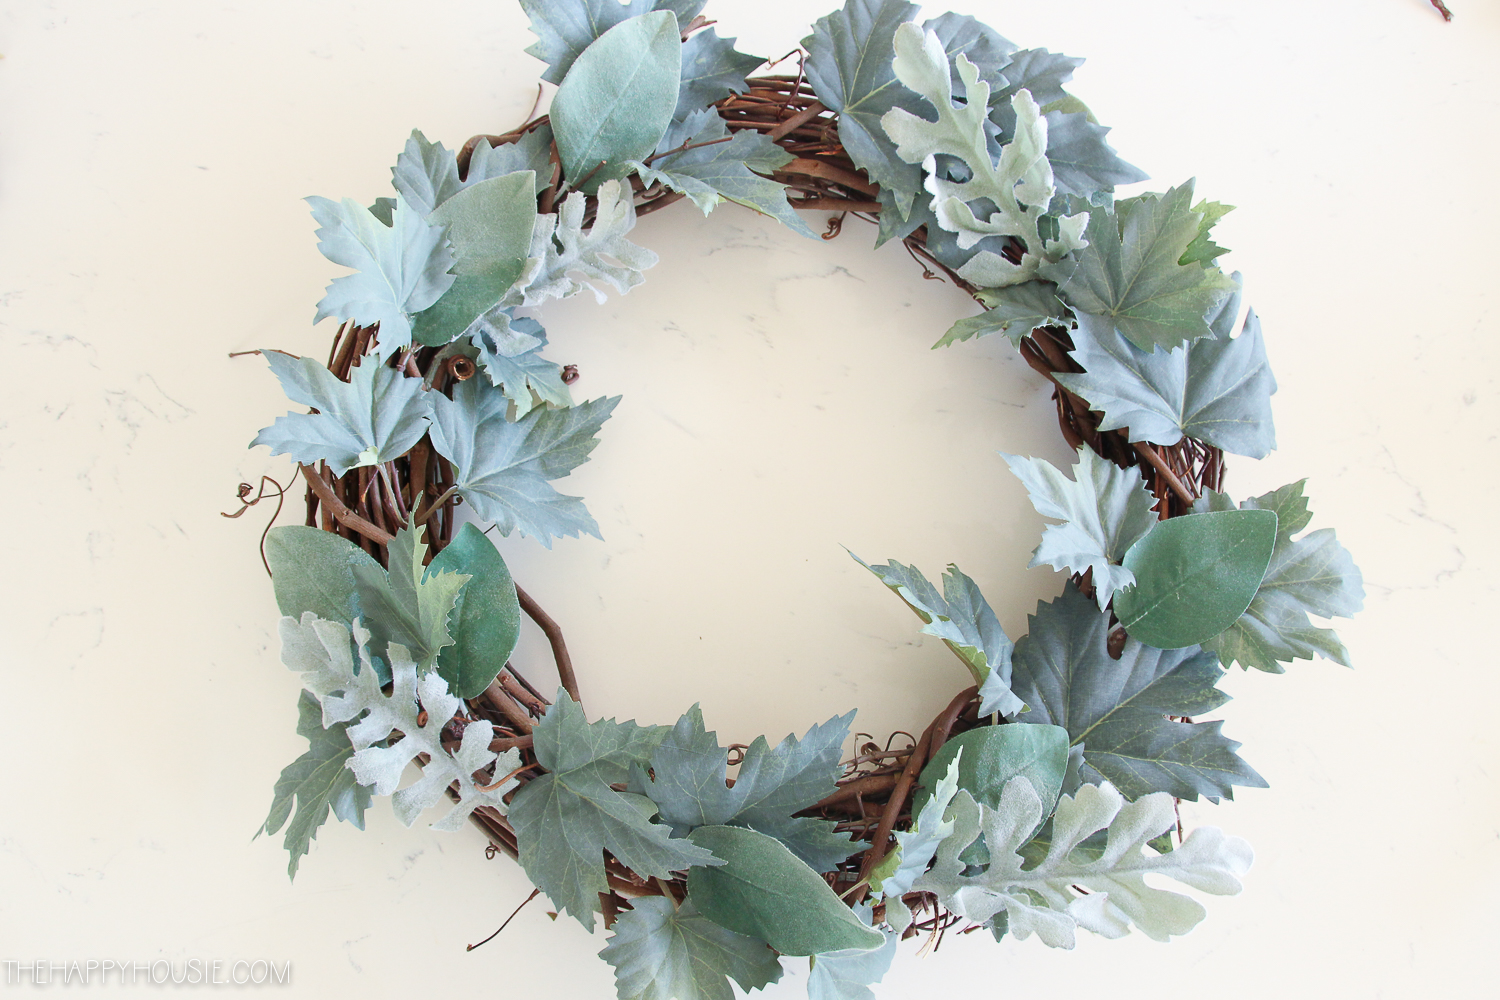
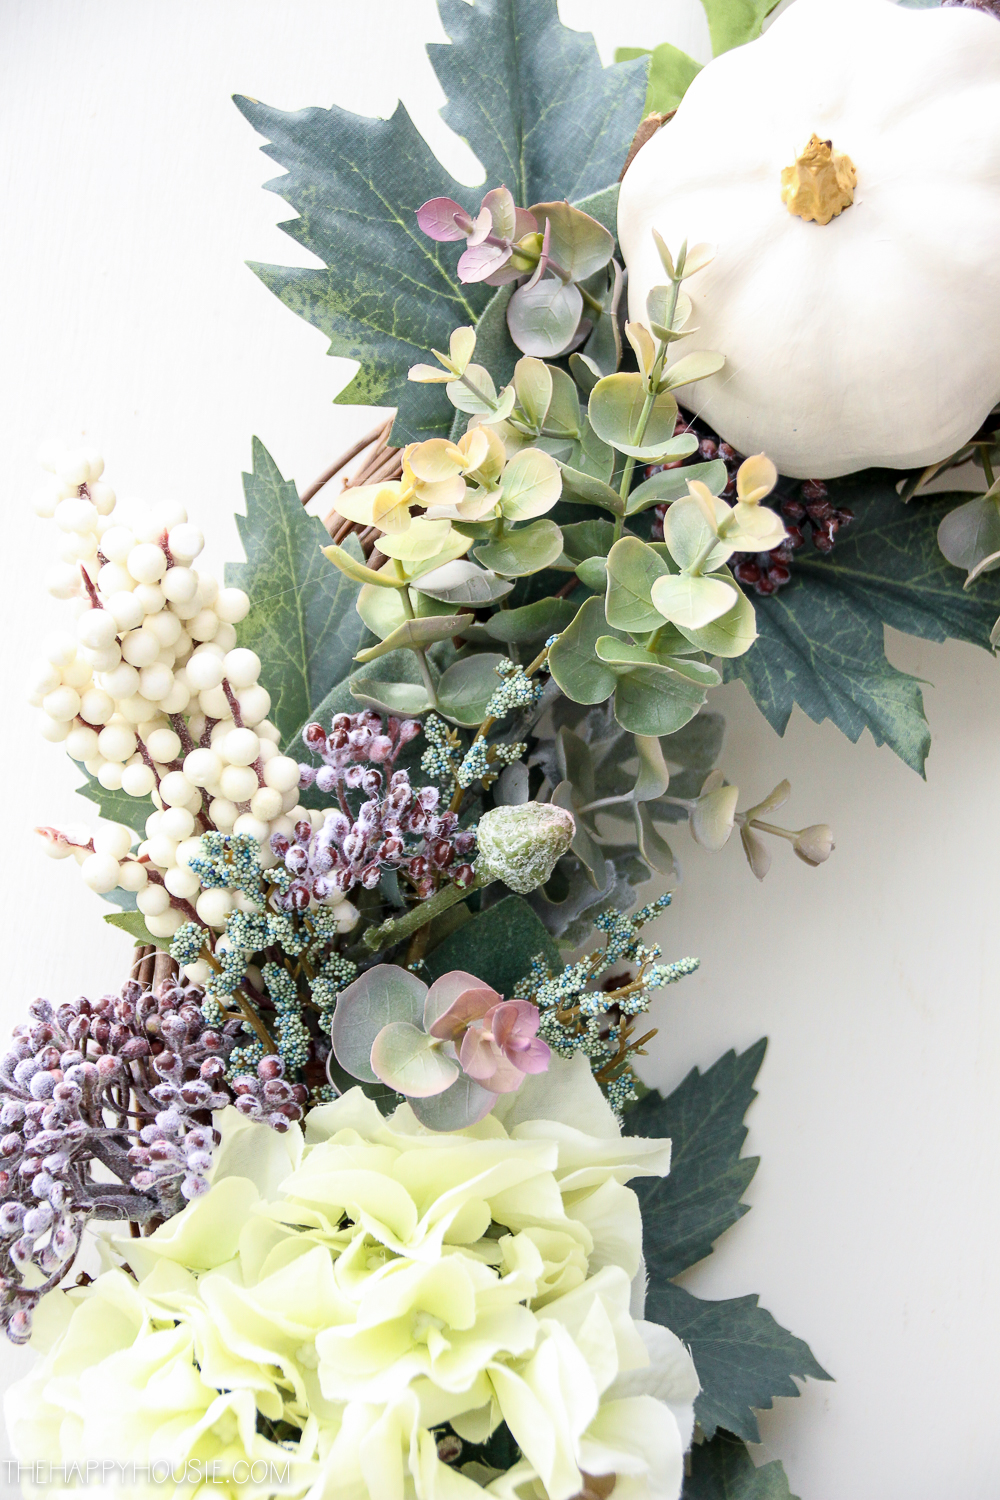
Then I laid the autumn leaves out on the wreath, beginning with the maple leaves, and layering the other styles over top. I tucked them in and glued with my hot glue gun as needed.
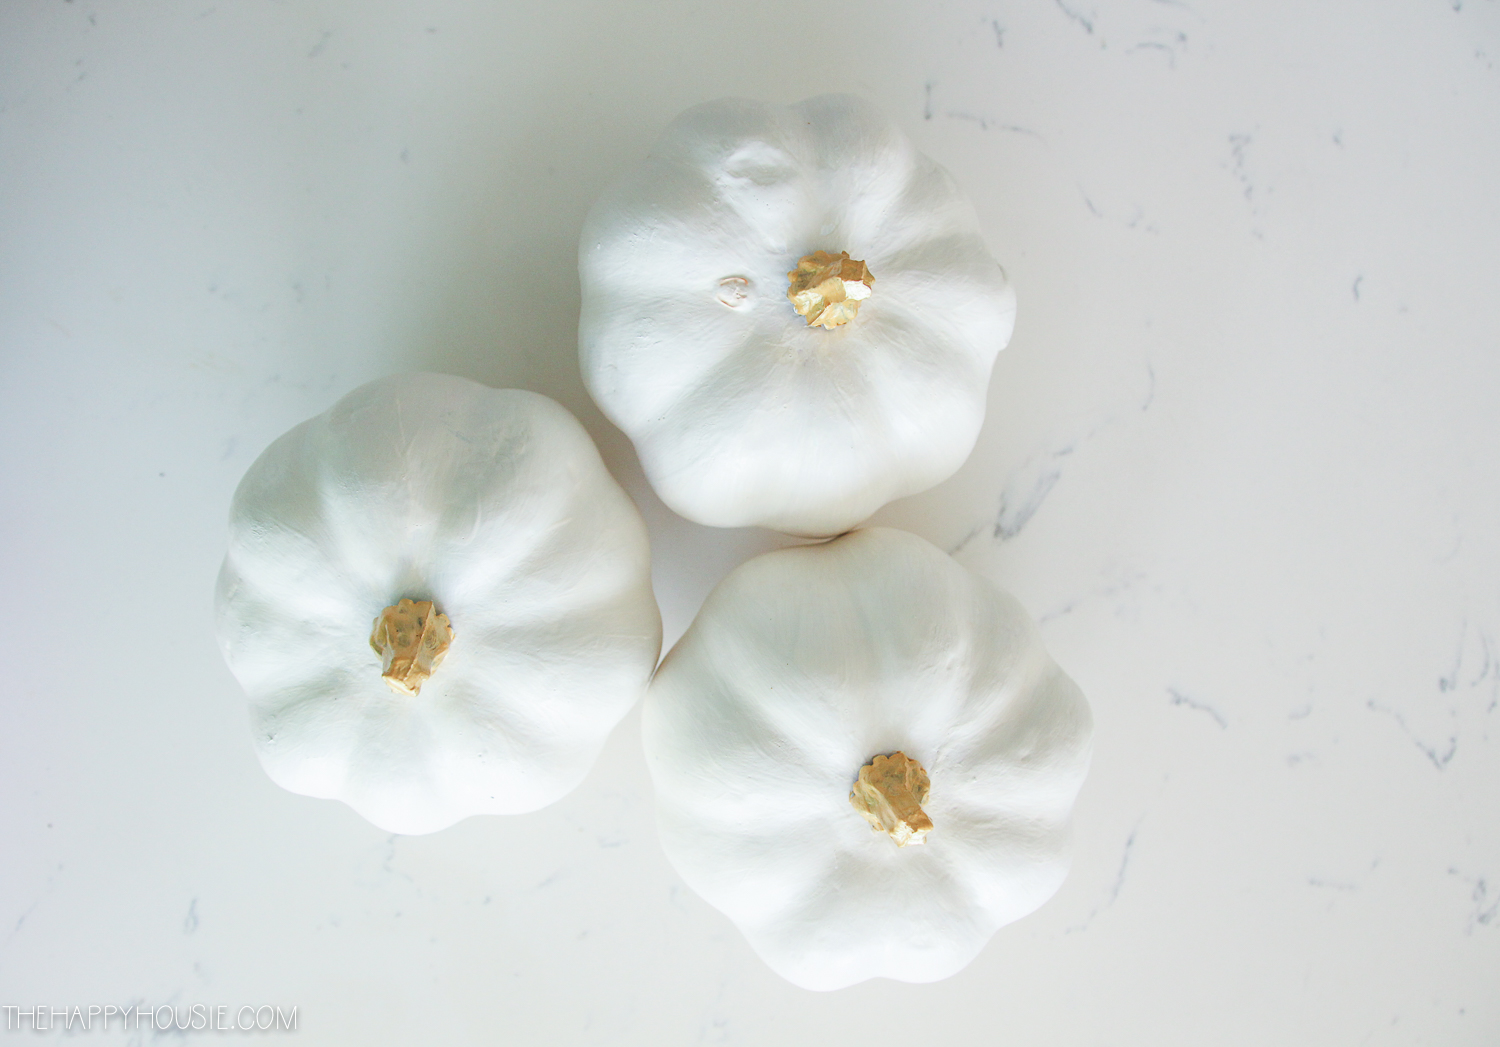
Once the foundation was created by laying on and gluing the leaves in place, it was time to place the more prominent pieces ( i.e. the pumpkins and the hydrangea). The pumpkins were actually dollar store pumpkins that I made over with a few coats of creamy-white chalk paint and then painted the stems with some gold craft paint.
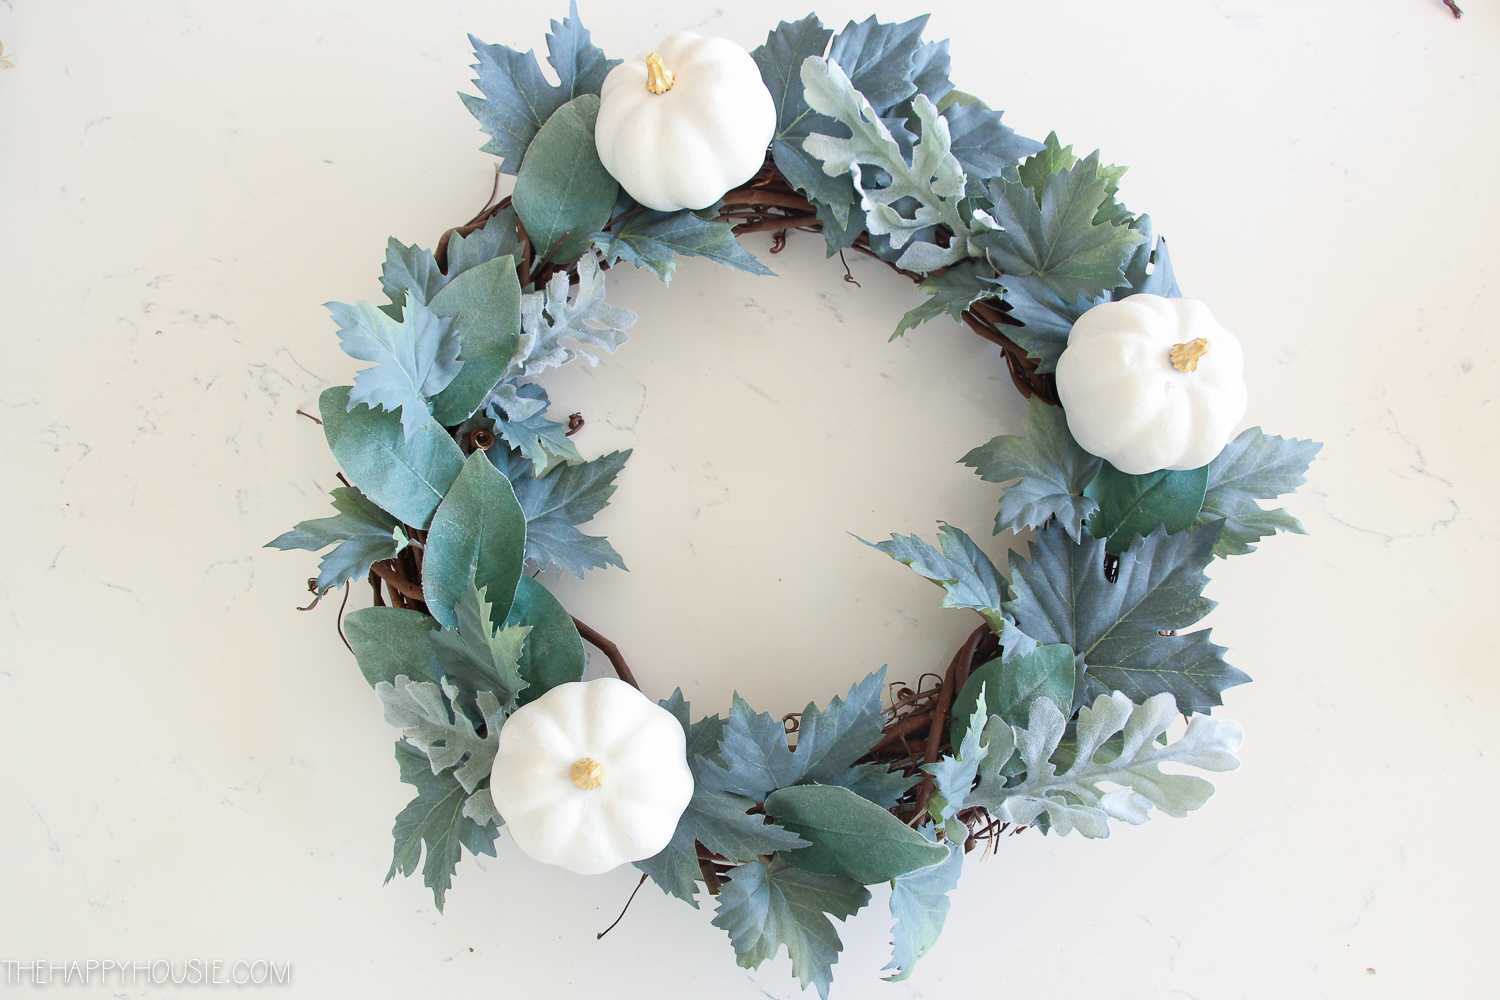
Then I glued them in place, followed by the hydrangeas (sorry, forgot to photograph that step!). I cut one hydrangea stem into a few sections (as the hydrangea head was too large), and glued it together in two areas after the pumpkins had been placed, creating FIVE key focal point spots (three pumpkin, 2 hydrangea).
Then it was time to layer on the decorative top layers! I cut the berry stems apart and laid them out…
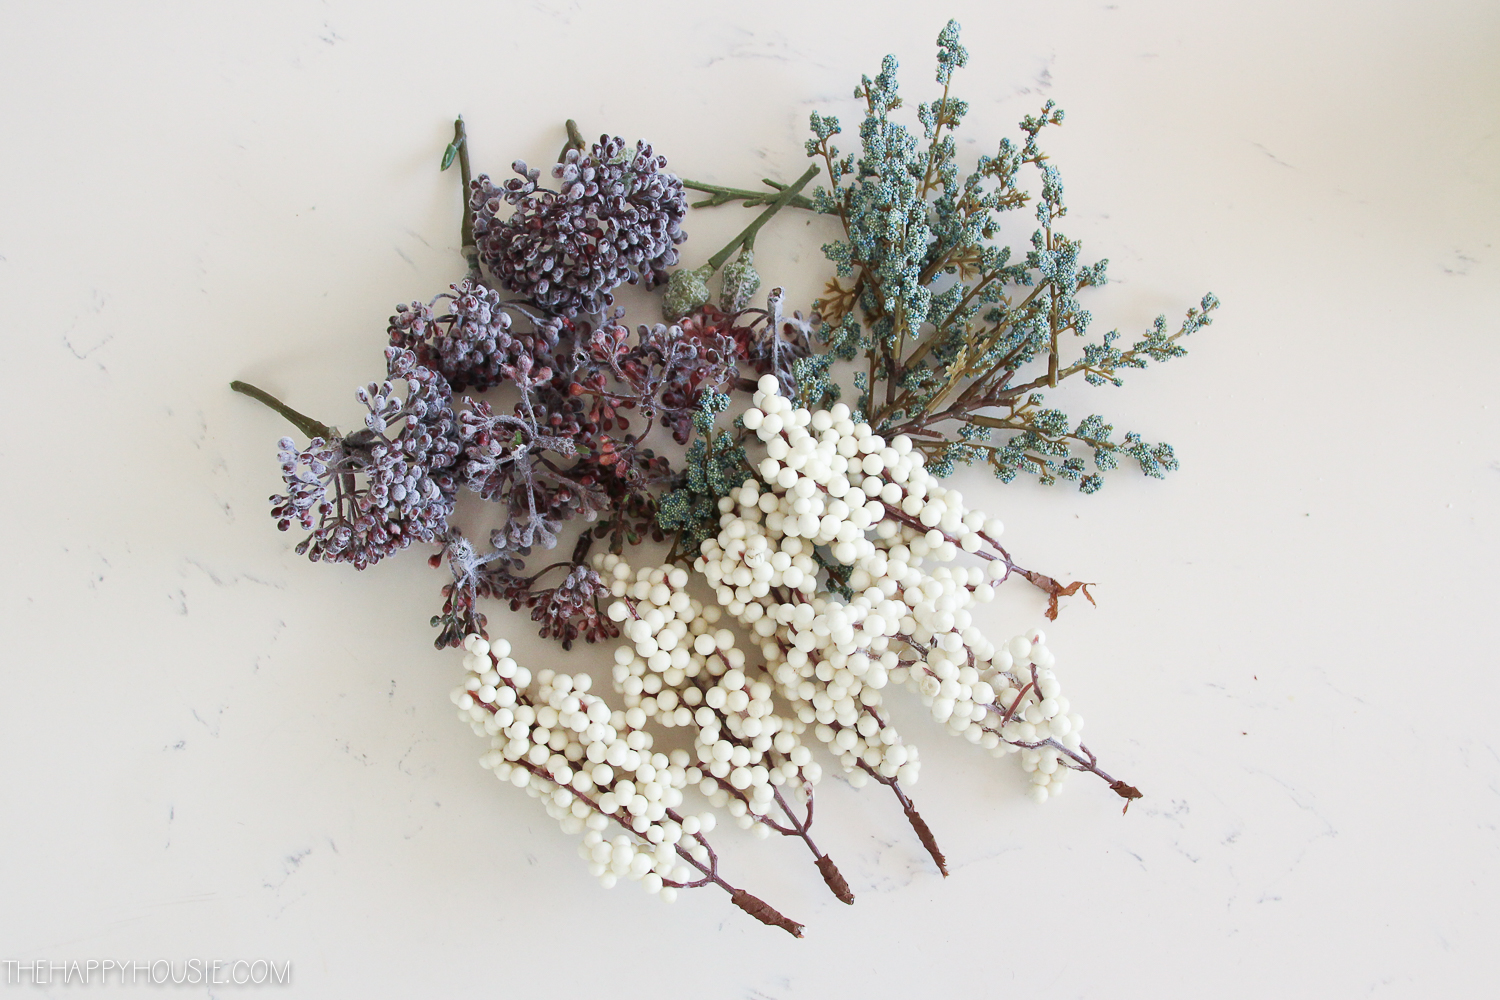
I layered them in and around the “focal point” pumpkins and hydrangeas, filling in the gaps, and attaching them in place with my hot glue gun. Just play around with the placement until you like it, then start gluing. You really can’t go wrong; once you get so many bits and bobs layered in together the effect is lovely!
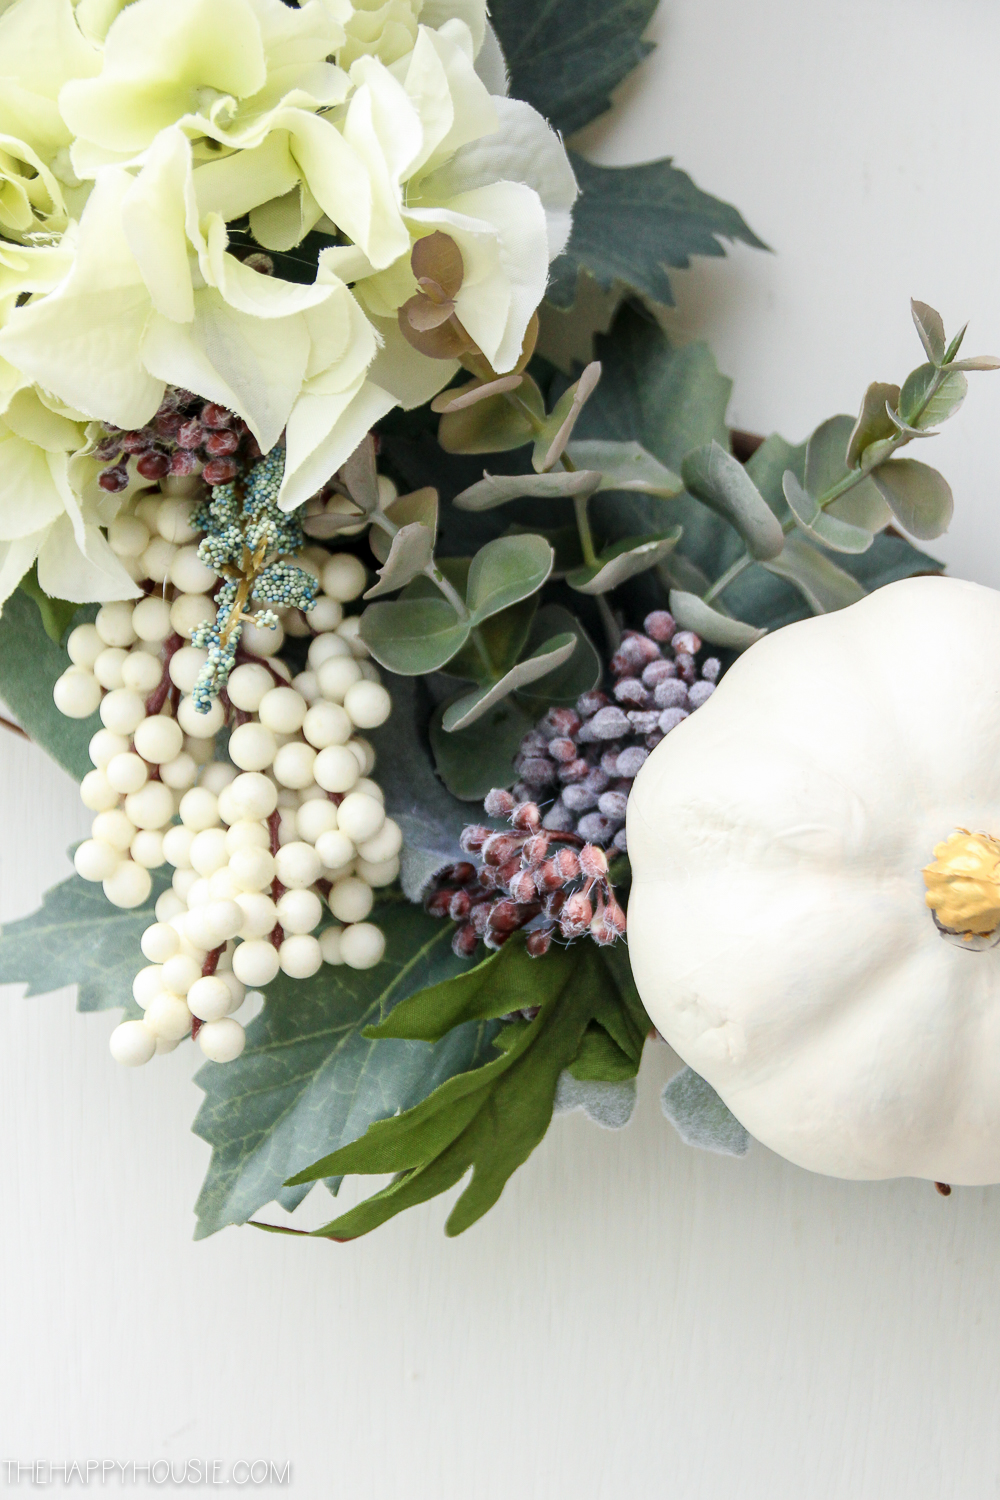

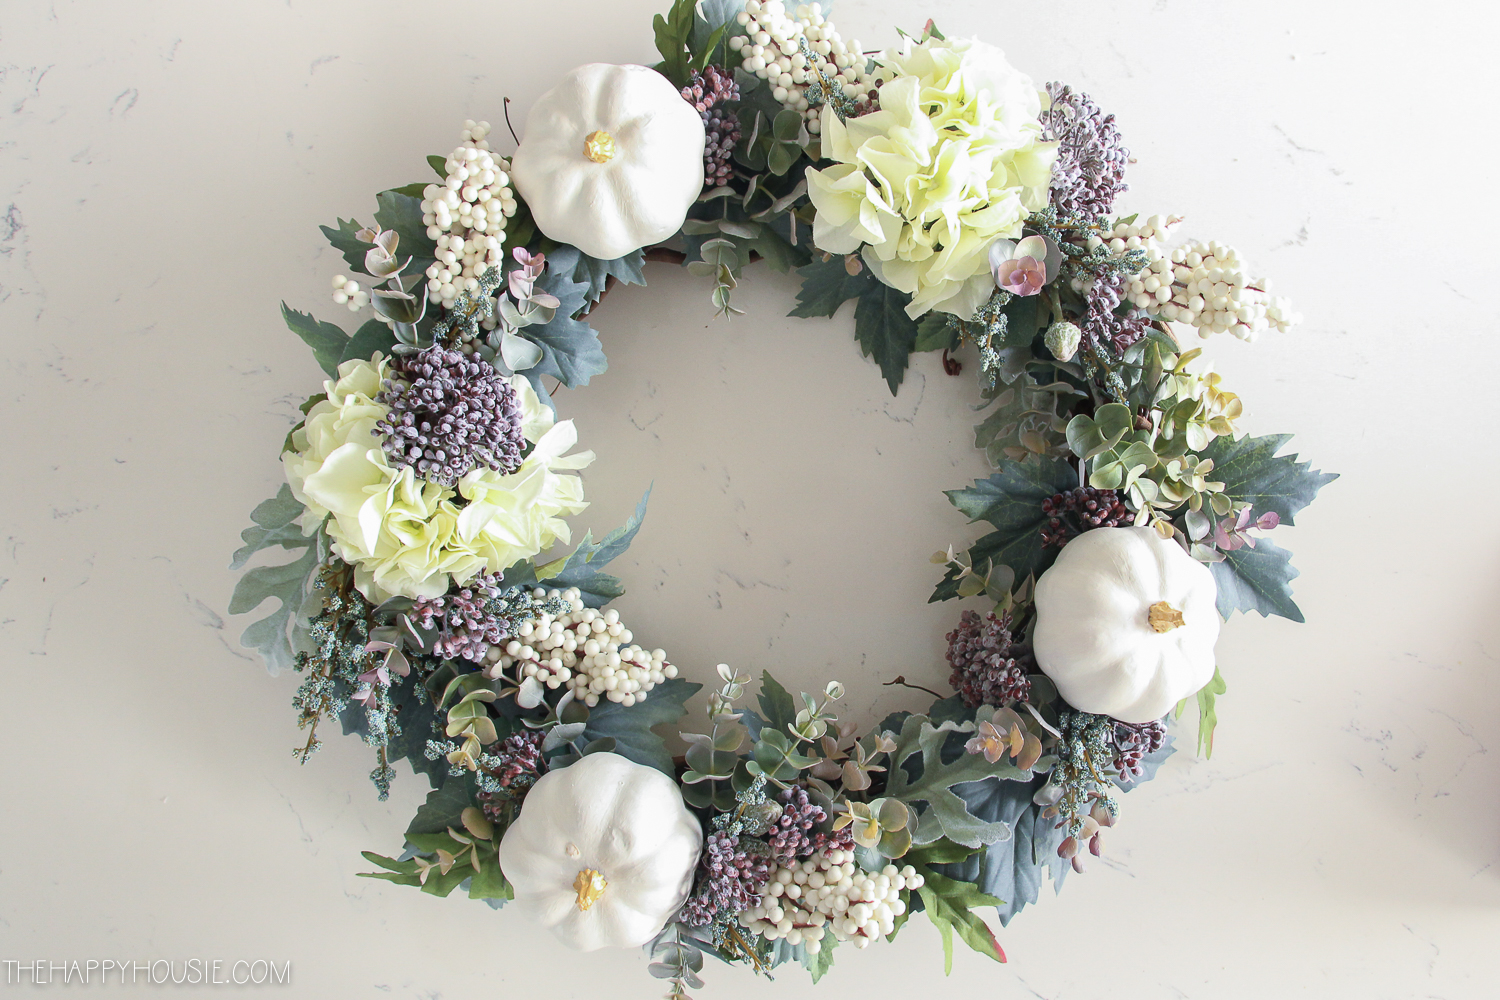
I hung it from behind with a piece of twine, and I LOVE how it looks on our front door! So soft and pretty, yet totally fall.
I also created a little video clip of this project in process…

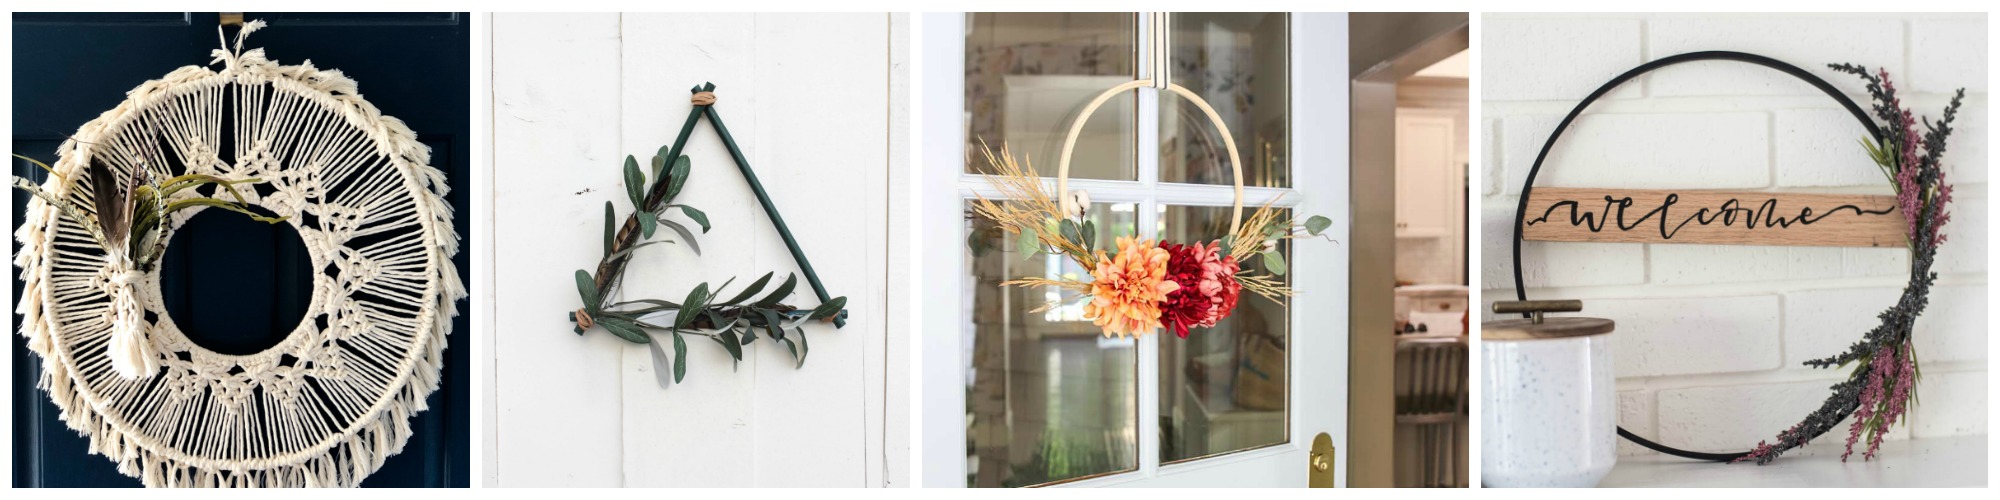
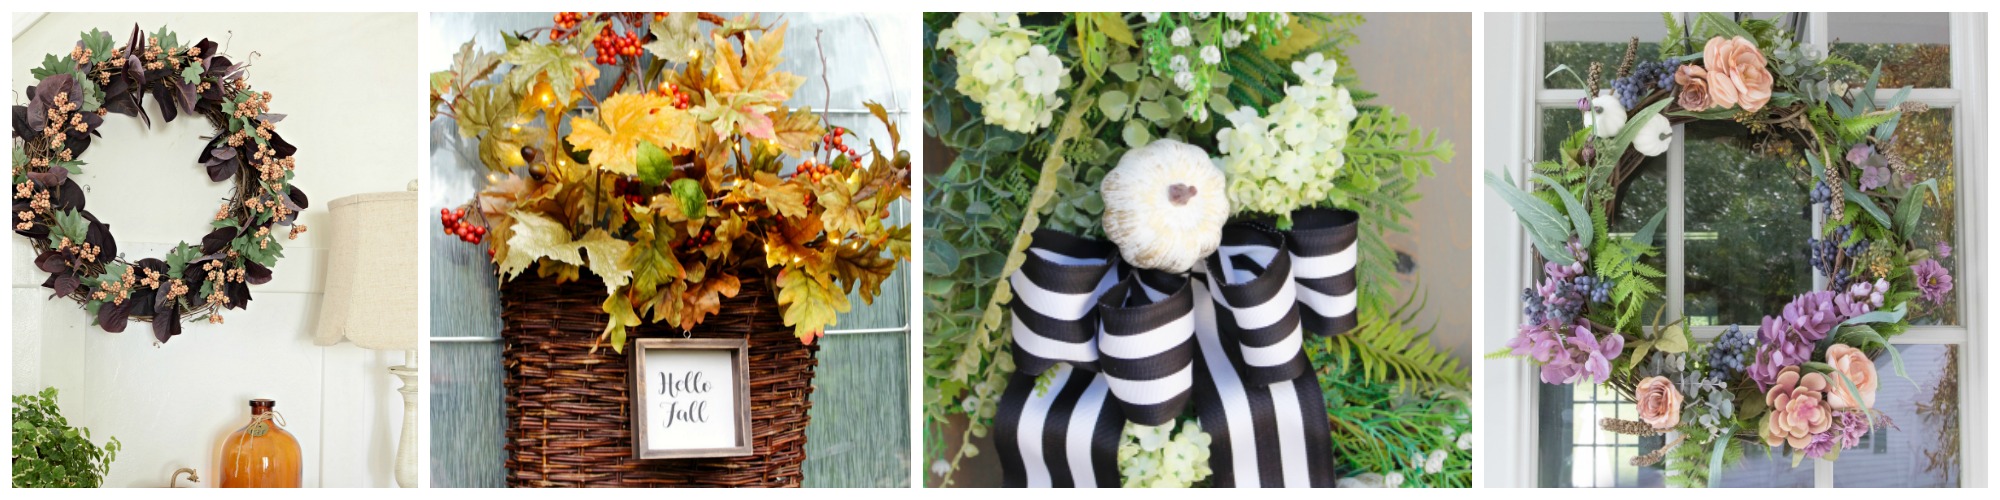
Today I’m excited to be joining a group of over 20 other talented bloggers who are also sharing a Fall DIY wreath tutorial with you! Hop over to see what my friends are sharing…
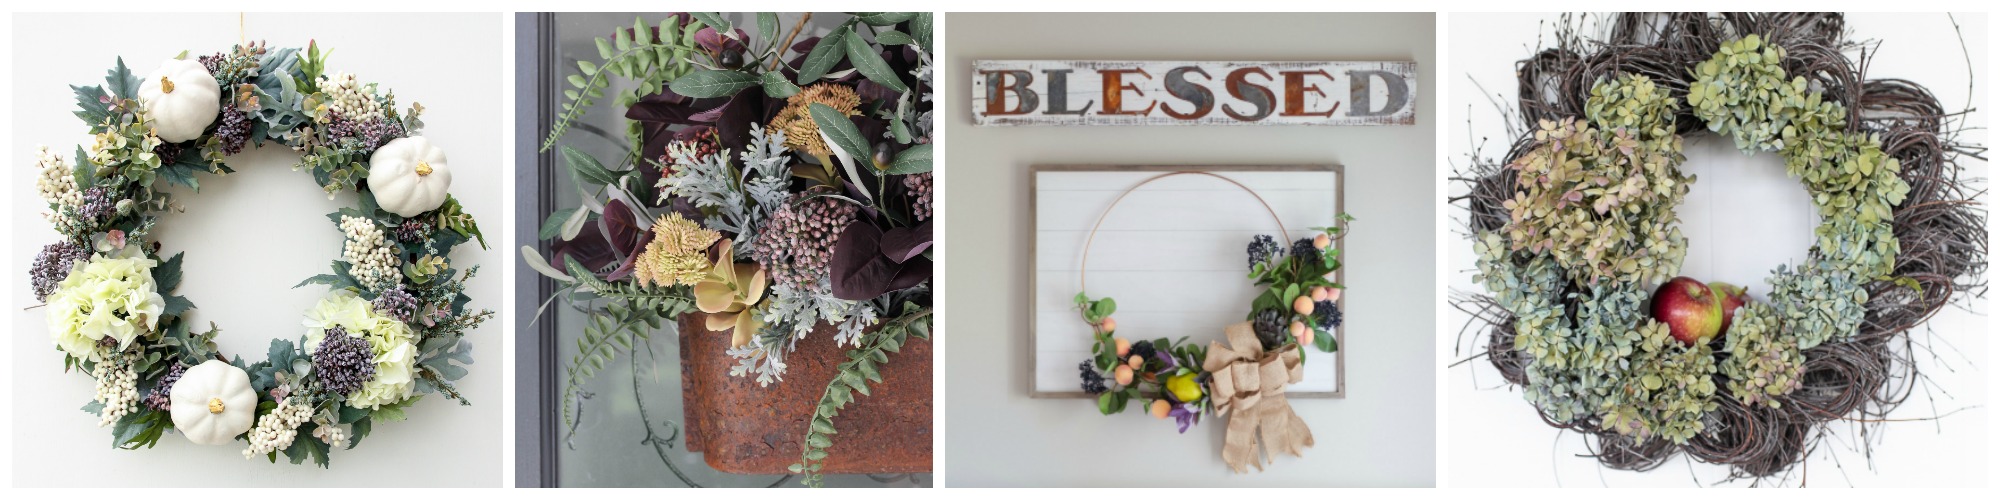
The Happy Housie // Rooms for Rent // The Turquoise Home // Finding Silver Pennies
Deeply Southern Home // Hallstrom Home // Shabbyfufu // Sincerely, Marie Designs //
The DIY Mommy
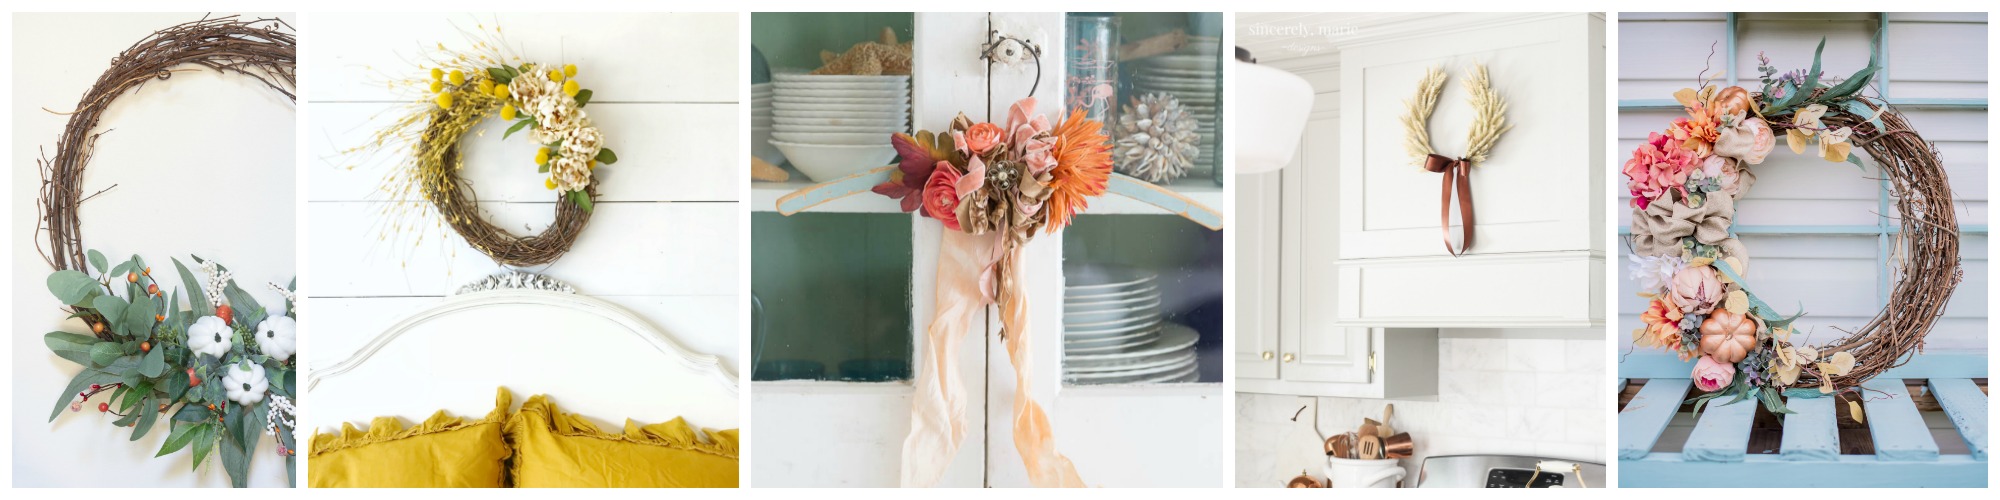
Lolly Jane // Happy Happy Nester // Amber Tysl // A Pretty Life
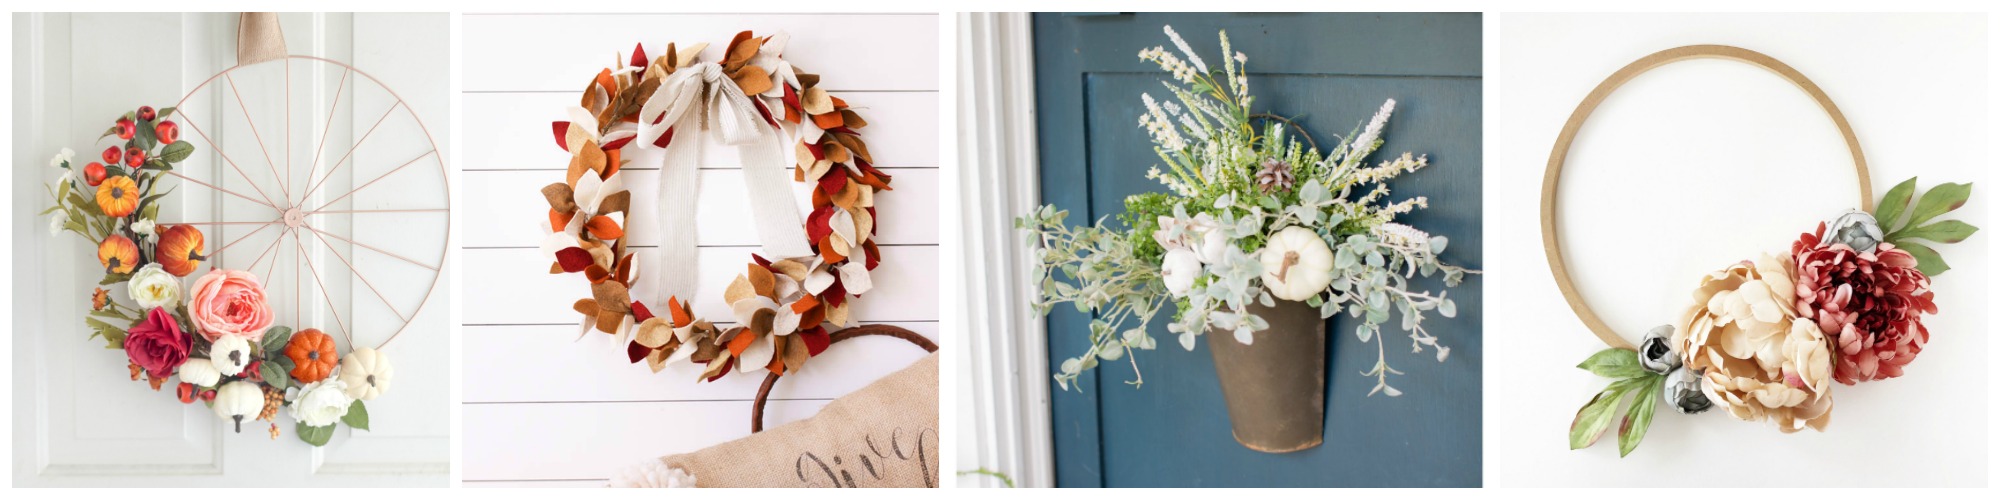
Place of My Taste // Love Create Celebrate // Modern Glam // Lemon Thistle
Town and Country Living // Clean and Scentsible // Summer Adams // Willow Street Interiors
Want to remember this? Then PIN it!
My favorite kind of DIY! High end look on a budget. This is stunning! Thanks for the inspo
Simply beautiful! Thank you for sharing at Share Your Style!
Krista, your wreath is beautiful and such a fun DIY! I’d luv to invite you to share it with us at Wall to Wall DIY Wednesday! Best, Ann
This is so beautiful. You’re quite creative and pretty good at explaining these crafts. I love this. Thanks for sharing
Krista, this is so beautiful. I love the colors you’ve chosen and all the beautiful textures.
So pretty Krista! I love all of the different layers!
I love this wreath Krista! Such a pretty way to do fall while it’s still early. So happy to join you on this fun series!
I love all the pretty stems you used, Krista! Thanks for getting us together! Xo
I like the wreaths
REALLY pretty! Love this tutorial!
I love the wide variety of flowers and the textures you created! Absolutely beautiful!! Thank you so much for hosting us!!
Krista,
Thanks so much for organizing this awesome wreath tour! You went above and beyond the call of duty! Your wreath is fabulous and it looks so pretty on your front door! Happy Fall my friend!
I’m so ready for fall too…it’s my favourite! Your wreath is so pretty Krista…I love the colours you chose for fall this year!
So pretty, Krista! I love your choice of florals! Thanks for organizing today’s tour.
Your wreath is lovely, Krista! I love the muted tones and the bits of purple. It pairs with your front door beautifully!
This is just so pretty Krista and since my front doors are a similar color to yours I may have to do one! Thanks for hosting…
Krista, your wreath is so speaking my love language! It’s beautiful! I especially love how you hung it with the twine. So unexpected and elegant. Thank you for hosting such a fun hop! xoxo
This is so gorgeous!!!!!