
How to Purge & Organize Your Paper Clutter
Today I’m sharing my tips for how to sort out all your paper clutter; what to keep, toss, shred, file, and store.
Welcome to Week One of the Ten Week Organizing Challenge! This week we are dealing with paper clutter and learning how to setup a command centre in our home.
I like to start this challenge off by dealing with the whole paper clutter / paperwork situation, as I think it is one of the biggest areas of stress for many people. Every day we are hit with an onslaught of paper clutter; whether it be mail, bills, school papers, newspapers, magazines, coupons etc. SO. MUCH. PAPER. And that’s not even mentioning all of the digital clutter that comes into our inboxes on a daily basis, as well. I’ll be writing a separate post later on in this series all about dealing with your digital clutter.
Paper Clutter
I also like to start week one of the challenge off with paper clutter because I have to confess that it’s a bit of a sore spot for me. A weakness, I suppose. I find it easy to just put it all in a pile and hide it somewhere and forget to go back to it and deal with it as needed. Paperwork is definitely one of those things that you need to create a system for. We had a great system in our old house with this command center, but after moving we haven’t ever taken the time to create a new system in this home. I’ll first share my best tips for organizing and dealing with paper clutter, and then I’ll share a separate post about the family Command Center that I setup in order to deal with incoming paperwork consistently on an ongoing basis.
I am a bit late posting my week one update despite the fact that I’m on track with my weekly organizing schedule. We had some illness in the house last week and then hosted a big event on the weekend, so time was tight to purge/organize and also photograph and write about it all! But I’m here today to share all about how I purged and organized our incoming paperwork piles along with some tips on how to do this in your home.
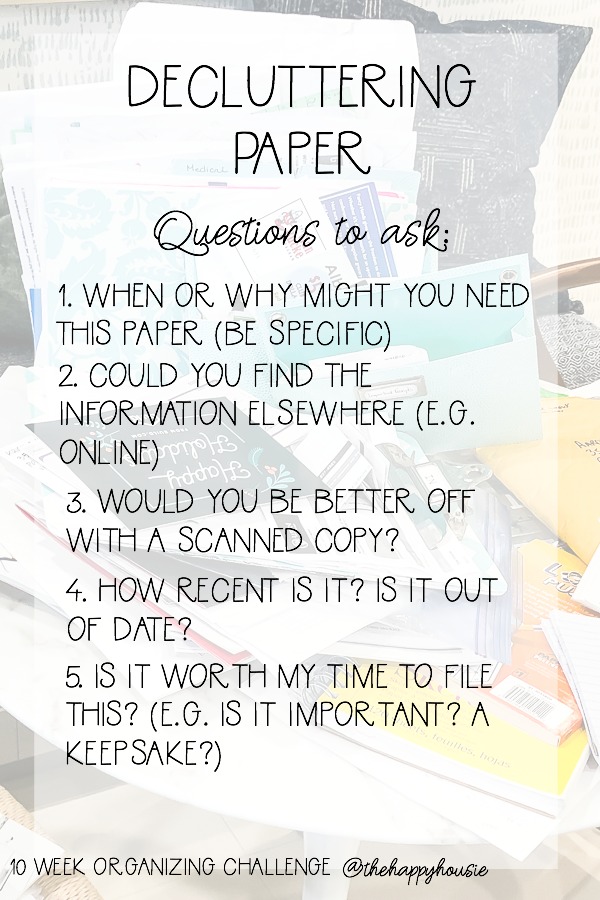
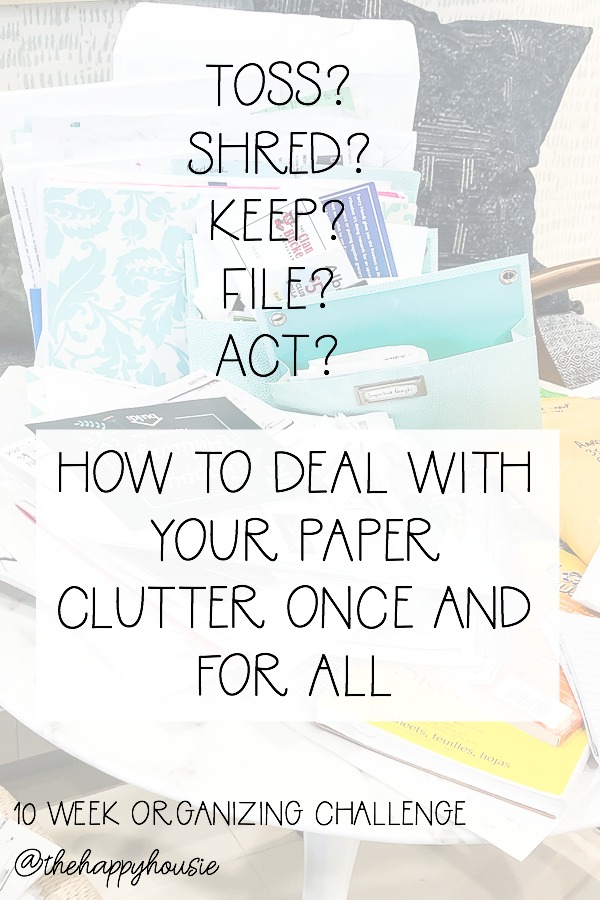
When I wrote about purging paperwork last round of this challenge, I created some fabulous graphics that helped me make decisions, and I want to share an updated version of these questions with you again…
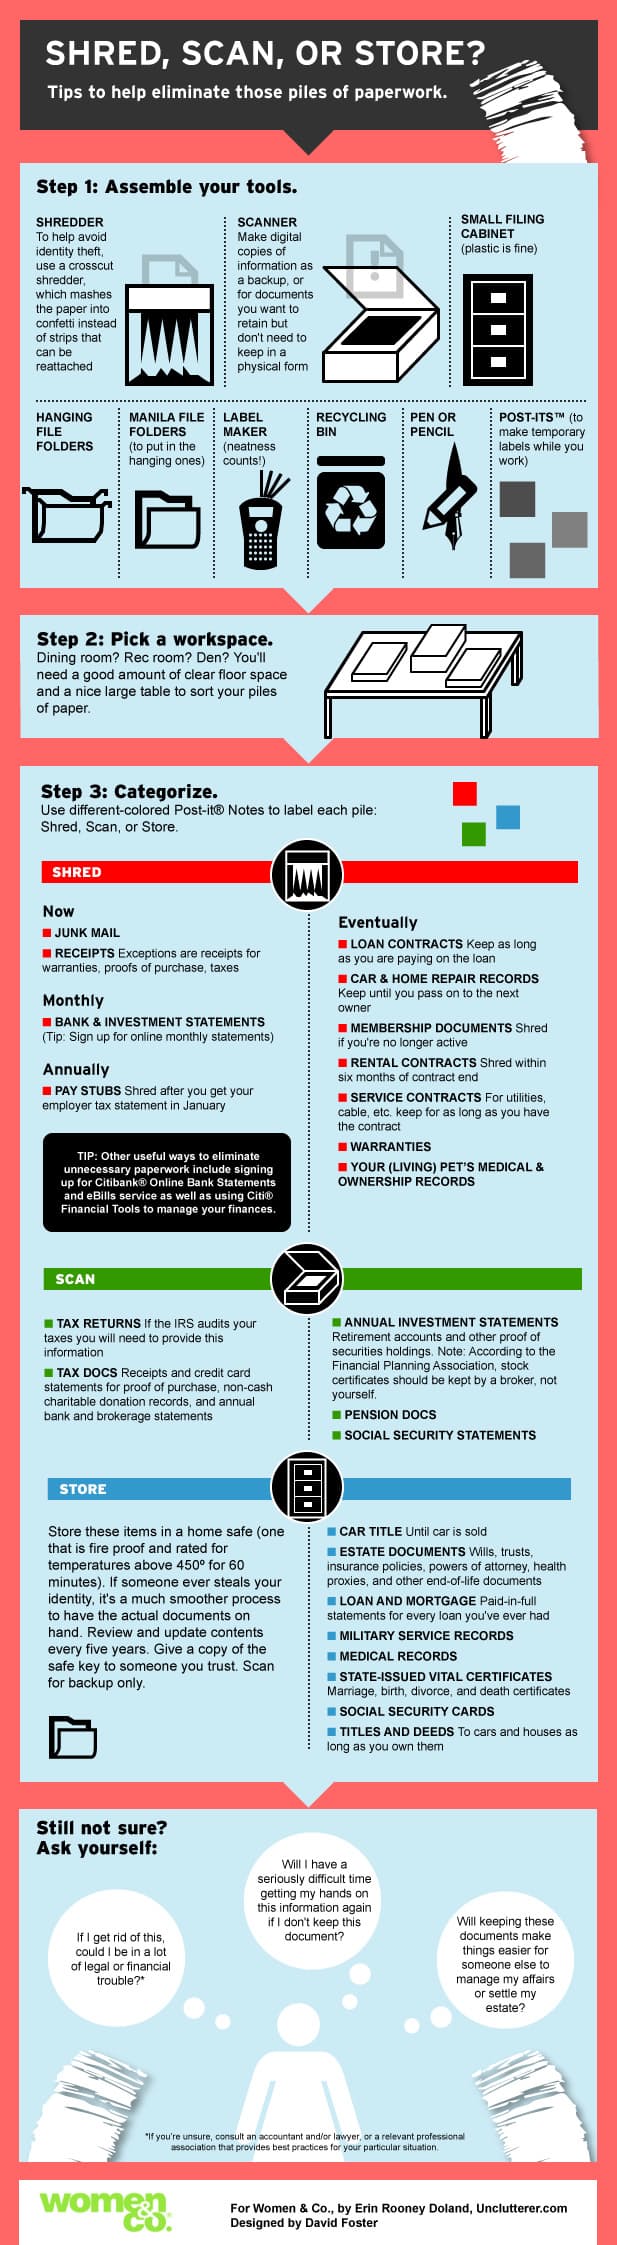
I also found this very thorough graphic online for dealing with the piles, if you have a LOT that you are starting with. Although we haven’t had a good system in place for the last year, we have been pretty good at keeping up with paper clutter in the past and have a strong filing system already in place (you can read about our colour coded filing system here). As such, we don’t have as large of a build-up of paper clutter as some people have. If you are starting from the beginning, then this graphic is for you…
So with those questions in mind, it’s time to jump right in.
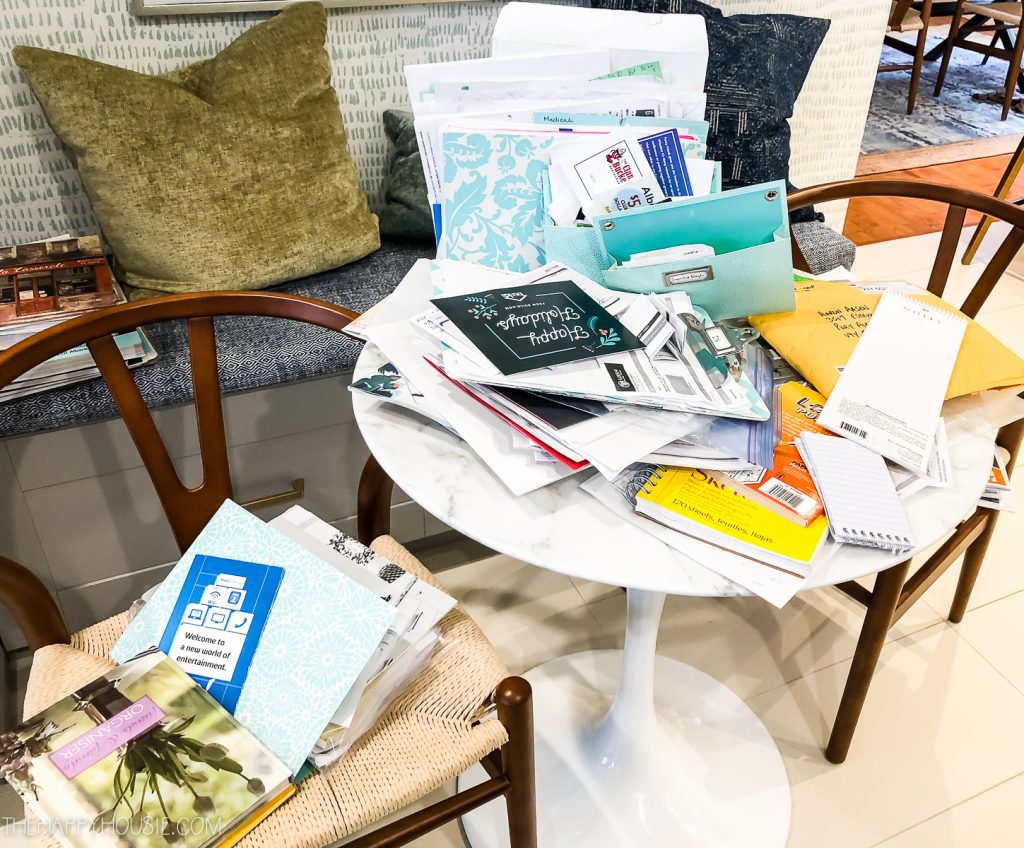
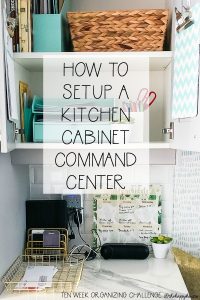
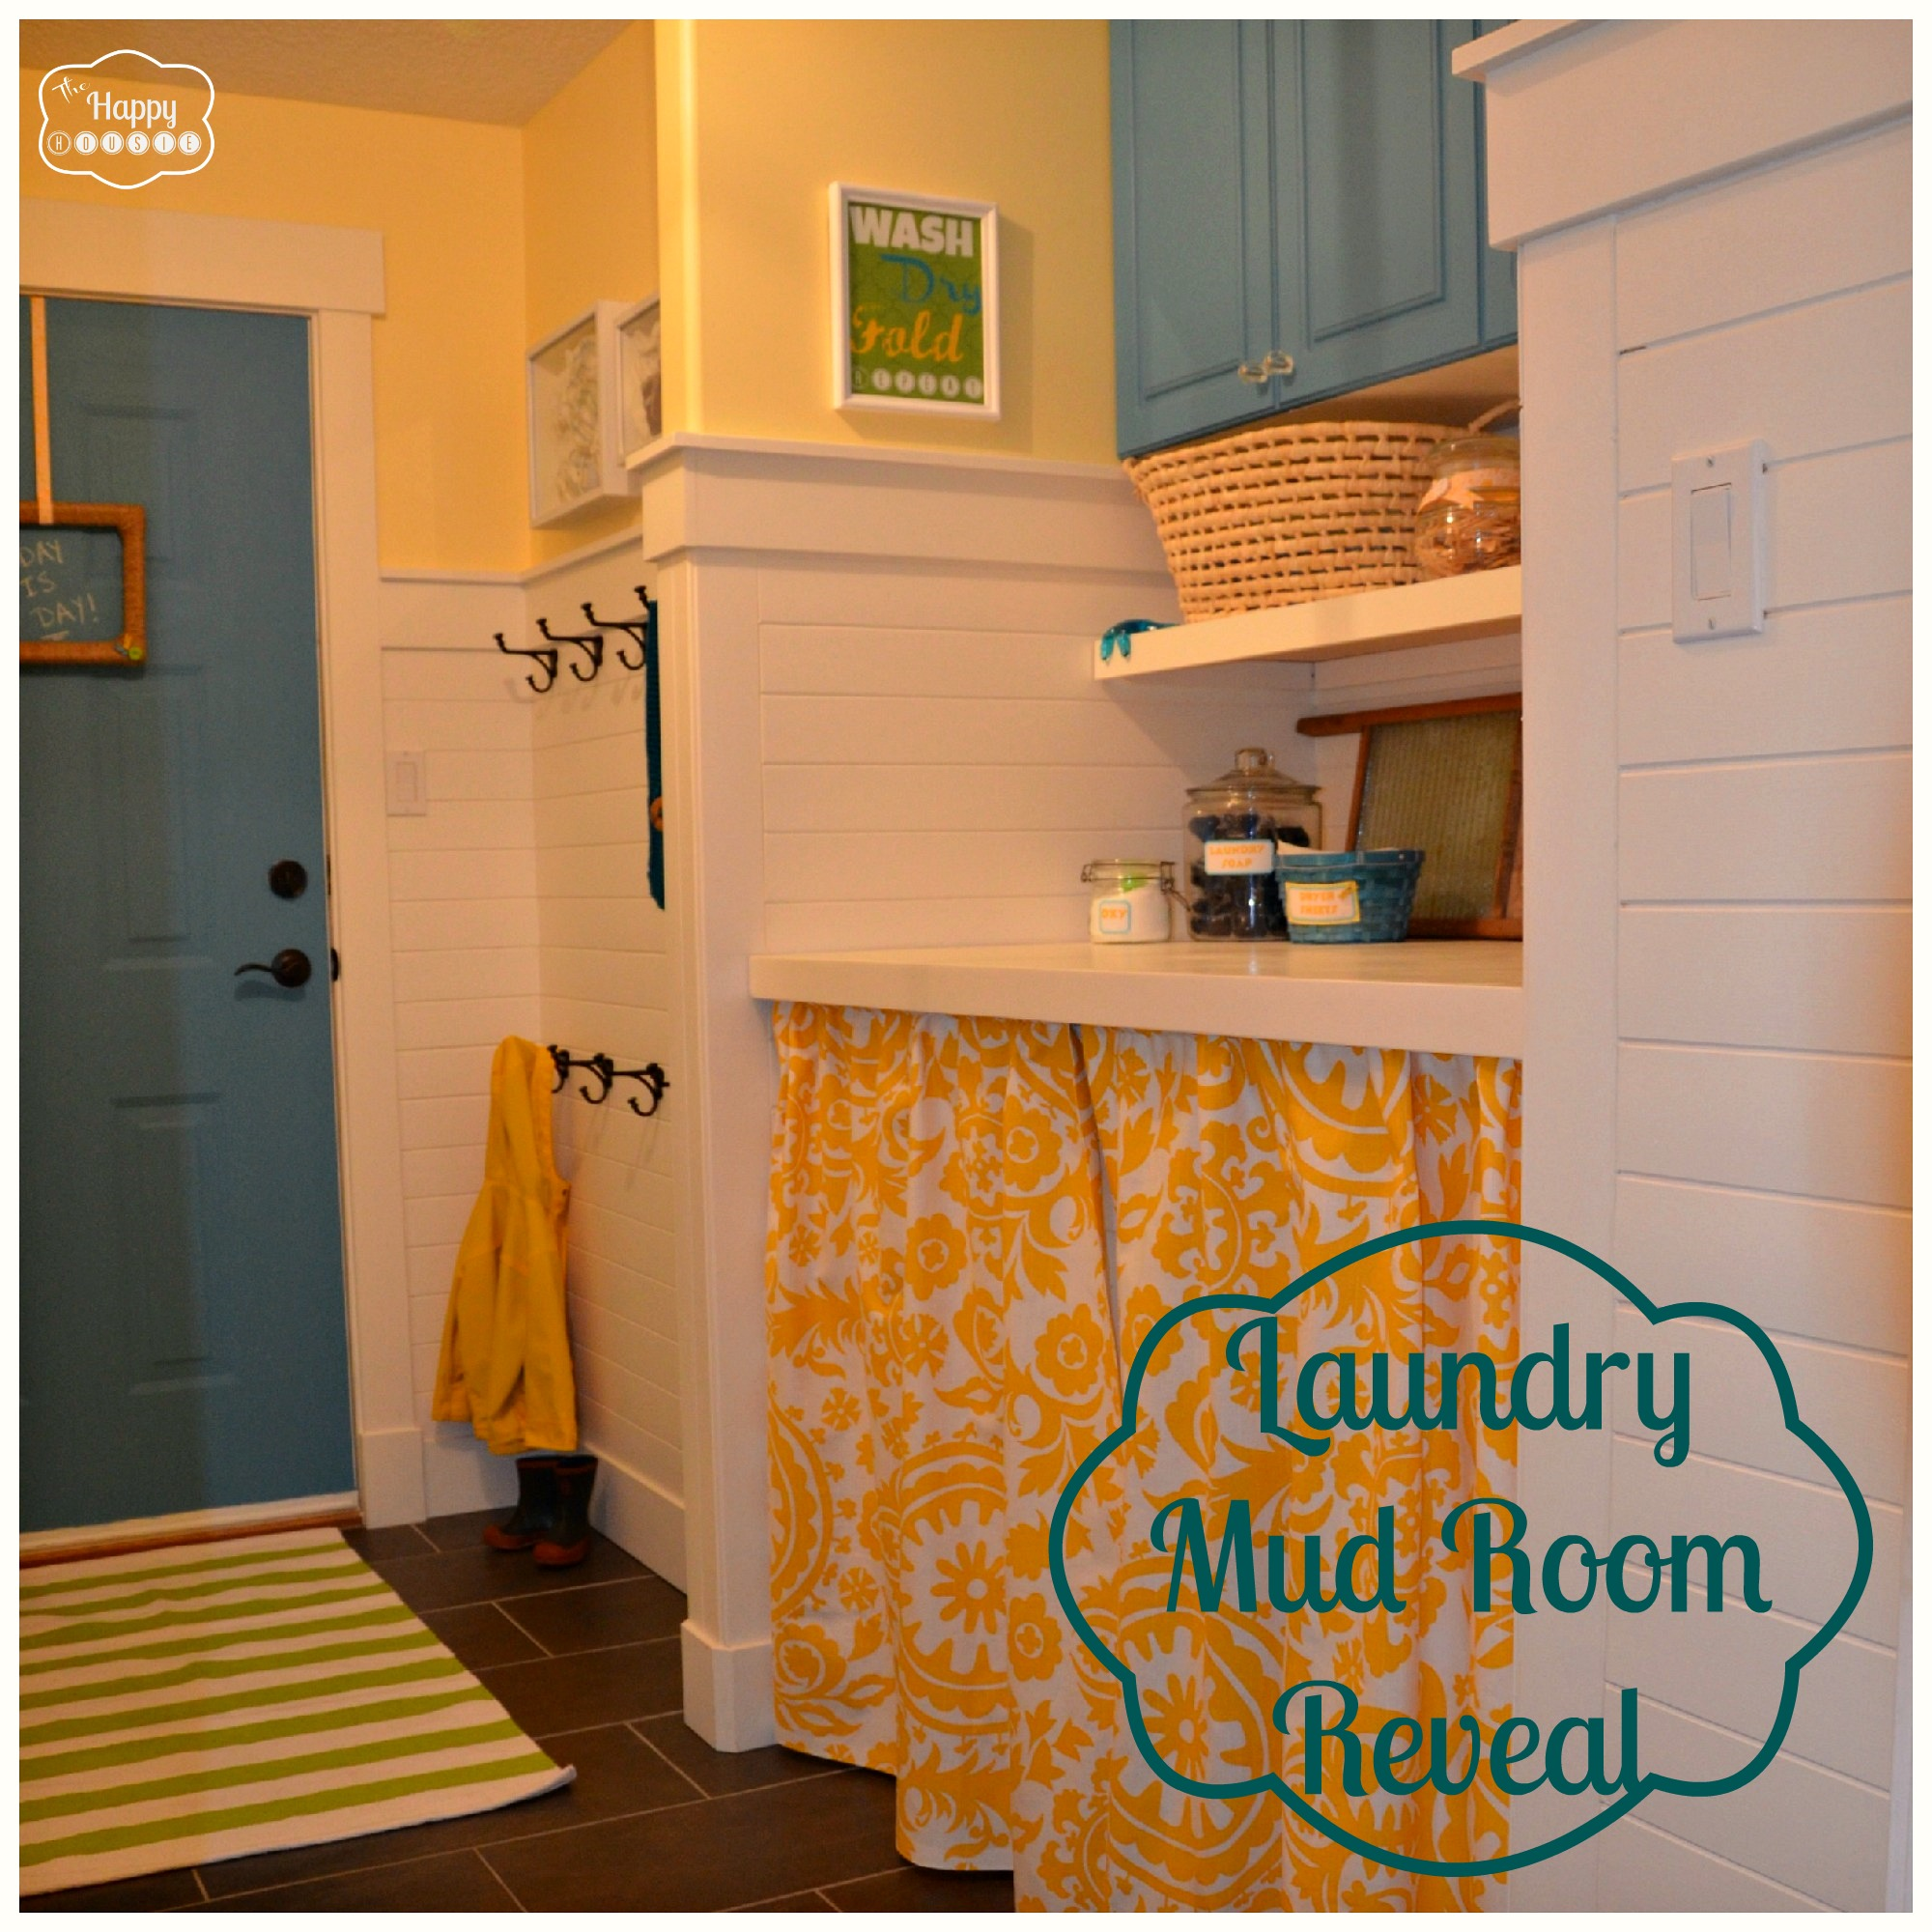
First, begin by getting out your piles of paper clutter. We had most of our’s shoved haphazardly into this kitchen cabinet…
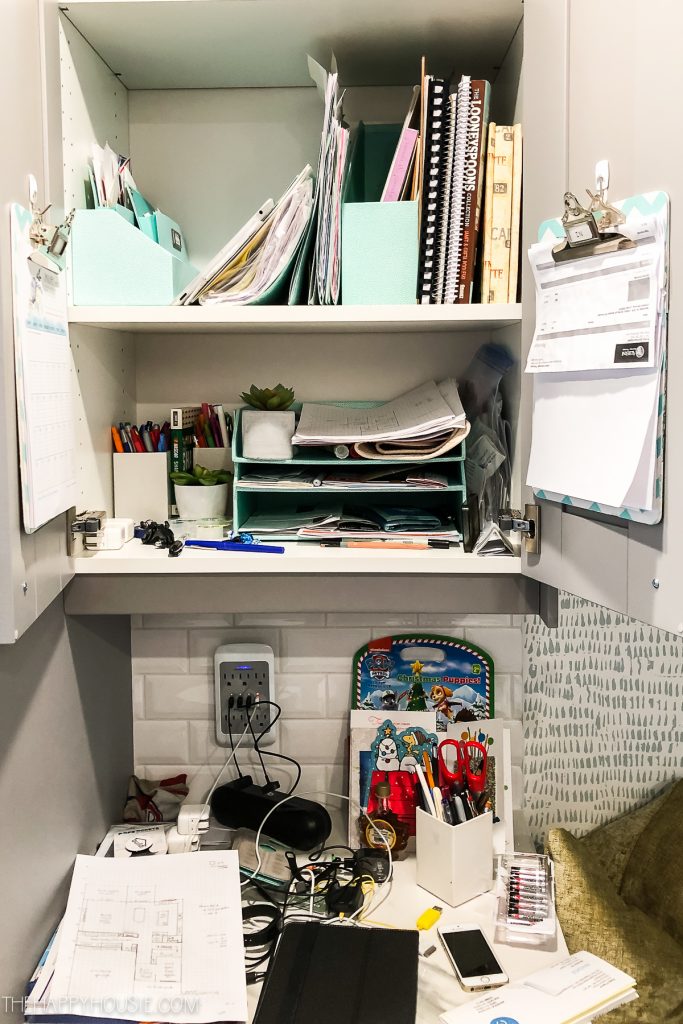
I took everything out of the cupboards and off the countertop and piled them up.
Next, create a working area and spread it all out. Designate spots for different kinds of paper: Act, File, Shred, Toss, and Store.
Act:
These are items that need to be dealt with. Ideally you will handle things right away as they come in, but if you don’t have time in the moment or prefer to designate one day a week to handle things that need to be acted on, then designating a spot in your Command Centre for such papers is key.
I will be placing ours on a clipboard hanging on the inside of the cabinet door so that it is visible immediately.
Store:
These are items that need to be accessible over time, and they should be given a specific designated spot. We have our wifi information/password, coupons and gifts cards, and – in our “store” pile.
File:
Then these are items that you need to file. One option is to do this right away, but I find that we prefer to do our filing on a bi-weekly or monthly basis. We developed an efficient colour-coded filing system during the last organizing challenge that we still use. You can read all about it here.
Shred/Toss:
Get rid of it – shred or tear it up if it includes any personal or private information.
I setup an area on my dining room table and spread everything out. I used sticky notes to help me sort the paperwork (Act, File, Store). I placed all paper that needed to be recycled/tosssed/shredded on the seat of one of the dining chairs.

Go through all of your papers, one by one, and place in their designated spot. If you are having trouble deciding what to do with a paper, use the handy graphics I shared above to help guide your decisions.
It took about an hour at the most to sort and determine where it should all go, and I ended up with tidy piles, like this, at the end…
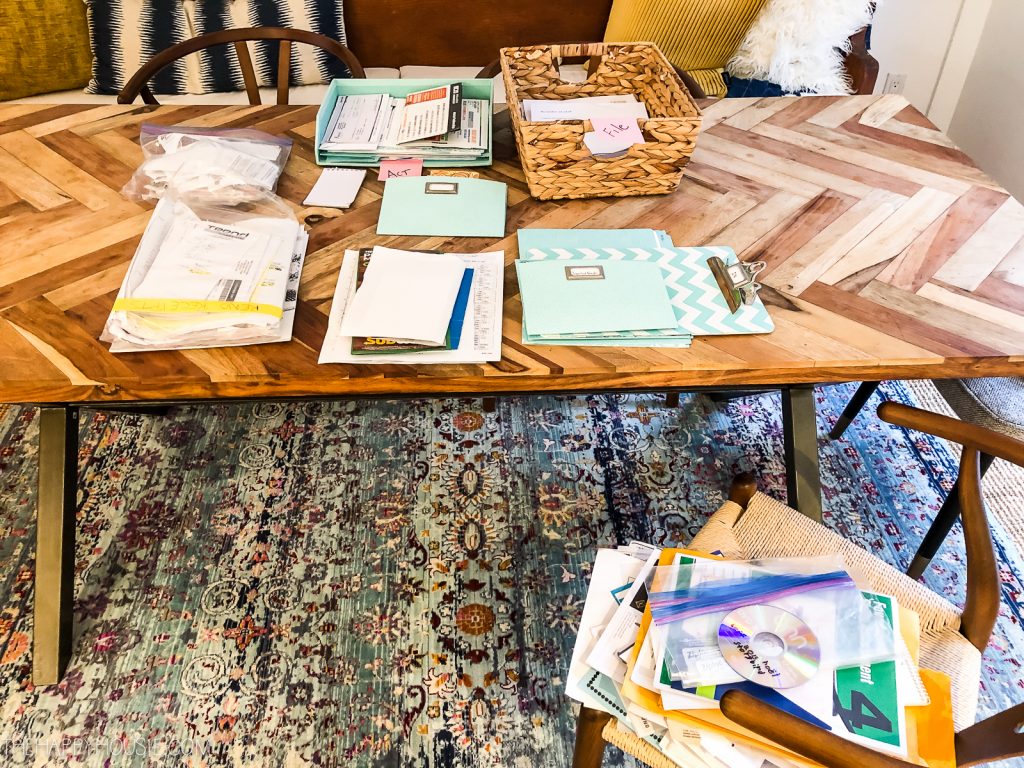
I had items to “Act” upon, File, and then some items to “Store” such as receipts for the upcoming tax year, papers or coupons/gift cards etc. that we need access to. I also had items for shredding or the garbage, as you can see on the chair.
Lastly, create a filing system to deal with incoming paperwork on an ongoing basis.
I setup a mini “command center” inside the cabinet with designated areas for each of these types of paper, so that we wouldn’t end up with a similar situation once again!
Next up: How to Setup a Command Centre (in a kitchen cabinet – or anywhere, really!)
Want to remember this? Just PIN it!
I also shared my Paper Clutter and Command Centre organization tips the first time I tackled the 10 Week Organizing Challenge in our previous house…
How to Purge and Organize Paper Clutter
Command Centre Organization Tips
Essential Elements of a Command Center
How to Set-up a Colour-coded Filing System
Check out my other posts in the 10 Week Organizing Challenge Series 2.0!
Introduction to the Ten Week Challenge
Command Center in a Kitchen Cabinet

Ready to get your home organized? It’s free and easy to follow along!
You can sign-up for my email list and will be sent an update with instructions each week for the next ten weeks about tackling the 10 Week Organizing Challenge in your own home.
<iframe src=”https://madmimi.com/signups/6e20e44f436c4b8191196532553c0651/iframe” scrolling=”no” frameborder=”0″ height=”713″ style=”max-width: 400px; width: 100%;”></iframe>
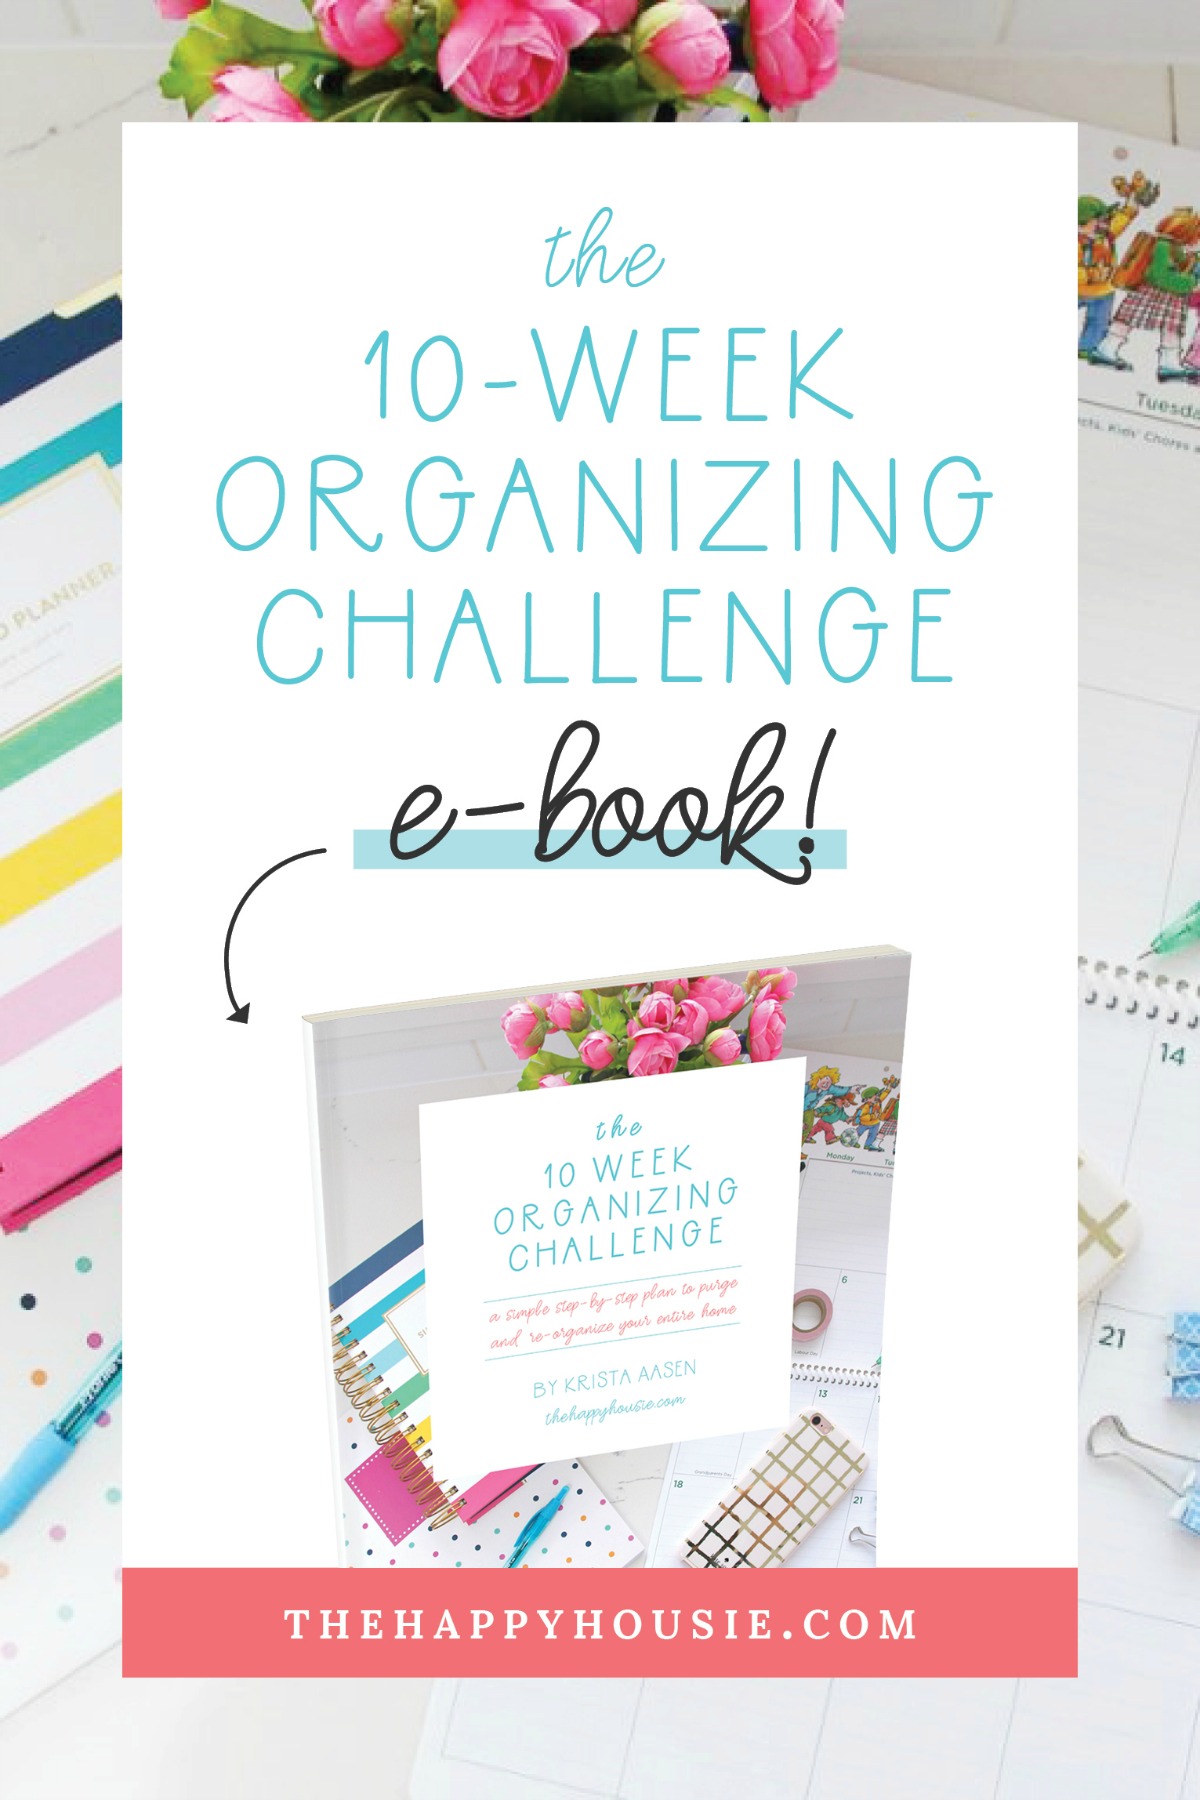
By reader request, I’ve also made this 10 Week Organizing Challenge into an e-book!
Follow along with the Ten Week Organizing Challenge through this e-book using your tablet. It includes bonus free printable checklists for each week of the challenge…
Learn all about the Ten Week Organizing Challenge E-book here.


Hi
I have boxes of memorable paperwork, not just receipts, but items such as newspaper clippings and old (hobby) business paperwork. This info goes back to the 90’s until present. I am 52 years old and I’ve tried to get the ambition to purge these boxes a couple of times. It is exalting and I walk away from it. It is only memories. There’s no one else that would ever find an interest into it. They are stored out of the way. Do you have any suggestions how to handle this?
Wonderful ideas and I am in the midst of my office/craft room clutter and trying very hard to follow your directions on organizing. I believe I am making some headway and thank you very much!
Hi Char,
Good to hear! I have to tackle mine again soon, as well. I shared how I organized my craft room/office in our previous house in this post – did you see that? You may find it helpful! Best of luck, it’s worth it in the end:)