
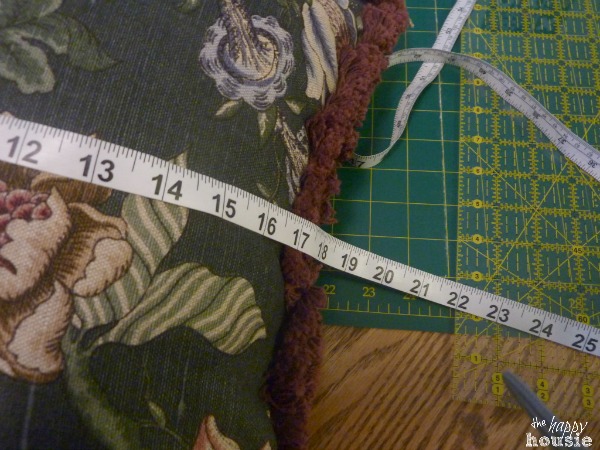
First, measure your pillow. I was able to get three 18″ pillows out of a yard of fabric because I like my covers to actually be somewhere between the exact measurements to a 1/2 inch smaller then my pillow insert. That way they fit nice and snugly and you don’t get that unattractive, too big, bagged out cover look.
These pillows were an old hand-me down and I wasn’t a fan of the fabric but knew they would be perfect once recovered. I checked and they measured 17″x18″.
I cut my 1.25 yards of fabric into three 18″ sections (it was a 54″ wide fabric so I got exactly three 18″x42″ sections).
I measured, then took a little snip and ripped my fabric straight down… kinda like they do at the fabric store. You could always cut it all the way along too, but I actually think that doing it this way keeps it fairly straight.

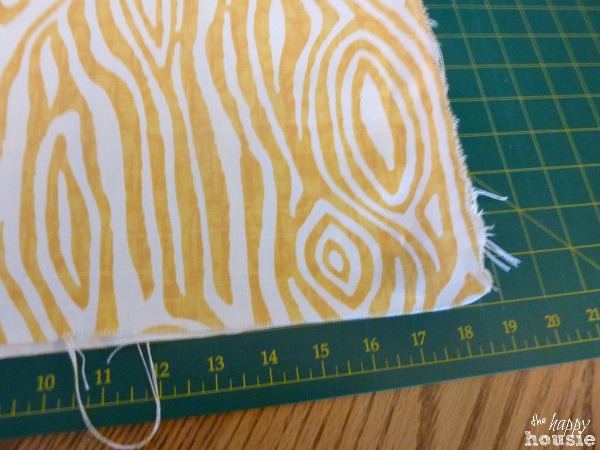
I then trimmed my fabric strips to the correct size – I made them 17.5″x42″ – I love to use my rotary cutter and mat for pillow making because it really speeds things up and gives me straight perfect lines – something I wouldn’t achieve with my scissors. But you certainly could use regular ol’ scissors for this step. The 42″ length is because you want double the pillow size plus 6″ for your enclosure overlap (so 18″+ 18″ + 6″ = 42″). If you want a little extra overlap add a couple of inches of length here (make it 44 or 46″ inches for example). This is a good thing to do if you have a really firm pillow form to ensure that the envelope overlaps at the back of the pillow.

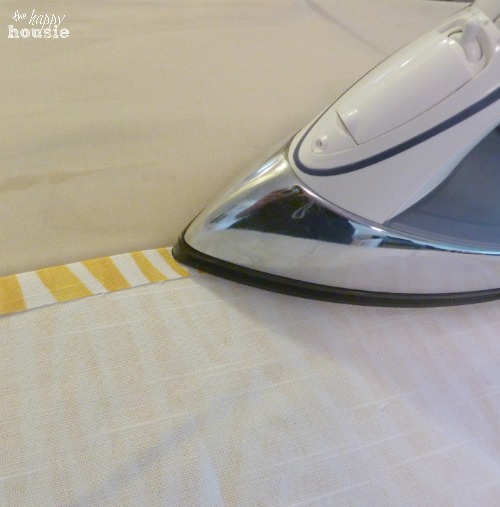
Next, I ironed a fold on each of the ends of the LENGHT of the fabric – so if your fabric was 42″ it will be hemmed to become about 41″ long with the two shorter ends folded over and hemmed. Then I whipped these through my sewing machine.
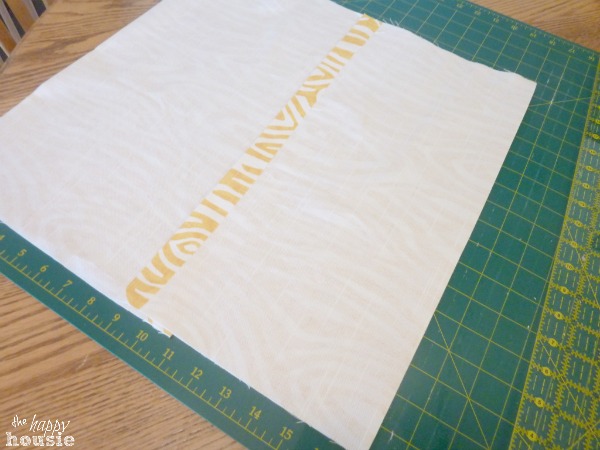
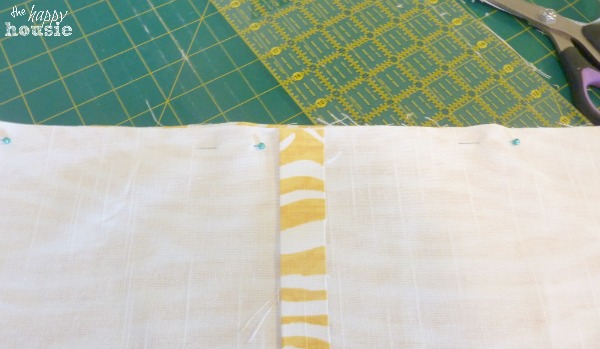
With the two short ends hemmed, I folded my length of fabric onto itself, right sides (or the print of the fabric) facing in together. I then measured to make the square 18″. That way my finished square before sewing was 17.5″ x 18″. That would give me the exact or slightly smaller size I wanted to fit my pillow insert once hemmed because I am only hemming the 17.5″ sides. I ironed the folded edges down at this point to make sure that my square was measured correctly.
PIN to hold it together and run the two open edges through the sewing machine.
Here it is, all sewed together…
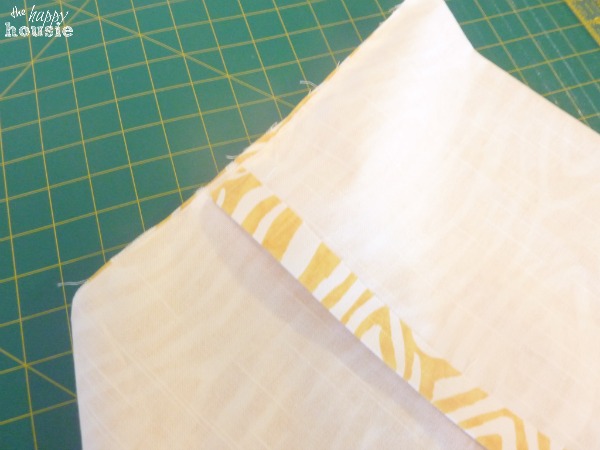
Now turn it right side out…
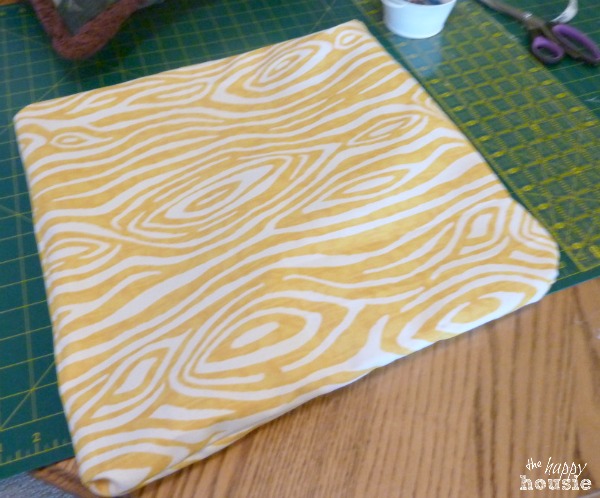
And stuff!!
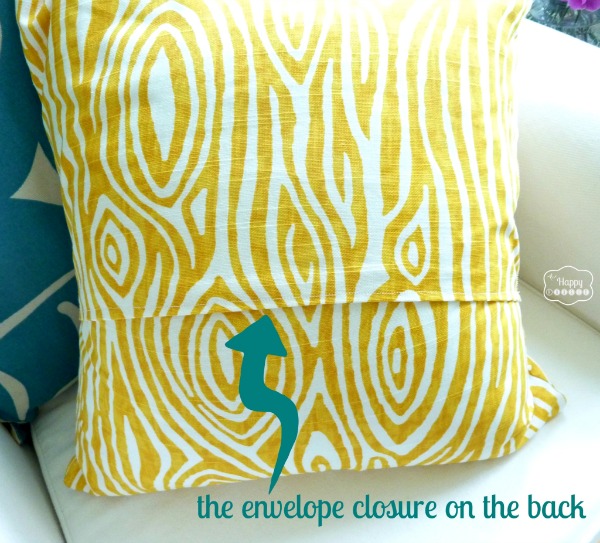
Once stuffed, here is the way the back envelope closure looks:
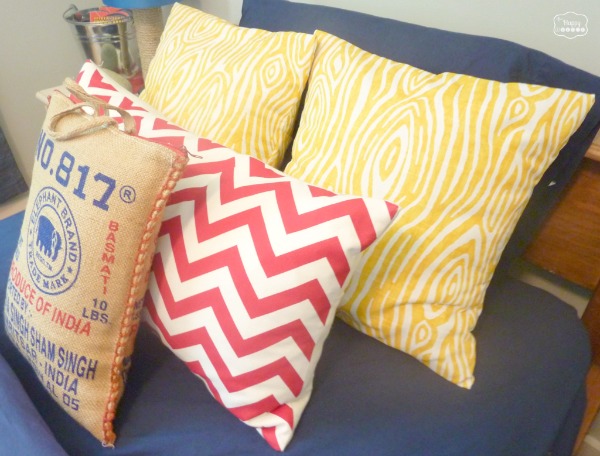
Two of the finished pillows have found their home in my son’s currently-being-revamped bedroom… And, yes, that is a rice bag burlap “pillow” at the front of his grouping. What was that??… you think that five pillows is overkill for a five year old’s bed? Waaaaa? No way. I say one pillow for each year of your age. You should see how many my husband has on his side of the bed.
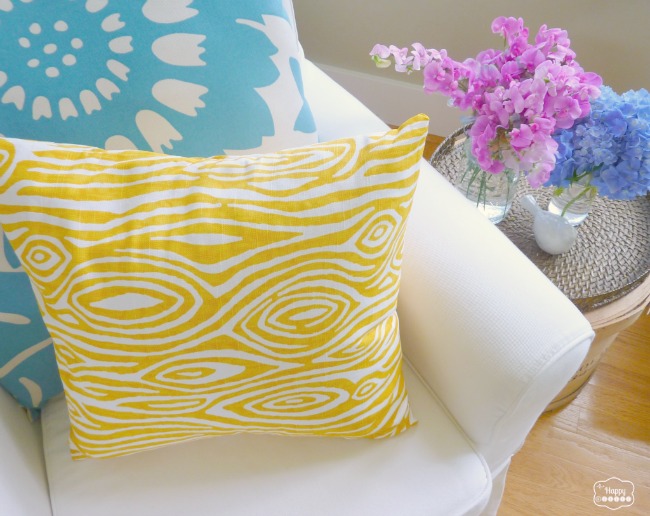
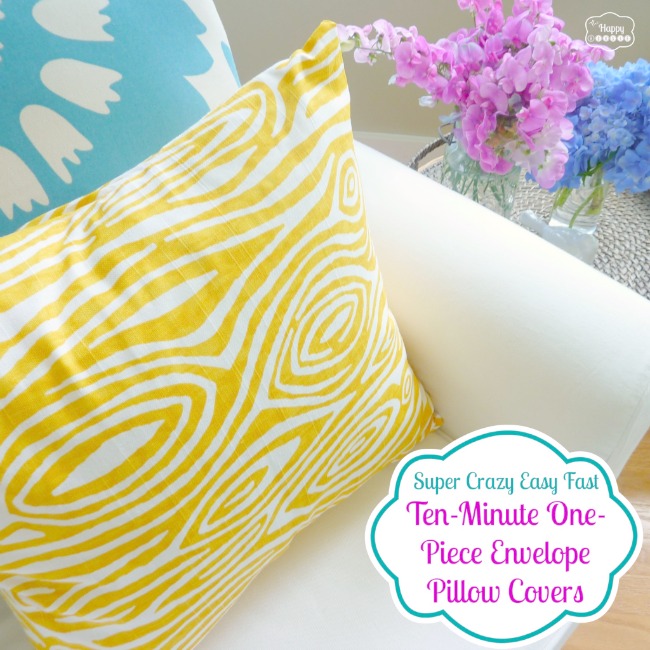
The other little lovely is brightening up a corner chair in the living room:..
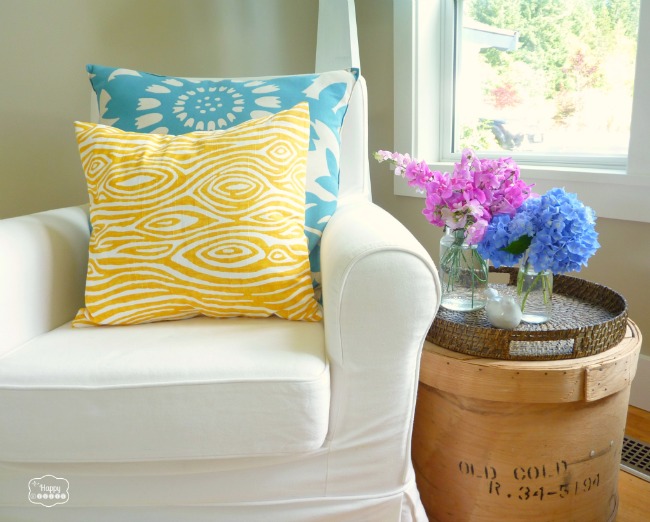
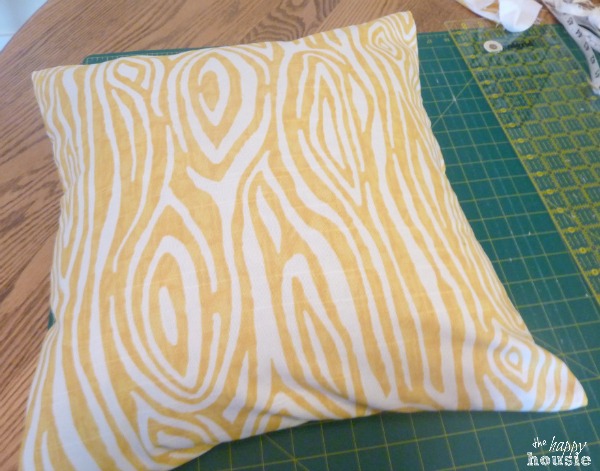
I have a serious crush on this faux bois print right now. It is available in several super pretty colours and is called Willow by Premier Prints. You can find it here and here…and probably elsewhere as well.
So for $10 worth of fabric and 30 minutes (plus hand-me down inserts) I got three brand new pillows. Love it. You may have read my other envelope pillow tutorial before? It is good for use with a really expensive print where you want to do the backs of the pillows with a less expensive plain fabric…Otherwise if you are doing the same front/back then this tutorial is the way to go. Easy peasy lemon squishy art.
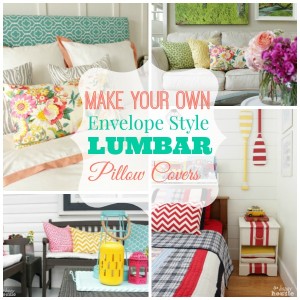
Want to try a lumbar style envelope pillow?? I love these guys…you know, the longer narrow pillows that look great made up in your accent fabric?
Do you love throw pillows as much as me?? How many are too many?
Actually, don’t answer that. What is your favourite way to change up the look of a room quickly?

![]()
![]()
![]()
![]()
![]()
![]()
![]()