
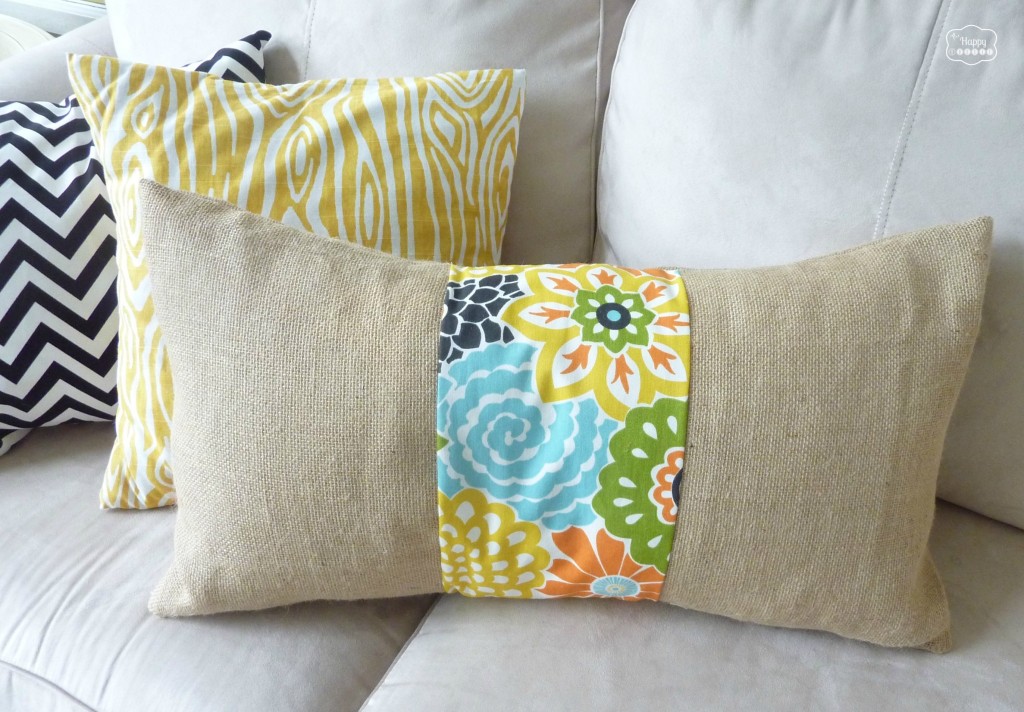
Easy DIY Burlap and Floral Strip Pillow
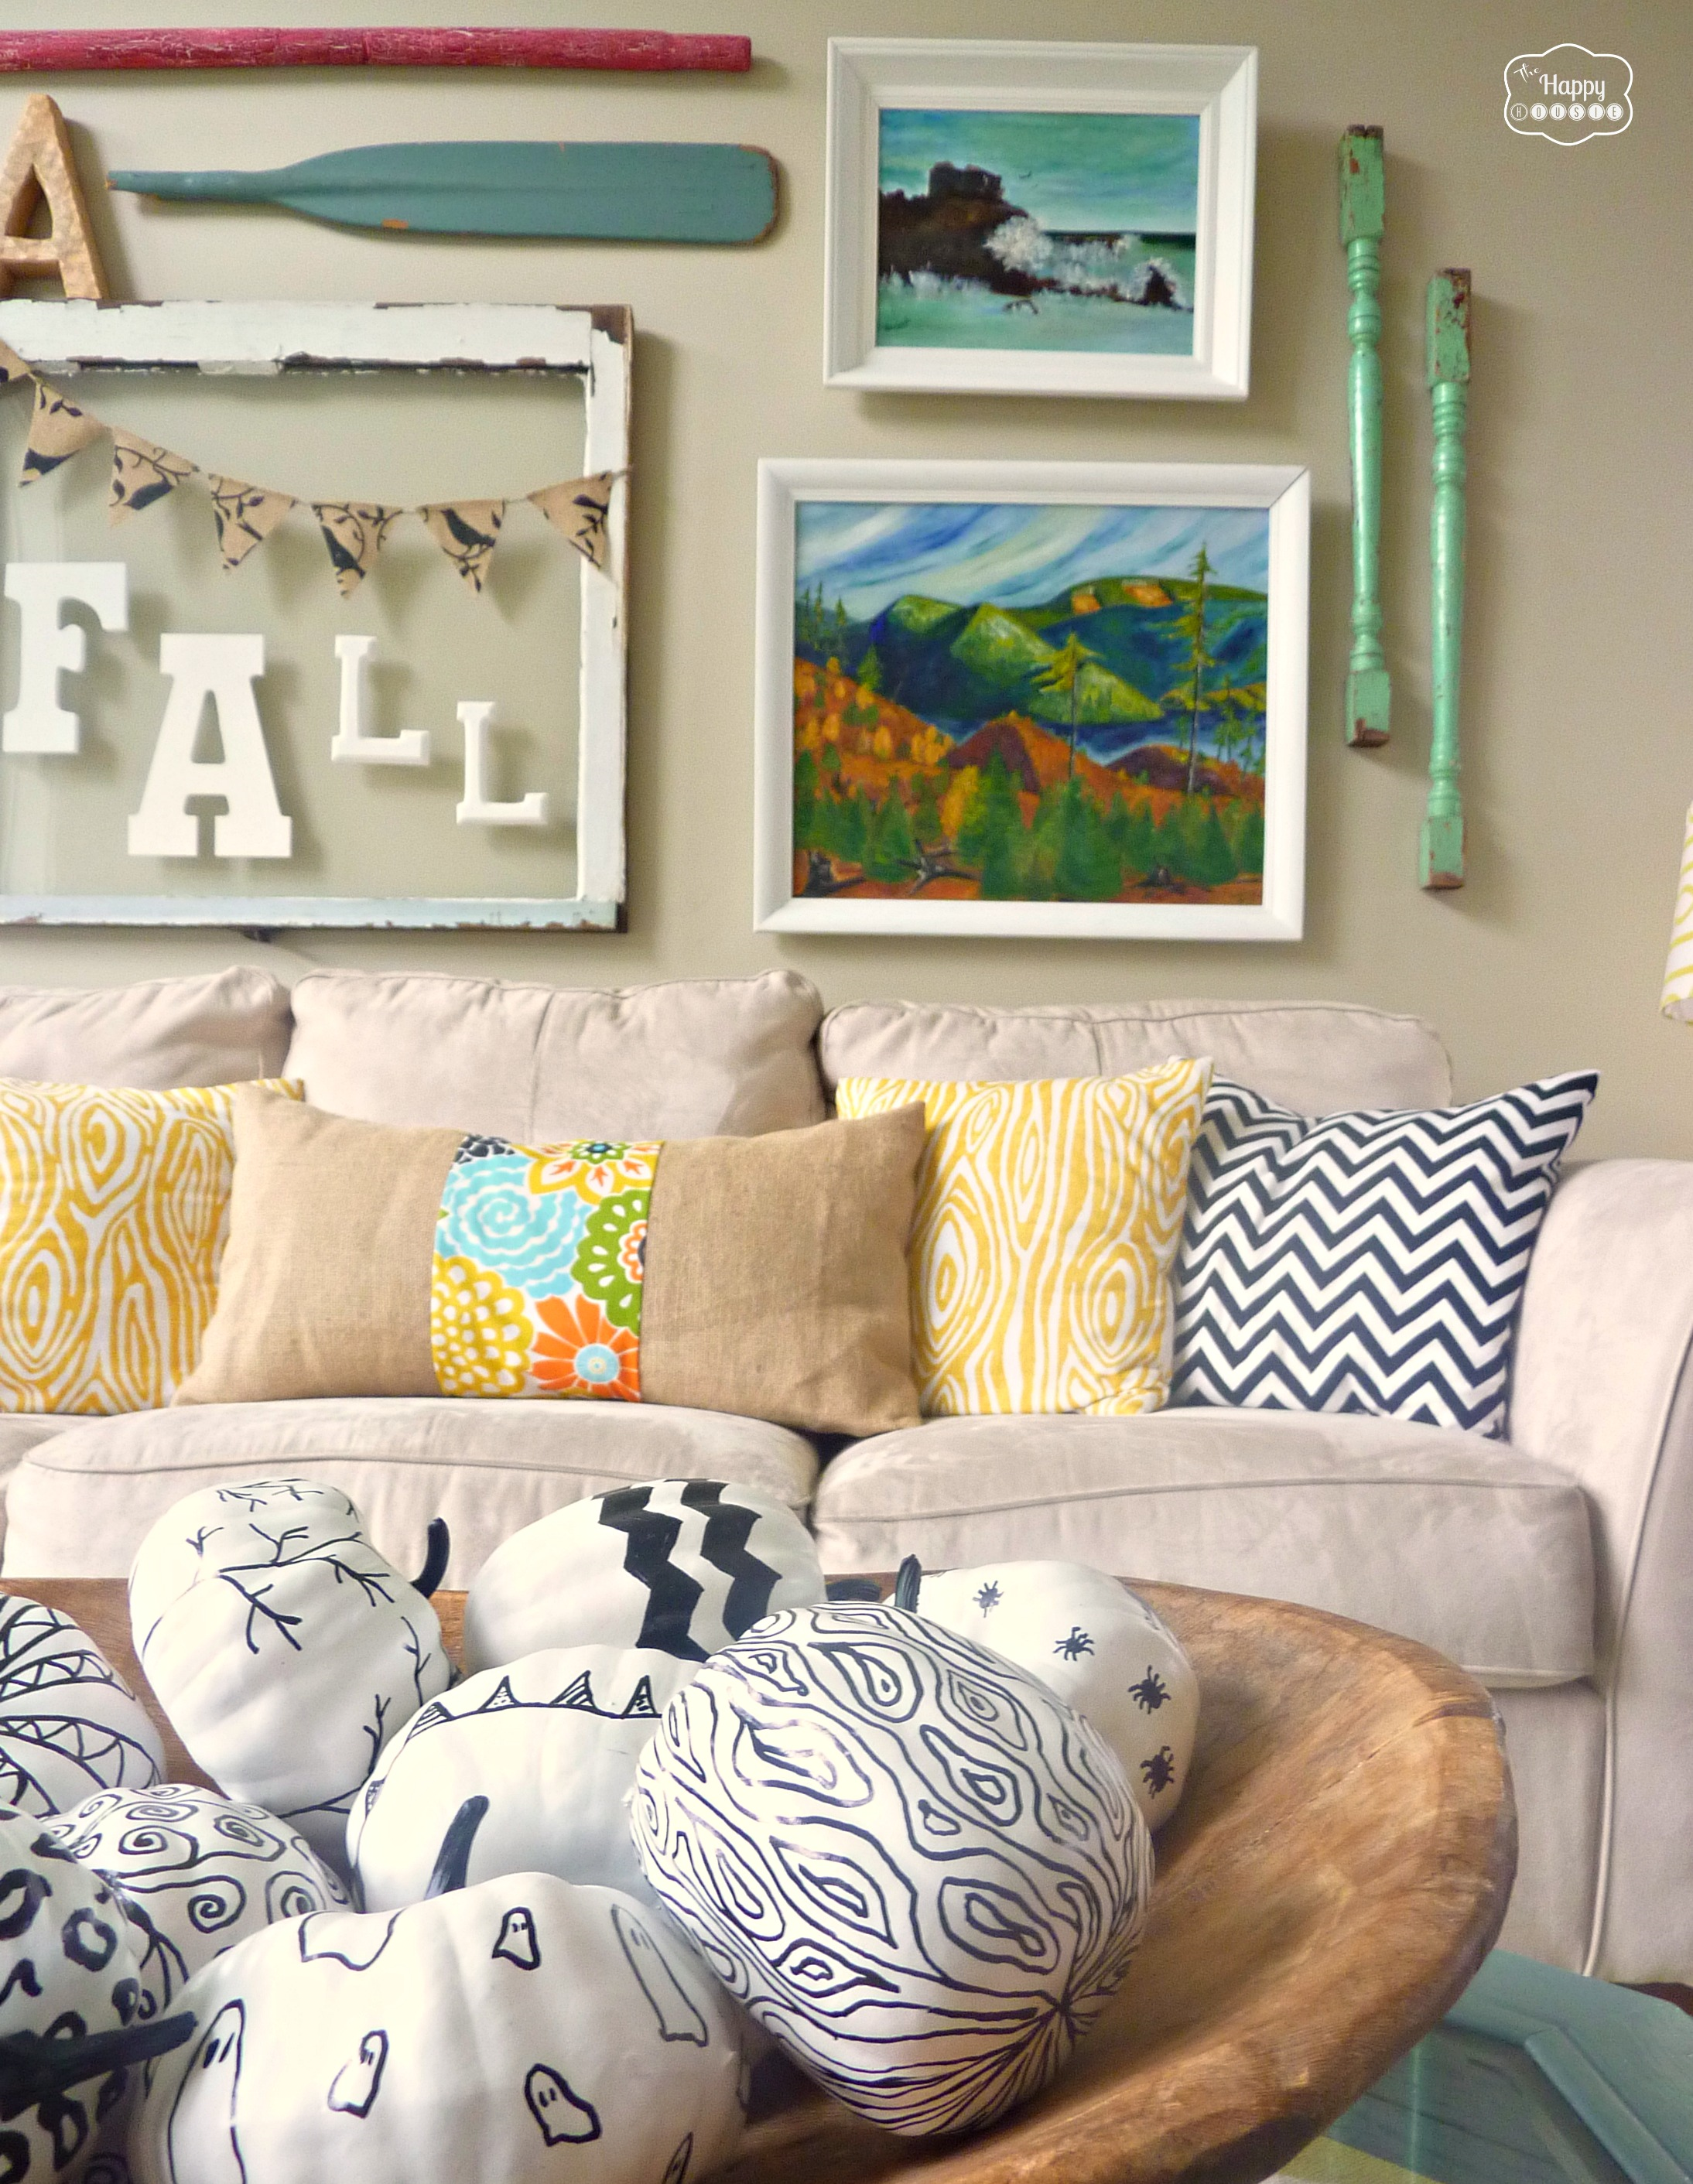
If you saw my post the other day about Fall-ifying the Living Room, you may have noticed the long Burlap and Floral-fabric Strip Pillow on our ‘falled’ out couch. Well after a few emails about it I am here today to share with you how I whipped that bad boy up in a matter of only a few minutes.
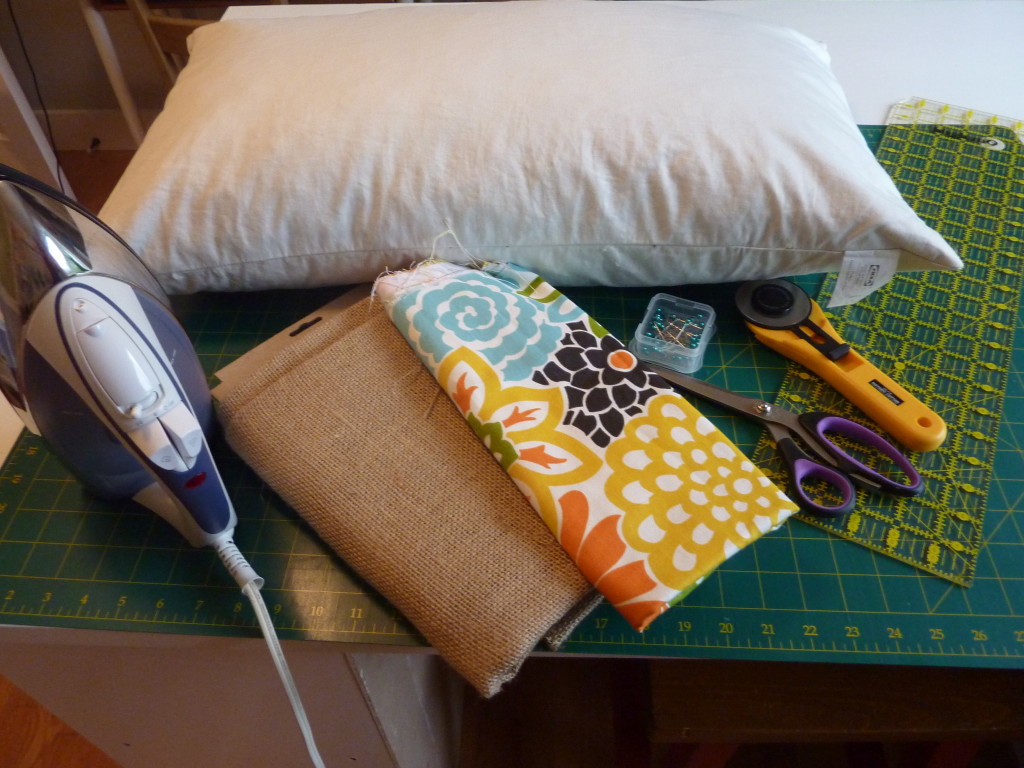
To make this pillow you will need:
- burlap and floral fabric
- scissors or a rotary cutter and cutting mat
- a sewing machine
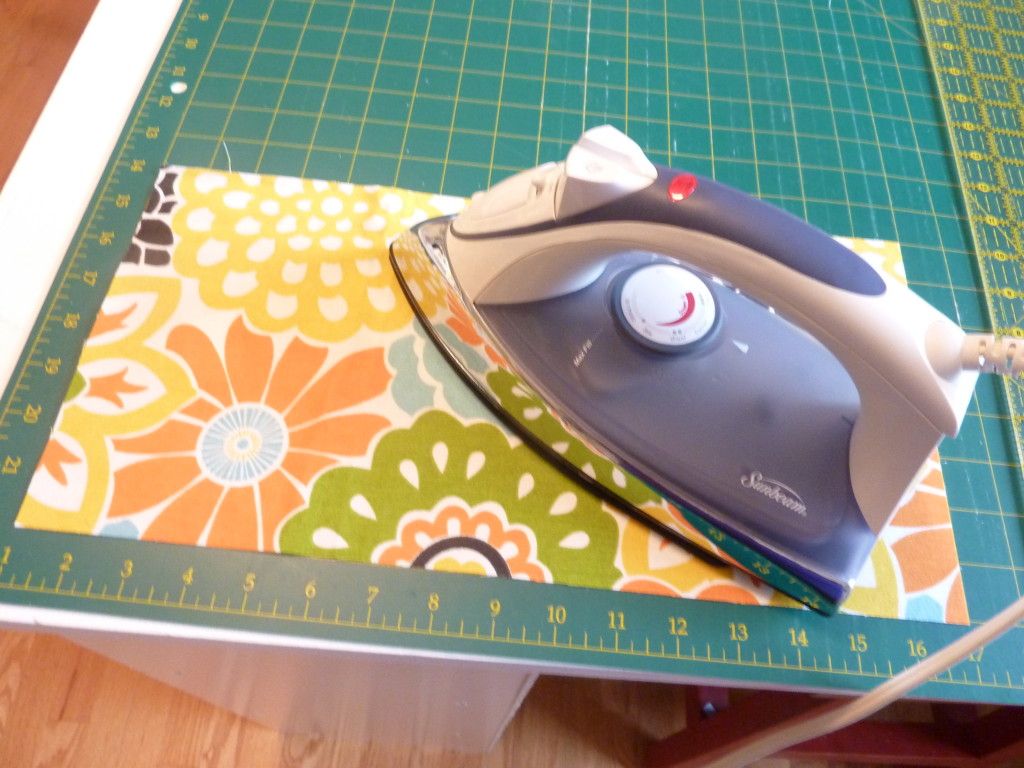
- an iron and ironing board
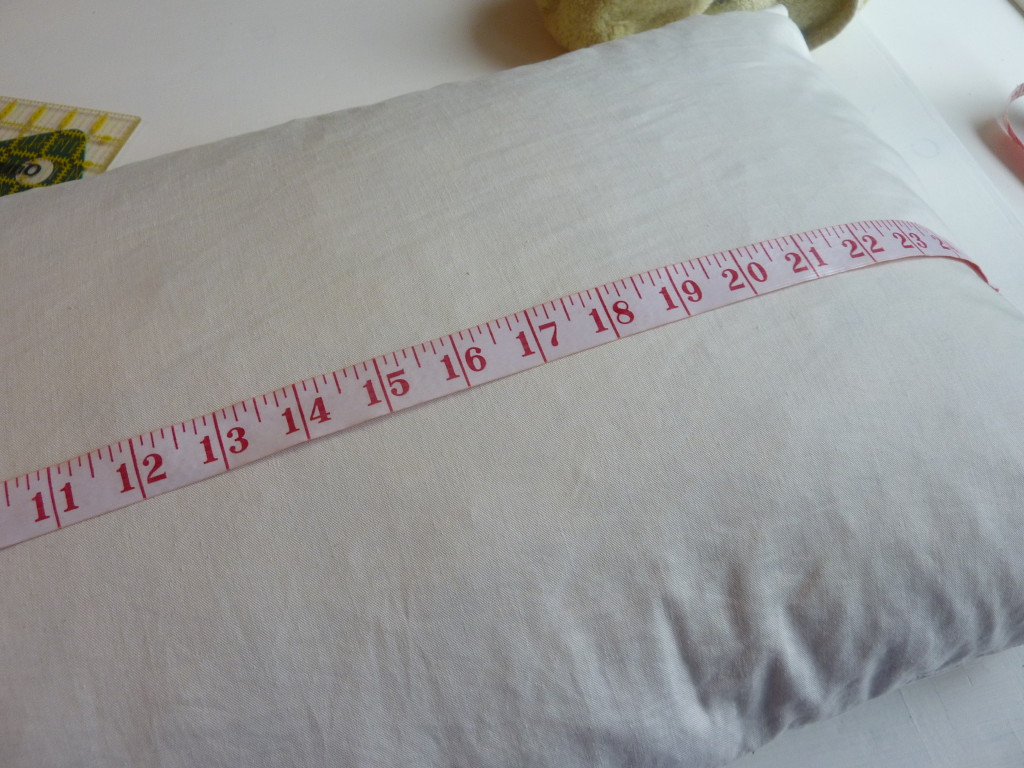
Start by measuring your pillow form. My form was 16″ tall by 24″ wide.
Now use some paper to sketch out the sizes you will need your fabric to be.
My planning went like this:
I knew I wanted to sew one LOOOONG strip of fabric together and then fold it in on itself to sew a simple one piece envelope pillow. If you aren’t familiar with how to do this – you may wish to review my basic straightforward instructions here. It will likely help you understand the rest of this process.
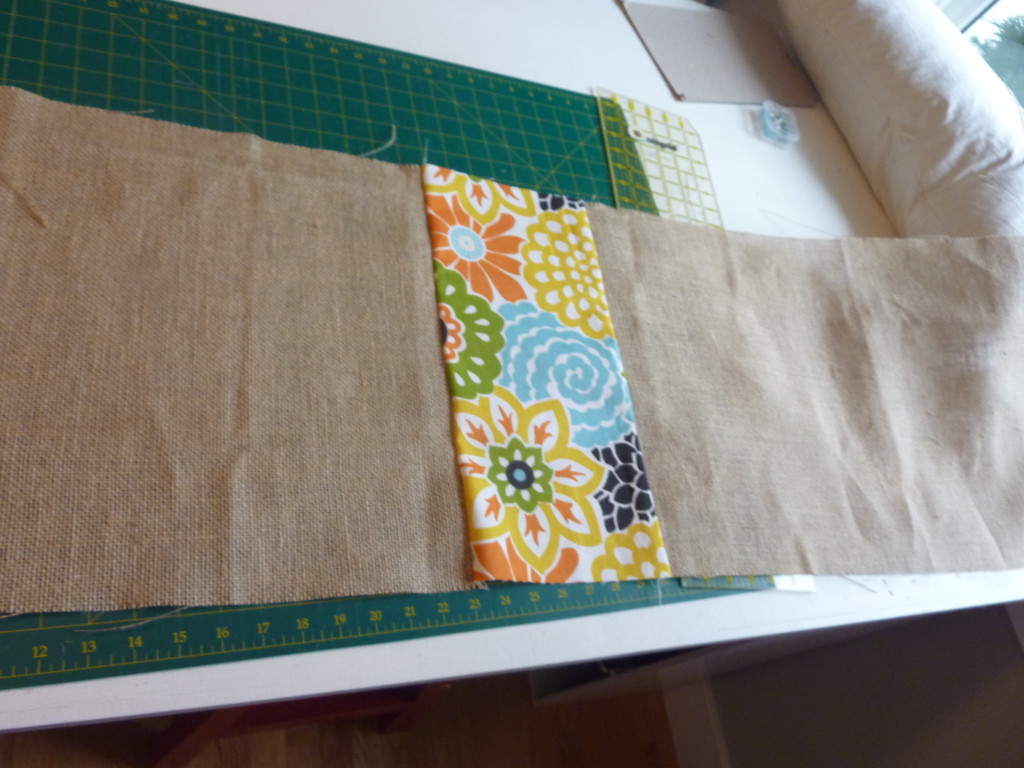
I decided that I wanted an 8 inch strip of the floral fabric (on the FRONT only) in the middle of the pillow. The height of my pillow was 16″ tall and I needed to add a 1/4″ seam for each side of the floral fabric. This meant that I cut a piece of floral fabric at 8.5″ wide by 16″ tall.
I then need two pieces of burlap to attach to each side. I knew I wanted my loooooong strip to end up being double the width of my form (24″+24″) plus an additional 8″ to overlap at the back for the envelope enclosure. This meant I needed the loooong strip to be 56″ long. I cut my two burlap pieces at 28″ each by 16″ tall. Here is how I sketched it out:

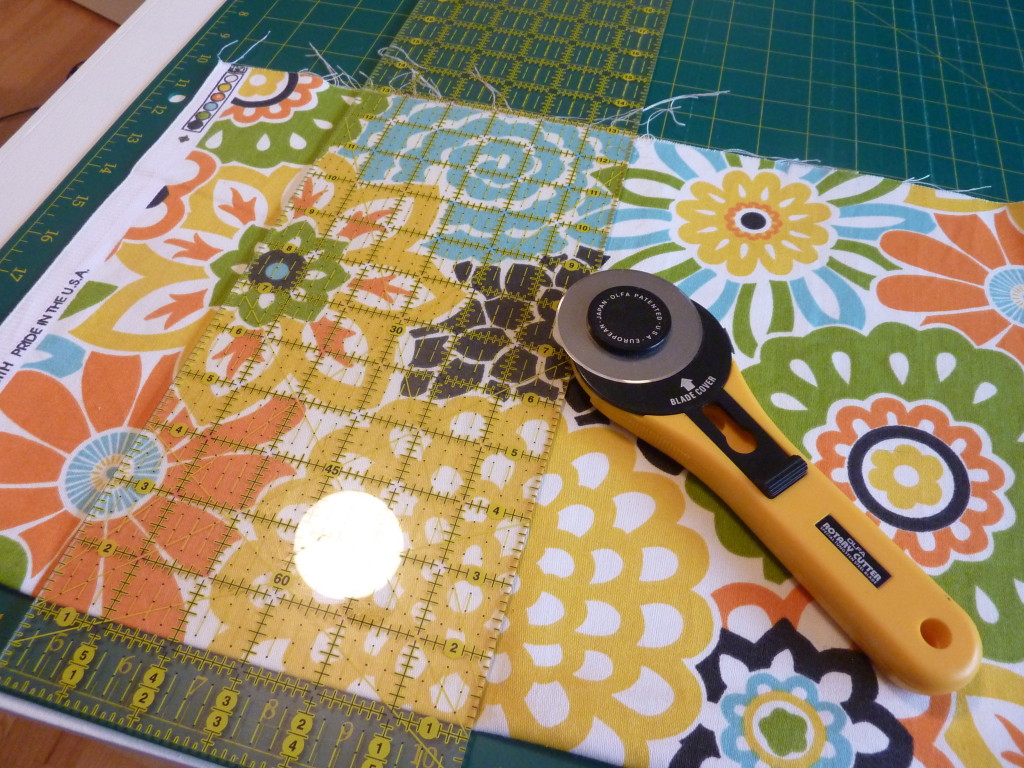
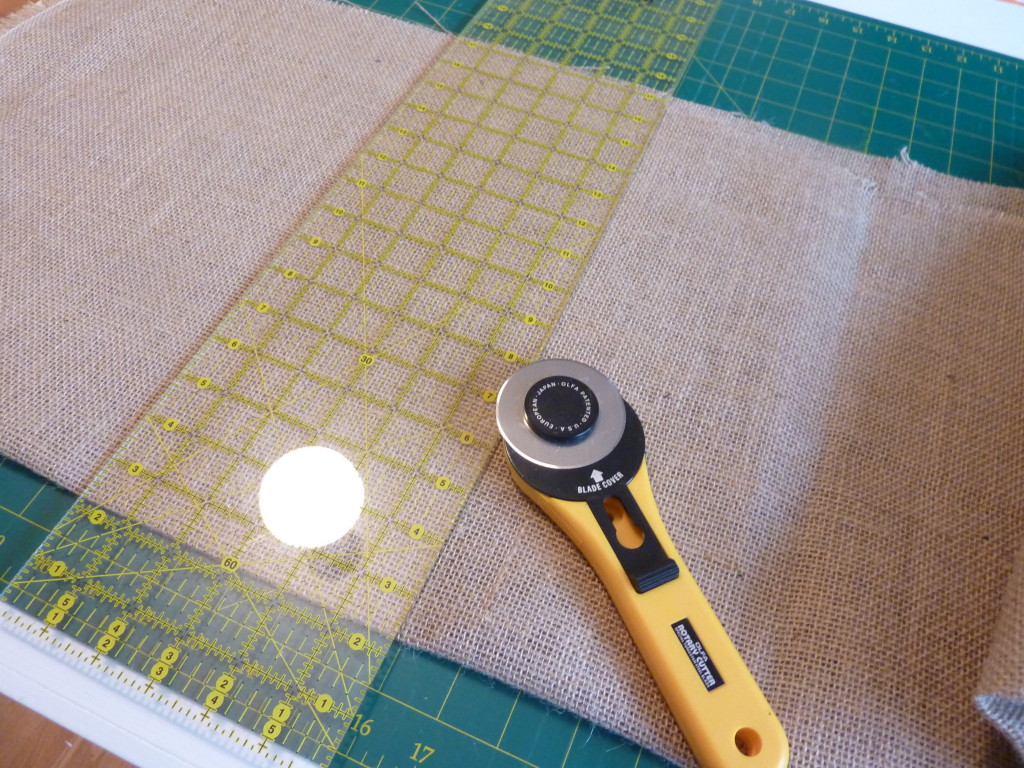
Okay… once your measurements are figured out… measure your fabric and cut it…
(I used a rotary cutter and mat but you could always mark your fabric lightly and cut it with scissors.
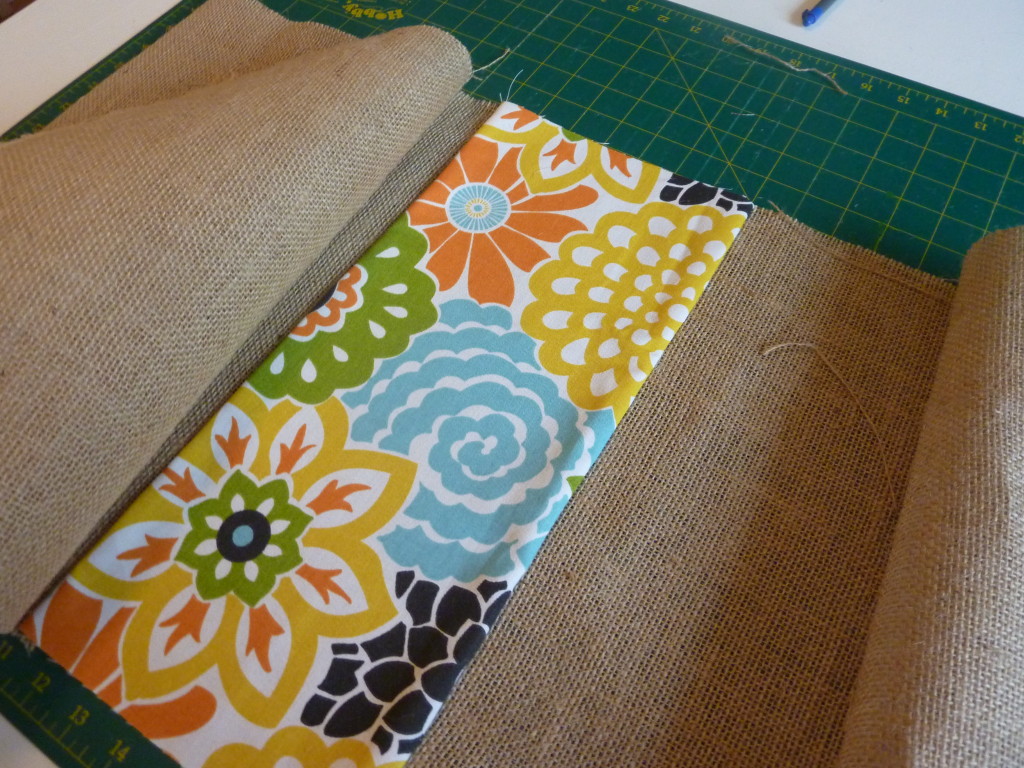
I didn’t hem the edges of the burlap with a folded over edge… instead I just used a back and forth stitch on my sewing machine and finished the edges this way:
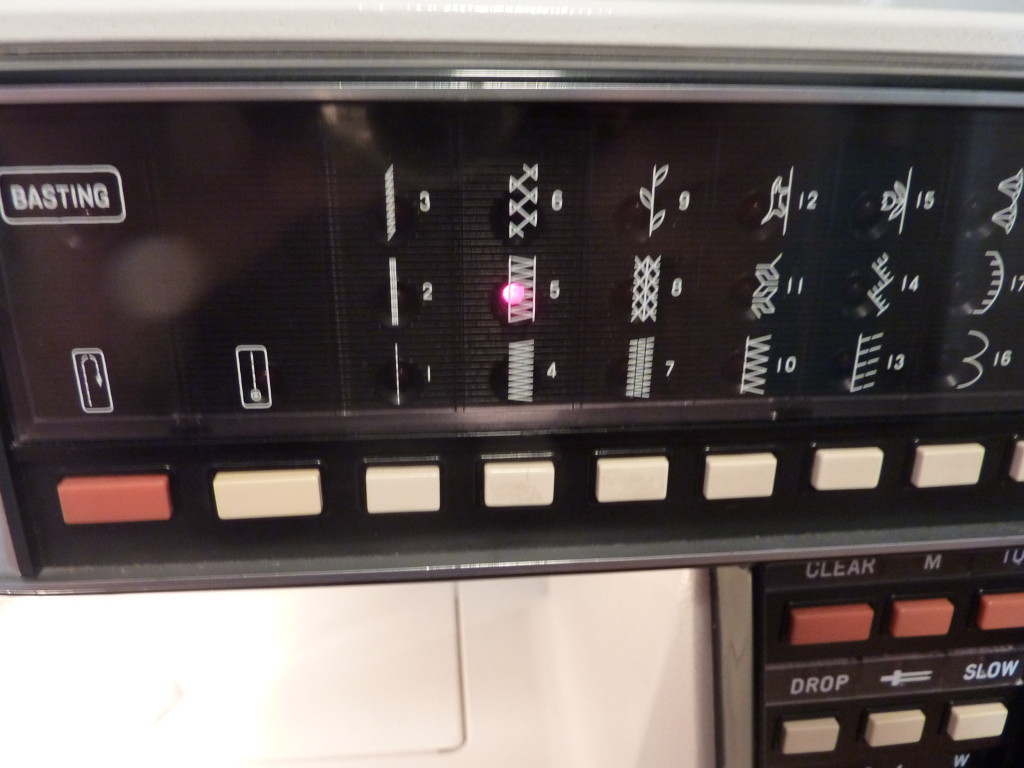
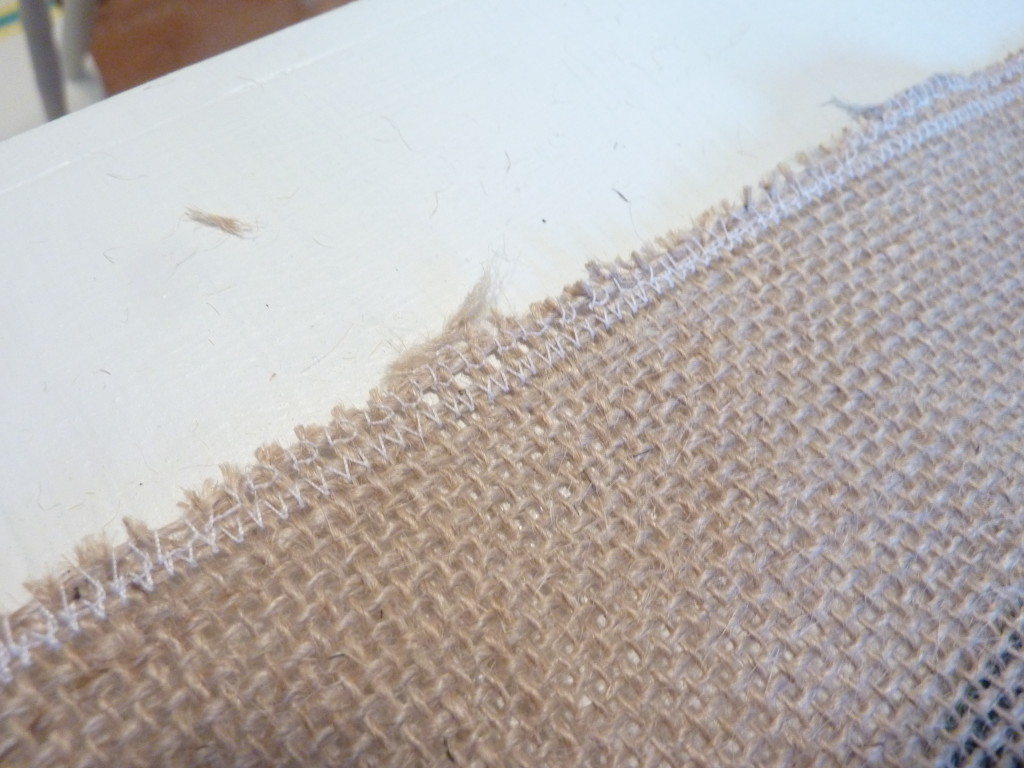
Reinforcing the burlap with this kind of machine stitch is recommended because of how burlap frays and pulls otherwise.
I sewed the burlap to the floral fabric using this same kind of stitching and “hemmed” the two edges that would be on the back of the pillow making the envelope enclosure.
Once my looooong strip was sewn together I folded right sides together (the pretty sides that you will see are facing into the center together),
then I measured the length (to 24″) and pinned it….
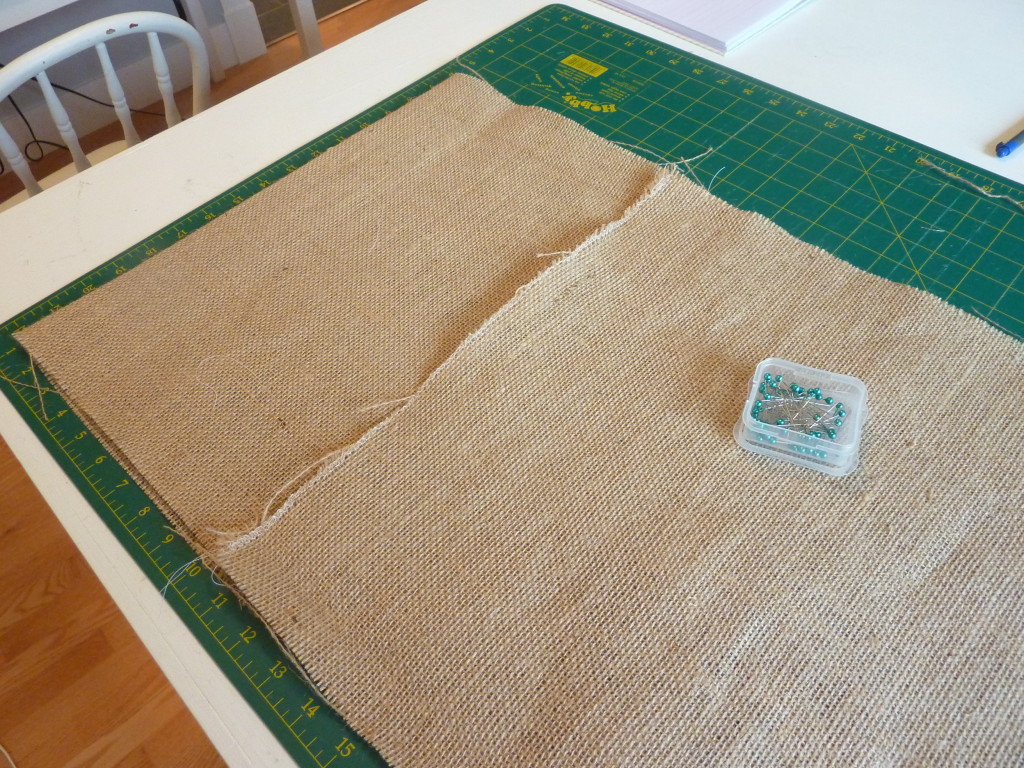
Finally… time to do some more back and forth machine stitching down the sides of the pillow and finish this baby off! (pro sewers- I am sure that stitch has a different technical name… feel free to enlighten me in the comments section:)
Turn it inside out… and you are done!!

It is really quite easy and quick- once you figure out the math (not necessarily my strength) and measure it all correctly before cutting!! Once you tackle that hurdle the rest is pretty smooth sailing. Though sewing burlap does add a little extra dimension because of using the back and forth stitching rather then a quick straight stitch.
I’m pretty happy with the results….
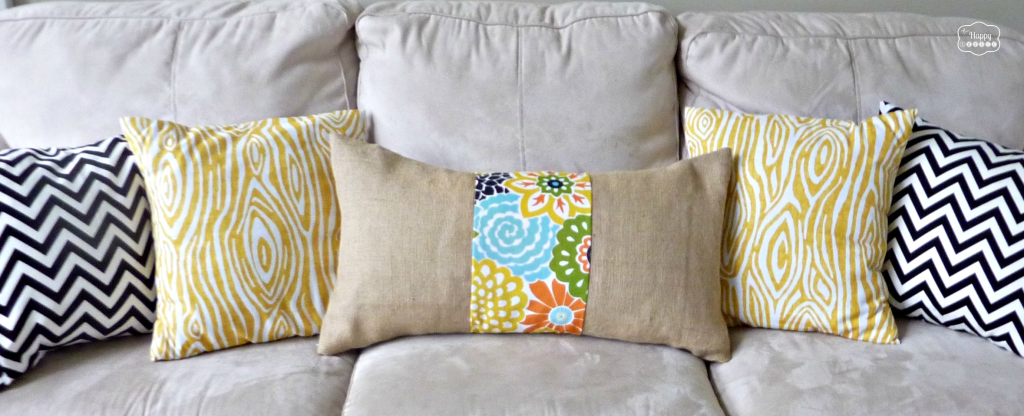
I love the way the subtle colour and rich texture of the burlap tone down all the color and pattern in my floral fabric choice…
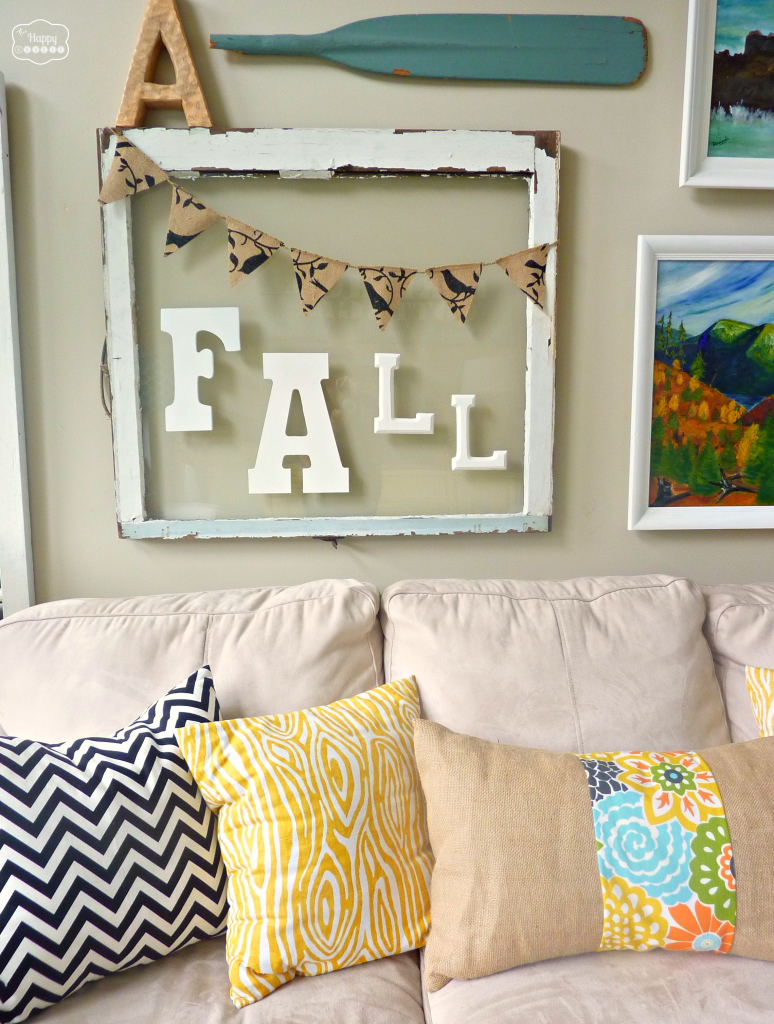

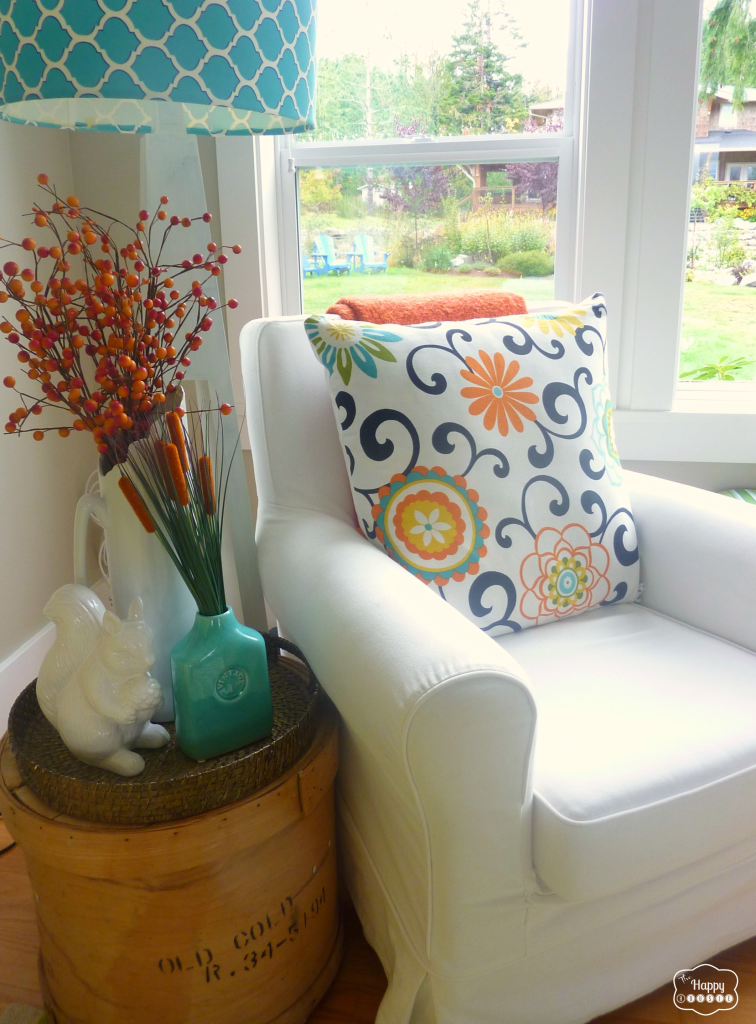
The floral fabric is part of the same series as the fabric on the white chairs (I made those pillows as well) and it is by Waverly – the fabric on this pillow is Waverly Button Blooms Confetti, and the coordinating fabric on the white chair pillows is called Waverly Pom Pom Play Confetti. I bought all of mine through Fabric.com but they seem to be out of the Button Blooms print right now. The faux bois is called Willow yellow by Premier Prints, and I bought the black and white chevron from Michael’s Craft Store in a 1yard package.
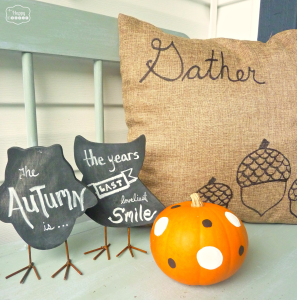
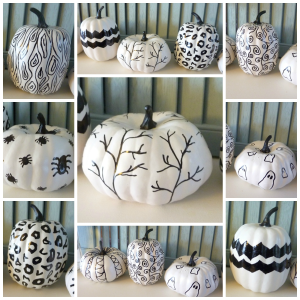
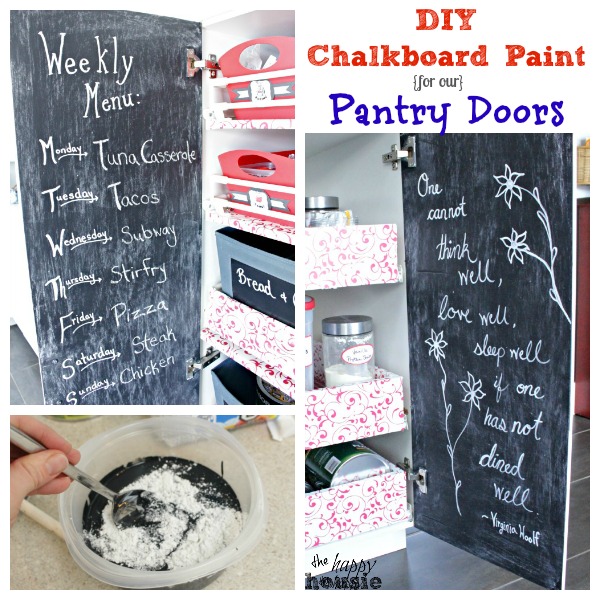
Nothing says fall like burlap (oh yeah, and chalkboards and mums and pumpkins….okay I guess a lot of things “say” fall:)
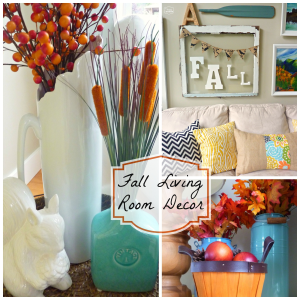
In case you have missed anything… here are some of my other recent ‘fall’ projects (picture is the link):
What projects have you been up to for fall decorating? Any fall pillows on the horizon? How about pumpkins? Or porches? Hey… those all start with P. Crazy.
Thanks for reading. And remember my housie friends, HOME isn’t built in a day. Enjoy the journey.

This was featured at!

I may link up at some of these fabulous places below, for more info check out housie parties:
Make the Scene Monday , Monday Funday , Give Me the Goods Monday , Inspiration Monday, Craft-o-Maniac Monday, Project Inspire{d} , Inspire Me Tuesday, The Scoop, Wow Me Wednesday Whimsy Wednesday , Fall Into Fall , From Dream to Reality, The Inspiration Exchange, Live Laugh Rowe Live Laugh Linky, Transformation Thursday, Thursdays Are Your Days, The Weekly Creative , The Creative Connection, Fabulously Creative Friday, Party Junk, Pinworthy Projects , Link Party Palooza,, Weekend Bloggy Reading, Strut Your Stuff Saturday, Spotlight Saturday, Get Schooled Saturday, Overflowing With Creativity , , Suburbs Mama , That DIY Party
Did you wash the burlap first?
Hi Olivia – no, I didn’t because it was simply burlap ribbon (with finished edges) and there didn’t seem to be any need to wash it.
Cute and easy Krista, looks great 😀
Thank you! It was quick and easy project and I am thrilled with it – though I might even like it better on a square pillow. Might have to give that a shot:)
Krista, that came out so cute! I really love that fabric you chose, and it looks wonderful with your other pillows.
Thank you Megan – that fabric is pretty busy but I love the colors so it is perfect softened by some burlap strips:) Thanks so much for your visit!!
I love this pillow!! so cute and great instructions. Come link up to centerpiece Wednesday and share this DIY post with us.
http://Www.thestylesisters.blogspot.com
Karin
Thank you so much for your sweet comments and the invite Karin!
The pillow looks great. I love the fabric you chose. Thanks for sharing this at the Pinworthy Projects Party!
Thank you Shannah and thanks for hosting!!
Loved this so much I featured it! I think the tutorial was excellent. Now I want a burlap and floral strip pillow of my own! Thanks for linking up at Give Me the Goods Monday Link Party! I always look forward to seeing your posts!
http://www.commona-myhouse.blogspot.com/2013/10/give-me-goods-sunday-features-29.html#comment-form
What a grat look 🙂 Very effective 🙂 Lovely colours 🙂
Such a cute pillow, I am a littel obsessed with burlap right now. Love how you incorporated a bright fun fabric with it.
Great project !!
I would love you to come and share @ Craft, Create & Inspire linky party !!!
Look forward to seeing you there 🙂
http://lemonpaperdesigns.blogspot.co.uk/2013/10/craft-create-inspire-linky-party.html
Claire x
I am loving the burlap trend and it is amazing what just a pop of fabric in the middle does to pull it all together. Our weekly Super Saturday Link Party is live. We would love to have you join us with any of your great ideas. It would make us so happy to have you on board. http://www.madefrompinterest.net/2013/10/super-saturday-link-party-14/
burlap and fun beautiful fabric LOVE it for your pillow; wow! wow! wow! 😉 your space looks so beautiful Krista!
I love it. I have some fabric similar to your stripe fabric and I have burlap. So now you’ve inspired me to make a pillow like yours. Thanks! Do you think you could share this post at our Making Monday link party this upcoming Monday {actually goes live Sunday 8pm eastern}? We would love it and I know our readers would, too. Thanks. Have a fabulous weekend.
Lori @ A Bright and Beautiful Life
http://www.abrightandbeautifullife.com
Thank you so much for your sweet comments and the personal invitation Lori!!
Oh my gosh I can hardly stand it! So adorable! I just love your home.
xo Kylie
Aw thank you Kylie! So kind!!
Come visit us at http://obsessiveandcreative.blogspot.com/2013/10/craft-frenzy-friday-8.html
We are having a party and it won’t be the same without your creativity!
Craft Frenzy Friday!
Thank you Rhonda!!
I just love this. And your living room. It’s so colorful and happy!!
Thank you so much Amy!! It is just about time to add a little Halloween to it…
These look very pretty! 🙂
Thank you!! So thrilled you came to visit!!
Krista, you should be proud of yourself! Your whole room is so cheerful and happy and yet there is a fall vibe present. You rock, girl!
Nice pillow btw!!
!
🙂
hugs x, Crystelle
Crystelle Boutique
Thank you Crystelle!! I guess it is just about time to add a little HAlloween-y to the mix now! Hope you are doing super well:) Thanks for the visit and comments!!
Love the combination of burlap and colorful material on a pillow. Lovey!
Ellya
Thank you Ellya!! So thrilled you came by to visit and thank you for your comments:)
love your pillows! I’m gonna pin them! I’ve found you through inspiration monday party and I really like your ideas! brava!
Hi Kiki!! Yay!! So thrilled you came by and thanks for the pin!!
The pillow looks so cute! I always love Waverly fabrics. Your house is looking lovely for Fall! 🙂
Hi Rachel!! So great to see ya!! I love Waverly fabrics too… and I bought a little series with these ones, the large scale floral, the tight floral, and a geometric. I love all of the prints!! Thanks so much for your visit and comments!!
Great idea. Love it. Thanks tons for linking to Inspire Me. Hugs, Marty
Thanks so much for coming to see it in person Marty! And for hosting:) Have a great week!
Love your pillow! How pretty! I would love if you stop by and link this post to the party! 🙂
Thank you so much MariaElena!!
I love the floral fabric that you used – where did you find it?
Hi Amanda- I added some links for the fabric to the post. It is a Waverly Print called Button Blooms Confetti- in the same series as the fabric I used on our white chair pillows – that one is called Pom Pom Play Confetti. I ordered mine from FAbric.com but they seem to be out of the button blooms right now… you could possibly get it through another online fabric retailer by googling it:) Have a great day!!
This pillow turned out super cute. And I really love that oar on your wall!
Thank you Carrie!! The broken oar or the whole oar? I think I like the broken one the best:) We have a few oars/paddles around the house to go with our slightly “lake cottage” look.
love! and so easy with such a great end result.
Thank you Kendra! It is more subtle then my pillows usually are (even with the floral in the middle) so it takes some getting used to… but I like the subtleness for fall:) So thrilled you came to visit!!
Great tutorial Krista 😀 I love the fabric – I would want to use it as a table-runner too 🙂
LOL Petra!! That was totally my next plan with it!! How did you read my mind??
I love, love, love your blog! It is so fun and inspiring…btw, you have a gorgeous home! Thanks for sharing your talents.
Aww Vicky that is sooo kind of you!! You totally made my day:)
super cute pillow Krista! Again, wishing I could sew, enjoy your projects anyway. 🙂
Oh Vel you are a woman of many talents…I bet that you could learn to sew if the fancy hit ya….to be honest I really only sew straight lines and nothing complicated but that is enough!! Have a great week:)
Your timing is impeccable! I just bought a burlap coffee bag at an antique store over the weekend and I was wondering how to keep it from fraying. I might even look for a contrasting fabric for the middle. Fun! Thanks for this, Krista!
Sounds amazing Alison! I can’t wait to see what you come up with!!
I did it! It’s done and it’s so cute. I just put the post up. I hope you like it since you totally inspired me. I never would have thought to put that strip in the middle and I love it. Thanks!
Yay!! So thrilled to hear that Allison! I will come by and see it!!
Krista, you’re going to convince me that I can tackle one of your amazing projects! Love these pillows.
You can absolutely tackle it Sandra!! I am not a great sewer by any stretch of the imagination!!