
Easy DIY Pumpkin Vases
Natural inspiration is abound with this clever DIY pumpkin vase! Here you will see my step by step tutorial!
Pumpkins.
They’re everywhere right now.
Such a versatile gourd.
Not only can you can turn them into pies, soup, and pumpkin spice lattes… {is there actual pumpkin in that Starbuck’s fave?}, but you can roast the seeds inside too! I mean, heck you can eat for months off a pumpkin.
And we can’t forget the ever-popular Jack-O-Lantern. Pumpkin patches everywhere are swarming with young children doused in mud up to their waist-lines seeking out the perfect pumpkin to carve for Halloween.
But this year I came up with one more way that I could use pumpkins. As a vase! Pumpkin vases for days….
I made three of these homespun pumpkin vases for our Thanksgiving dinner table last week, and it was so quick, easy, and cute that I just had to make another one so I could show you how…
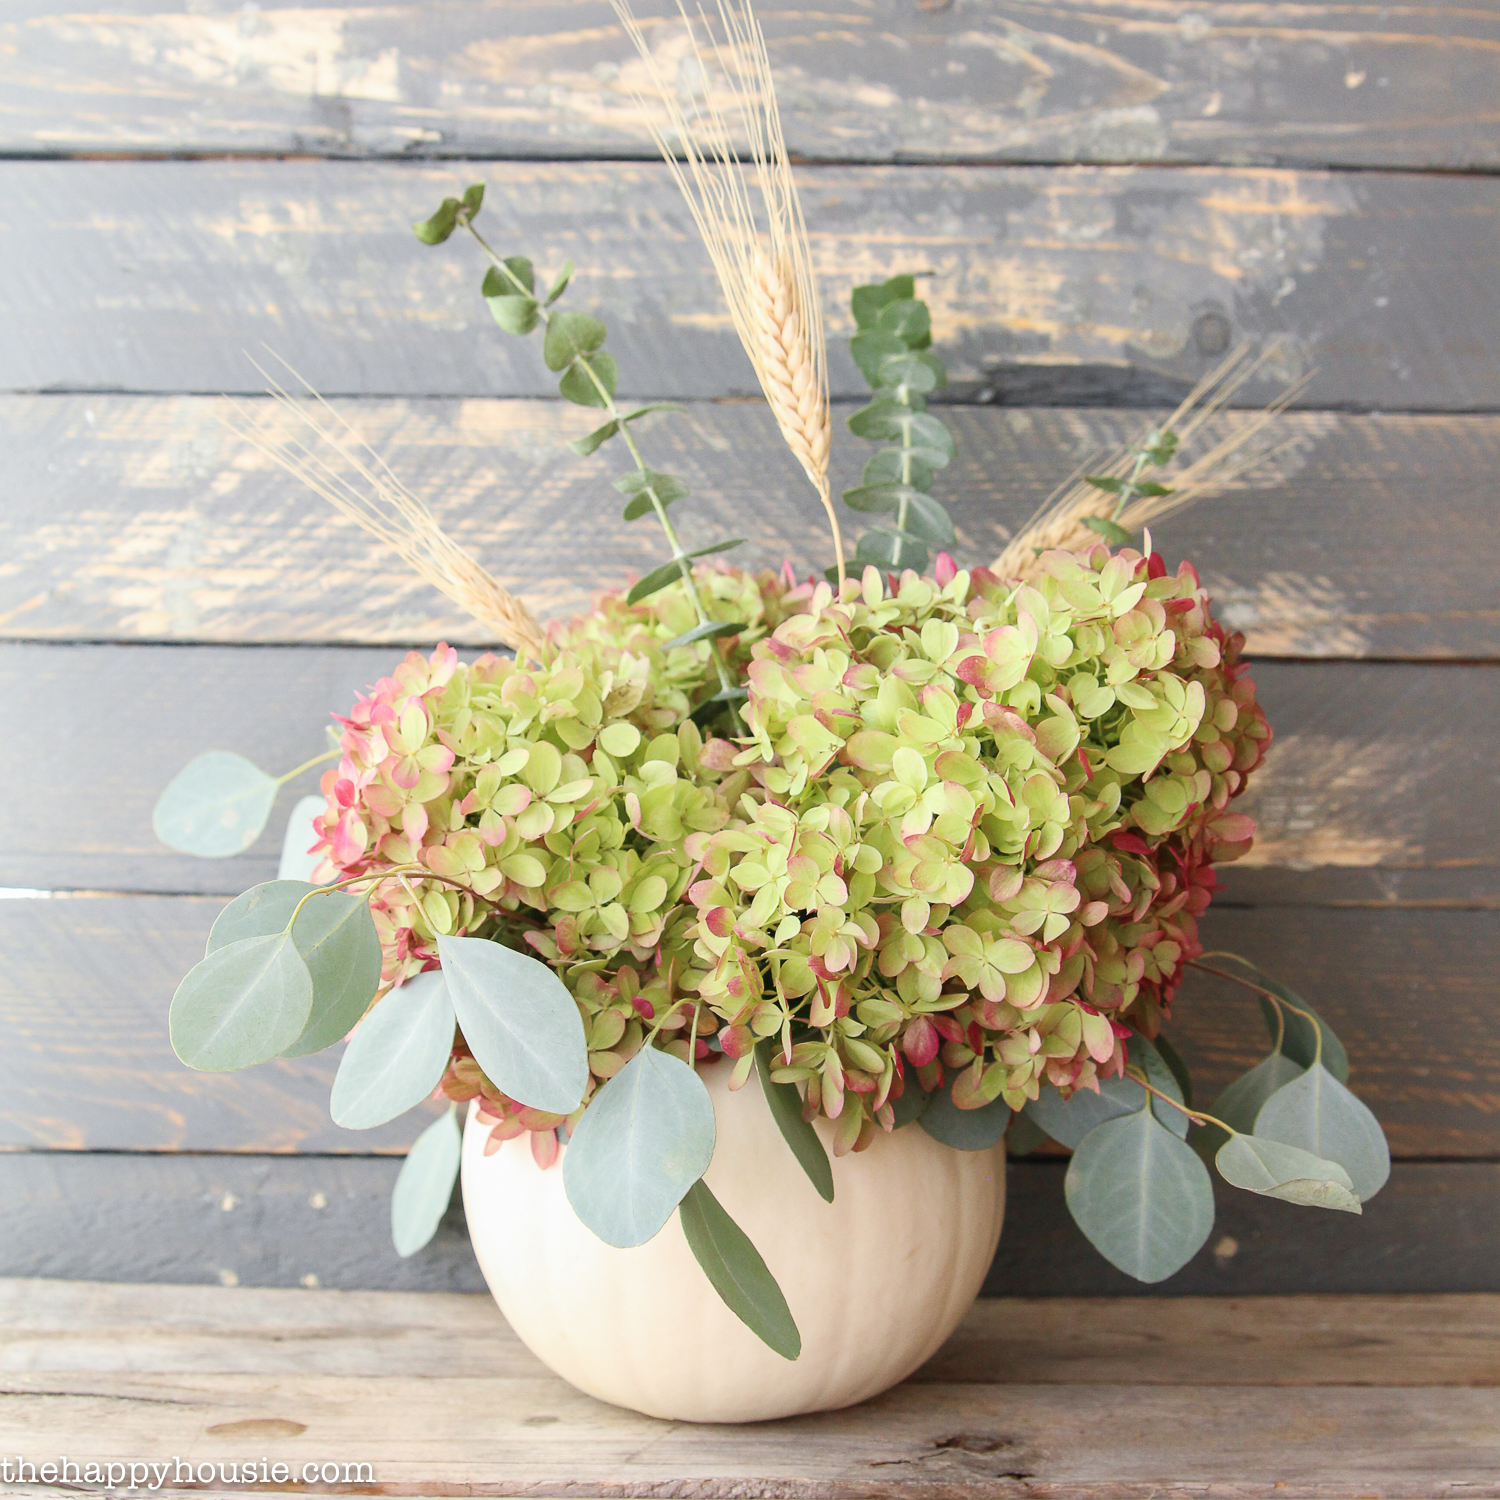
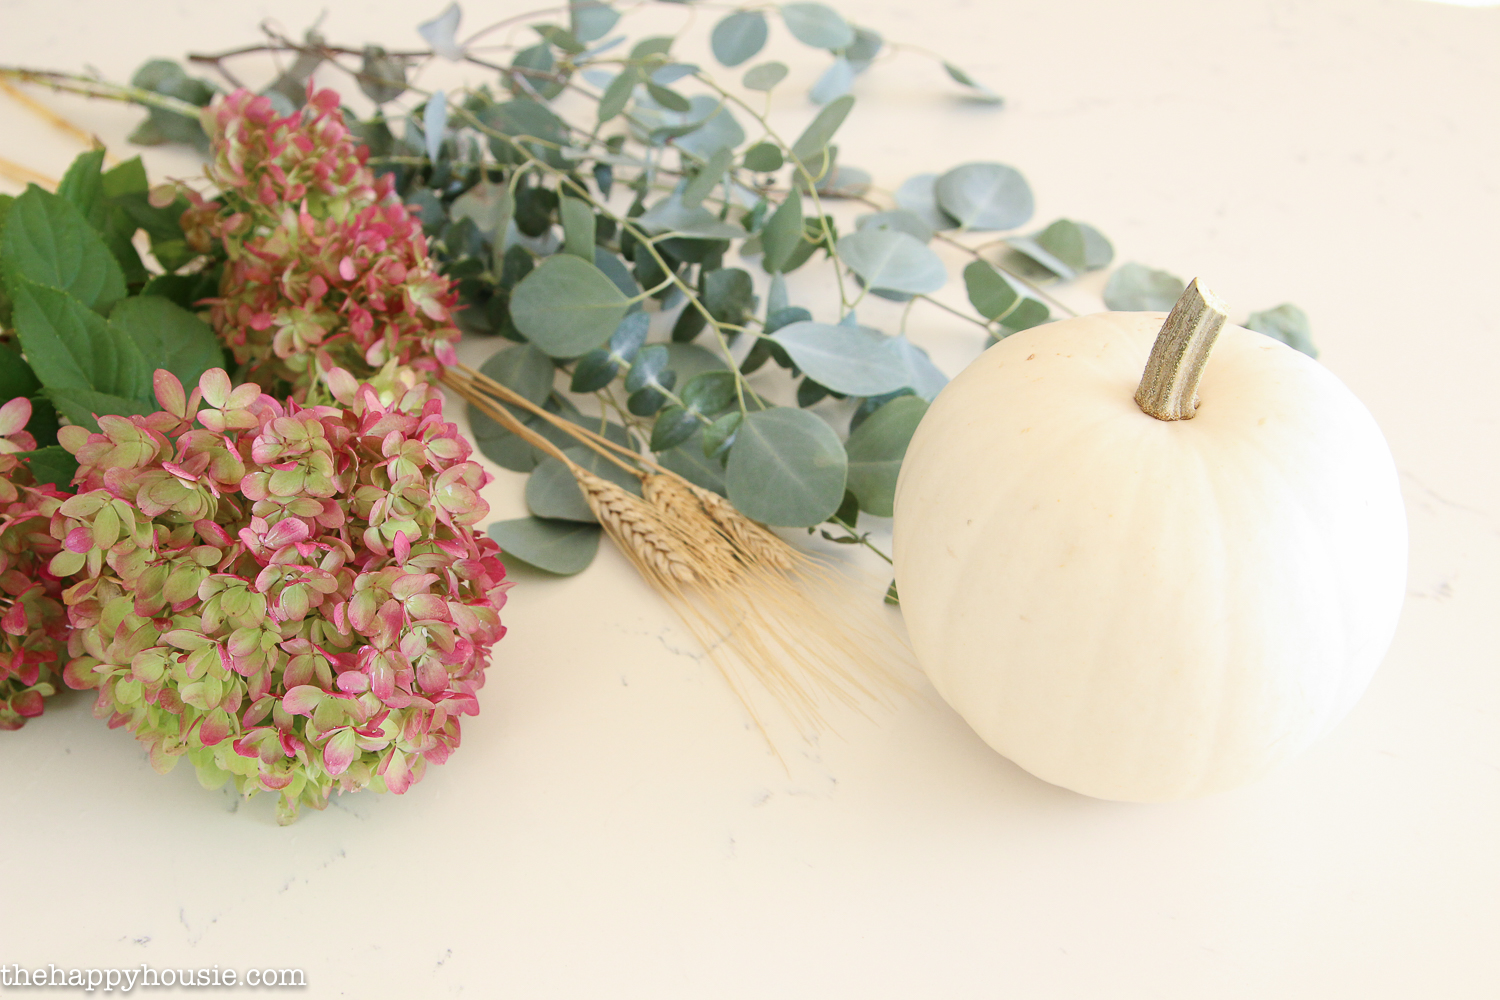
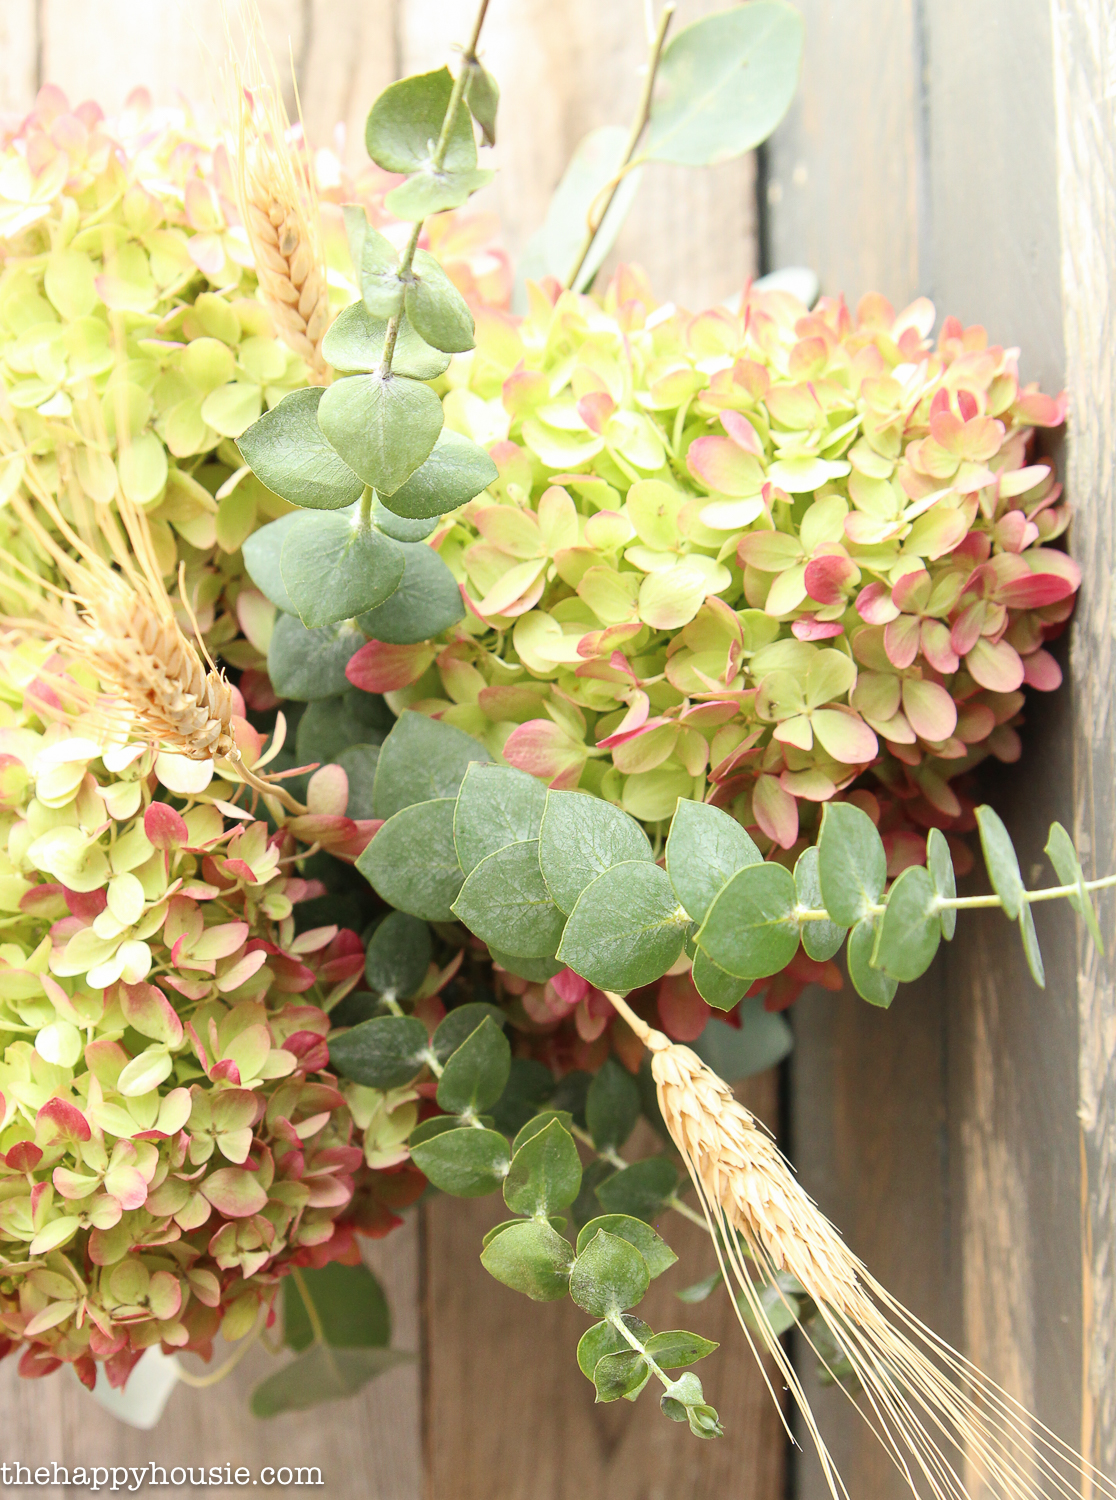
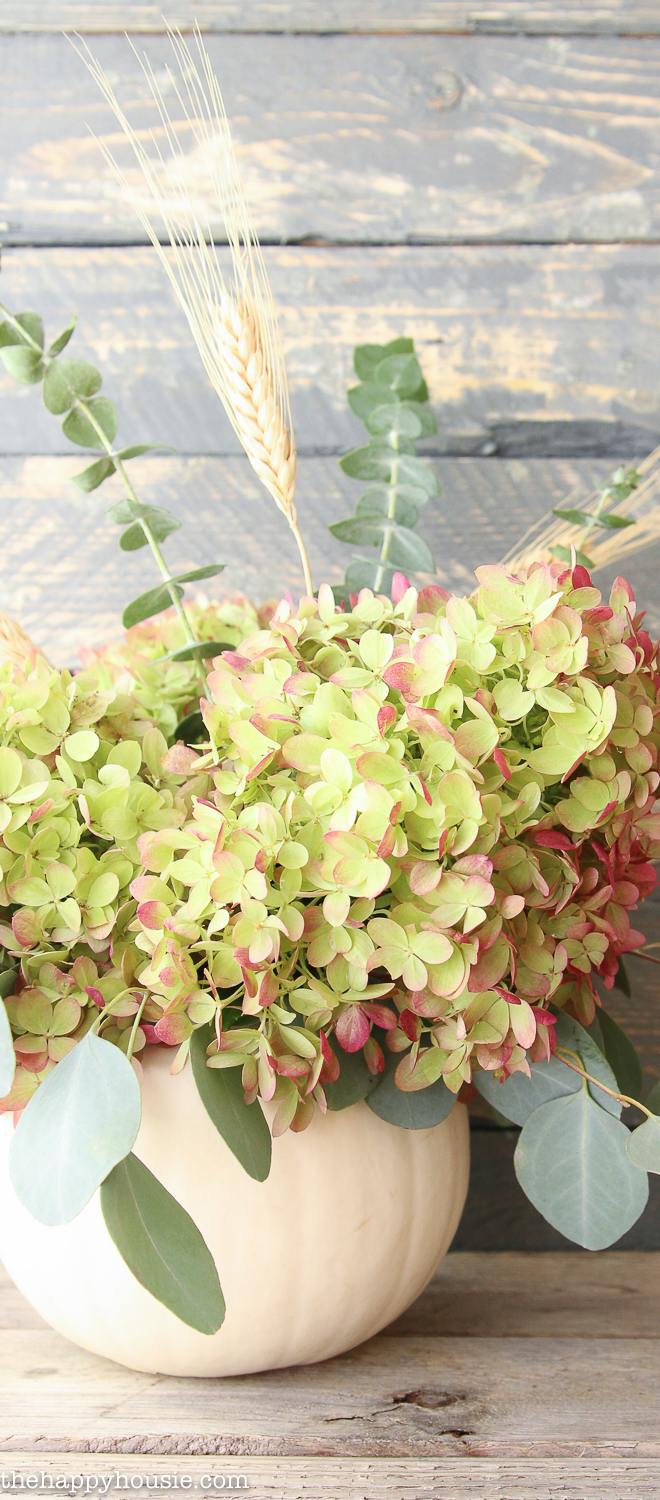
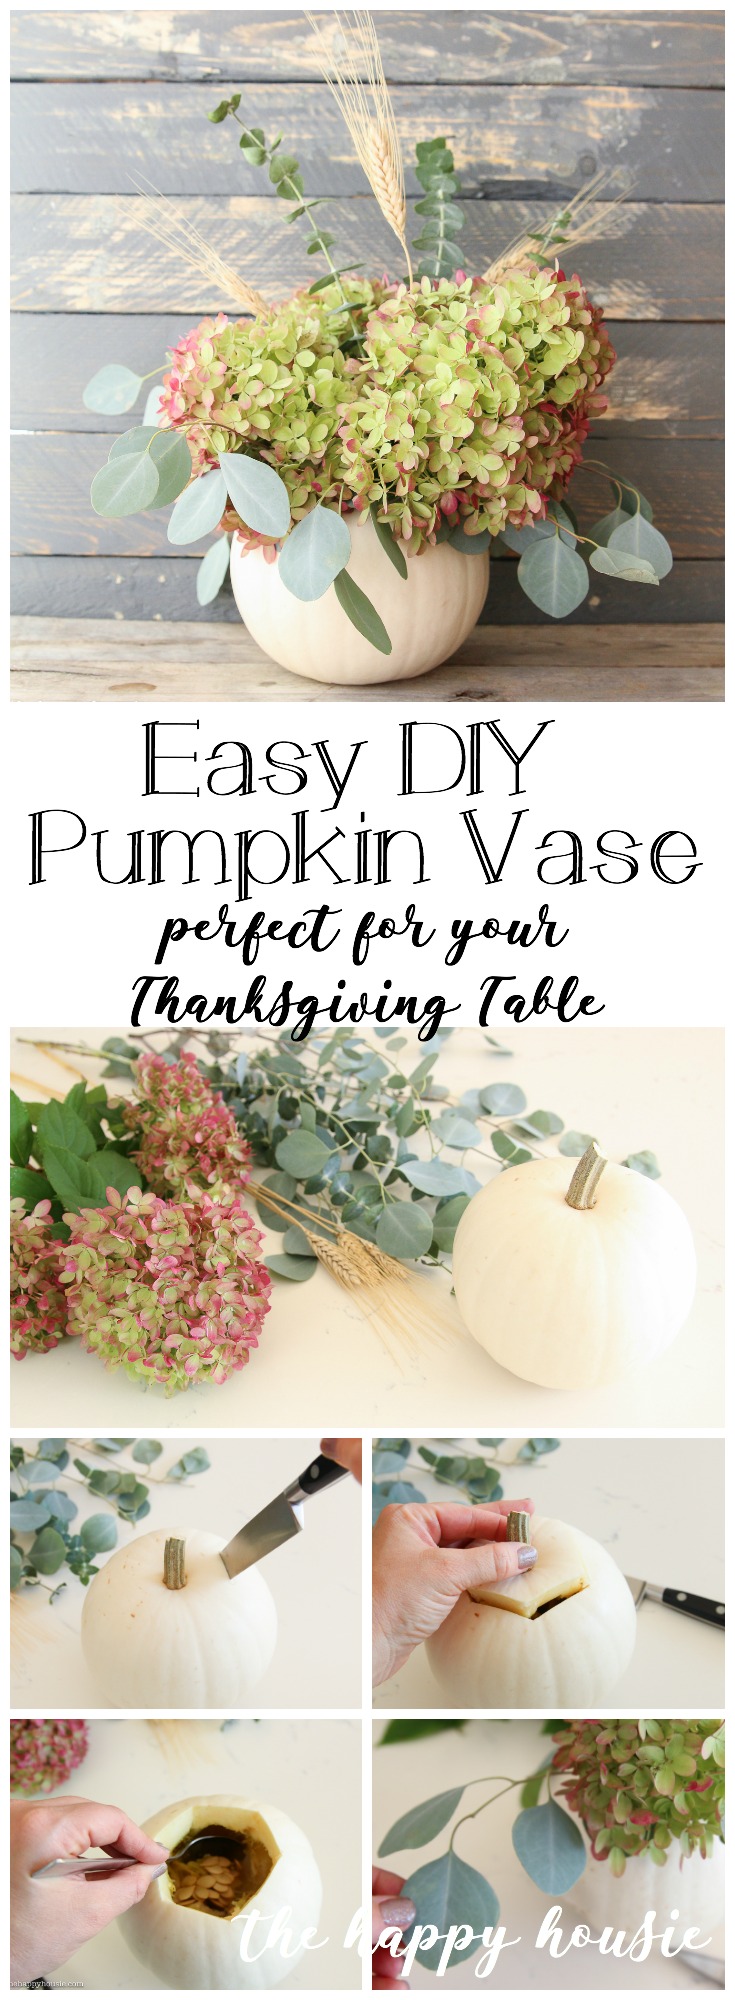
To make this I used one white pumpkin (called a “Casper” Pumpkin at our grocery store), along with some greens (also purchased at the grocery store), and pretty mop head hydrangeas from our front garden.
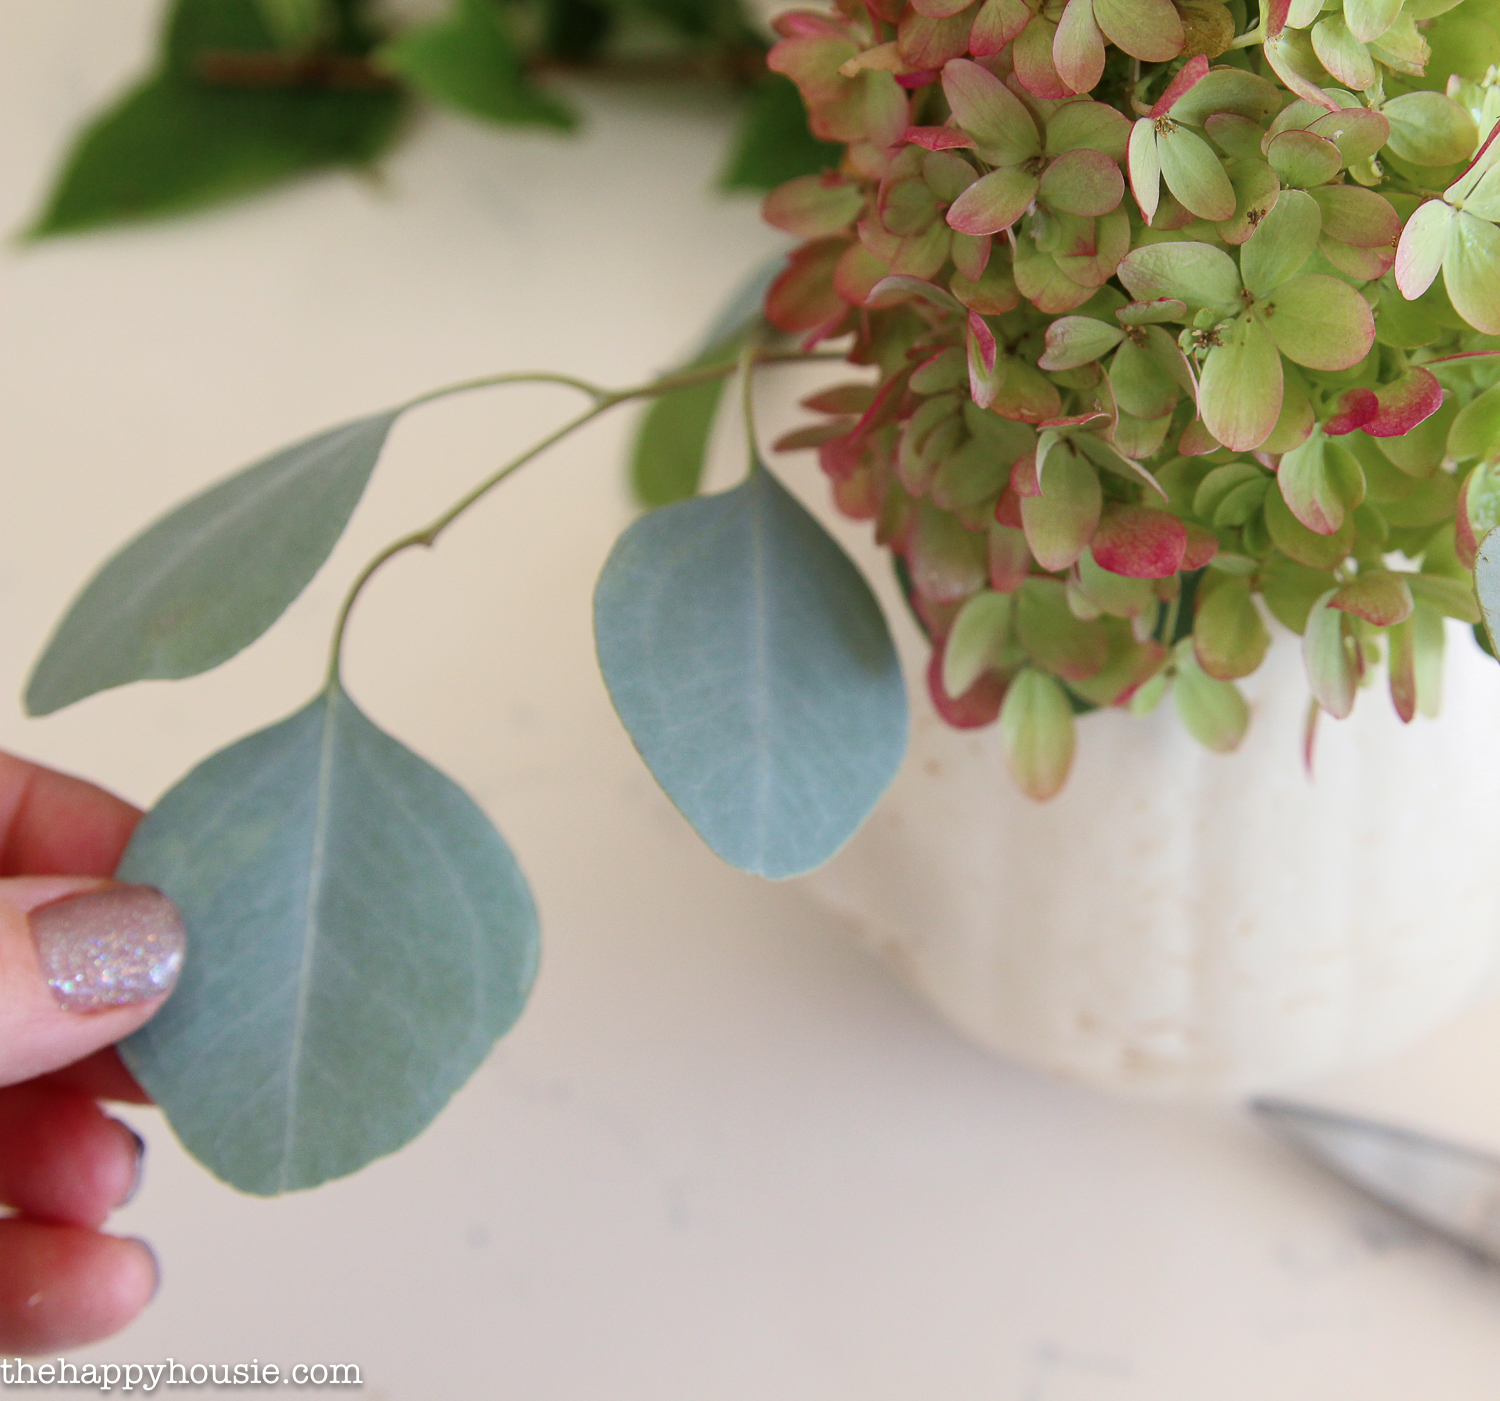
I love the way the subtle grey-green Eucalyptus works with the stunning colours of the fresh hydrangea. The greens also included a few pieces of wheat so I added those in as well.
You could really use any kind of flowers, or even another colour of pumpkin if it suited your fancy. At the bottom of this post I shared a couple of images of the pumpkin vase centrepieces that I made for our Thanksgiving table last weekend.
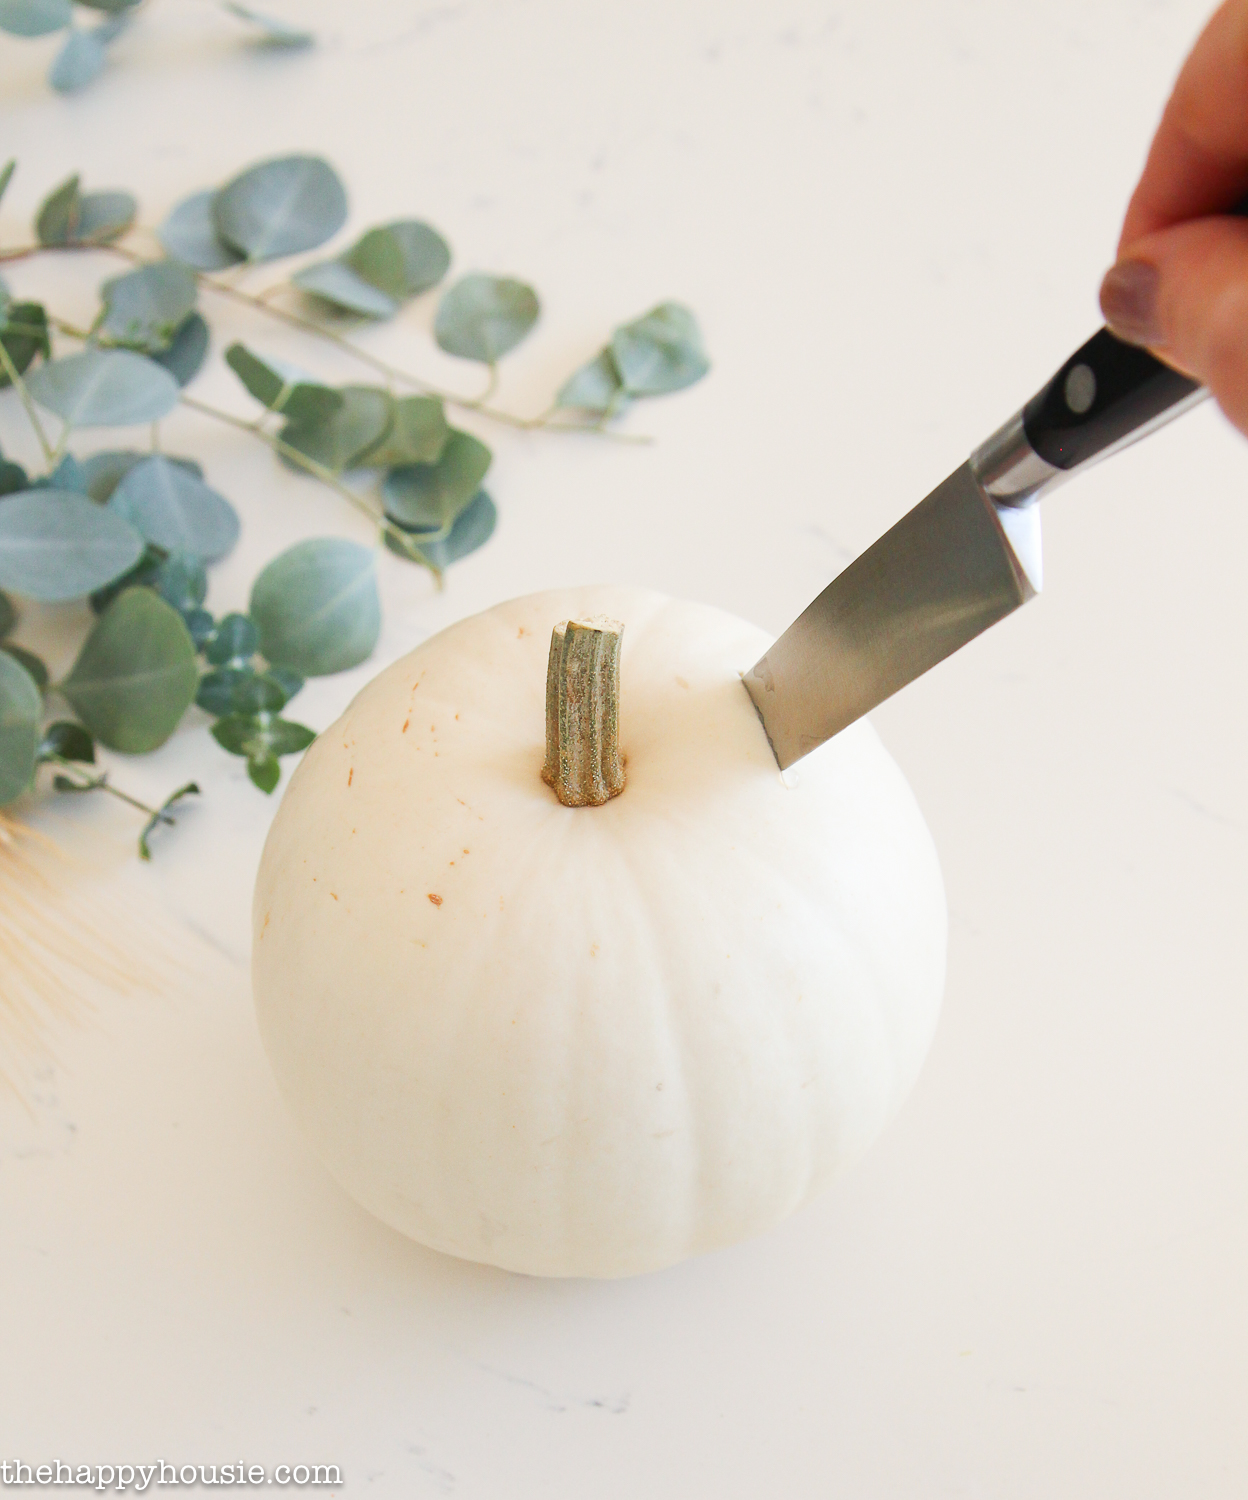
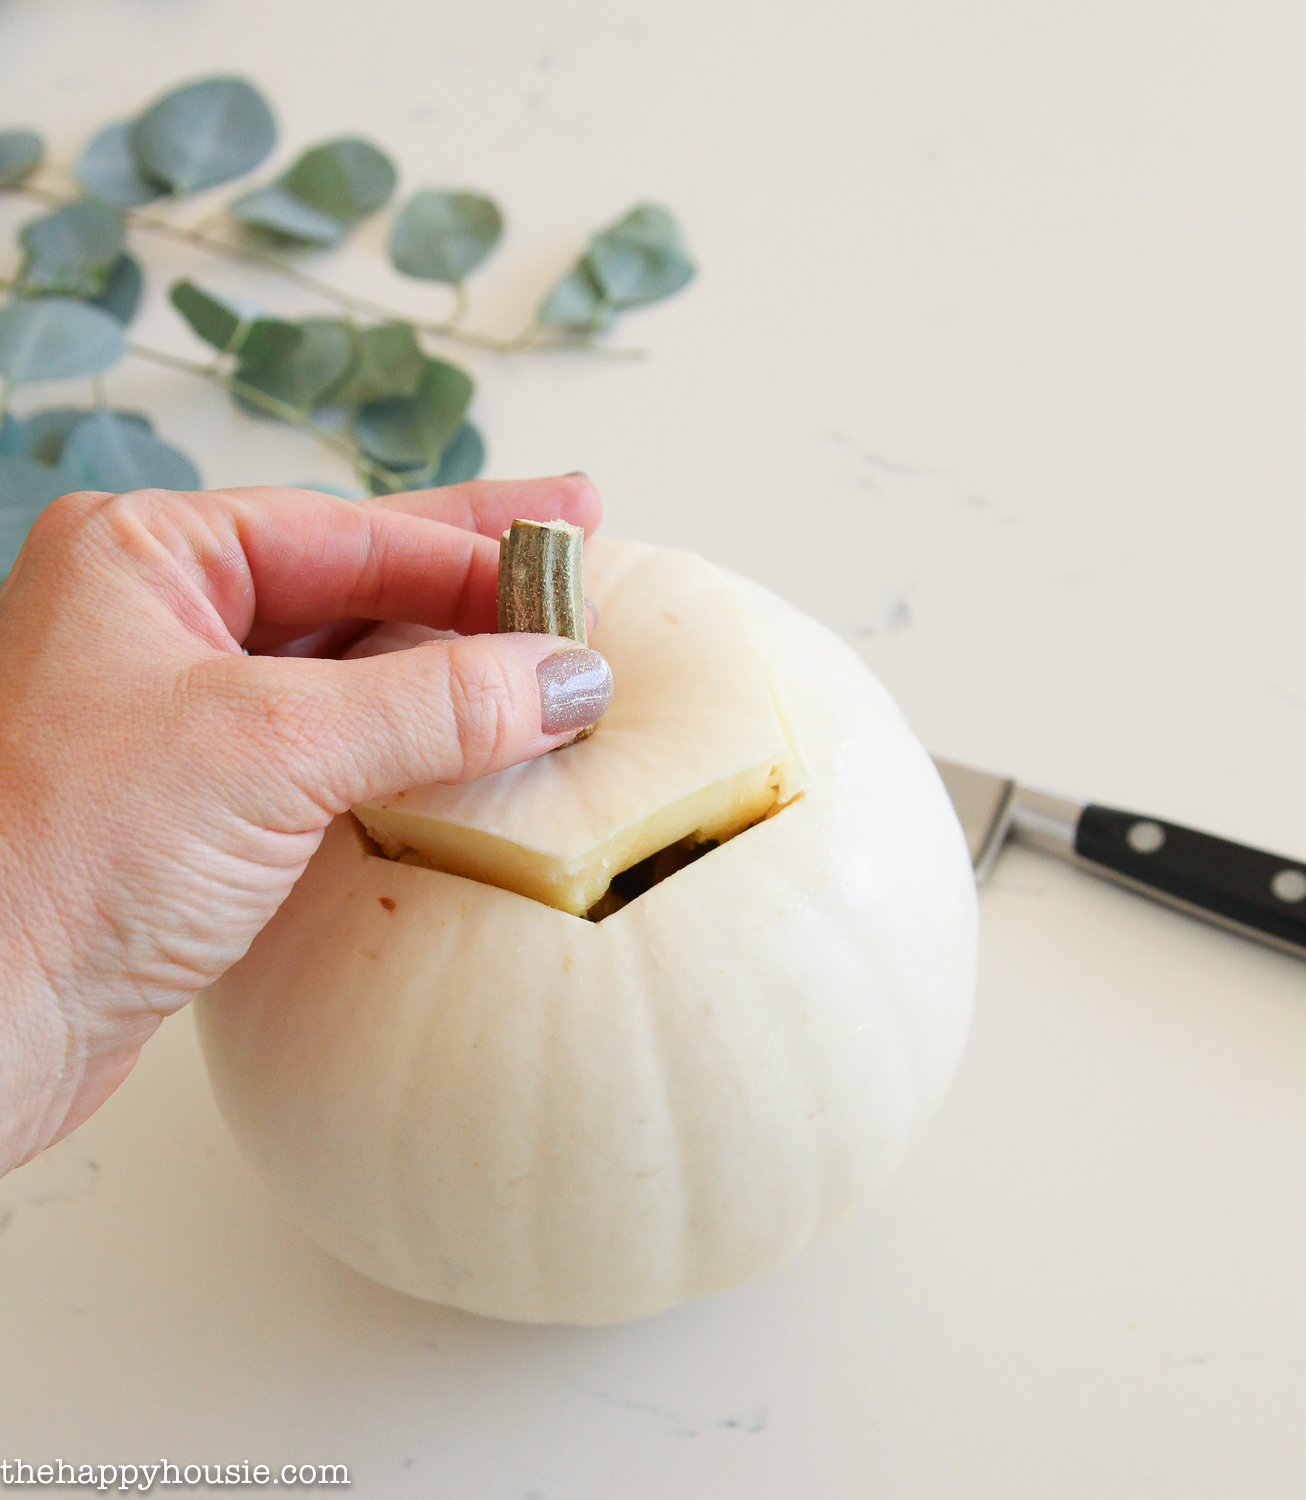
Start by cutting the stem out of the pumpkin, creating a large enough opening for it to act as a vase. Then scoop out all of the seeds and either roast them for snacking or throw them out.
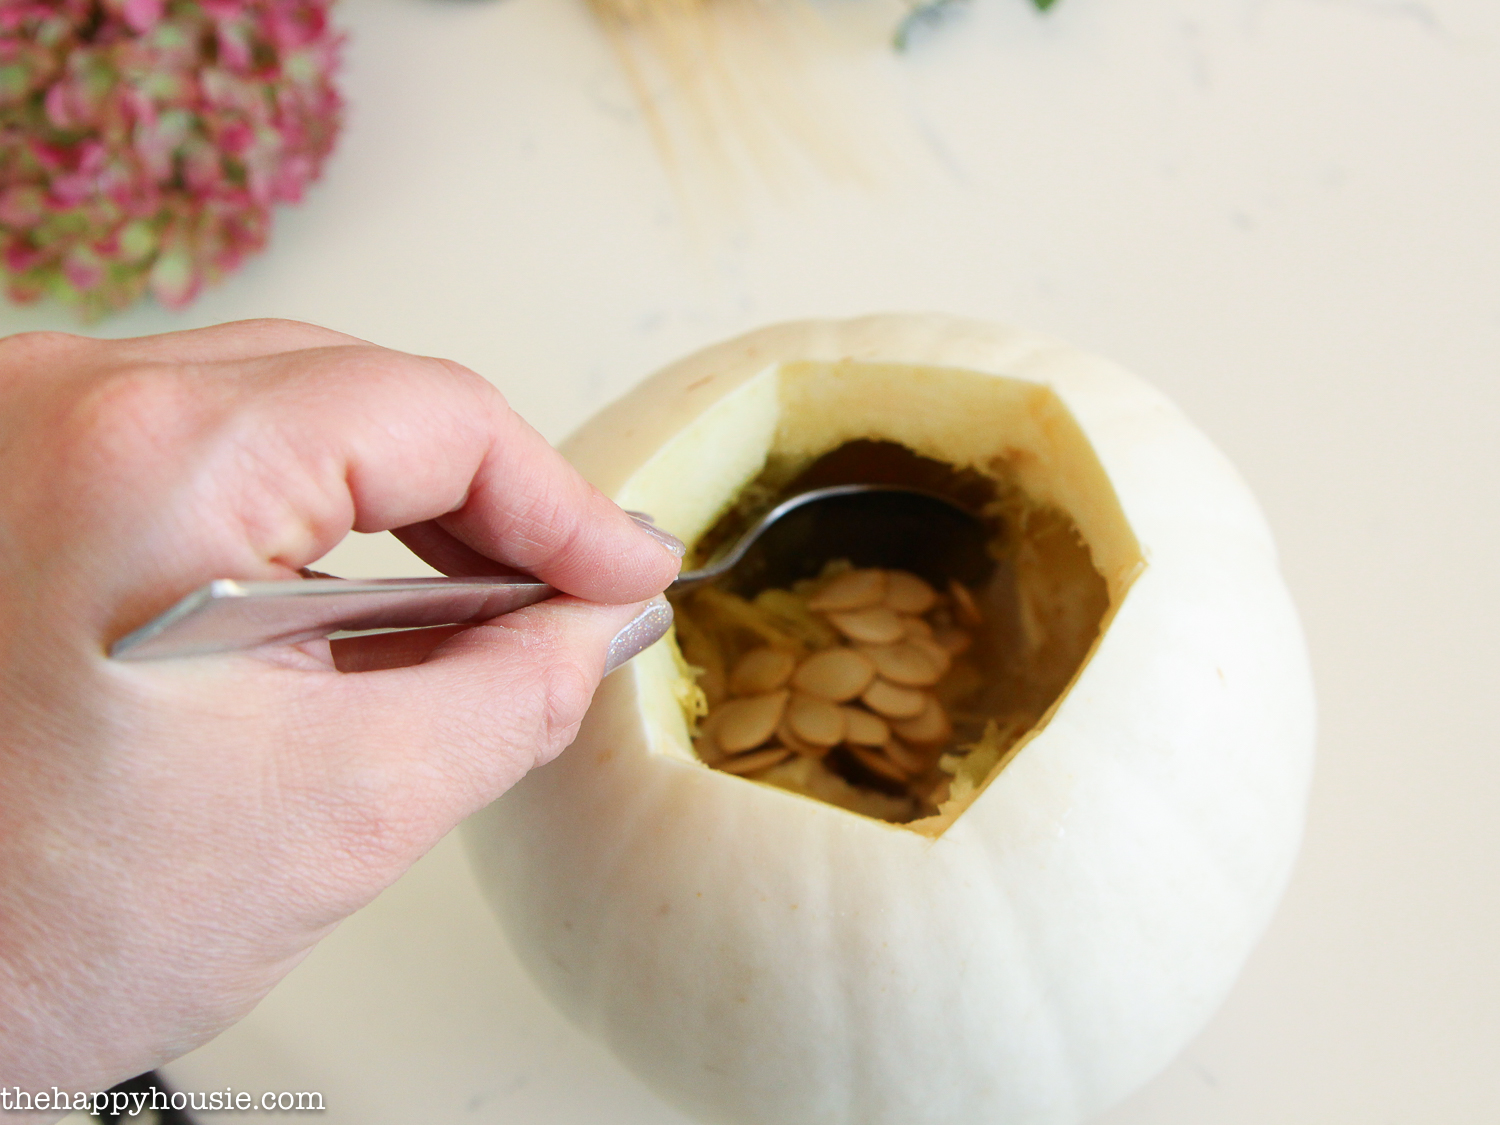
Fill your pumpkin with water. You could even add a little piece of floral foam to help your flowers stay in place, but I didn’t use any foam for any of the pumpkin vases I made.
Cut your floral pieces to length, starting with the Eucalyptus leaves, and tuck them into the water around the outside edges of the “vase”. Then place the flowers in gently, holding the Eucalyptus in place.
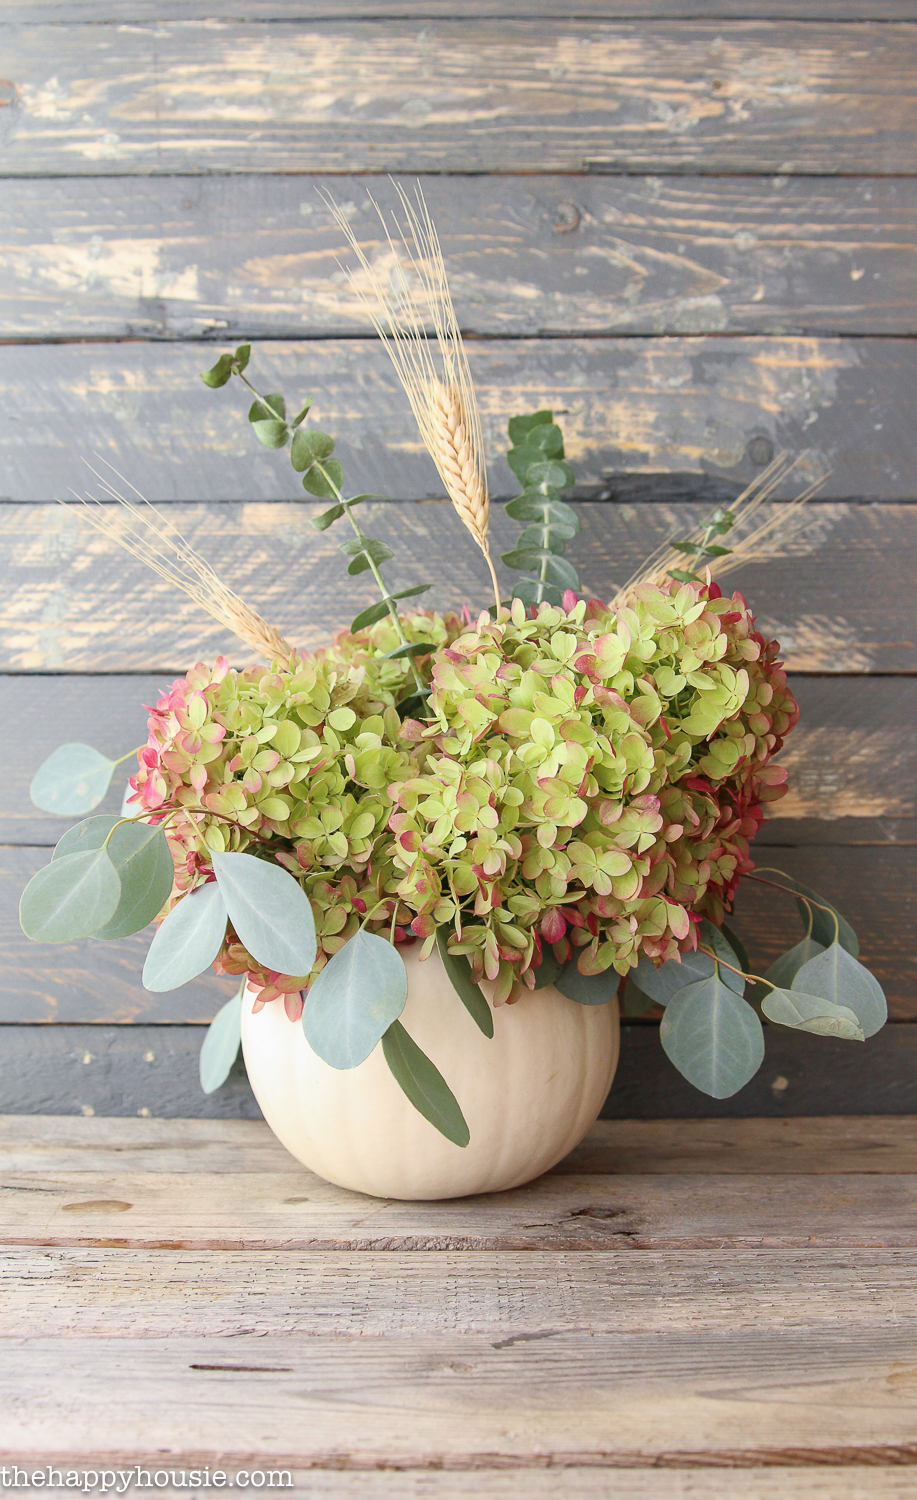
Finally, add some height and interest by cutting and placing the taller stems/wheat in the center of the arrangement. It’s meant to be fairly loose and casual so don’t over worry it!
Done!

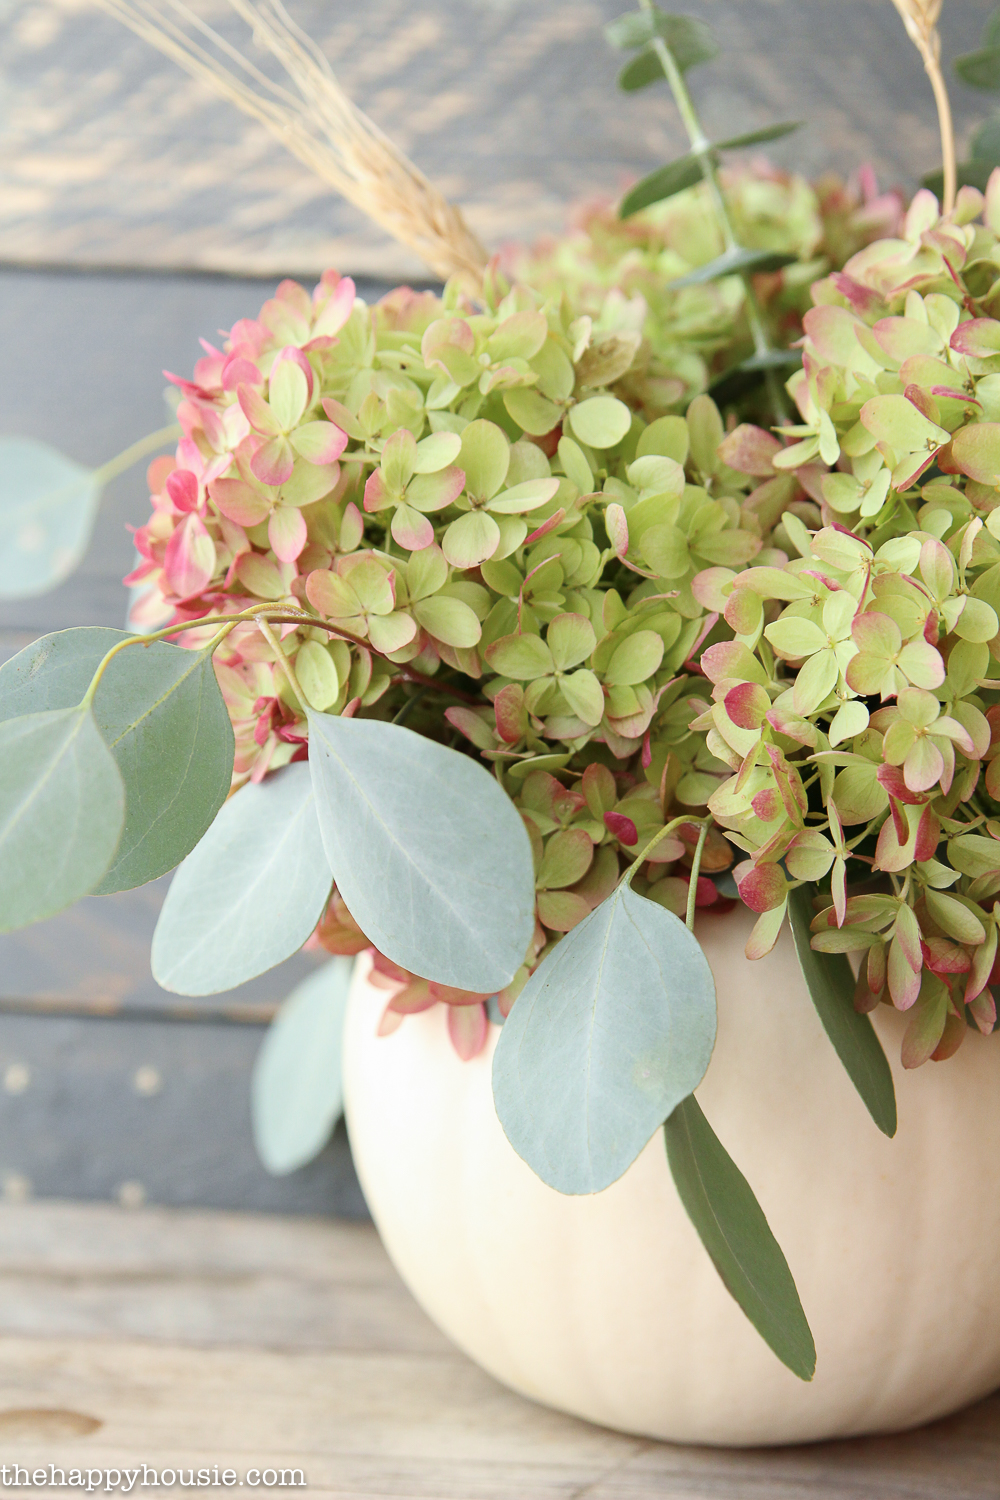
I just can’t get over how pretty this one turned out!
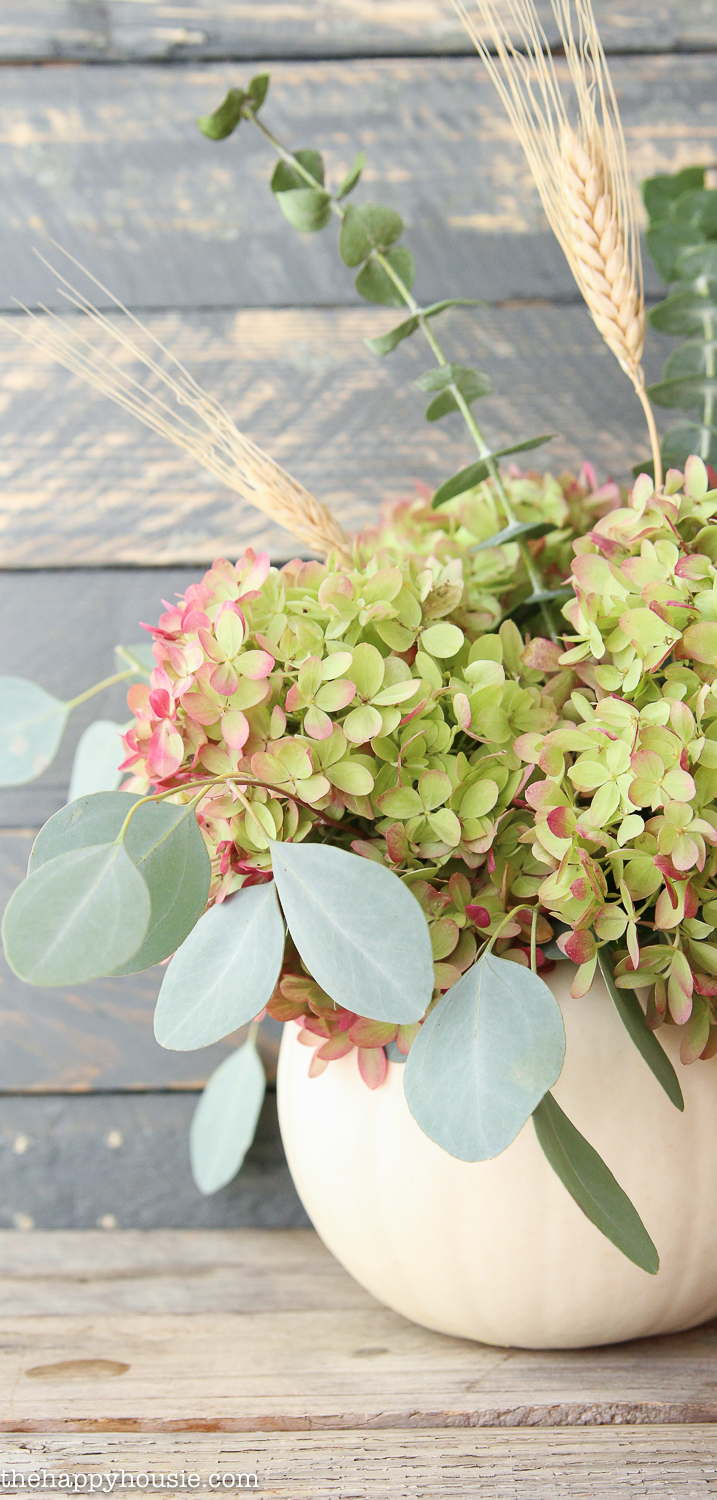
The bold colours of the hydrangea are over-the-top gorgeous, and the contrast with the grey-green eucalyptus and creamy white Casper pumpkin is so soft and subtle. I wish I’d done all of my Thanksgiving ones with these flowers, as well!
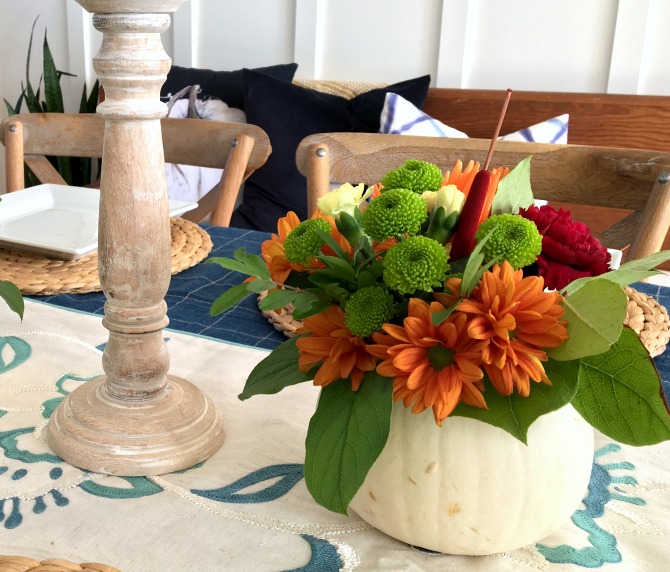
Here are the vases I made up last weekend for Thanksgiving.
I followed the same method, but created three of them for the table. I purchased two small $10 bouquets of Thanksgiving flowers from the grocery store and divided them up between the three pumpkins. Cute, cheery, and full of Thanksgiving colours…
For more centerpiece ideas check out Beautiful Centerpieces for Fall.
Think you might want to give this a try?

SaveSave


Hi! I’m making 15 of these for my wedding reception. How many days before the reception do you think I can carve these and they’ll still be beautiful?
Hi Brandi,
I’m trying to remember, but I think it lasted for a few days before it started to go a bit slimy inside – I bet you could carve them two days before (especially if you could keep them cool, so it depends on your climate (and fridge space!). Maybe give it a try – carve one and leave it a few days and see how it does? What a beautiful centrepiece idea, I love it! Have a fabulous wedding!
Krista
Wow Krista, seeing your incredible pumpkin bouquets makes me wish I bought real pumpkins and had hydrangeas growing in our yard, no chance of that, too dry here and our soil has lots of alkali out here..
All your arrangements are so pretty, you do have a way with arranging flowers. Always enjoy every one of your posts, no matter what subject is.
Have happy week
Hi JaneEllen! I think you could do a pumpkin vase with any kind of bouquet – I actually originally did them with some grocery store flowers at Thanksgiving! Thanks so much for your sweet words – I always question my arrangements!