
Easy DIY Large Wood Sign for the TV Wall
To make this you will need:
- reclaimed wood boards… you can also use new boards but we had several pieces of old wood lying around and I wanted the sign to have a rustic, uneven look and old wood works well for this
- wood screws and an electric drill
- smaller pieces of wood to join the boards together from behind (we used some leftover trim)
- some paint for your base coats (and possibly primer). I used DIY chalk paint in two colours… made from (Benjamin Moore’s) Cloud White and Colorado Gray
- Craft paint and a craft paint brushes for the lettering
- a computer printer and printer paper to print off your lettering
- a pencil to help you transfer and then outline your lettering
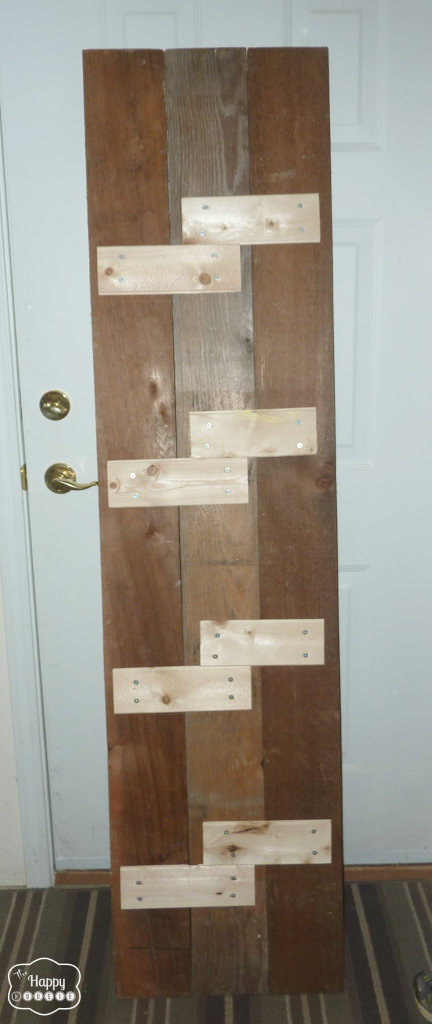
Start by deciding on a size for your sign and cutting your wood to the appropriate length. Then join the pieces together by screwing smaller pieces of wood to the back of the boards, like this:
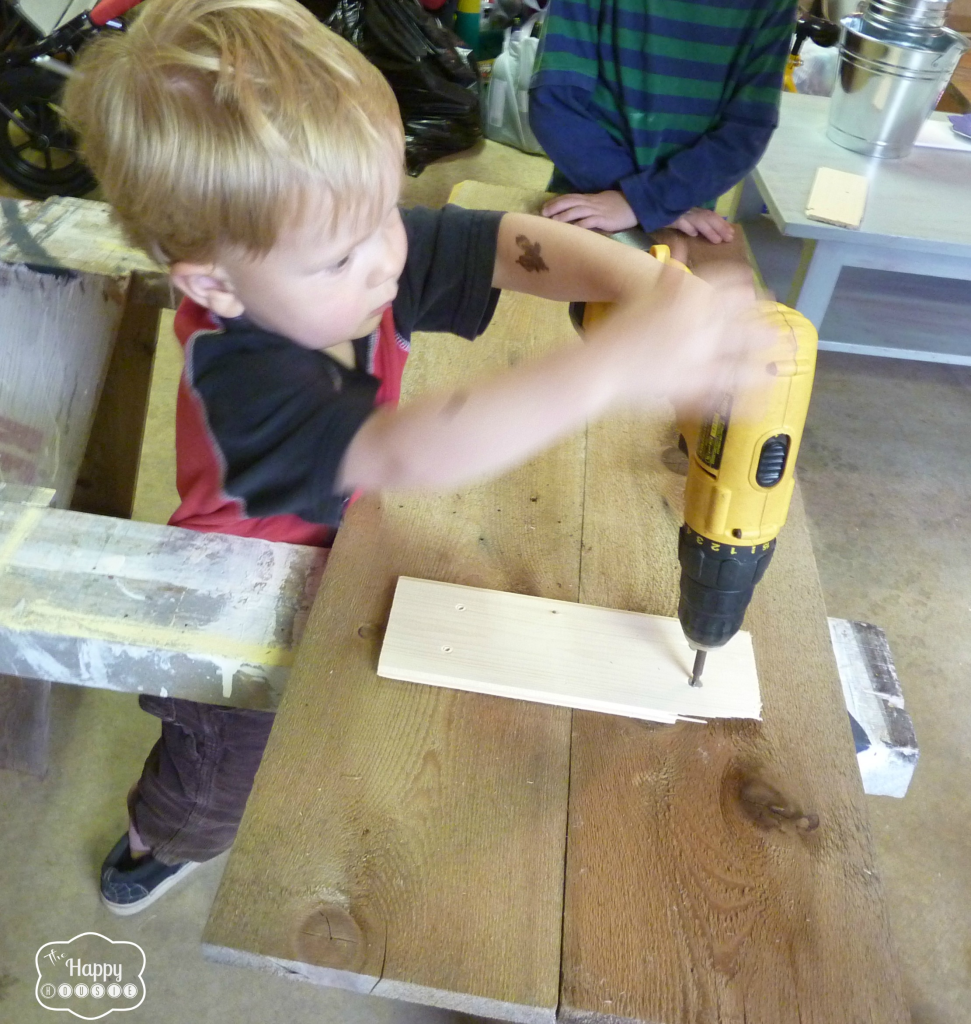
We wanted our sign to be fairly long and three boards high, so we attached our three boards together using wood screws from behind. The finished product looked like this:
Once the boards are attached, give it a coat of paint in your base colour. If you aren’t using chalk paint you will likely want to prime your wood first, followed by 1-2 coats of paint. I chose to use some DIY Chalk Paint that I had made from Cloud White because I knew that I wanted to sand my sign down afterwards. I wanted the paint to wear off more easily and to show some wood colour and base coat colour through the top coat. I just used a regular brush with my chalk paint… here is how it looked mid-base coat:
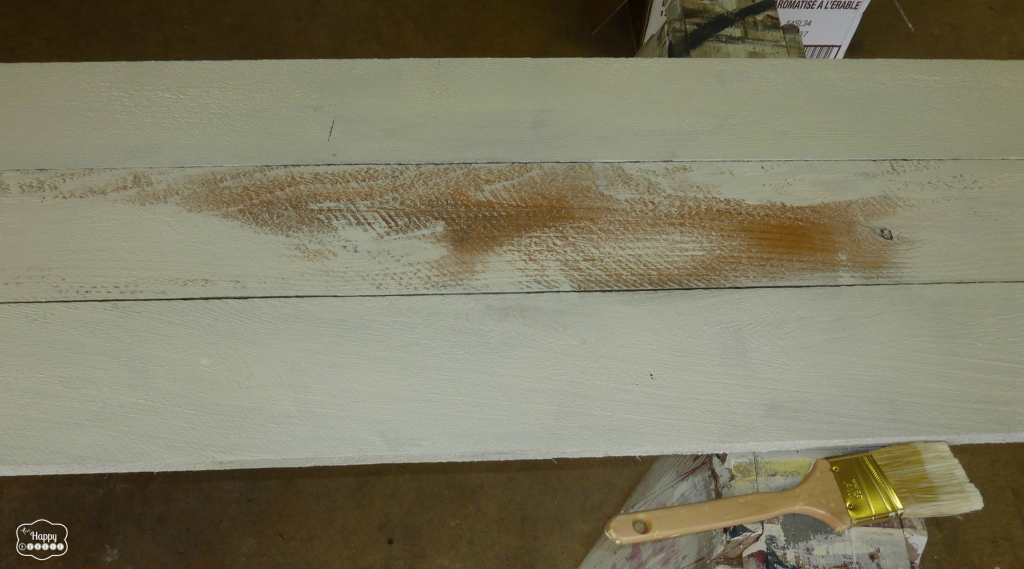
After the white base coat I followed it with a top coat using DIY Chalk Paint in Colorado Gray. I chose this colour as it is the colour on the walls in our hallway and I wanted to tie the two rooms together.

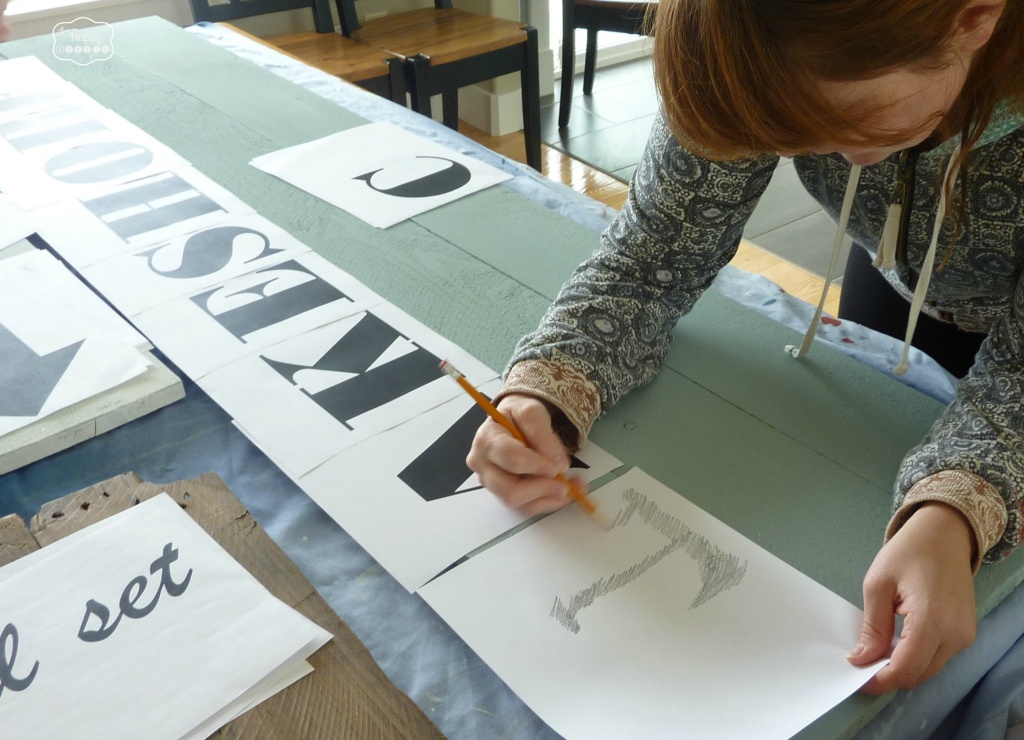
While your paint is drying you can go to the computer and choose some lettering for your sign. Decide what you want it to say, choose a font you like, and then print off the appropriate sized lettering for your sign size.
I laid out all my lettering to get the right placement and fit.
In order to transfer the letters onto the sign itself I turned each letter over, traced over the lines with a pencil (scribbling back and forth), and then flipped the lettering back over and traced over it from the front with the pencil – transferring my scribbled pencil onto the sign itself.
This outline of each letter I then used to guide my painting (in effect, this method works in the same way that transfer paper does).
Once the letters were all transferred using my faux transfer paper method, I was ready to fill them in with paint. I used regular old craft paint and two brushes… a smaller one for neat edging and a larger one to fill the letters in with. I decided just to free-hand the bottom line with my own handwriting. You could certainly use the transfer method for all of your lettering if you are not comfortable with free-handing it!
I only did one coat of craft paint on my letters and then gave the whole sign a light sanding with high grit sandpaper. I chose to sand a little more ‘forcefully’ around the edges and corners to wear off the paint a little more and give it a slightly aged look…

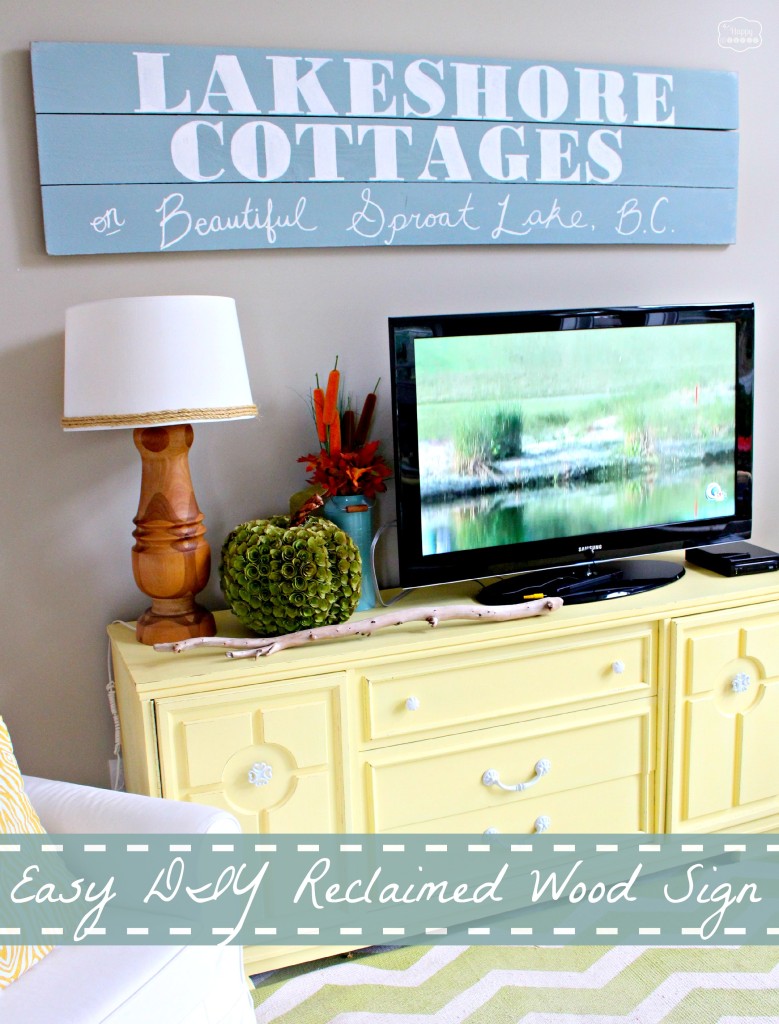
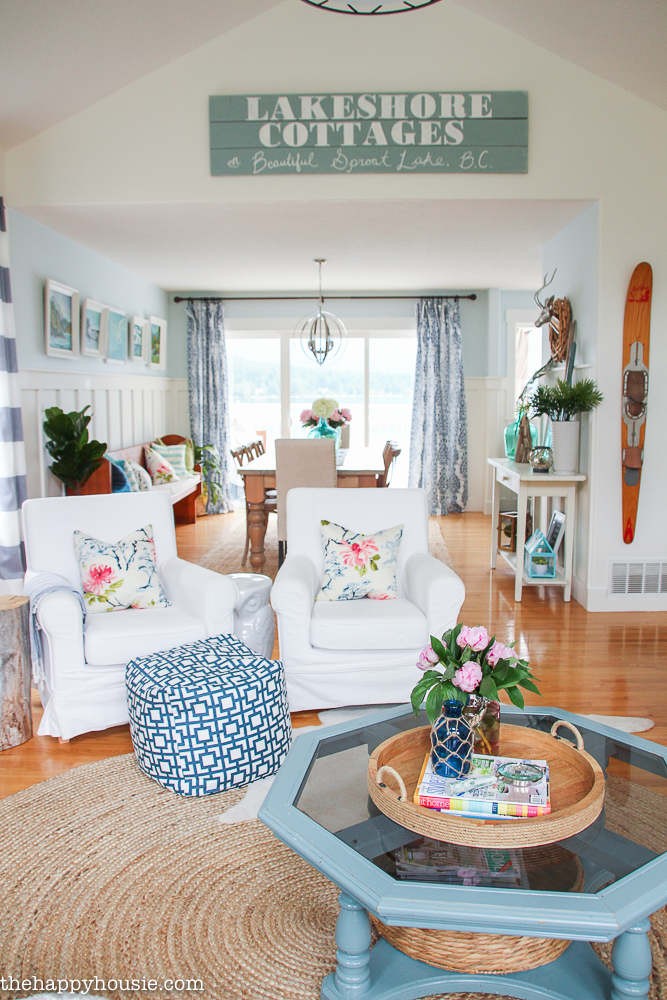
I love how it turned out… the lettering looks slightly worn in spots and I think the whole thing has a vintage feel to it. I love how it perfectly fills up the spot above our new TV console and adds a dramatic hit to that area.

And here is how it is looking now. We moved it when we gave our living room a makeover. It is now on our peaked wall in the living room.
Do you want to make a sign but would like to learn a little more first? I have two other tutorials using this same pencil-letter-transfer method.
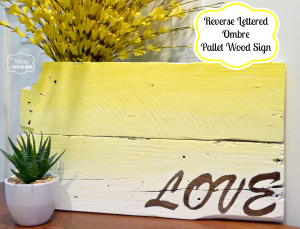
DIY Ombre Pallet Wood Sign with Wood Reveal Reverse Lettering
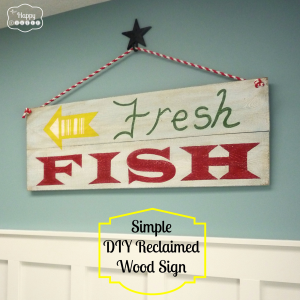
Simple DIY Reclaimed Wood Sign for the Entry Hall
Thanks for reading. And remember my housie friends, HOME isn’t built in a day. Enjoy the journey!


I may link up at some of these fabulous places below, for more info check out housie parties:
Make the Scene Monday , Monday Funday , Give Me the Goods Monday , Inspiration Monday, Craft-o-Maniac Monday, Nifty Thrifty Tuesday, Project Inspire{d} , Inspire Me Tuesday, The Scoop, Wow Me Wednesday Whimsy Wednesday , Fall Into Fall , From Dream to Reality, The Inspiration Exchange, Live Laugh Rowe Live Laugh Linky, Thursdays Are Your Days, The Weekly Creative , The Creative Connection, Inspire Me Please, Fabulously Creative Friday, Party Junk, Pinworthy Projects , Link Party Palooza,, Weekend Bloggy Reading, Strut Your Stuff Saturday, Spotlight Saturday, Get Schooled Saturday, Overflowing With Creativity , , Suburbs Mama , That DIY Party


I can’t figure how to flip letters, any help? If I turn them upside down then the letters are flipped but they are not going the right way.
Hi Diane! I normally print out the letters, then turn them over and colour on the back side of them with my pencil, and then flip them back so they are facing the correct direction (and order) and then trace over the edges of the printed letter with my pencil – that then transfers the pencil shading that you have done on the back of the page and creates an outline of the letter. Does that make sense?
This is gorgeous! I love it! Thanks for linking up!
Thank you Rita!!
I think your project was awesome and that’s why I featured it at Craftionary.. 🙂 Thanks for linking up at The weekly creative.. Come by and see other fun projects that got featured along with you.
Have a great weekend! 🙂
Thank you so much Hani!! Yay! I will hop over for sure…
I love it Krista, is so beautiful! 🙂
Thank you Ingrid– you are always so sweet and positive – I totally appreciate your bloggy friendship!!
I love it, such a great project and the pic of your little one is so precious. Thanks tons for linking to Inspire Me. Hugs, Marty
Thanks Marty- he is quite the helper!!
Wonderful! I love the fresh fish sign – the font of the FISH is great. And your desser.. what a cutie!
Thanks- so thrilled you came to visit and I totally appreciate your super kind comments!
Awesome sign! Does it weigh much? What sort of attachment did you use to mount it to the wall?
Hello! Thank you! It is a little bit heavy- we used triangle shaped brackets that attach by one screw like these ones... and then made sure to put screws directly into the studs in order to support the weight of it.
Ohhh! I love your handmade signs. What a great way to personalize your home decor.
Thank you Audra!! They are a pretty thrifty way to decorate a big space as well:)
Great sign! I make a lot of signs and have a tip for you to save on ink… http://followyourheartwoodworking.blogspot.com/2013/05/how-to-save-ink-when-printing-large.html
Julie
Absolutely LOVE IT!!!
*Pinned
Thank you Stephanie!! It was easy and takes up a huge space – a good dramatic feature with almost no price tag too it:) Thanks so much for the pin!
Awesome sign! It looks great above your TV console.
Hi Amanda! Thank you:) It definitely ‘fills’ the space up there! So glad you came by to visit:)
great job! ive got a couple of pallets hanging around… i might just need to make sign or two!
Hi Michelle! Thanks… it was pretty easy and very dramatic for the price:) So thrilled you came by, thanks for your comments!
I love the sign, the colors are awesome too! Cute kids, mine love to help too!
Thank you Mindi! I hope the desire to help continues!!
Your sign came out great Krista! Your assistant is adorable!
Thank you Mary – he certainly likes to be involved in things:) Thanks so much for your visit!!
Beautiful! I am always a huge fan of wood signs.
Hi Carrie! Me too, something about the weight of them… or texture. And so thrifty!!
Love it and your little assistant! I have one of those on staff too 🙂
Hi Christy! Yes, they can be great “helpers”… I hope it will continue into their teens (wishful thinking I am sure:). Thanks for your sweet comments!
Beautiful! You’re so good at signs!!
Thanks Anne!! It is pretty basic but it does the trick:)
Great Sign! Love the yellow sideboard too.
So cute – your little helpers. Love that,
Deb
Thanks Deb – the little helpers love to be involved:) I recently set up Finn’s big boy bed (he just turned three) and he HAD to help me screw all the slats into the base. He is actually pretty good at it already:) Thanks for your visit and comments!! Have a great week:)