
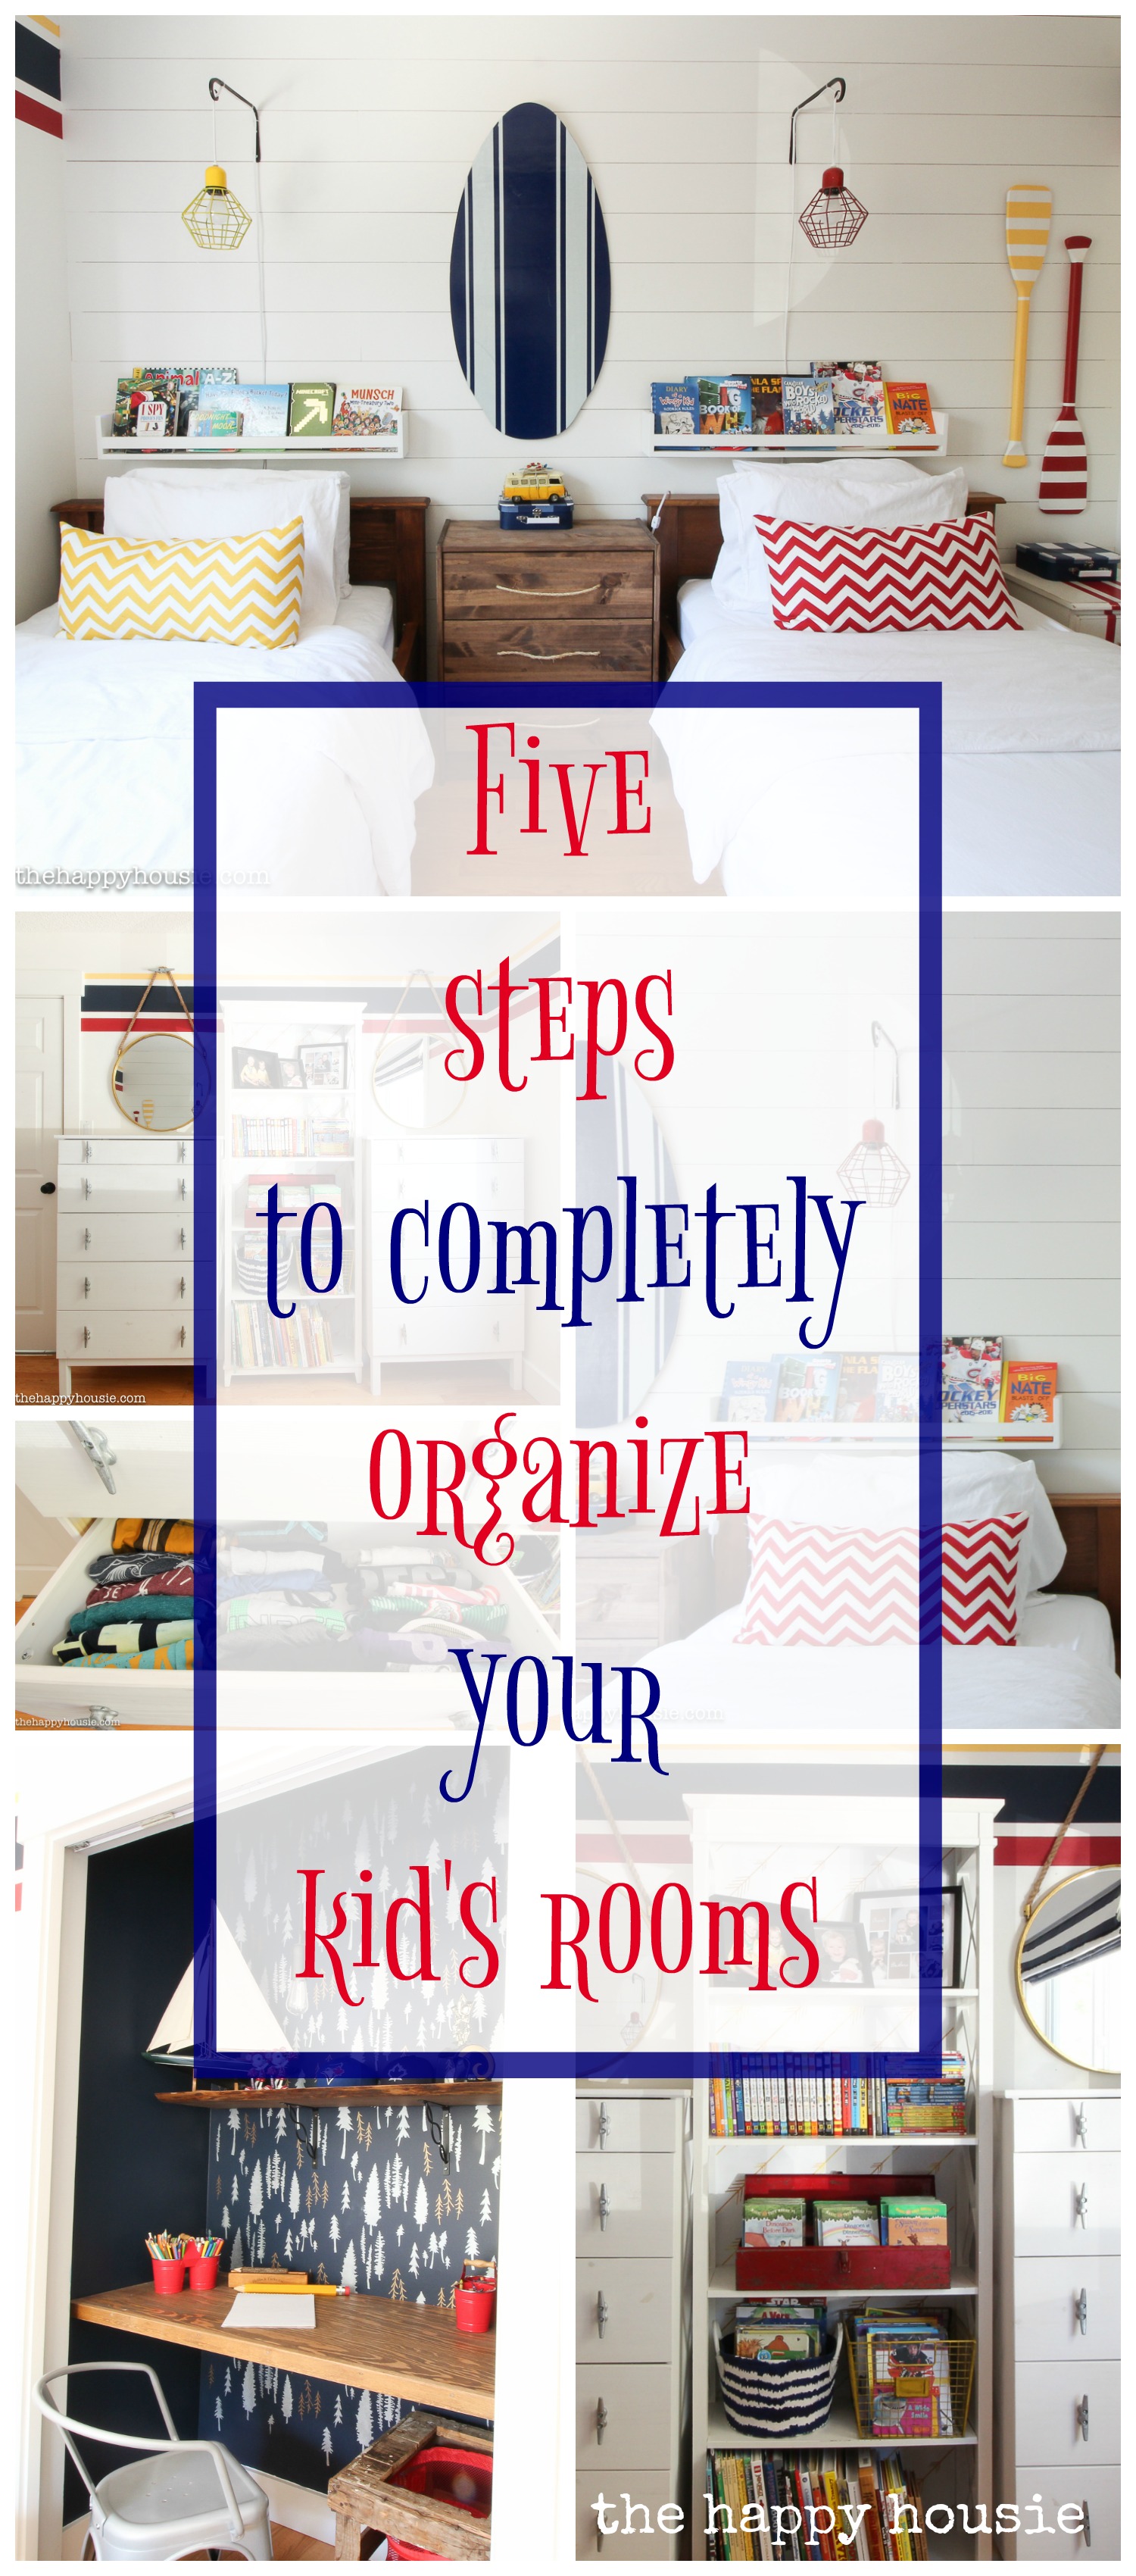
How to Completely Organize Kid’s Bedrooms
Kid’s Rooms.
Yesterday I started chatting about how tricky they can be to keep organized and I shared all kinds of fab and creative storage ideas for organizing children’s bedrooms.
But another key part of the whole process of teaching children to organize their bedrooms is turning them into organized spaces first. Because the old adage of “a place for everything and everything in it’s place” truly applies here.
As with any of the rooms that we’ve tackled in this ten week organizing challenge; if you don’t start out with designated spaces for things then how can you keep a room tidy and organized?
A few years ago I shared our boys’ room complete makeover reveal. I loved it! It was so cute! But things change… kid’s grow… needs change; and suddenly the storage solutions that we had originally chosen for them weren’t working so well anymore.
So needless to say; our boys’ shared bedroom was definitely in need of some serious organization.
![]()
If you’ve been following along for a while, then you know that I’ve taken on a 10 week Organizing Challenge and this week I’m on Week 7: Kid’s Rooms. To learn more about the challenge and all the rooms that I’ve tackled so far, you can read all the details here.
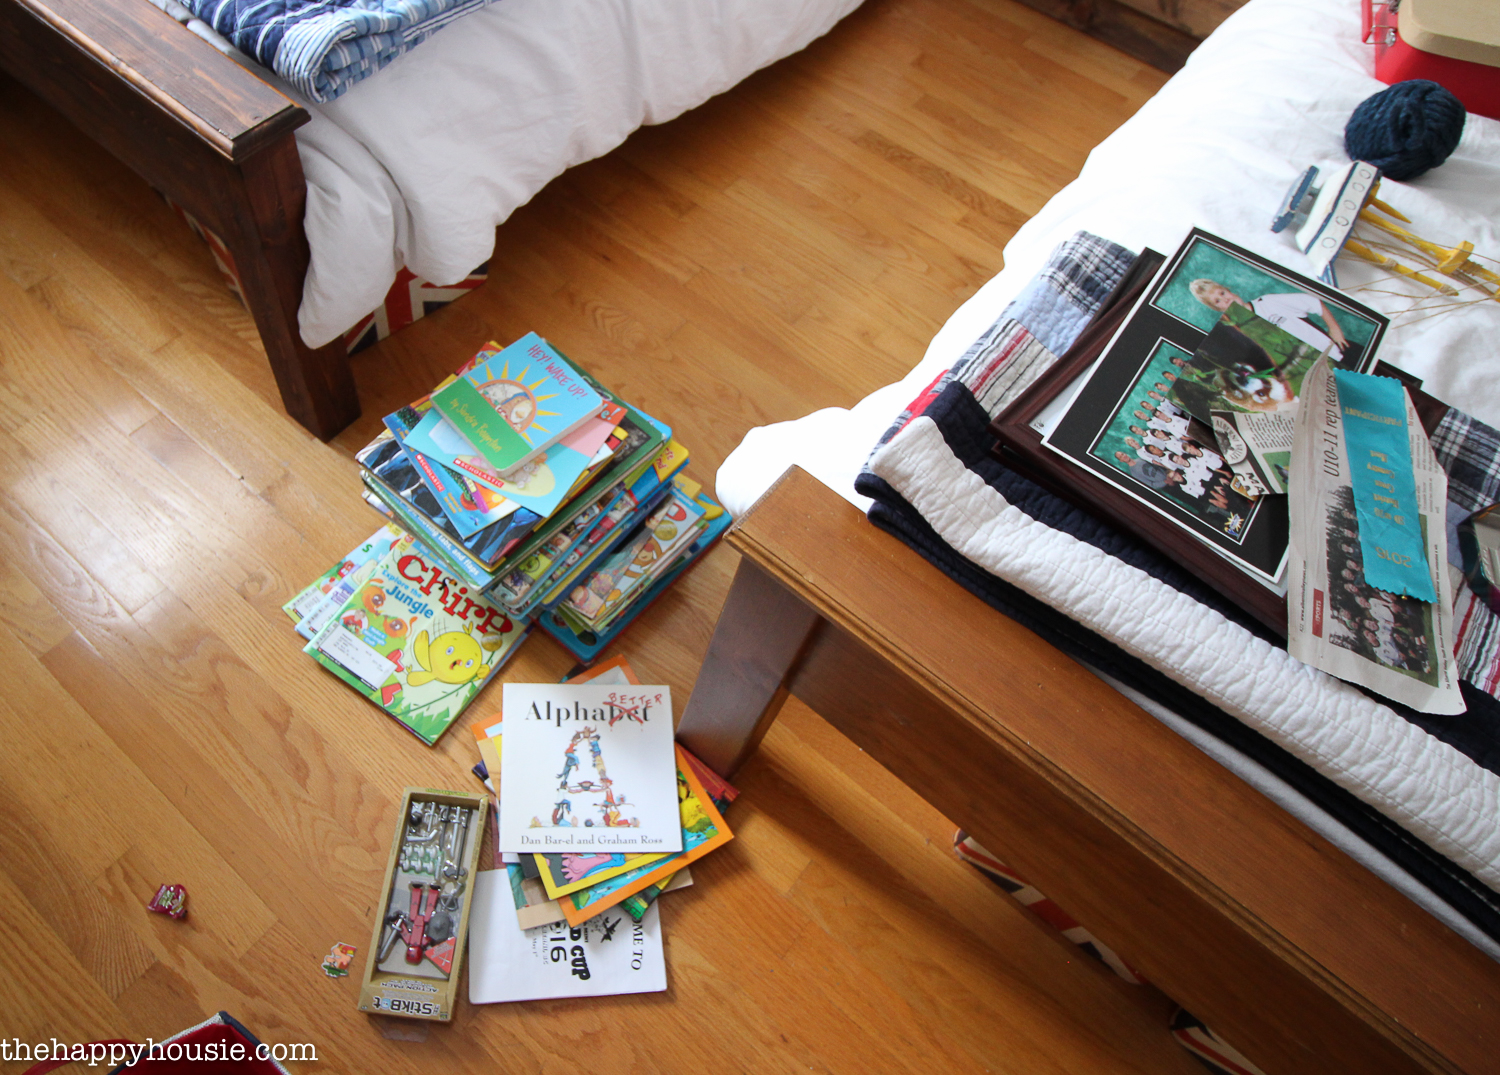
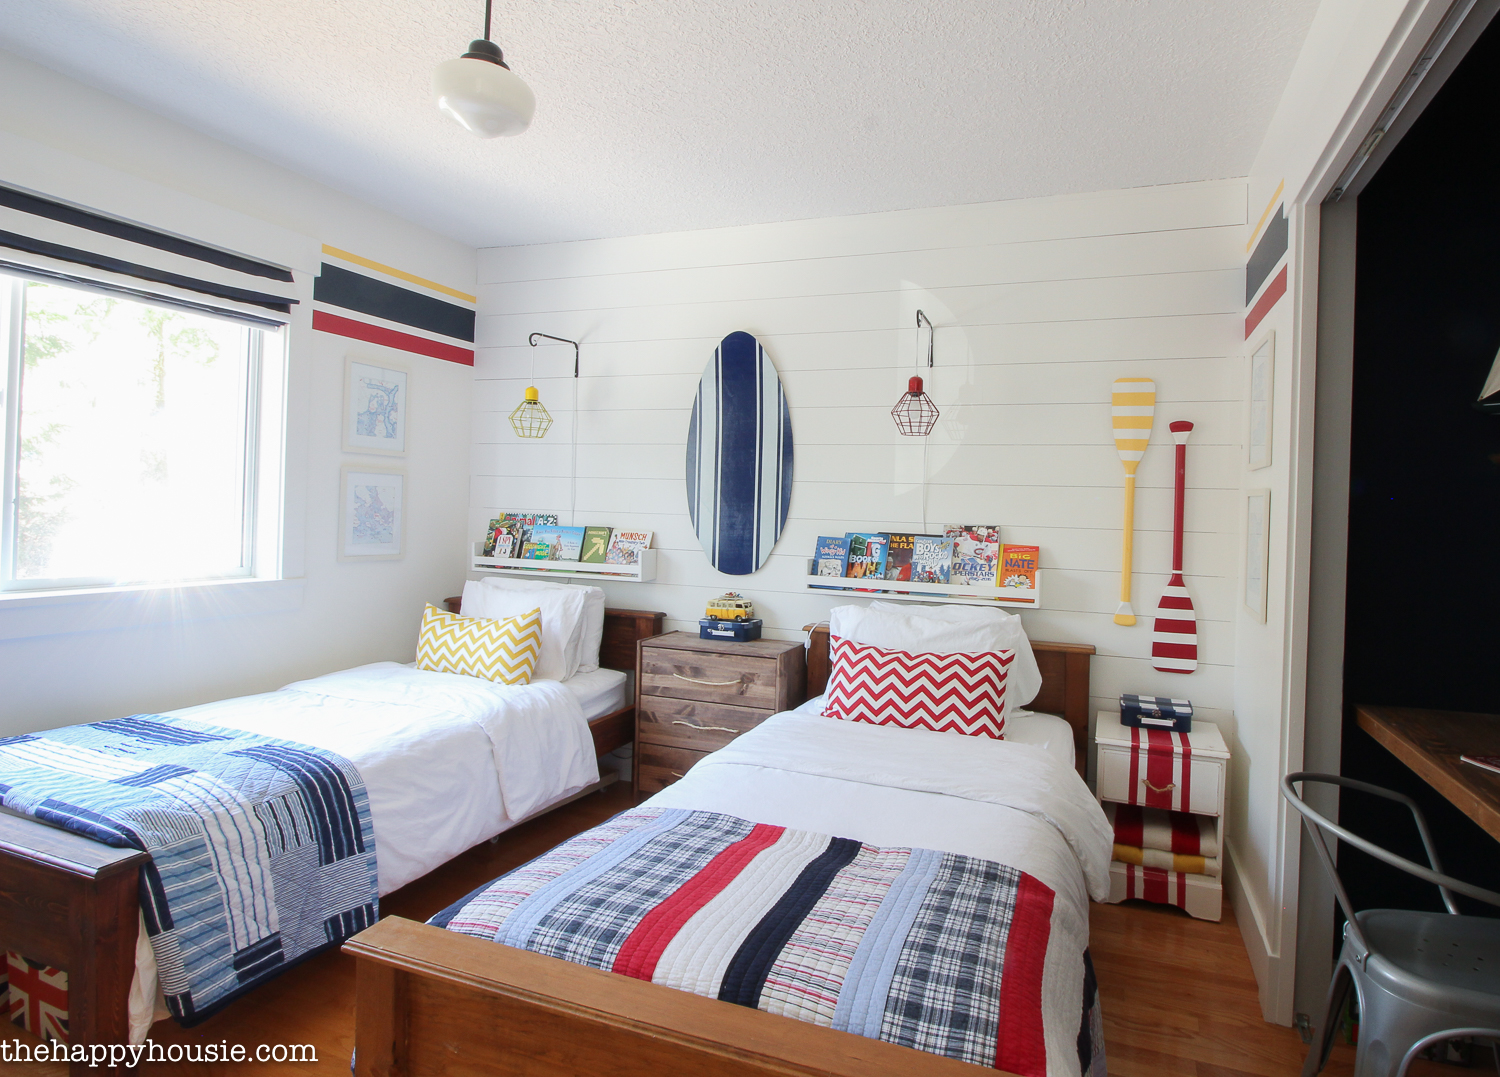
So… our boy’s room. Before this organizational makeover it started out looking like this.
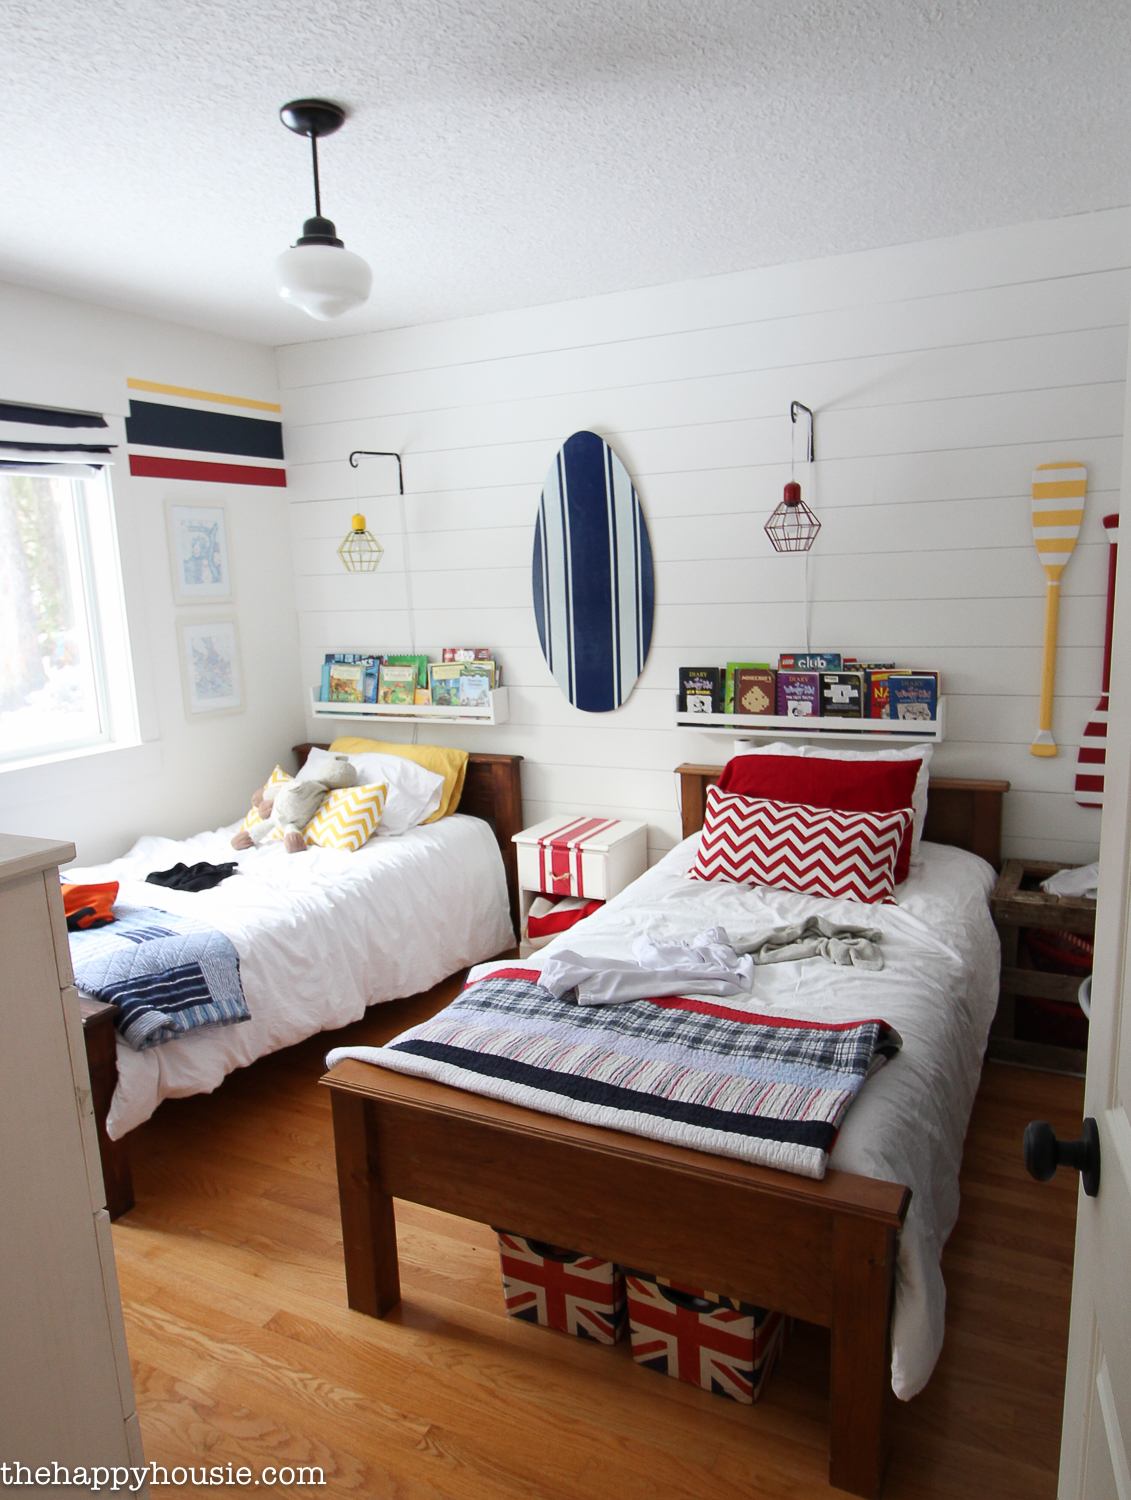
A bit of general untidiness mixed with too much stuff, overflowing drawers, an over-stuffed desk and bookshelf, and a poor use of the storage space they did have.
Although we had some organizational systems in place (dressers, craft storage, shelving, bookcases etc.), the room needed a good purge. I literally could not put away their clothing because their dresser drawers were so messy and overflowing.
Teaching children to keep their shirts and pants folded while selecting their clothing for the day is another topic altogether…
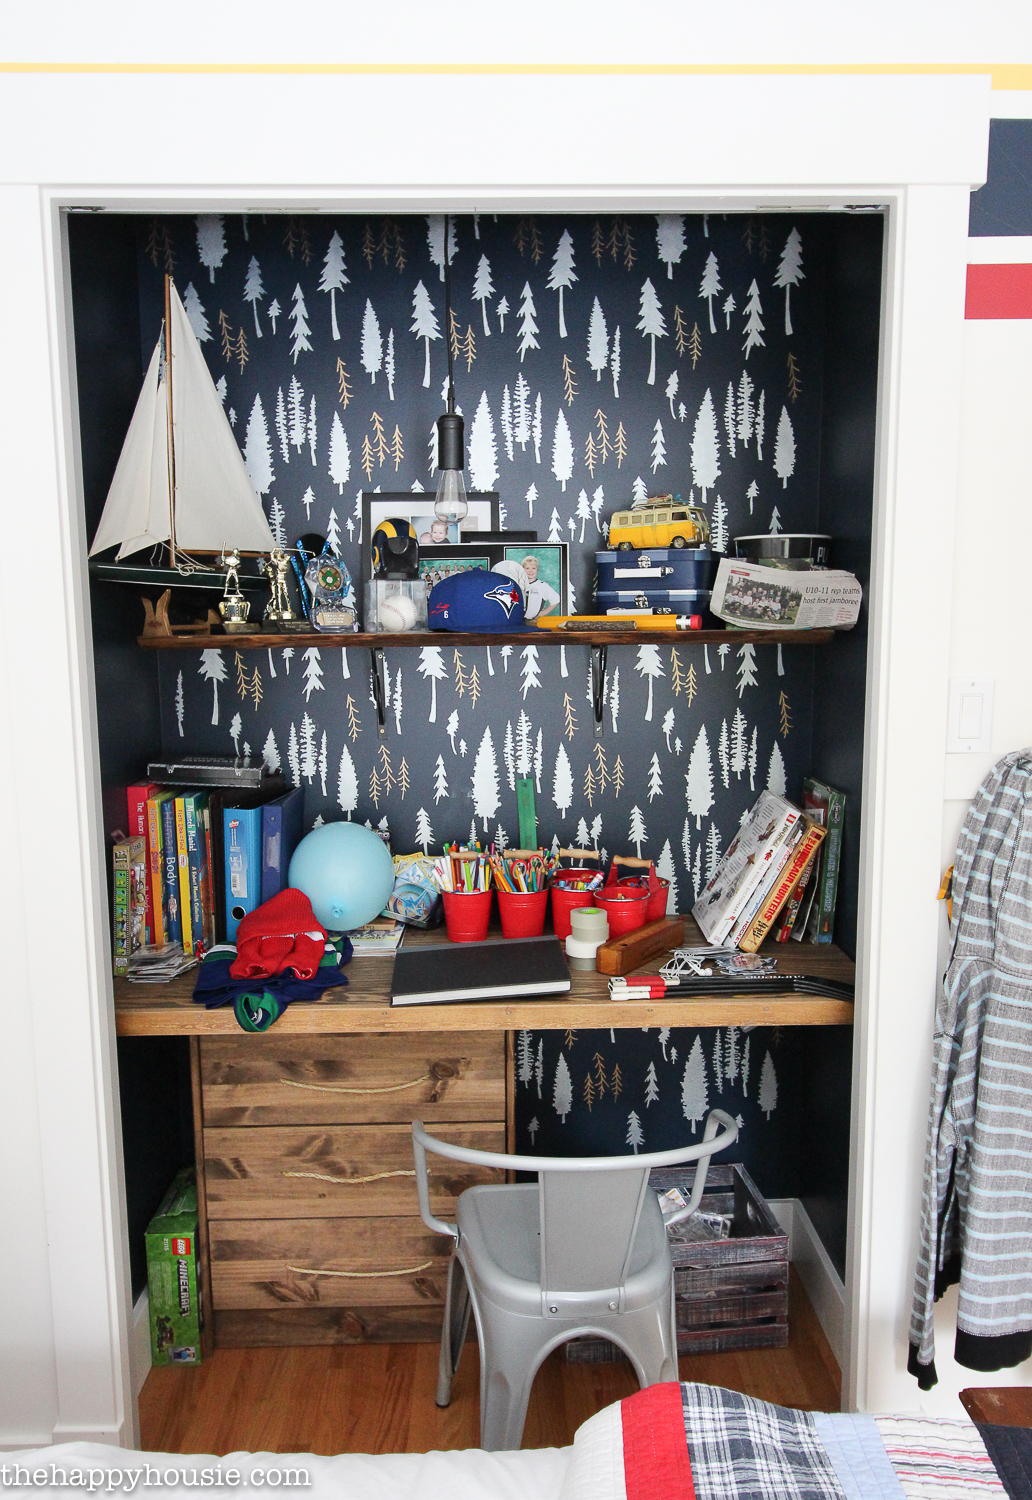
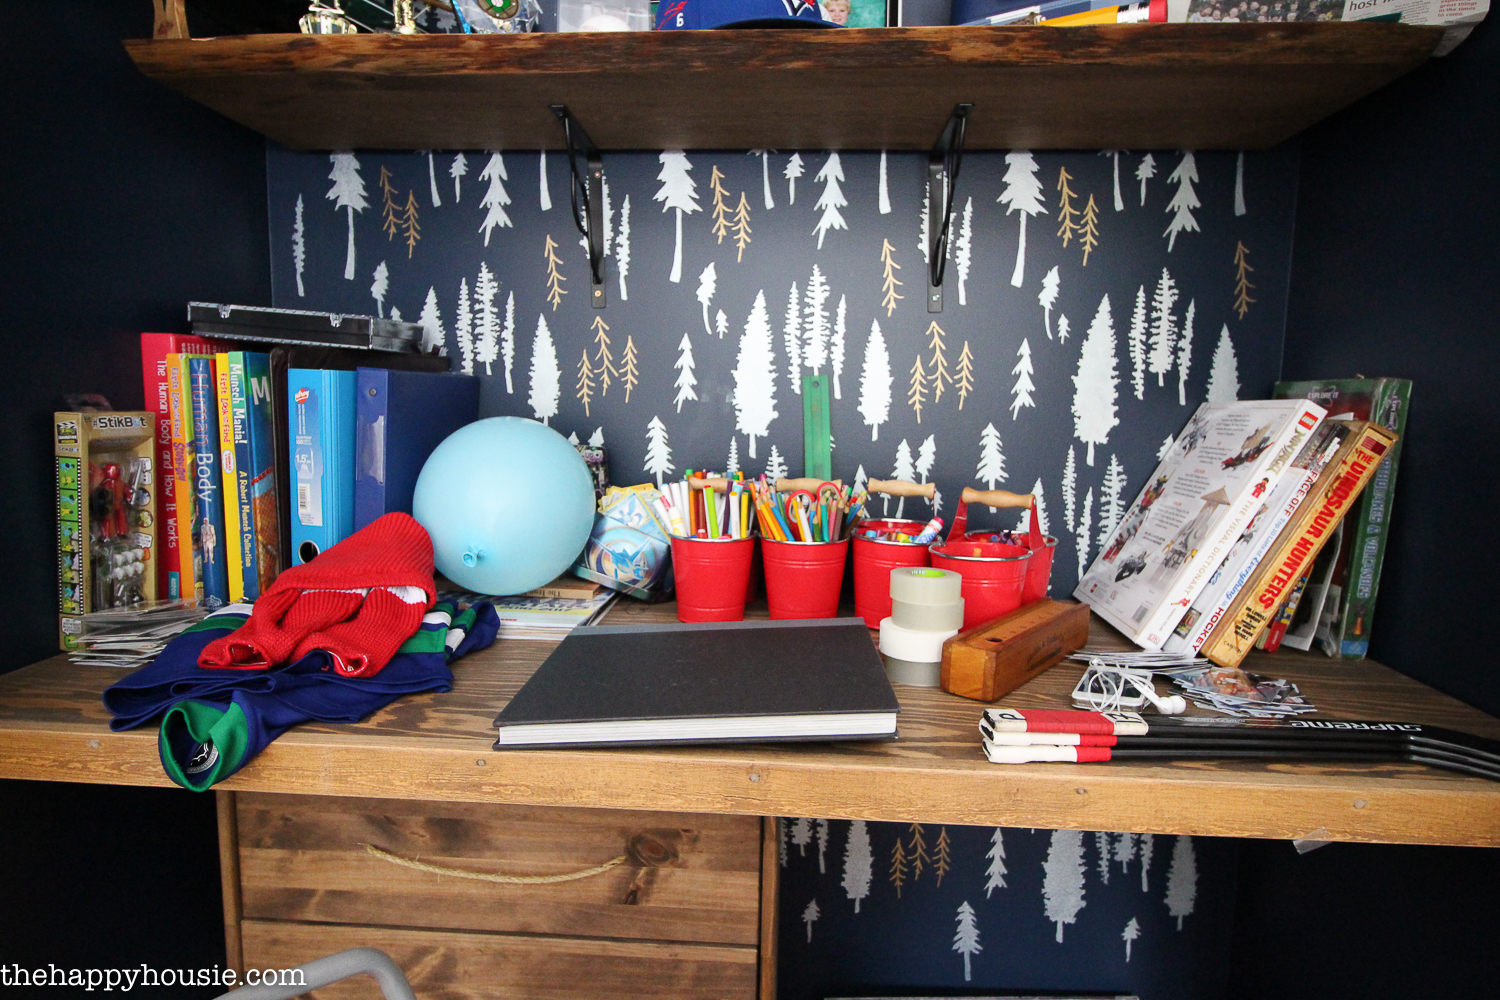
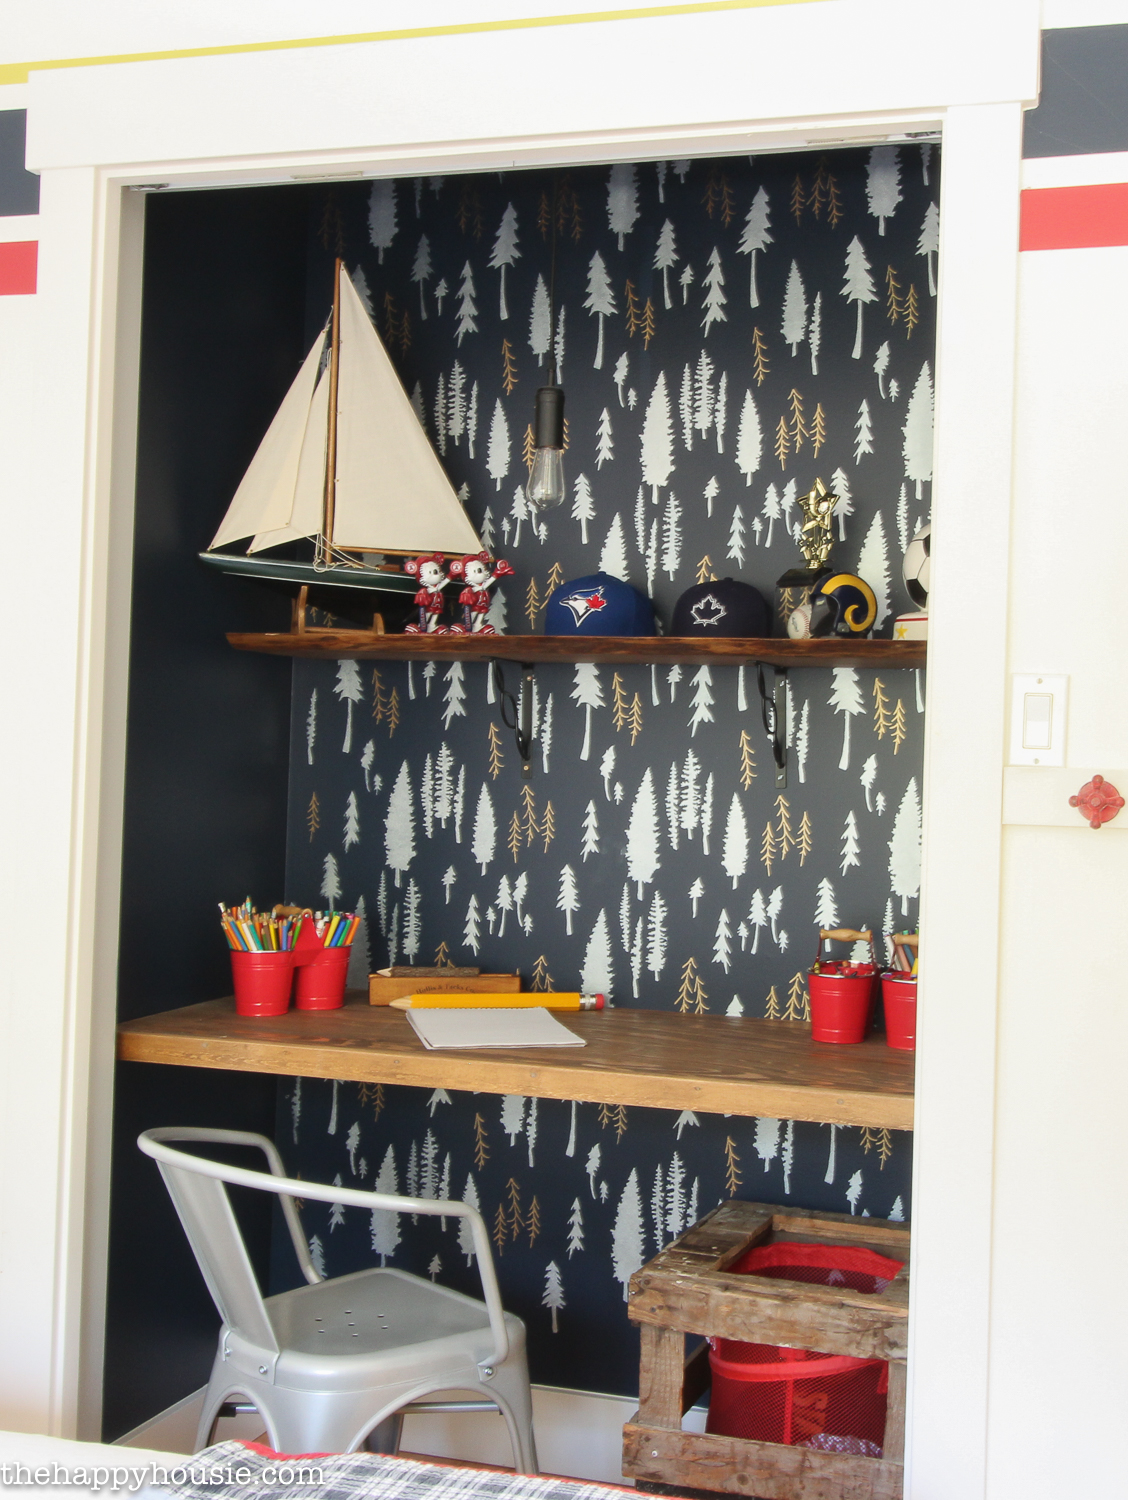
The desk area that we had created for them was also stuffed with junk; too many books and any random items that they collected throughout the day. Keepsakes and pictures and more… Plus, the Ikea RAST unit that we had under the countertop wasn’t working well. They couldn’t access it that easily, so it really wasn’t being used and was just storing unnecessary things.
The system of the their workspace was good, but definitely needed purging and tweaking…

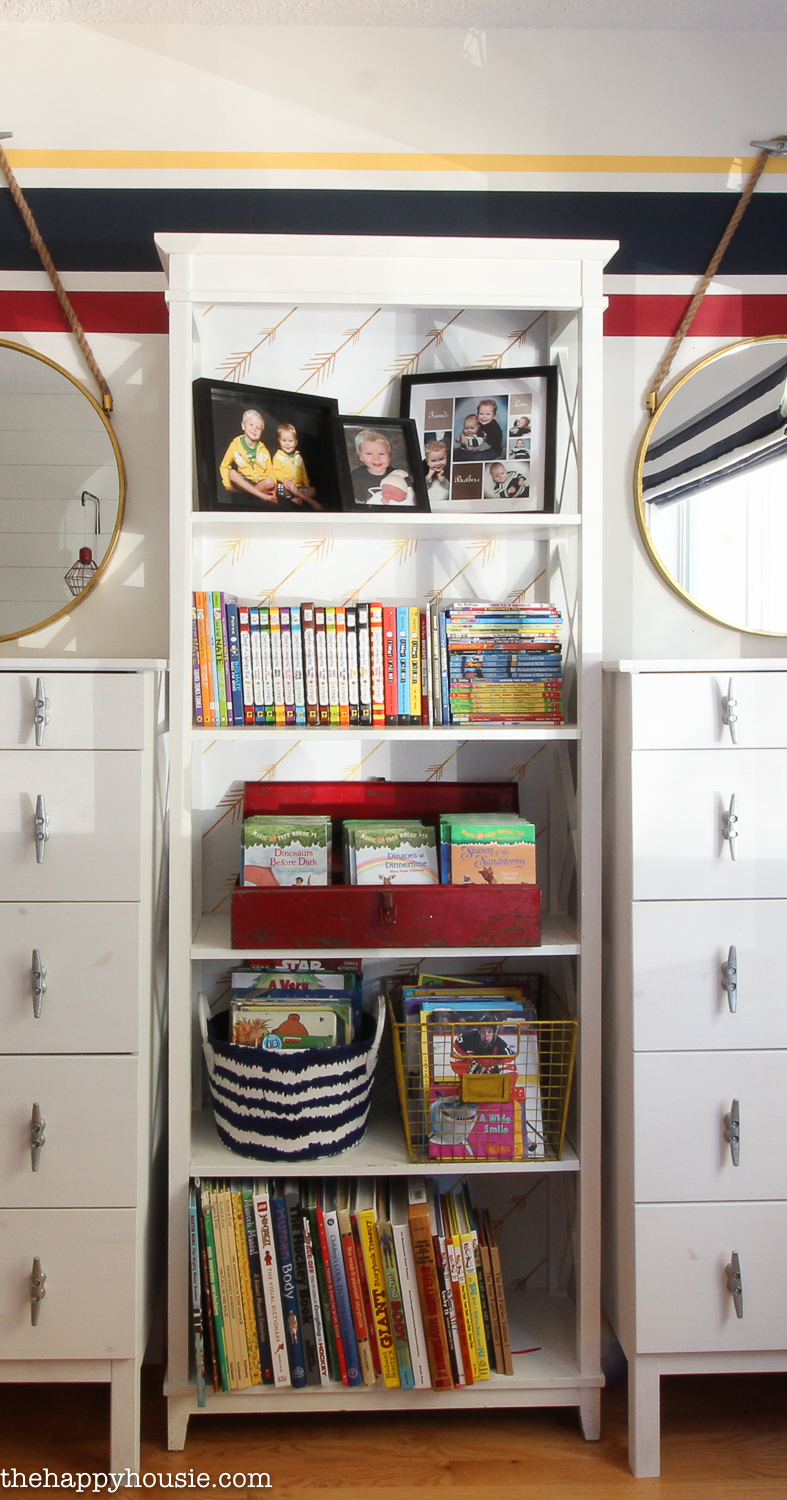
Their dressers had become a bit of a drop zone for anything that we didn’t have a space for, and the bookcase was overcrowded.
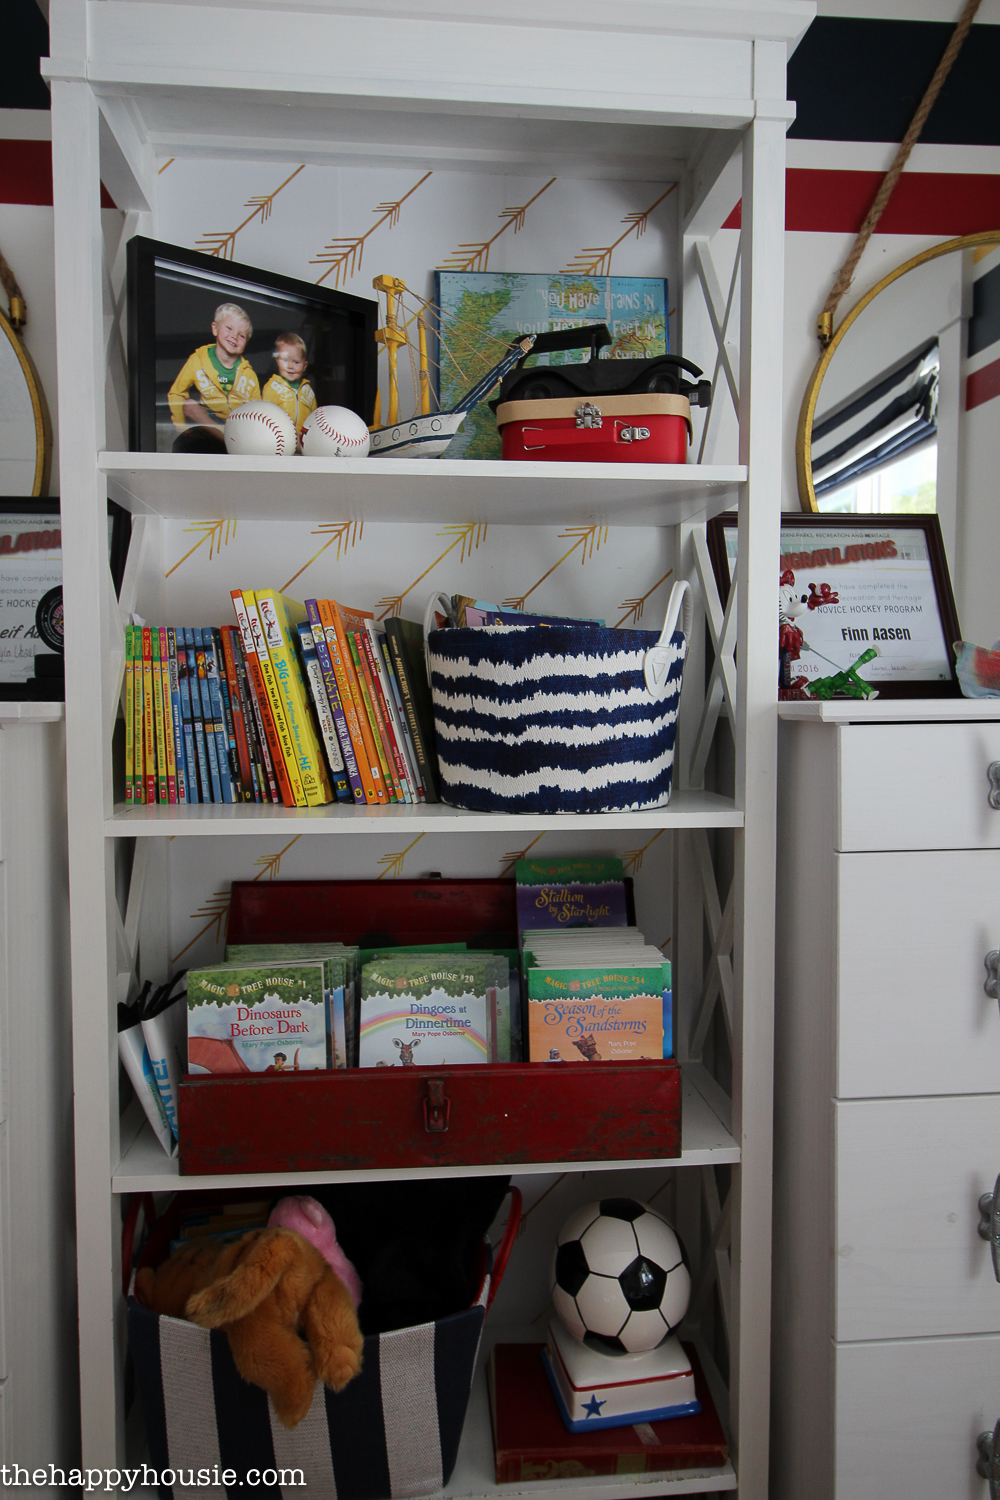
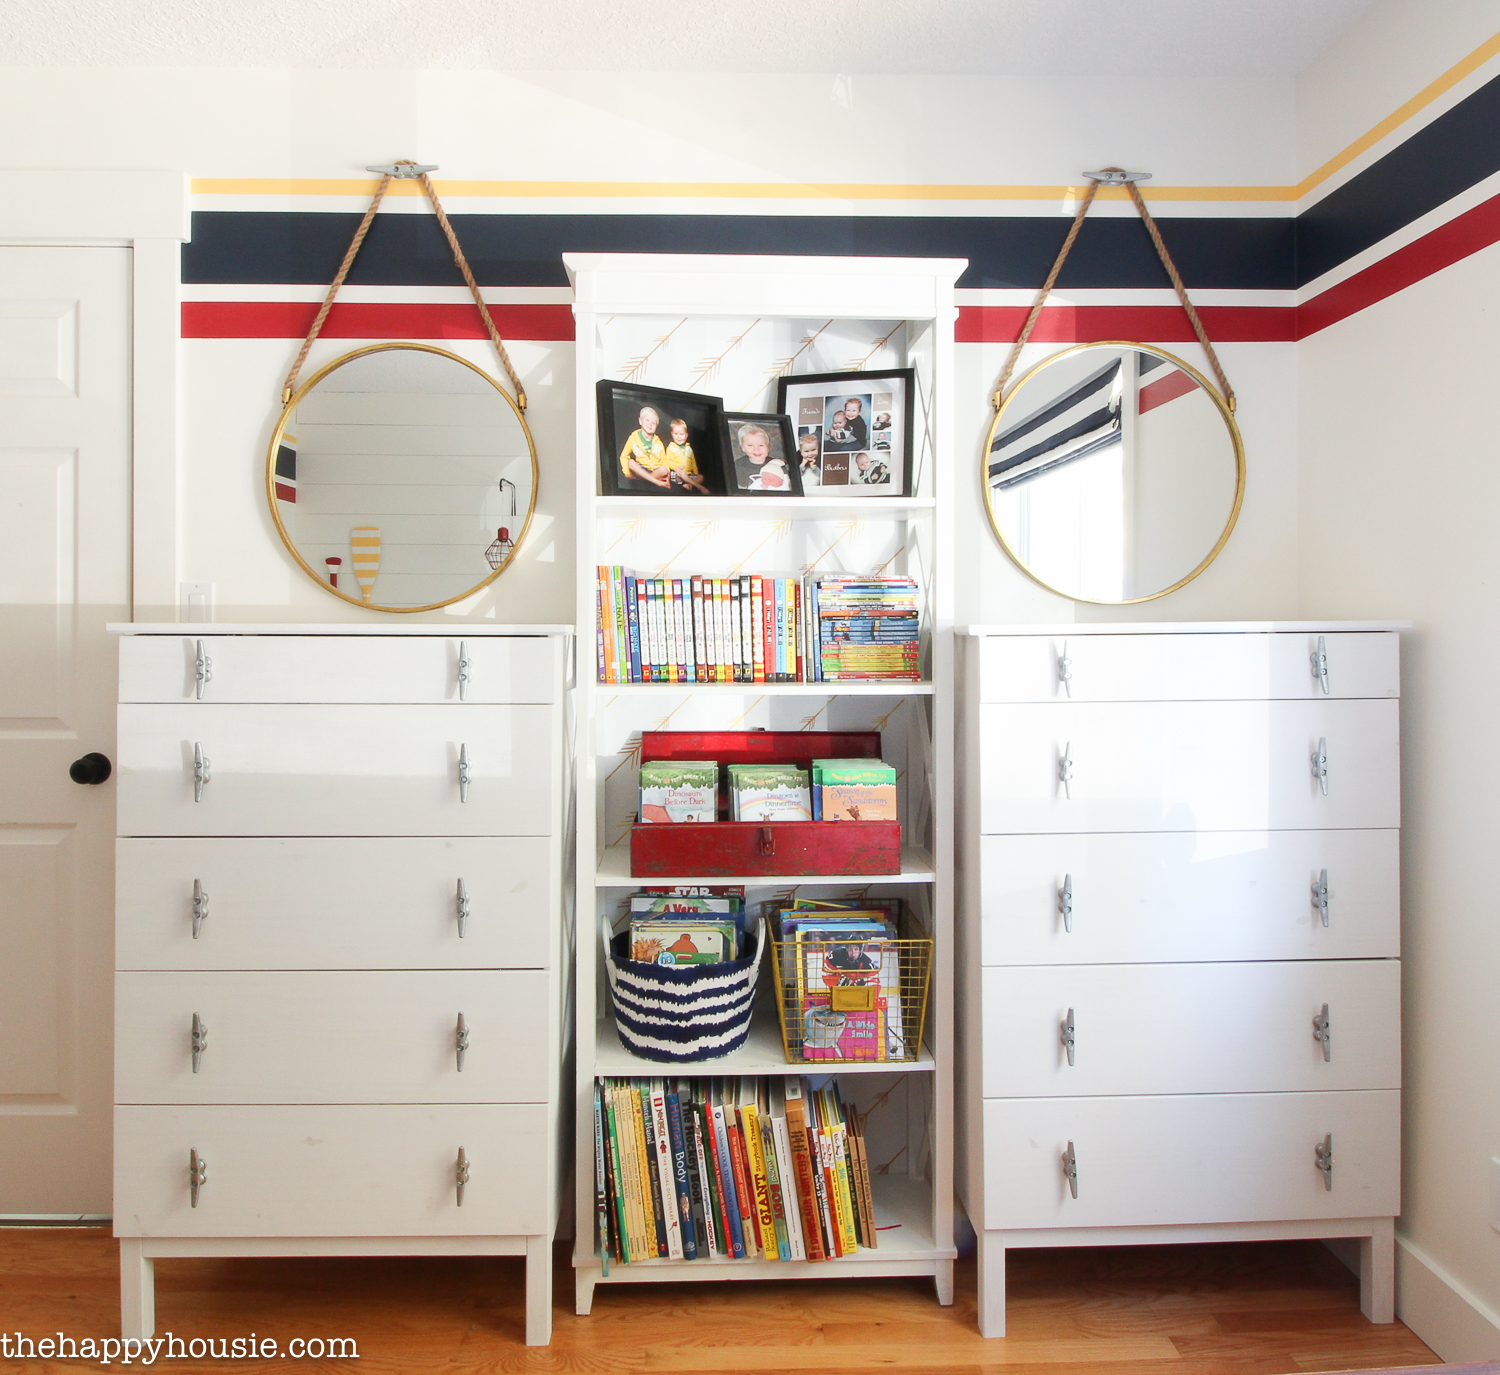
They had grown quite a large book collection since I first decorated their room; so some of the original decor items were now much less important then the actual books and they were crowded onto one shelf. Time for (Mom) to let go of some stuff…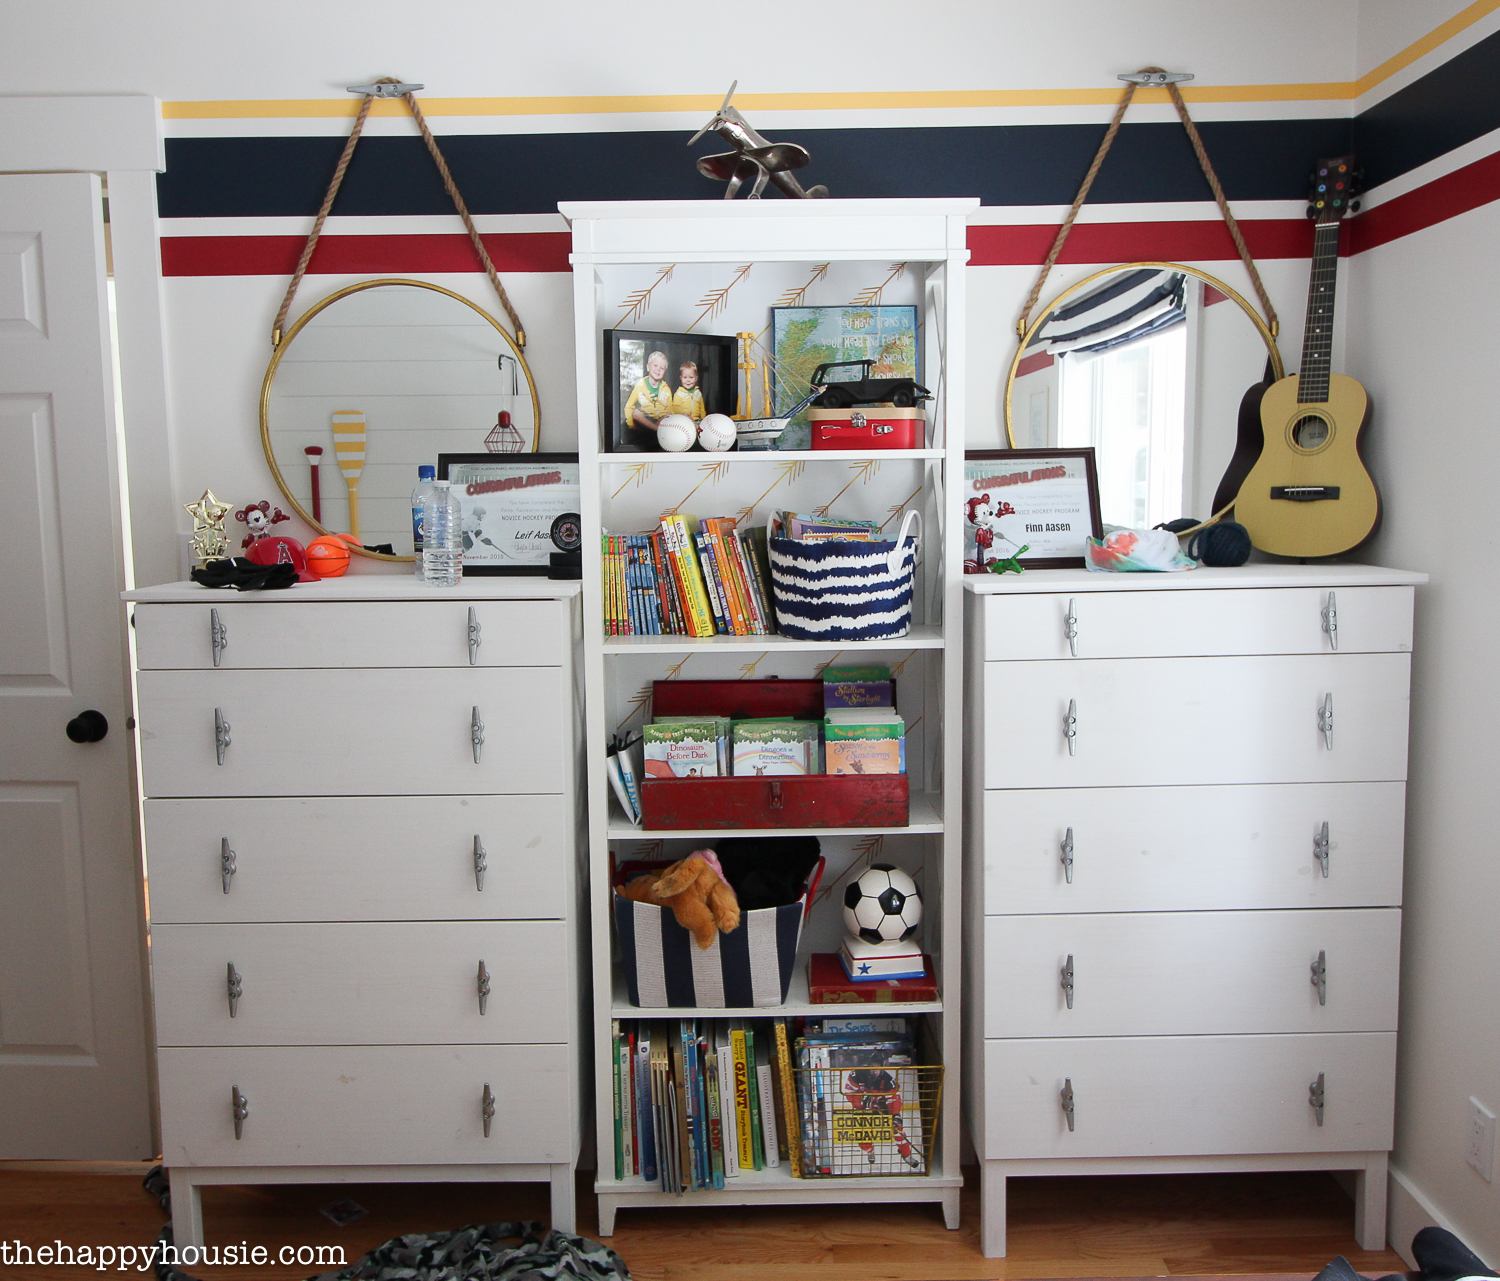
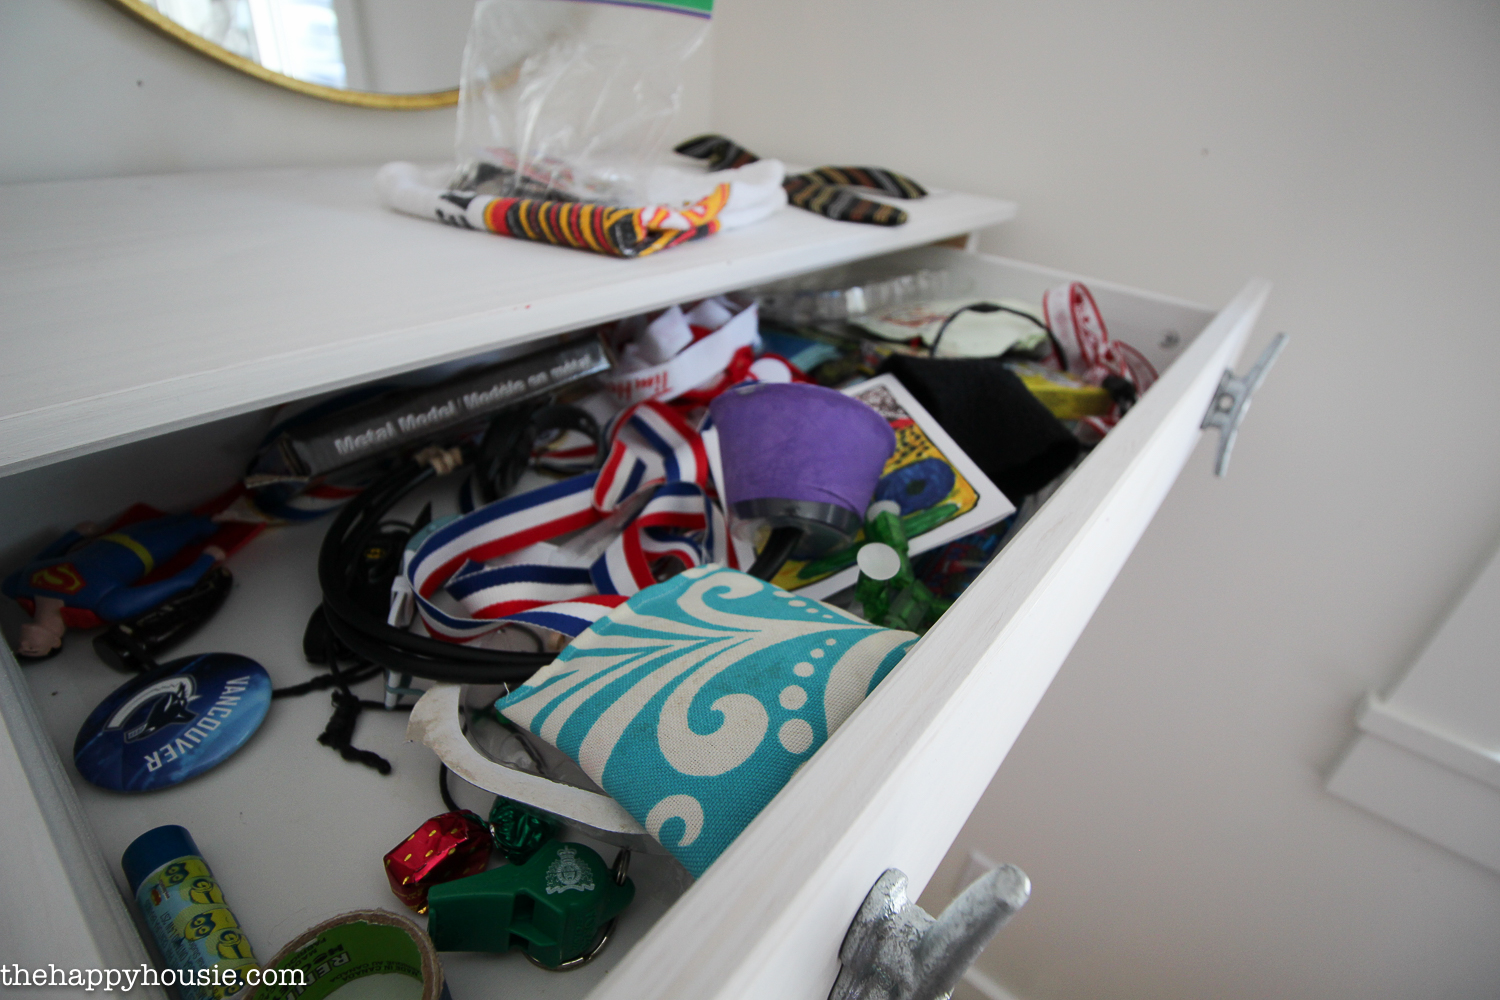
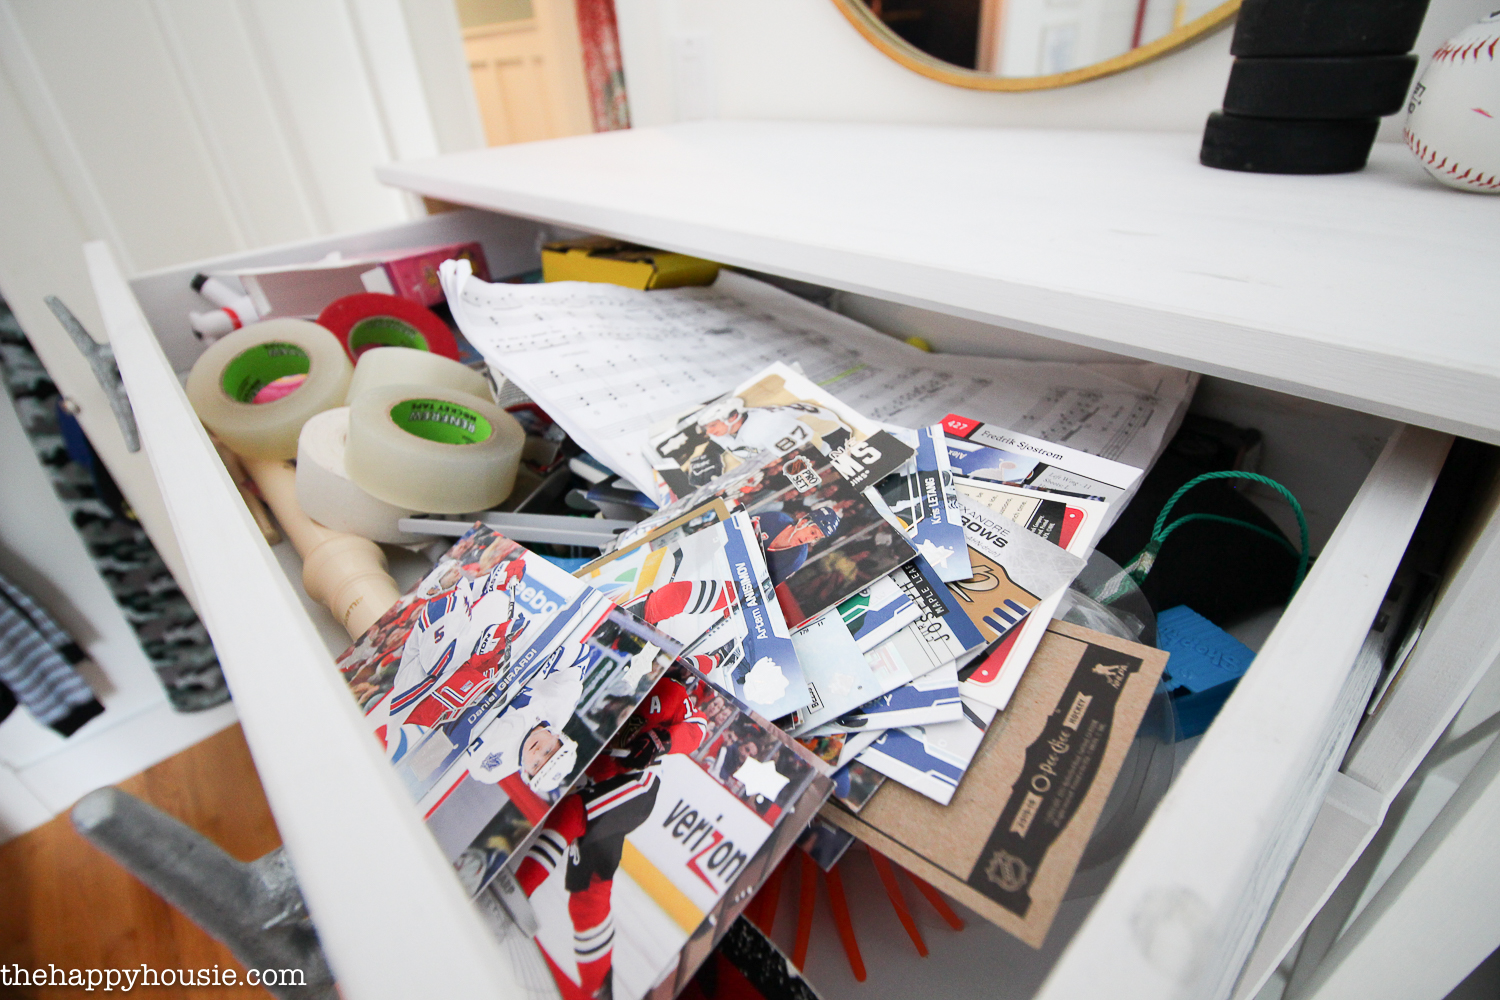
When we originally switched out their old dressers for these two Ikea Tarva dressers that I gave a nautical style feel to; I dedicated the top shallow drawer to their “keepsakes”. This had become quite a junk drawer for both of them…
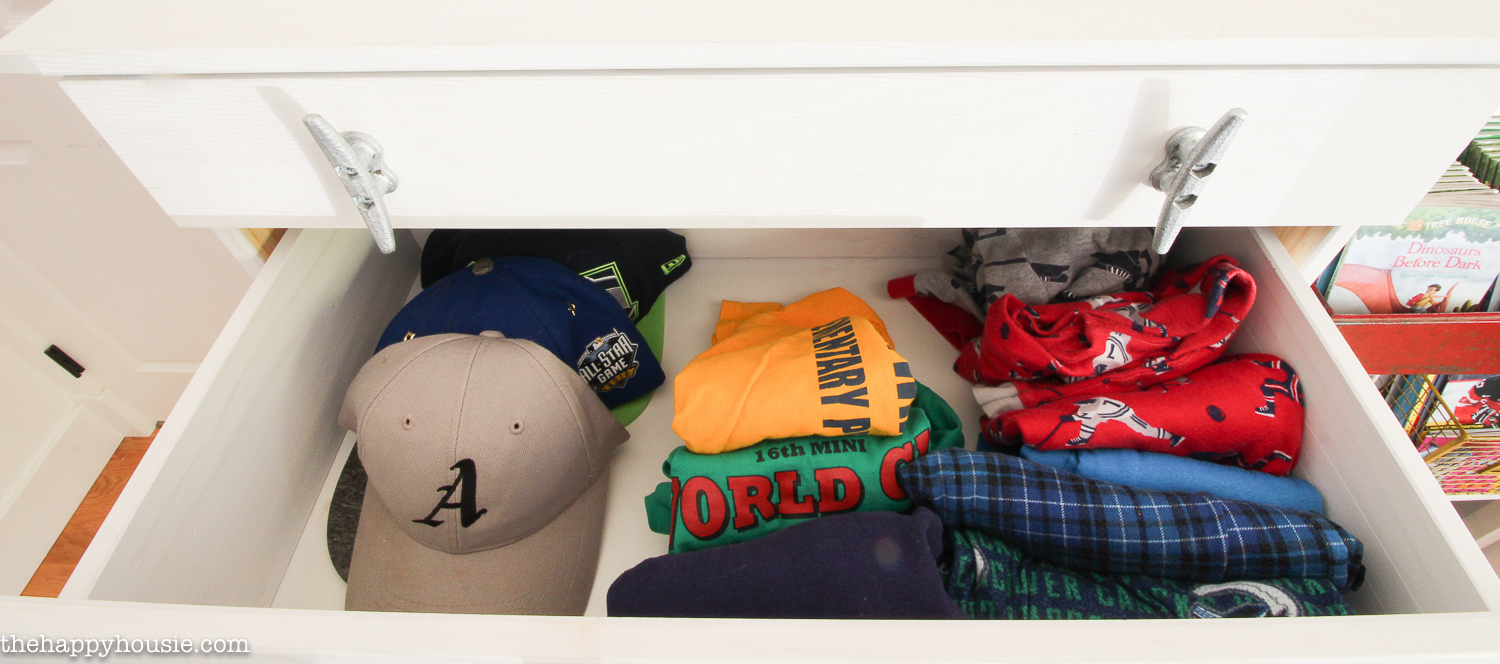
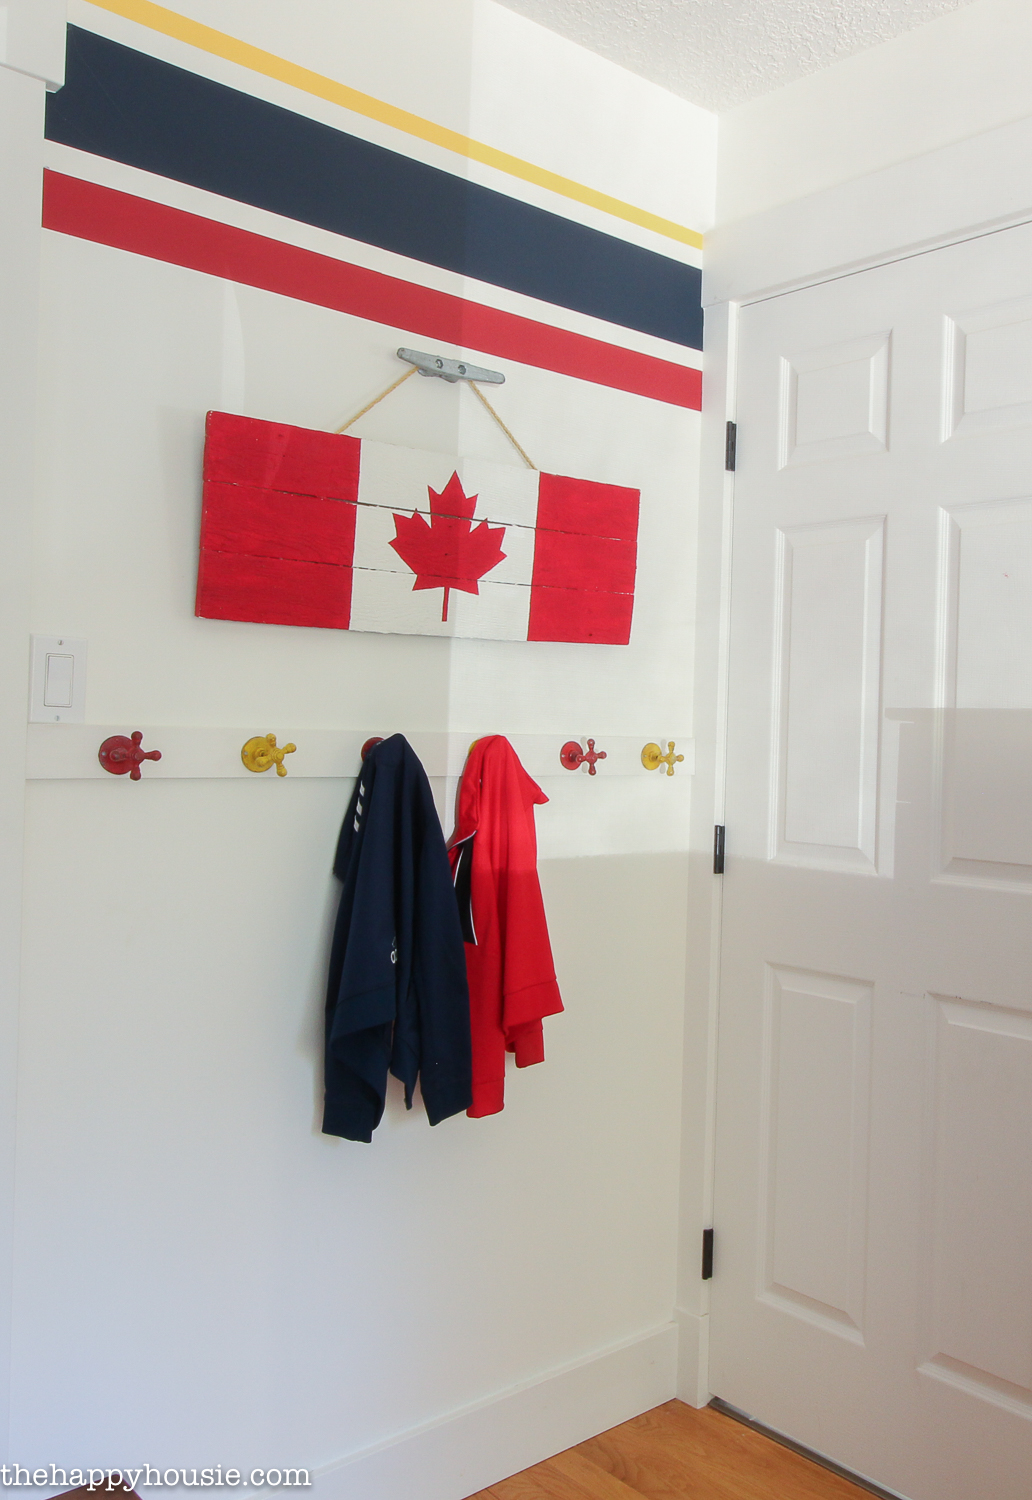
And the hooks behind their door were overcrowded with too many sweatshirts; many of which no longer fit or they didn’t wear. Hat storage had become an issue as well; too many hats were piled here, there, and everywhere.

So, those were the problem areas. And if you’ve been following along on this organizing challenge, then you know where we always need to start:
Step One: Purge
We went through every drawer and purged all clothing that was ripped, torn, stained, or didn’t fit. We also “let go” of items that they NEVER wear. You know how you buy your child and item and love it, but they just don’t? So they never wear it? But you hang onto it anyhow because you bought it and want it to be used? Those items needed to go; things like that can often be taken to children’s consignment stores as they will be in perfect condition if your child rarely or never wore them! We ended up with a huge garbage bag of clothing to donate, as well as a smaller garbage bag full of clothing that needed to go in the trash due to excess wear and use.
After the clothes had been dealt with, we purged their closet workspace and their “keepsake” drawer and managed to ditch a ton of junk. You may wish to tackle some of this without your child around {my boys may have trouble letting go of some things but once they are gone, they will never remember them}.
Then, the books. This is where I tend to struggle because, as a teacher, I have a thing for books. Luckily I was able to bring any books that were in good shape but no longer suitable for their age range to my classroom to let my Kindies “read”.
Step Two: Determine Your Organizational Needs
What do you have that needs storing? Books? Toys? Clothing? Keepsakes? Arts and Crafts stuff?
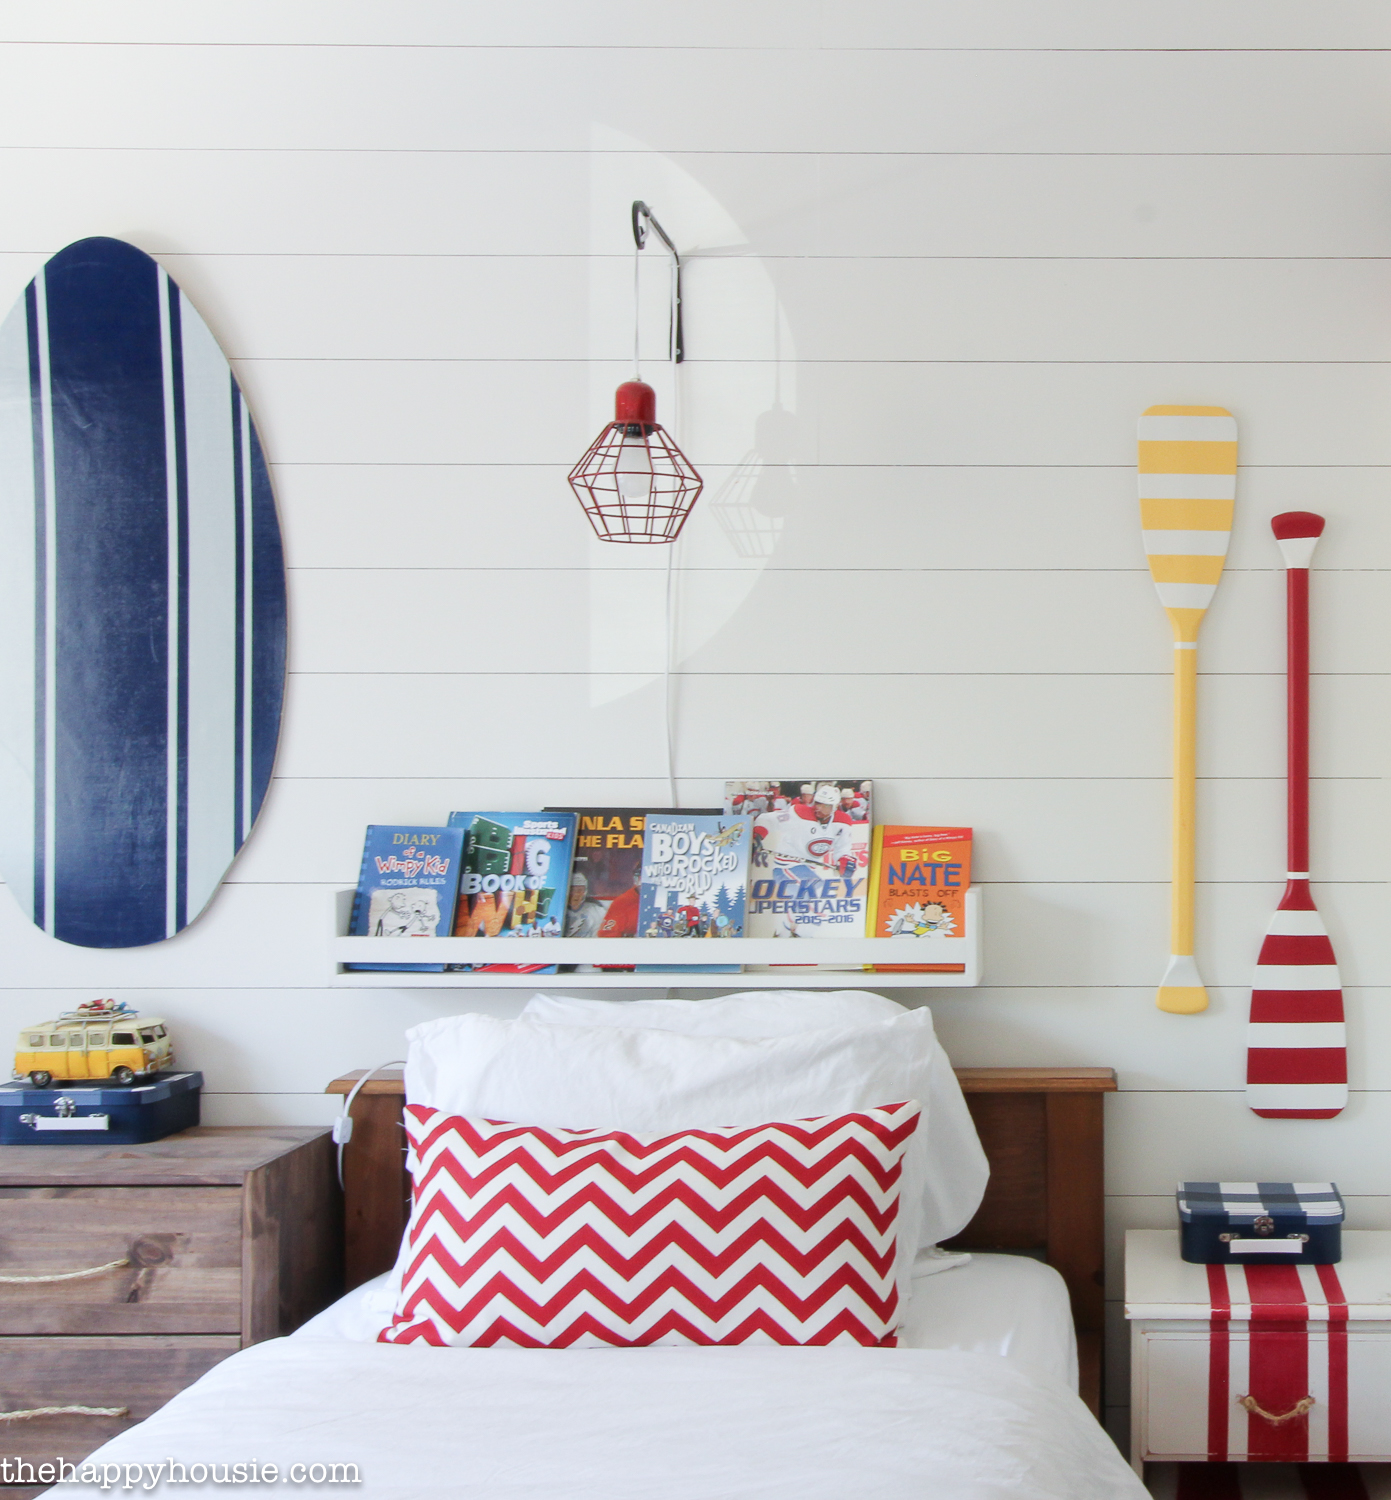
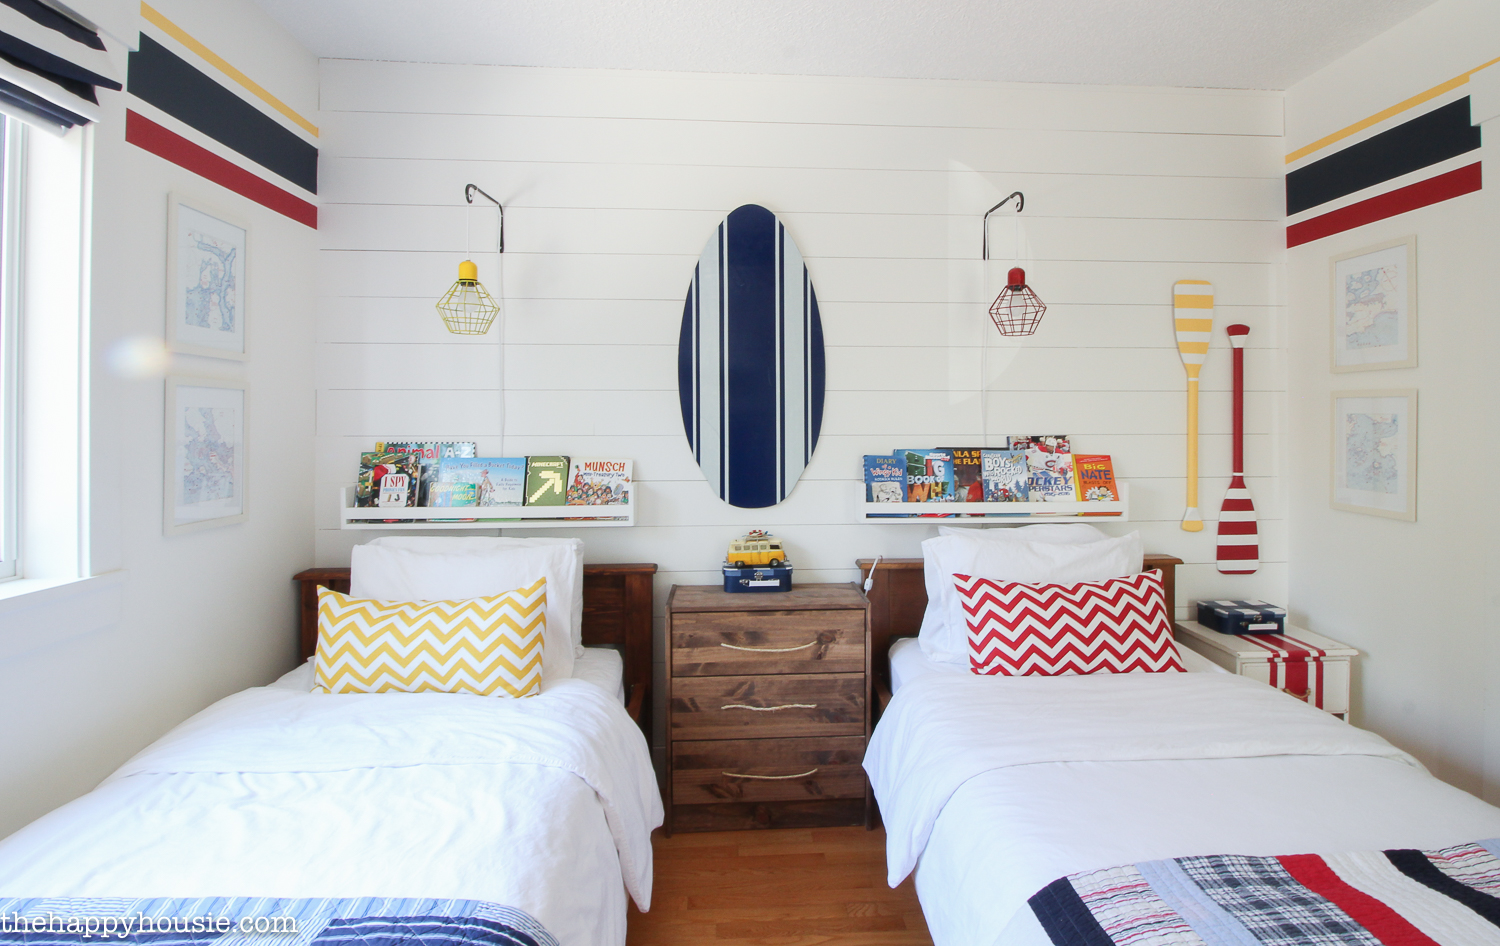
The thing was, we had some pretty good organization and storage in place already. They each had a completely adequate dresser (we store their four “dress” shirts in our closet as they really don’t require much hanging space). They also had a bookcase, in addition to a book display shelf each above their beds (these book display shelves are a great DIY project that I shared when I originally designed the boys’ room). We also have a DIY under bed LEGO storage cart that gives them what they need for toy storage in their room (since we also have a basement playroom).
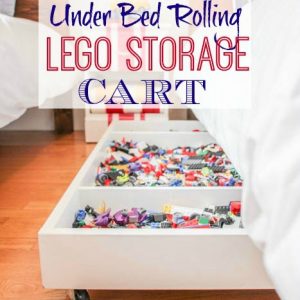
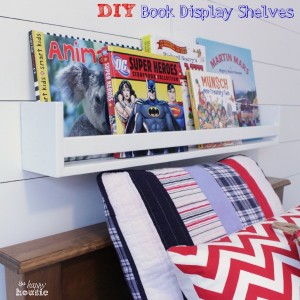
DIY Under Bed Rolling Lego Storage Cart / DIY Book Display Shelves {PB Kids Knockoff} / Rustic Ikea RAST Hack with DIY Rope Handles
Step Three: Buy or Source Storage Solutions
At this point you want to determine what items you have that you need to store and organize and then figure out what would work best. Do you need a new dresser? A closet organizer? A nightstand? Some toy storage bins? Baskets or bins to keep books in? A bookcase? A desk? Etc!
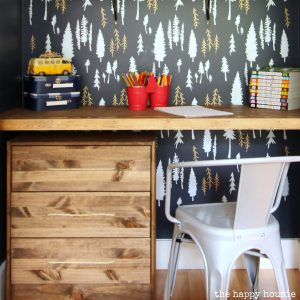
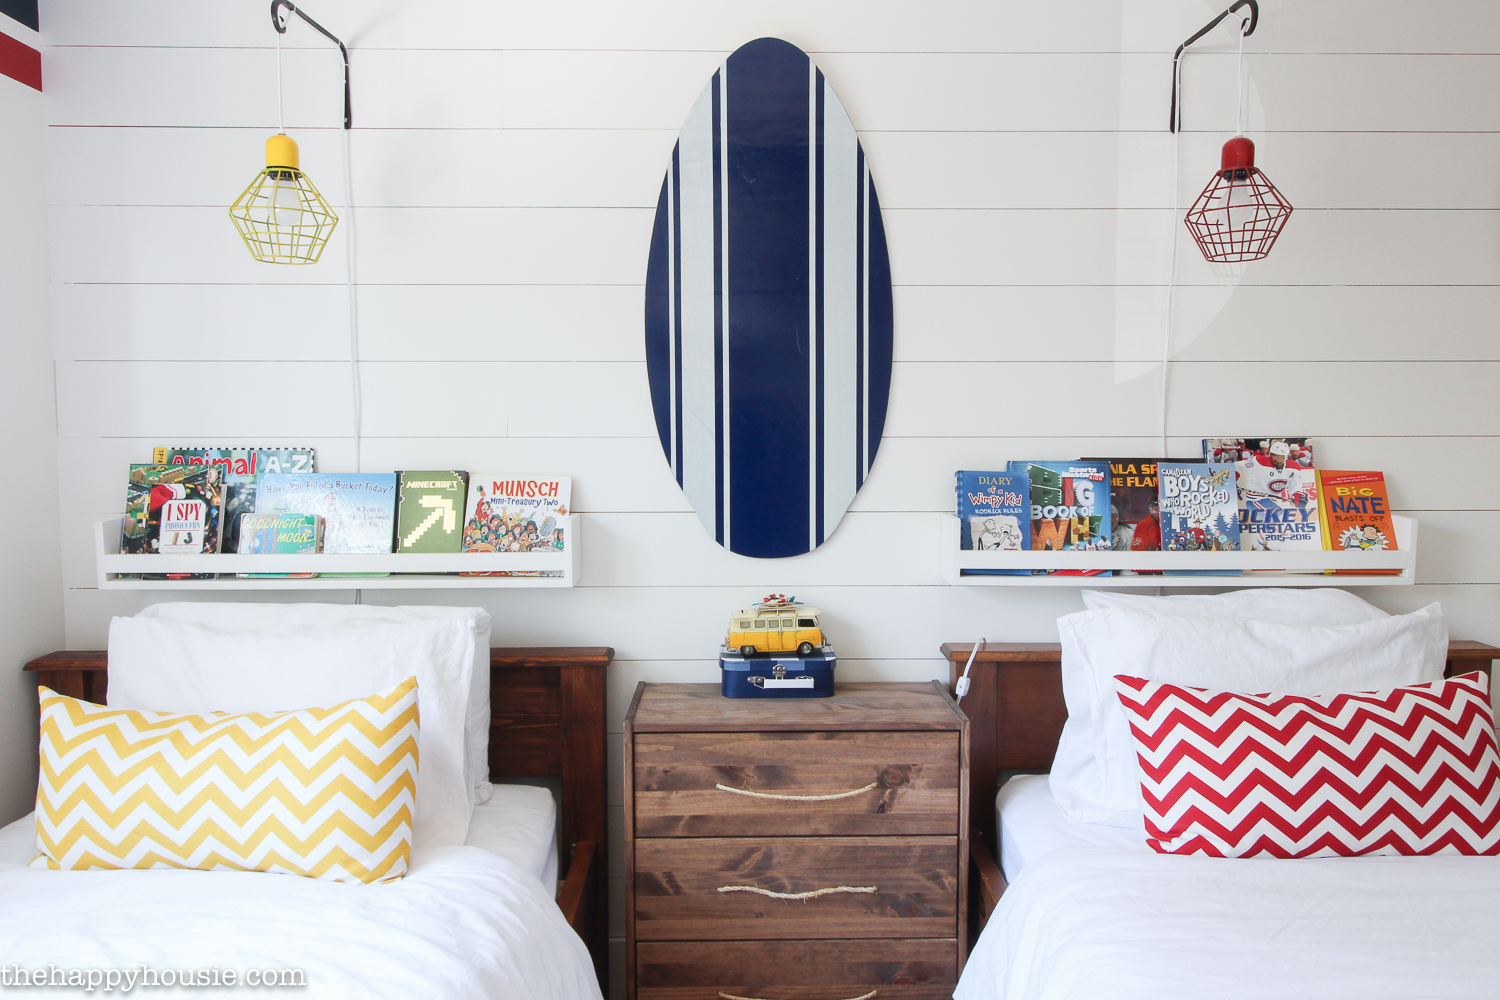
The one area that wasn’t working at all was the storage under their desk/workspace; and their nightstand was tiny and useless for any kind of storage. So…. I switched some furniture around. Trying to work with what you have and rethink how you are using it is a great way to save some money when you are organizing! The RAST from their desk area became their new nightstand – and it has enough storage for them each to have a drawer plus a shared top drawer.
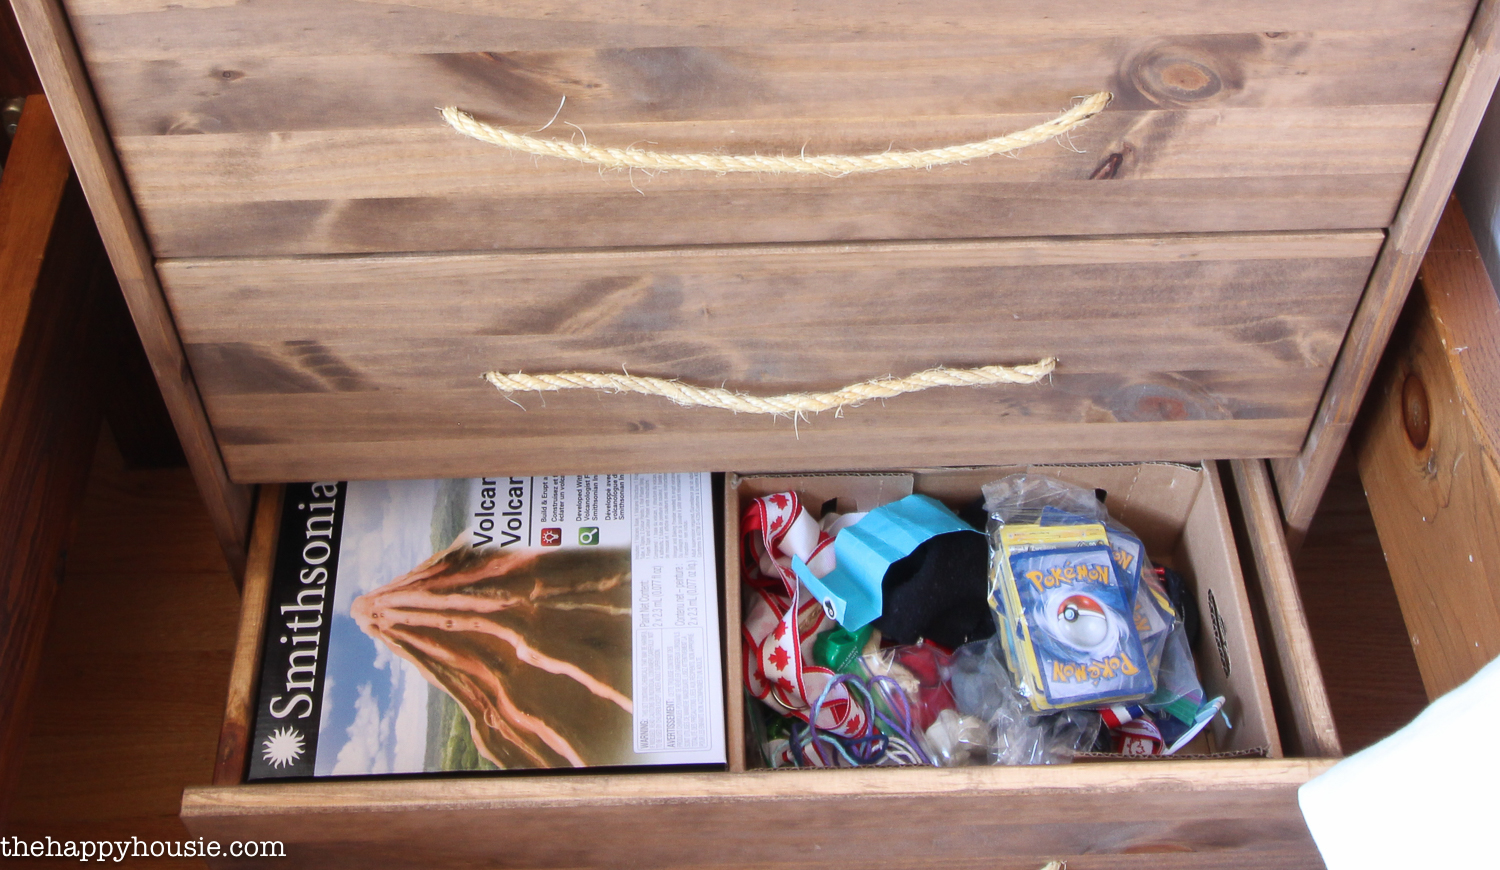
This is now where their “keepsakes” and special items can be stored- in “their” drawer…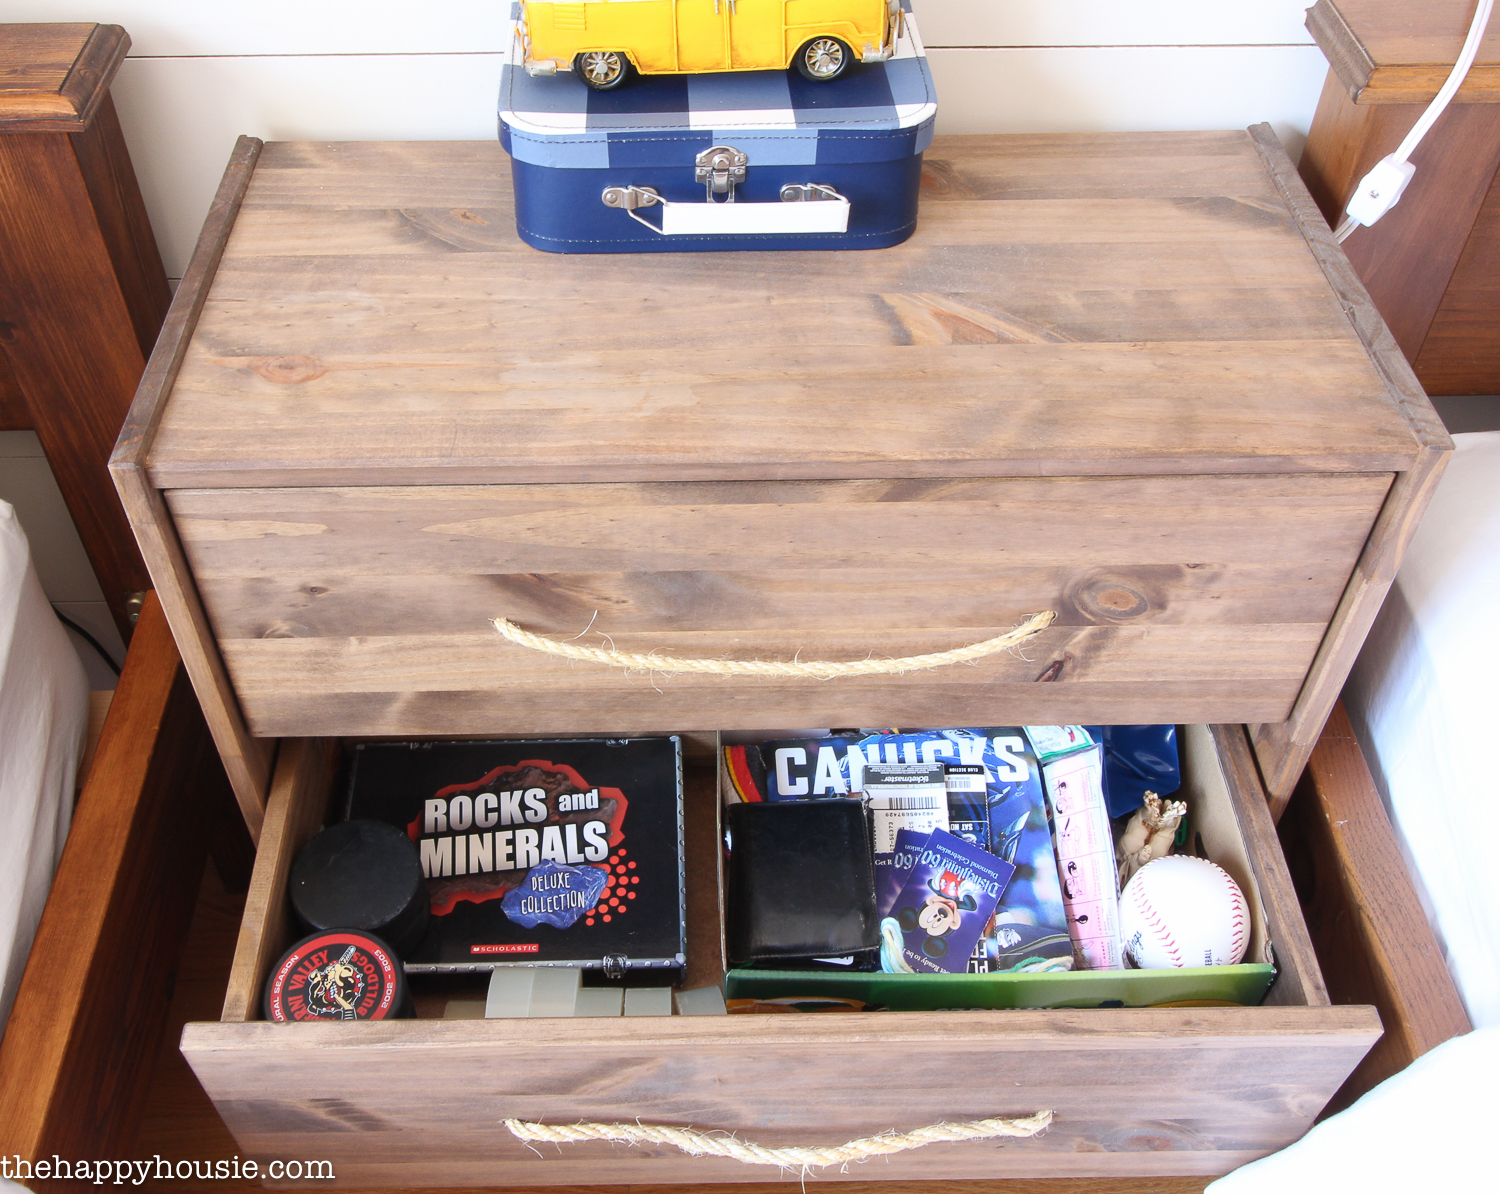
Then their original nightstand went to the far side of my oldest sons’ bed (the “red” bed); and their laundry bin tucked under the desk/workspace area. It’s much nicer to not sleep with your head beside a dirty laundry bin, anyhow, am I right??
Step Four: Put it ALL Back
Ideally, you will try to have your child involved in this part so that they know where everything goes and will learn the underlying system behind their bedroom organization. But if that isn’t feasible, then you can go through that with them afterwards. I used the folding method that I shared in my Master Bedroom Makeover Reveal post to fold their clothes -that way they don’t have to rifle through their entire drawer to find what they need each morning.
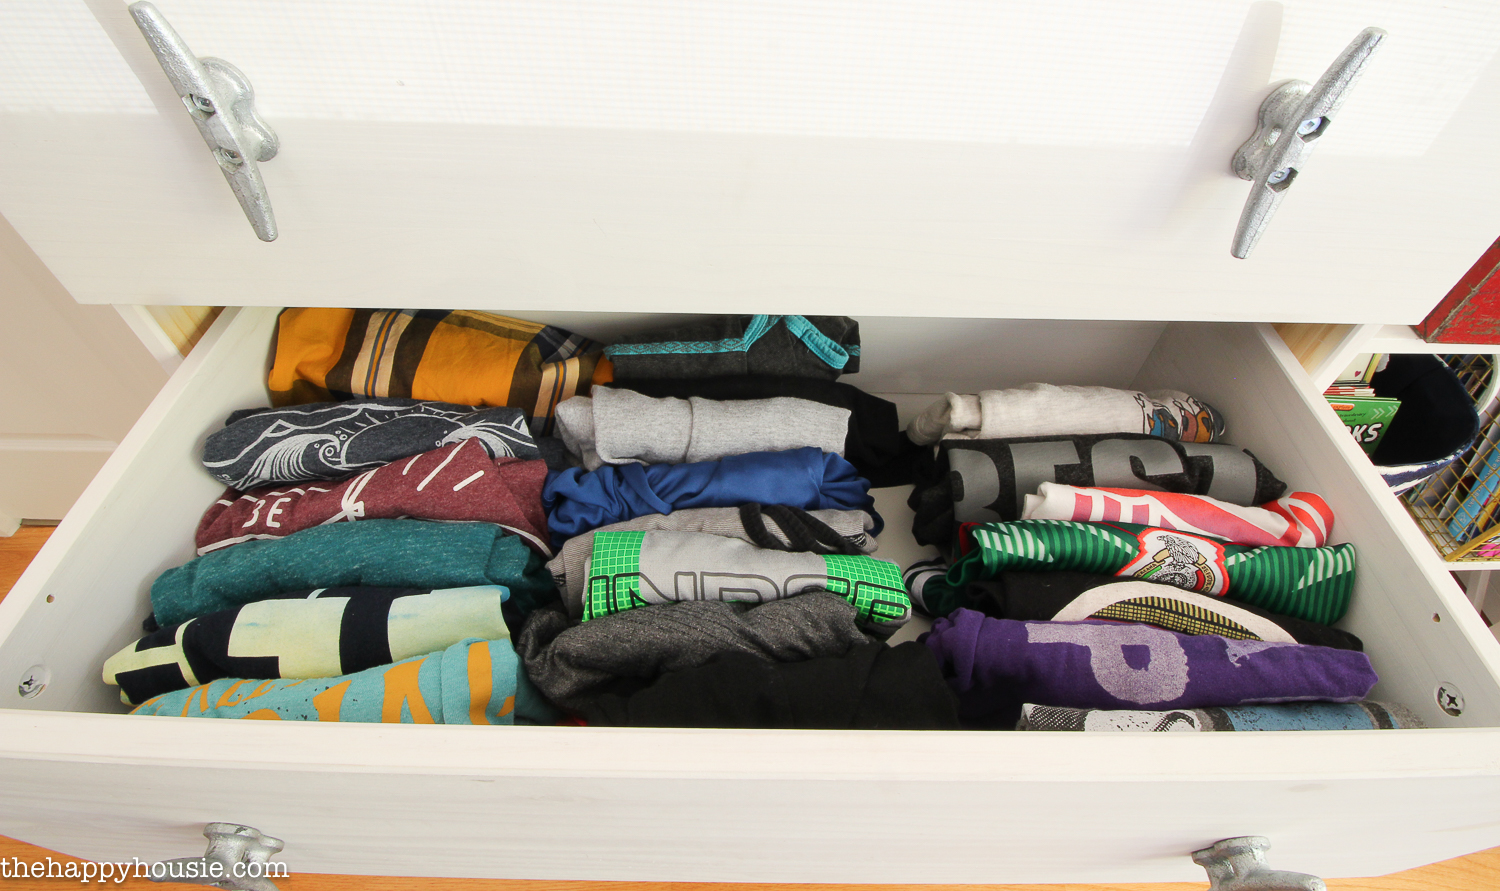
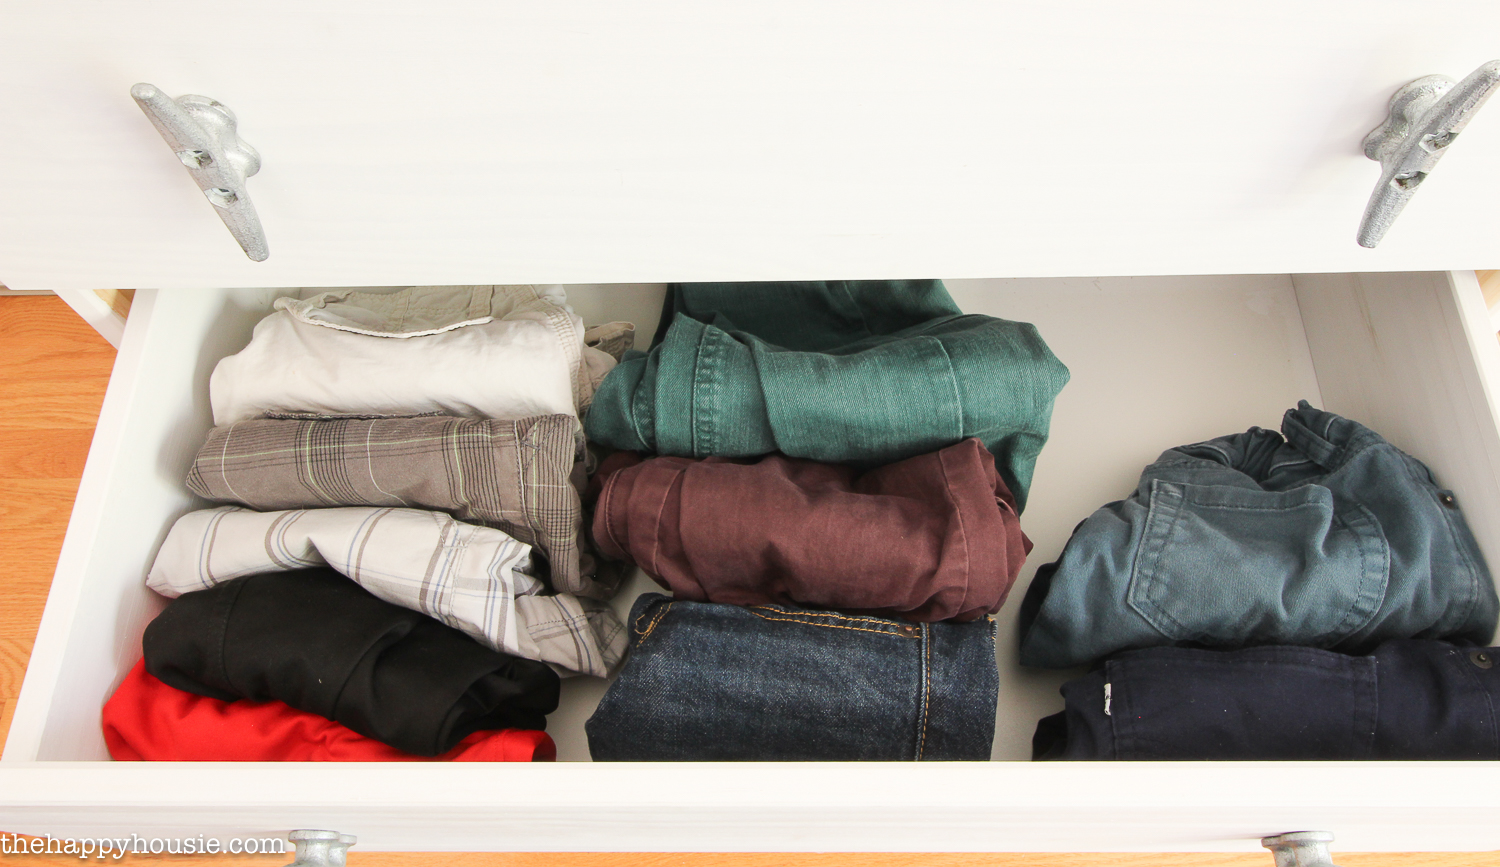 Because I removed the keepsakes from the top drawer, I was able to free that space up for underwear and socks. That meant that pyjamas and hats could be stored in the second drawer. I love that the hats can be tucked away!
Step Five: Keep it Up!
This is the part where you teach your child how to keep their space tidy! I’m going to dedicate another post to this topic, as I think there is a ton to discuss around this topic.
Here is how our boys’ shared bedroom is looking now…

Are you tackling this at your house?
Here are some amazing – organizing tools that you might need!


To check out the rest of the projects and ideas in this 10 week organizing series, head to my original challenge post:
Join the challenge!
Sign up to have The 10 Week Organizing Challenge sent to you weekly!


I’ve been looking and looking at the kids toy cupboard and I look and then just shut the door again. After this, I’m determined to tackle this. Wish me luck!!!
Such a handsome colorful room! I wish I had your decorating flair! 🙂
Great tips. My kids are old enough to do this themselves so I think I will print this out and tape it to their doors:)
Thanks for sharing at Funtastic Friday!
We are in this process right now and it feels so good to be seeing progress! I don’t know where all the junk comes from! lol
I love the collection of hockey tape in the “junk” drawers!! Every hockey parent understands this problem, it’s almost as bad a Lego’s everywhere!!!