
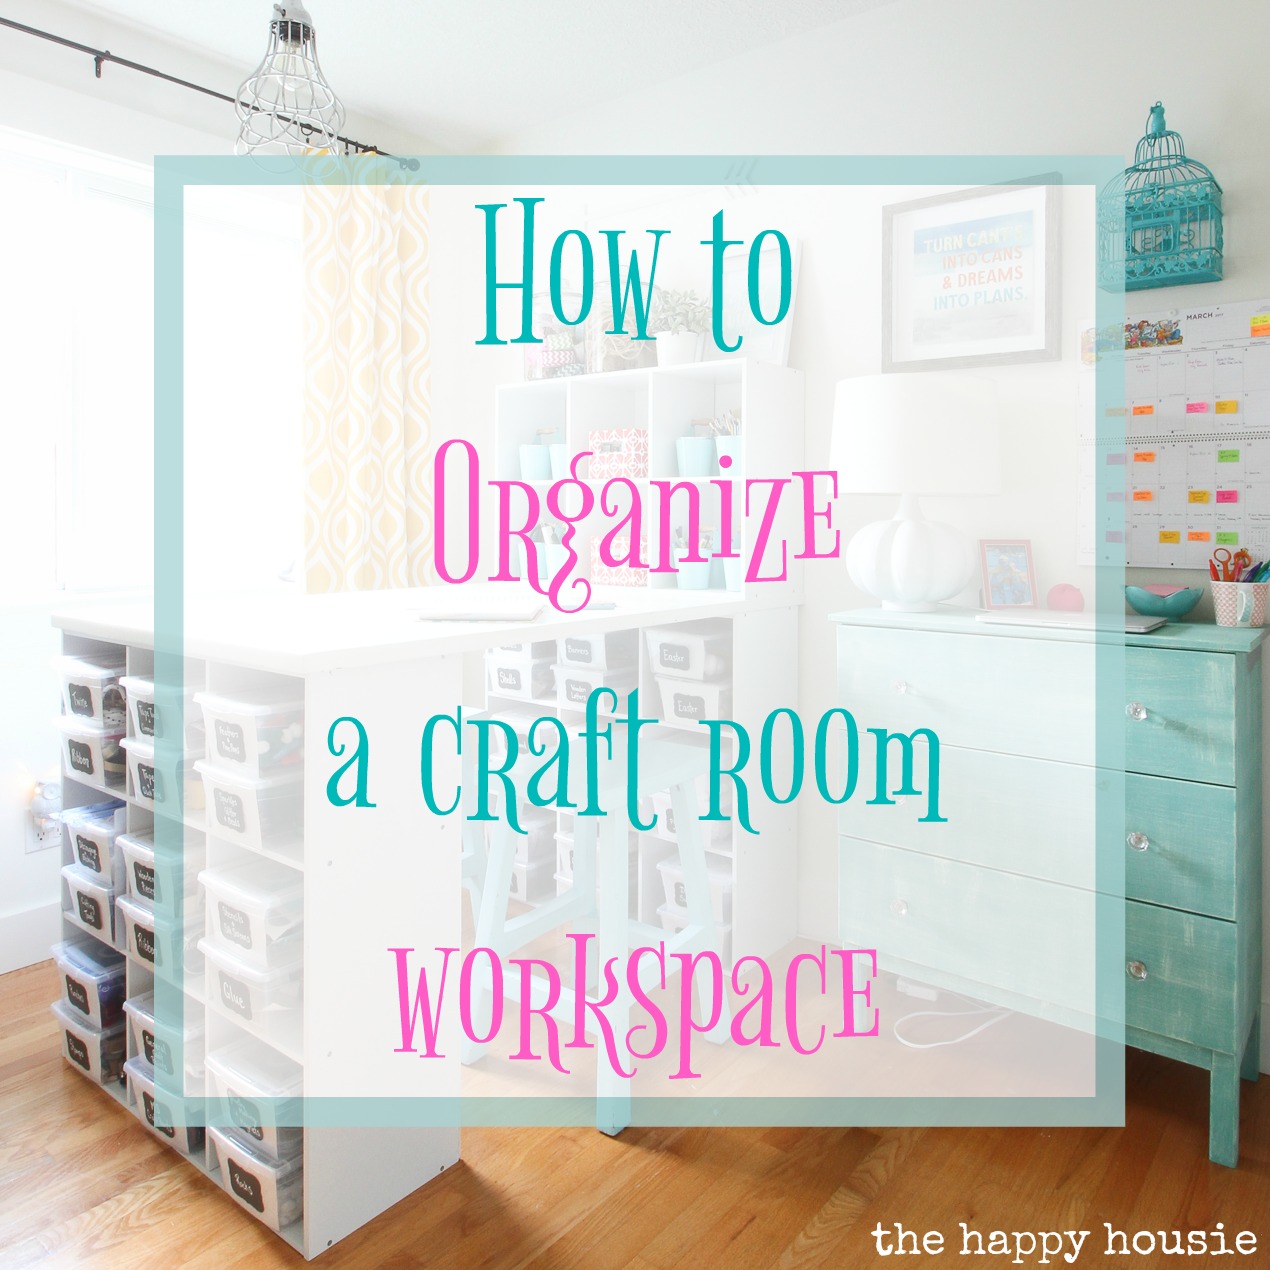
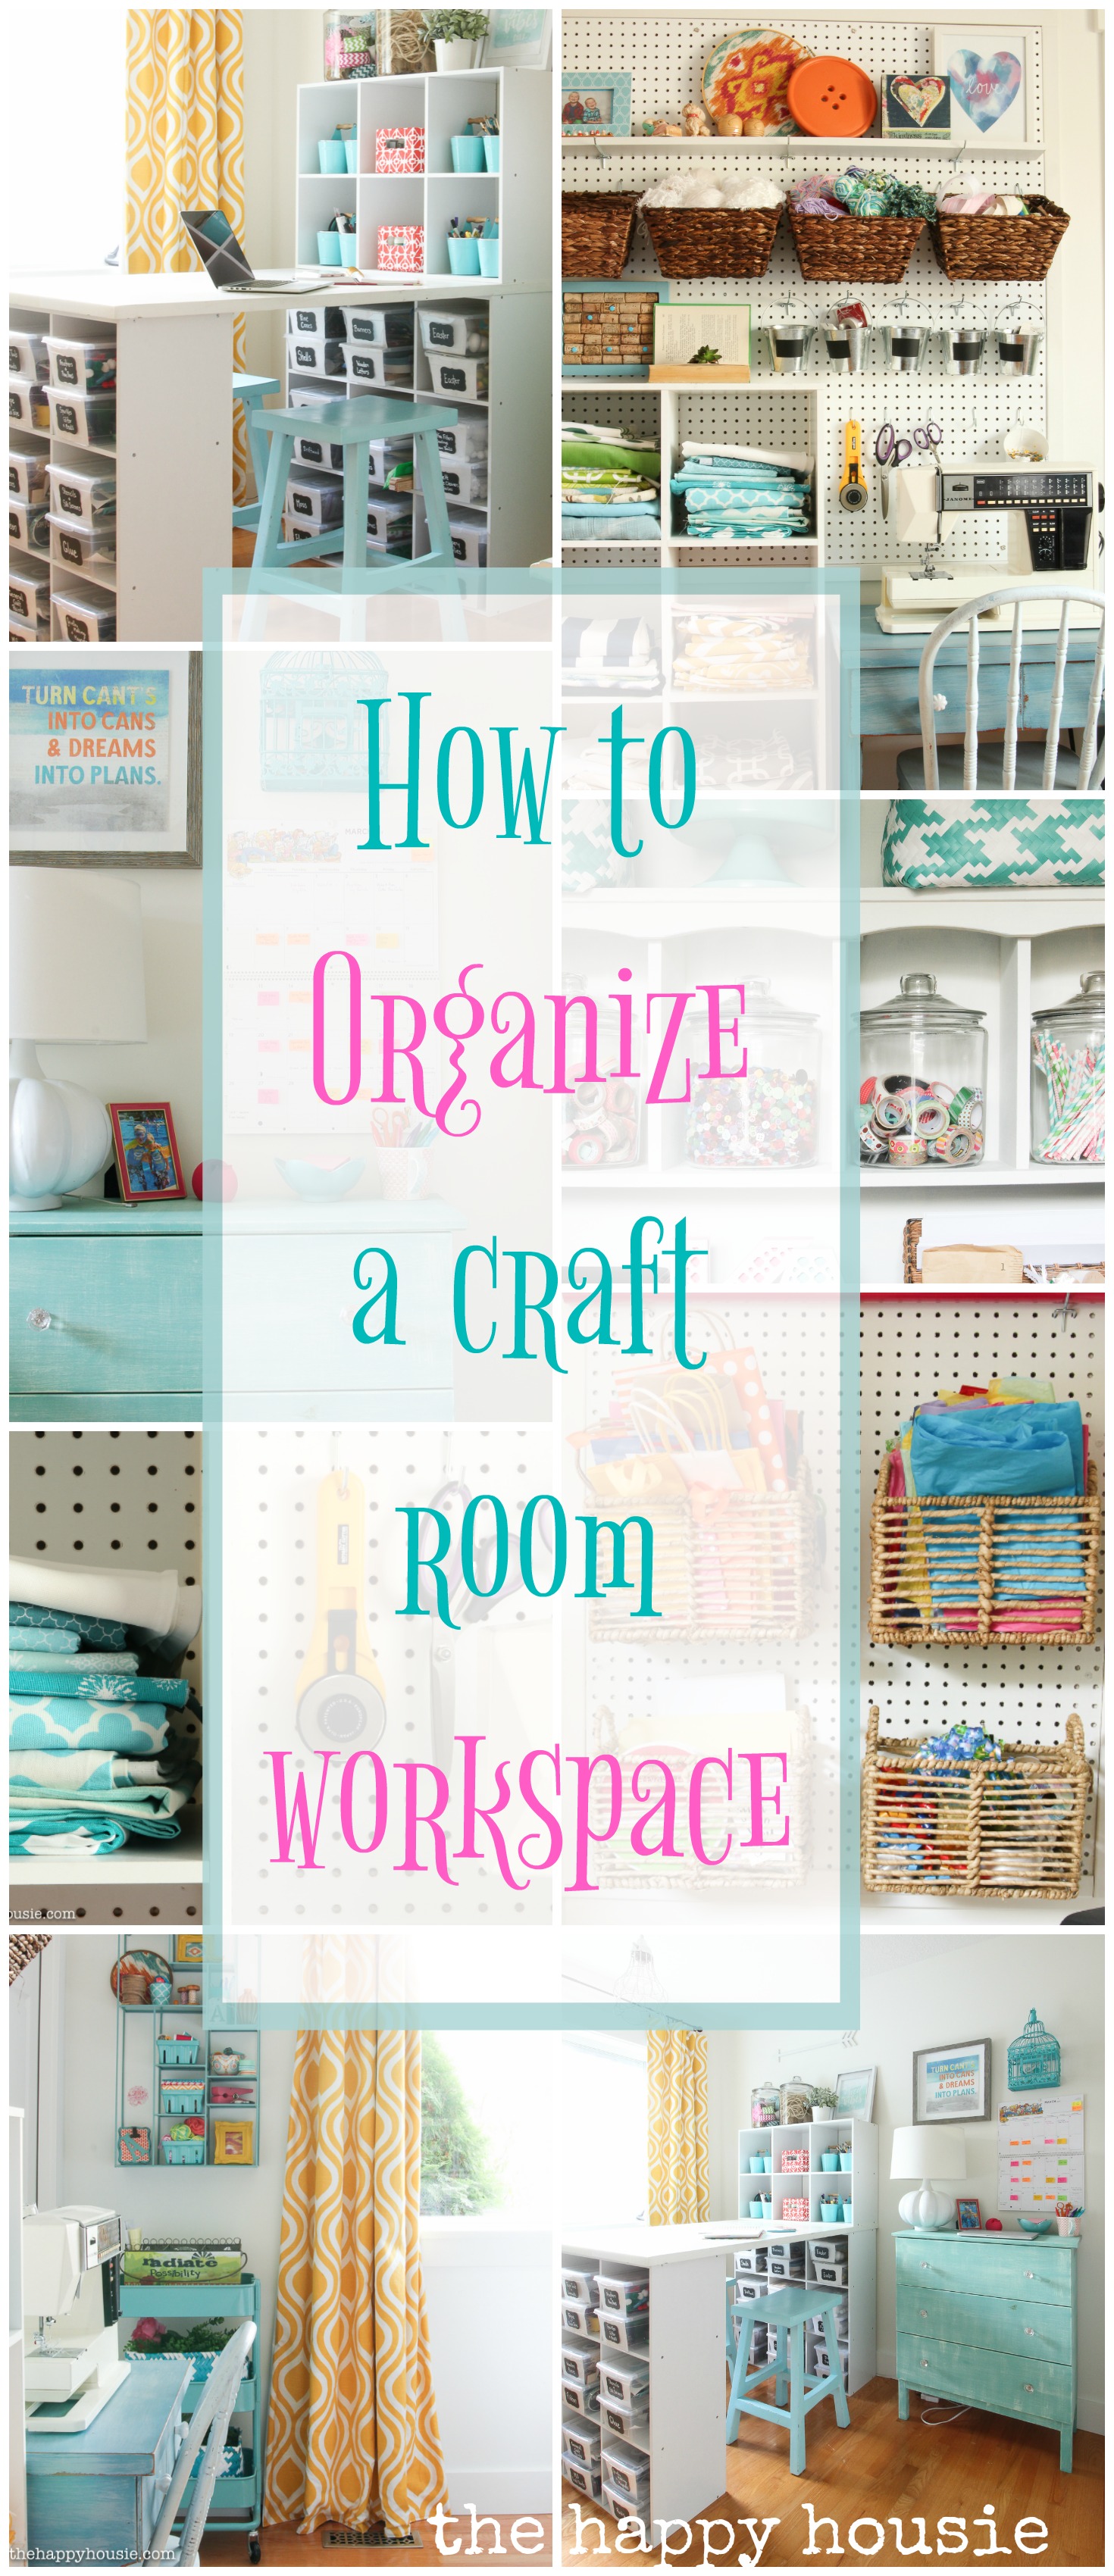
How to Organize a Craft Room Work Space
If you hate a disorganized craft room then you will love my tips on how to organize a work space!
A messy and disorganized craft room.
Talk about #firstworldproblems.
I mean, I know that I’m super lucky to even have a whole room to dedicate to craft, decor, and hobby space. We made the call a few years back to move our boys into the same bedroom and to create a craft room workspace for me on the main floor. Honestly, I’m still super thrilled that we made that call. The boys really do love sharing a room and I think it has made them much closer as brothers.
If you’ve been following along with my 10 week Organizing Challenge then you may know that I’m finally getting towards the end of it!! And this week I am sharing the last room on the main floor of our house: our craft room / hobby room / my home office.
Organizing The Craft Room
Now that I’ve tackled the re-organization of this space and it’s become a functional room once again, I’m already getting a ton more use out of it. And if you don’t have a whole room to dedicate to this function, then I’ve got lots of organization ideas to share that you can adapt to a smaller space or closet, as well.
![]()
A couple of years ago I gave this whole space a big makeover to make it more functional and it looked like this:
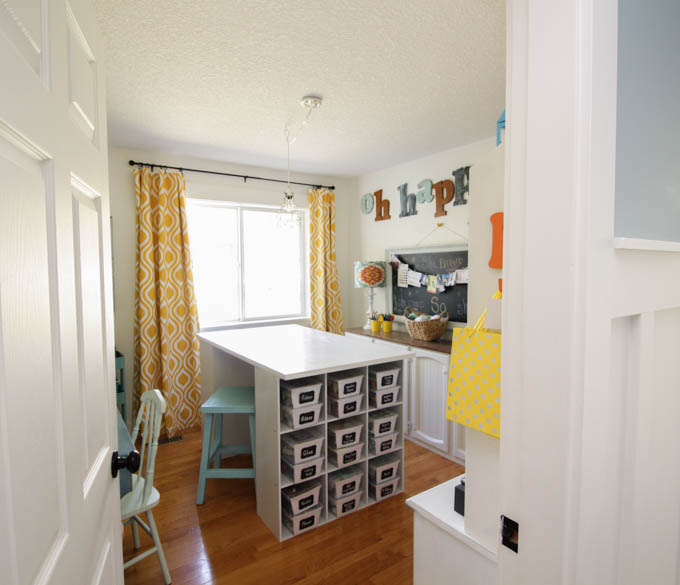
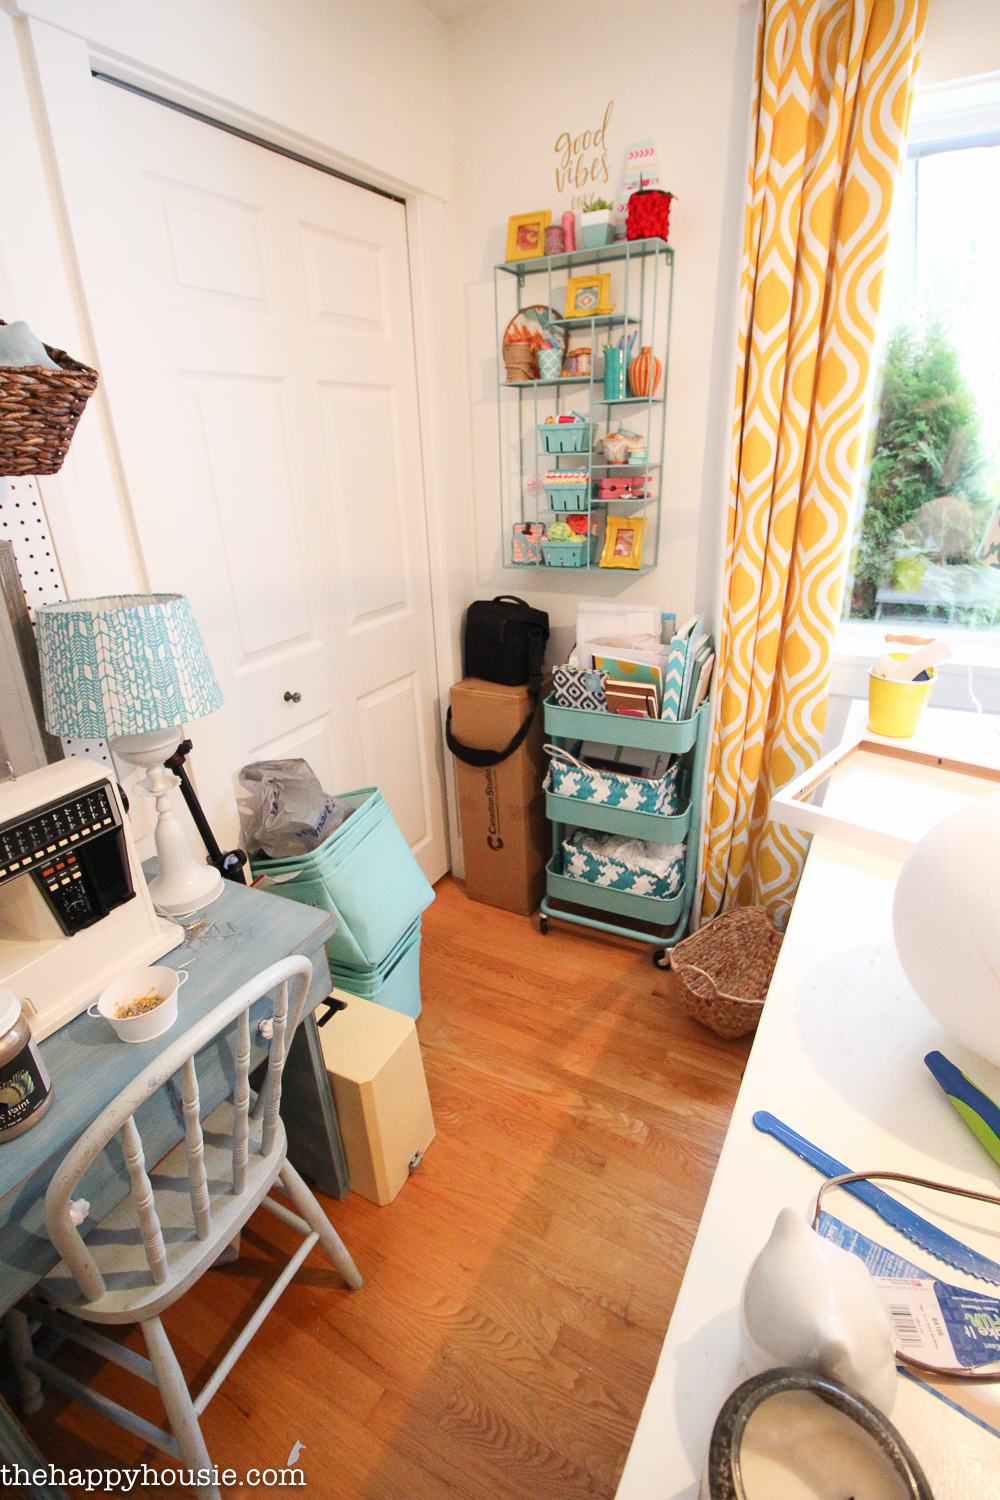
A few months later, I ended up moving an additional cabinet into the room and put it on top of the long wall unit (instead of the chalkboard). But after using it for a couple of years I realized that the layout really wasn’t working well. The long cabinet against the far wall meant that I had very little room to move around my craft worktable. And it had become a total drop zone for junk with super limited floor space. Not at all conducive to creativity and productivity.
It was looking more like this before I went through this organization process:

To get it organized, I followed the same steps that I’ve been following with the rest of my organizational makeovers.
Step One: Purge
I went through all my craft supplies and decor items and purged a TON of stuff that I wasn’t using and honestly was never going to use. I took everything out, except for craft items that were already nicely organized in my shoe bin storage totes, glass jars, baskets etc. – things that were already working, organizationally speaking.
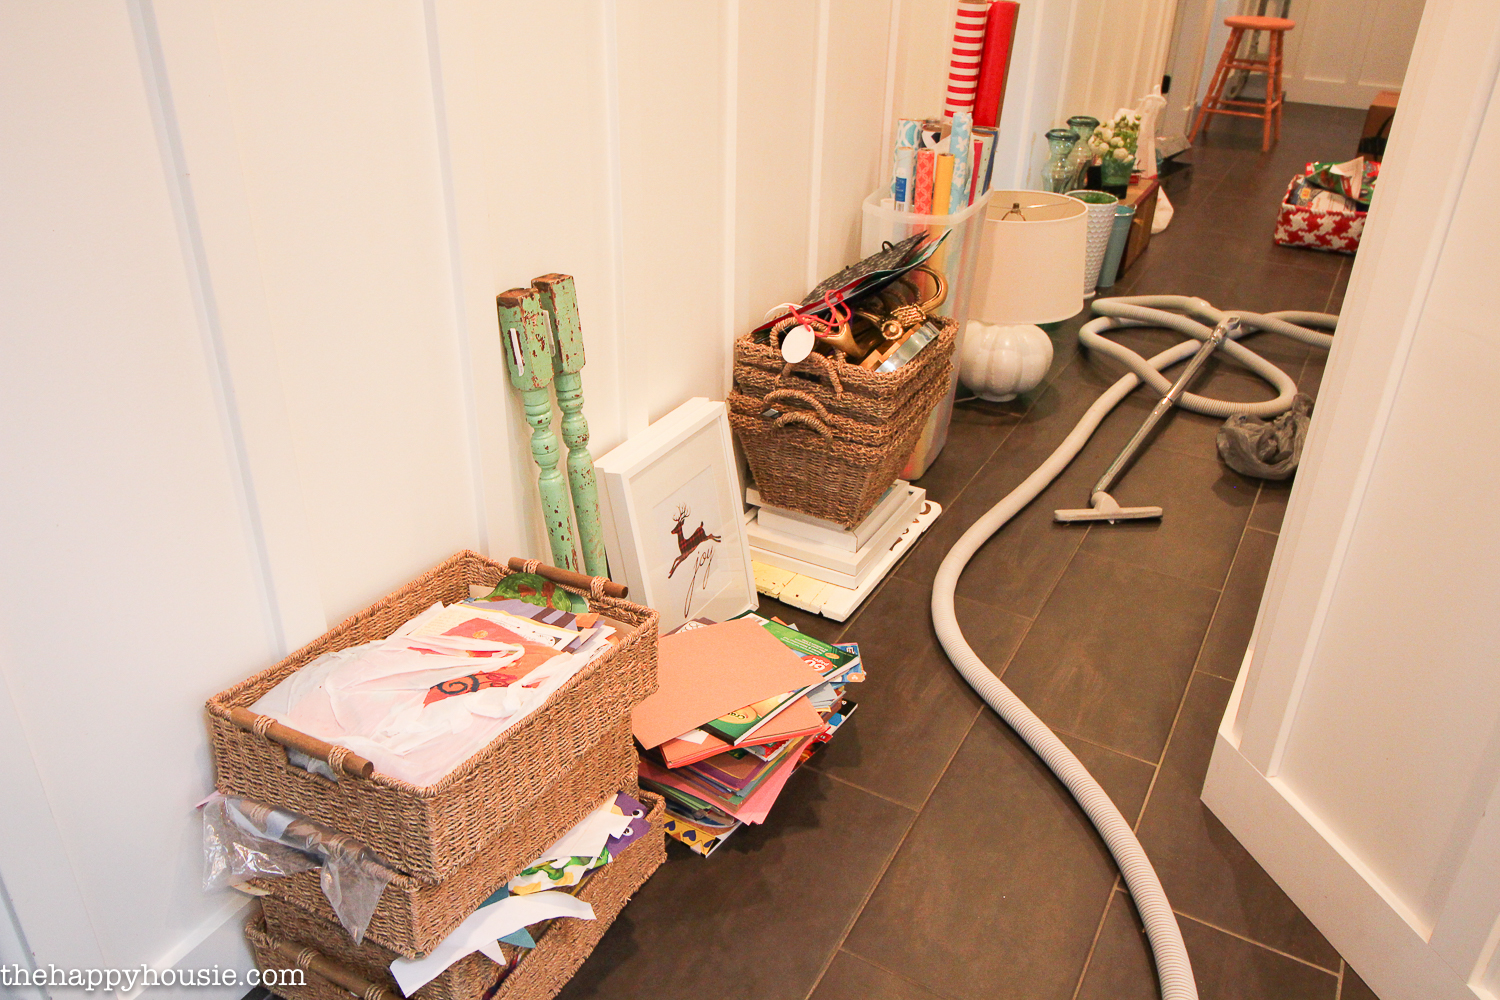
See those baskets? Those are full of kid’s schoolwork and artwork. That’s a whole separate organizational issue that I plan to tackle during my “wildcard” week.
Step Two: Assess
What do you need to store?
What types of zones or areas do you need to create?
I grouped my stuff together into similar piles to get stored together (craft supplies by type, gift wrapping, decor items, fabric and sewing, etc.). I also created work zones within the room: one zone for craft projects (I like to be able to leave them setup on my work bench as I move through the steps), one zone for sewing, one zone for office and blog planning (the green dresser).
Step Three: Get What You Need
I didn’t actually need to purchase any new organizers for this project because I had several that I was able to re-use and repurpose from other rooms or from my craft room before. But if you aren’t already set with organizers, then I’ve gathered some great craft room organizing bins for you:

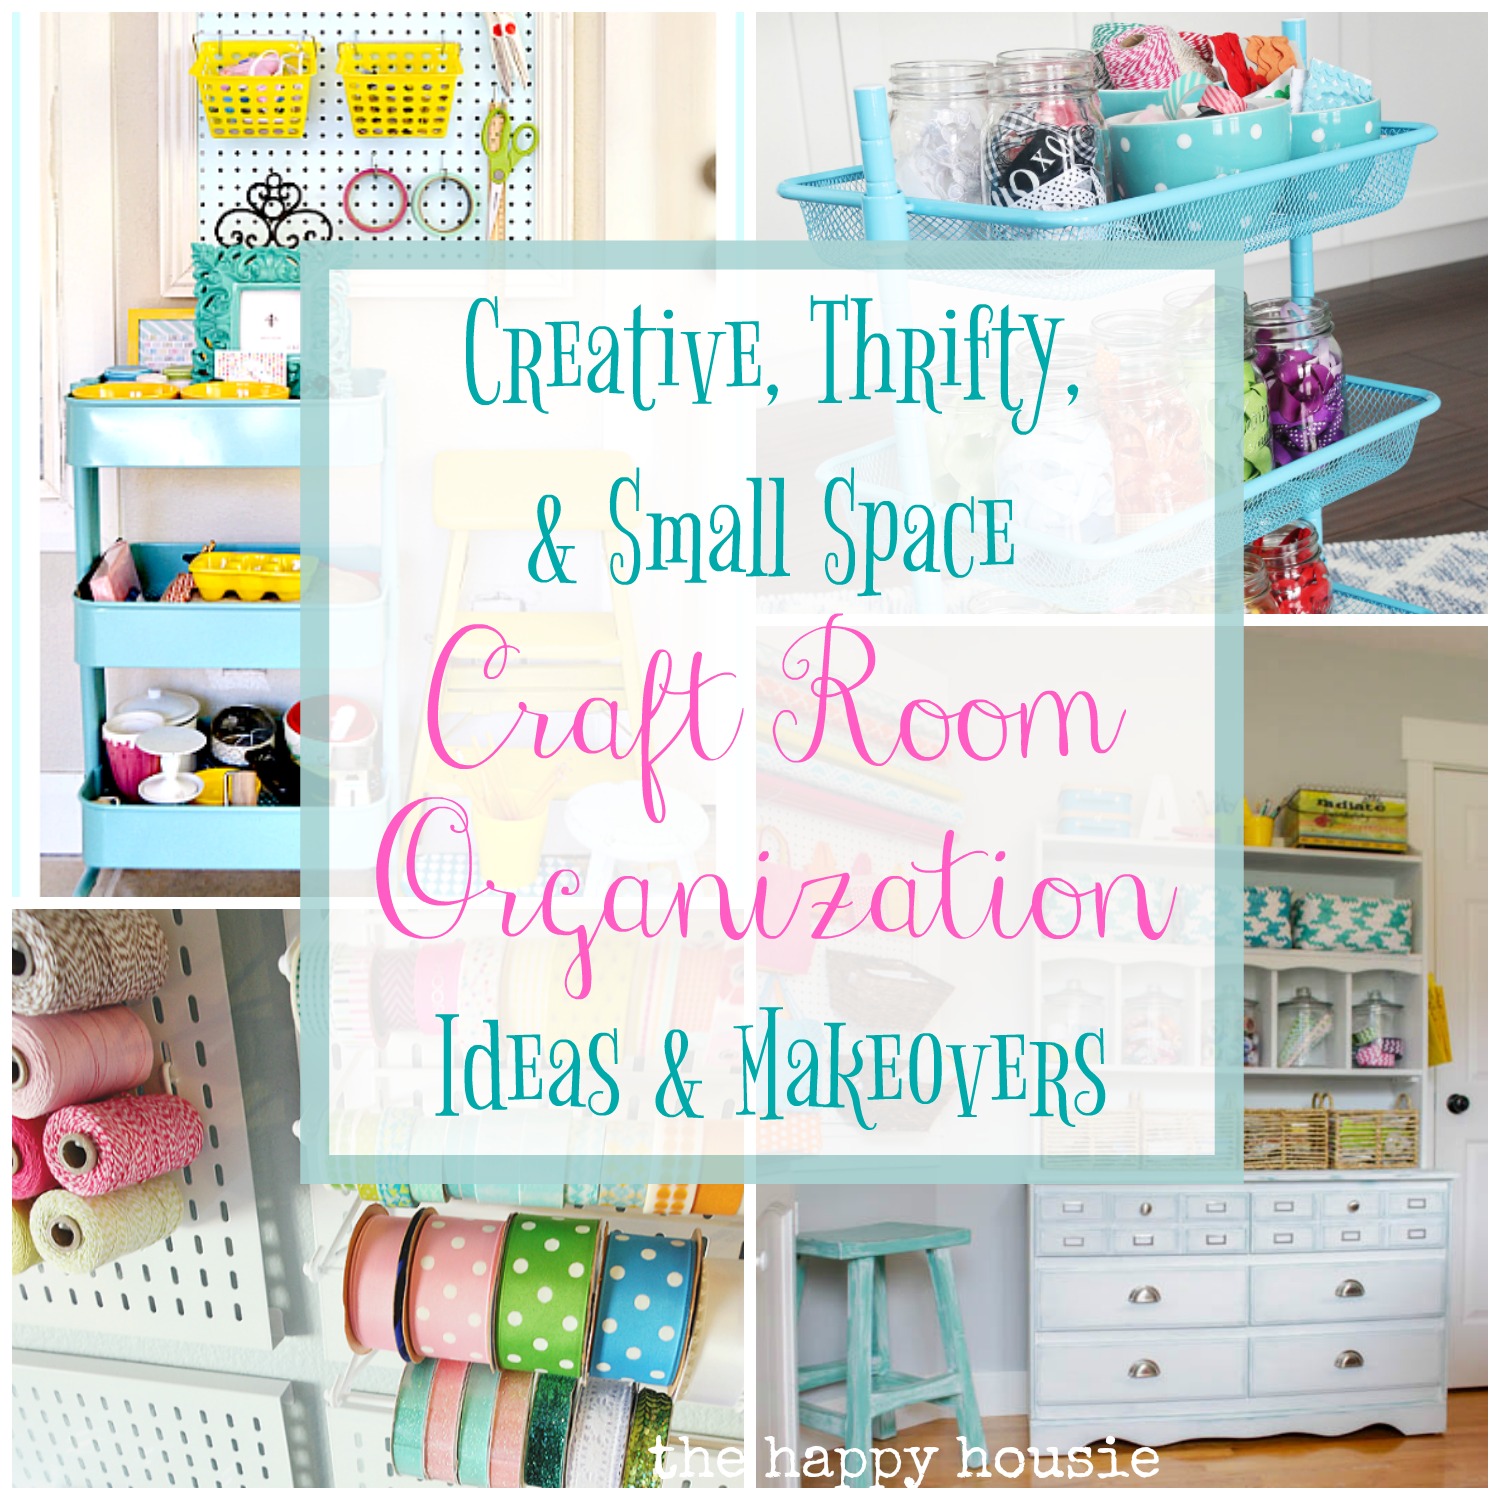
The other day I shared a post chock-full of fabulously creative craft room organization ideas, that is definitely worth a read!
Step Four: Put it All Back
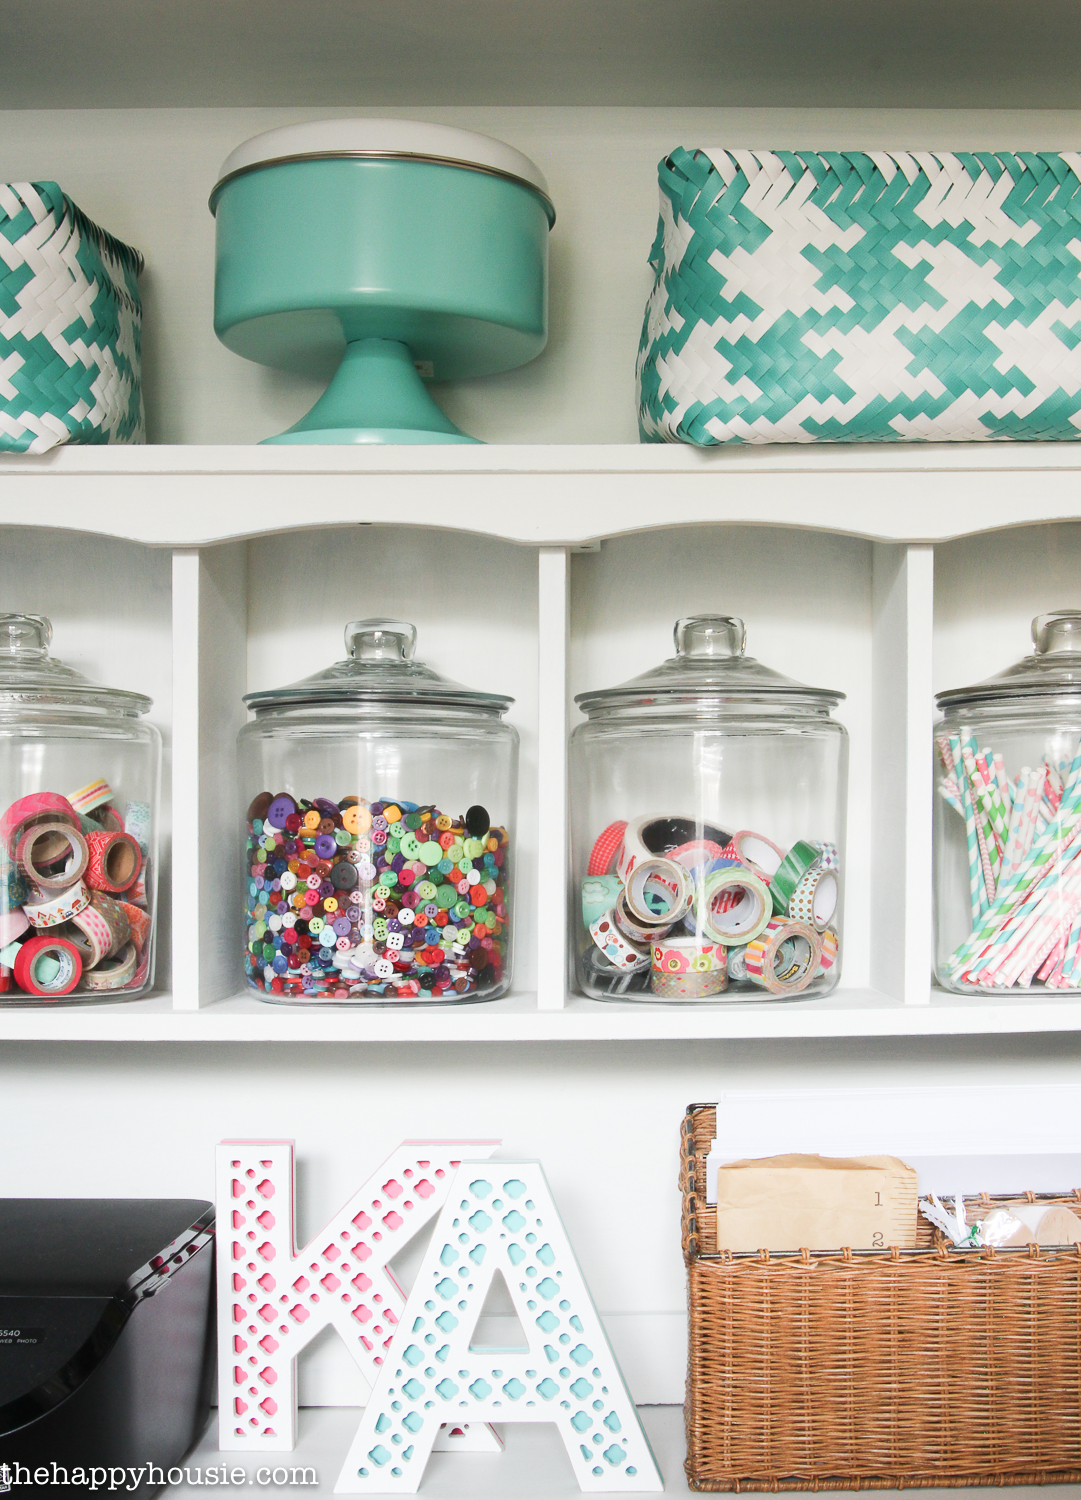
My favourite organizers for my craft room are relatively inexpensive and easy to get.
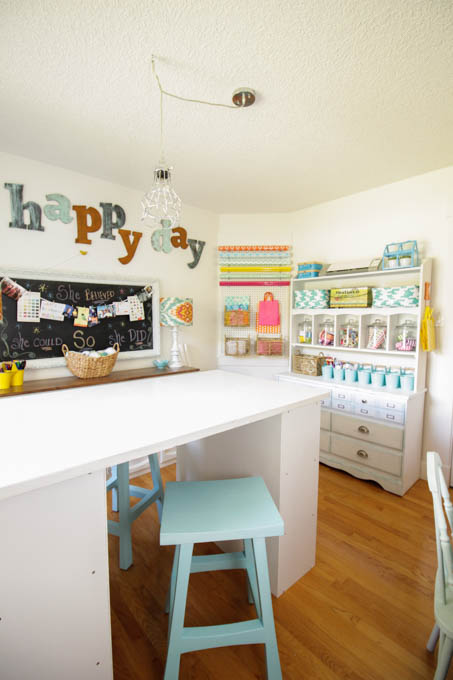
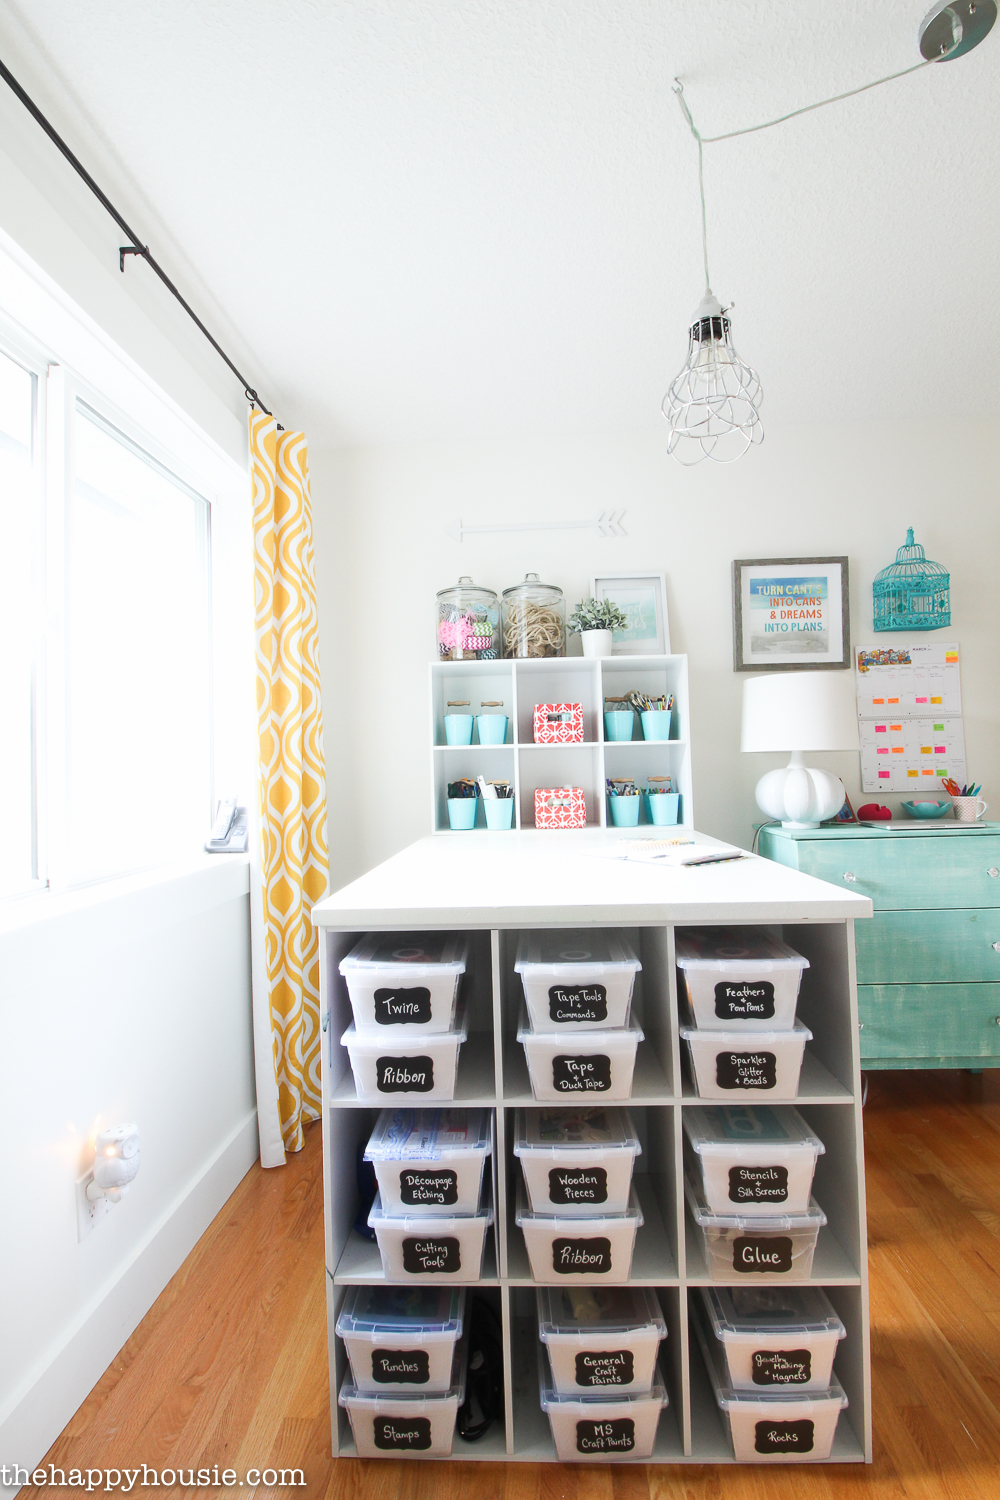
I’ve used basic cube organizers to create my work desk; as well as for storing fabrics. Basically, I have two of these units that we have reinforced and they hold a large countertop surface. (I’ll be sharing more details on how we “built” this craft desk soon).
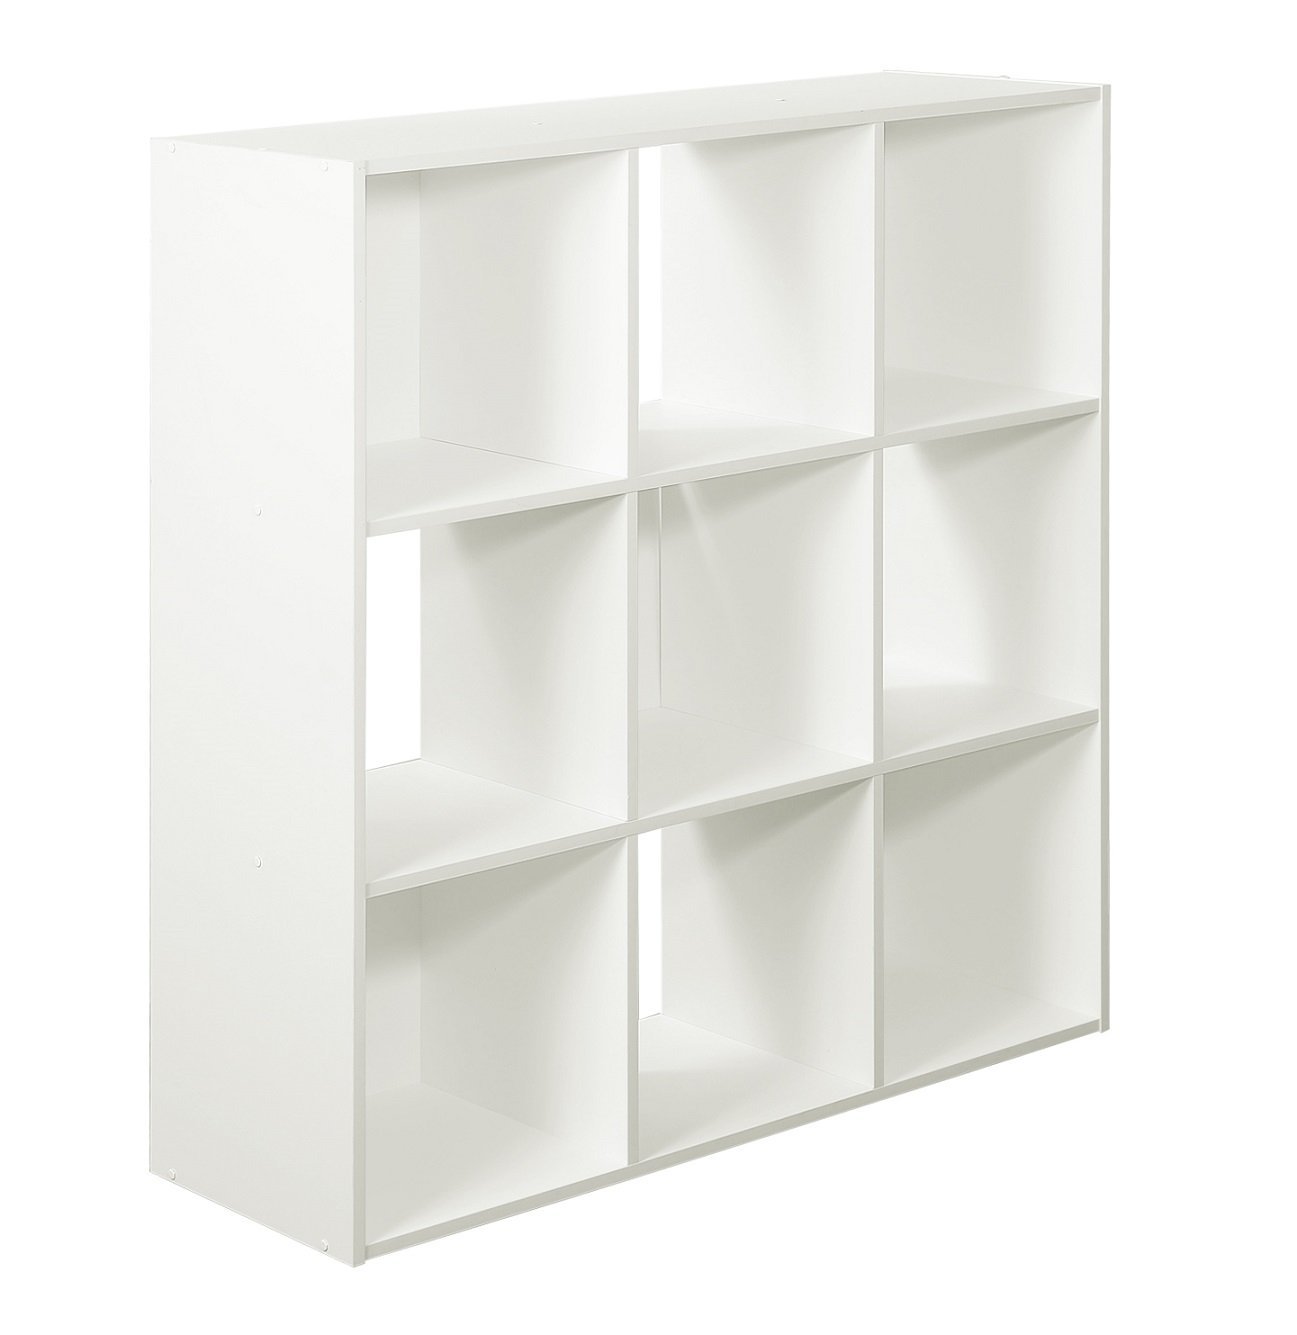
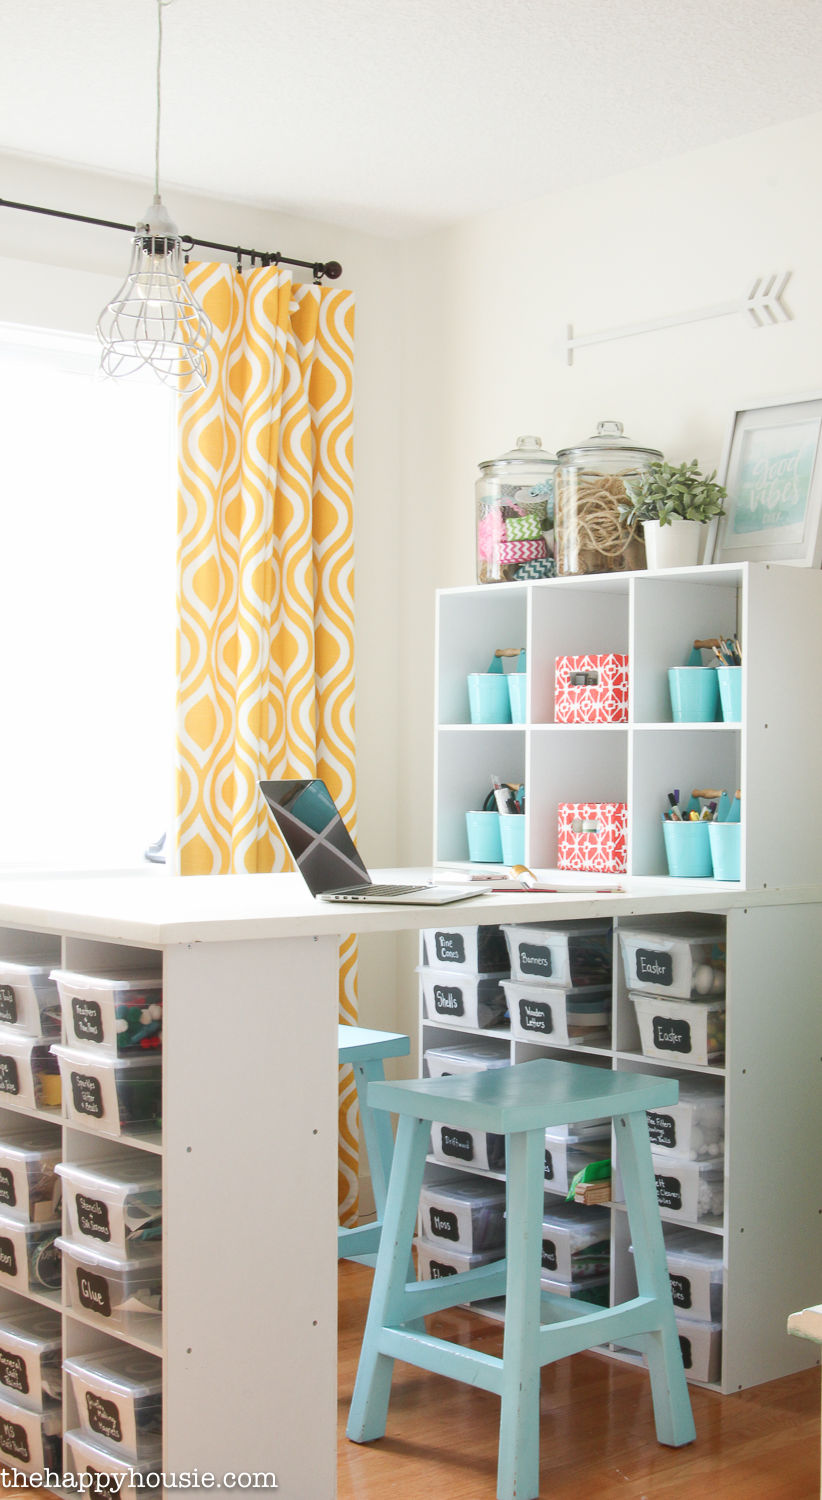
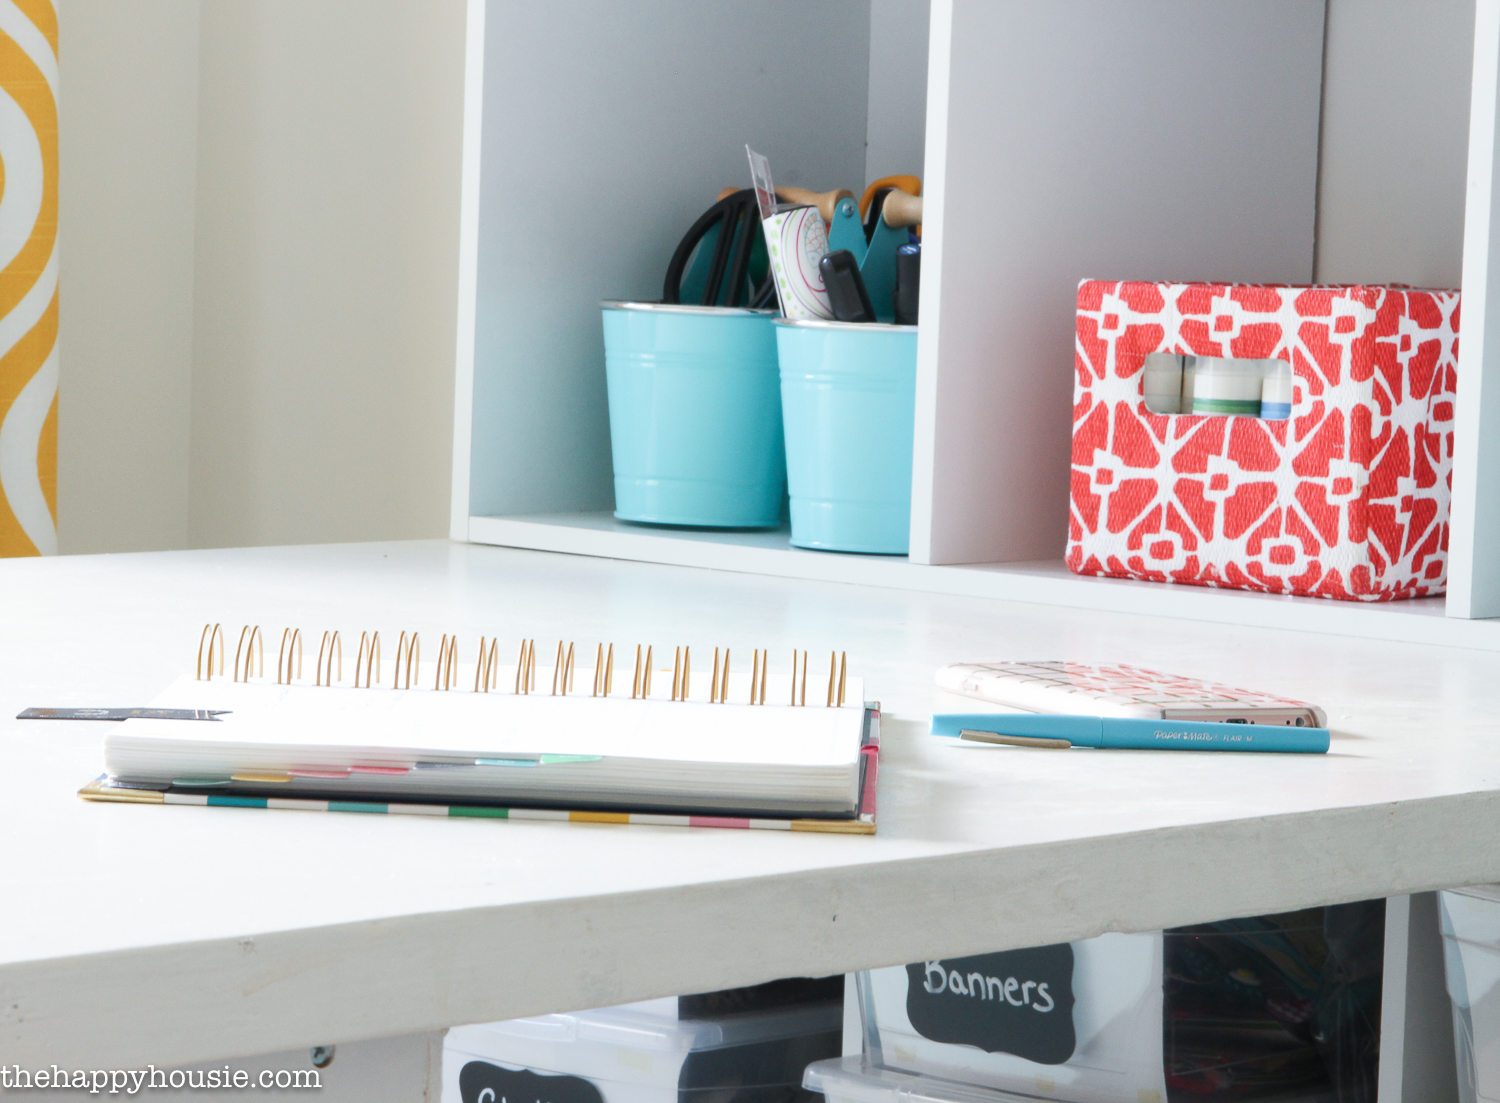
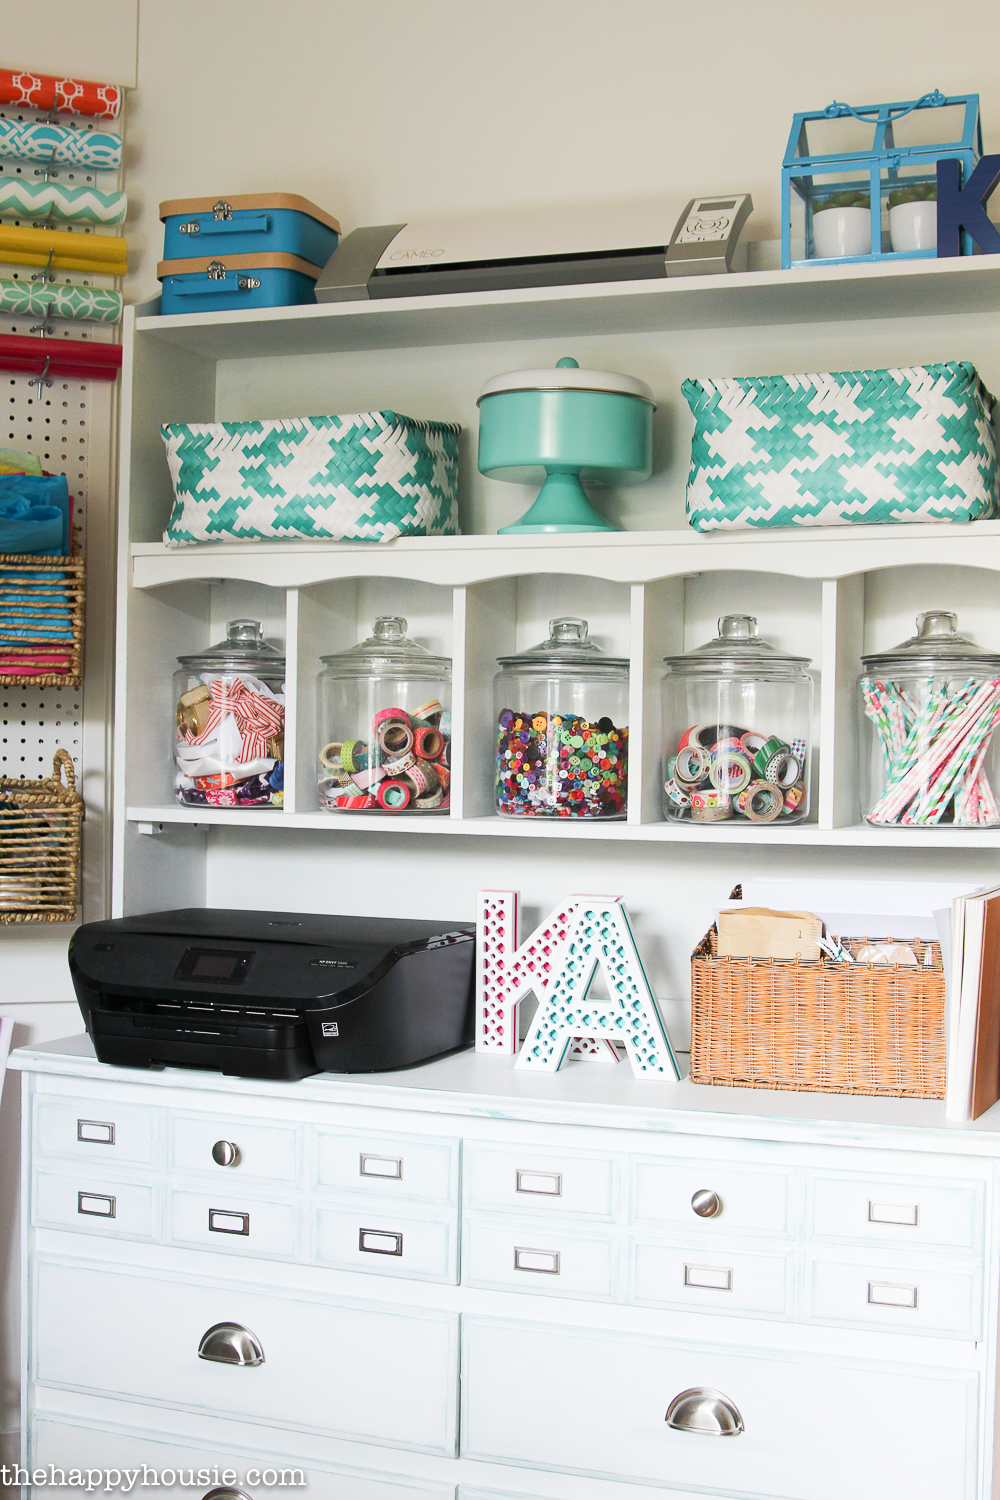
I moved the whole workspace against the wall to open up more floor space in this relatively compact room, and added a smaller six cube unit above the countertop to keep frequently used craft supplies within close reach but off of the work surface. I also shared here how to turn super thrifty shoe bins into a cute storage solution.

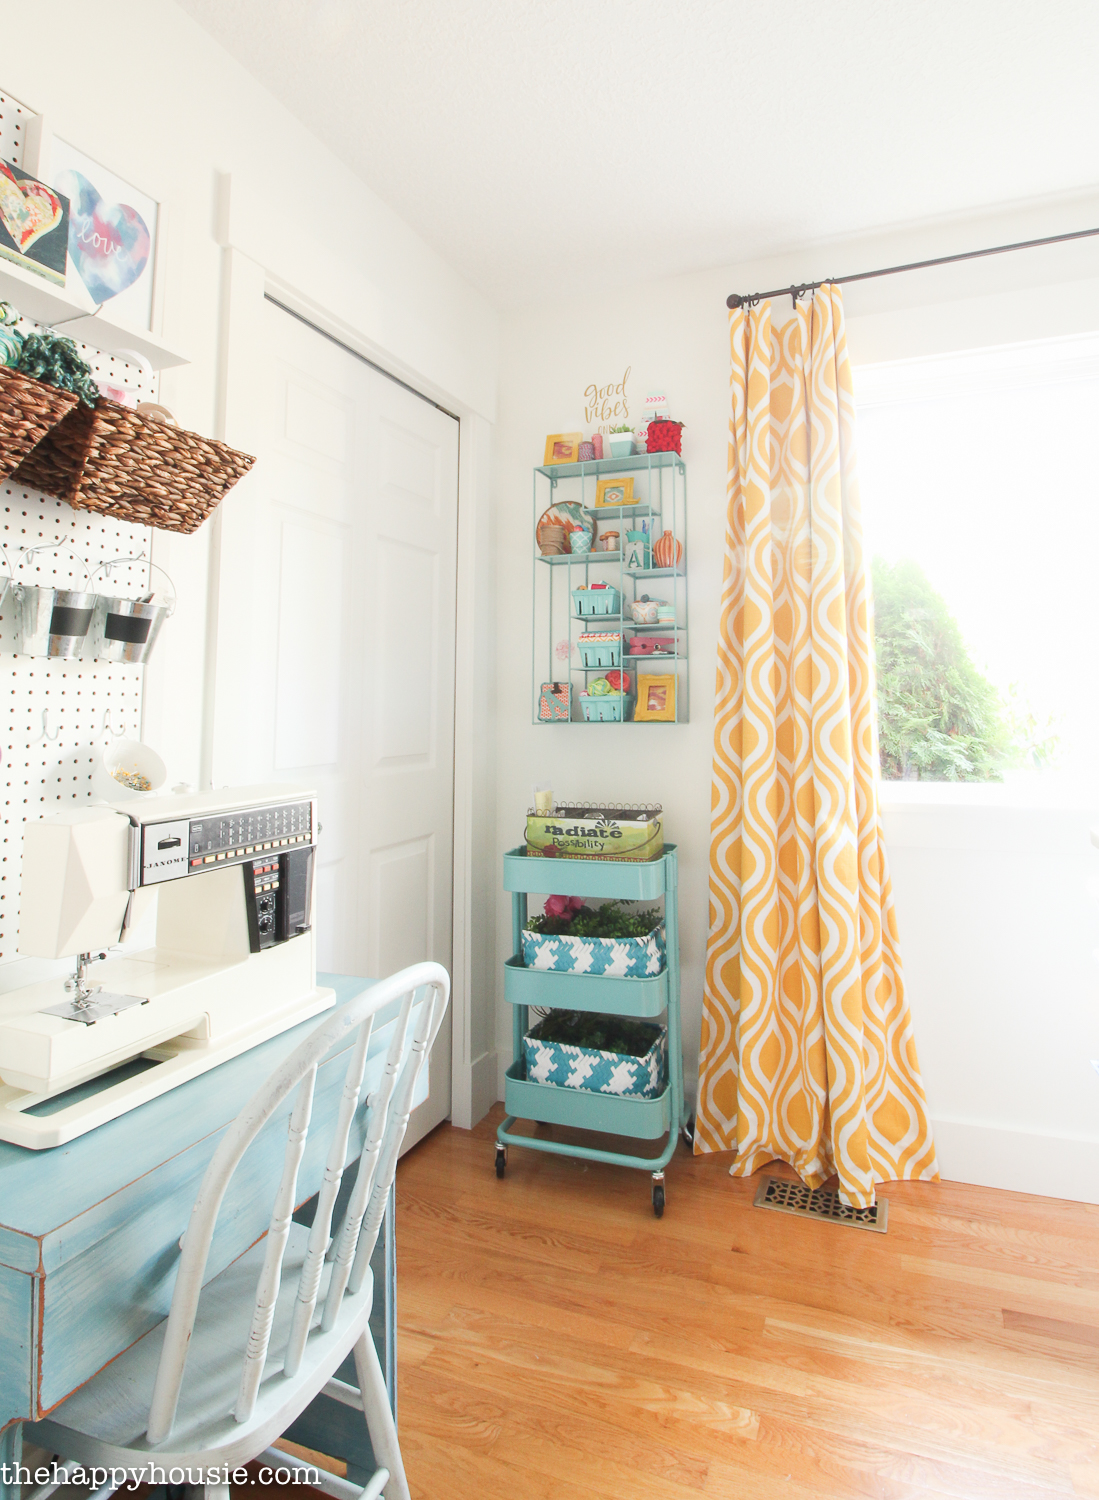
And I added in my Ikea Tarva hack dresser from our bedroom – we took it out of our bedroom when we got our new closet storage units during our recent bedroom and walk-in closet makeover.
I decided to turn it into a blog/office zone where I can keep track of my work calendar. I also storage office supplies and my camera and related accessories in it, and use the surface for keeping my laptop charged. Sometimes I work at my craft room work table, other times I bring my laptop to the dining room and enjoy the view while I work.
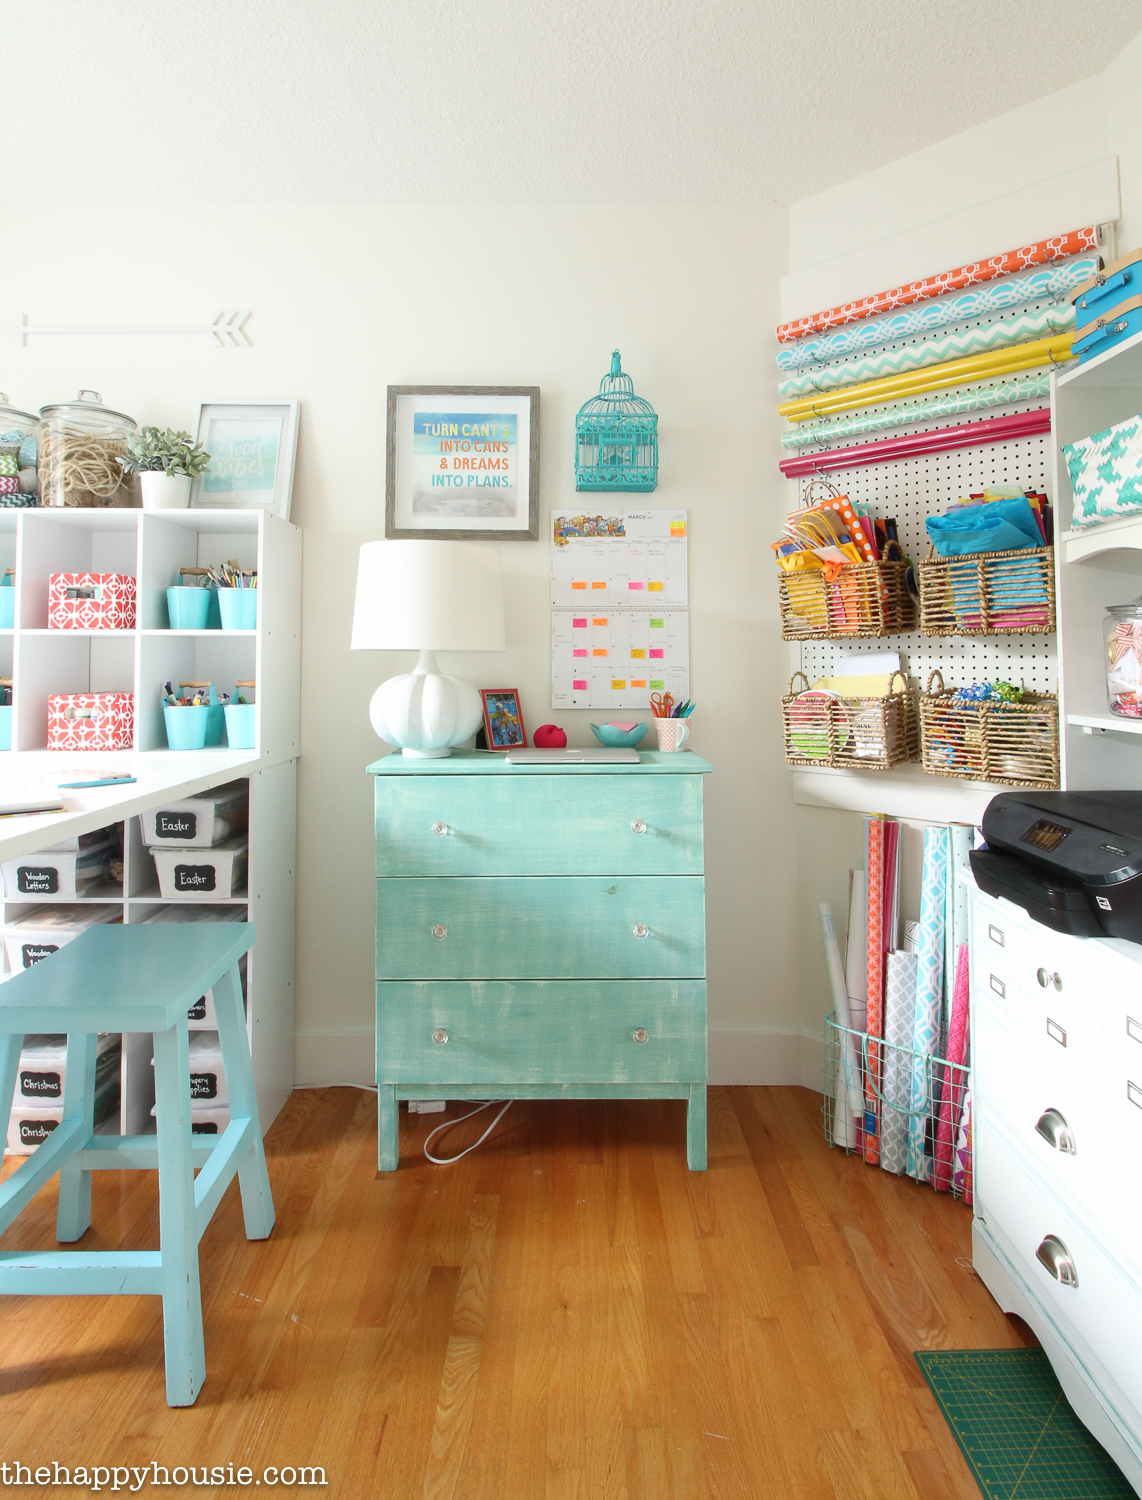
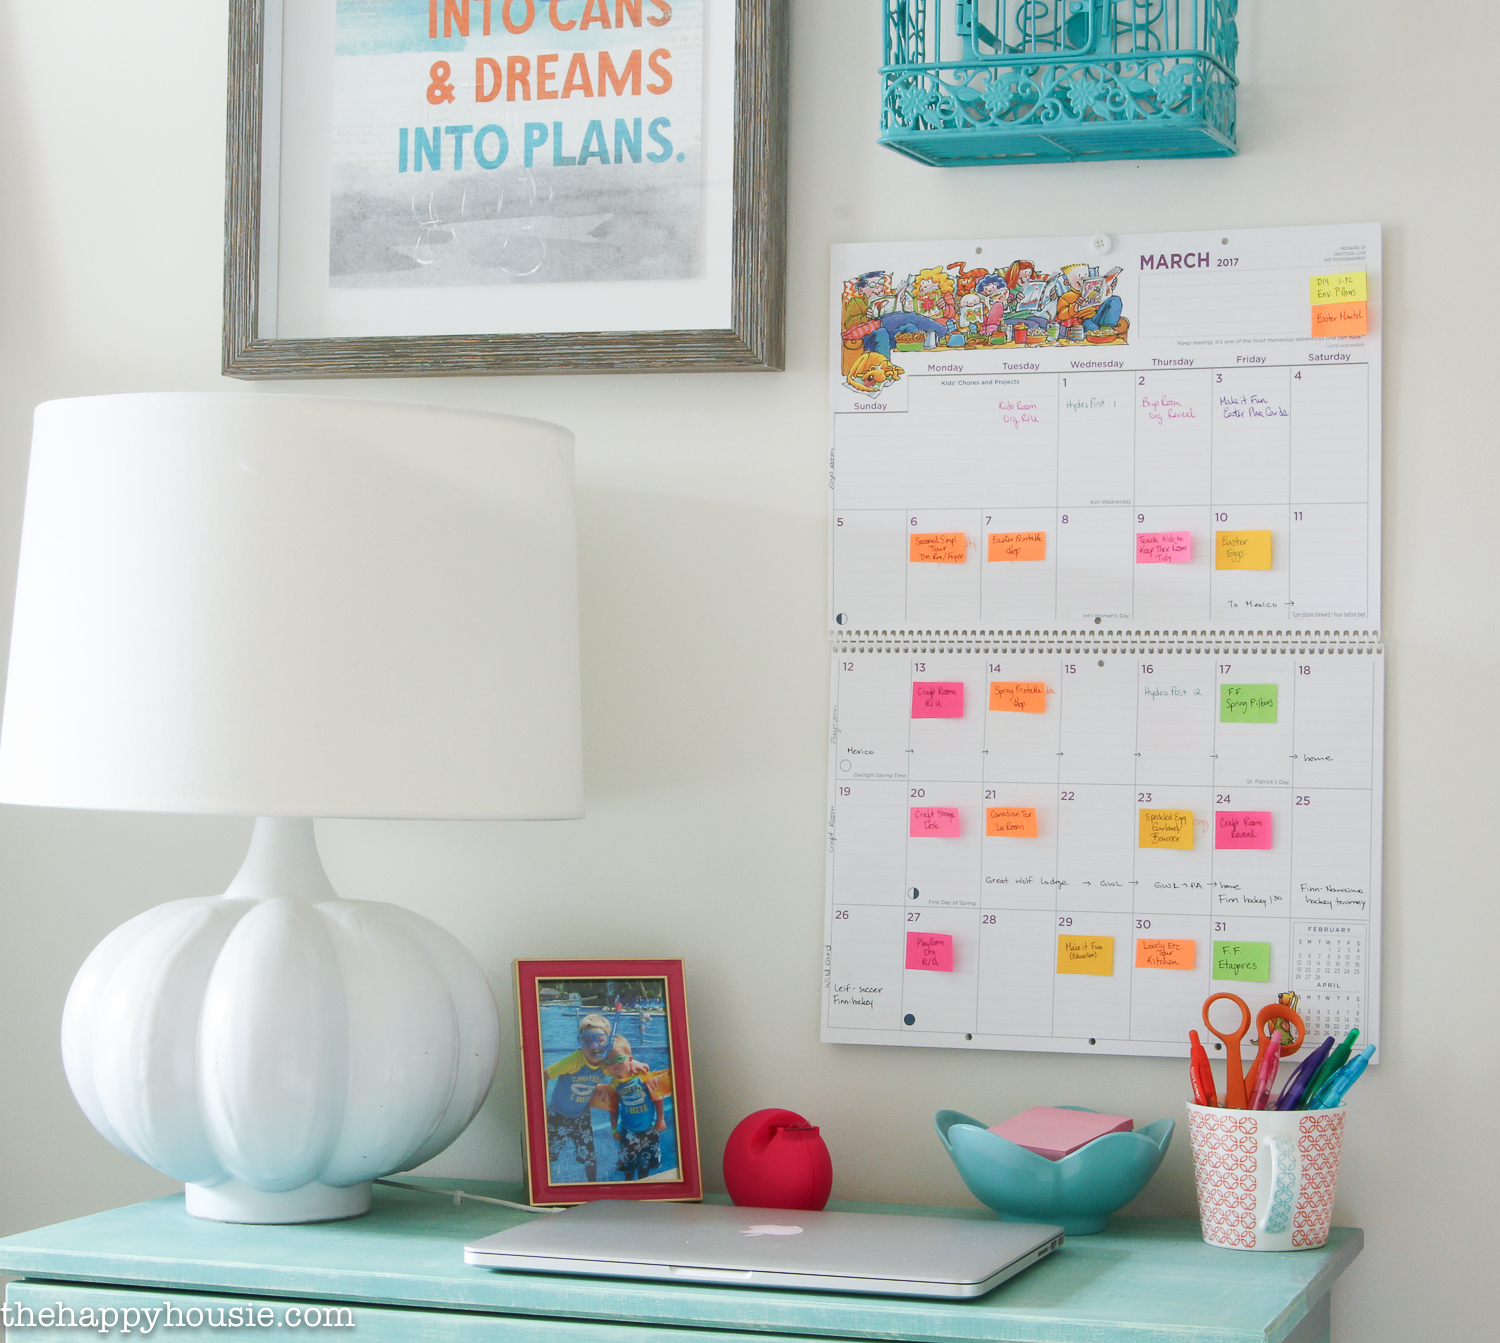

You can find my favourite big calendar here. I have one for our family (in the command center) and one in my craft room for keeping my blog organized.
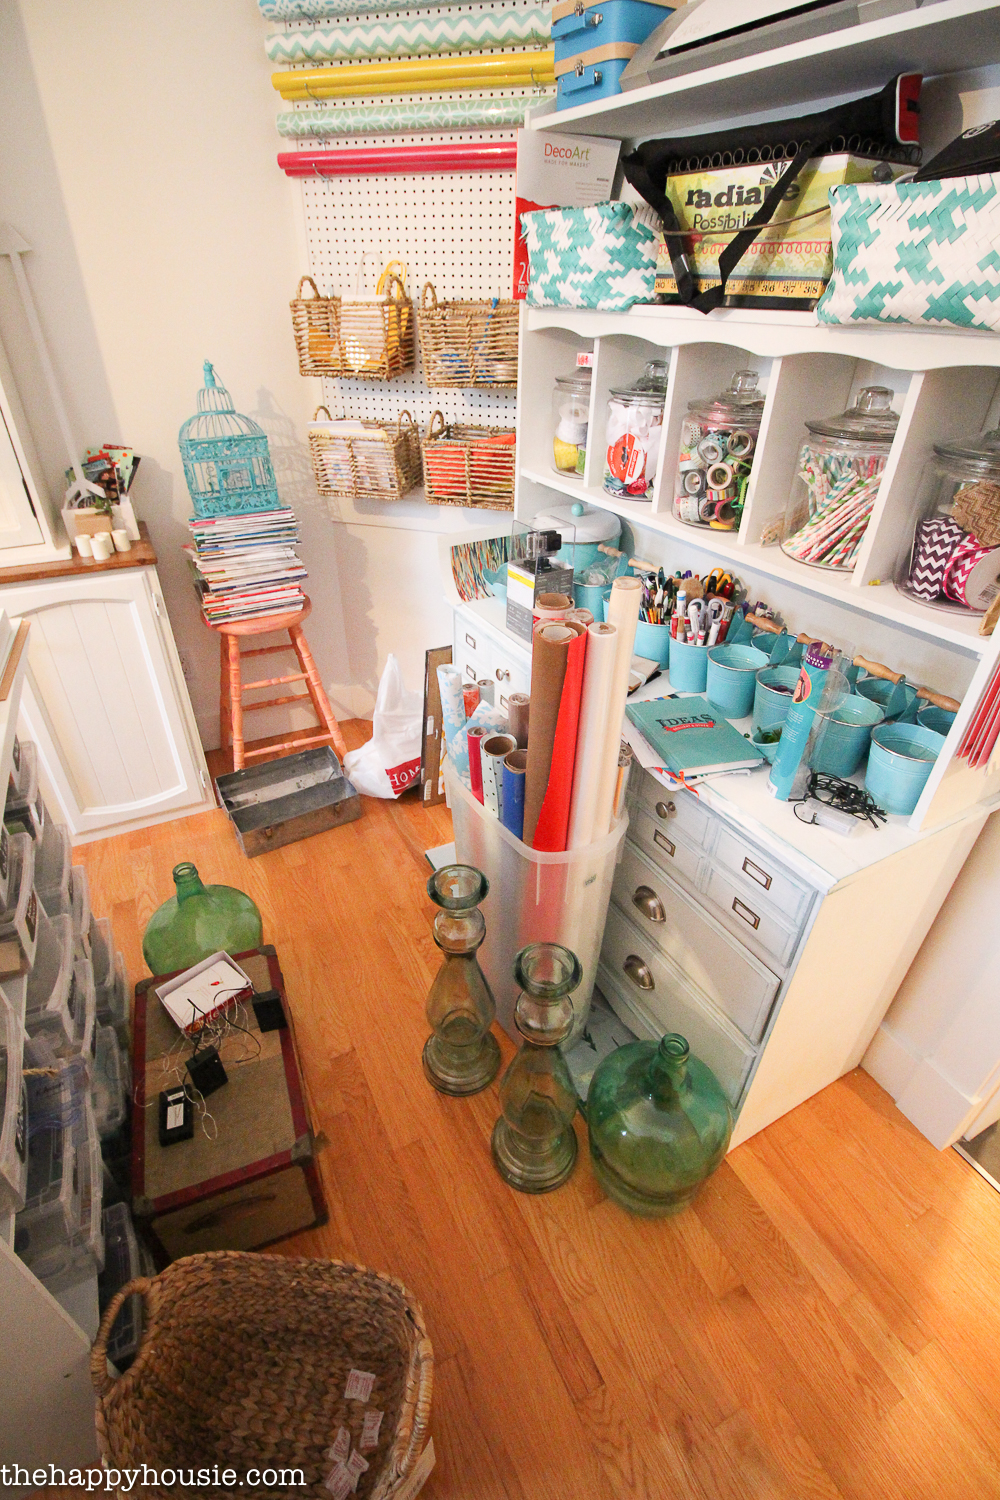
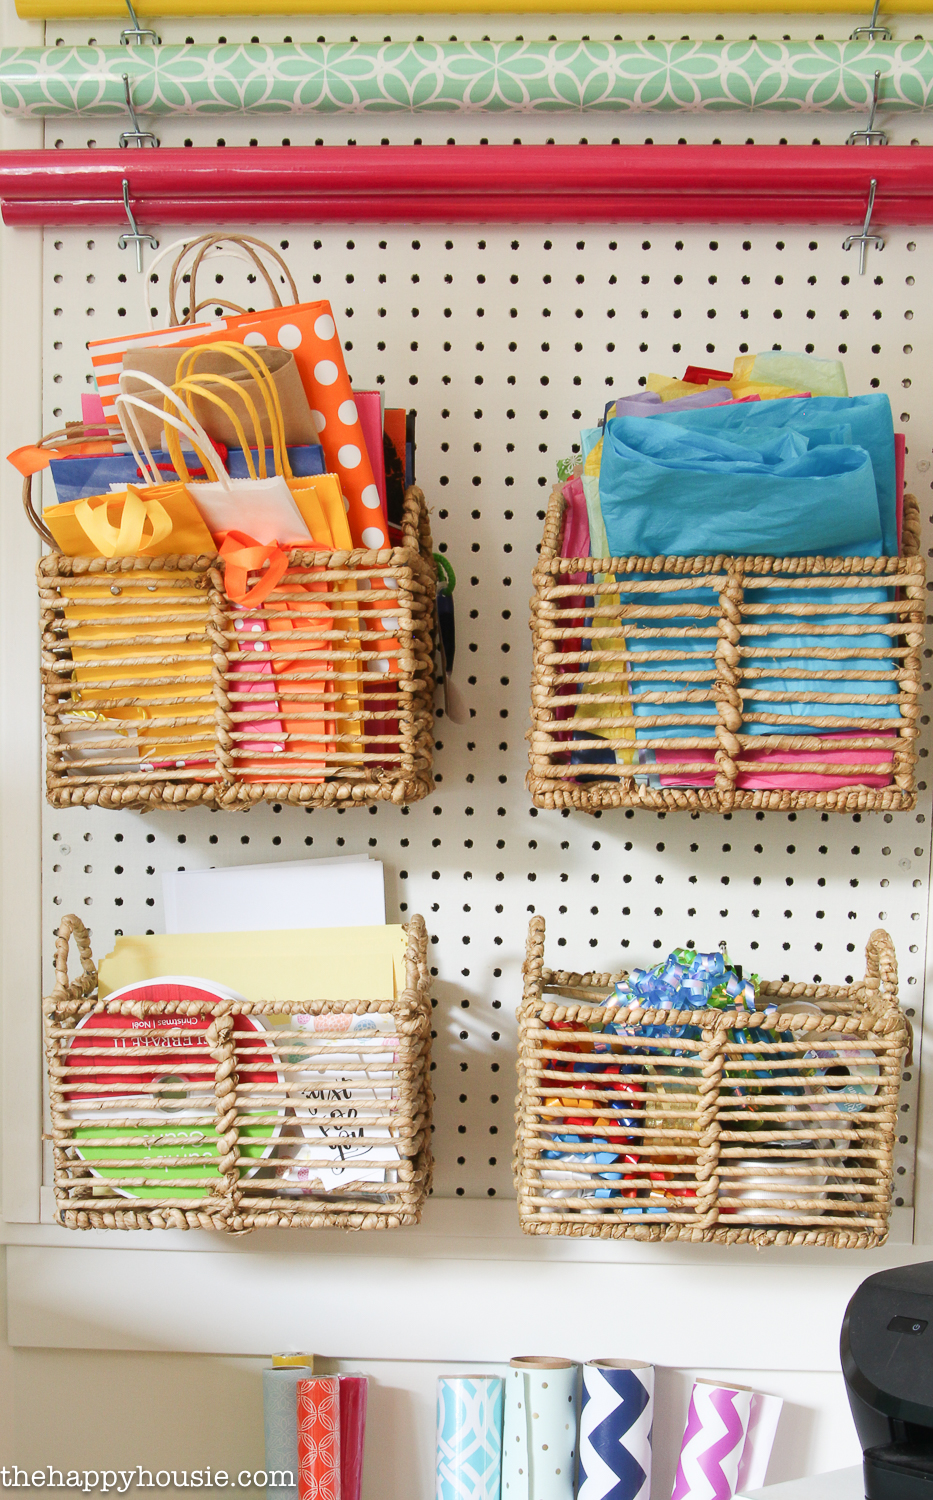
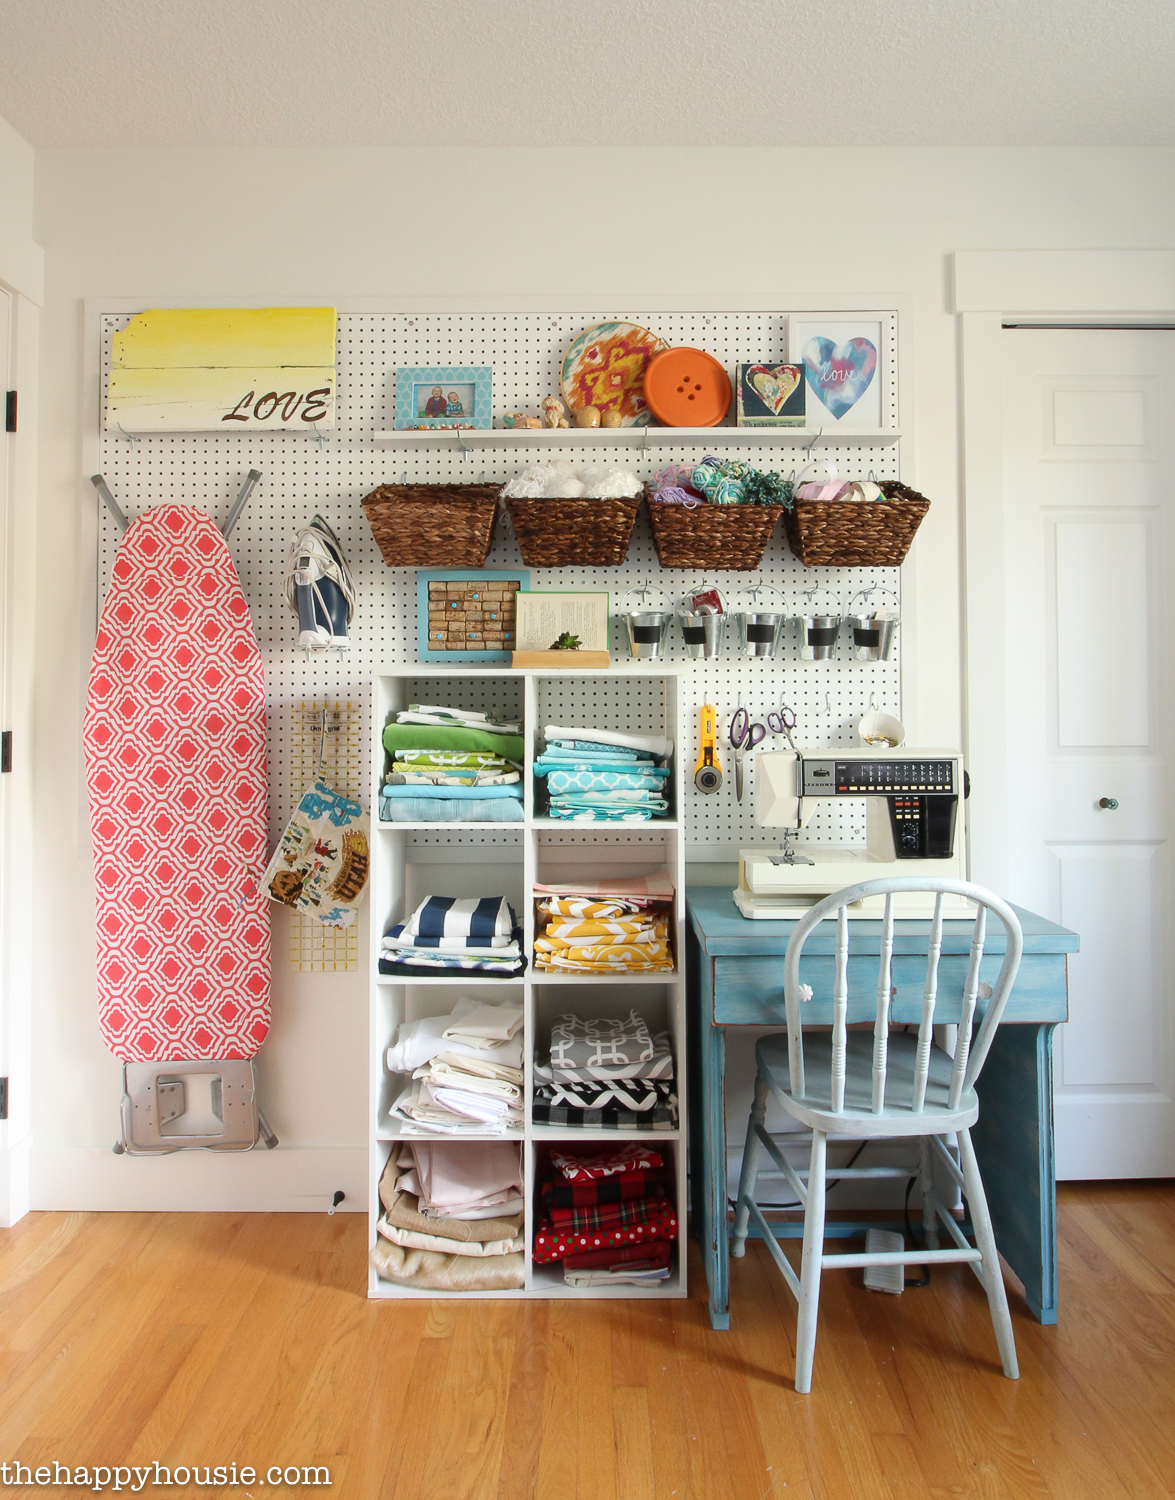
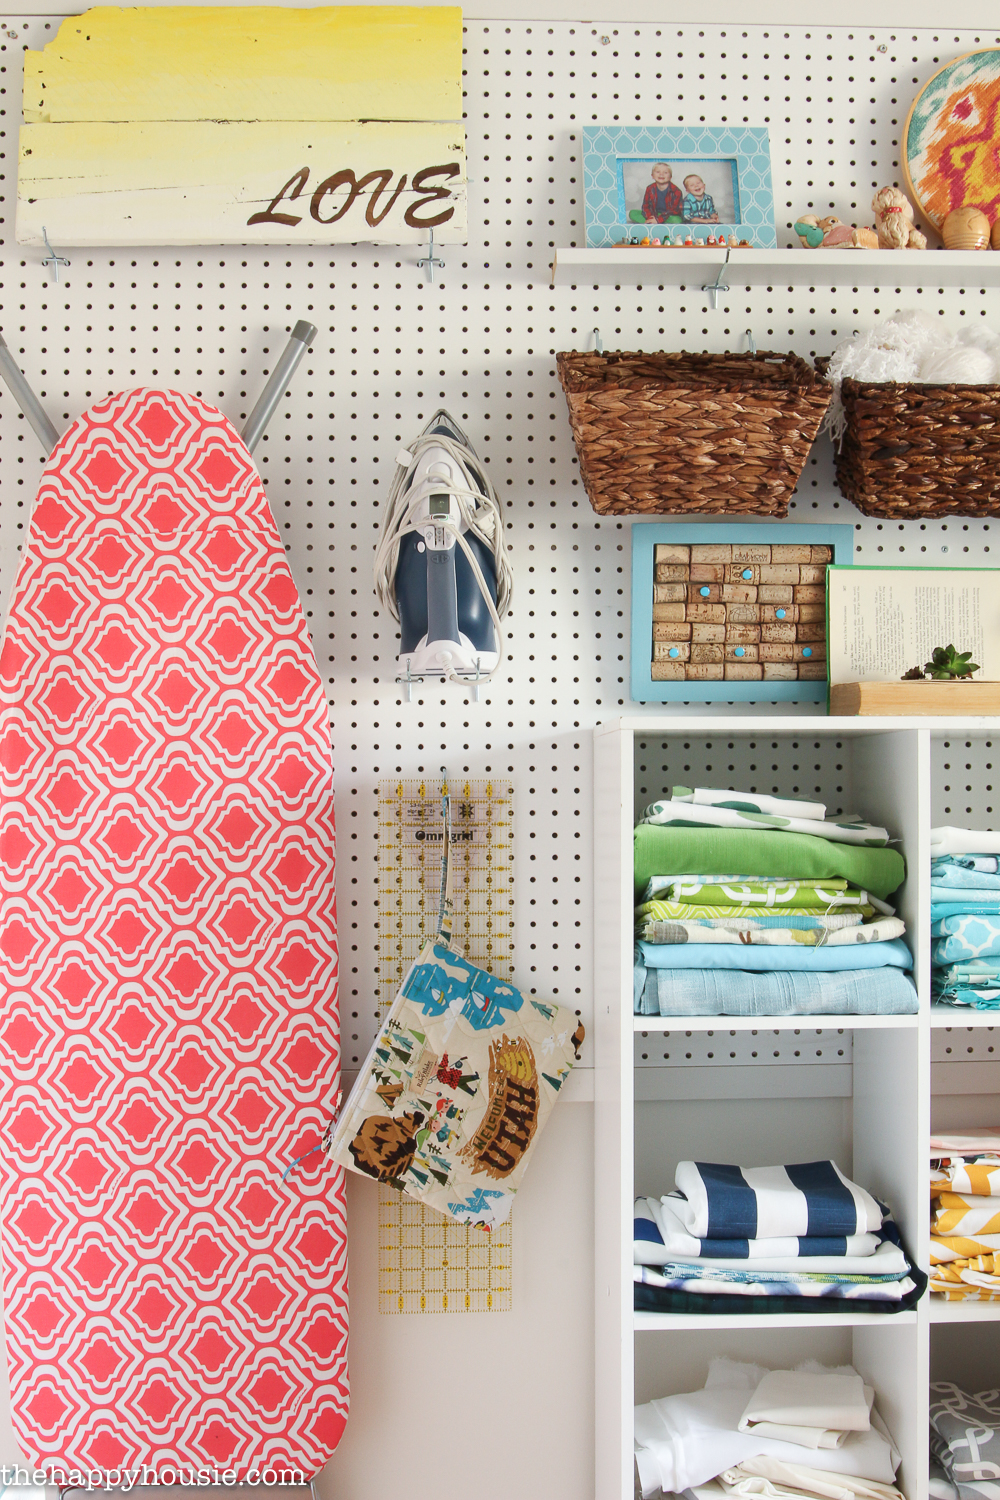
I had previously created pegboard organizers and baskets to create wall storage – one is a gift wrapping station and it’s the perfect use of this funny angled wall (it used to be a glass block window and we covered over it!).

I have another dresser (that I made over in this post) along with a garage sale hutch top that provides lots of storage space for extra wrapping supplies, gifts that I keep on hand, and my boy’s craft papers and books.
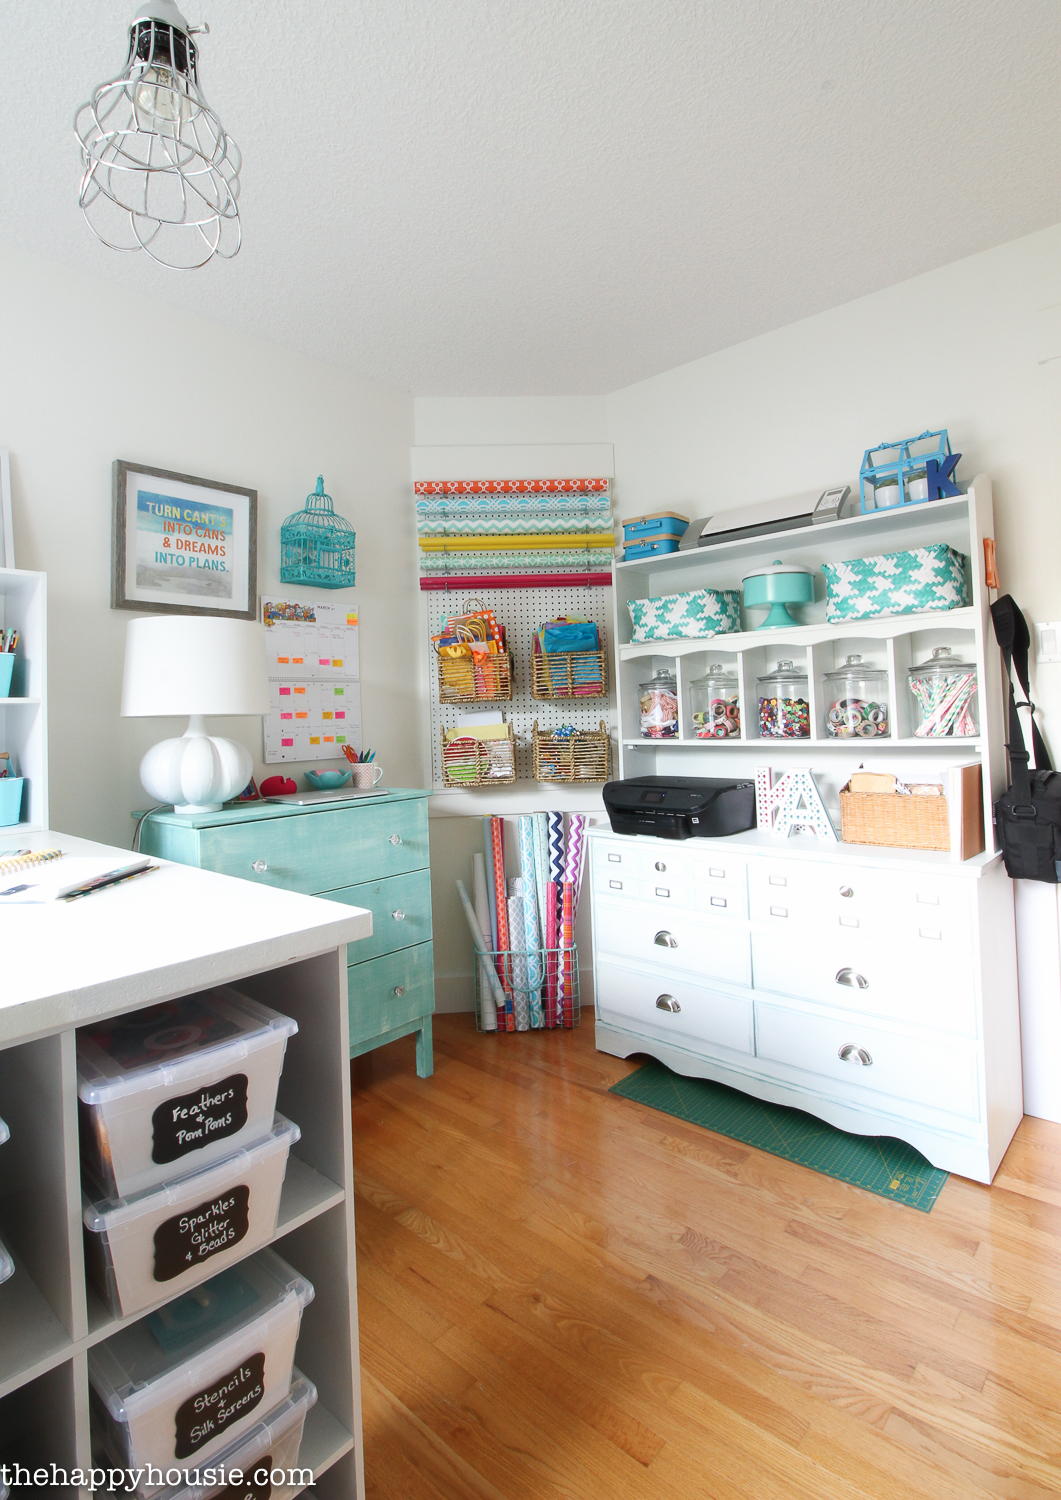
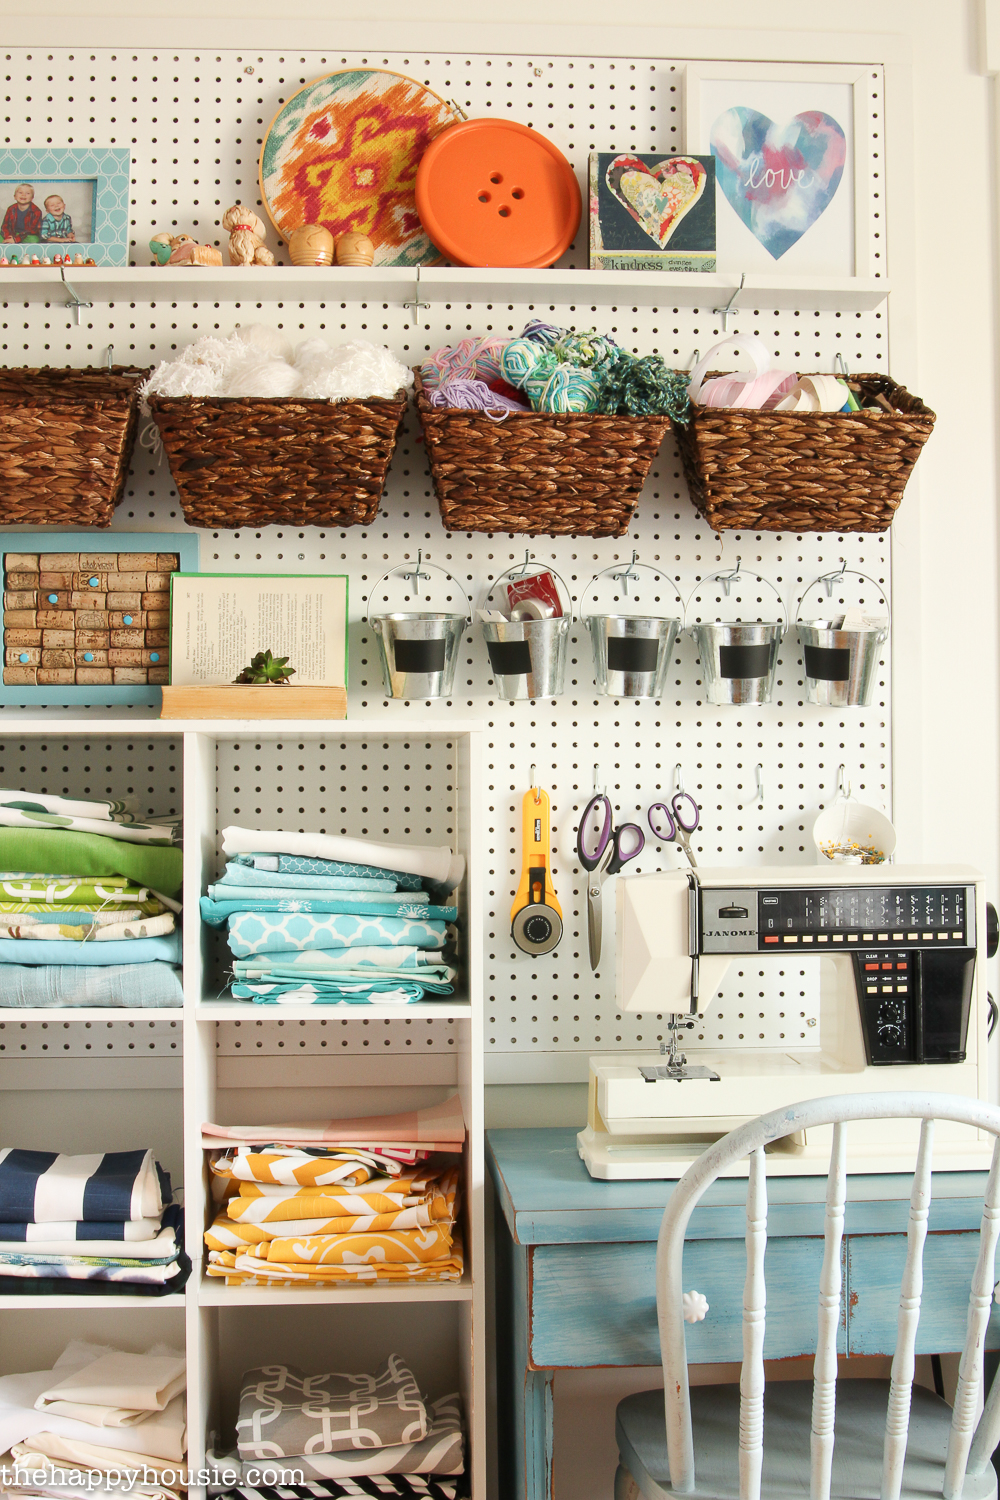
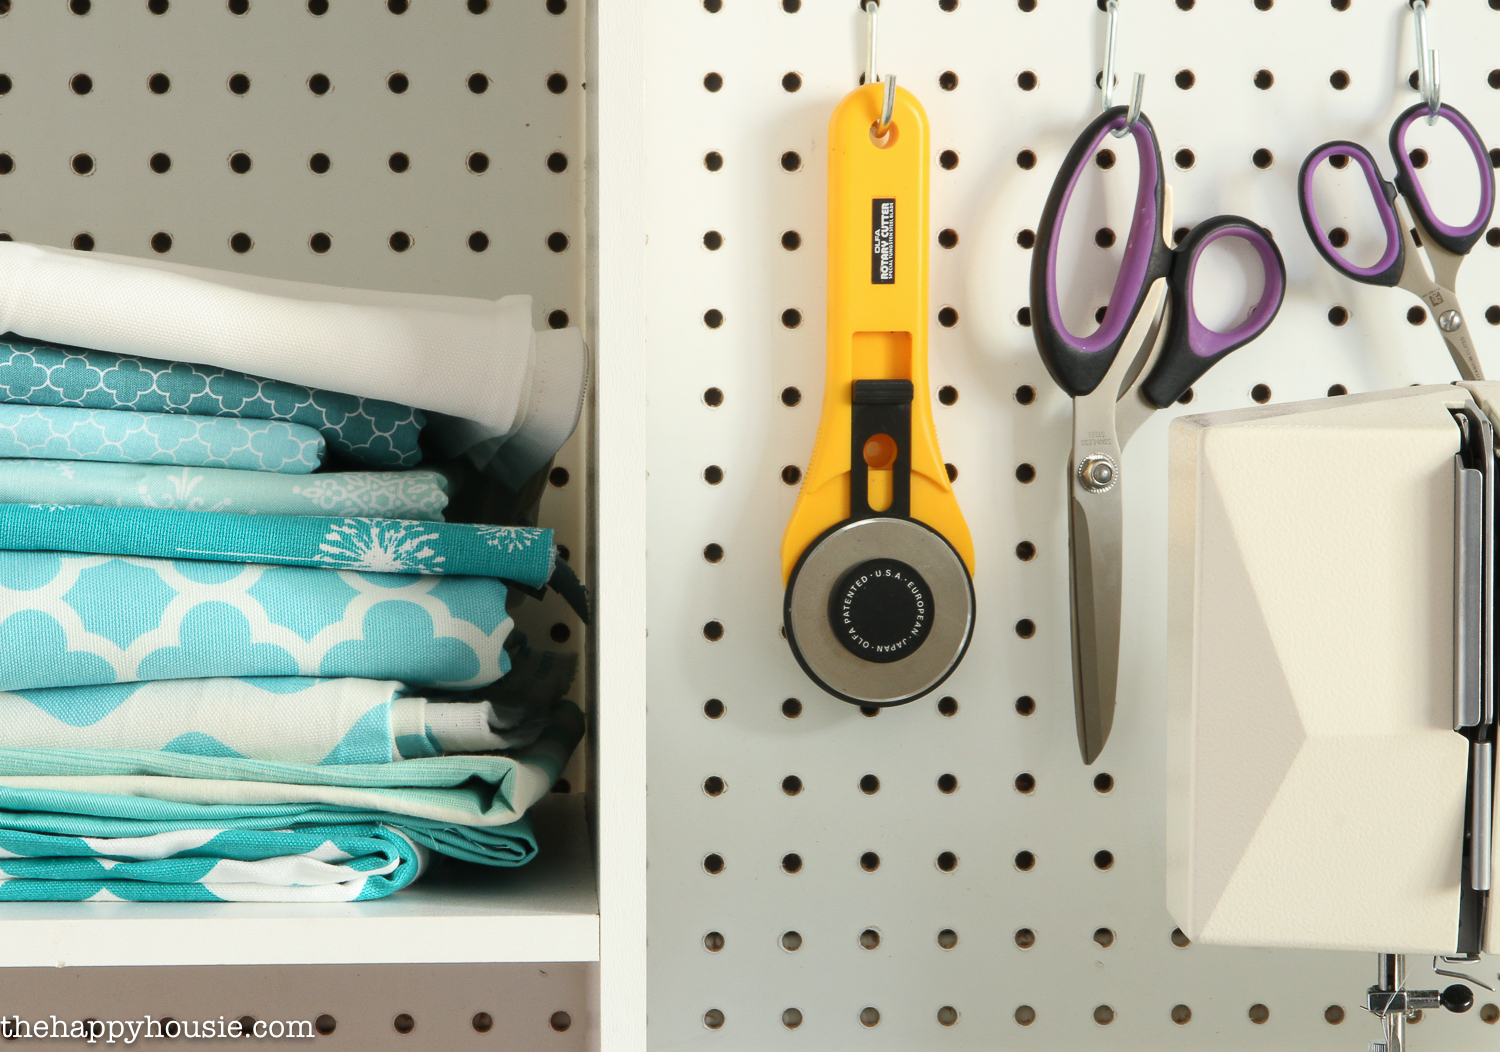
I also have a giant wall organized above my sewing desk, and I’ve added another storage cube for holding my fabric. Fabrics used to live in the long wall cabinet that I purged and removed to open up the floor space; and I have to say that I love the new change of having them all on display! This way I don’t forget what I have.
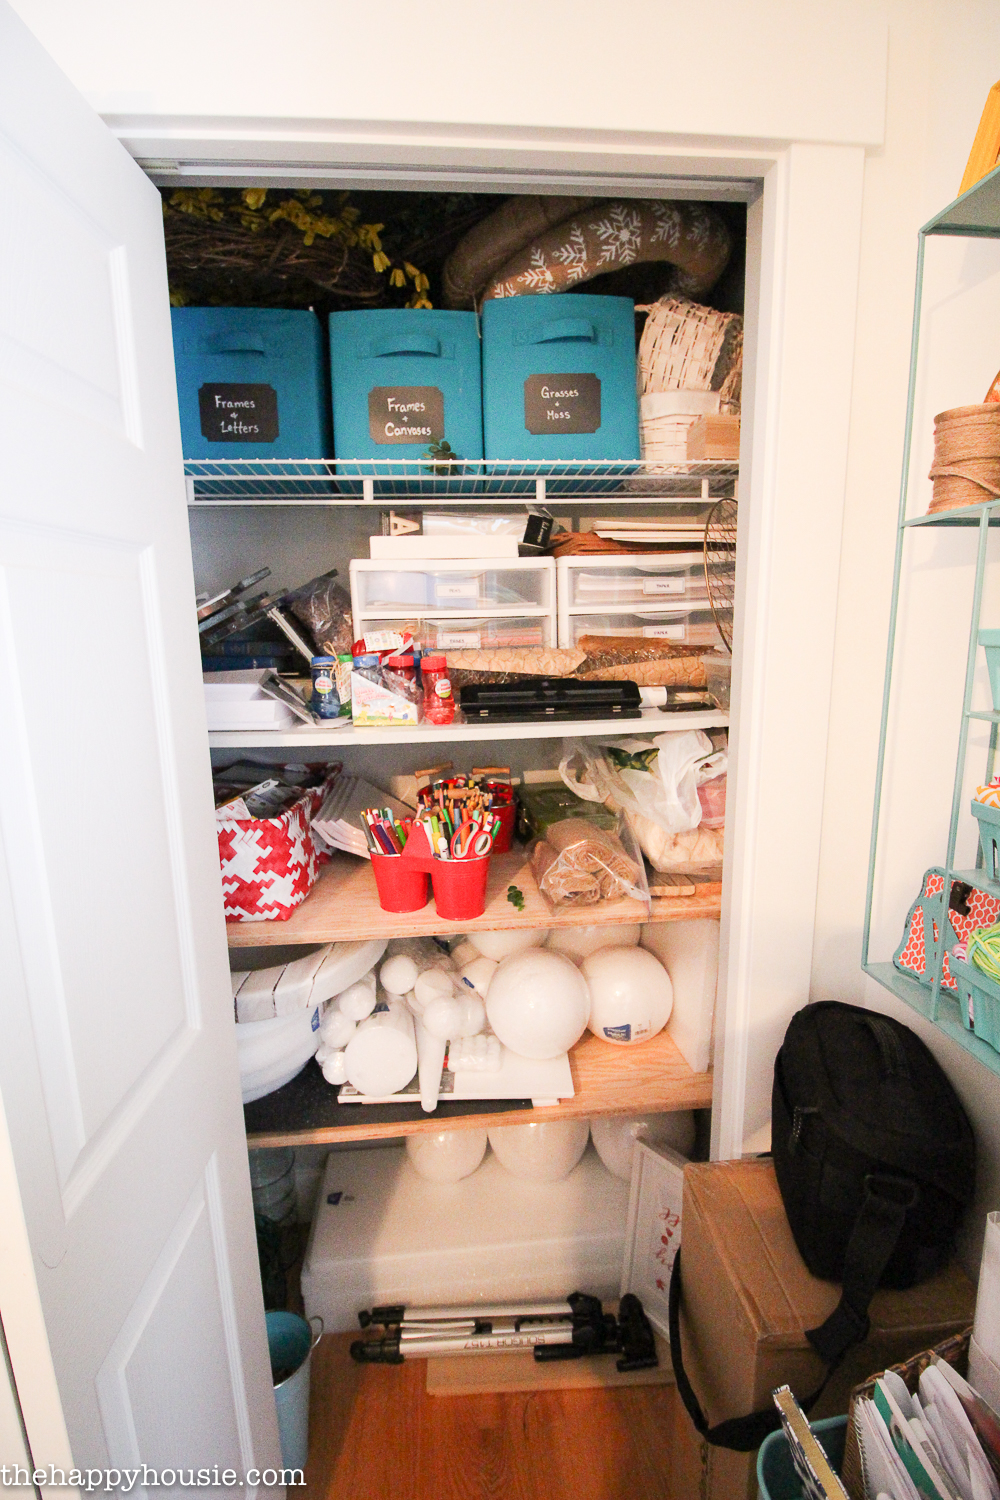
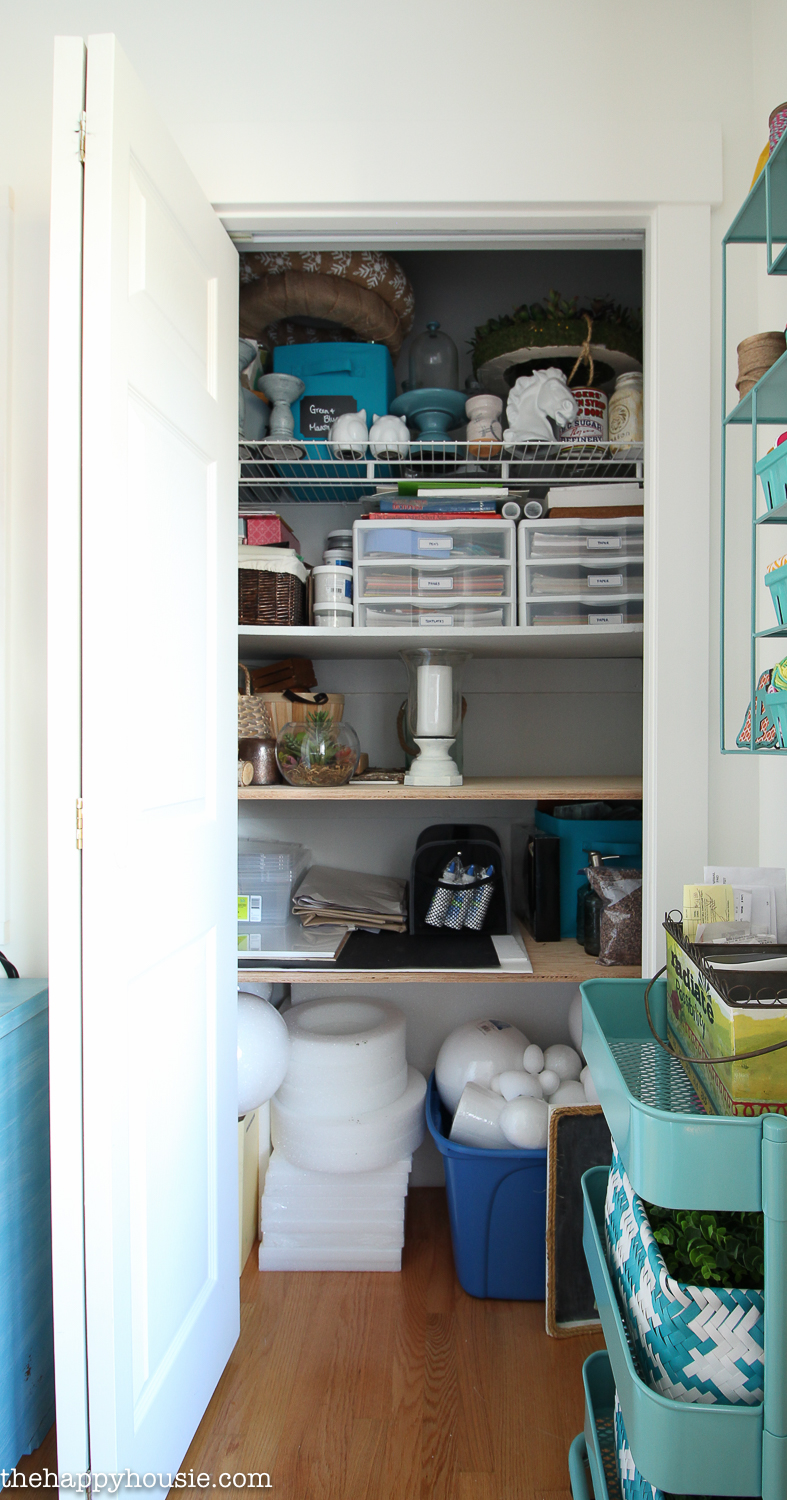
My little Ikea rolling cart has some craft supplies that I moved out of the closet…

I also completely re-organized the closet and freed up a ton of space, not only through the purge but by grouping things properly instead of just throwing everything into it. It’s not as pretty as the rest of the room, but that’s what a closet is for, right? Storing things that you want hidden behind closed doors!
And there we have it!
My purged – re-purposed – re-organized and once again functional craft room workspace! I love it, and really enjoy having the work table oriented towards the window as well. I hope I’ve given you some good ideas for craft and decor storage in your home.
Want to remember this?
If you are looking for more organizing ideas, inspiration, and step-by-step how-to’s then head over to my main post for this ten week challenge!
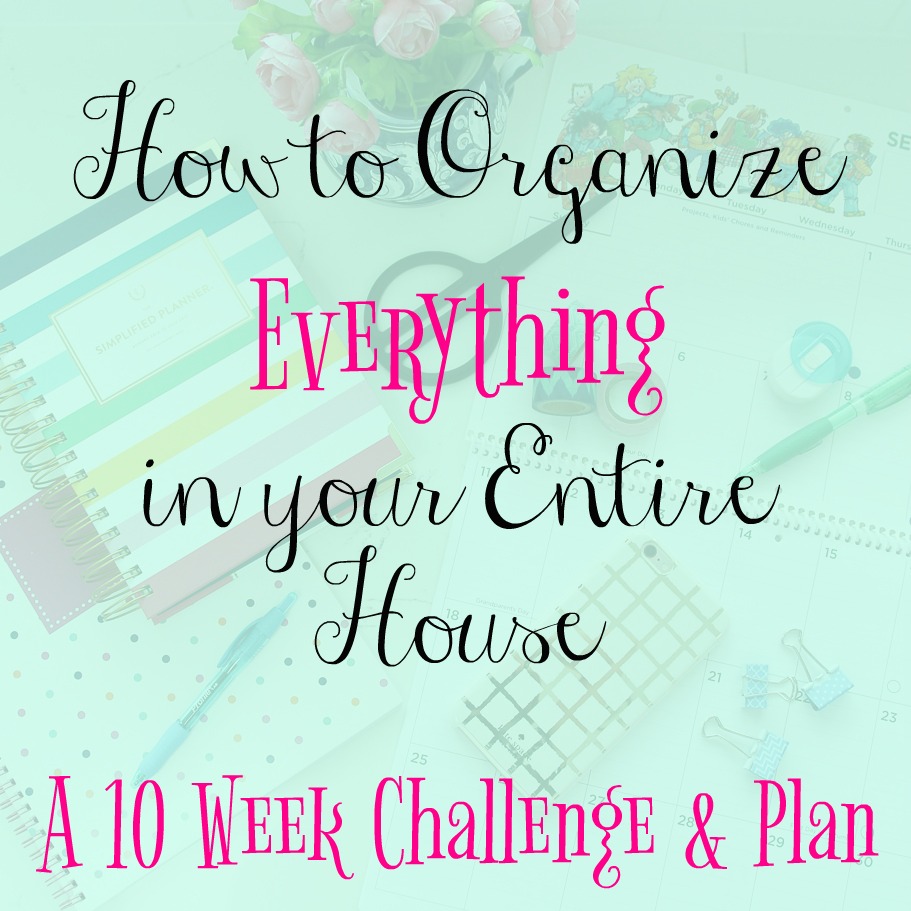
Join the challenge!
Sign up to have The 10 Week Organizing Challenge sent to you weekly!
Head over here to read more about the 10 week organizing challenge!


Love these ideas! You have everything organized so neatly; I will definitely be using this as inspiration!
Did you make the 3d letters? If so, could you share the svg file?
I haves 12 x 15 sewing room with huge windows on two sides, 15 & one 12 ft. . A full wall closet and entry door on the other 15 ft wall. I have a full 12 ft quilting machine and need help in getting some kind of cuttin, ironing, storage movable table in there. Any suggestions?
Thank you so much for sharing these ideas and photos! I am currently trying to combine my home office space with all my craft room stuff into one tiny room, as my adult daughter has moved back into my “Guest Room/Craft Room”. Ugh. I really needed this inspiration this morning. I think I need to purge more first.
Thank you again!
FYI you can get RASKOG utility cart at Ikea for $24.99 instead of $80.+ from Overstock:
http://www.ikea.com/us/en/catalog/products/90333976/
Organizing is a skill that not everyone has. You have it in spades! I love your jars! Thanks for sharing #HomeMattersParty
Jeannee
I’ve tried to sign up but never get the e-mail to finish.
I appreciate your post. I have been looking for guidance on where to put my things, and you’ve helped alot. Tks.
Well, you totally A-ced this task. What a super room, available for just about anything—only needs a mini bathroom and fridge, and I would never leave. Great Job! Sandi
Hi Krista! We just wanted to let you know that we loved your post on How to Organize a Craft Room so much when you shared it at the #homemattersparty last week that we are Featuring it this week! Please check it out when you have a chance here http://ourcraftymom.com/home-matters-linky-party-129/
Michelle-Our Crafty Mom
I love your craft room! I have the Ikea cart as well – I couldn’t resist the teal! That is my favorite color! In my craft space I struggle with cohesiveness as I like red, navy and (if the other two choices aren’t available,) hot pink! It tends to create some interesting battles for visual attention!
If you have your cutting mat on the floor to store it flat, personally, I wouldn’t worry about it. I have mine stored behind my craft cabinet and it is just fine when I pull it out to use it, but my quilting mother would probably yell at me if she knew where it was. I used to keep it back there with a rigid piece of paneling for it to lean against. Otherwise, I’d drill a hole through it on the short side in the center and find a place to hang it if I thought the bending would be a problem. Anyhooo…
Enjoy your fun, crafty space! I love your use of baskets (esp. the giftwrap ones) and your adorable “K” and “A” too – those happen to be my girls’ initials!
Your reorganization looks like it gave you a lot more room to work!
What a cool space! I love all the colors. Bright & pretty! Pinned & Sharing on FB. Thank you for sharing on Merry Monday! Have a great week!
Kim
fabulous looking craft room, love everything you did in this room, it’s completely and perfectly organized-stealing some ideas and pinning! Thanks, great post
I’m lucky enough to have a small craft room, but YOURS is my dream craft room!!! My favorite ever! You did a great job, wanna come give mine a make over?