
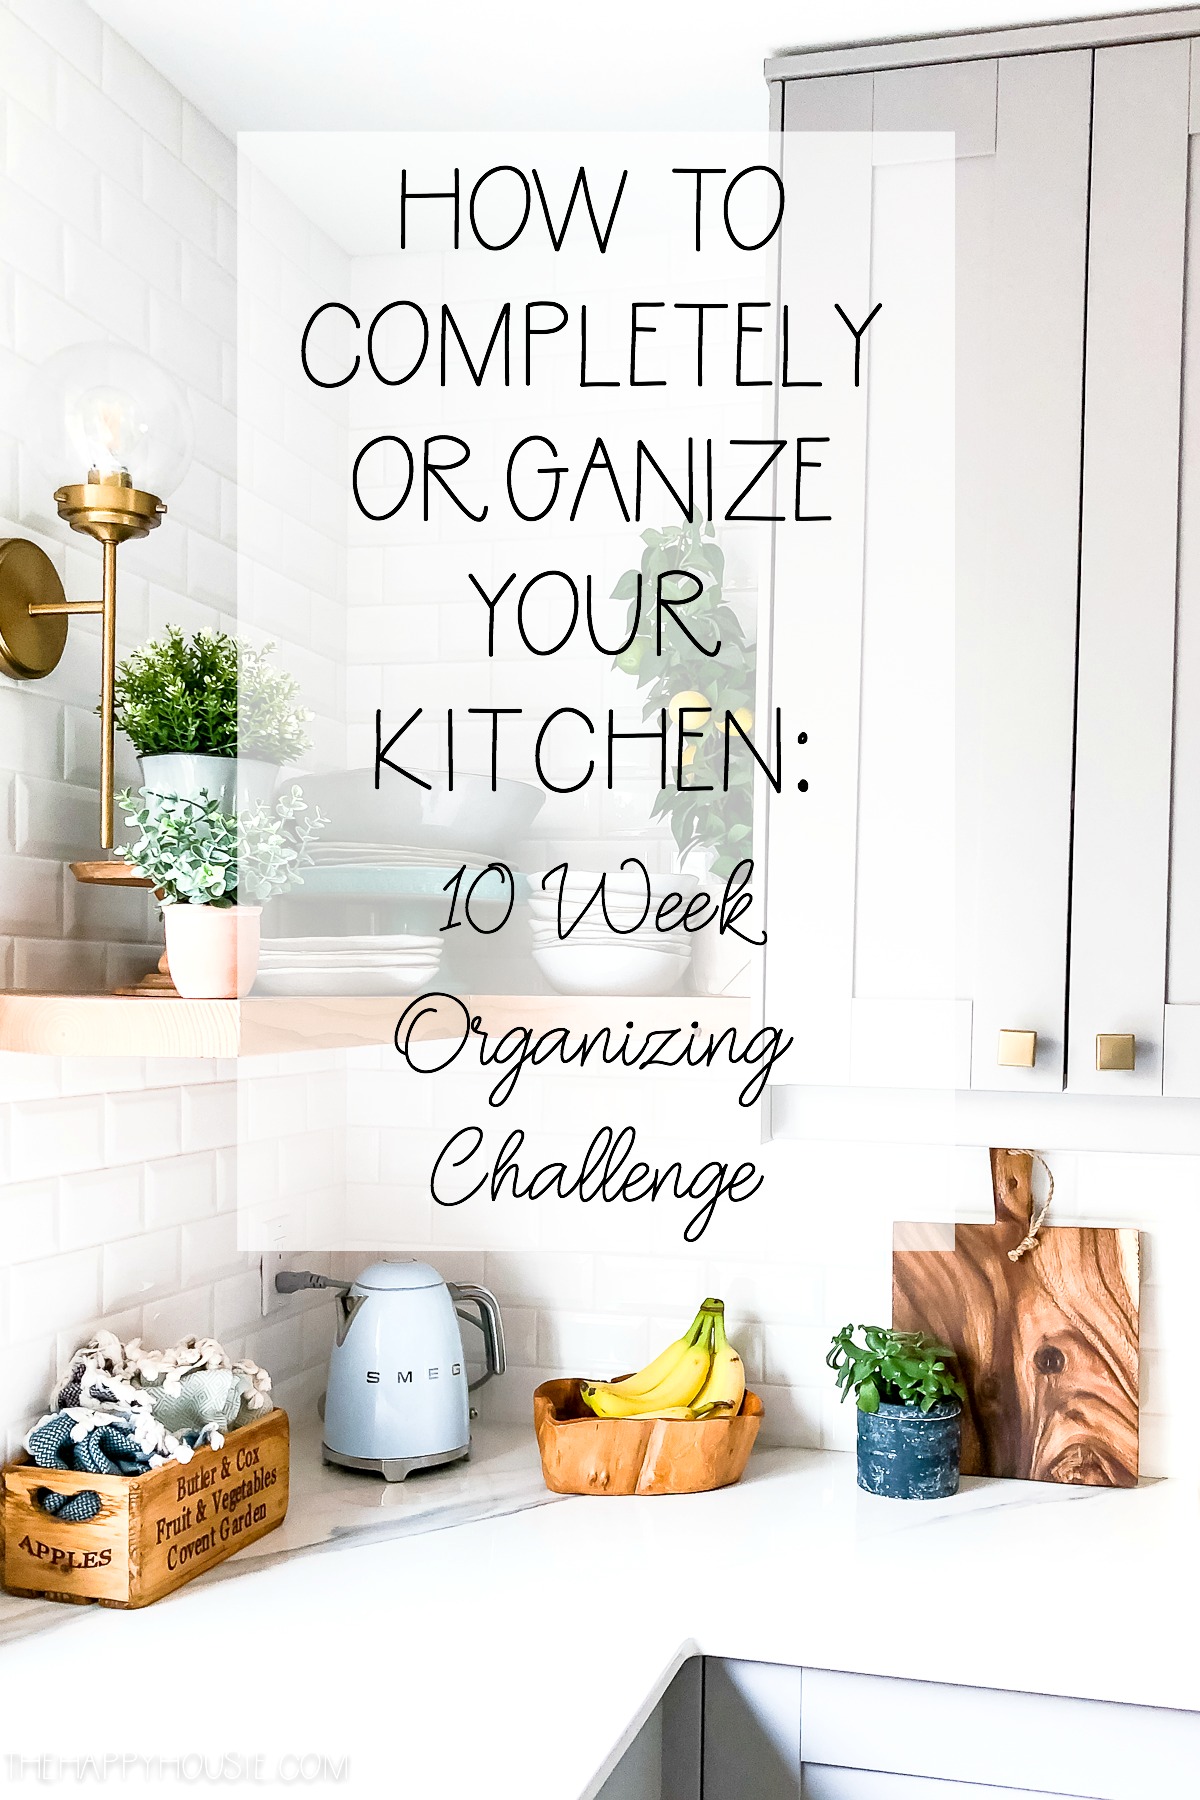
How to Organize Your Kitchen and Pantry in 6 Simple Steps
Today I’m sharing how to completely organize your kitchen including your pantry with 3 simple and easy steps to an organized kitchen as part of the 10 Week Organizing Challenge
Welcome to Week Two of the 10 Week Organizing Challenge. This week we are tackling the kitchen!
There is no doubt about it. Organizing your kitchen is a big project. There is so. much. stuff! Kitchen cabinets and drawers full or dishes, utensils, pots and pans, appliances… a pantry full of food as well as your fridge and freezer. But the return on your time and energy investment in the kitchen might be higher than in any other space in your home. By purging down to essentials that you need and setting up systems that allow your kitchen to be a highly functional workspace on a daily basis you can truly make a huge difference in the comfort and ease of your day to day life.
I advise setting aside a few hours for this week’s focus as you want to be able to get it done in one fell swoop. Alternatively, you could tackle your cabinets/drawers/cupboards one day and then do the pantry/fridge/freezer the next. You will also want to have some boxes ready for items you purge (that can be donated or sold) as well as a big garbage bag for those things you toss.
Step One: Identify Your Problem Areas
Which parts of your kitchen are overcrowded? Not functional? Not accessible? And/or just generally not working well for you on a daily basis? For us, it was our pantries, our tupperware drawer, our glassware cabinet, and the lower cabinets around our beverage centre. The other areas were working quite well from having just unpacked and organized the kitchen in July (after the renovation was finished), and I just needed to do a few little tweaks and tidy up those cabinets and storage areas.
Step Two: Pull Everything Out
You need to see everything so that you can follow the next steps (purging and sorting into like groups).
I did this in a couple of sections, since my main area of concern (the pantries) contained an enormous amount of stuff. So I started by pulling everything out of our pantries and followed the remaining steps to organize the pantry before moving on to pulling everything out of the other drawers and cupboards that weren’t functional.
Step Three: Purge
Get rid of anything you don’t use, need, love, or that is out of date. When it comes to the pantry (and your fridge and freezer) make sure to check dates on everything.
I was amazed at how much food we were still storing that had unfortunately out-dated and needed to be tossed. I had done a good sized purge on our kitchen cabinets when we moved and then again when we put everything back after the renovation, so my purge wasn’t huge in the second part of the kitchen project.
Step Four: Group Like Items Together
Again, it’s best to separate the food organization from organizing the rest of the kitchen so that you have the physical space to group all of the like items together. All of your pots and pans in one area, your dishes in another, glassware in a third. Utensils, small appliances, mixing bowls, cutting boards, baking sheets and dishes, cleaning supplies etc. etc. Everything of one type should be stored in the same area of your kitchen for best functionality. The same goes with your pantry. Sort things by themes that suit you (I shared more about how I organized our pantries further down in this post).
Step Five: Rethink Your Positions and Assign Everything a Home
Were things being stored in areas of the kitchen that made the most sense? Were the most used things highly accessible to you? Think about the way that you prepare food and cook and use your kitchen on a daily basis and make changes, if needed, to which cabinets and drawers you are storing things in.
Step 6: Assess Your Storage Needs and Purchase Organizers Accordingly
Once you’ve decided where things should go, you may want to purchase (or shop the house for!) some organizing containers or baskets to help you sort things. I found this especially true in our pantries in order to sort food into like-groups, and in our tupperware drawer.
Here are a few of the before/after pictures I took of my recent kitchen re-organization project…
This cabinet is one of the only upper cabinets that we have, so we use it for our day to day glassware, as well as thermos cups, napkins, straws, and then less used items way up on the top shelf (which I need a chair to access). The toaster was moved to the corner cabinet with other small appliances and several other items were purged, freeing up tons of room in this cupboard!

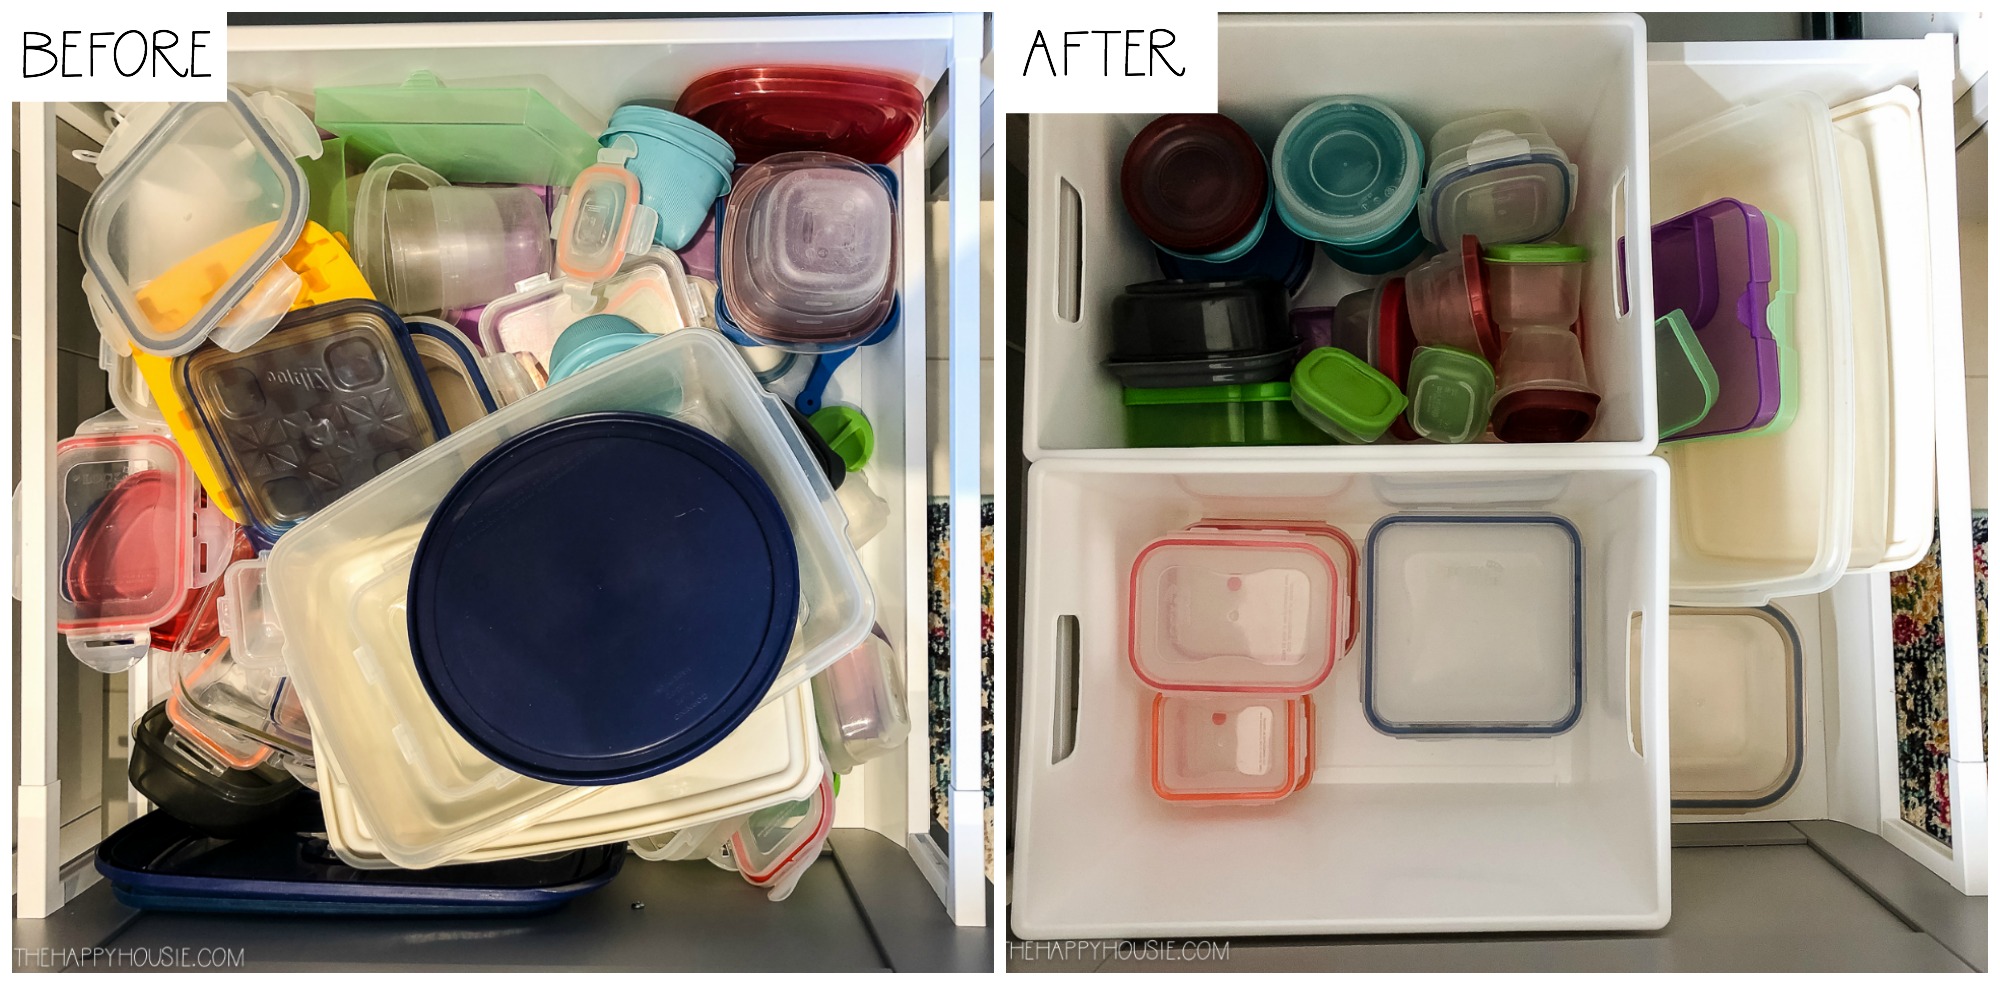
Storage Containers
The storage contain drawer had been a real sore spot for me. It used to send my stress and anxiety through the roof every time I opened it (which was a few times per day!) When I took everything out and started to sort and purge, I was shocked at how many lids we had that didn’t seem to match any container! So I bought a couple of bins to help separate the containers by size, matched each to their lid, recycled the lids that no longer had a matching container, and ta da! What a different experience putting away leftovers and making lunches is now that our storage container drawer looks like this…
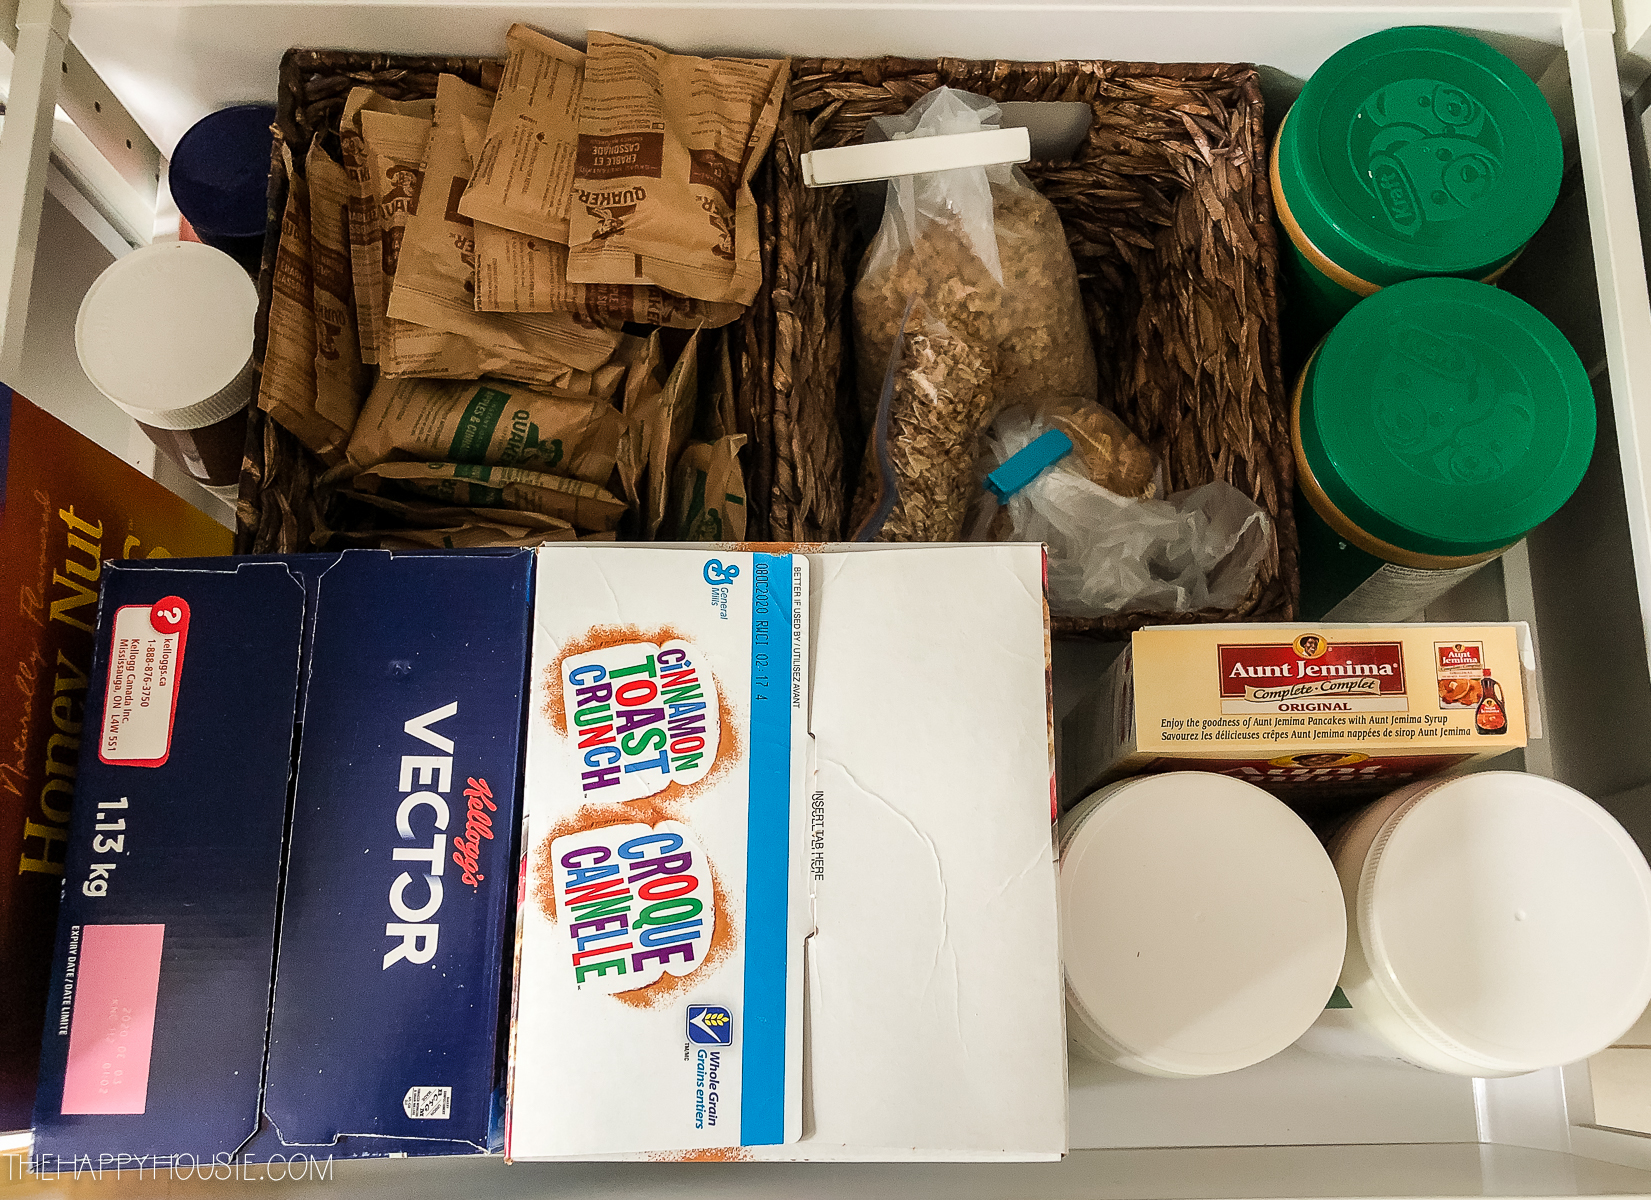
The Pantry
The pantry was probably the biggest change in my kitchen re-organization project. It had never been properly organized when we moved into our newly renovation kitchen and was a huge disaster. We just kinda threw our food into it on any shelf or drawer without really grouping things in a way that made sense.
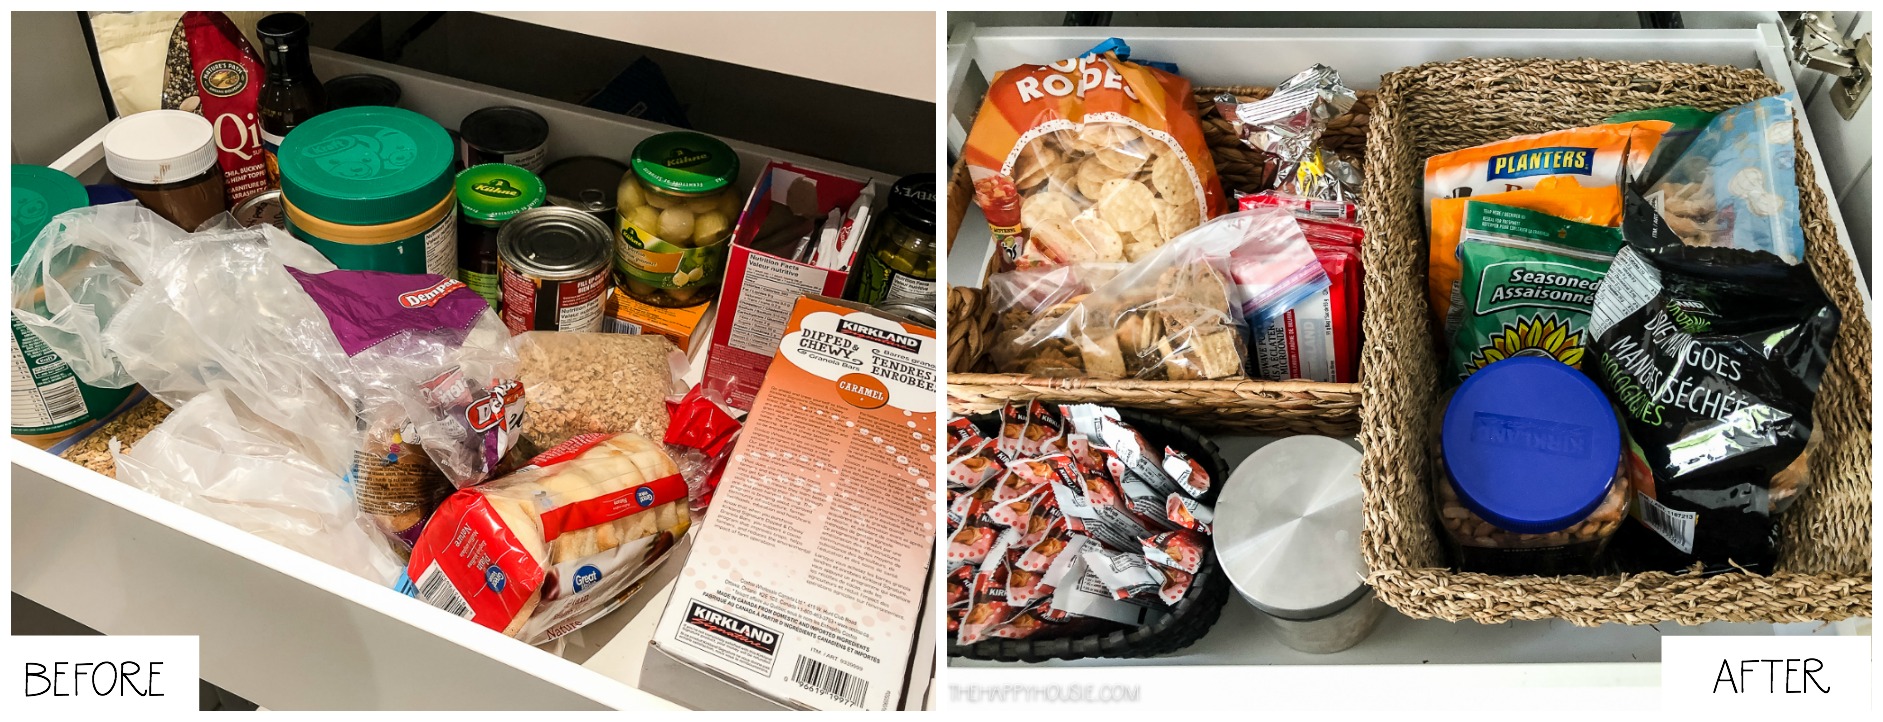
I chose to dedicate a full drawer to breakfast foods, another to snack foods, and two others to staples and dinner foods, and brought in a variety of baskets (which I already owned but wasn’t using) help me sort foods into groups.
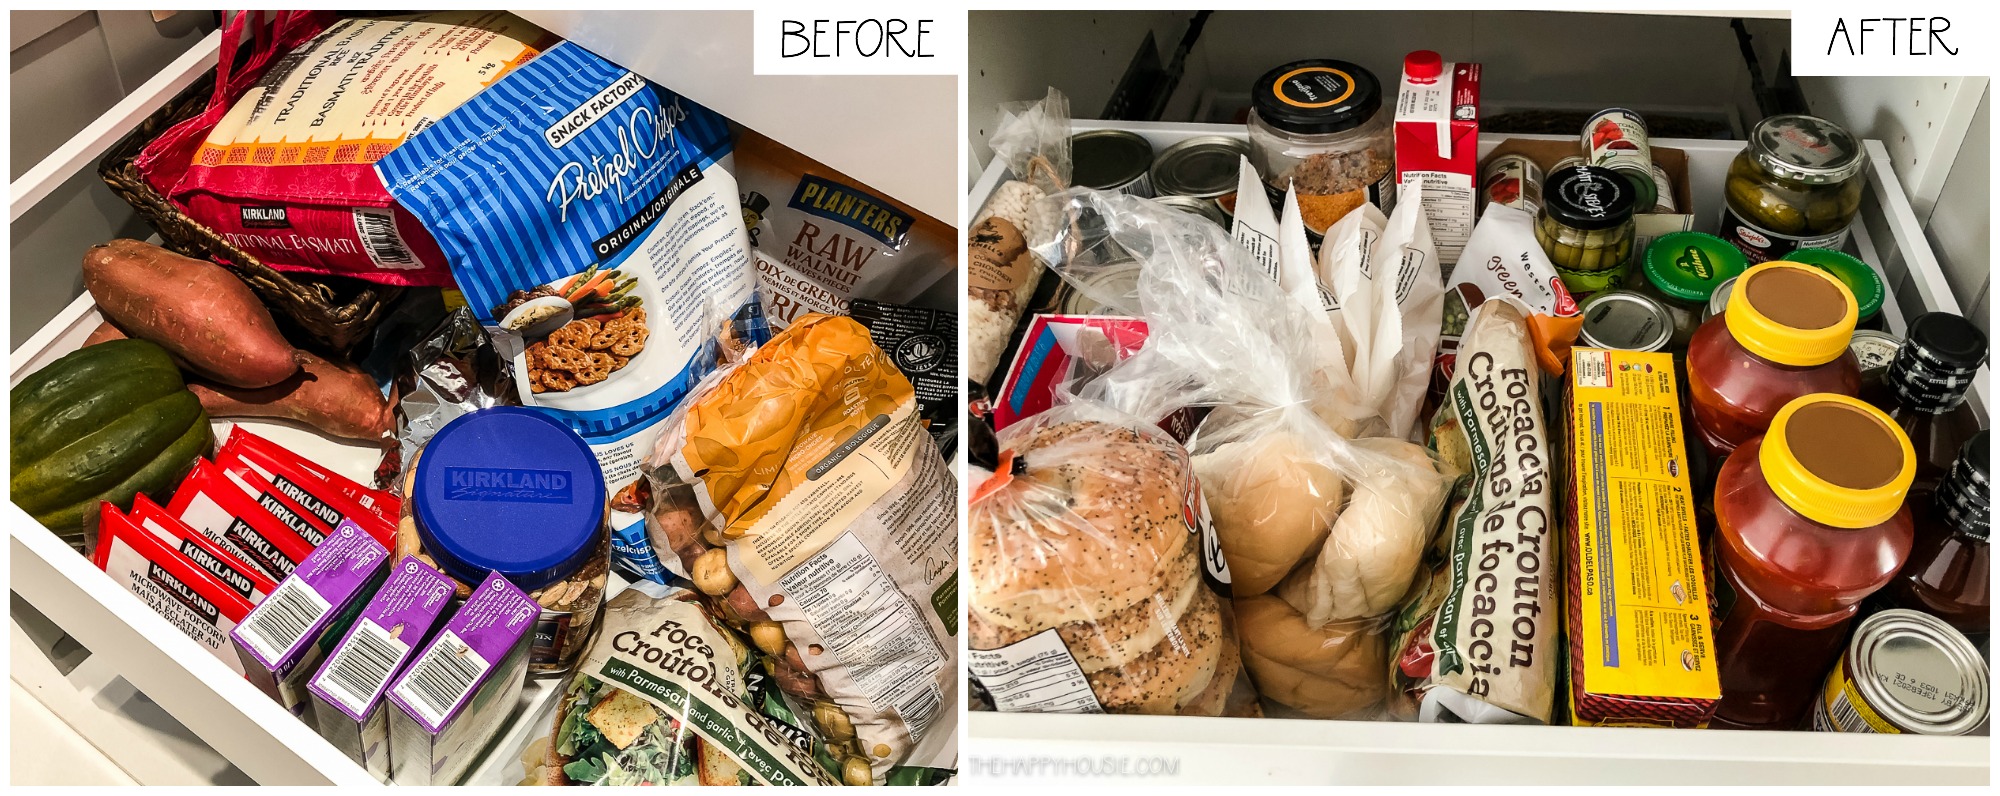
The top shelf contains our ziplock, cling-wrap, and foil. The top drawer is now dedicated to pastas, rice and grains, sauces, and fresh long-lasting produce such as potatoes, yams, squash, and/or onions.

The second drawer is a snack drawer, with a basket for chips/crackers/popcorn, another for nuts/fruit, and a basket full of granola bars. Popcorn seeds for the popper are in the glass container.
The middle drawer now holds staples and jars, soups, and bread products.
And the bottom drawer (which used to hold protein shakes and health products that have been moved to our second pantry), is now dedicated to breakfast foods so they are easily accessible to the boys…
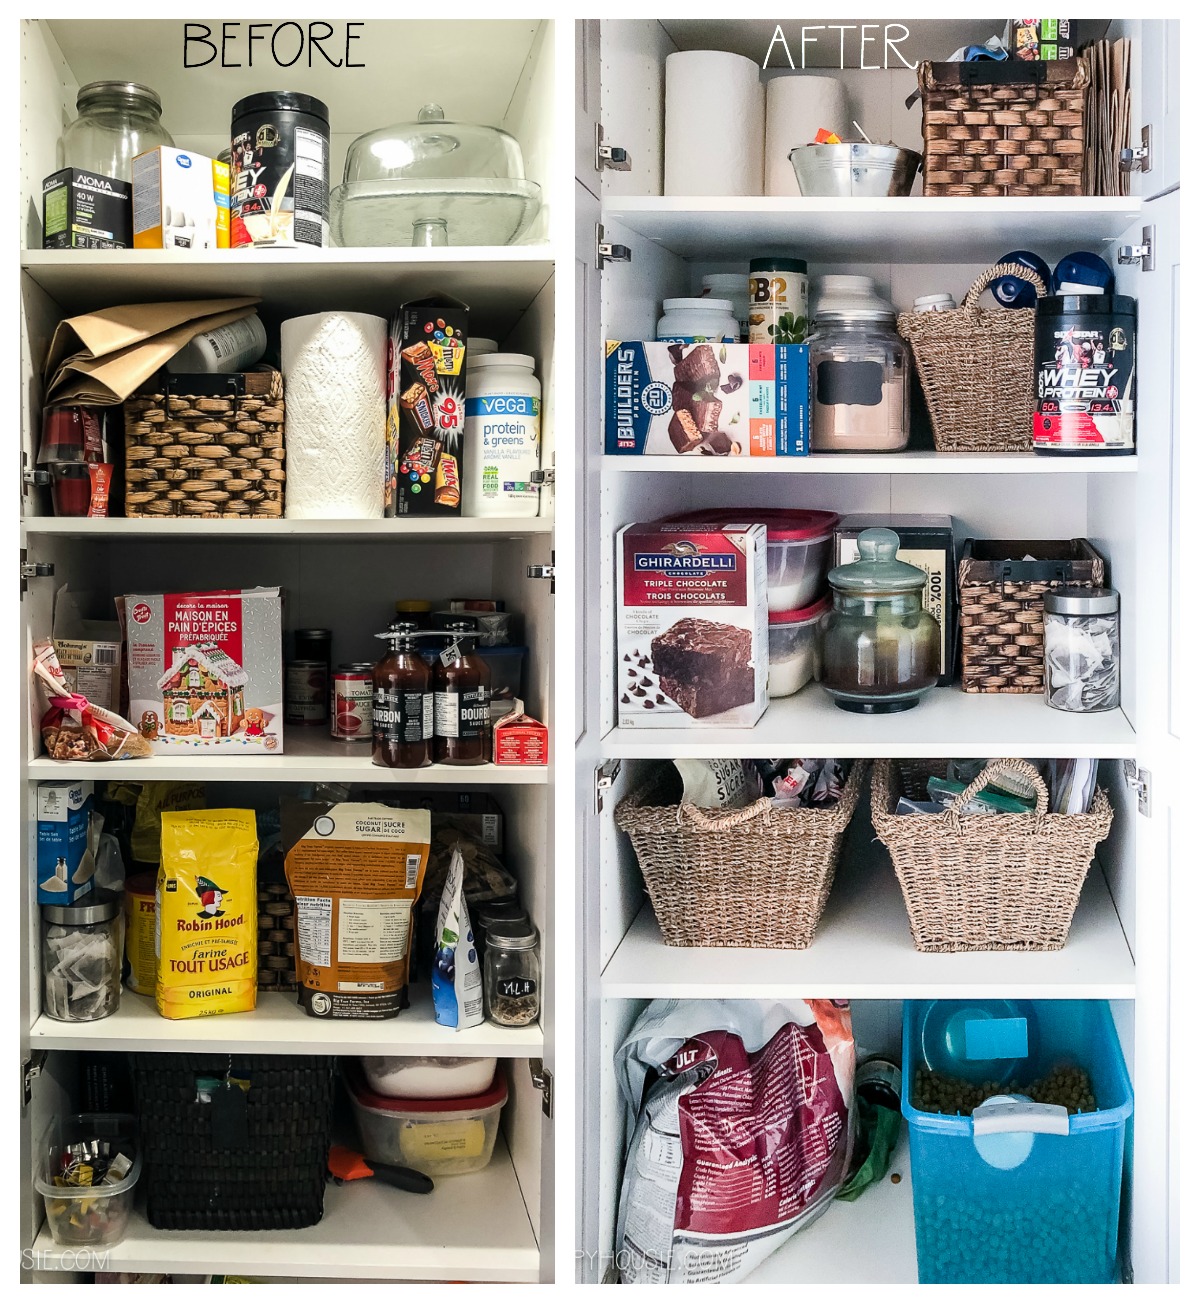
We are lucky to have a kitchen big enough for a second/overflow pantry but it was also in complete disarray. Several items were moved and incorporated into the main pantry, while some items from the main pantry were grouped and re-organized/moved to this second pantry. I grouped baking supplies in baskets on one shelf, dog food and supplies on another shelf, health foods and vitamins on a third shelf, and overflow storage (Costco items etc.) in the rest of it. It feels so good to actually know where everything is (and that everything is in date!).
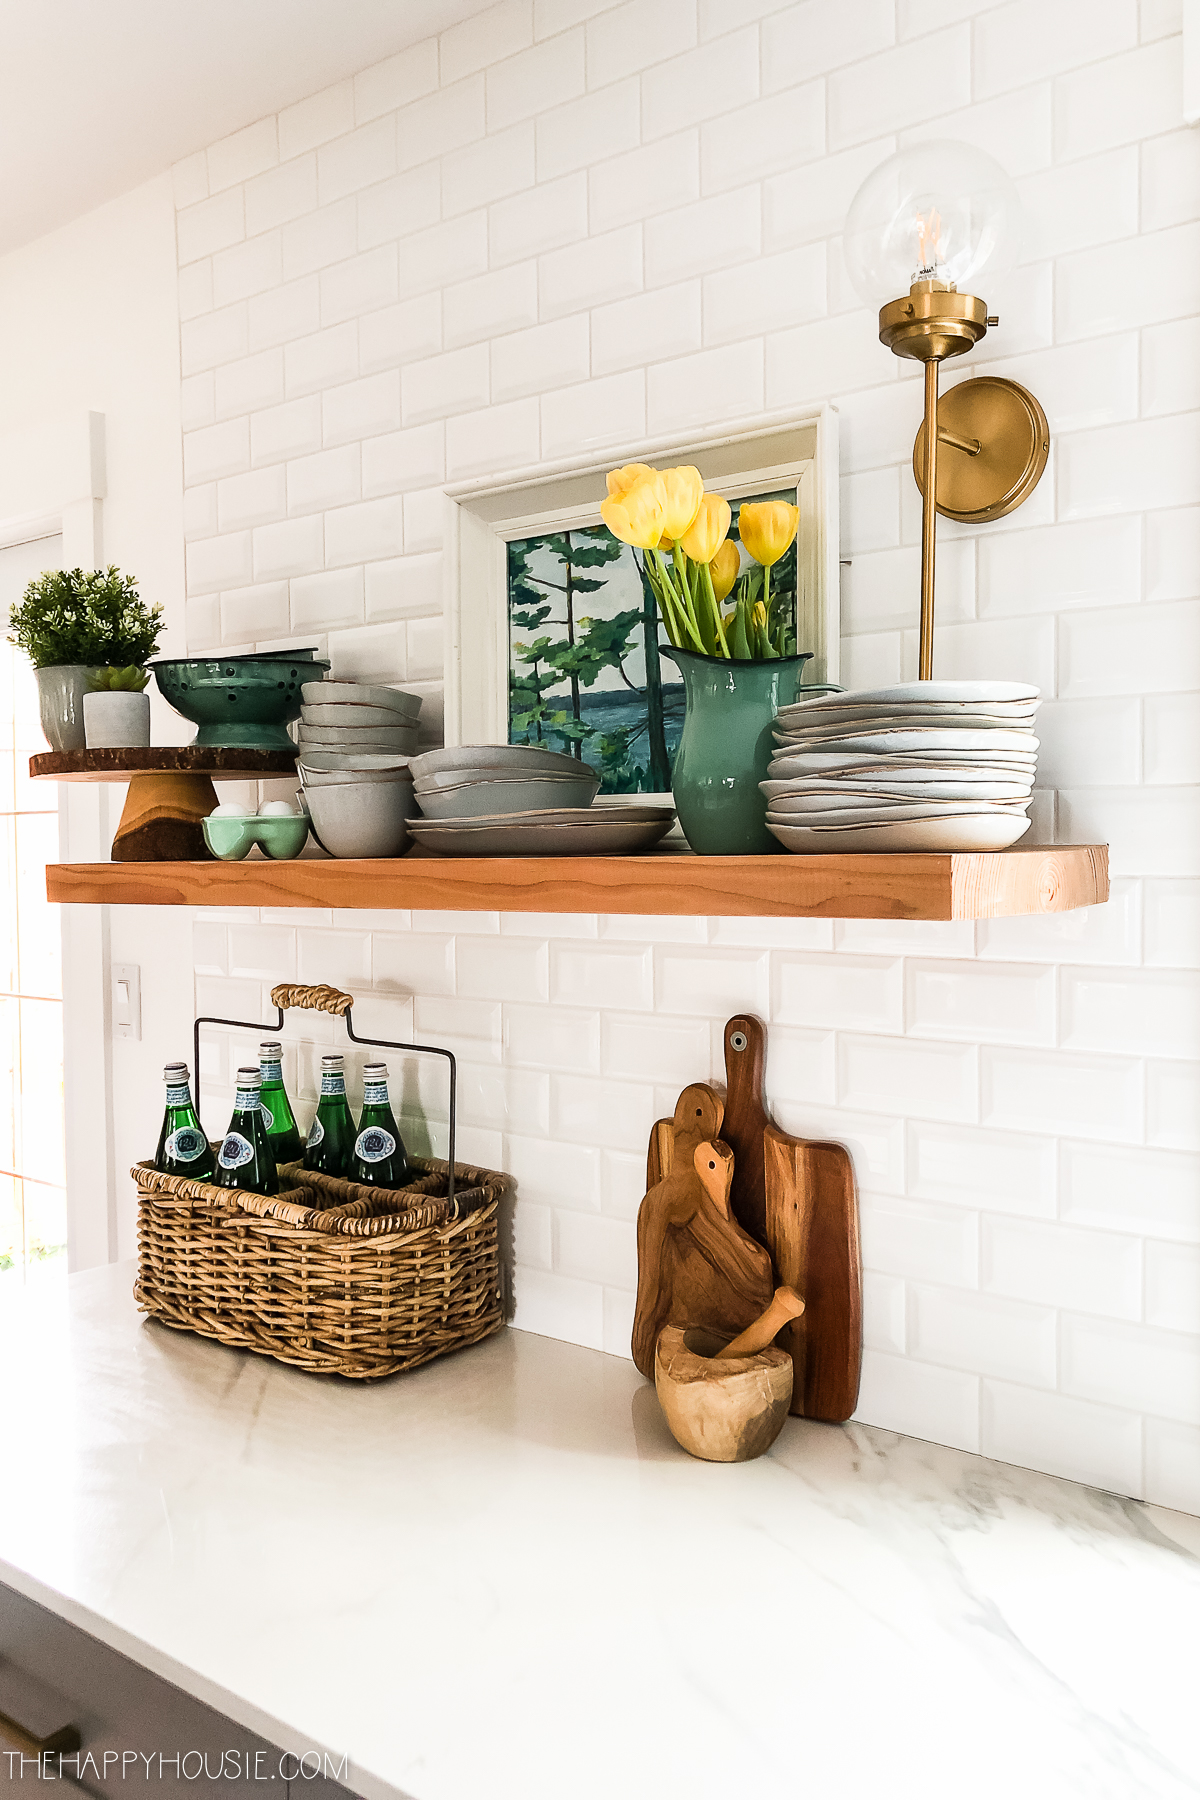
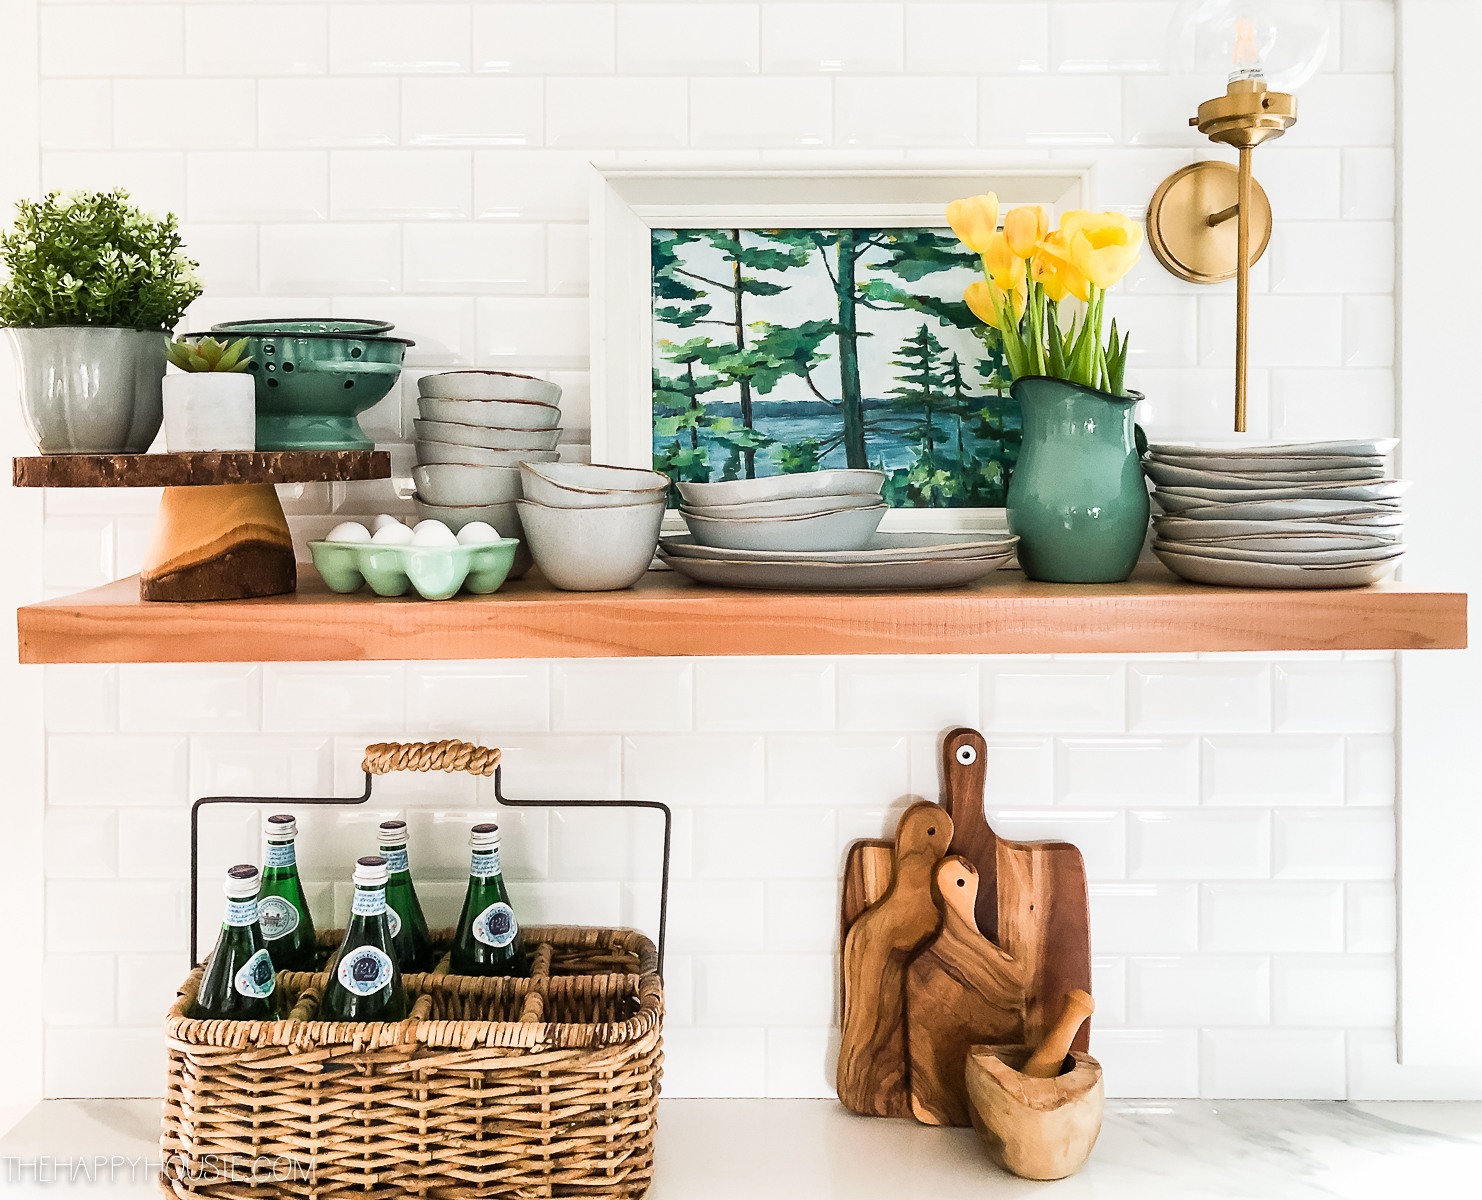
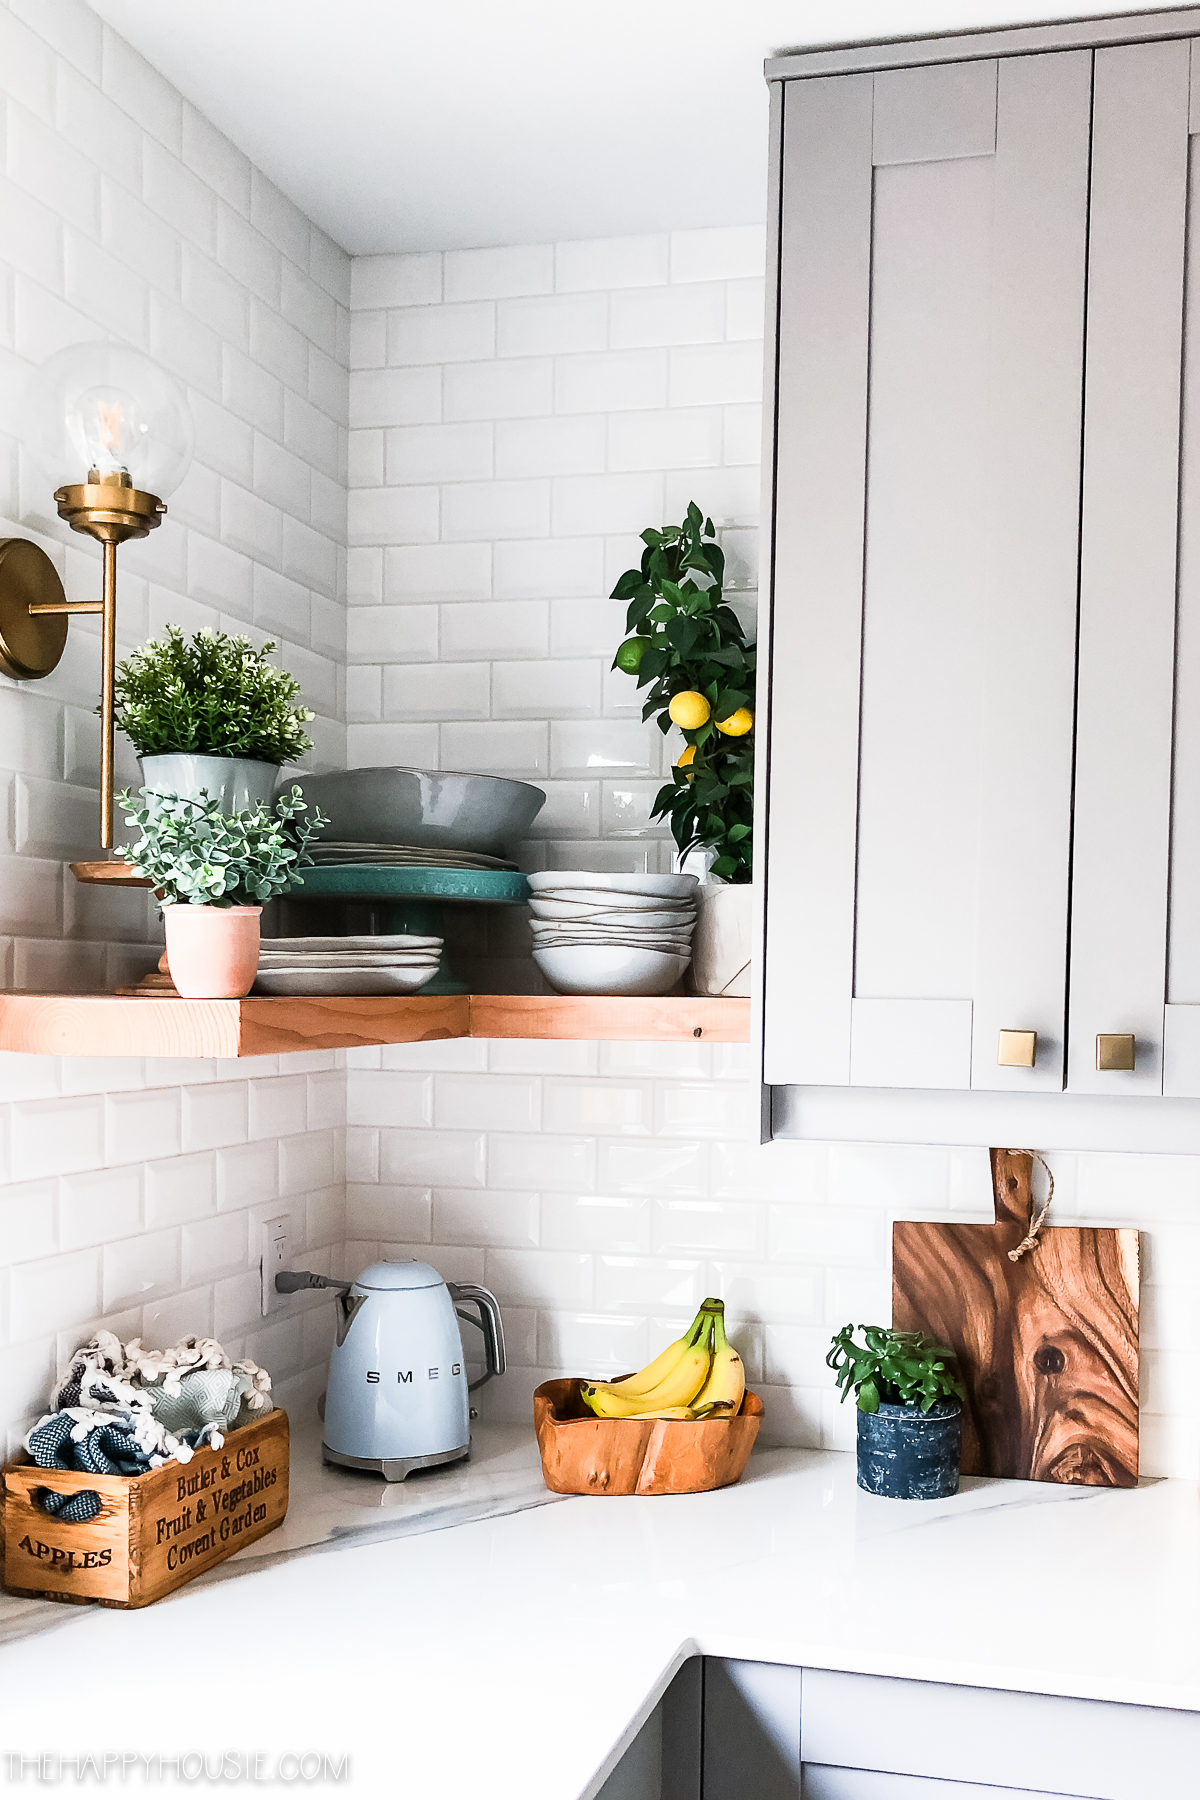
Open Shelving in the Kitchen
I also like to keep our main dishes on our open shelving for ease of access, and because they are new and pretty and I like to see them! Some people shy away from open shelving in the kitchen, but as long as you have enough closed storage for the things that you don’t want to look at all the time, then I think that open shelving can be perfect for storing a few items that you use daily and that add to the overall aesthetic of your kitchen. As much as we want our kitchens to be organized and functional, that doesn’t mean that they can’t be pretty as well. We chose to use open shelving on either side of the sink and I use a combination of decorative items (art, faux plants/greenery, cake trays) along with our pretty day-to-day dishes.
Other Cabinetry Organization
And in case you want a peak into how we organized some of our other drawers and cupboards after moving into our kitchen this past summer…
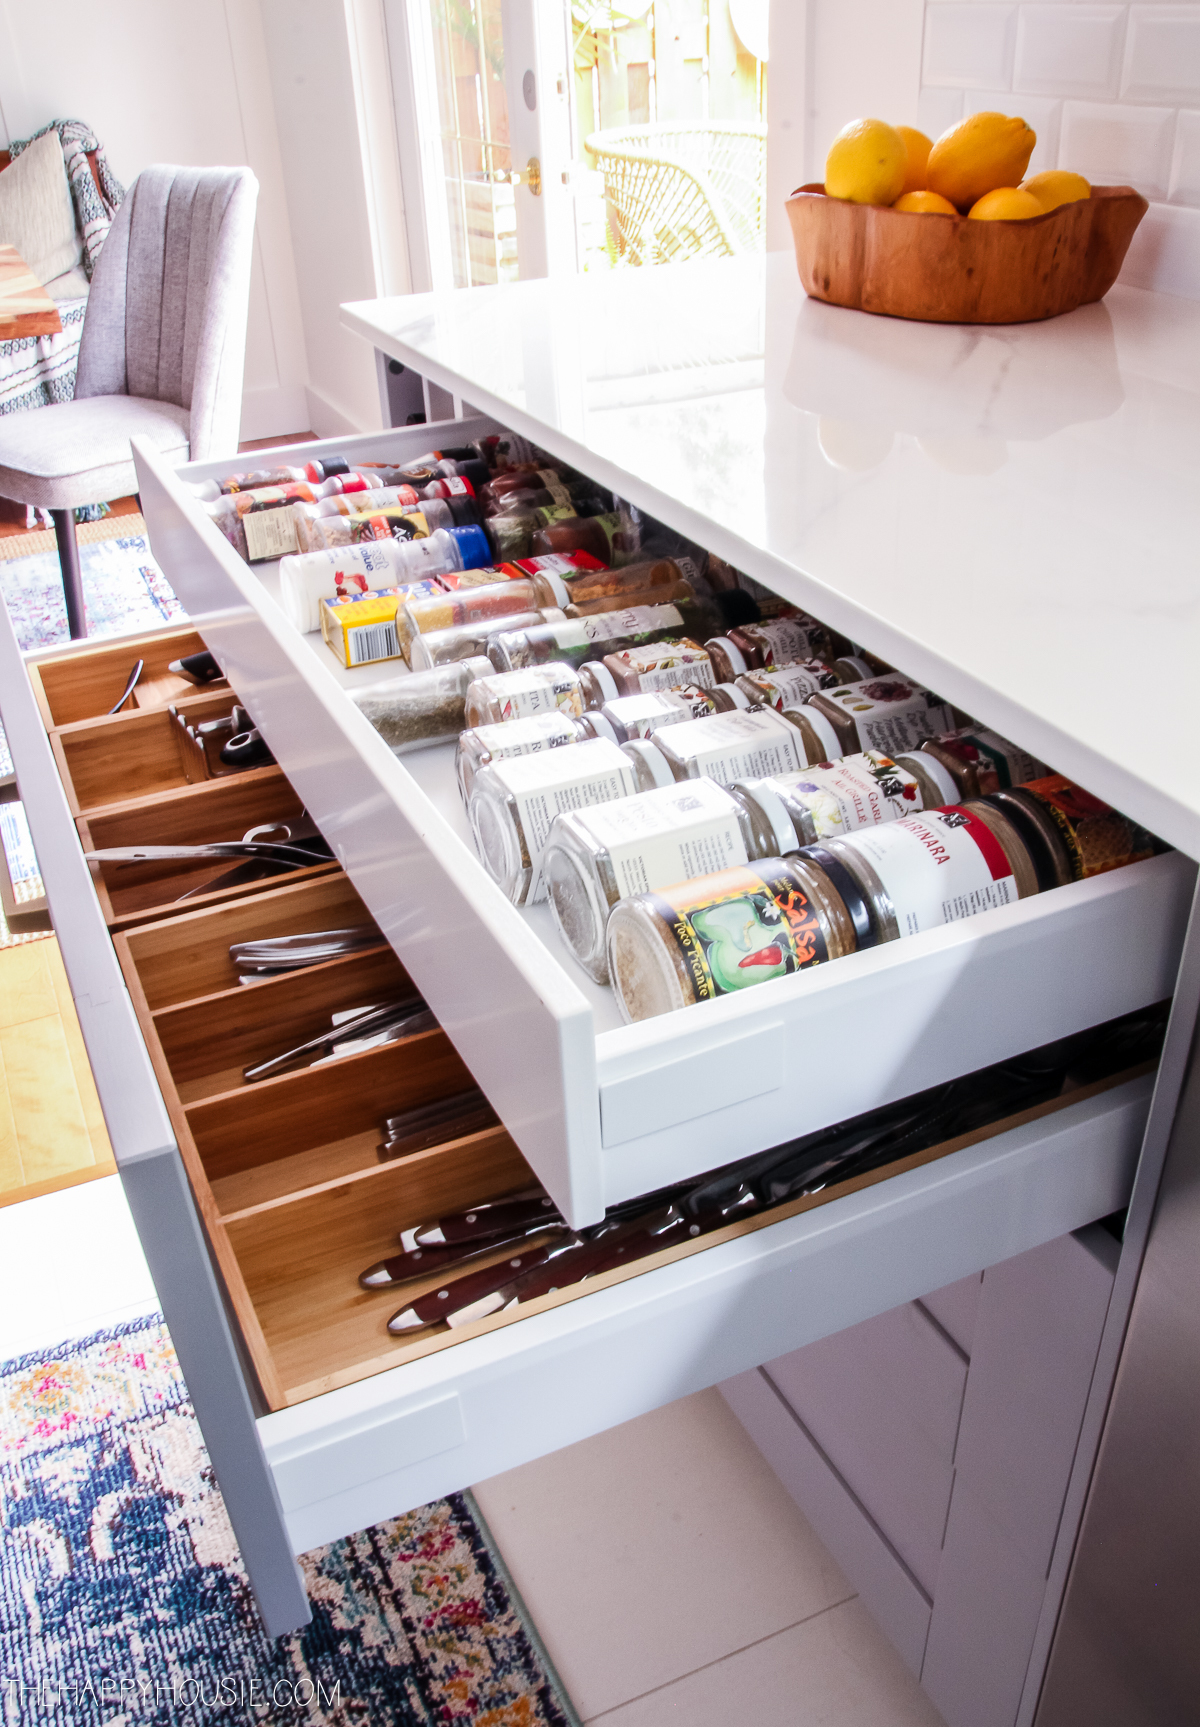
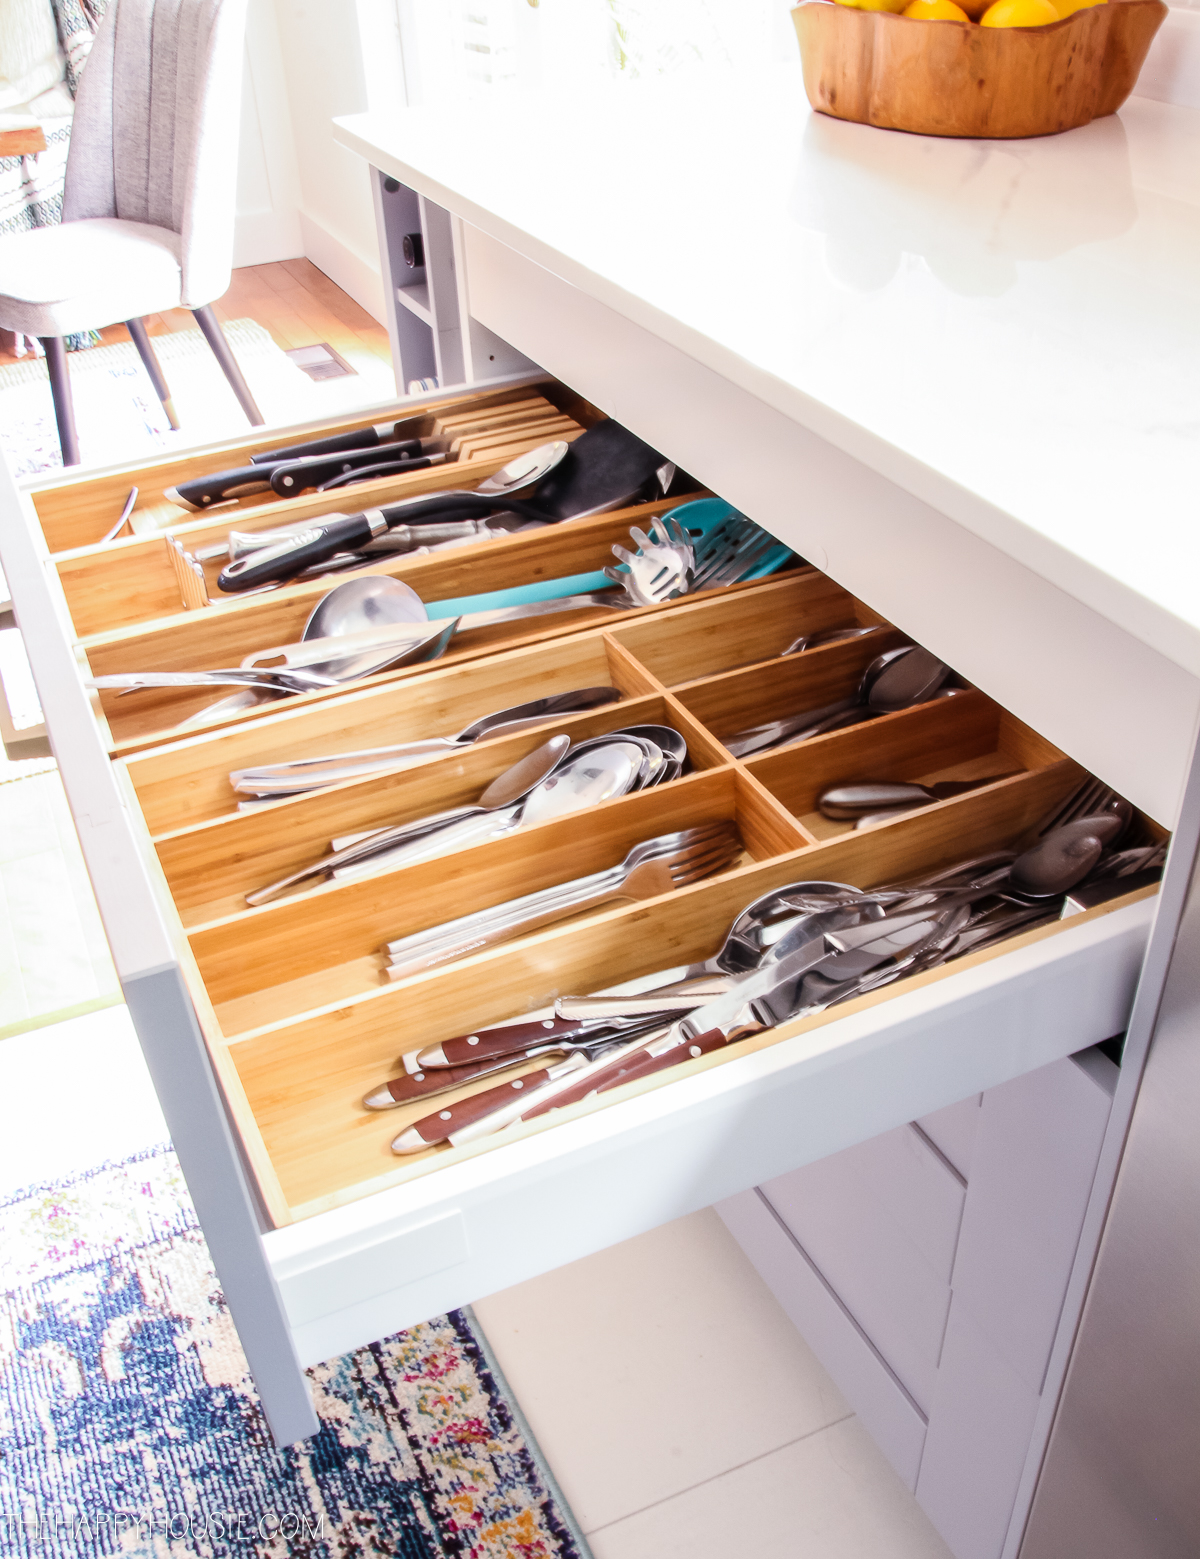
One of our favourite features of our Ikea cabinets is the drawer-within-a-drawer option. We keep all of our spices in this one, just behind our cooking area, and our utensils are all in the main drawer below (with the bamboo cabinet organizers that Ikea sells to fit their drawers).
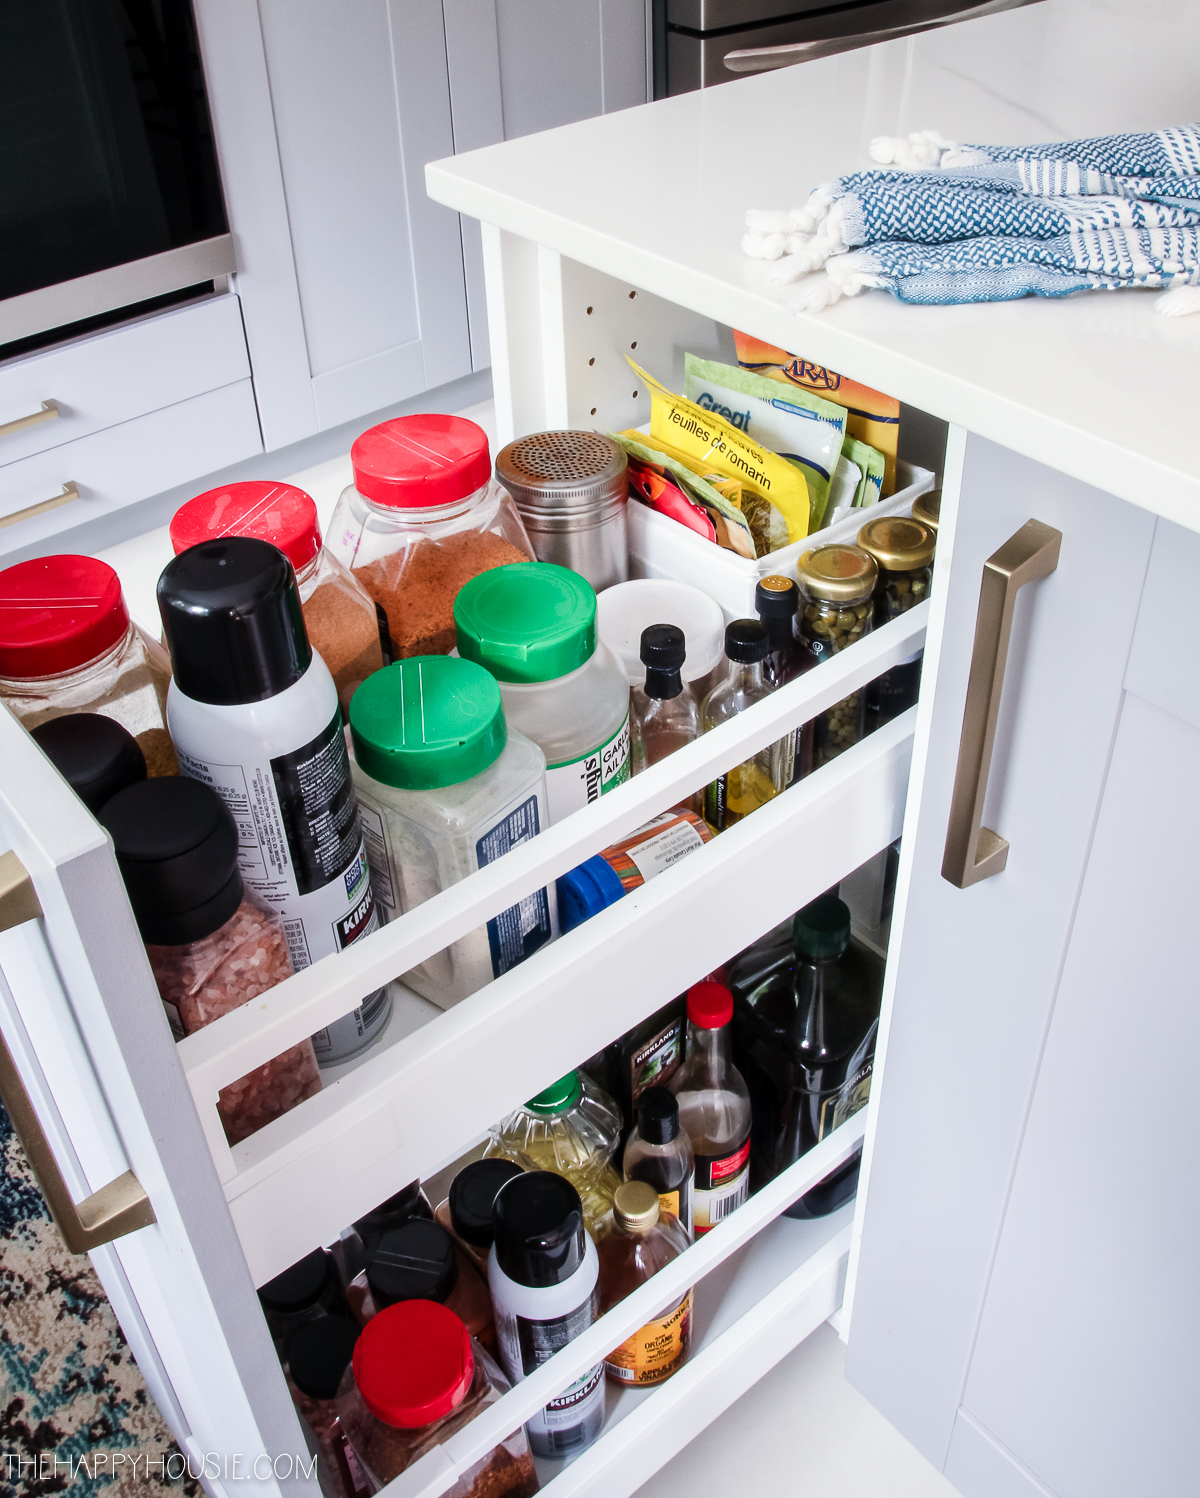
We also have a pullout cabinet for larger spices, oils, vinegars, and staples located on the island near our cooktop and prep area.
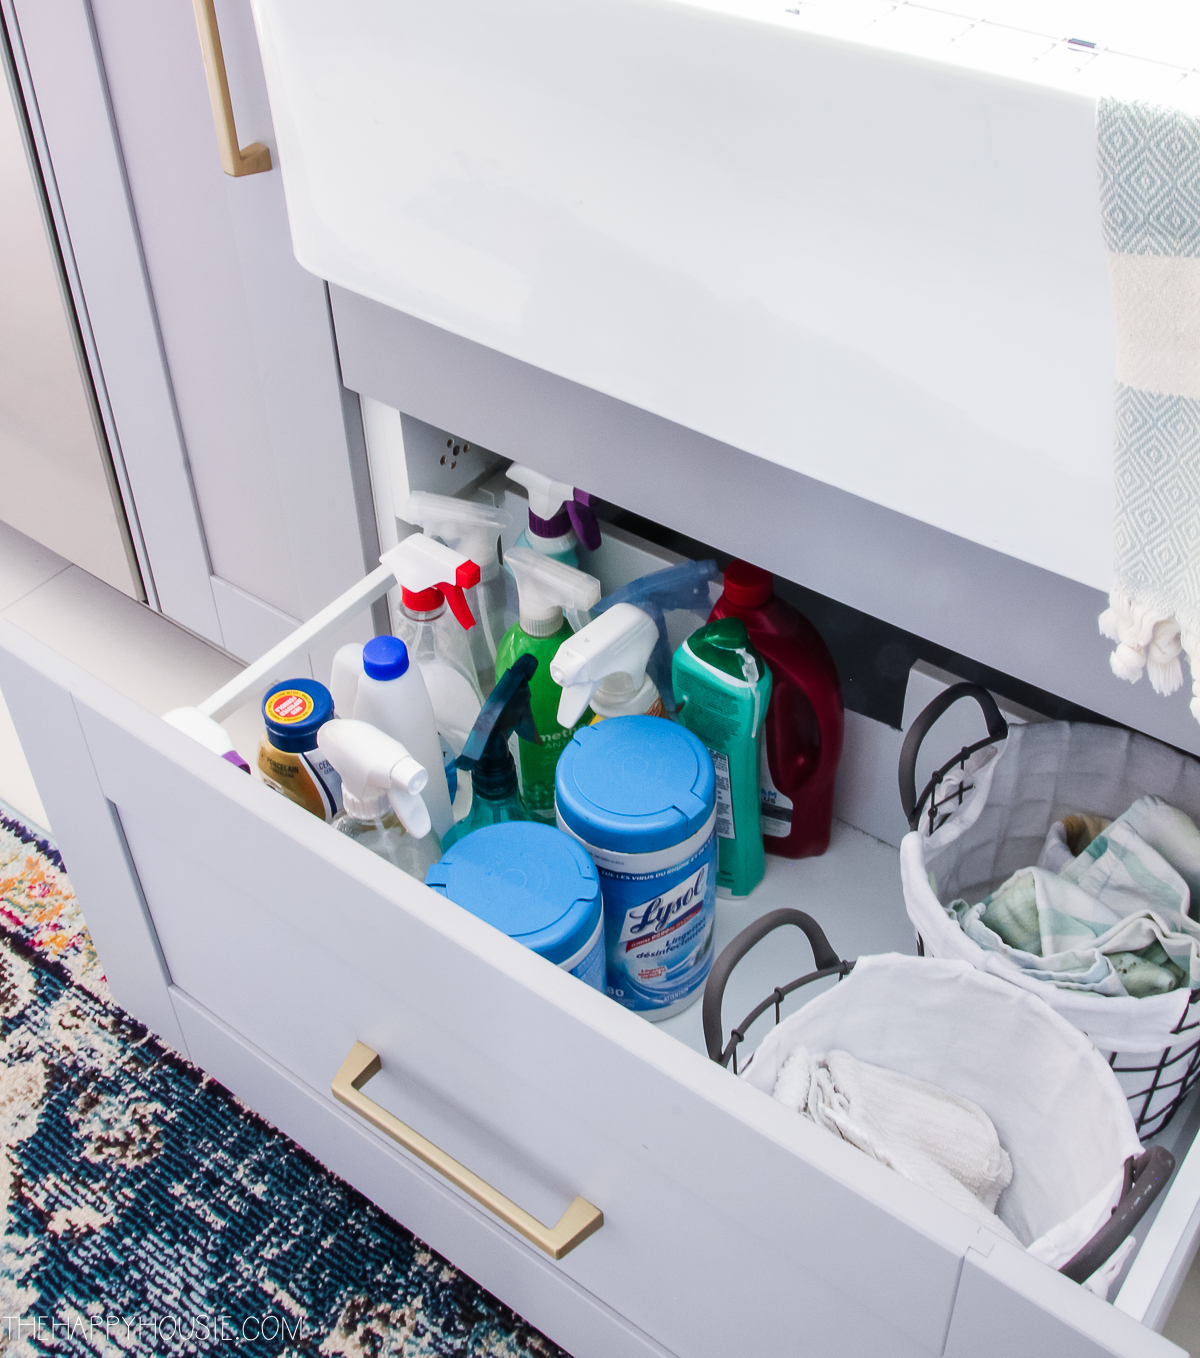
Under the sink is a fairly low drawer that we use for cleaning supplies, and we have some overflow of cleaning supplies, garbage bags, and our dish dryer in the two narrow side cabinets flanking the sink.
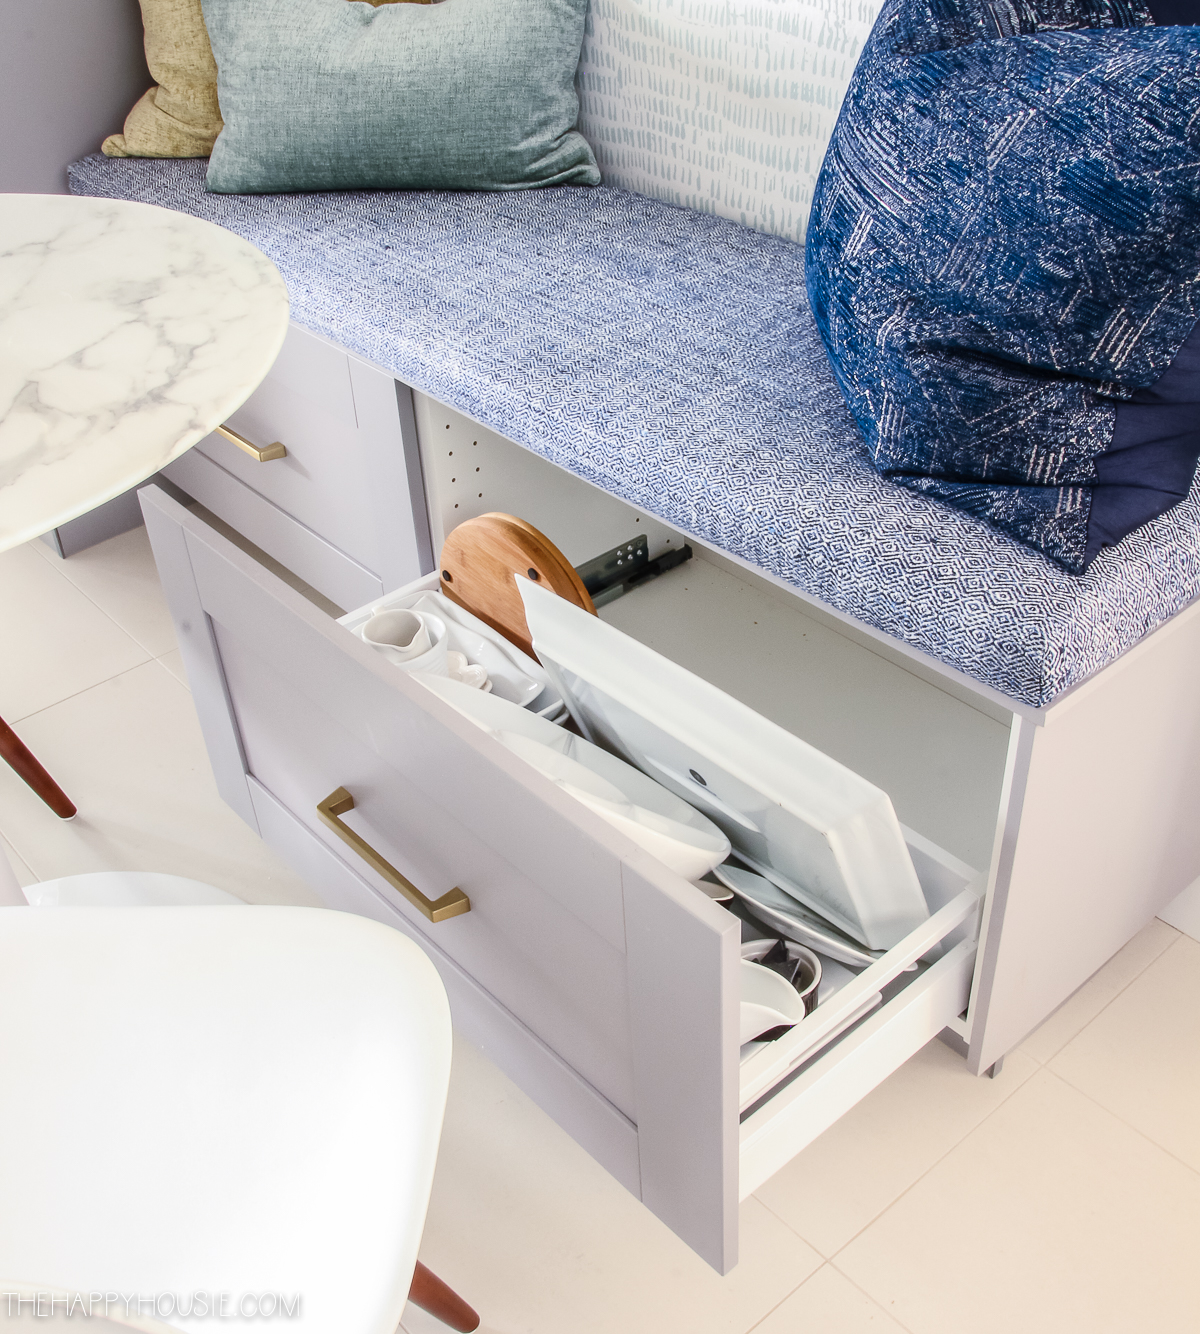
We also snuck some extra storage in our banquette for less used platters and serving bowls…
Whew! That was a big job, right?
But having lived with our newly re-organized kitchen for the last week, it was well worth the time and effort it took. It’s amazing how much more functional and easy to work in our kitchen feels, now, and how much calmer it feels to work in it. And when you spend as much time in your kitchen as most of us do, that is a huge return on your investment of time and energy.
Want to remember this? Just PIN it!
I also shared my kitchen organization tips the first time I tackled the 10 Week Organizing Challenge in our previous house…
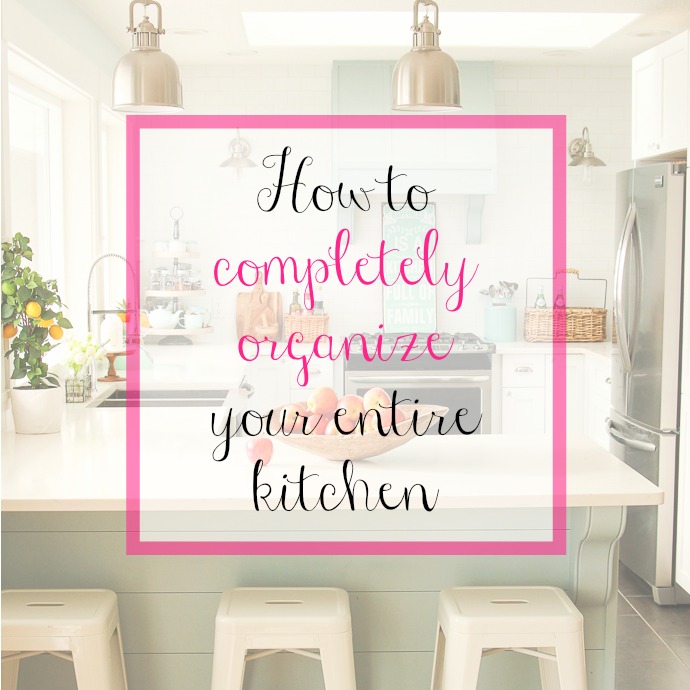
How-to completely organize your entire kitchen
How to Completely Organize Your Pantry
Free Printable Weekly Meal Planner and Shopping List Planners!
Super creative kitchen organization ideas
20 Incredible Small Pantry Organization Ideas & Makeovers.
Check out my other posts in the 10 Week Organizing Challenge Series 2.0!
Introduction to the Ten Week Challenge
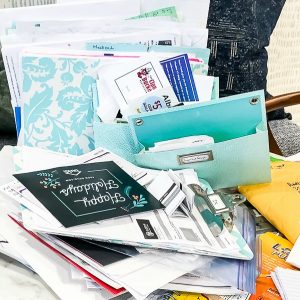
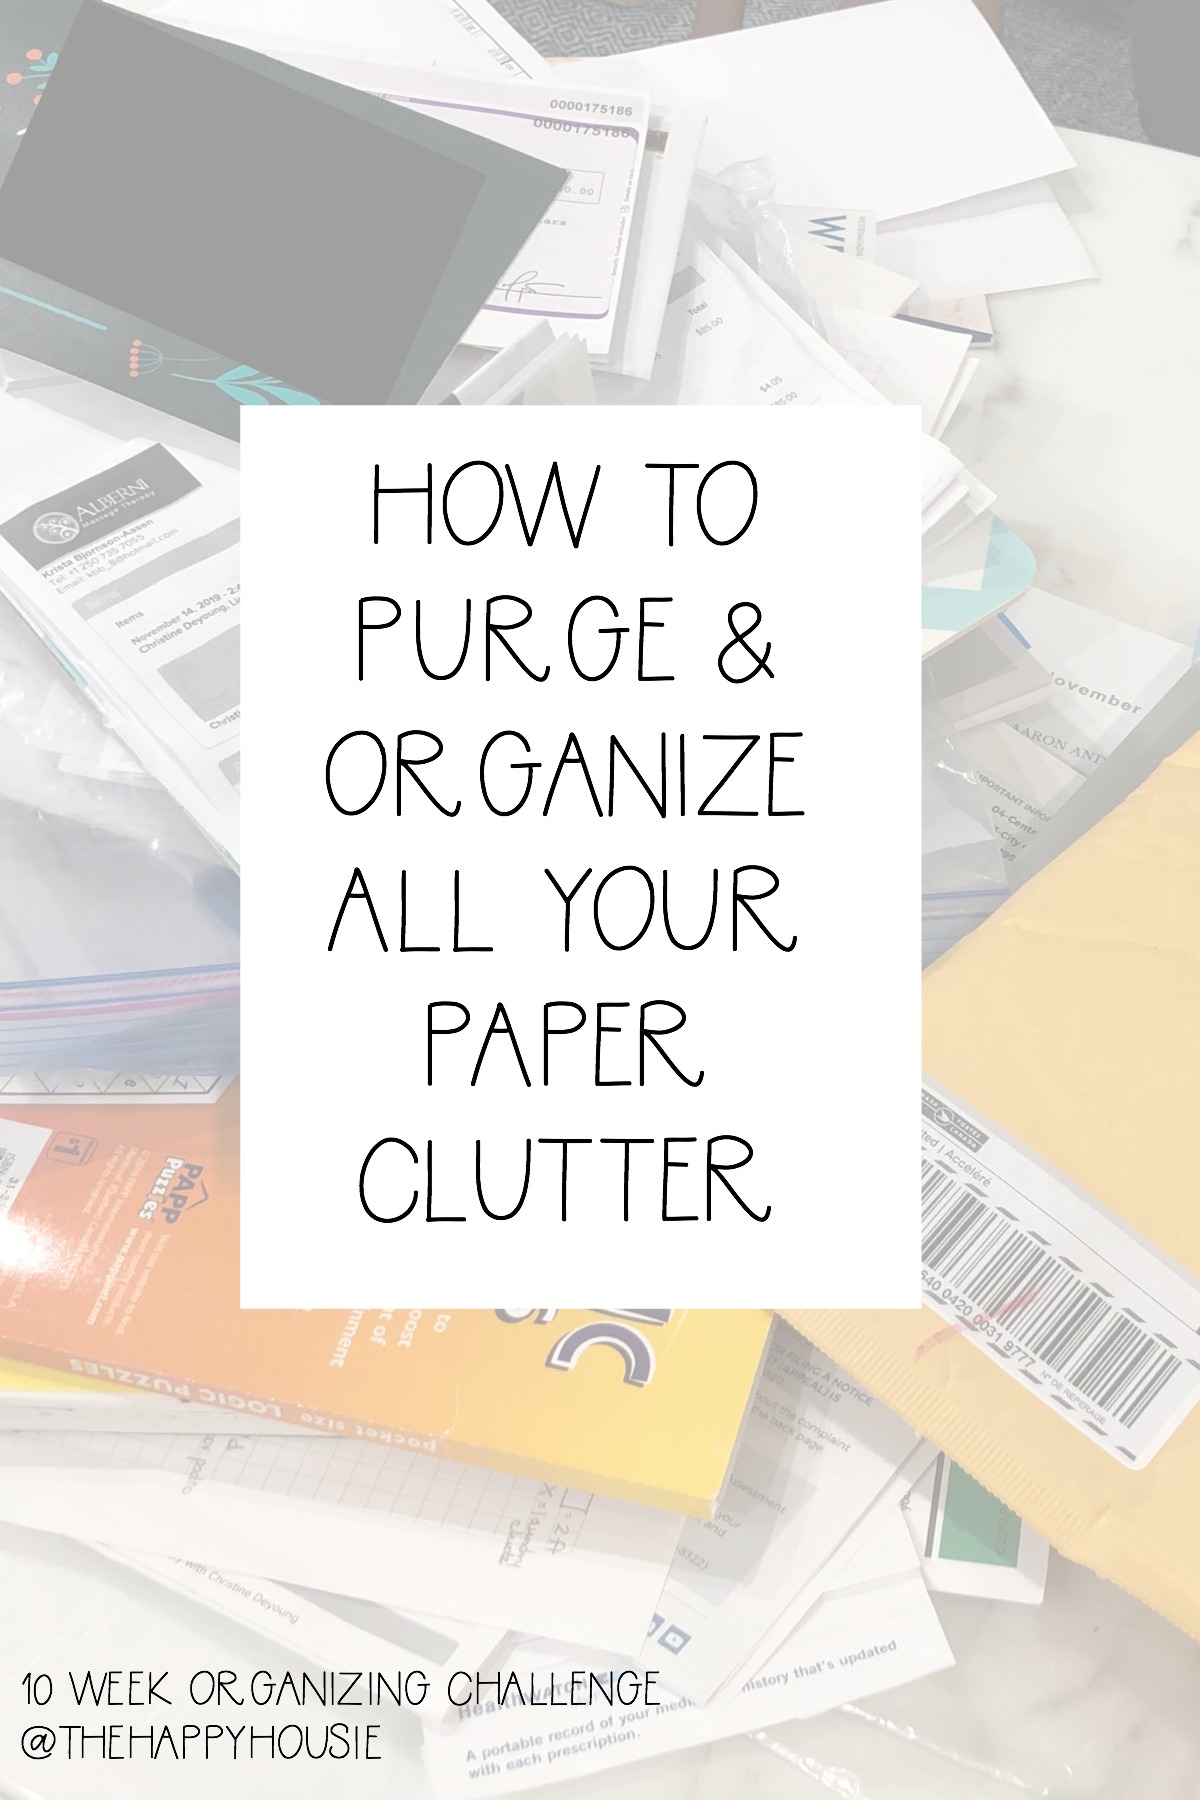
How to Purge & Organize Paper Clutter
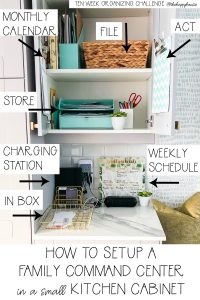
How to Setup a Command Centre (in a kitchen cabinet)
Ready to get your home organized? It’s free and easy to follow along!
You can sign-up for my email list and will be sent an update with instructions each week for the next ten weeks about tackling the 10 Week Organizing Challenge in your own home.
<iframe src=”https://madmimi.com/signups/6e20e44f436c4b8191196532553c0651/iframe” scrolling=”no” frameborder=”0″ height=”713″ style=”max-width: 400px; width: 100%;”></iframe>
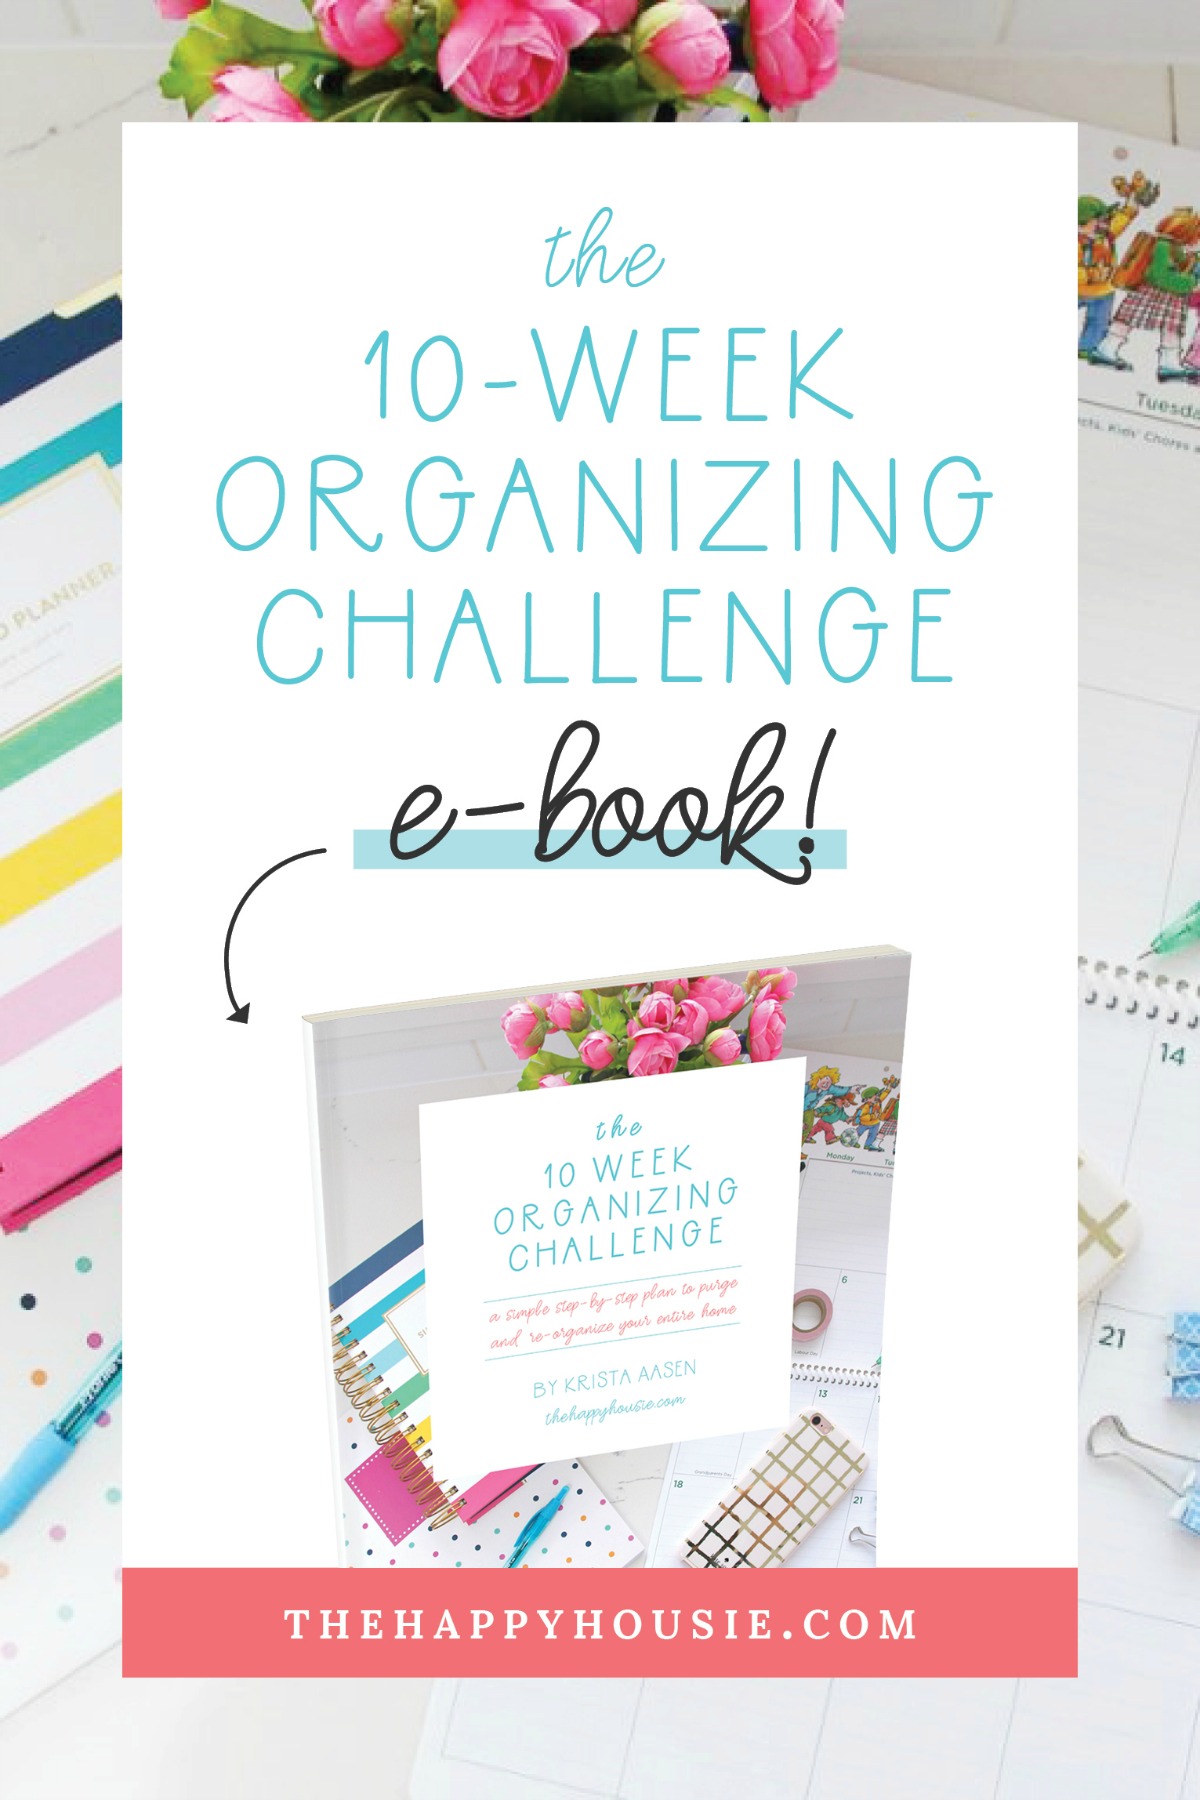
By reader request, I’ve also made this 10 Week Organizing Challenge into an e-book!
Follow along with the Ten Week Organizing Challenge through this e-book using your tablet. It includes bonus free printable checklists for each week of the challenge…
Learn all about the Ten Week Organizing Challenge E-book here.


So organized in the kitchen. Thanks for letting us know about these step by step ideas for organizing the kitchen room.This is on my to do list too.
This is definitely on my to do list. Thanks for inspiring me to move it up the priority list!! All looks so great!