
One Room Challenge Week Two: Ensuite Progress & Inspiration Board
Today I’m sharing the construction progress that we’ve made so far on our ensuite bathroom renovation as part of the Spring 2019 One Room Challenge, as well as my inspiration board and plans for finishing off this space.
It’s week two!
Already!
I can’t wait to share with you some of the progress that we’ve made on our master bedroom and ensuite, but I first want to take you through the construction journey that we went through prior to beginning the challenge. If you aren’t sure what I’m talking about when I say Challenge, I mean the “One Room Challenge“, which is a bi-yearly event in which bloggers try to redo one room in six weeks. For this challenge we are focused on our master bedroom, but since the ensuite is attached and since we’ve been doing a major renovation on that space as well, I figured I’d throw it all together into one.

Before beginning the One Room Challenge some major construction took place in this space. We tore out two closets directly beside our main bathroom and added that space to the main bath. We also tore out a closet in our bedroom that had backed on the main bathroom’s tub/shower. By opening up all this space, we were able to create enough space for a 32″ x 60″ shower in our ensuite.
Yay!
Here is how it looked through this process. Before…

Once we began construction on the main bathroom at the beginning of January, it all kind of snowballed together. At this point, you can see straight through from the kitchen-eating area right through the main bathroom and all the way into our master bedroom (where my husband is carefully cleaning up drywall:).
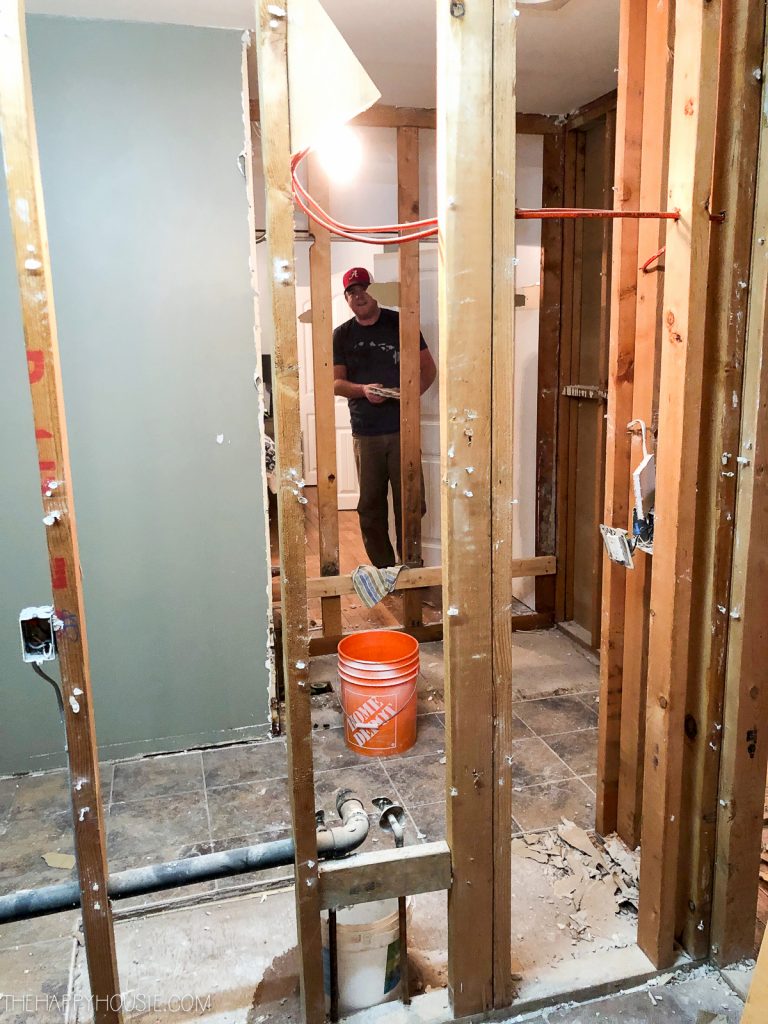
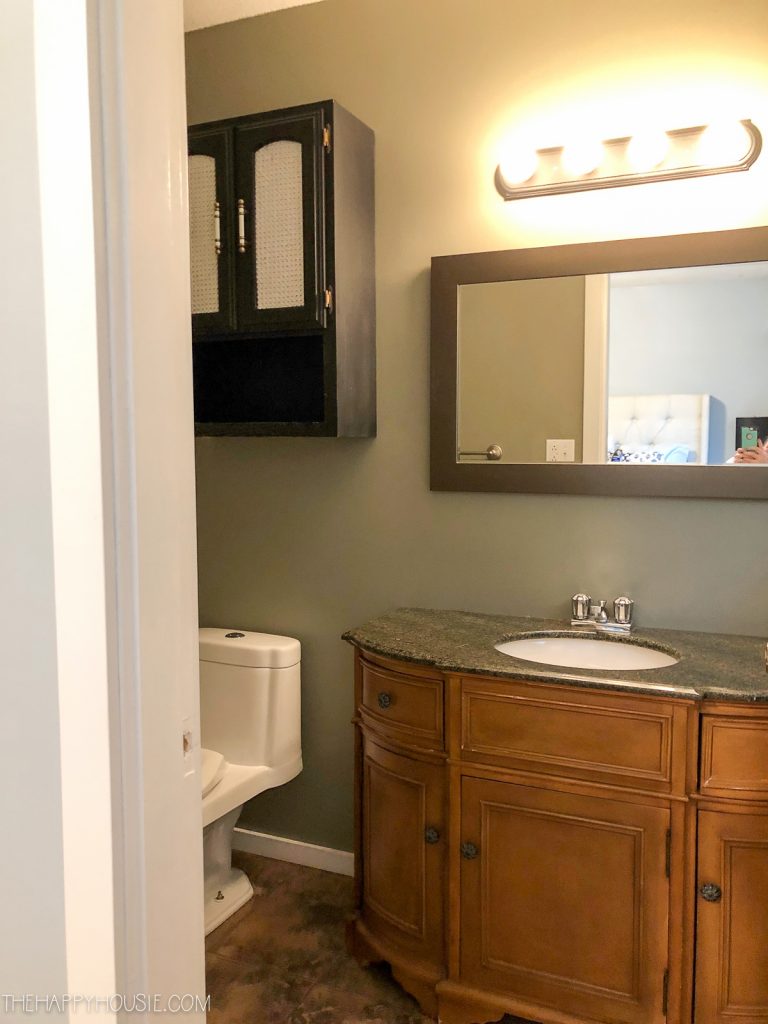
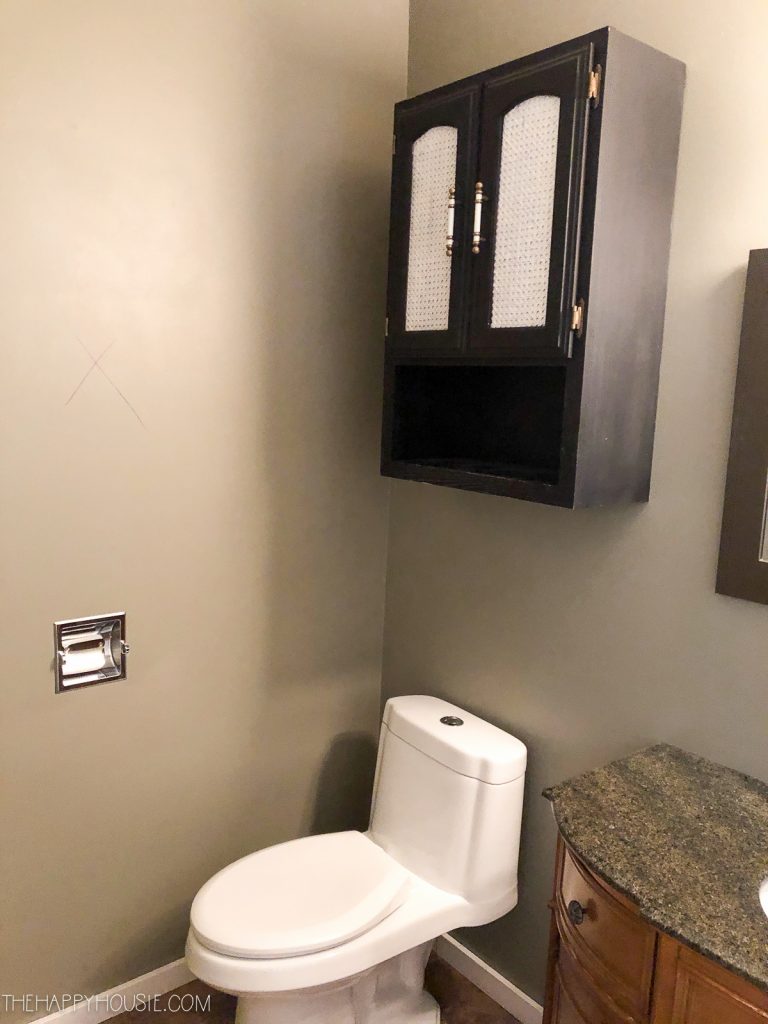
In the picture below you can see the main bathroom (on the side with the window). Through the open wall to the right is where our ensuite shower ended up, sharing a wall with the shower in the main bathroom. We tried to keep the plumbing as lined up as possible to make things easier, but it was still a pretty major plumbing job (which we also hired out).
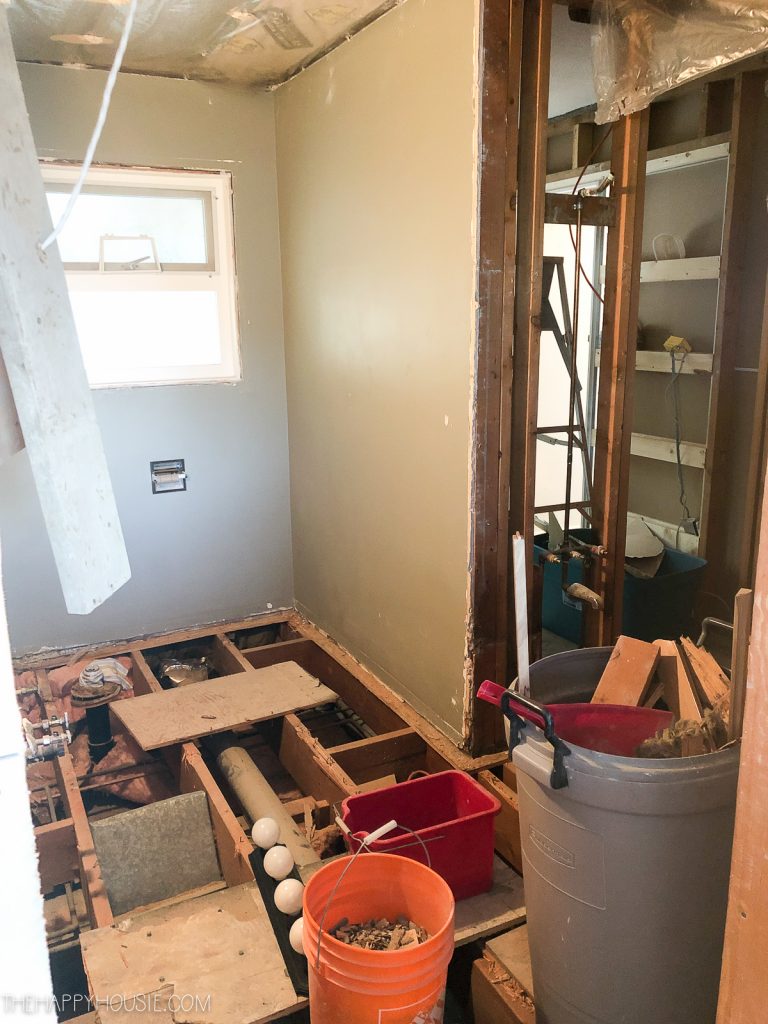
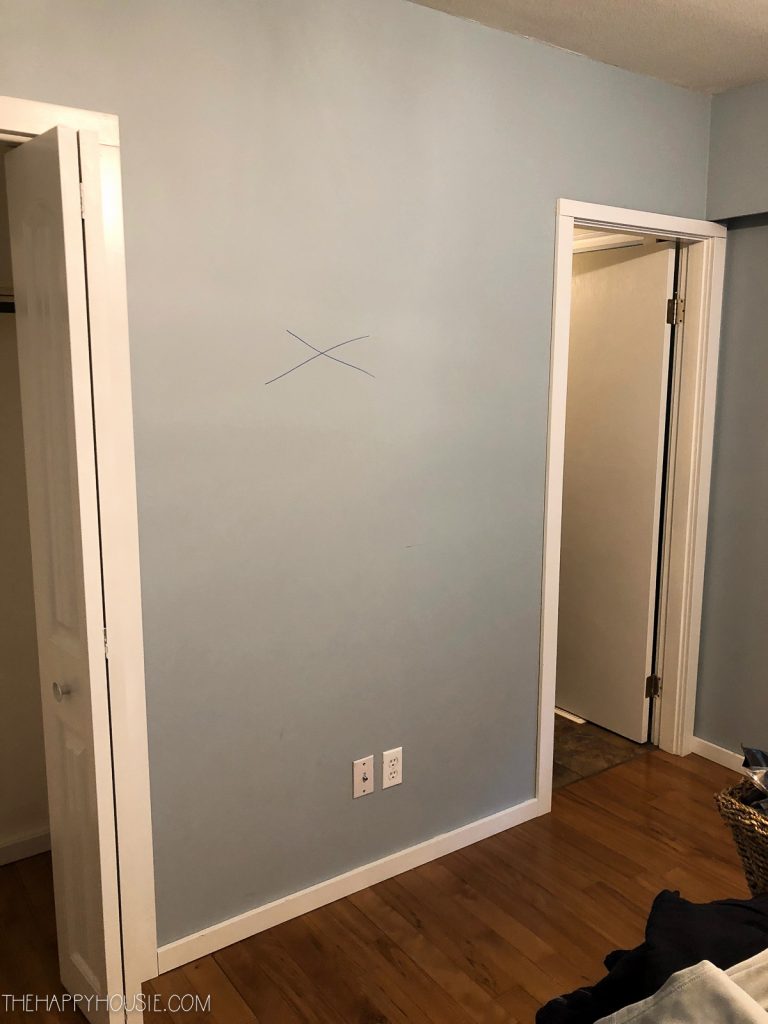
Below is the area that once was one of our bedroom closets. We combined it with a bit of space from the main bathroom in order to create space for a shower in the ensuite
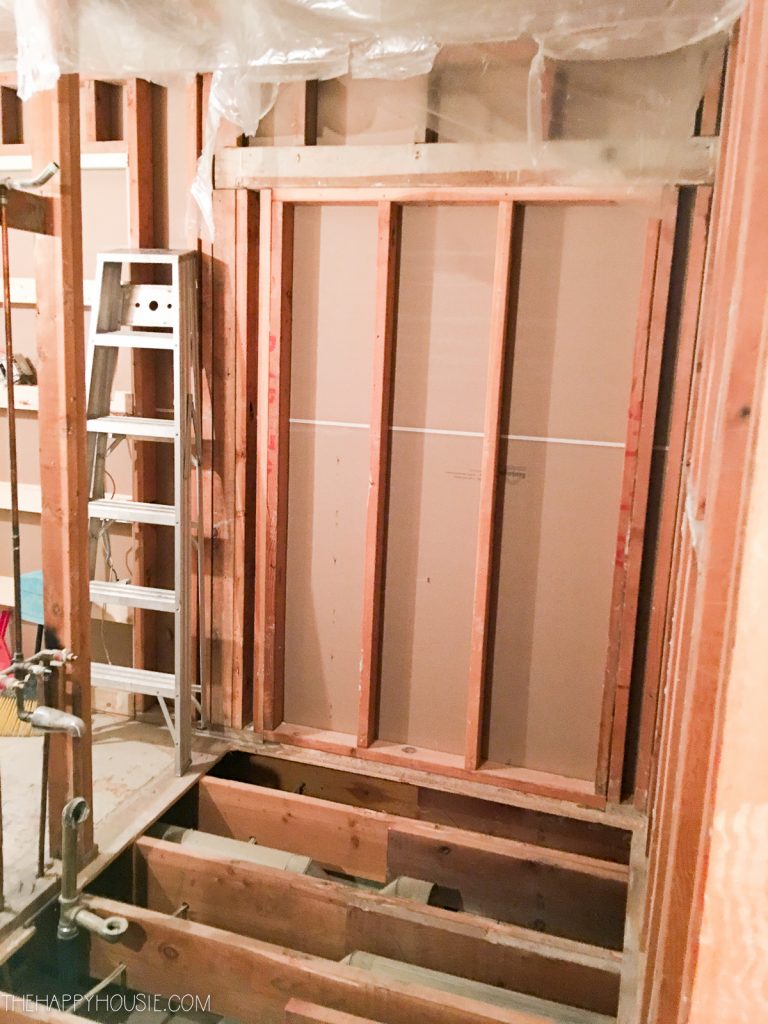
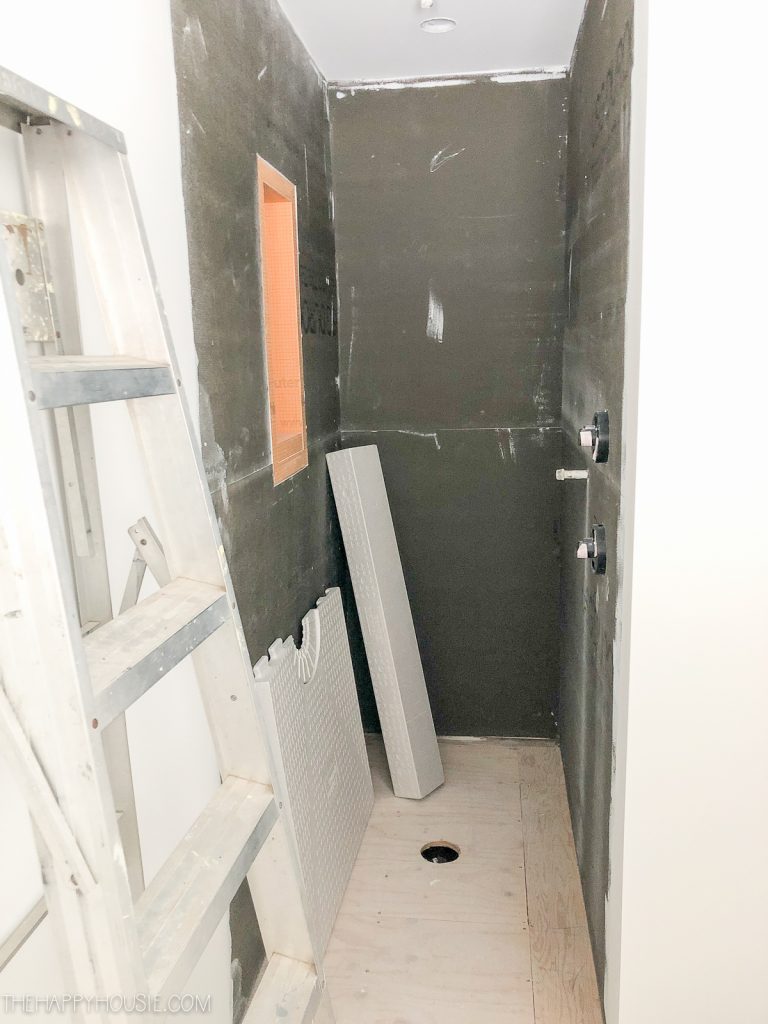
Once we reframed, we had dry-wallers come in and finish off the walls and ceilings. We did cement board on the walls and then a Kerdi shower base and lip for the shower floor, as well as a Kerdi alcove.
We also had the dry-wallers fix the wall in our bedroom where the closet HAD been, and redo our bedroom ceiling, as we removed a window valance and there was no drywall behind it.

Whew! What a mess that all was to live through. We had to sleep in our oldest son’s room for a couple of weeks while he slept down in the rec room. Thankfully he didn’t seem to mind! What a good sport.
SO! Now for the fun stuff! The finishing….
Tile for the floor, shower floor, and walls. Vanity. Lighting. Fixtures. Art. Accessories.
Here’s the plan…
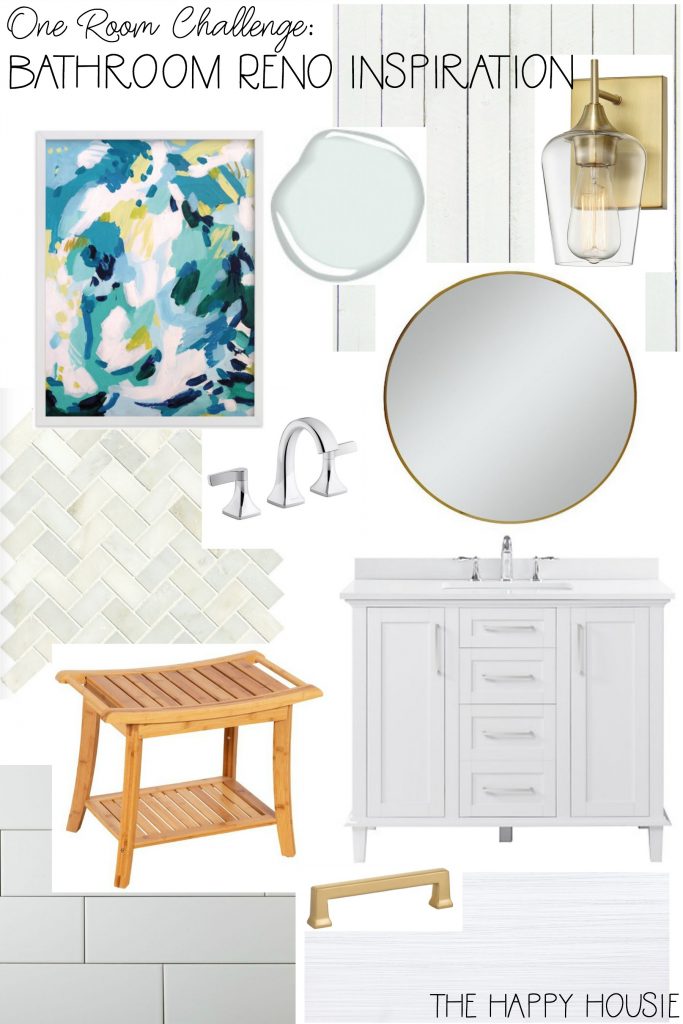
Because it’s such a small space, I want to keep things light and airy.
We are going to use a large 12×24 off white tile for the floor, as well as a white vanity. I plan to spray the hardware gold, to match the large, round gold framed mirror that I’m seeking. I’ll also find some gold sconces for each side of the mirror. I plan to paint the walls white, but want to do an accent wall of some kind. I’ve been seriously toying around with the idea of wallpaper, but I’m also thinking of some vertical shiplap painted out in a pale aqua/mint colour (as above).
For the shower, we are going to tile the floor and the back wall in an accent tile, like the marble chevron shown above, and keep the rest of the walls neutral with a large matte white 6×24 tile. Since we are going to use chrome fixtures in the shower as a cost saving measure, I’m going to keep the faucet on the vanity chrome and mix up my metal finishes with the chrome and gold together. We will also do a glass shower door to keep things open and bright. And because the shower is so long (5′ long and 32″ wide), I’m going to place a teak bench at the end of it.
I’ve gathered together the pieces and fixtures we are using (or similar ones), below!

I’ll be back next week to share our construction progress and plans for the bedroom!
What color did you paint the feature wall in the master bathroom?
oh how lovely
it’s going to be beautiful. my daughter looked all over for an affordable round gold mirror and Target was the place. https://www.target.com/p/round-decorative-wall-mirror-brass-project-62-153/-/A-50301089
You are going to love that bathroom!! Best investment ever!