
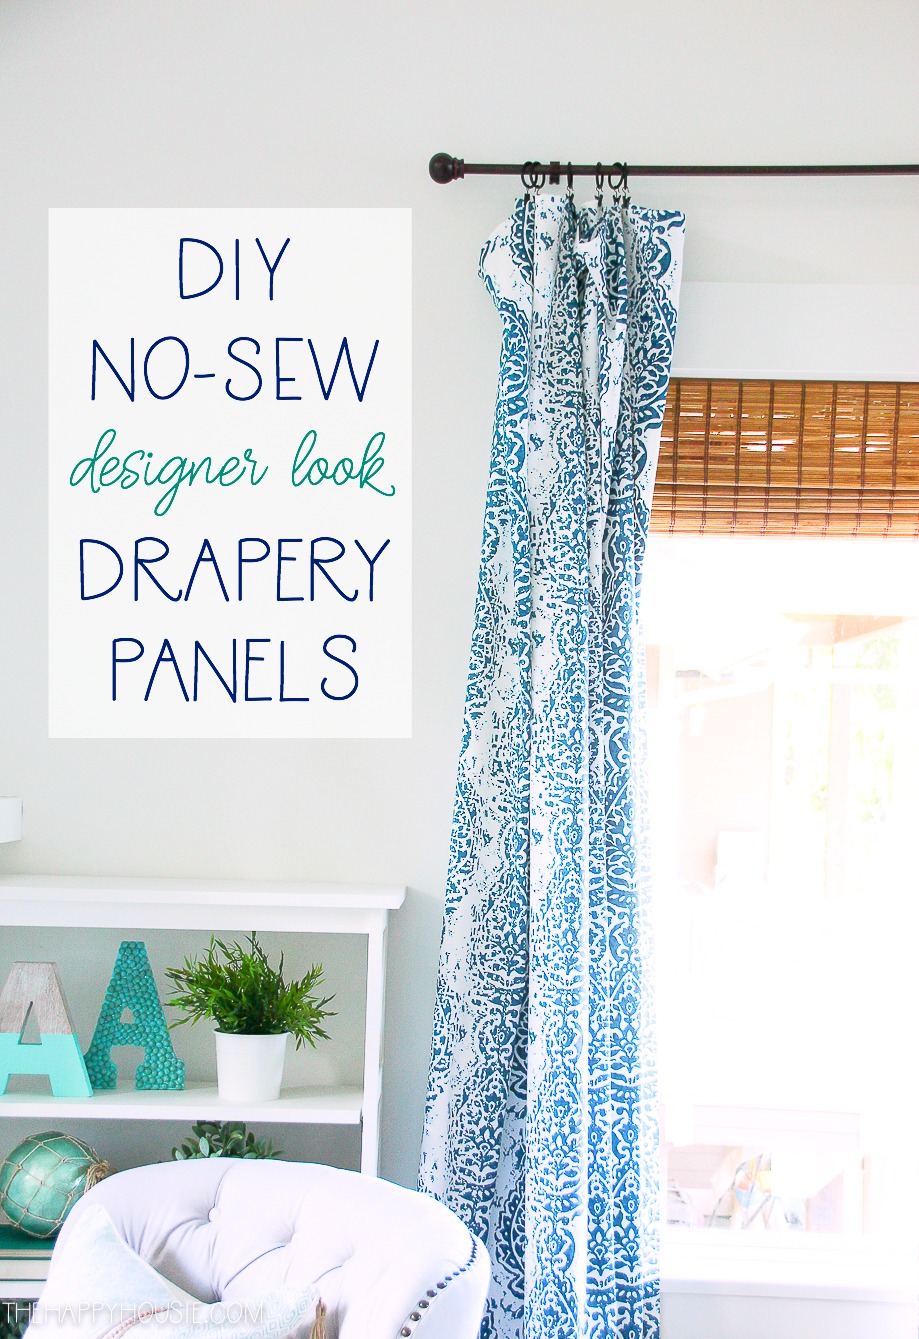
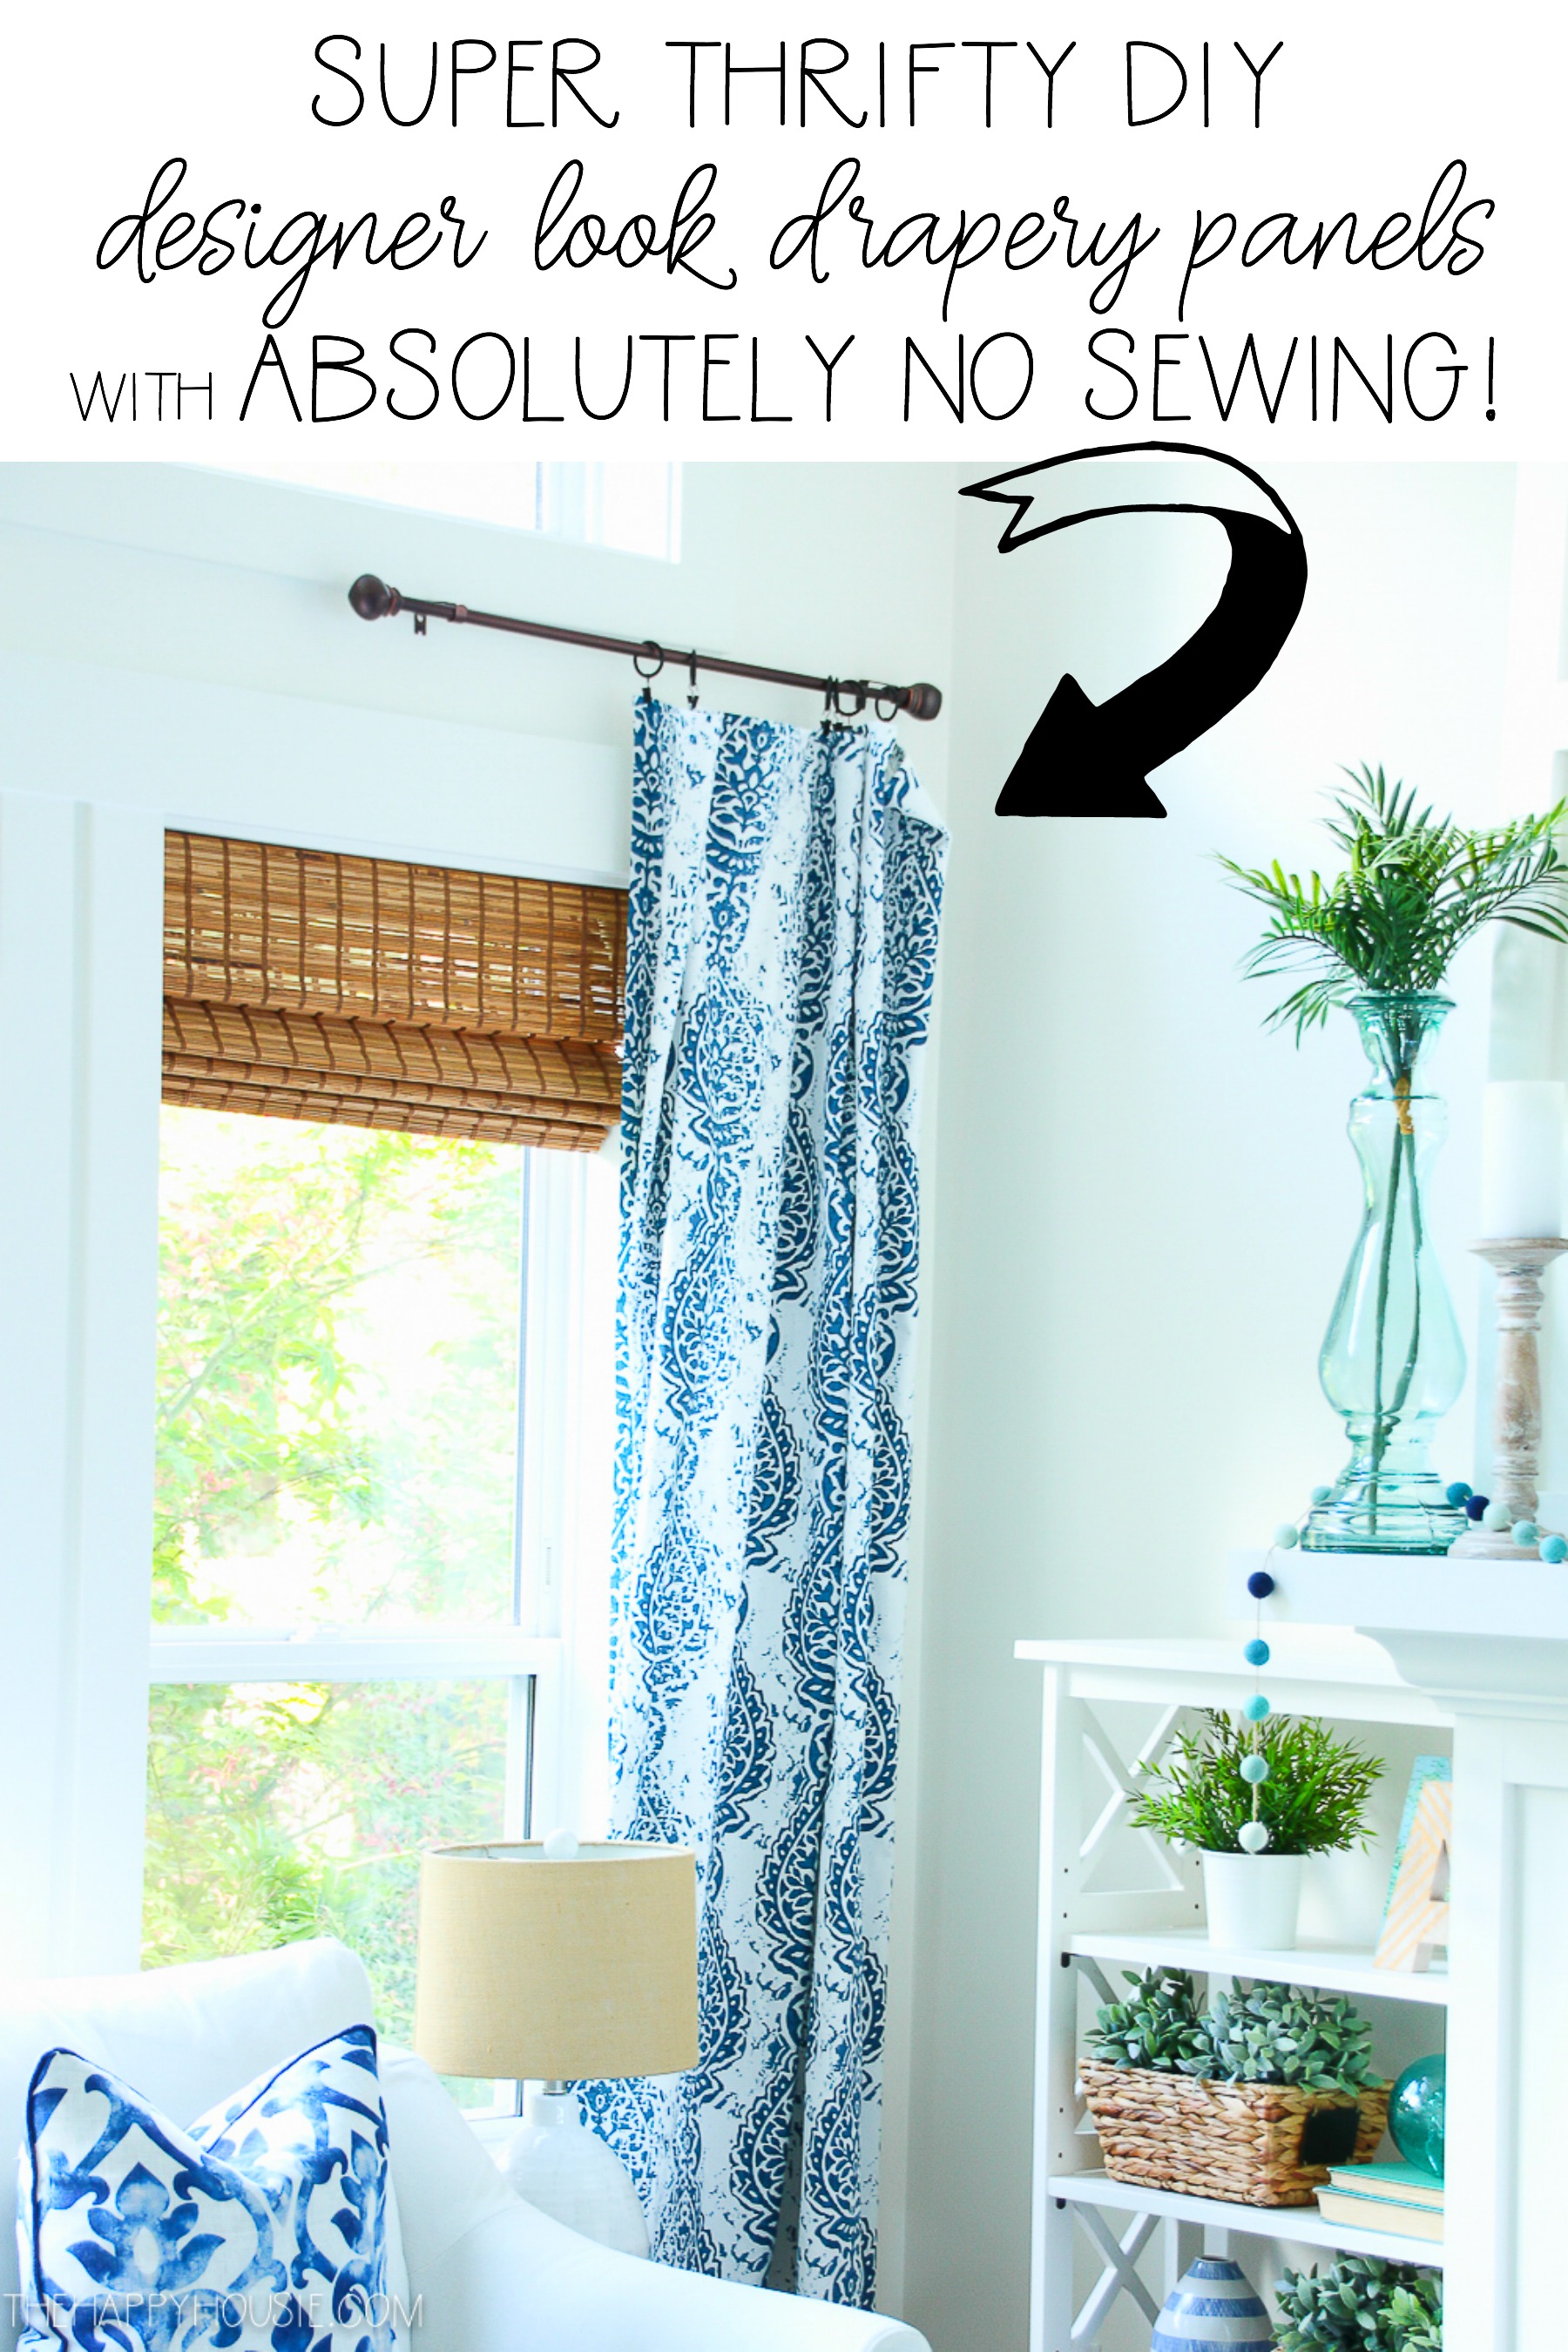
Quick & Easy DIY No-Sew Drapery Panels {designer look for less!}
Today I’m sharing a simple tutorial for DIY no sew drapery panels; give your home that designer look and feel for a fraction of the budget using items you probably already own!
When you go to a restaurant, do you scan the menu for selection or prices, first? I must confess, I always look at the prices, find those that are within my budget, and then look at those items to make my choices from. It doesn’t mean that there aren’t occasionally times where I splurge; an amazing dish that I know I will love even though it’s outside of my usual restaurant budget. BUT, in general I like to keep things pretty thrifty so there is money left for those “worth-it” splurges.
The No Sew Curtain Tutorial
I approach home decorating in much the same way. I love to DIY and find thrifty cost effective ways to get the designer look that I love, but for less. And these super simple to make DIY no sew drapery panels are a perfect example of this philosophy put to work. Gorgeous fabric, sourced affordably, and some simple craft supplies and you’ve got yourself some high end designer look drapery panels that are sure to give your room that polished feel you’re after!
![]()
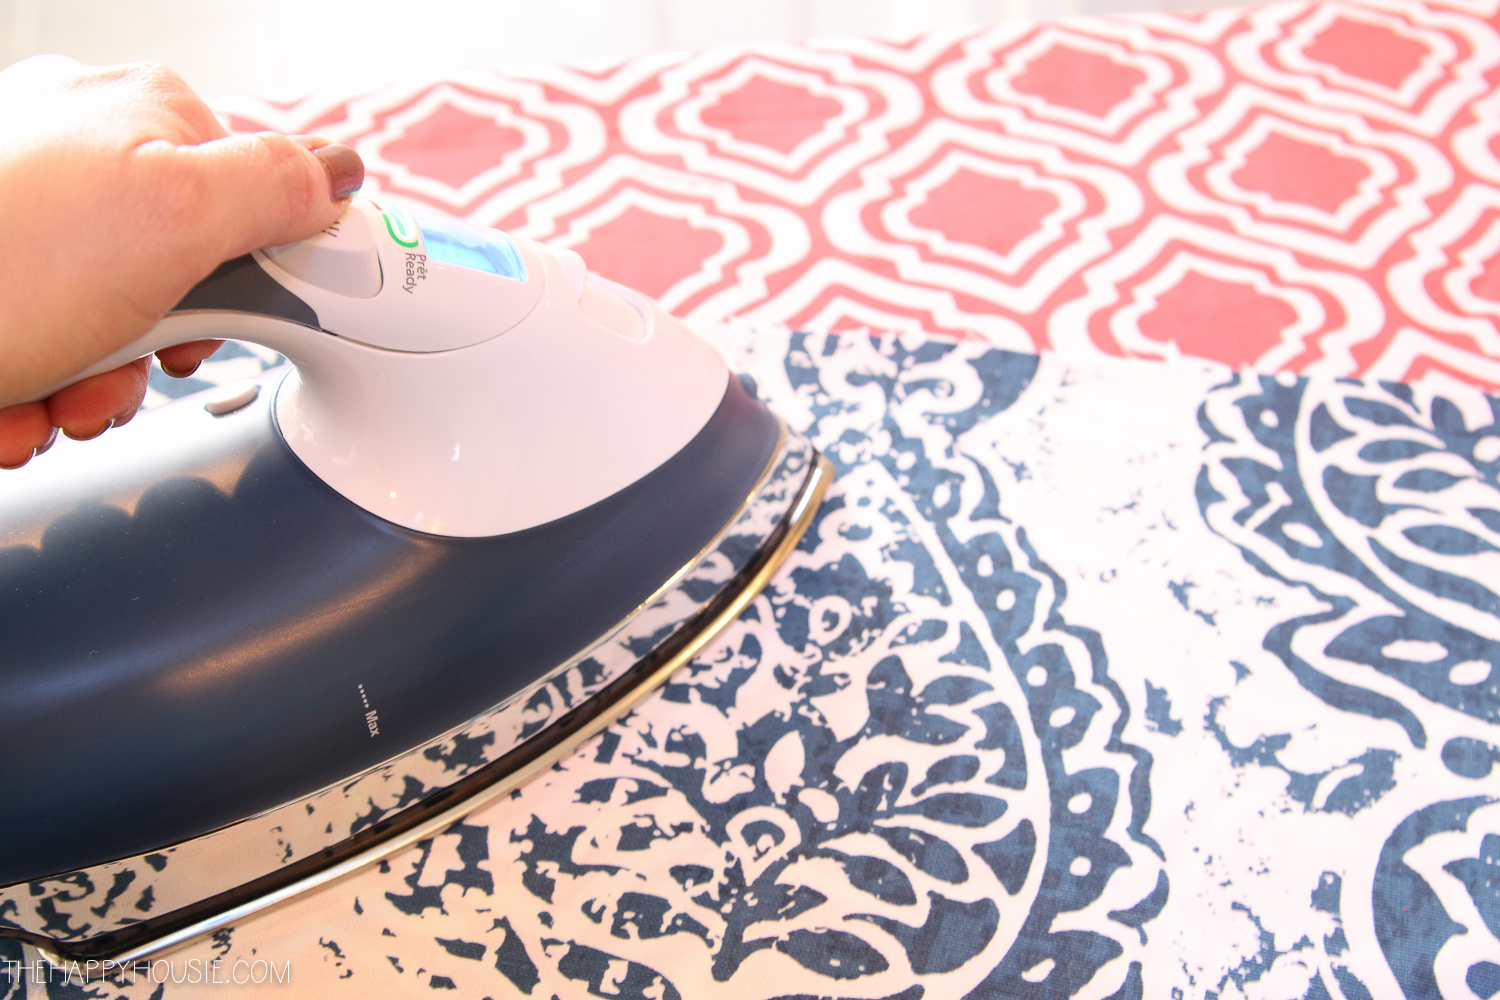
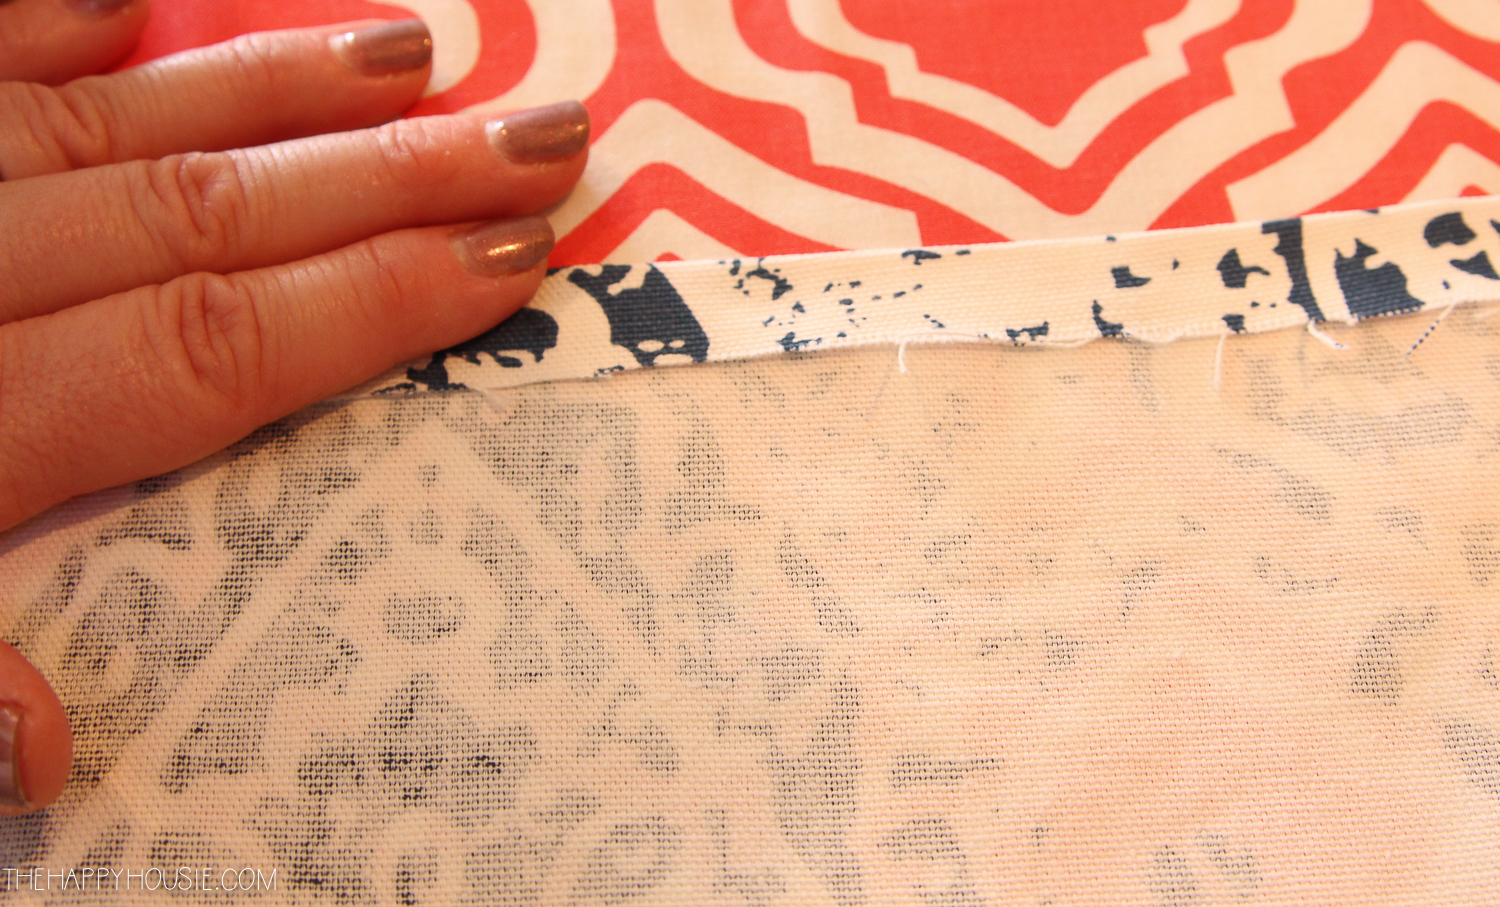
Begin by laying out your fabric and measure to cut to length. I wanted my finished panels to be 95″ long to clip perfectly onto my current drapery rods. Determine what length you would like yours to be, and then measure and cut the panels an inch longer then the finished length to account for the “hem”.
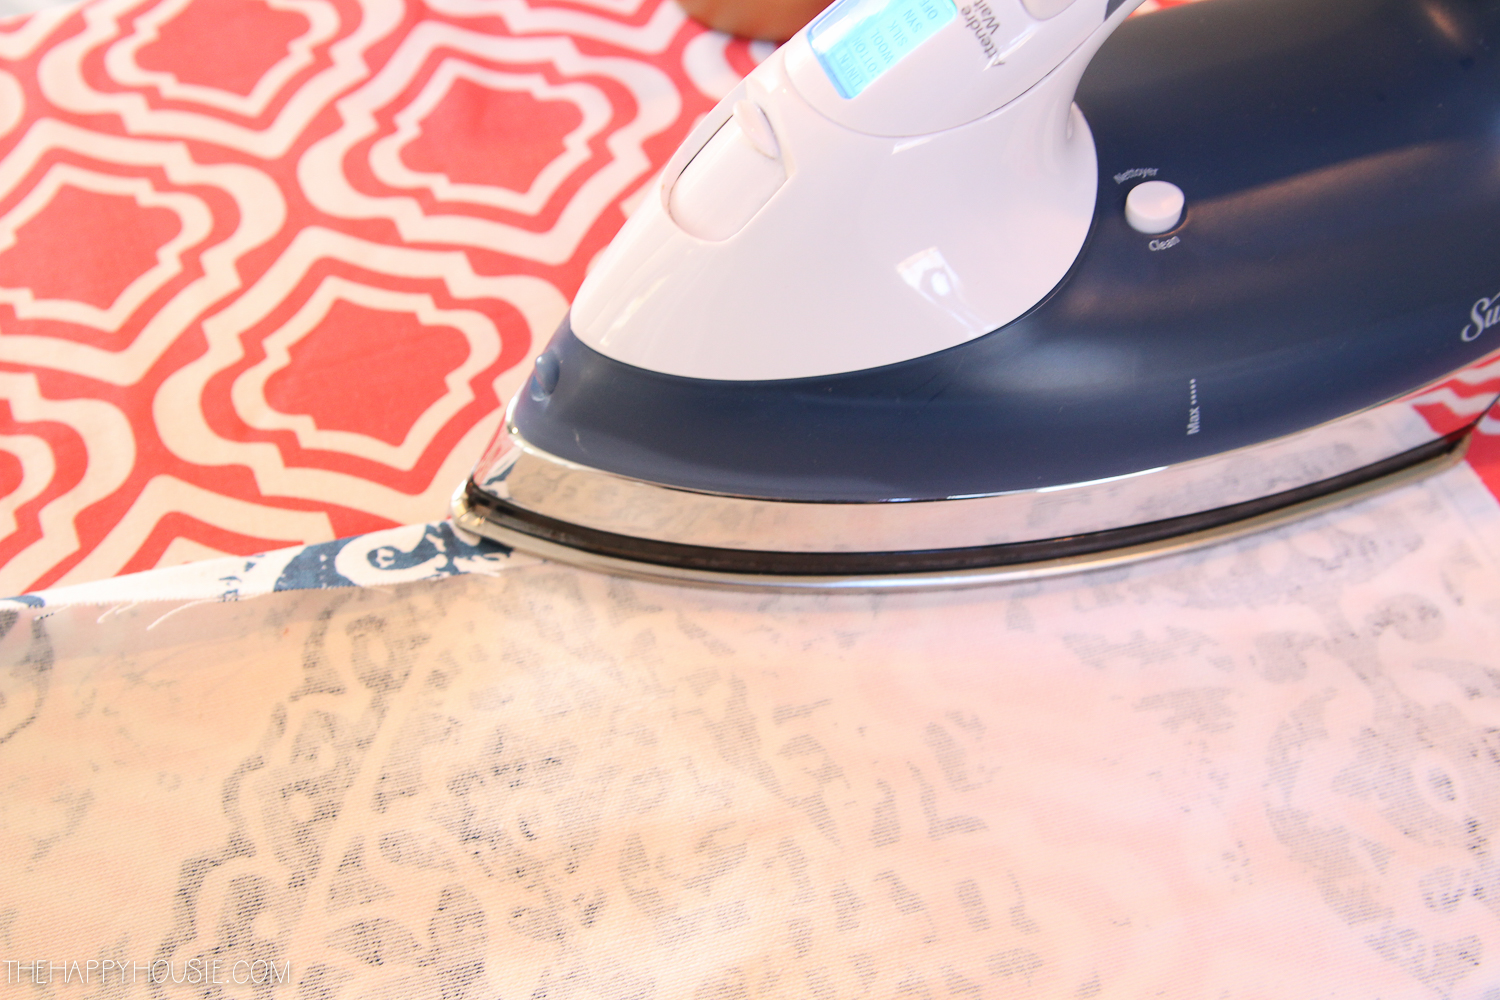
Once you’ve cut your fabric panels to the required length, iron your fabric panels, and then work your way around ironing a “hem” on all four sides, about 1/2″ wide…
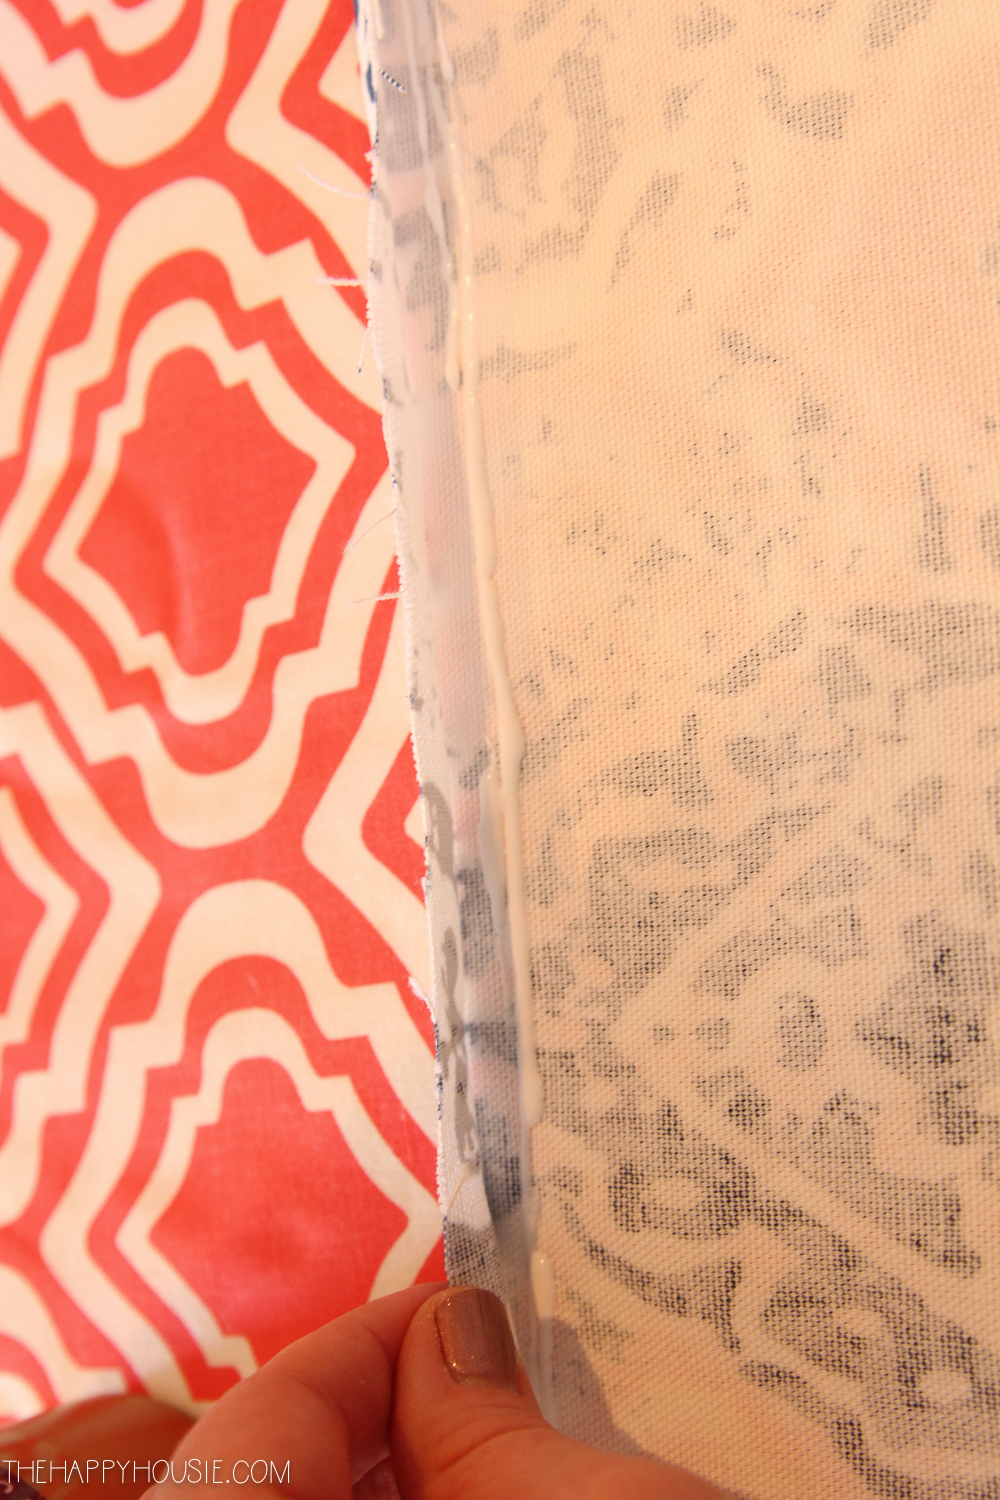
Use a strong craft glue, such as Aleene’s original tacky glue, and work your way around the fabric panel a second time, applying glue to the hem on all four sides. Press the “hem” down and hold briefly to help set the glue. Allow to set and dry before hanging these.

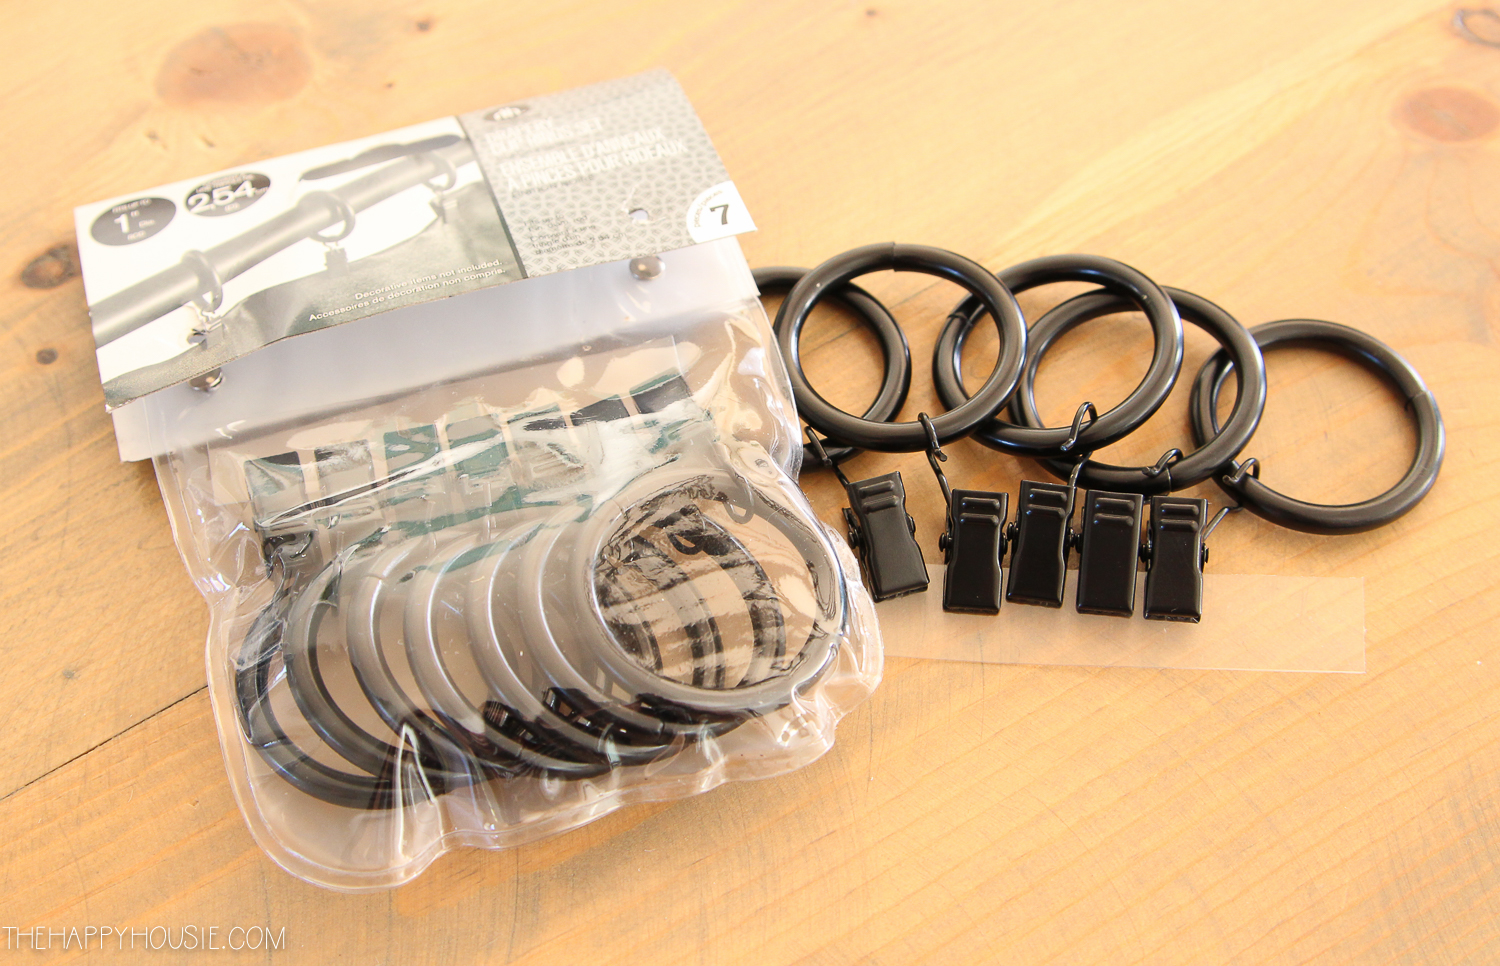
Hang using drapery clips, like these. I used 7 per panel, but you can use more or less depending on the level of “pleating” you want when your drapery is open (as a side panel).
So easy!!
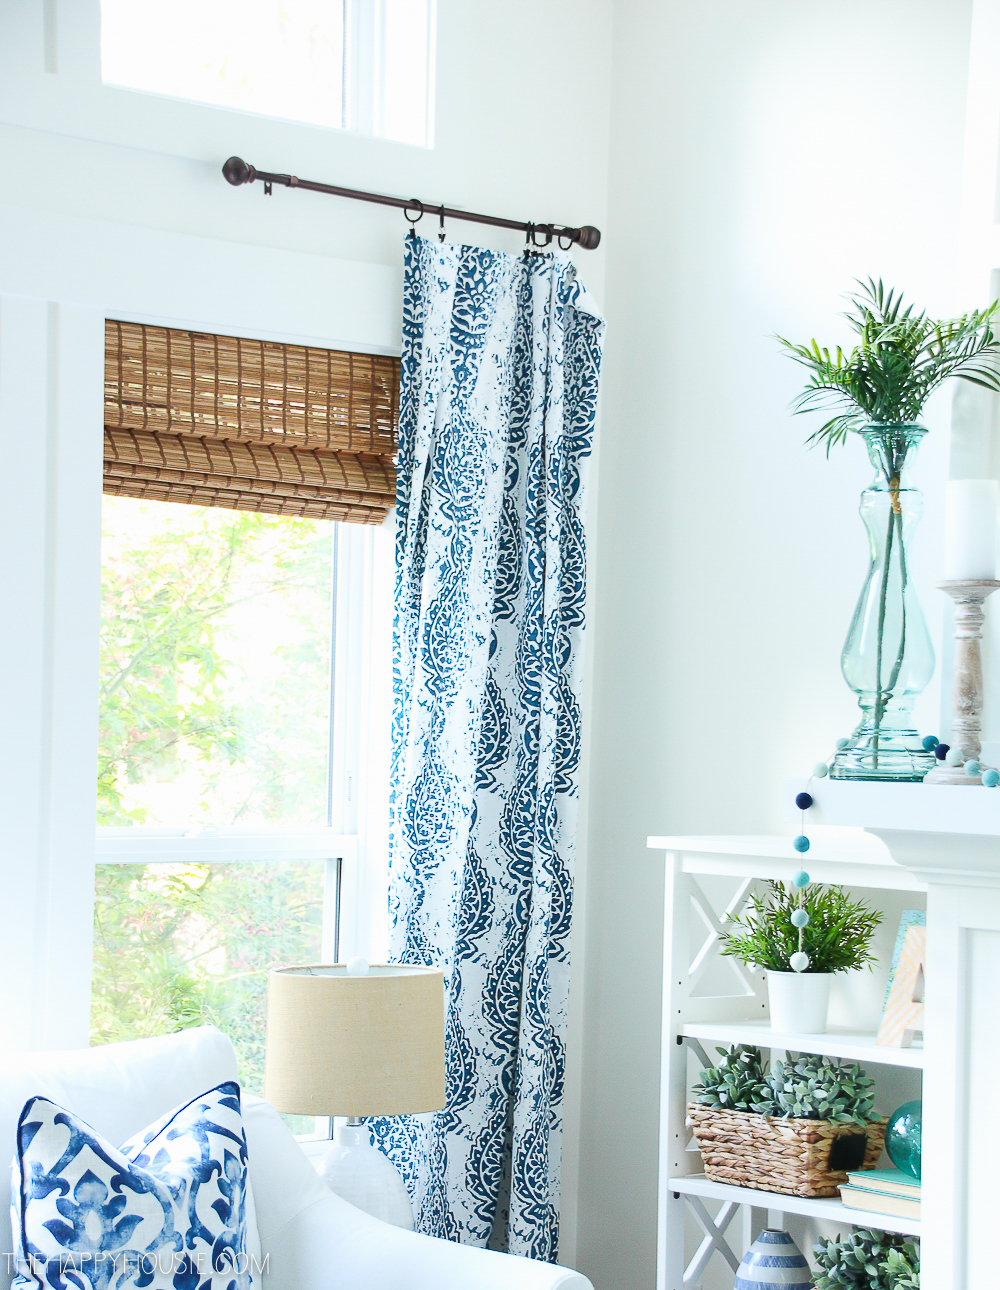
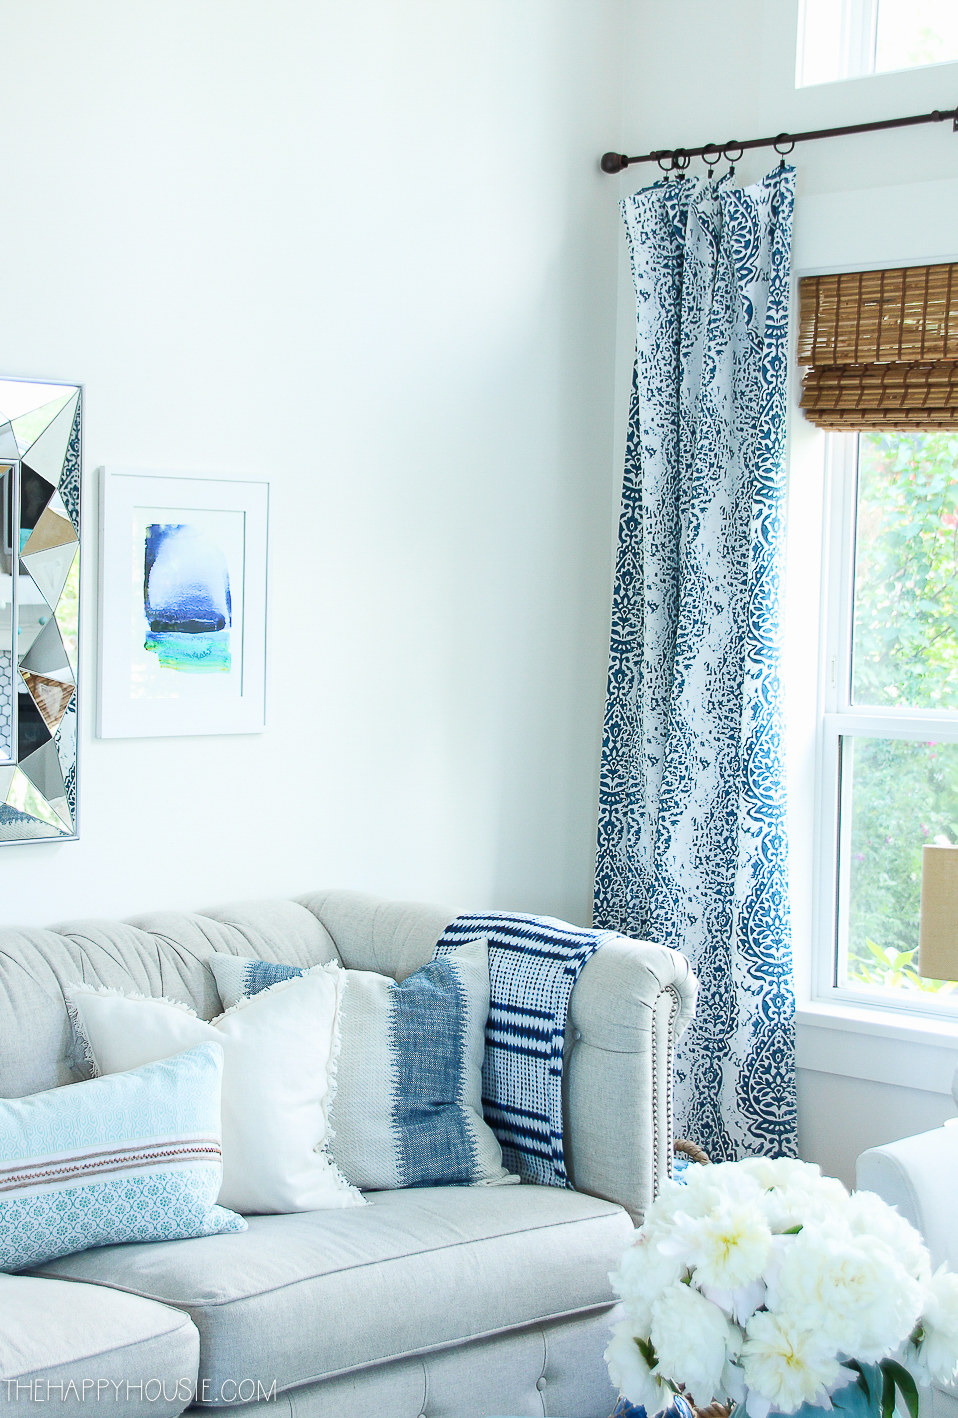
And such a beautiful looking finished product for such an easy and budget-friendly project.
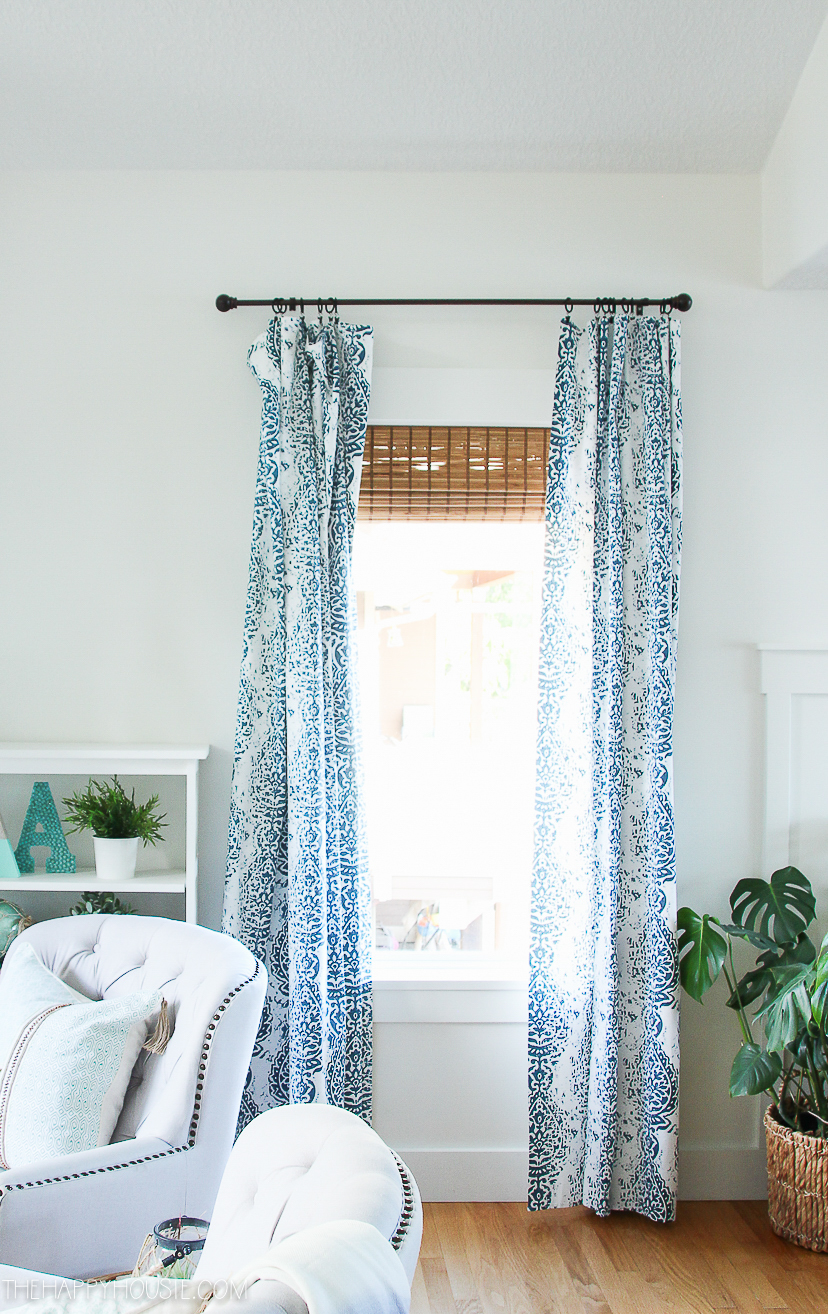
For our living room windows, these are just “cheater” side panels and are simply decorative as we have functioning blinds. I made one panel for each of these windows.
For the small window that separates the dining room and living room areas, I made two panels (one for each side).
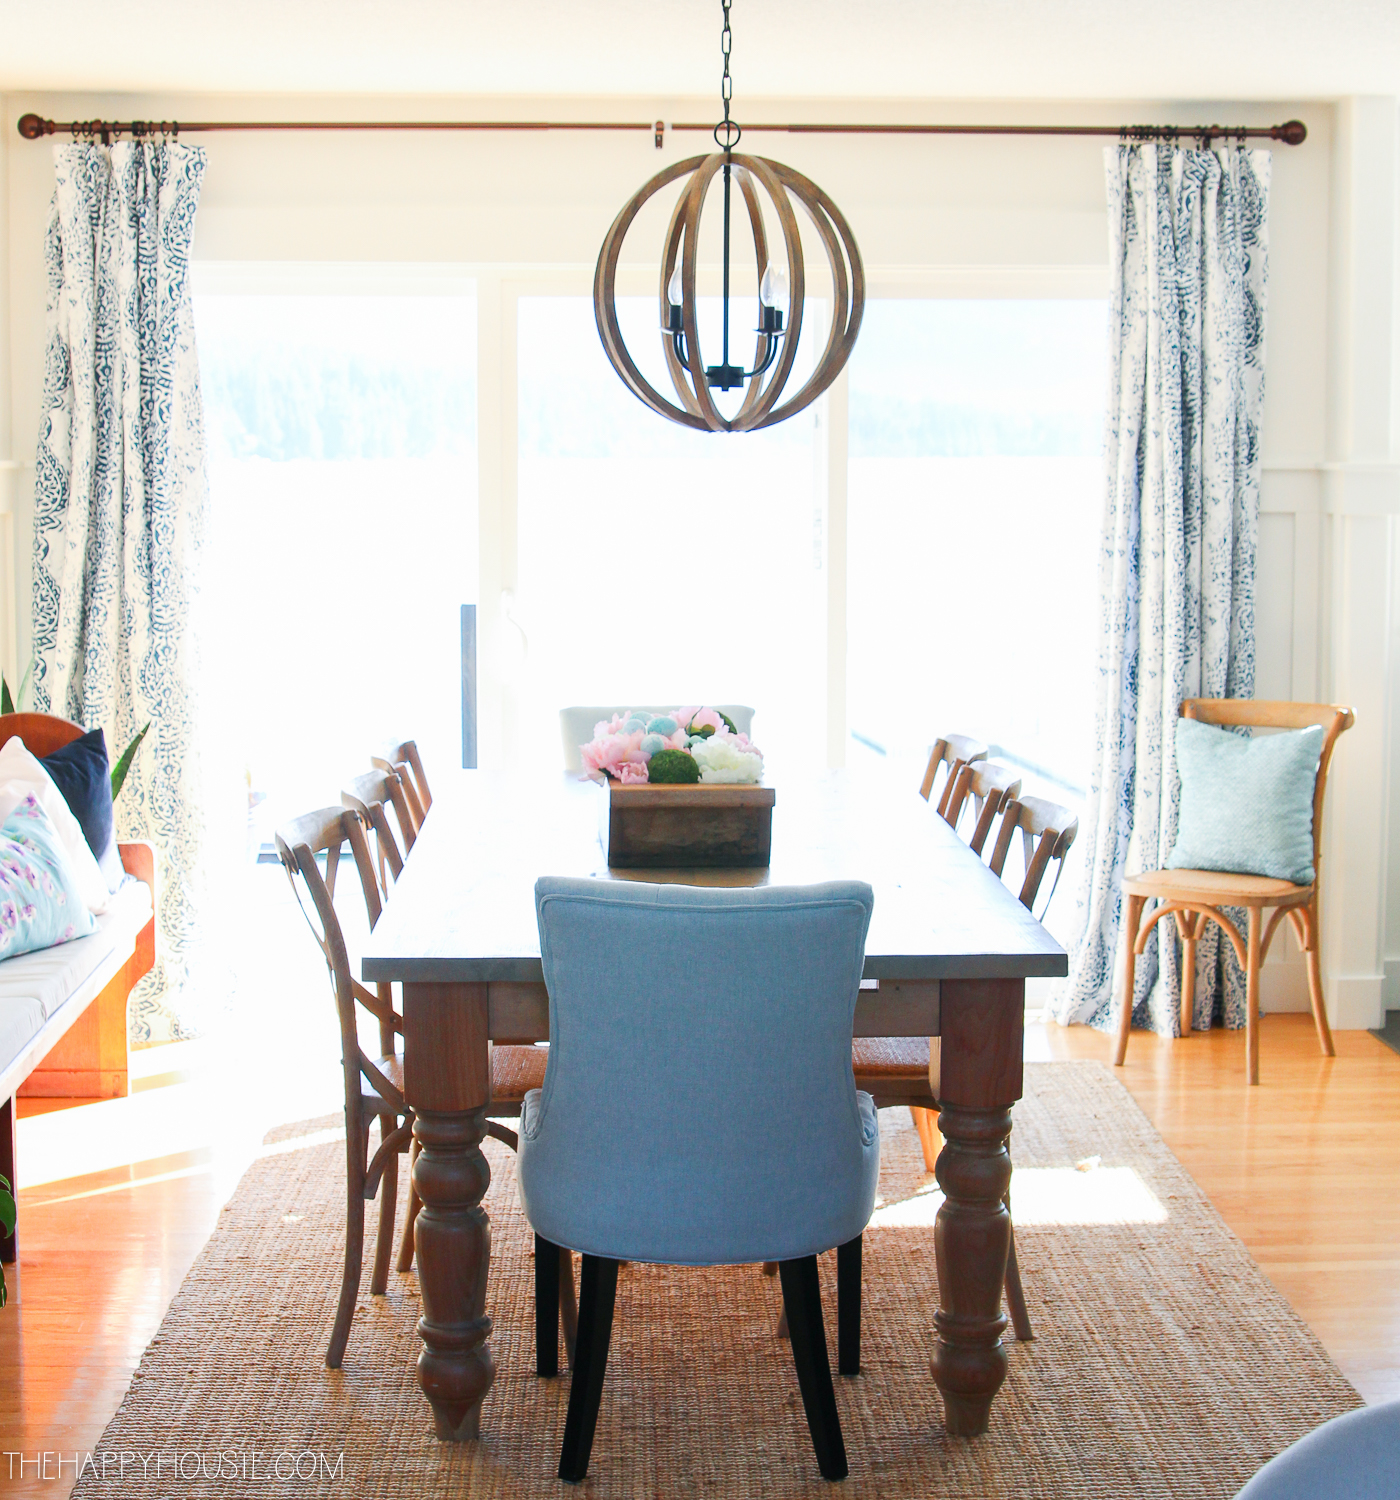
And in the dining room, I made 6 panels – 3 for each side – to give a nice level of fullness when we close them. They aren’t lined, but they suit our needs, as we rarely close them since this sliding door faces out to the lake.
The fabric that I used is by Premier Prints and the stunning pattern is called Manchester. The colour wave is Navy, which doesn’t seem to be readily available anymore. I ordered mine through a company called Liz and Roo (see it here).
Want to give this a go?!
You might need these supplies!
Want to remember this for later?
Then PIN IT!!
Good luck with your DIY no sew curtain project! Leave me a comment if you have any questions…


These look beautiful! What a good idea to achieve a designer look for less money and less effort.
Thanks so much for joining the Grace at Home party at Imparting Grace. I’m featuring you this week!
Aw, thank you so much Richella!! And thank you for hosting – I know how much work it is!
Krista, those drapes are gorgeous! I am so in love with the pattern of the fabric. I’m not sure if I overread it or you didn’t add the info in the post. Where did you get them from?
Aw, thank you! I think I said the name of the print but not a link to it, since it isn’t available in the navy anymore (it comes in several other pretty colours, though). It’s called Manchester (by Premier Prints). I’ll go back and check what details I left in the post. Thanks!
We love your creativity! This post is a Feature at the Merry Monday party! Sharing on our channels.
Aw, thank you so much Shirley!! And thank you for hosting – I know how much work it is!
Thank you so much for this wonderful tutorial! I did 4 in 40 minutes, and I had so much fun doing them. It was very easy with your clear directions and great pictures. Thanks again!!!
Yay! That is fantastic to hear- I’m glad you found the tutorial so helpful!
These curtains look so great and so simple to make! I’d luv to invite you to share this with us at Wall to Wall DIY Wednesday, which runs thru Mondays! Best, Ann
Love these! That fabric is absolutely stunning!
Aloha,
Charlee
Thank you! Isn’t it a fun print? I love blue and white:)
These drapes came out so gorgeous! I love how they look with your decor and the pattern is perfect! Sharing & Pinning! Thank you for sharing on Merry Monday! Hope to see ya next week!
Kim
Thank you Kim! And thanks for hosting!!